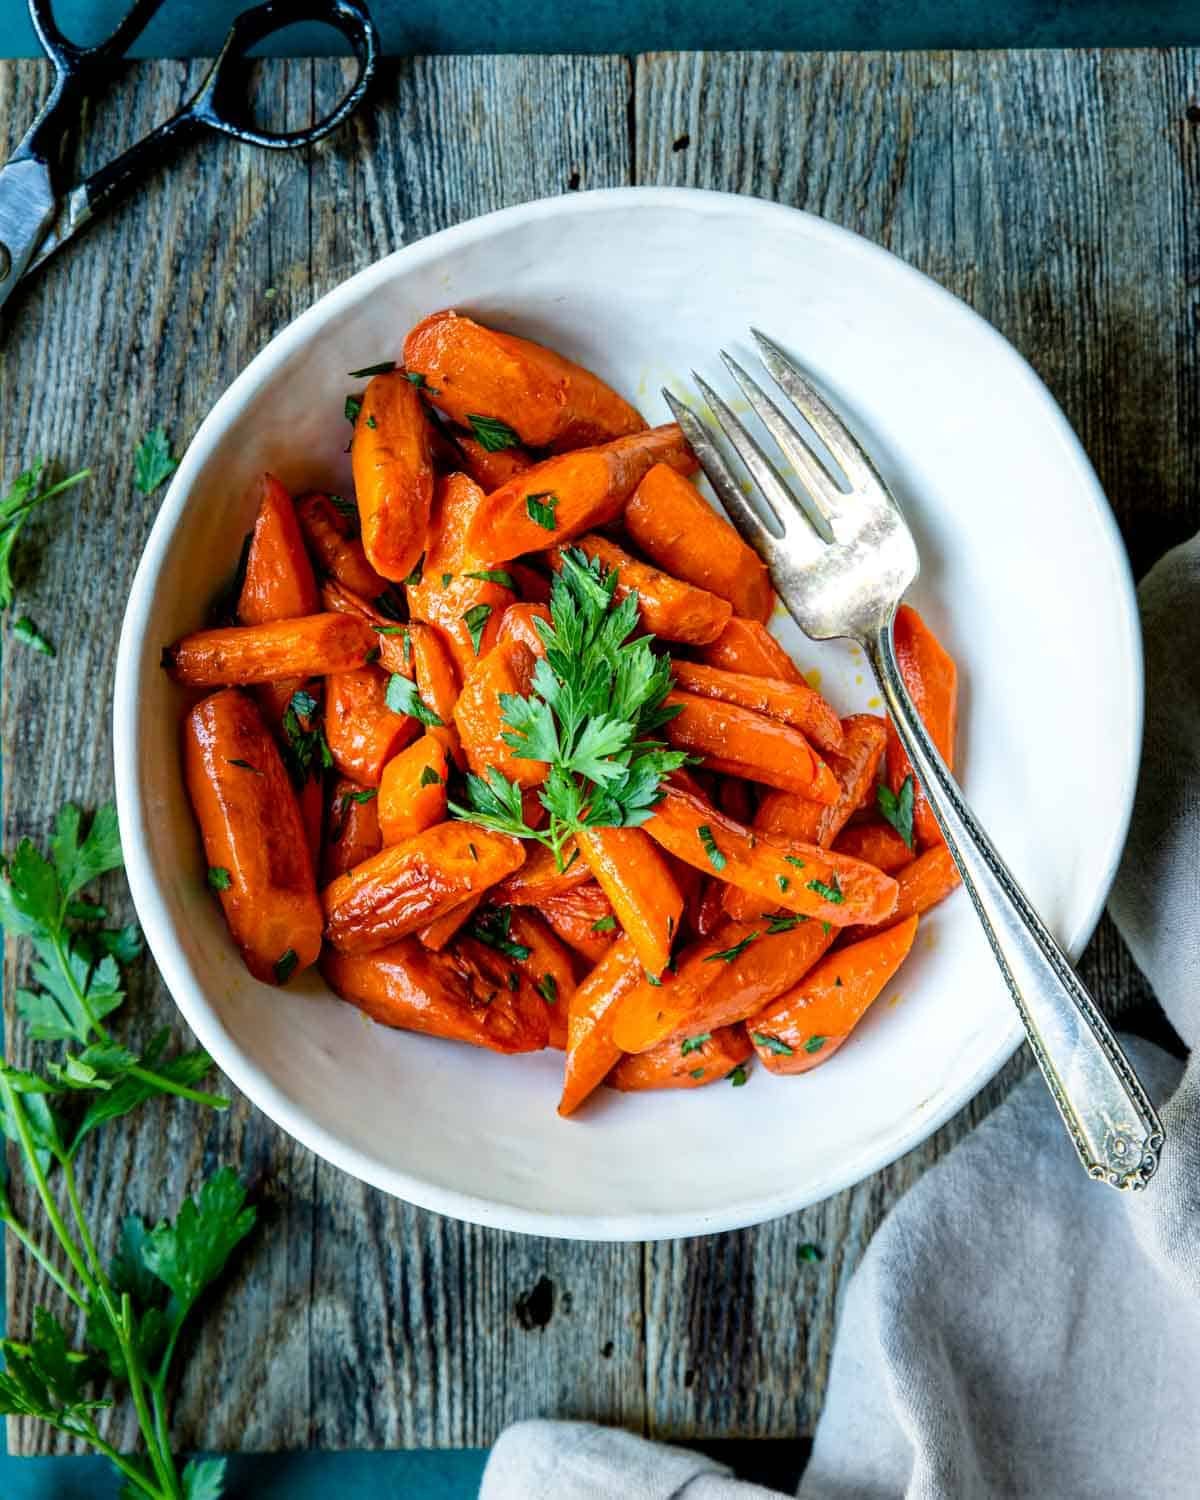
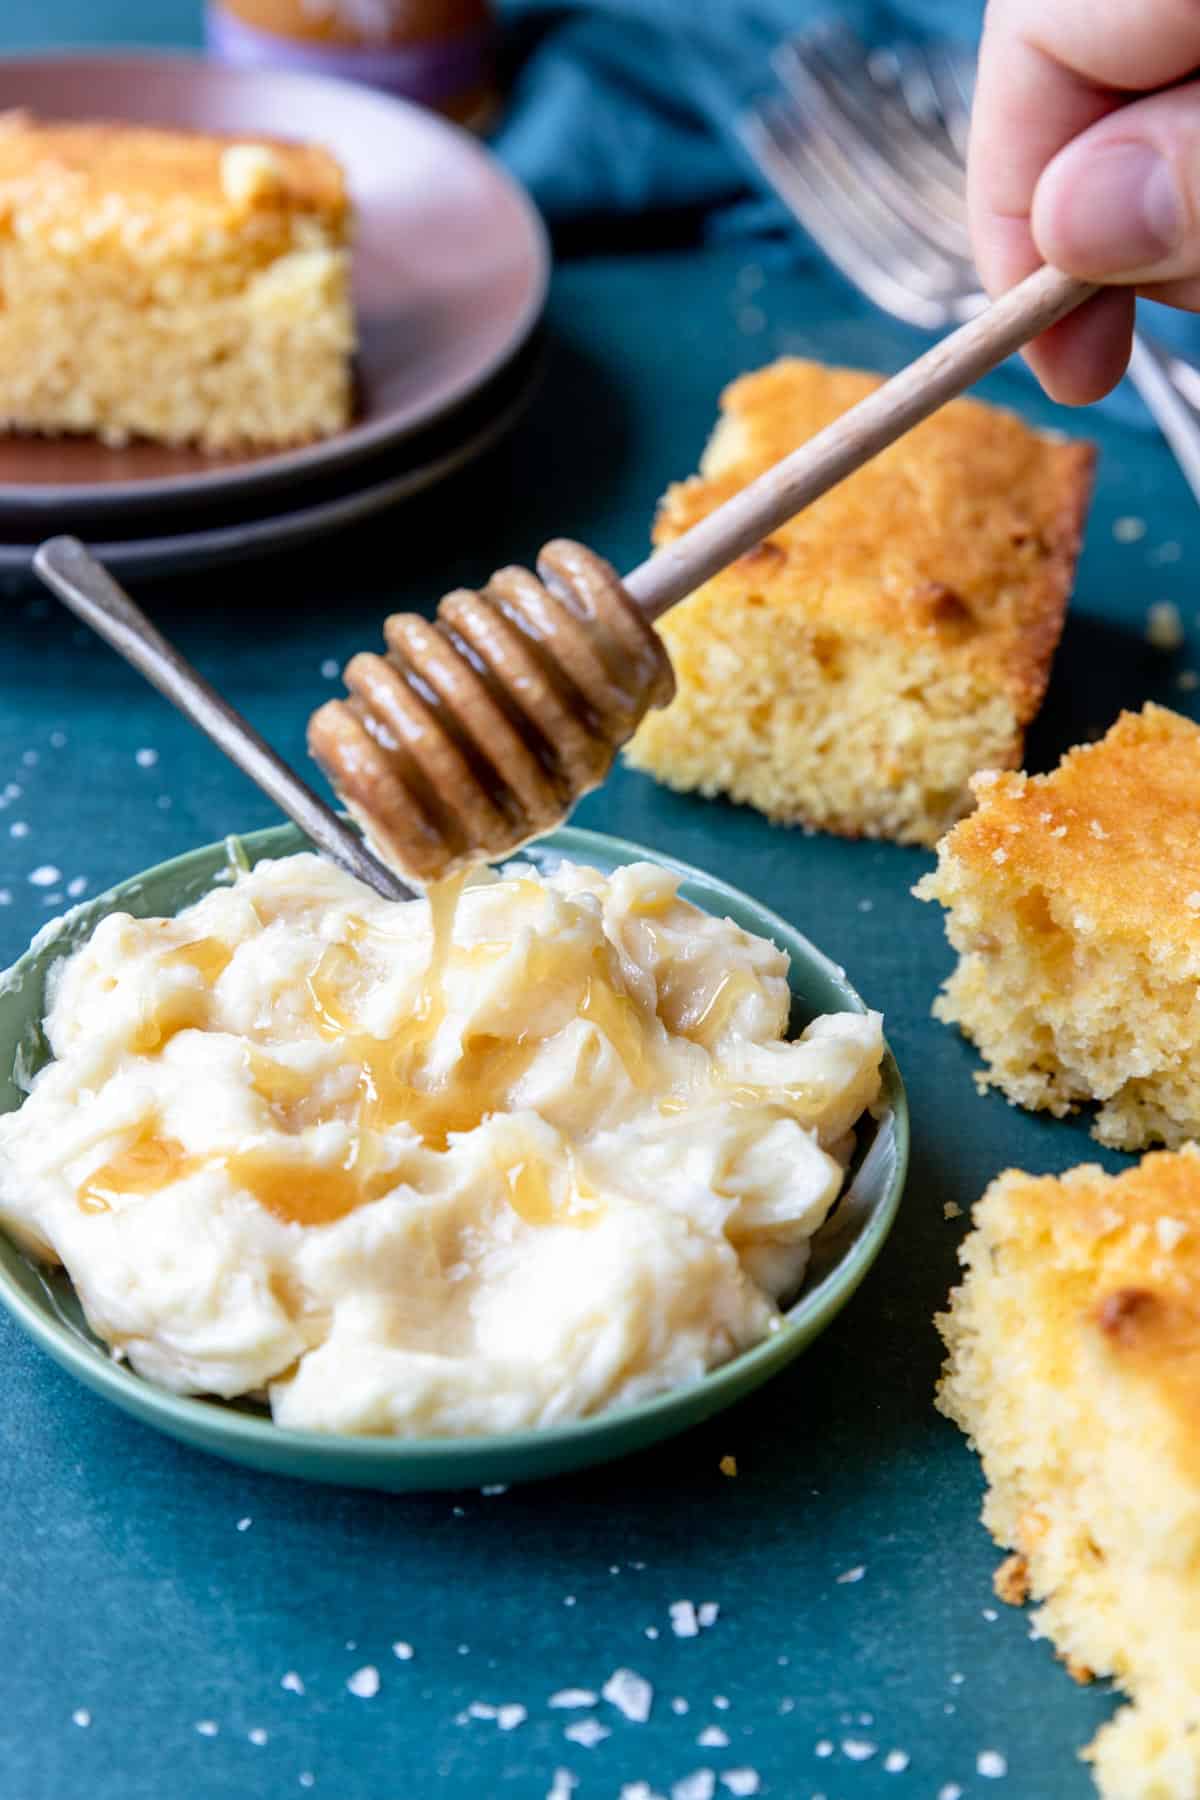
This Honey Butter recipe will be the dreamiest you have ever had. It has the perfect balance of sweet and salty with the best creamy texture with a slight crisp from the flake sea salt. Spread it over a warm piece of cornbread and you will be in heaven!
Ingredients
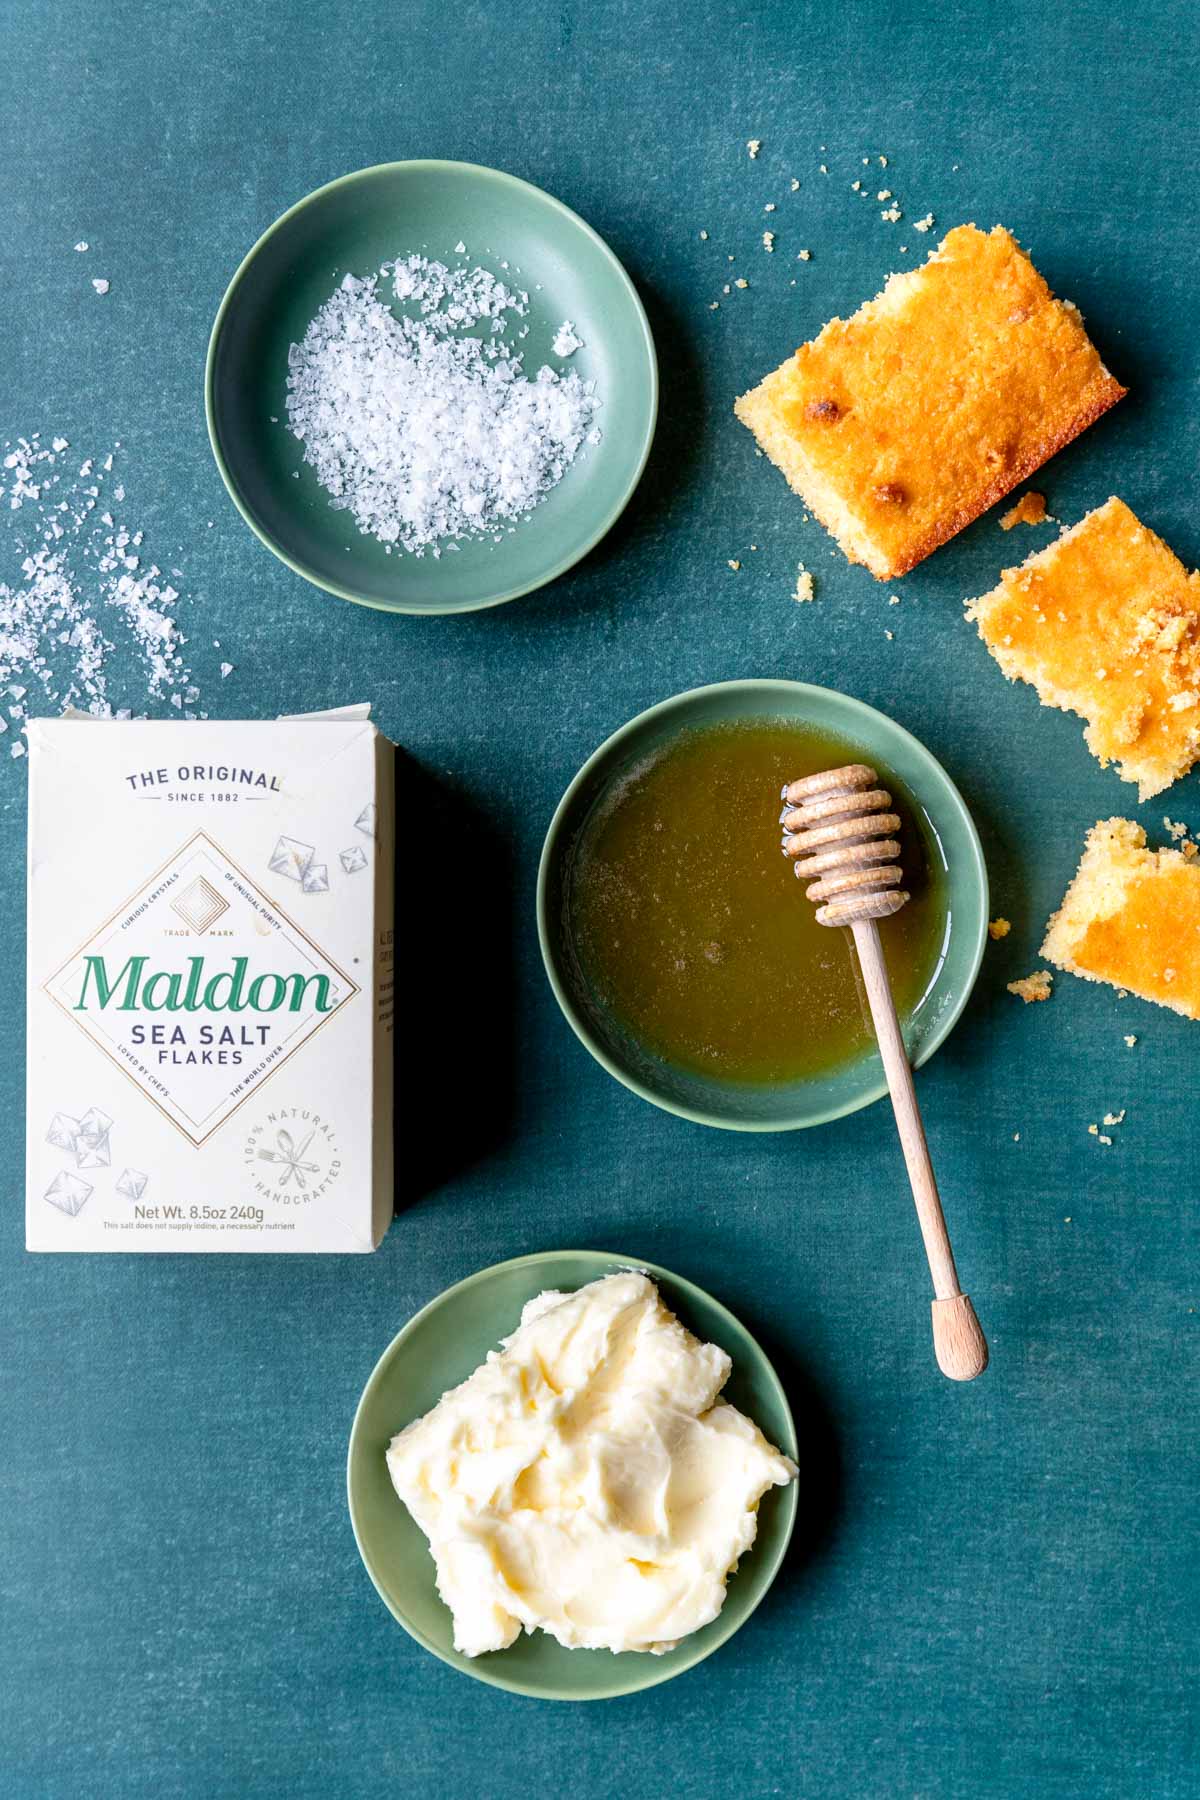
You only need three ingredients to make really great Honey Butter; salted butter, flake sea salt, and honey.
Salted Butter
I’m going to say something that isn’t very popular… I don’t understand unsalted butter for daily use!? I get it for baking if you don’t want the “extra” salt to change the flavor of your baked goods (although I ONLY use salted butter).
If you taste salted butter next to unsalted butter the unsalted version literally has no flavor, it tastes like oil. It’s more of a texture than a flavor.
So for this recipe I HIGHLY recommend that you use a salted butter!
Softening Butter
We have all seen the hacks to soften butter… I have tried them all and cannot find one that is completely fool proof. But what IS foolproof is setting your butter at room temp and waiting!!
That’s probably not the hack you were looking for. LOL!
But what I do find is that if you cut your butter into smaller ½ inch cubes it doesn’t take very long to soften at room temp!
Flake Sea Salt
Flake Sea Salt is a key ingredient to making the very best Honey Butter. Flake salt has a very delicate salt flavor and an AMAZING TEXTURE- it’s actually crispy.

You cannot really sub kosher salt for flake sea salt and definitely not iodized salt for flake sea salt. However if you need to use kosher salt I would start with ¼ teaspoon and work up from there.
I purchase Maldon Flake Sea Salt and keep it in my spice cabinet. It is an excellent finishing salt for all sorts of dishes.
Honey
I could probably write a whole post on different honeys; local, organic, raw, honey comb, flavored, etc….
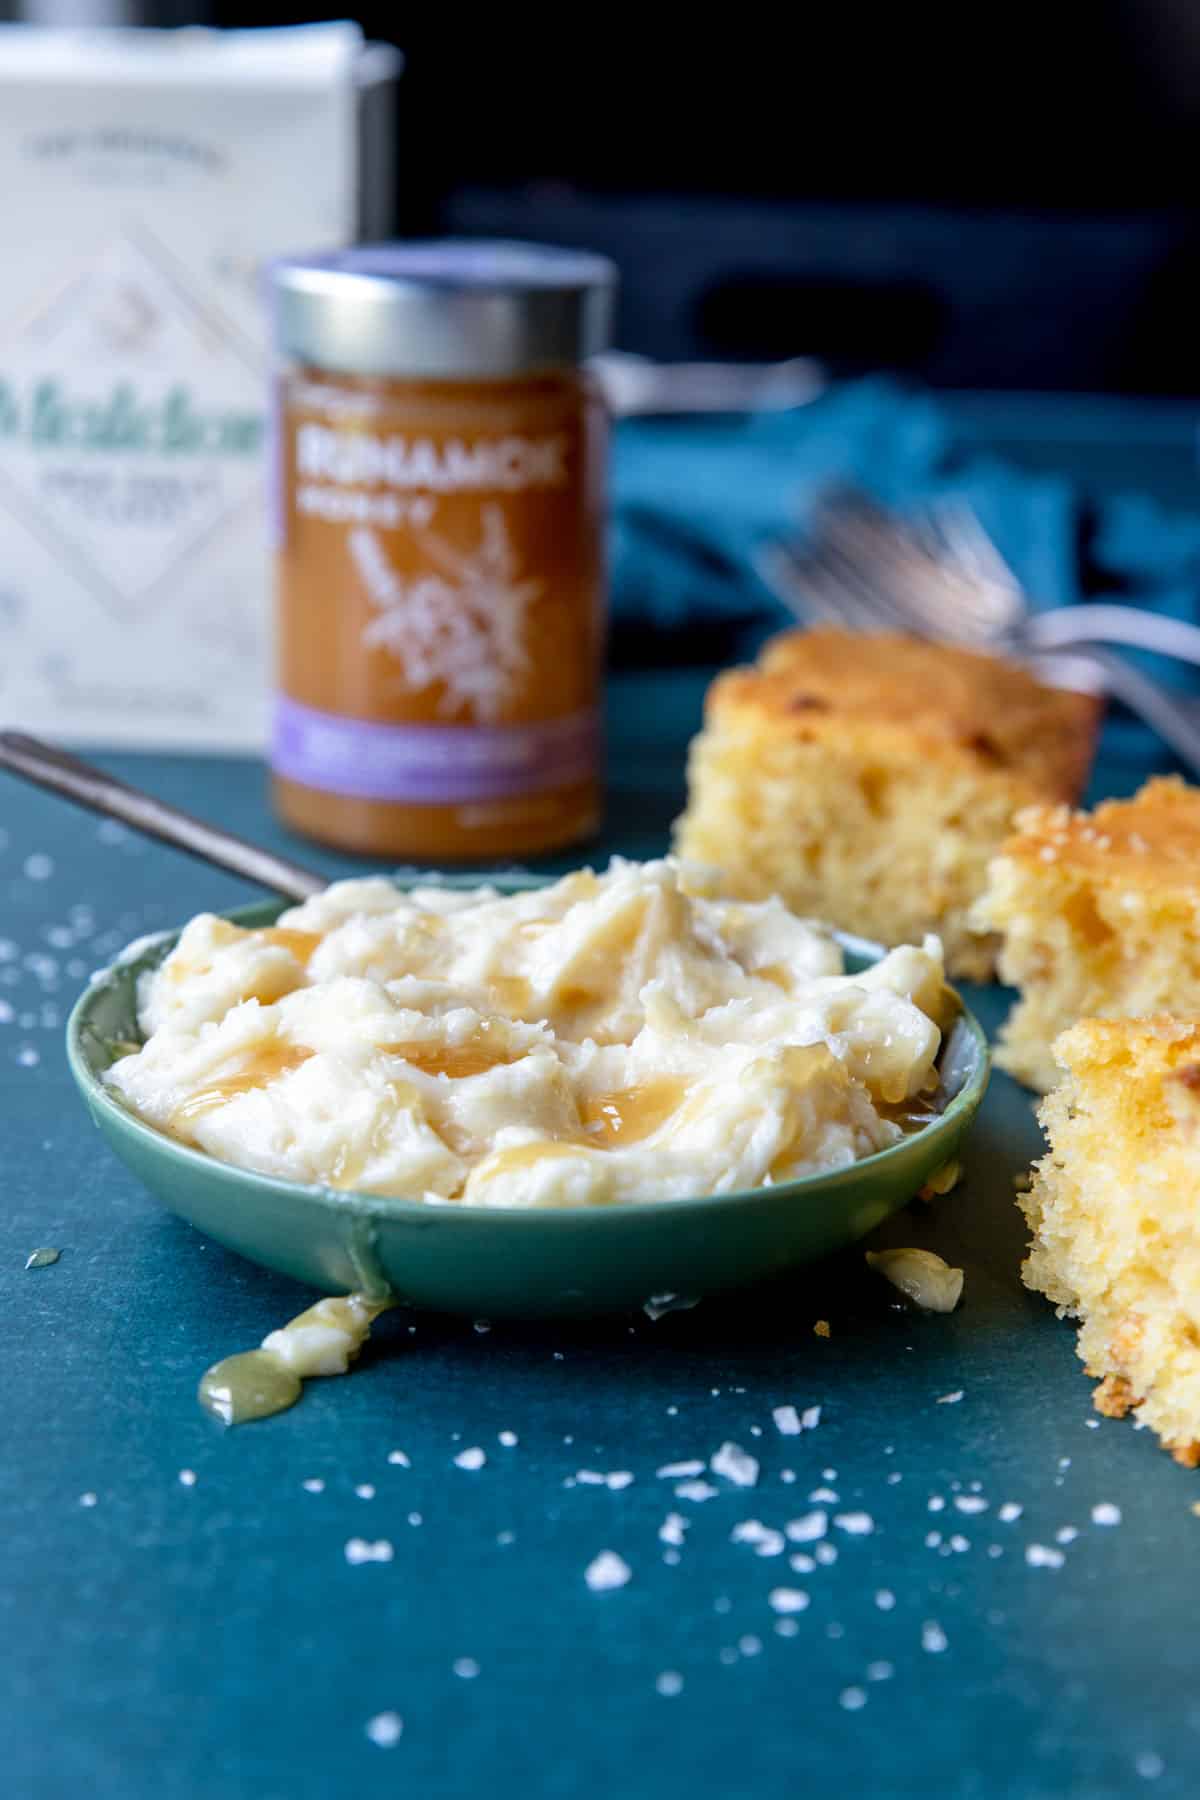
But just use a honey that your family loves! I use this Runamok Honey and it is AMAZING! The Bee Keepers Cut, Lemon Verbena and Knotweed are all wonderful.
Tips for Making the Best Honey Butter
- Use high quality ingredients.
- Use salted butter not unsalted butter.
- Make sure your butter is at room temp. (very softened).
- Do not add warm honey, it will melt the butter.
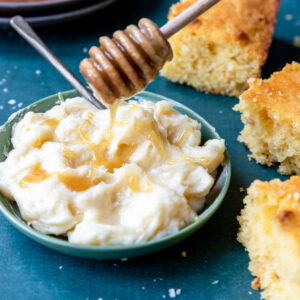
- Sprinkle a little extra flake salt and drizzle honey on top of the butter for a yummy texture.
- Leave at room temp before serving so it is spreadable.
Awesome Cornbread Recipes for your Honey Butter
Honey Butter is best spread across a warm piece of cornbread! Here are some of my favorite recipes for cornbread:
- Buttermilk Cornbread
- Cornbread Muffins
- Best Ever Sweet Cornbread
- Beer Bread (not cornbread)

Did you make this recipe?
⭐⭐⭐⭐⭐
I would love to hear your review, especially if you have tips and tricks to add! Pop down to the comment section and connect with me
The Dreamiest Honey Butter Recipe
Ingredients
- 12 tablespoon Salted Butter - softened
- 2 ½ tablespoon Good Quality Honey
- ¾ teaspoon Flake Sea Salt - (like Maldon) * see notes if subbing other salt
Instructions
- In a small bowl with a spoon or spatula mix together the salted butter, honey and flake salt until the honey is incorporated into the butter completely.12 tablespoon Salted Butter, 2 ½ tablespoon Good Quality Honey, ¾ teaspoon Flake Sea Salt
- Sprinkle extra flake salt on the top and drizzle on a little extra honey.
- Serve a room temp so it is spreadable. Great with cornbread, muffins, waffles, and more!
Storing
- Can be stored for a few days in a covered container at room temp. To keep longer keep in the fridge, up to 2 weeks. – Remove from the fridge for at least an hour to soften before serving.
Recipe Tips and Notes:
- Buttermilk Cornbread
- Cornbread Muffins
- Best Ever Sweet Cornbread
- Beer Bread (not cornbread)