If you love ordering teriyaki chicken from your favorite takeout spot, this is one of those recipes that’ll make you realize you can easily make it at home! I have been making this one for years and it comes together quickly and has SO much flavor. I know when this is on the menu, the dinner table is going to be a really happy place!

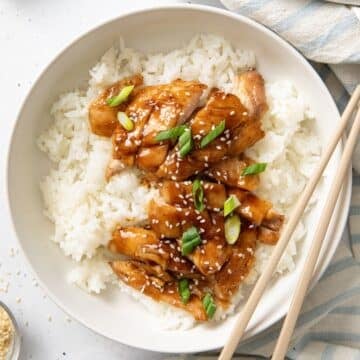
For this recipe we’re using boneless skinless chicken thighs, which stay juicy and tender. They’re coated in a sweet-savory homemade teriyaki sauce that's packed with flavor and perfect spooned over a bowl of rice.
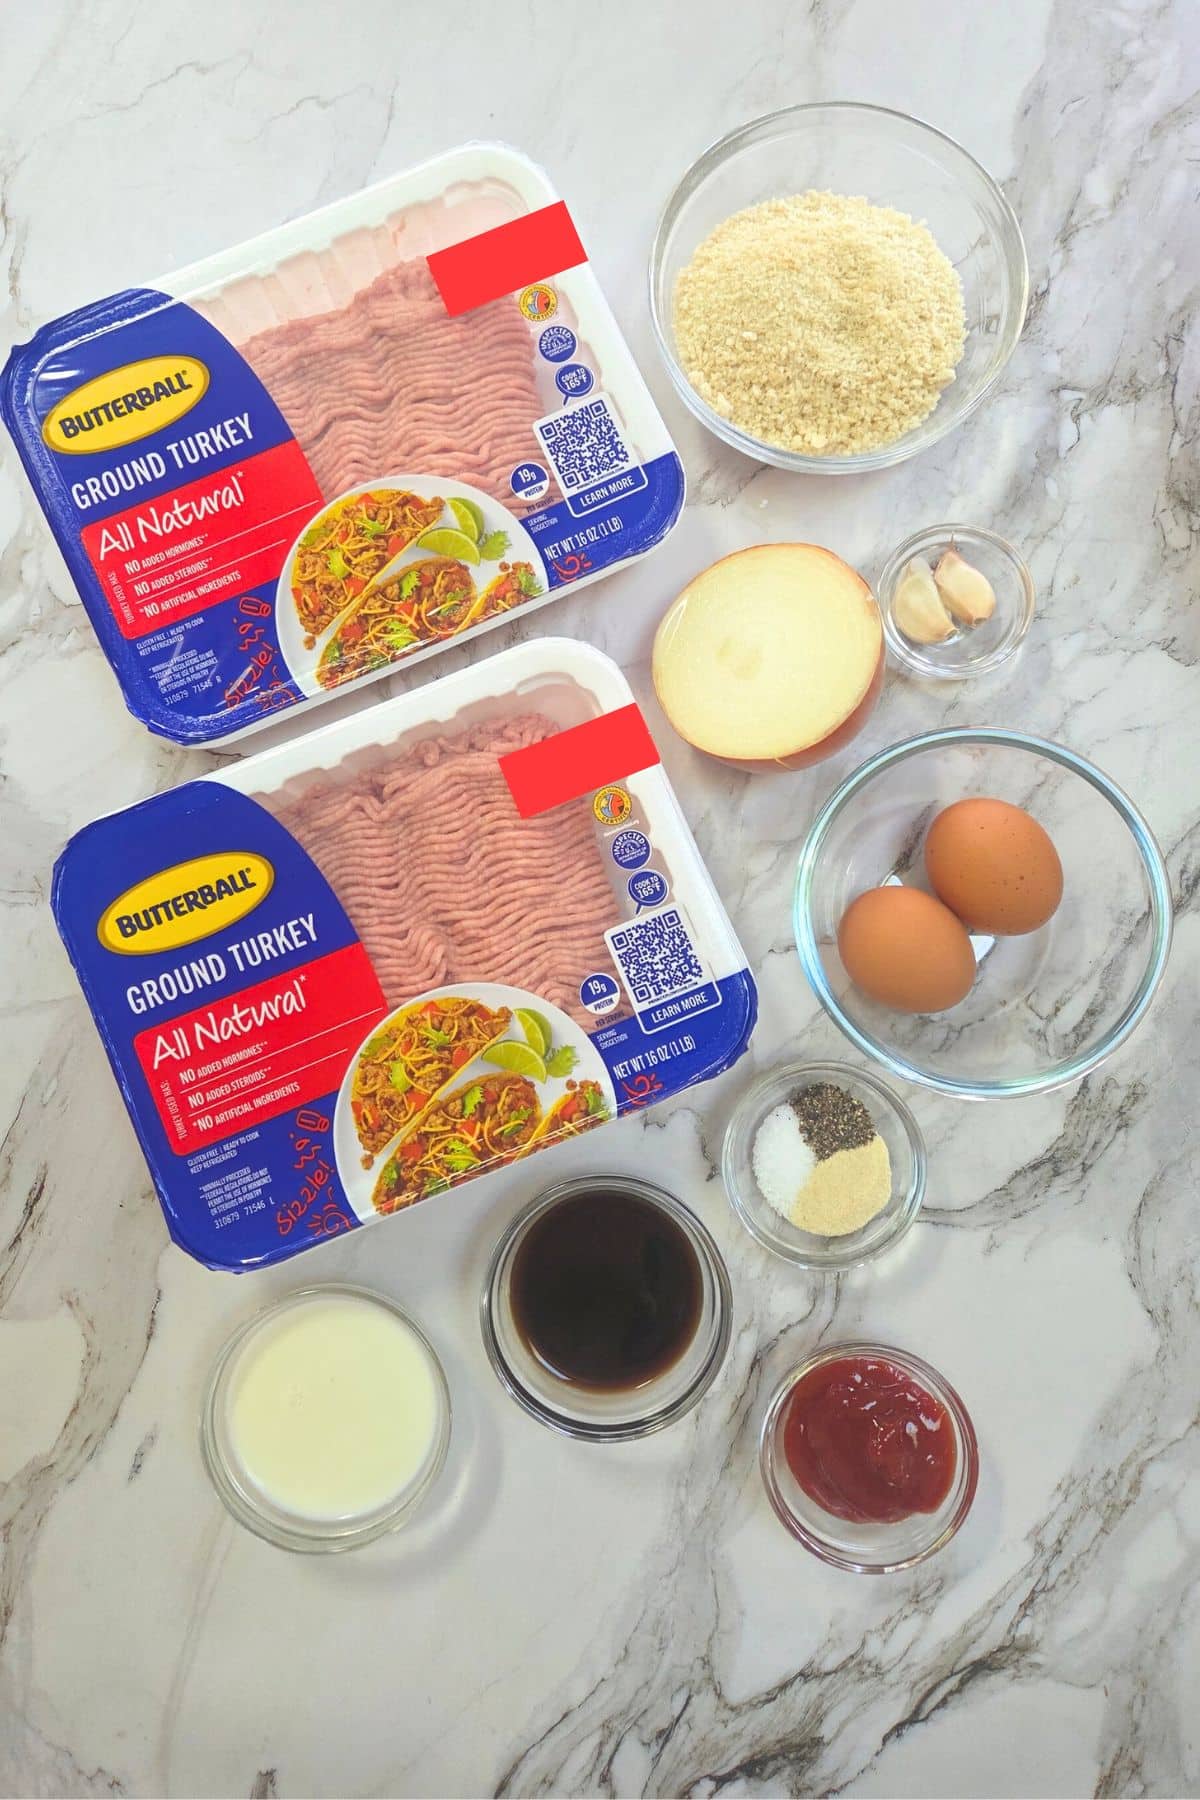
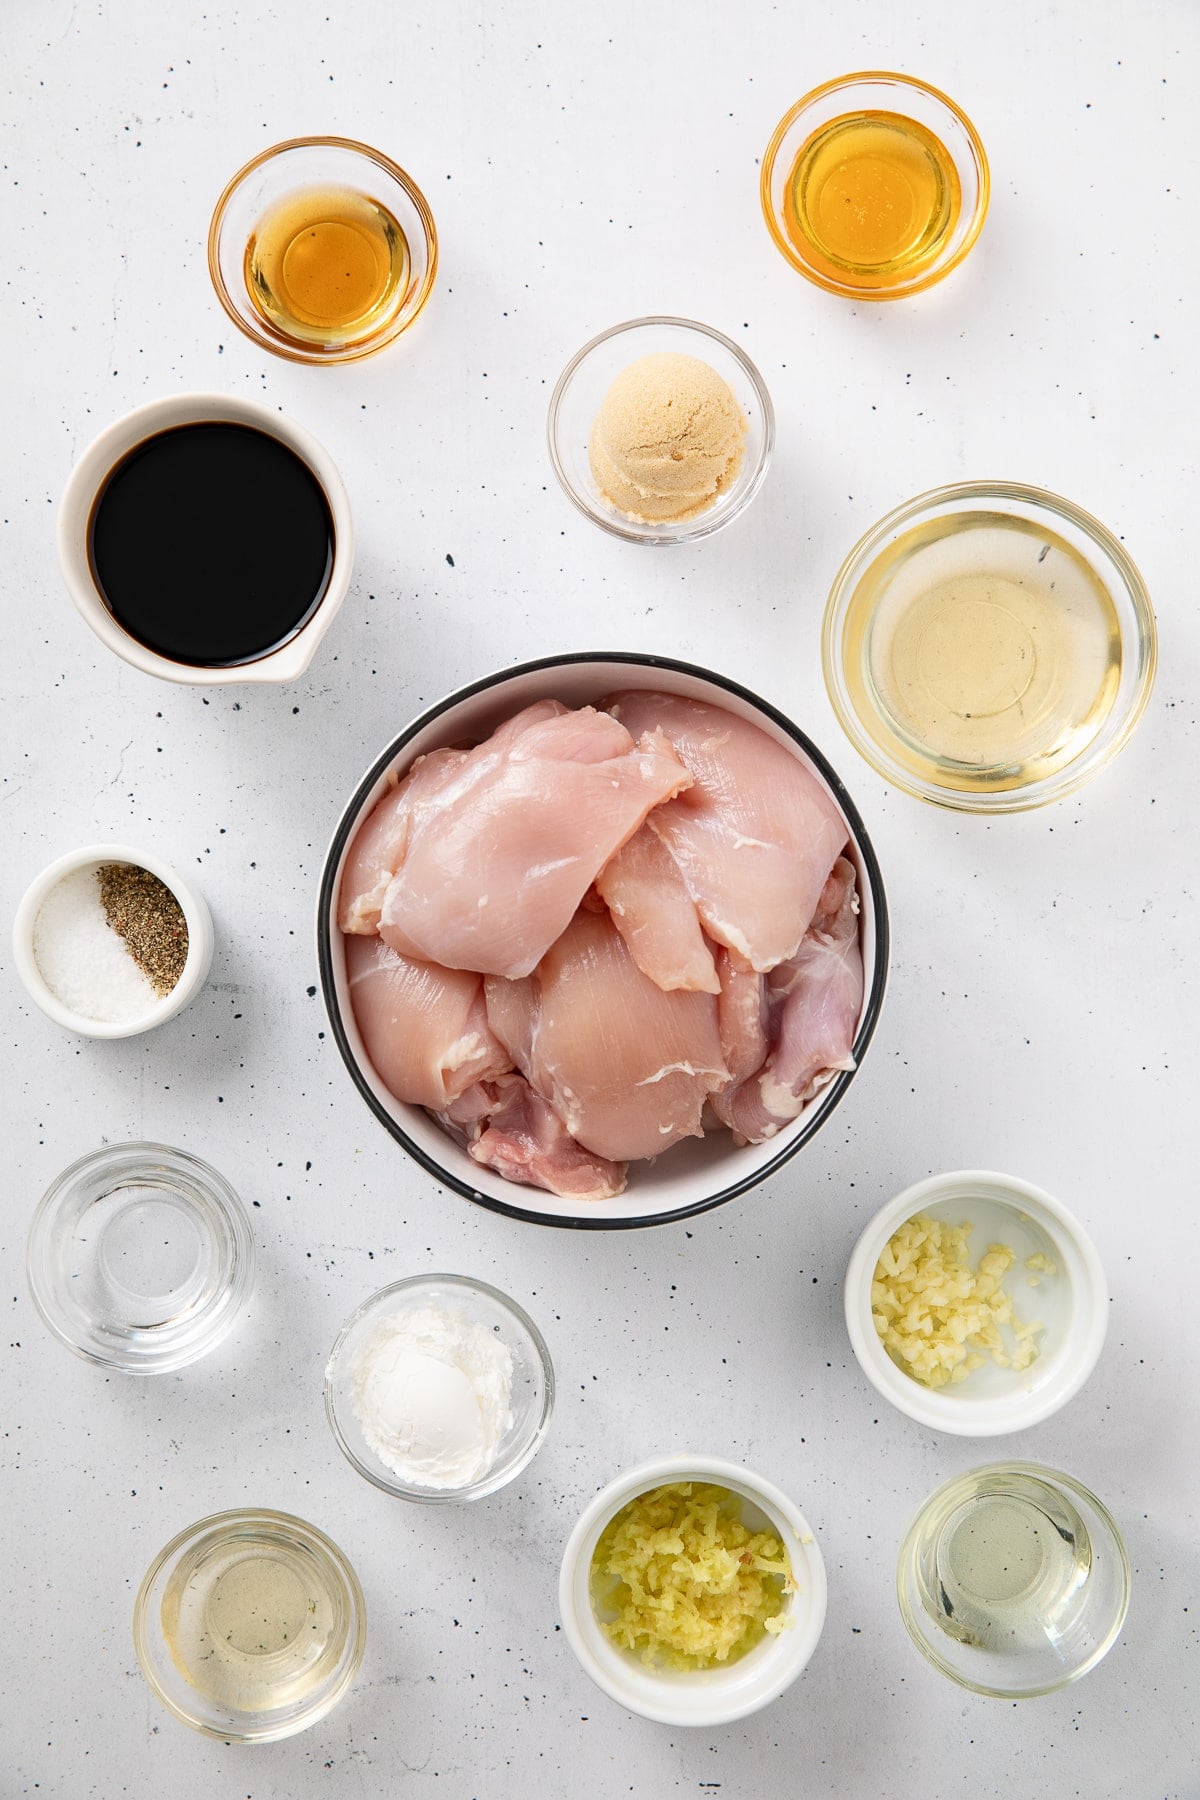
[feast_advanced_jump_to]Ingredients for Teriyaki Chicken
Boneless skinless chicken thighs- Using the thigh in place of chicken breast ensures that your Teriyaki Chicken is super tender and juicy. If you prefer a chicken breast that will work too, I would recommend cutting them in half lengthwise so they cook evenly.
Oil- Use a neutral cooking oil that won’t add flavor to the dish; canola or vegetable oil are a great choice. Avocado oil can be used too.
Soy sauce- If you are sensitive to sodium you can opt for a low sodium soy sauce. Our favorite soy sauce brand is Lee Kum Kee.
Mirin- a traditional ingredient in any teriyaki sauce, Mirin is a type of rice wine that has a slightly sweet and savory flavor. If you don’t have mirin, see the substitution list below for other options.
Brown sugar- A light brown sugar adds just a little sweetness to the Teriyaki Chicken and balances the salty savory flavors.
Honey – Also adds a slight sweetness and viscosity to the Teriyaki sauce.
Rice vinegar- Adds a bright tang to the Teriyaki Chicken. Rice vinegar or rice wine vinegar is a great vinegar to keep in your kitchen. There are two options; seasoned and unseasoned. They are basically the same thing, the seasoned rice wine just has more sugar added.
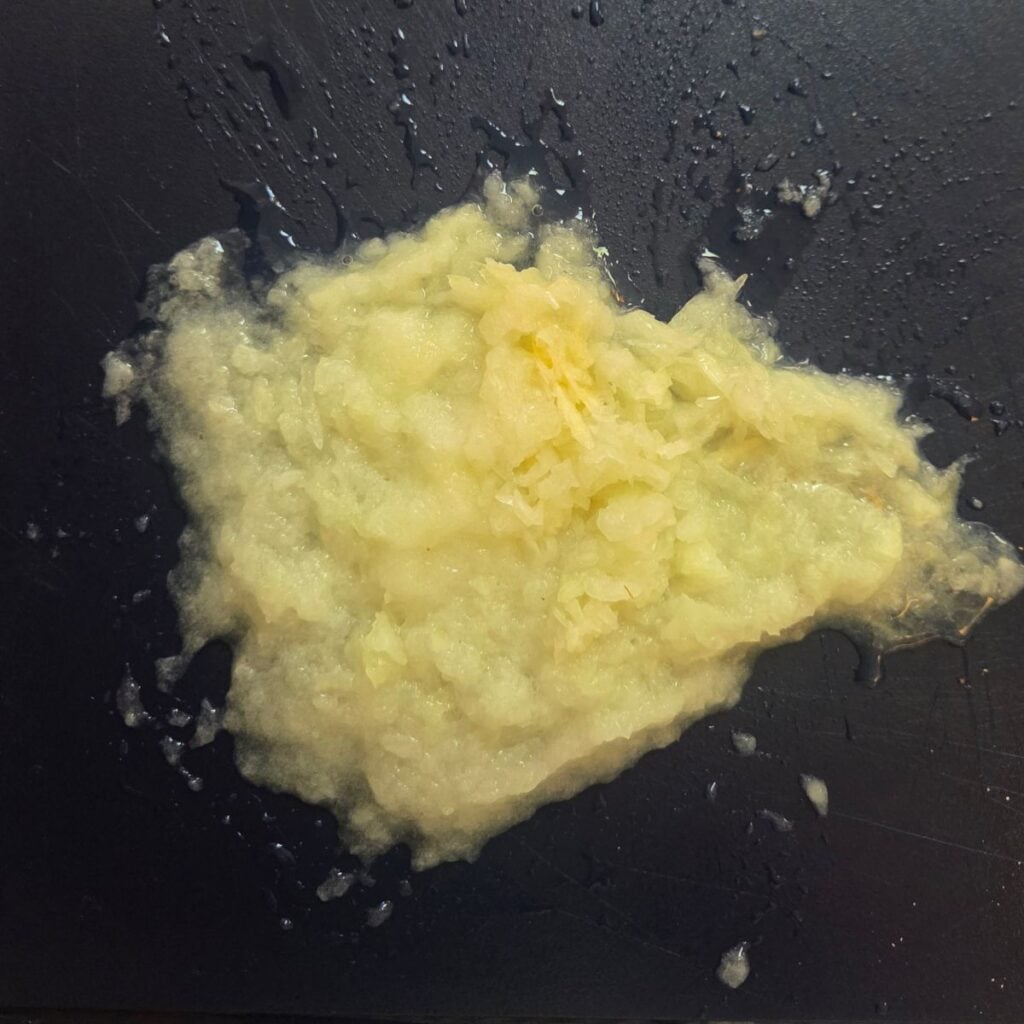
Ginger- Use fresh ginger or frozen grated ginger cubes for this dish. I love using frozen cubes of ginger, you can find them in just about any grocery store near the frozen veggies. Dorot Gardens is a popular brand.
Garlic – Don’t skimp on the garlic
Sesame oil- A toasted or untoasted sesame oil will work here. It is strong so don’t be tempted to add extra!
Cornstarch- Mixed with cool water (called a slurry) and added to a simmering sauce will thicken it perfectly.
Substitution Options
Chicken Thighs - Boneless skinless chicken breasts may be substituted, but cook only to 165°F (74°C) to prevent dryness.
Mirin - Dry sherry plus ½ teaspoon sugar per tablespoon can substitute, though flavor will be slightly brighter.
Brown Sugar - Coconut sugar may be used for a slightly deeper molasses note.
Cornstarch - Arrowroot powder may be substituted in equal amounts.
How To Make Teriyaki Chicken
Step 1
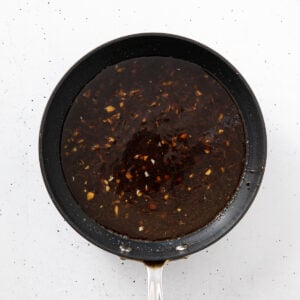
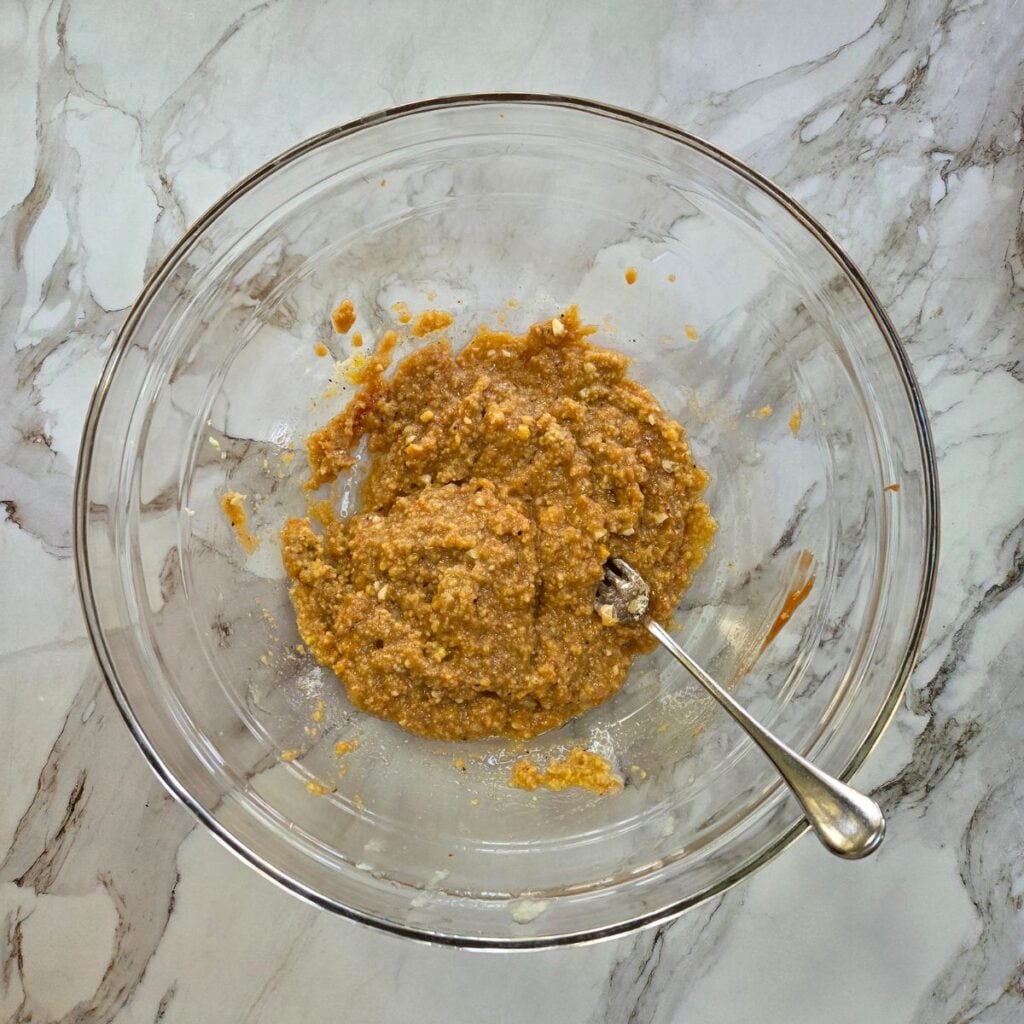
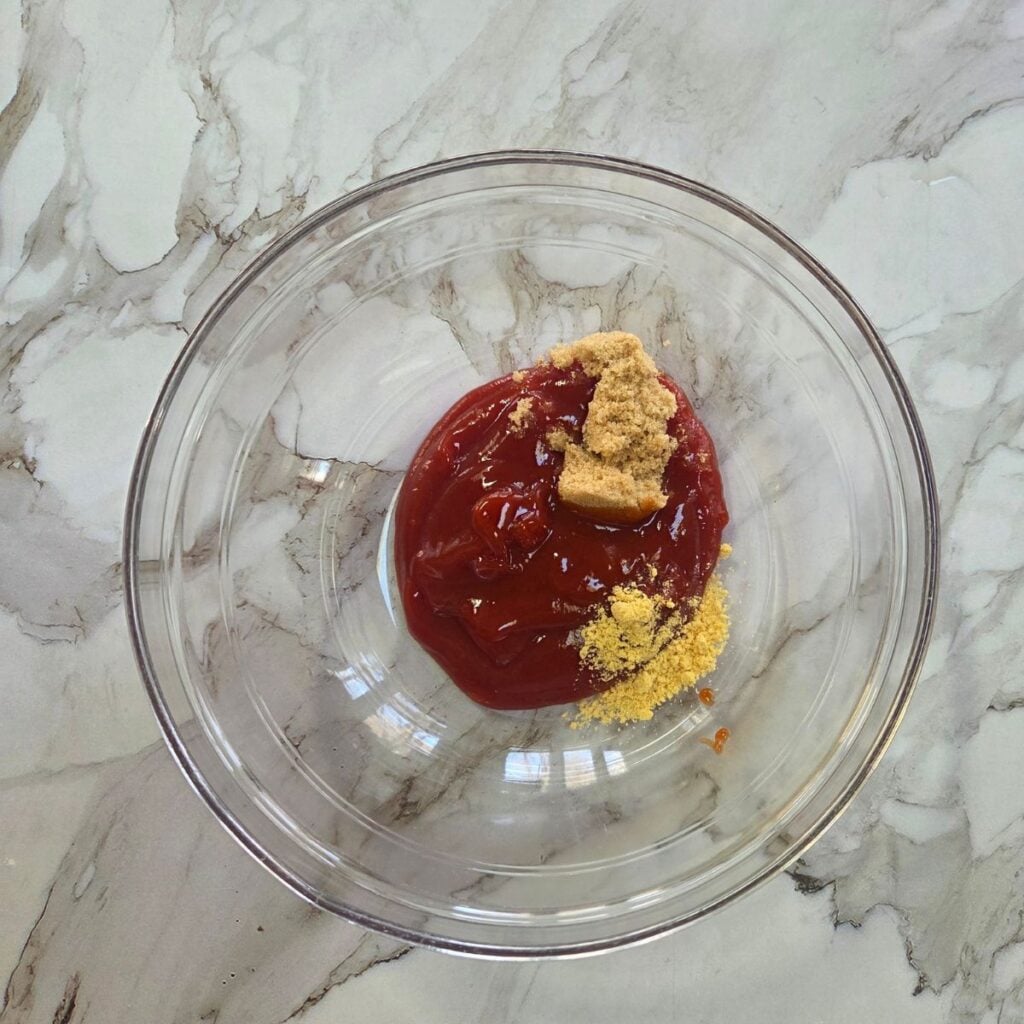
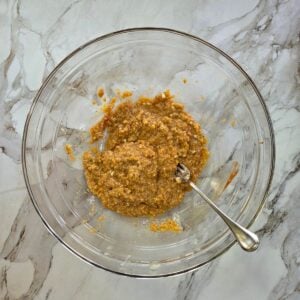
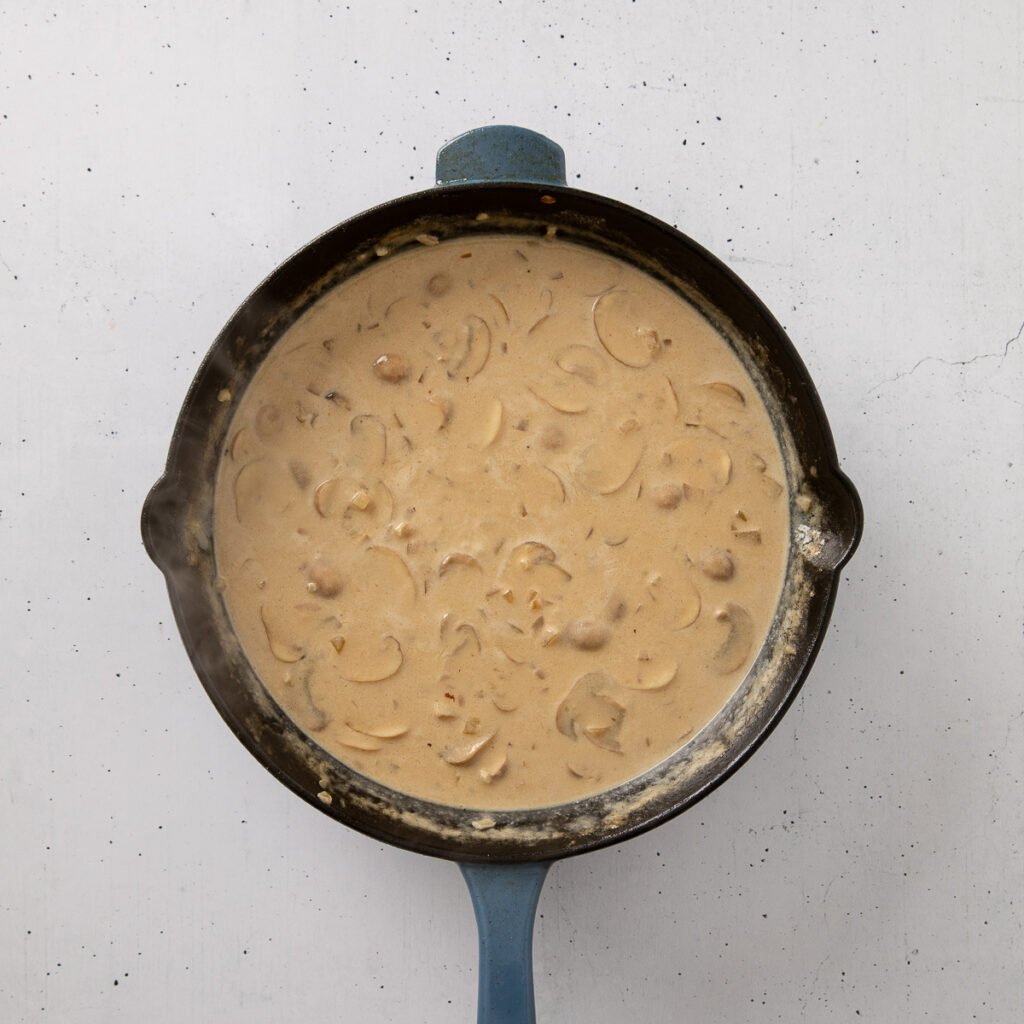
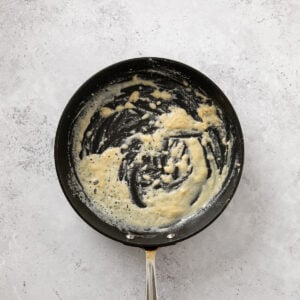
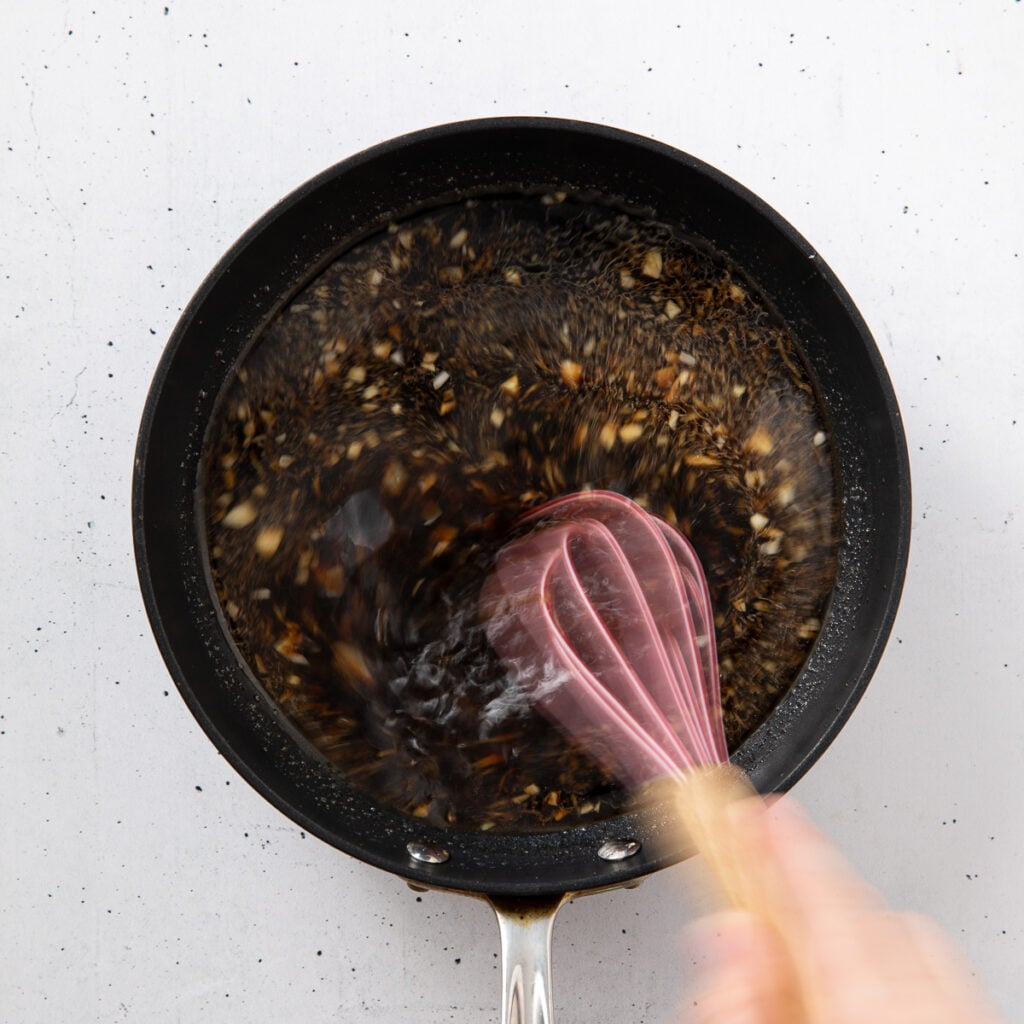
Whisk all the teriyaki sauce ingredients together (minus the cornstarch slurry). Simmer for 3-4 minutes.
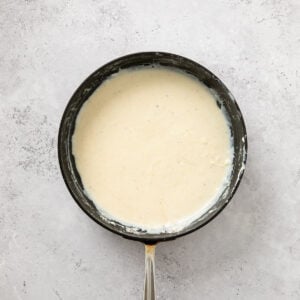
Make the cornstarch slurry and add it to the simmering sauce.
Set aside.
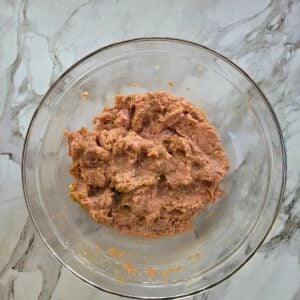
Step 2
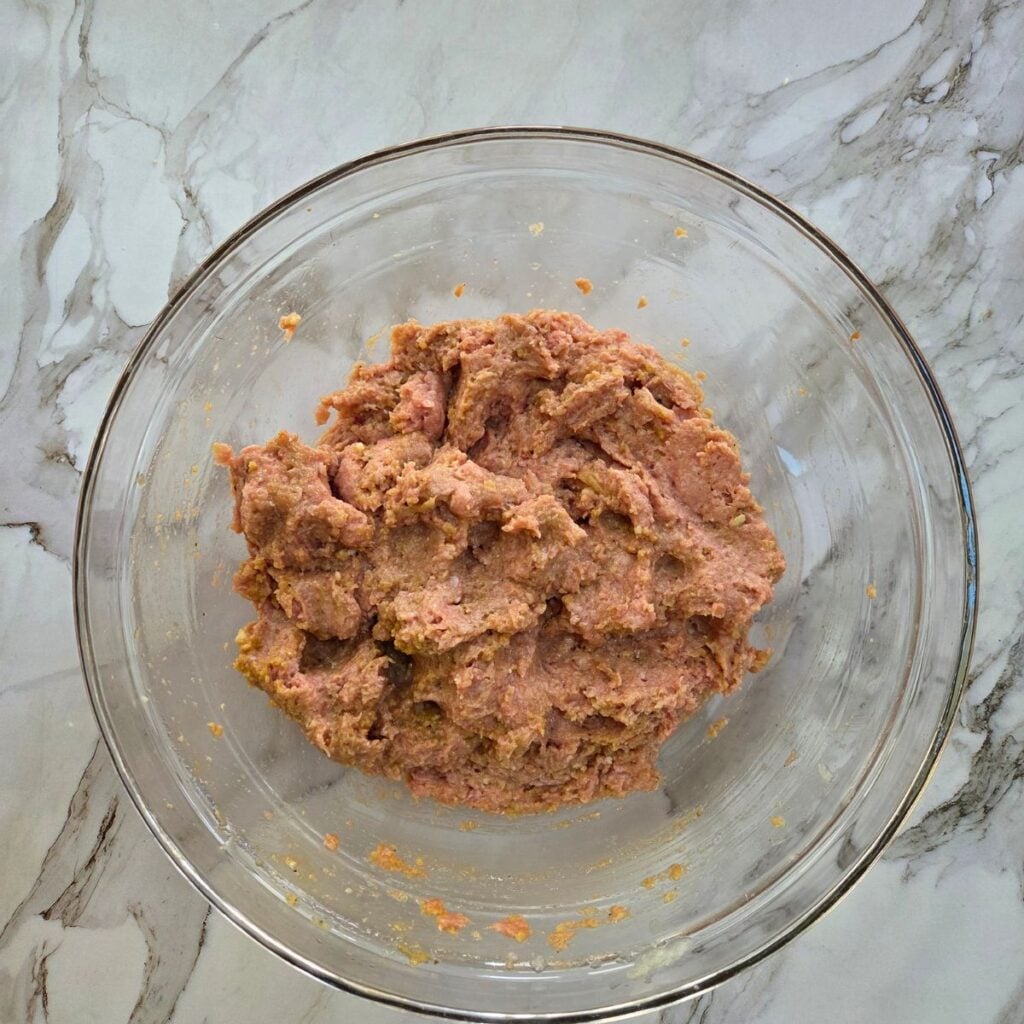
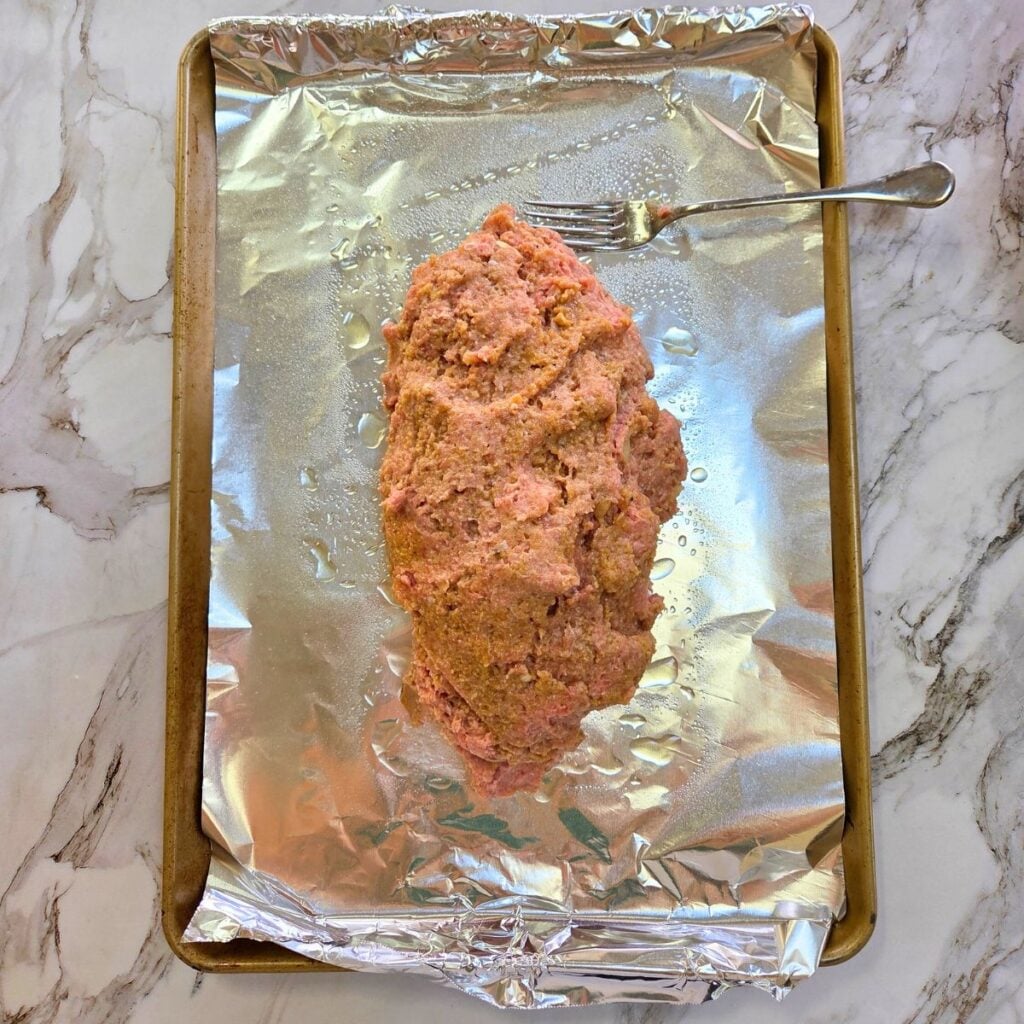
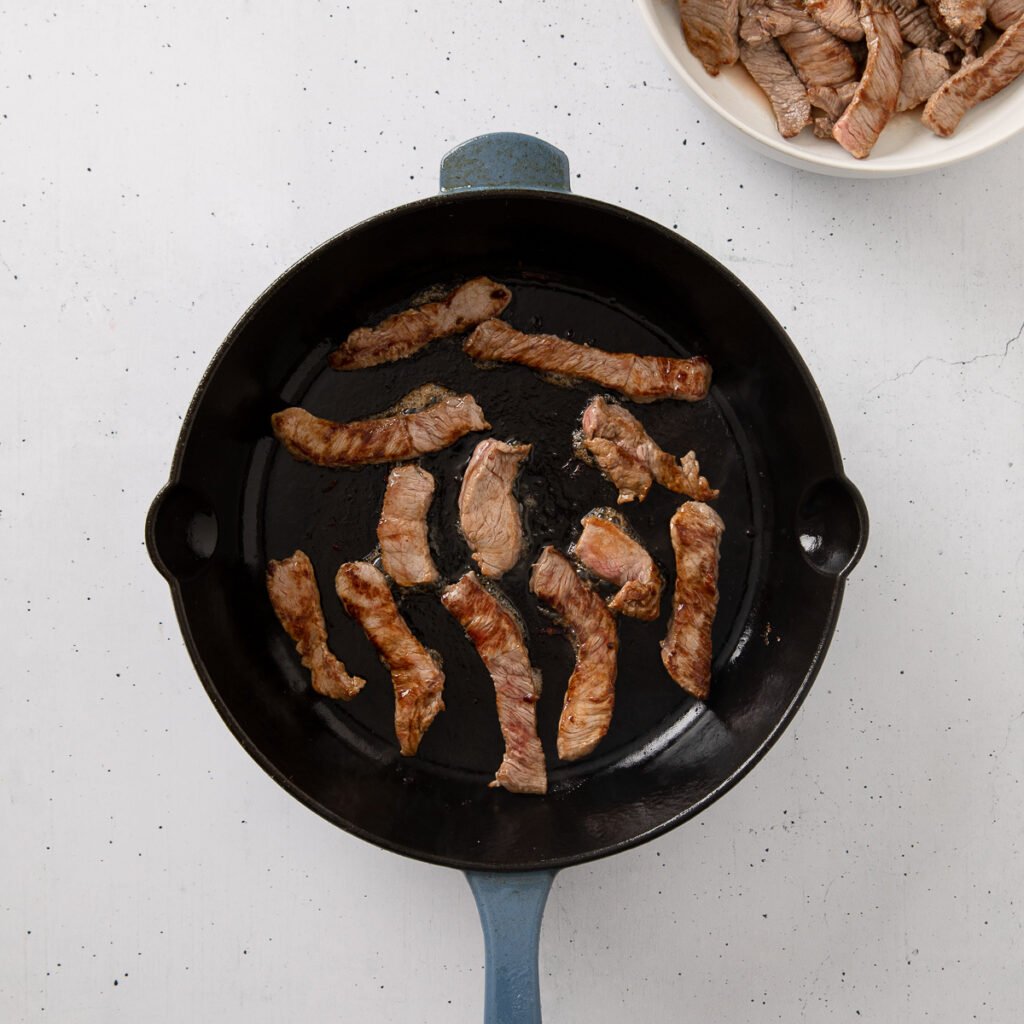
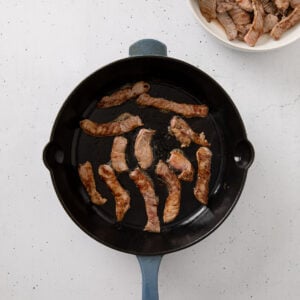
Salt the chicken.
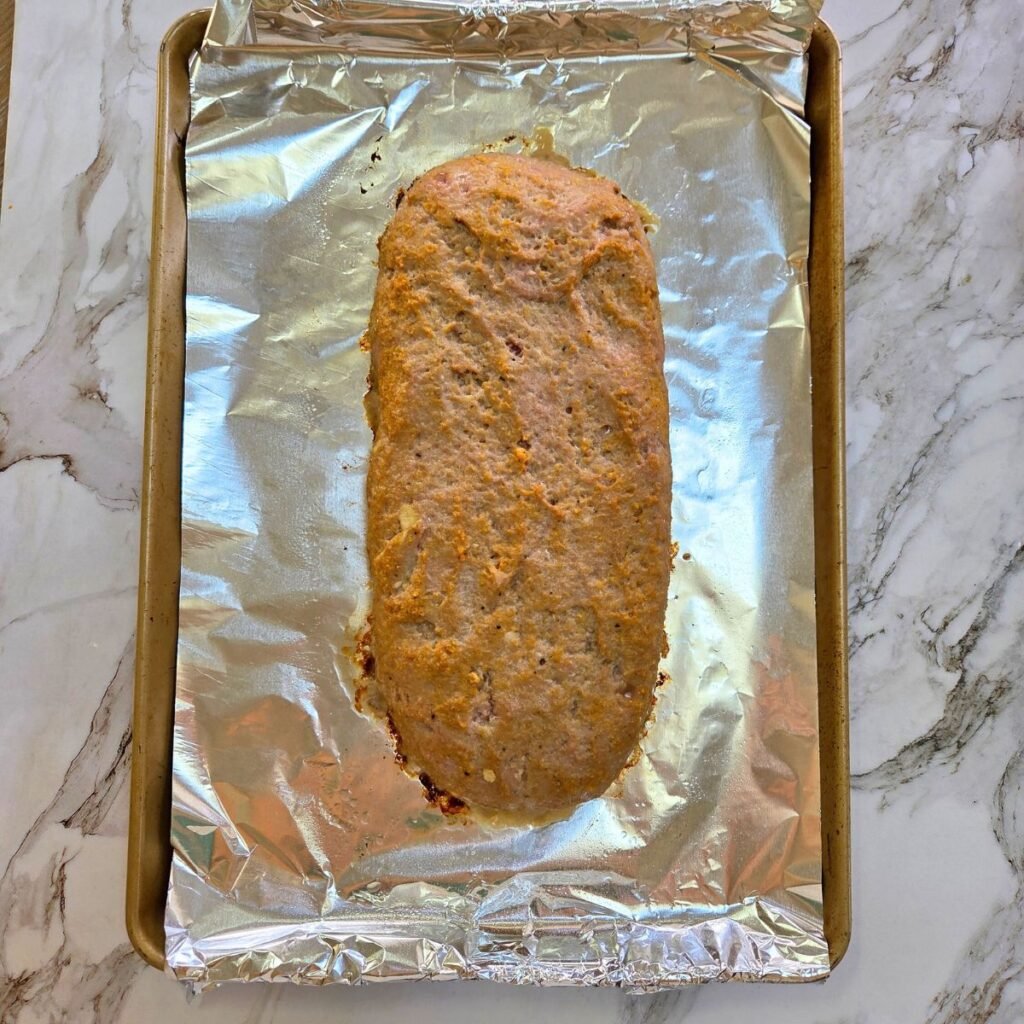
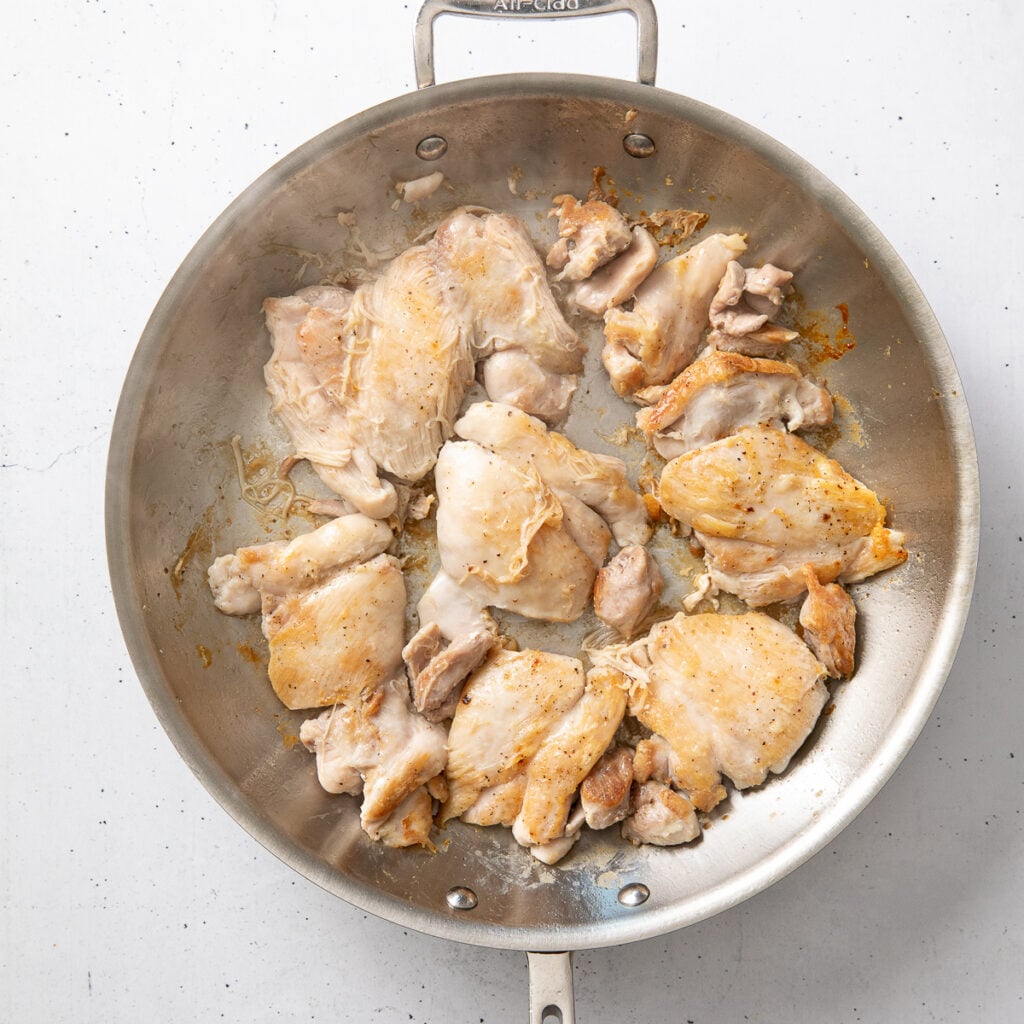
Now heat a skillet and cook the chicken thighs until they reach 175°F internal temp.
Step 3
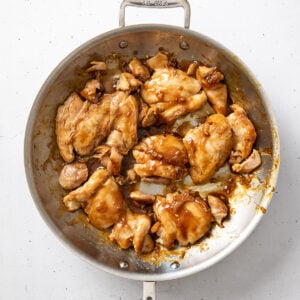
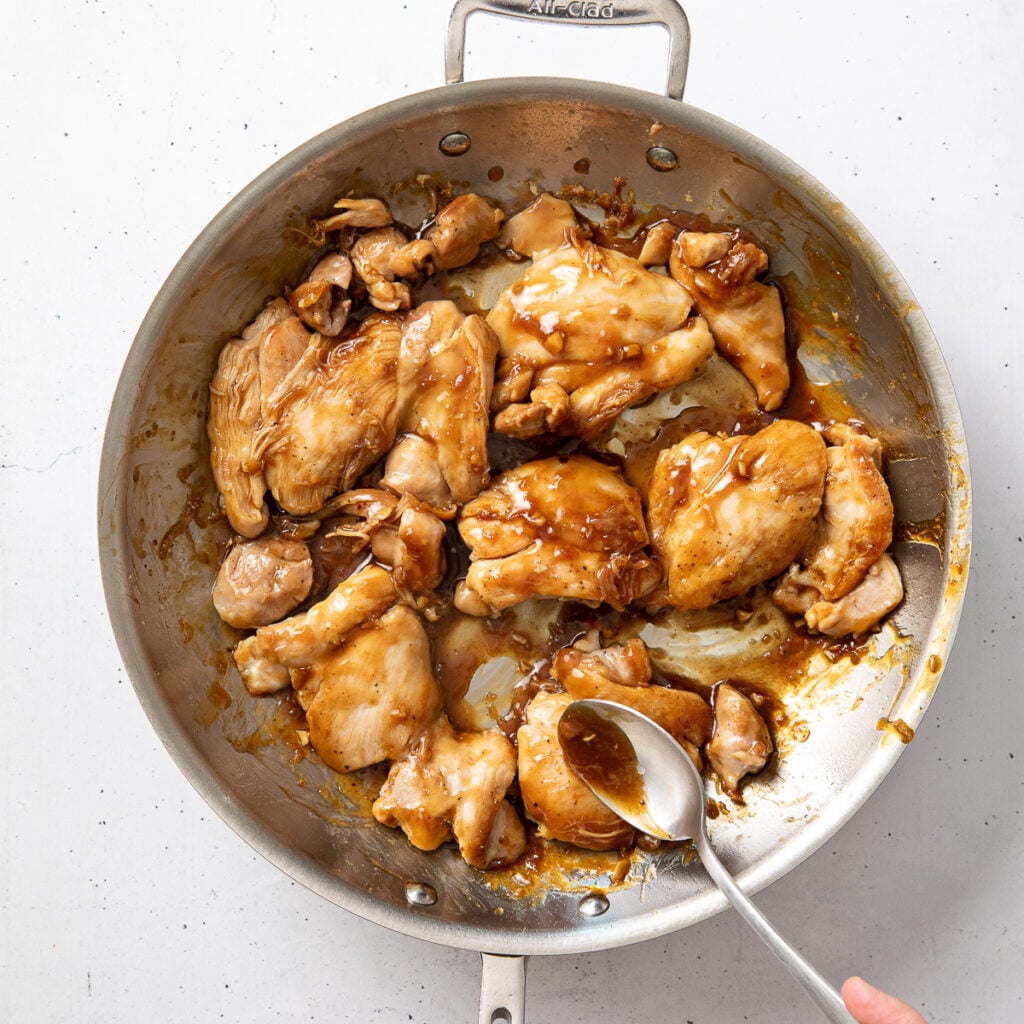
Add the teriyaki sauce to the chicken and stir to coat.

Step 4
Let it simmer to reduce further, spooning it over the chicken.
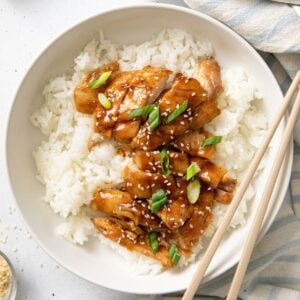
Serve with rice and garnishes.
Storing
Store teriyaki chicken in an airtight container in the refrigerator up to 4 days. Reheat gently in a skillet over medium-low heat with a tablespoon of water or chicken broth to loosen the glaze. Or microwave in 30-second intervals, stirring between.
Freeze/thaw
Freeze cooked chicken and teriyaki sauce separately for best texture. Freeze for up to 3 months. Thaw overnight in the refrigerator and reheat gently in a skillet.
Variations
Spicy Teriyaki - Add 1 teaspoon chili paste or sriracha to the sauce.
Pineapple Teriyaki -Add ¼ cup crushed or tidbit pineapple and simmer slightly longer.
Garlic Forward Version - Double the garlic and reduce ginger by half.
Teriyaki Chicken Recipe Tips
- If your teriyaki sauce is watery even after simmering, it likely has not reduced long enough. Sugar reduction is what creates stickiness and gloss. Allow the sauce to bubble gently so excess moisture evaporates before thickening fully. The glossy restaurant look comes from controlled reduction and sugar concentration, not from excessive starch.
- Teriyaki chicken does not need to be marinated first because the glaze reduction step provides strong surface flavor.
- If you want to make teriyaki chicken without cornstarch, you can simmer the sauce longer to naturally reduce it. This produces a thinner but intensely flavored glaze.
- Chicken thighs are a superior choice for teriyaki chicken because they stay juicy at higher temperatures, can handle the longer glaze phase without turning rubbery, and they taste richer than breast meat.
- If you don't own a 12-inch skillet, use a 10-inch skillet and cook the chicken in batches so the pan doesn't overcrowd. Transfer cooked pieces to a covered plate to keep warm, then return all of the chicken to the skillet before adding the sauce.
Teriyaki Chicken FAQ’s
You can use breast meat instead of thigh. I would recommend cutting them in half lengthwise so they cook more evenly. You will also only need to cook the breast meat to 165°F internal temp.
It depends… when you make the teriyaki sauce from scratch, just make sure that you purchase gluten free soy sauce, mirin and rice wine vinegar, then you can be sure that it is gluten free.
If you don’t want to serve the Teriyaki Chicken over rice there are a few other options that would be delicious:
-Noodles (lo mein, ramen, soba)
-Cauliflower rice
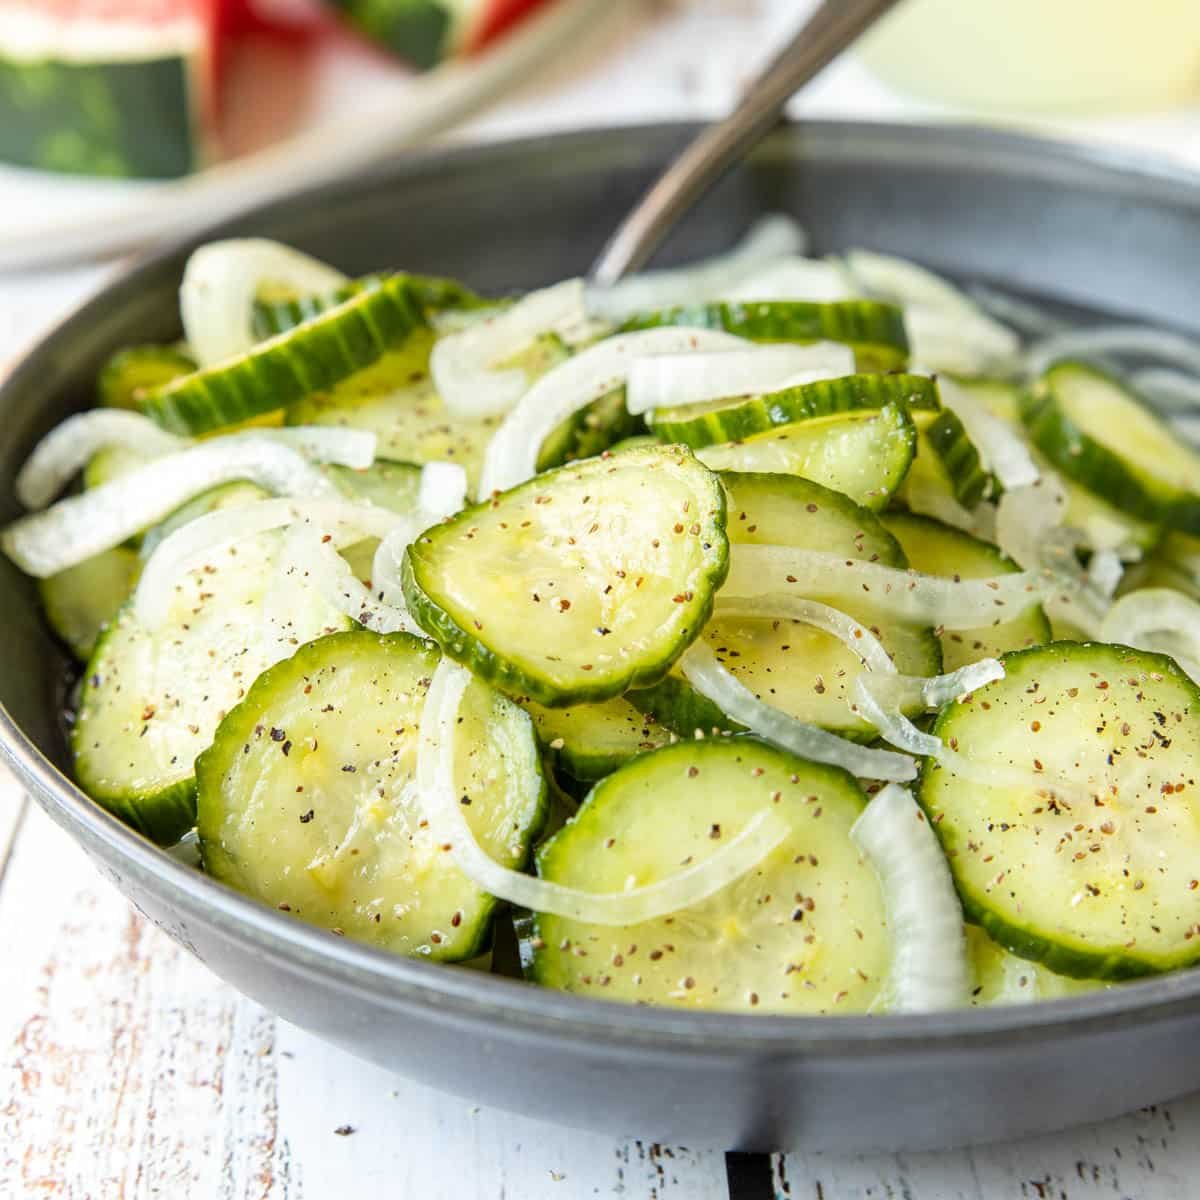
-Steamed or roasted vegetables
-Lettuce wraps
-Quinoa or farro
-Zoodles (zucchini noodles)
More Easy Chicken Dinners


Easy Teriyaki Chicken Recipe
Ingredients
CHICKEN INGREDIENTS
- 1 ½ lbs boneless skinless chicken thighs - trimmed of excess fat and visible sinew
- 1 tablespoon neutral oil - like vegetable or canola oil
- 1 teaspoon kosher salt - or to taste
- ½ teaspoon freshly cracked black pepper
TERIYAKI SAUCE INGREDIENTS
- ⅓ cup soy sauce
- 3 tablespoon mirin
- 2 tablespoon light brown sugar - packed
- 1 tablespoon honey
- 1 tablespoon rice vinegar
- 2 teaspoon ginger - freshly grated (or use frozen grated ginger cubes)
- 2 cloves garlic - minced
- 1 teaspoon sesame oil
- 1 tablespoon cornstarch
- 2 tablespoon cold water
OPTIONAL FOR SERVING
- Cooked white rice
- Sliced green onions
- Toasted sesame seeds
Instructions
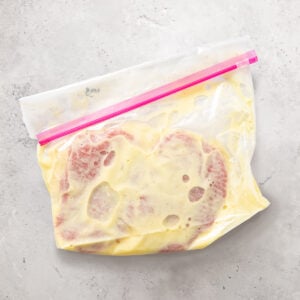
- Pat the chicken dry and season both sides with kosher salt and freshly cracked pepper. Let the chicken sit at room temperature for 10 minutes. This brief rest helps it cook more evenly.1 ½ lbs boneless skinless chicken thighs, 1 teaspoon kosher salt

- In a small saucepan, whisk together soy sauce, mirin, brown sugar, honey, rice vinegar, ginger, garlic, and sesame oil. Bring to a gentle simmer over medium to medium-low heat. Allow it to simmer for 3-4 minutes so the sugar begins dissolving and concentrating. This early reduction builds deeper flavor before thickening.⅓ cup soy sauce, 3 tablespoon mirin, 2 tablespoon light brown sugar, 1 tablespoon honey, 1 tablespoon rice vinegar, 2 teaspoon ginger, 2 cloves garlic, 1 teaspoon sesame oil
- Whisk cornstarch with cold water until smooth. Slowly whisk the slurry into the simmering sauce. Continue simmering until slightly thickened, about 2-3 minutes. The sauce will look lightly syrupy but not fully thick yet. Remove from heat.1 tablespoon cornstarch, 2 tablespoon cold water
- Heat a large (12") skillet over medium-high heat. Add a thin layer of neutral oil. Place chicken thighs smooth side down and cook without moving for 5-6 minutes until deeply golden. Flip and cook another 5-6 minutes, or until internal temperature reaches 175°F (79°C). Thighs are more forgiving than breasts and stay juicy at slightly higher temperatures.1 tablespoon neutral oil
- Reduce heat to medium-low. Pour the sauce over the chicken, reserving a few tablespoons if desired to spoon over the finished dish for extra gloss and flavor. Let it simmer and bubble, spooning sauce over the top repeatedly. The sauce will thicken further as it reduces and clings to the chicken, creating that signature sticky glaze. This step creates shine through sugar reduction, not just starch.
- Remove chicken from heat and rest for 5 minutes before slicing across the grain. Serve over rice and garnish with green onions and sesame seeds.Cooked white rice, Toasted sesame seeds, Sliced green onions