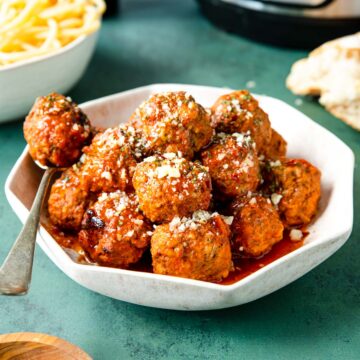
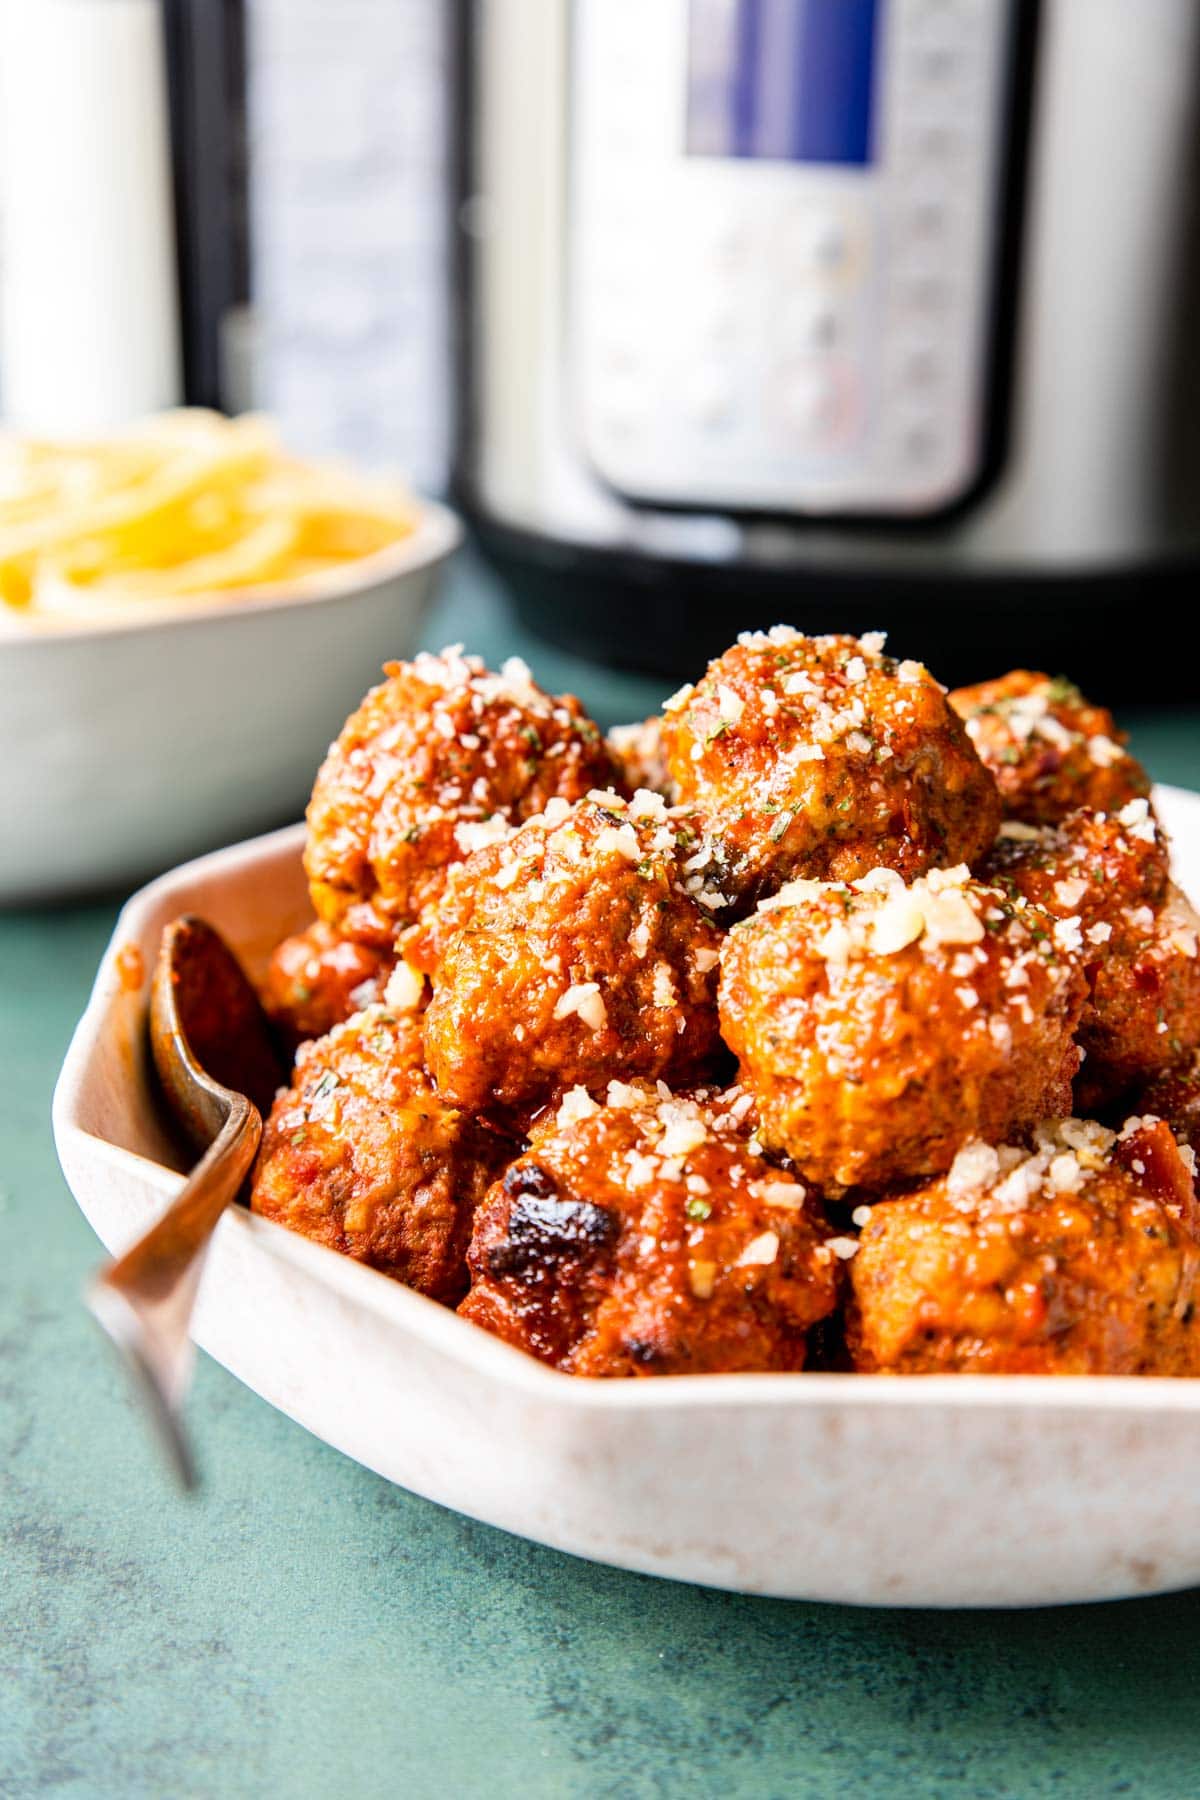
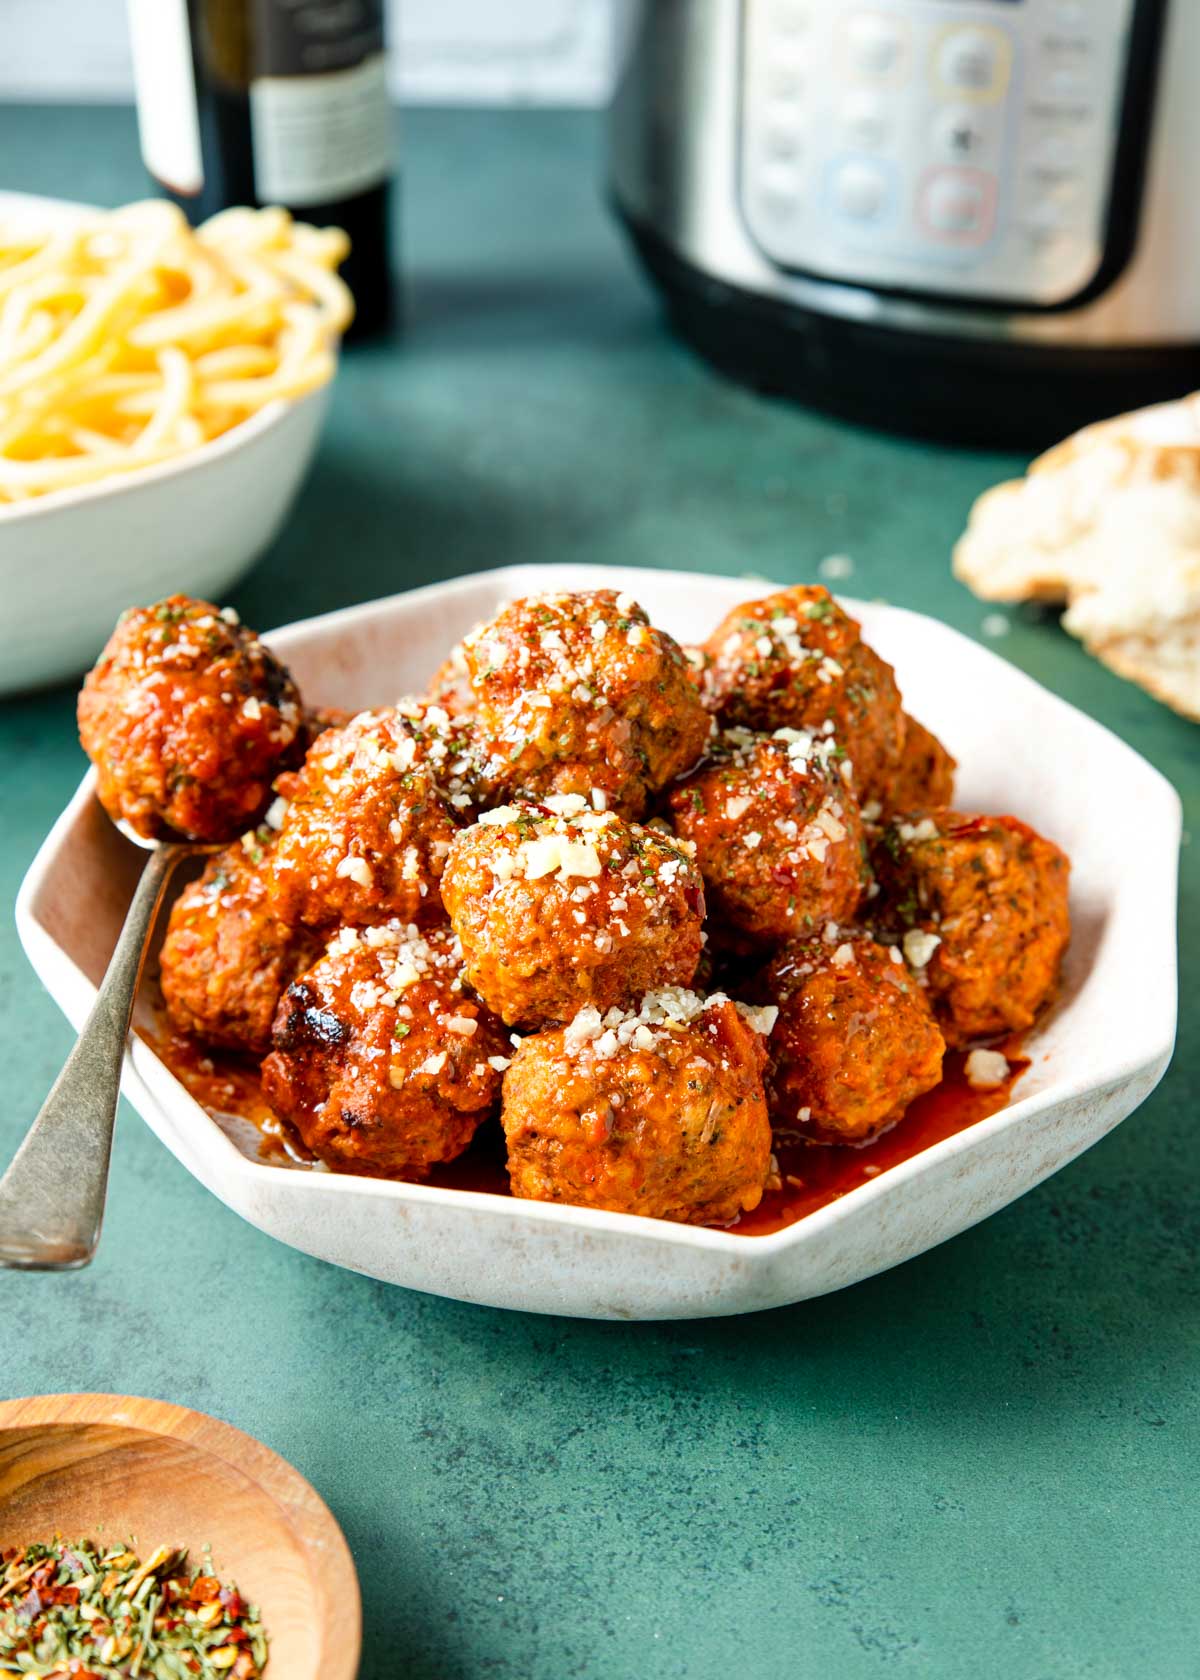
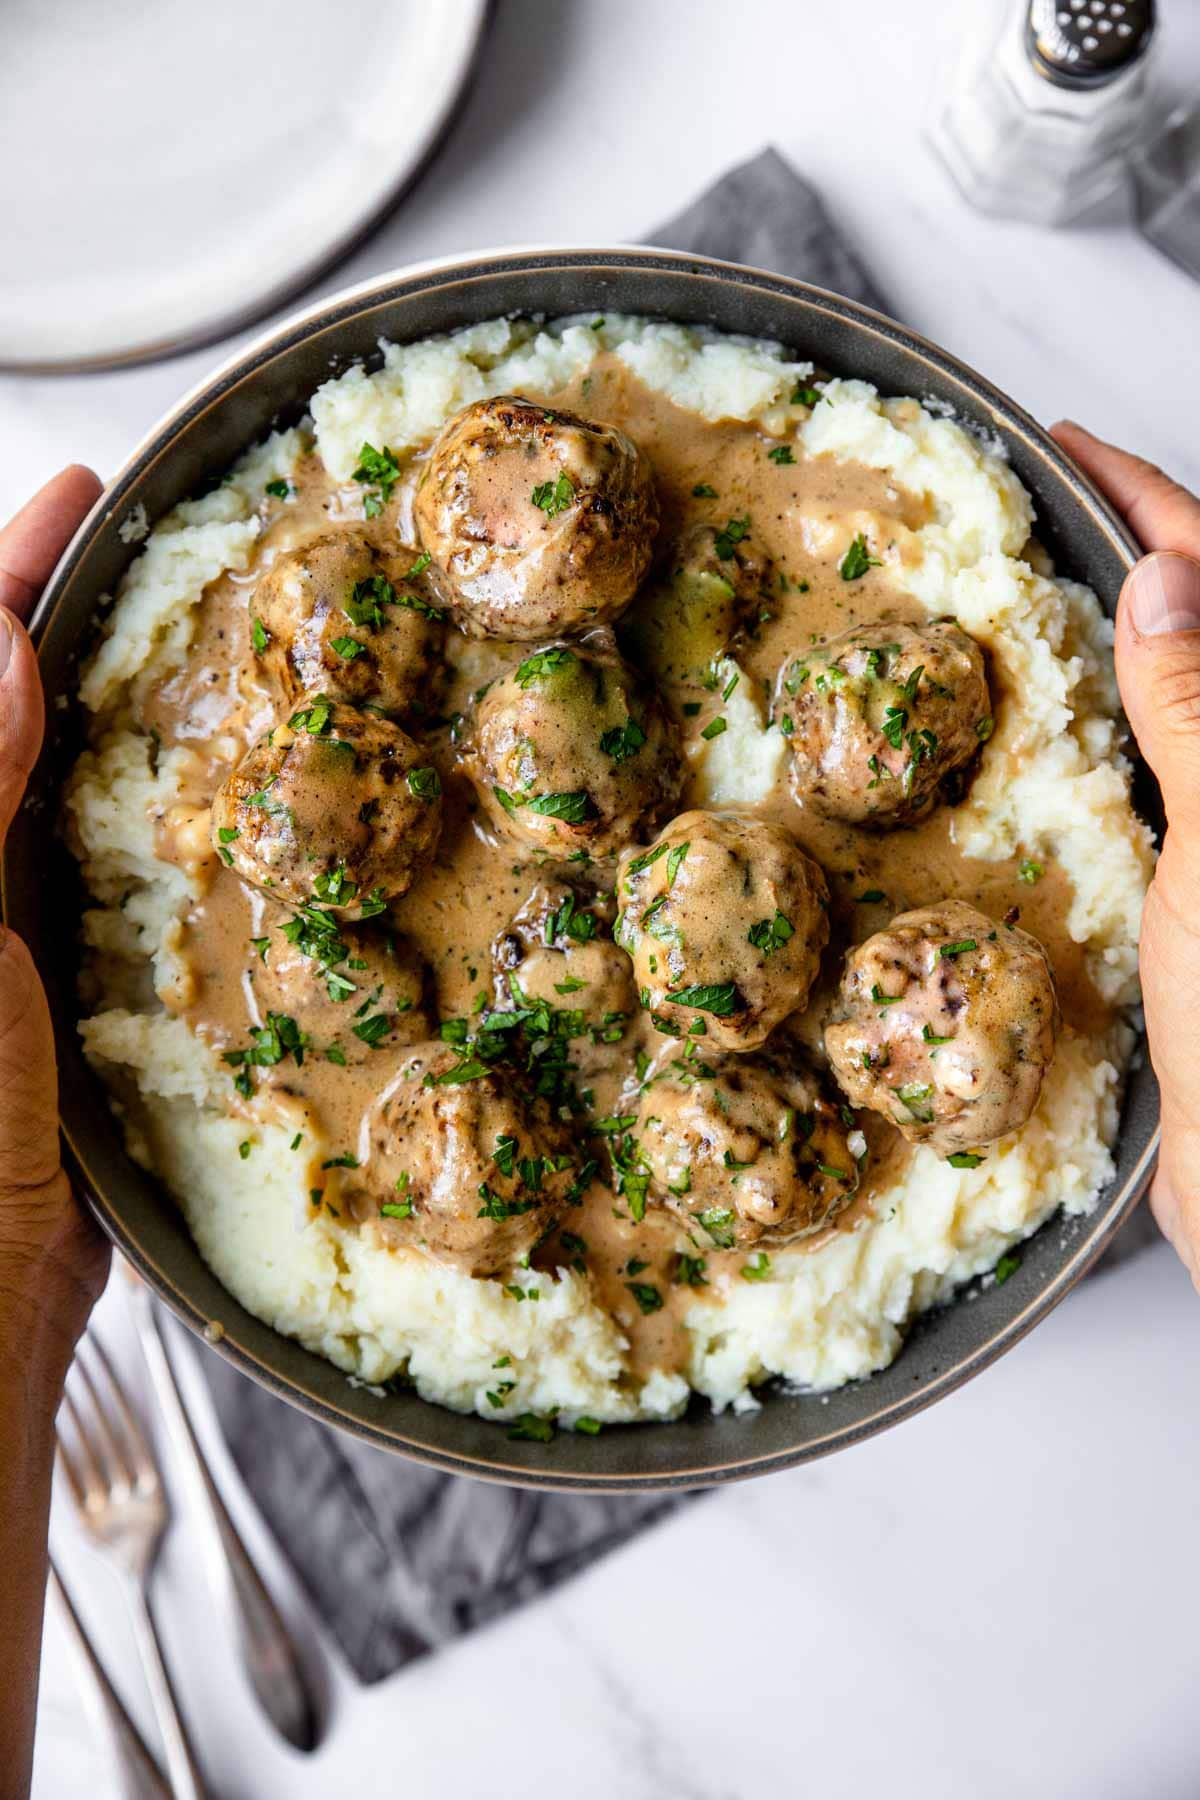
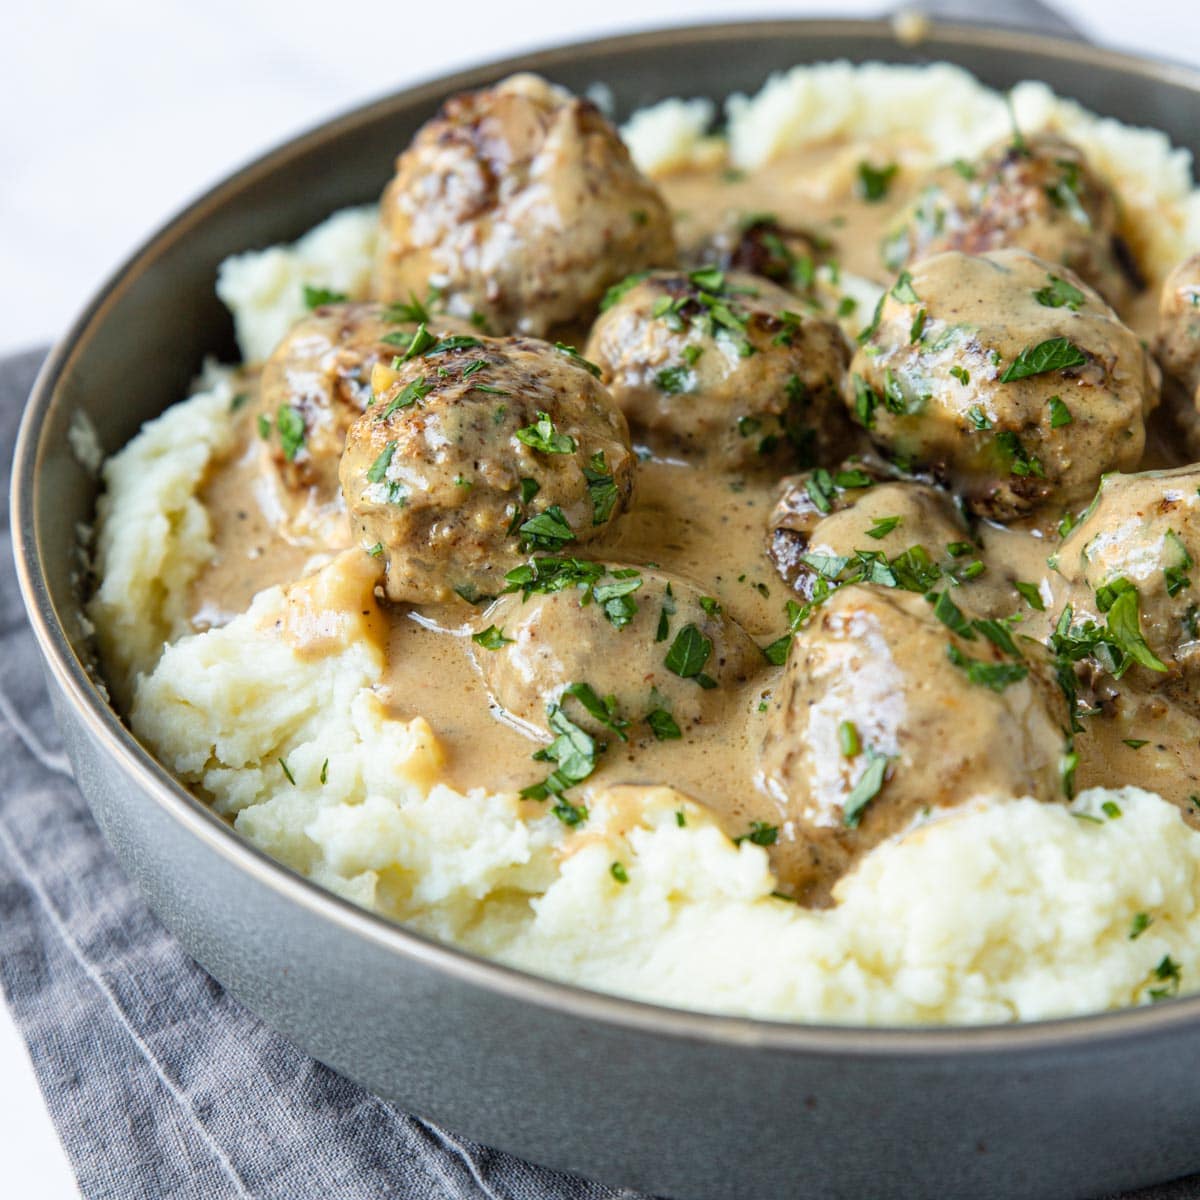
Instant Pot Swedish Meatballs are just as good as classic Swedish Meatballs, just made a little faster in your electric pressure cooker. The homemade meatballs are tender and full of flavor and they are coated in a rich and creamy sauce. Serve this Instant Pot Swedish Meatball recipe over mashed potatoes or cooked egg noodles. It will be one of your go-to comfort food recipes that the whole family will love.
Now if you want to make this recipe on your stove top, pop over to this Traditional Swedish Meatballs Recipe.
This Recipe Is…
- irresistible!! I could eat the rich sauce that coats the meatballs as a soup!
- an easy recipe using the Instant Pot, no browning or sautéing required!
- a great “make ahead” dinner, the meatballs store perfectly in the fridge and can be reheated easily in the microwave.
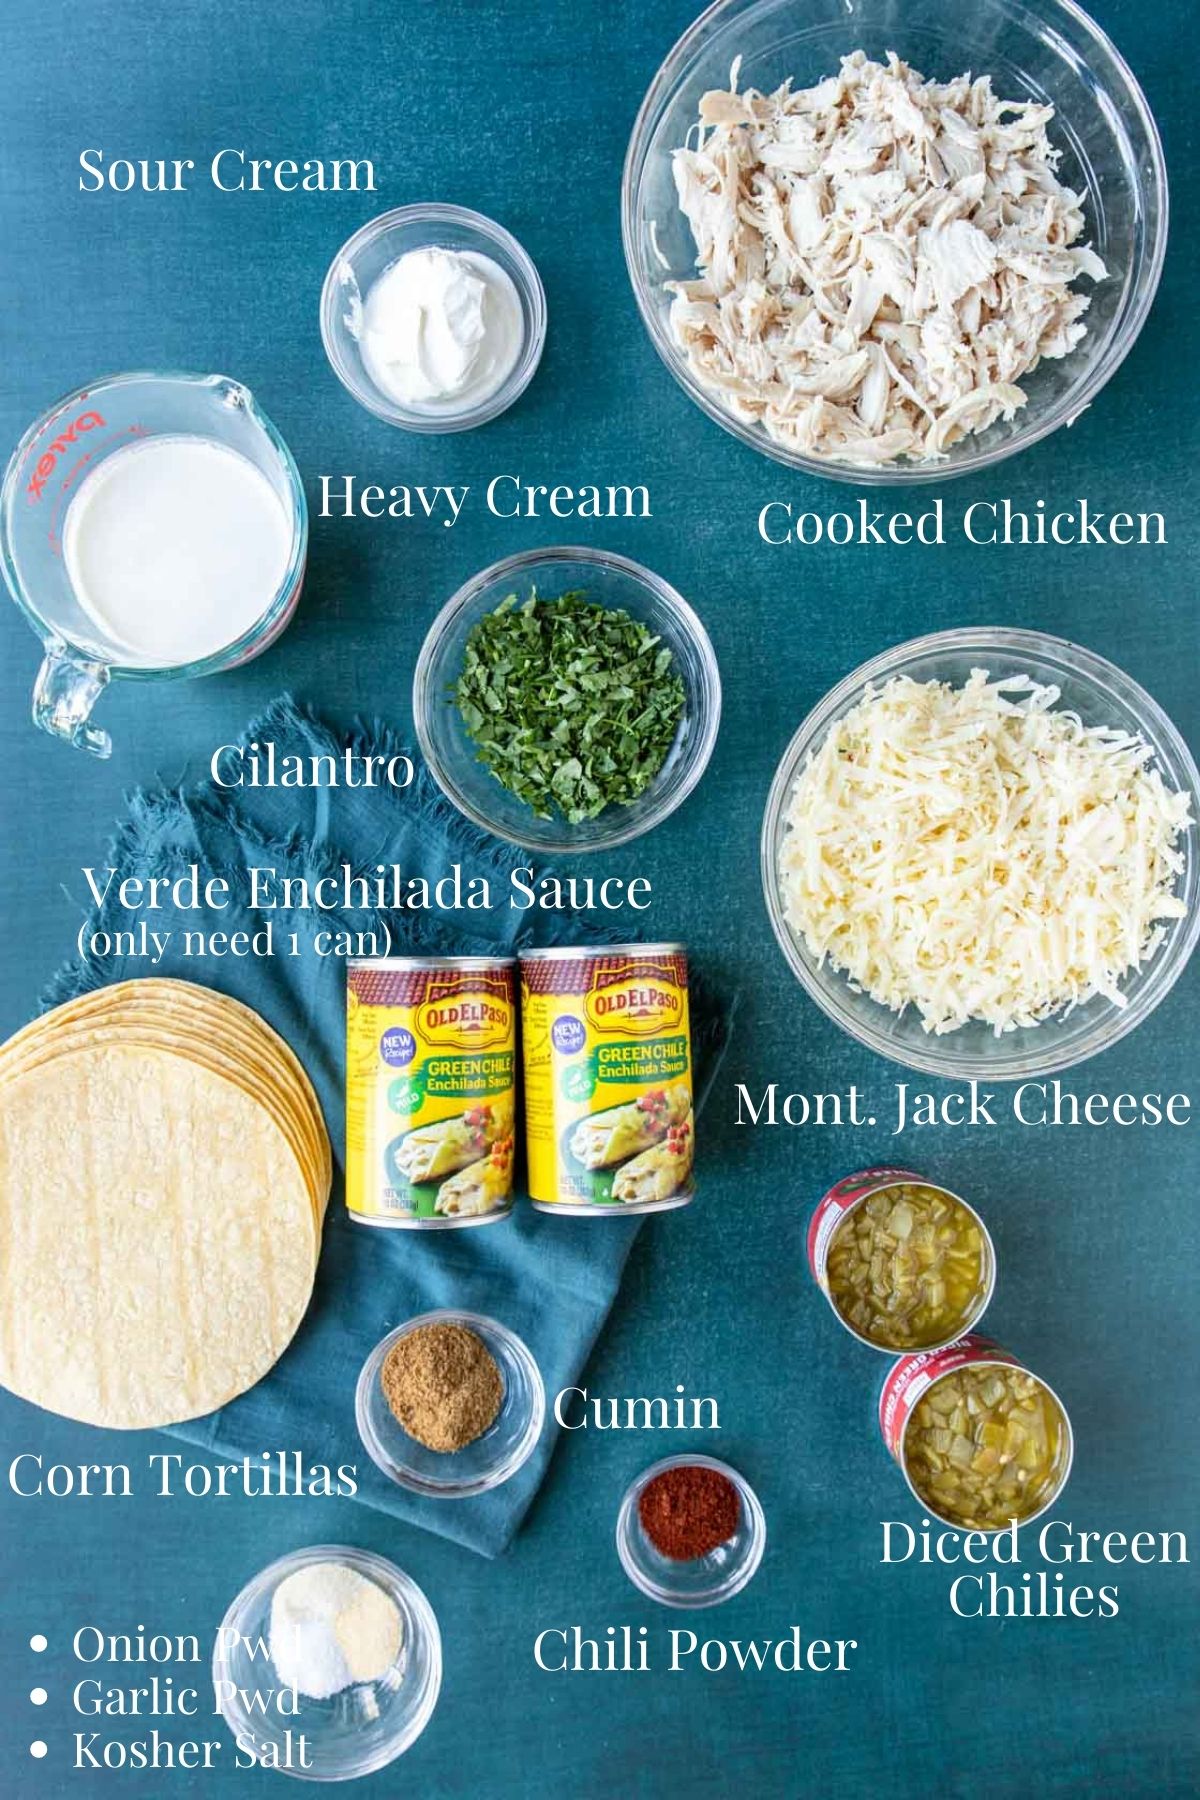
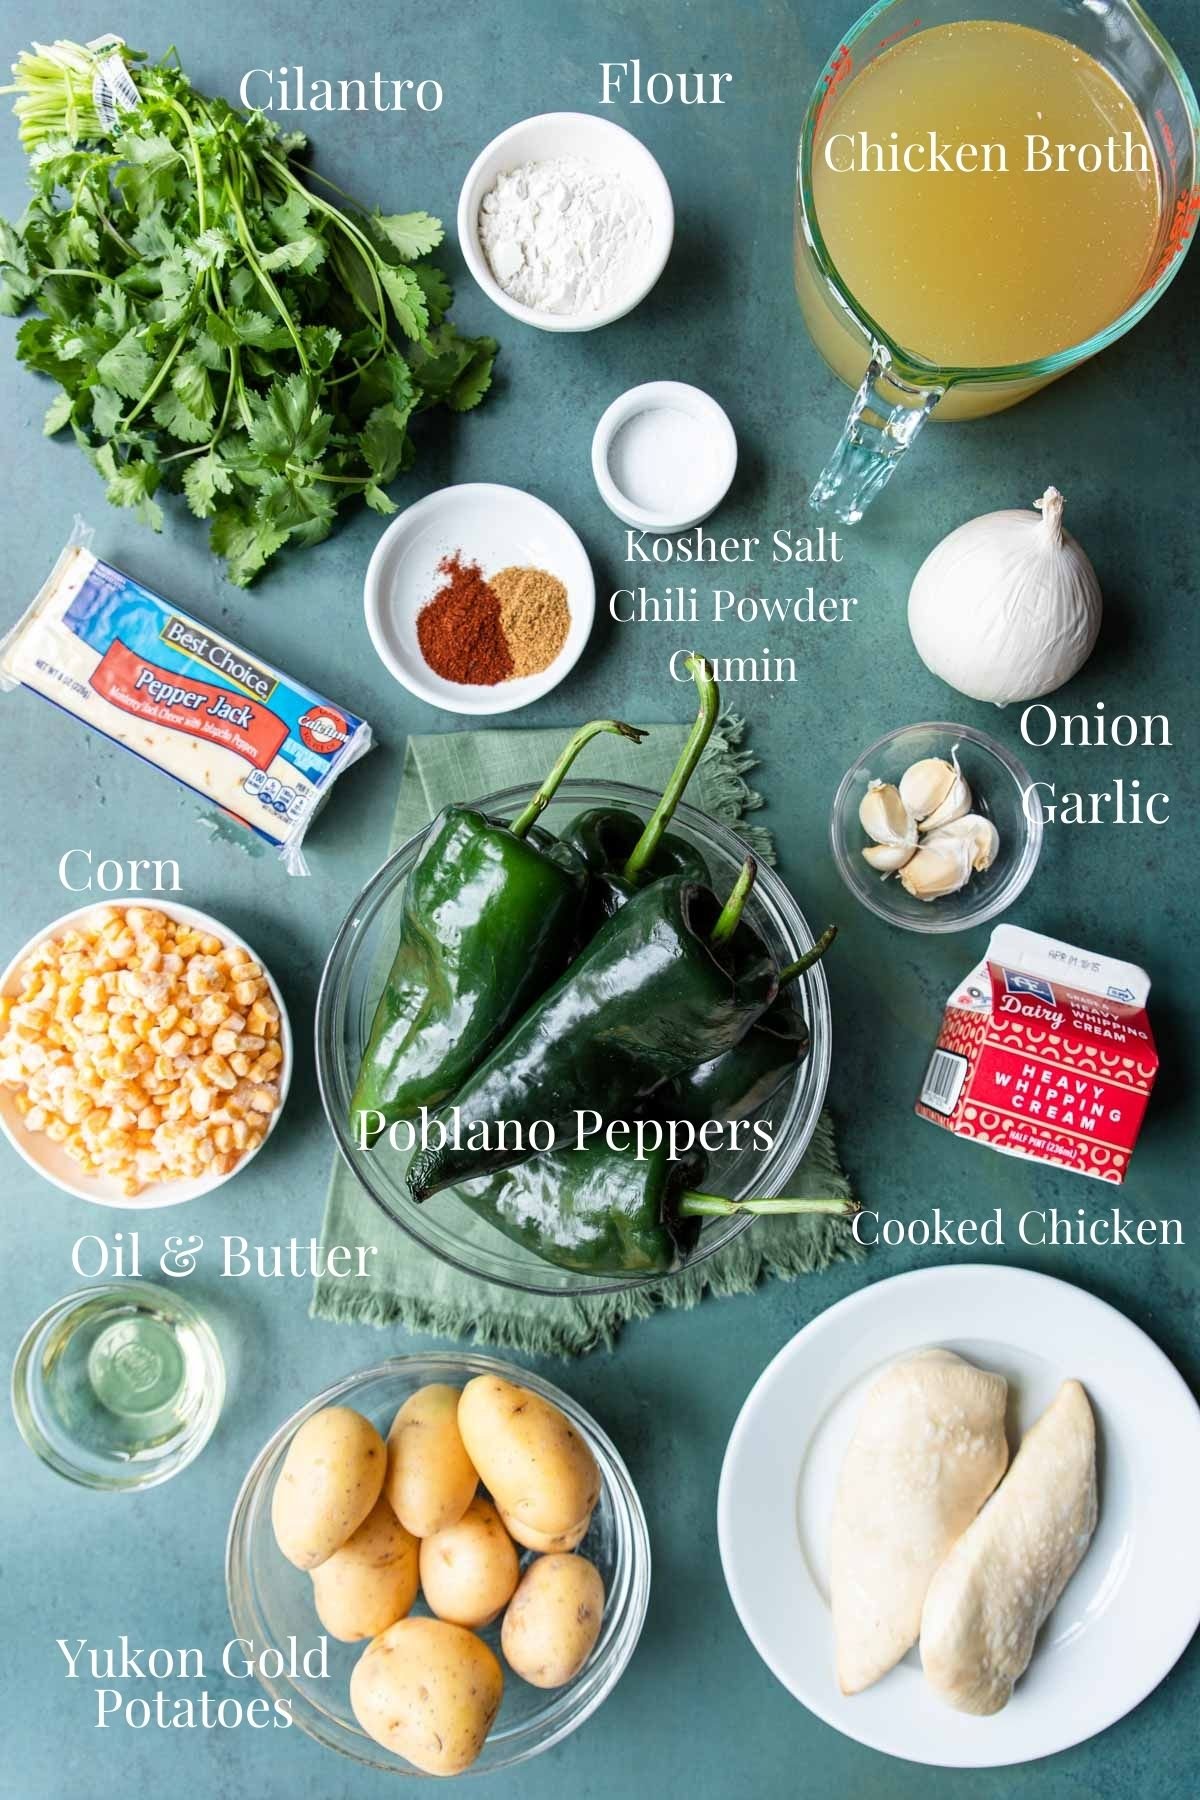
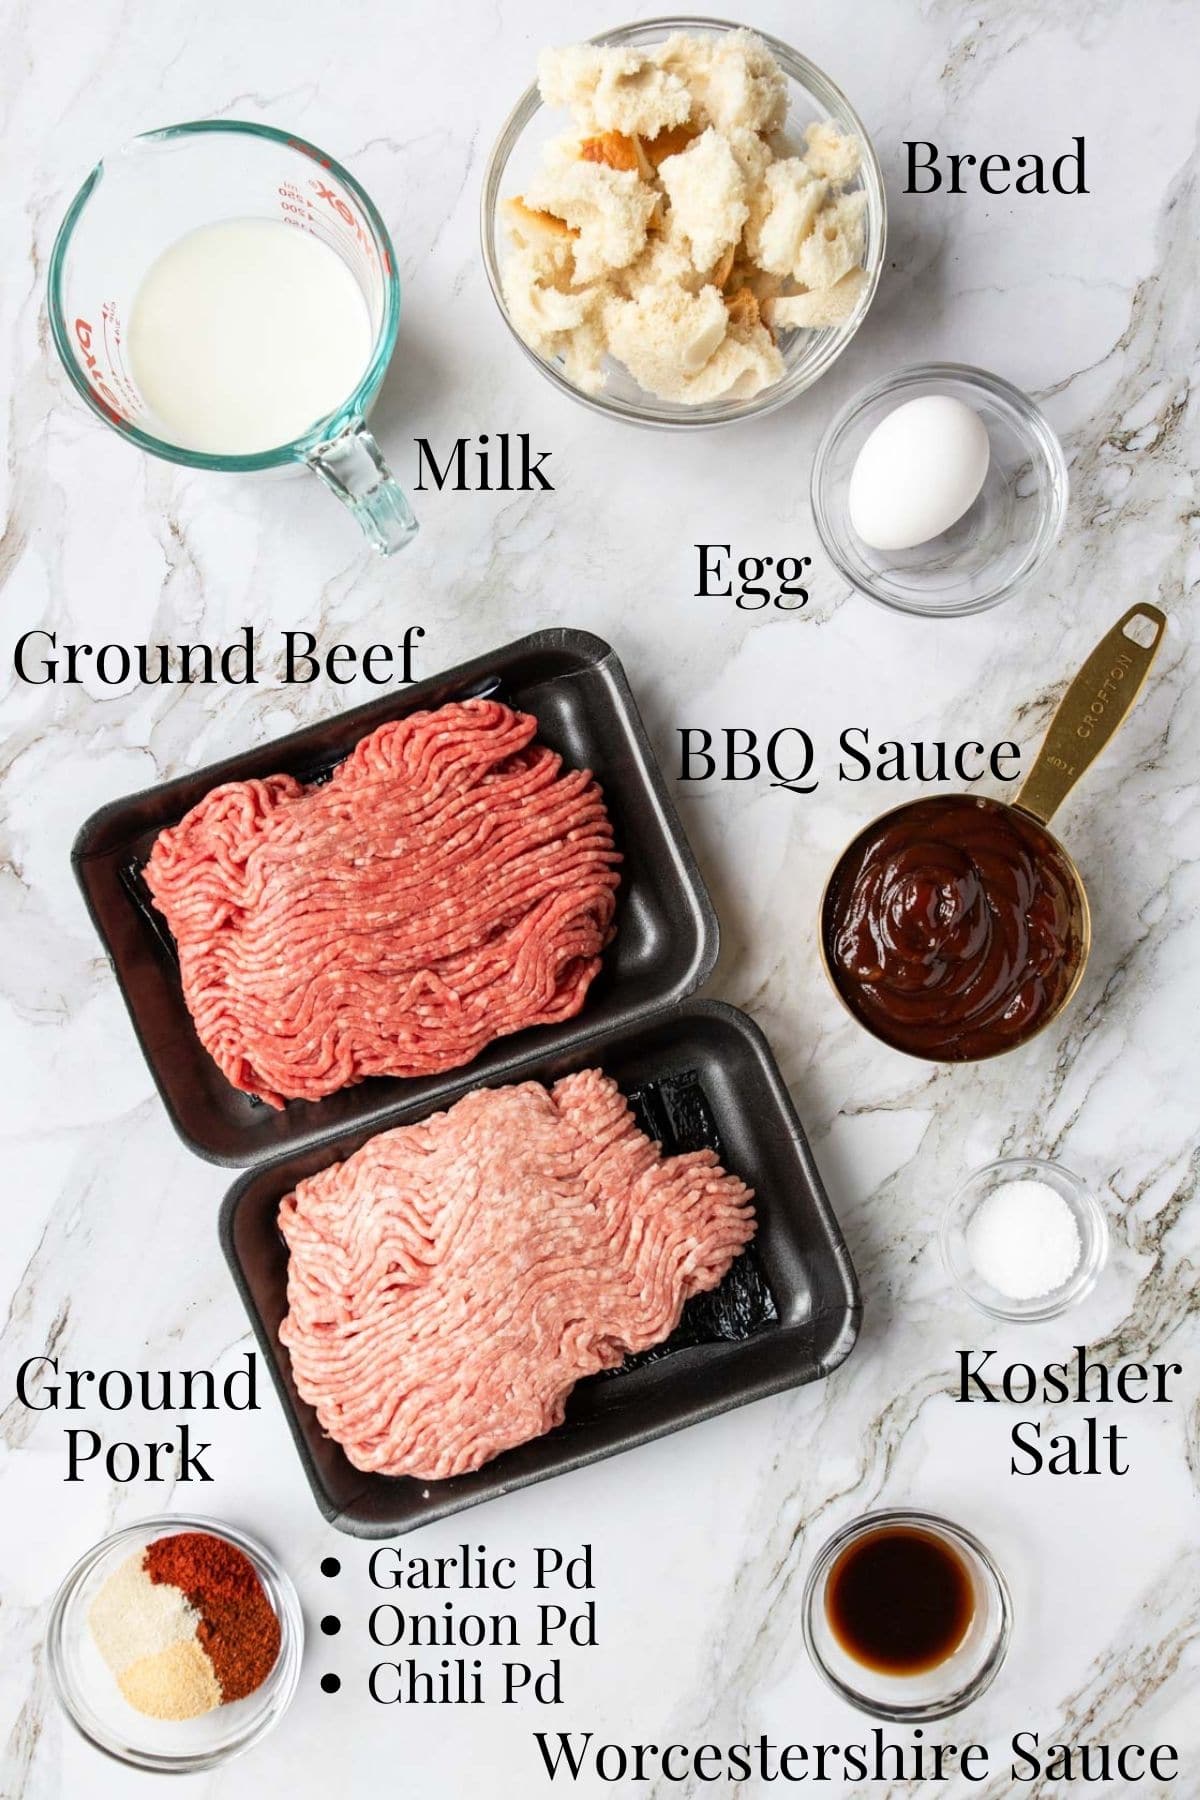
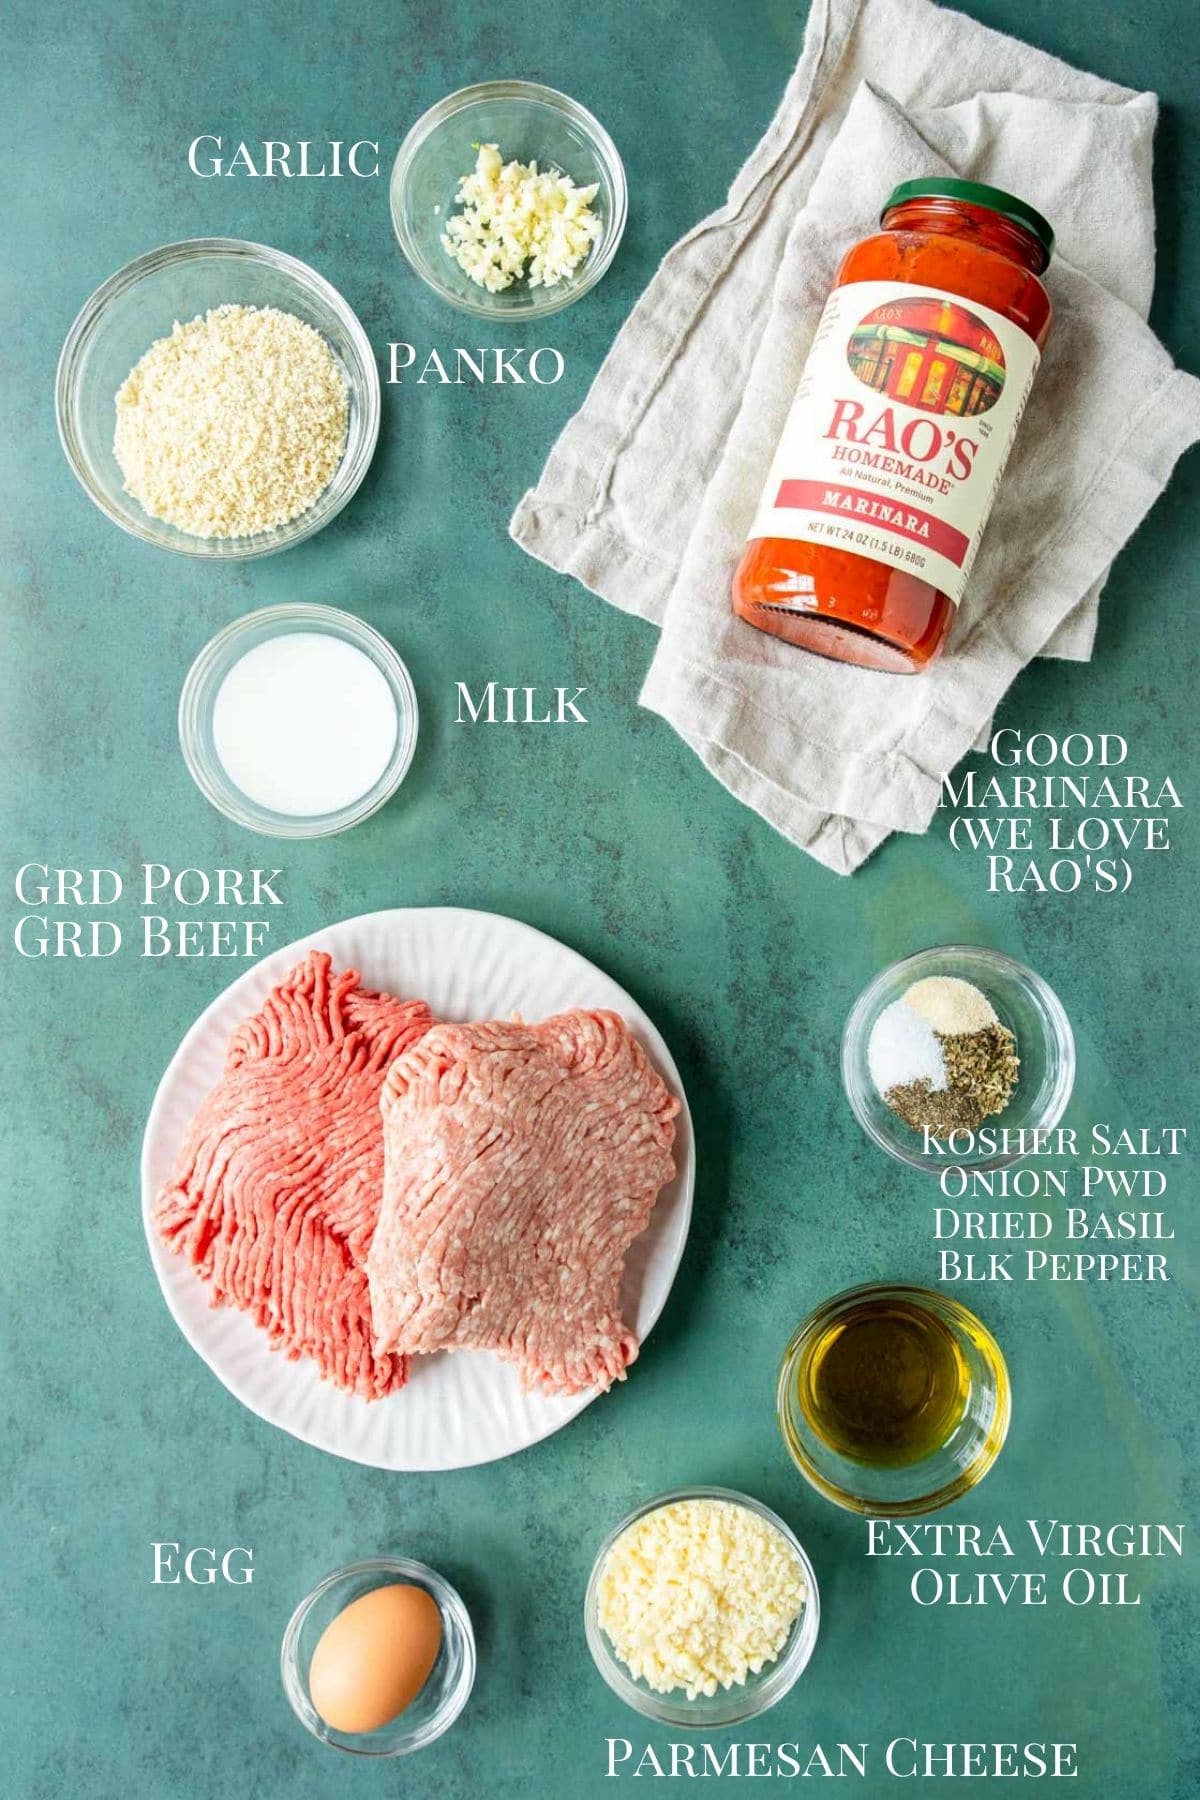
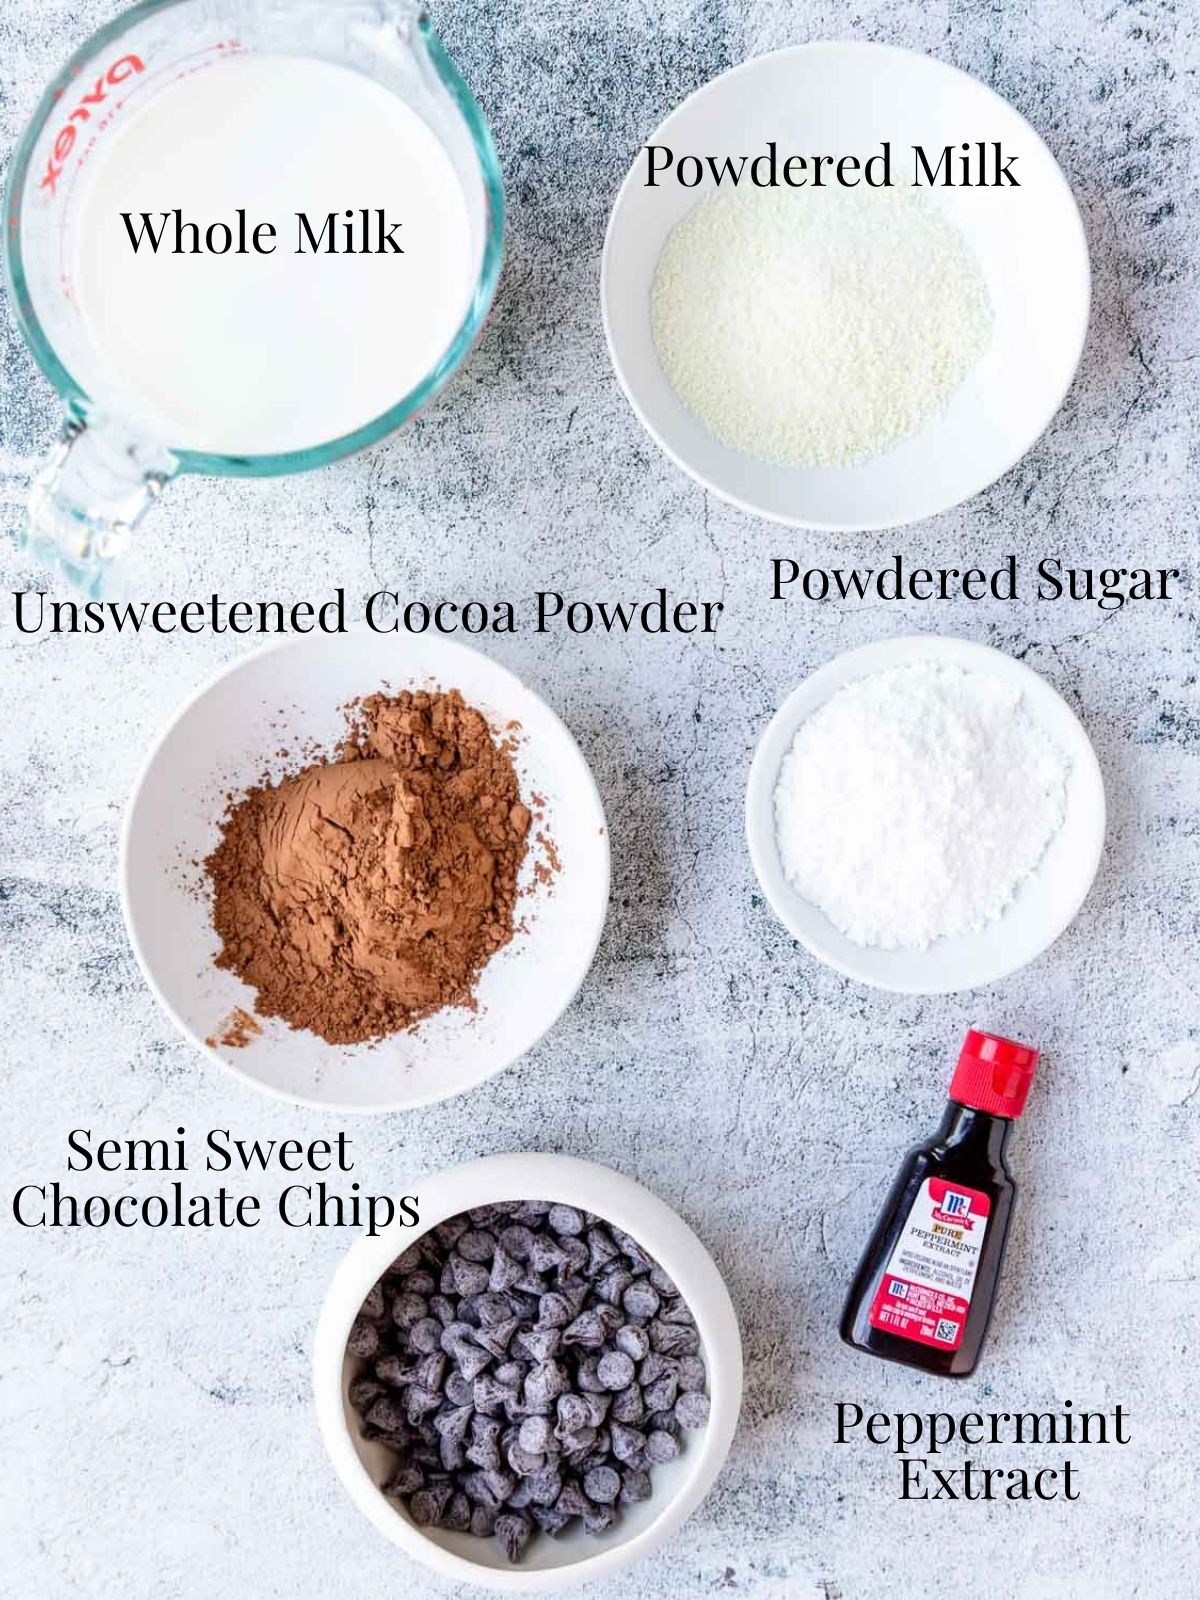
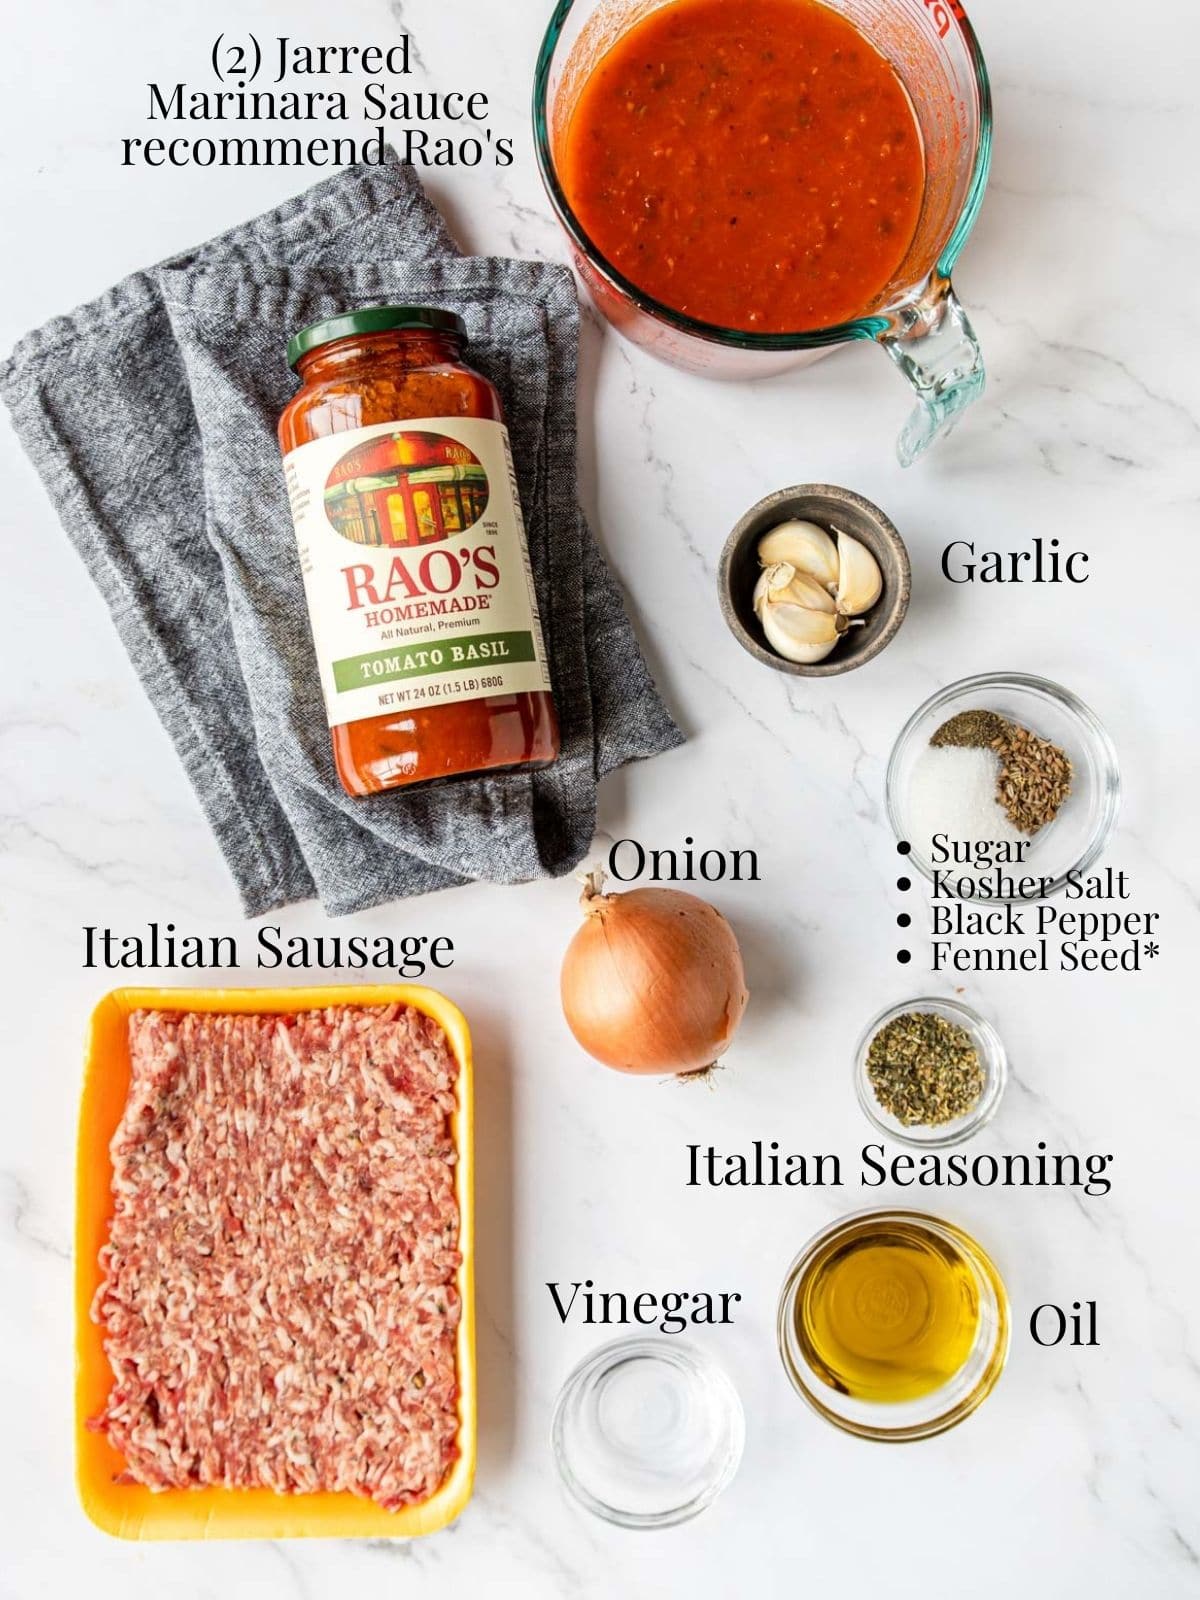
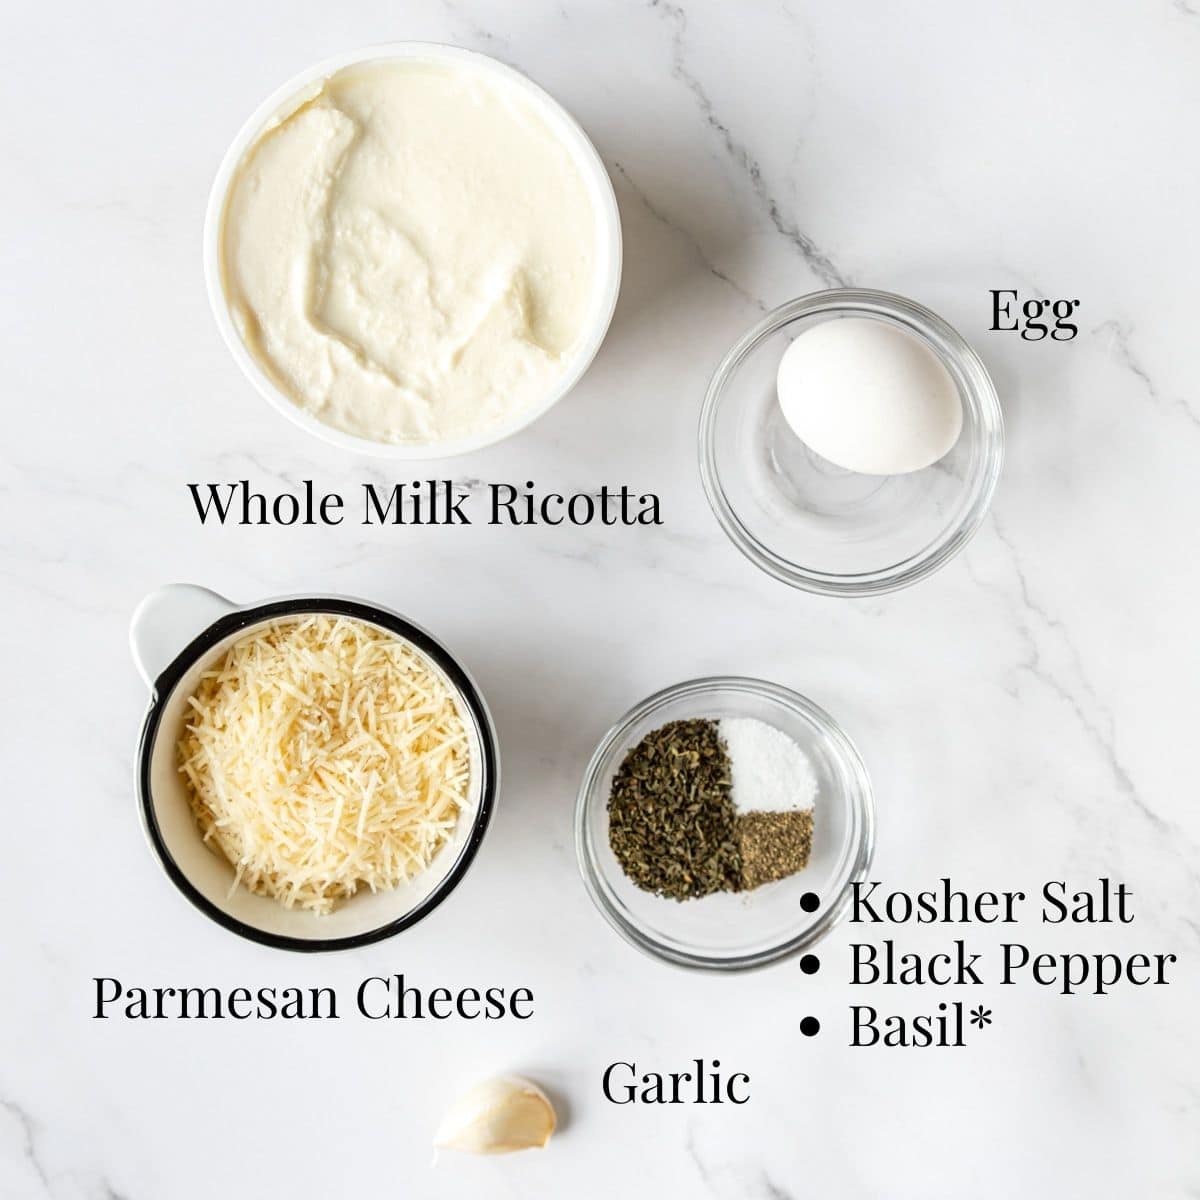
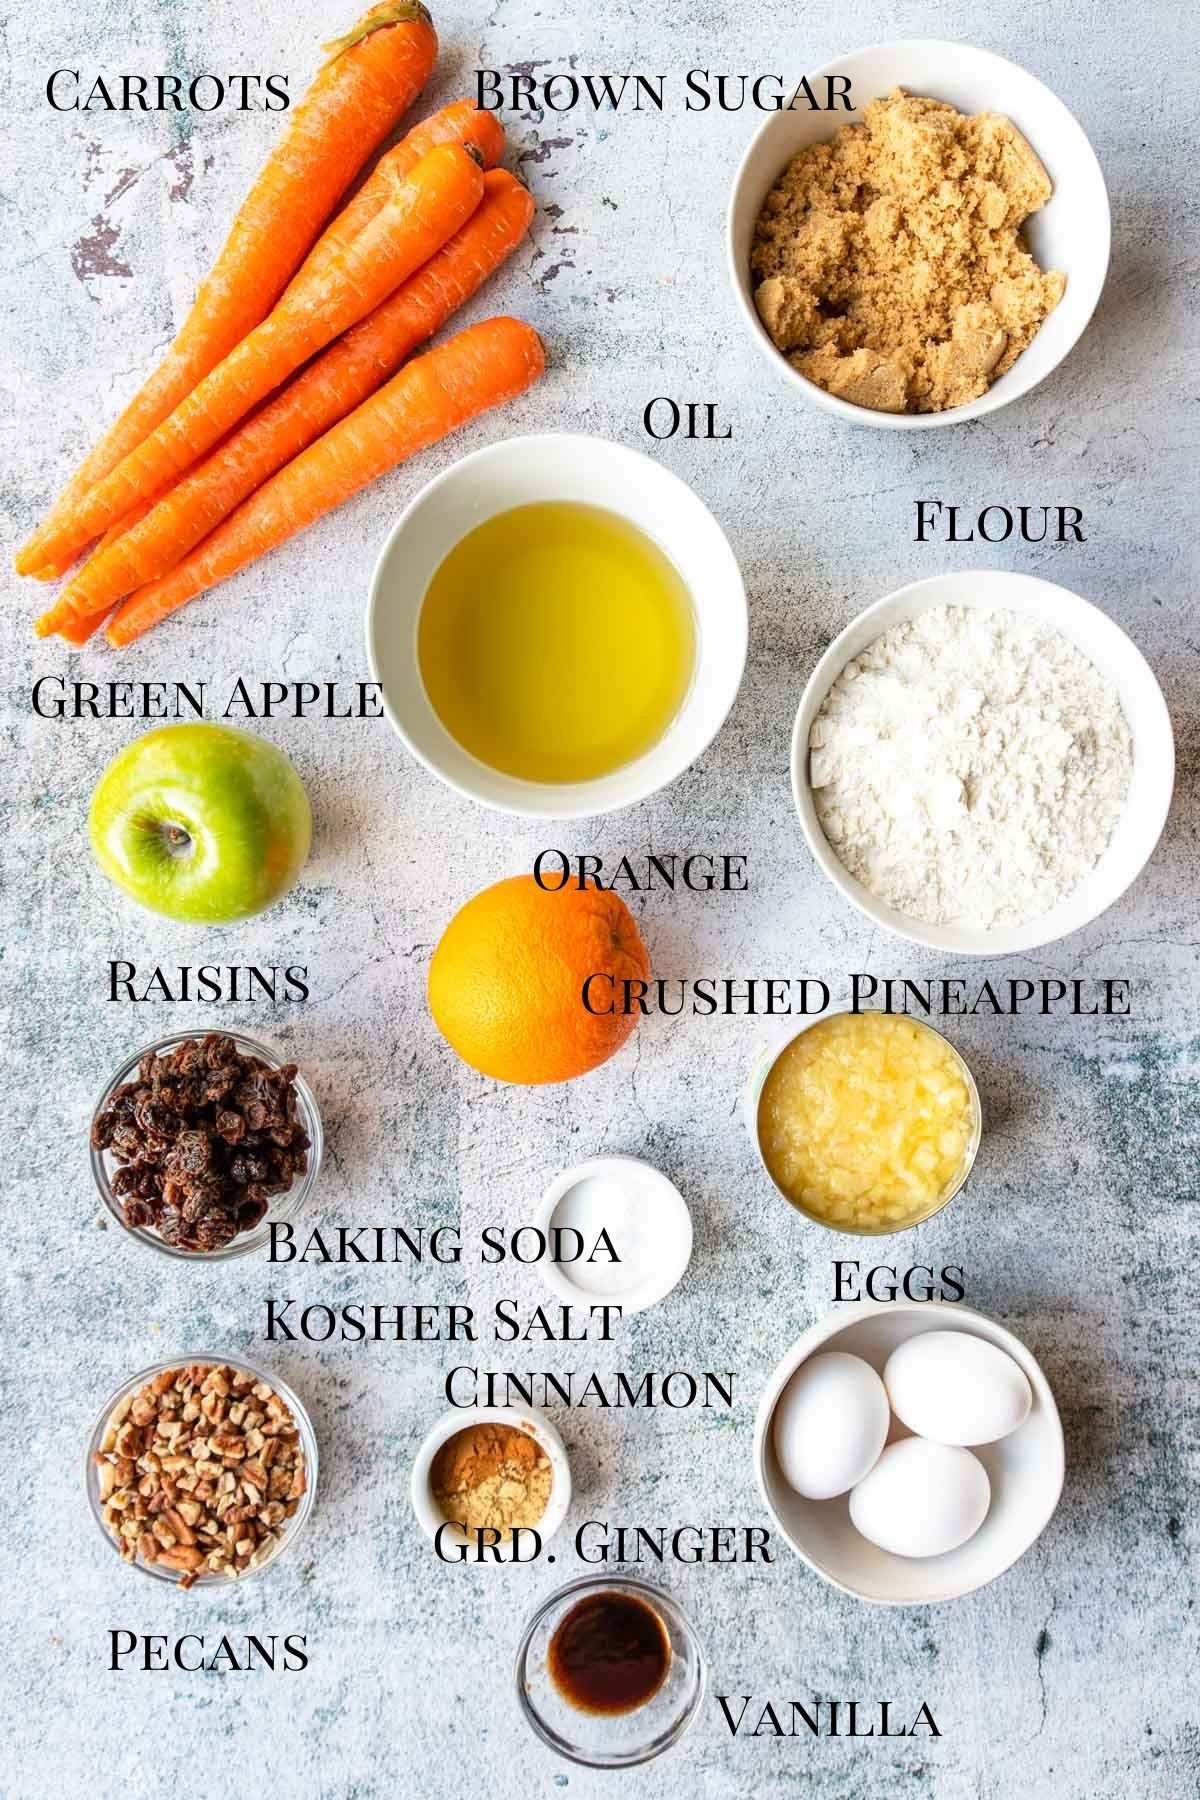
Ingredients
Pictured are the ingredients you need to make super flavorful meatballs and the creamy
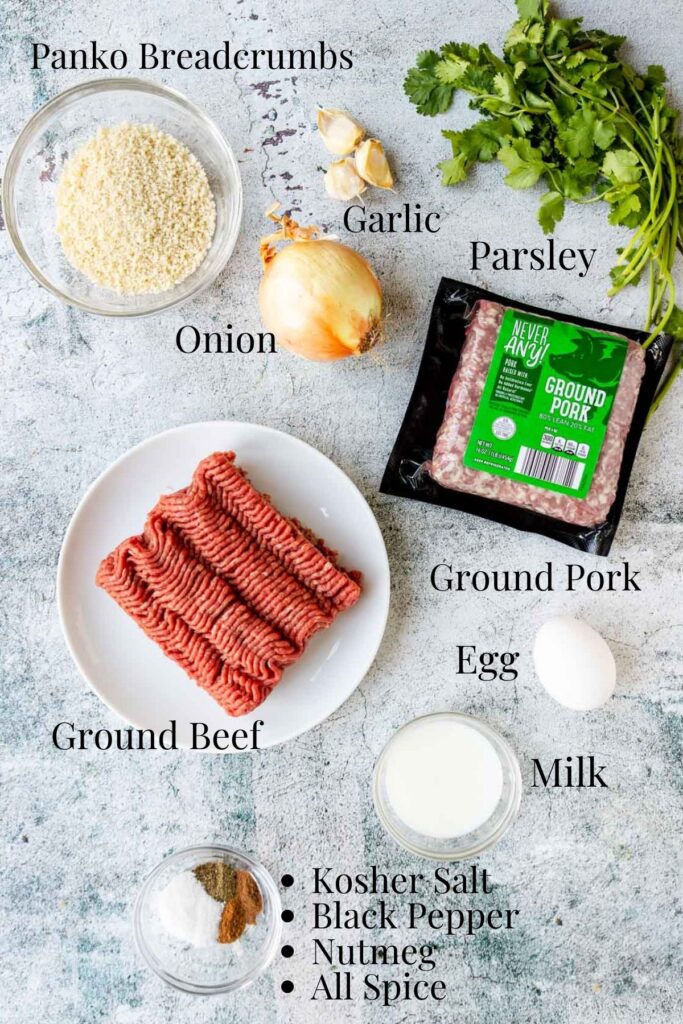
Ground Beef – since the meatballs cook in the broth I recommend using a leaner ground beef, like 85/15 or 90/10. It will still have plenty of flavor but won’t make your sauce greasy.
Ground Pork – this is not ground sausage you want to purchase ground pork. It is extremely economical. It also makes amazing Italian Meatballs and Grilled Pork Burgers!
Ground All Spice and Nutmeg – don’t be tempted to skip these two spices. There isn’t enough to be detected in the meatballs, but just enough to enhance the flavors of this dish.
Panko Bread Crumbs – Panko and Traditional bread crumbs are two different things. Panko bread crumbs are a coarser larger crumb and are perfect for panade in meatballs. You can find them in any grocery store.
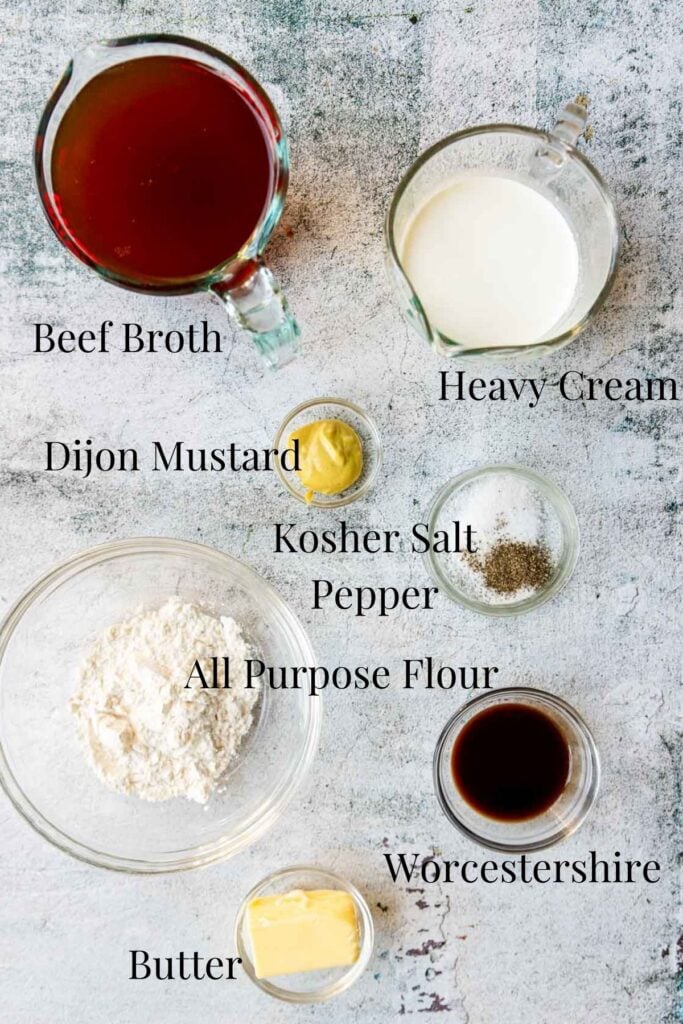
Softened Butter and All purpose flour – these two ingredients will be combined into a Beurre Manie. That is a fancy word for liquid thickener. Some recipes will call for a cornstarch slurry or arrowroot powder but I prefer the butter and flour method.
Step by Step Picture Instructions
One nice thing about this recipe is there is no need to brown the meatballs before you get started. That is a time saver for sure!
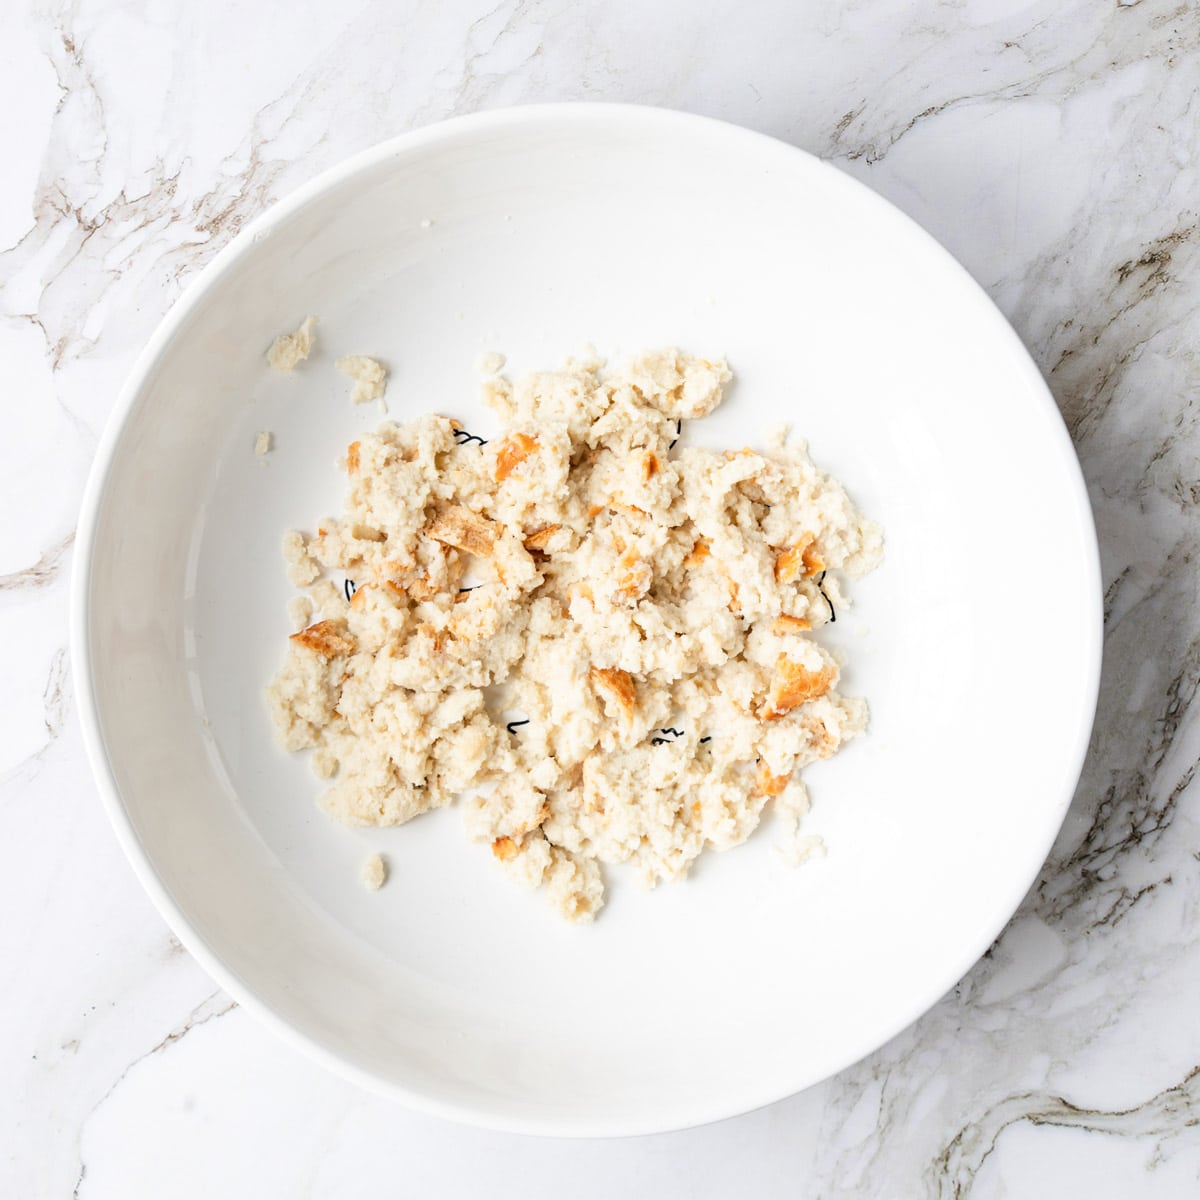
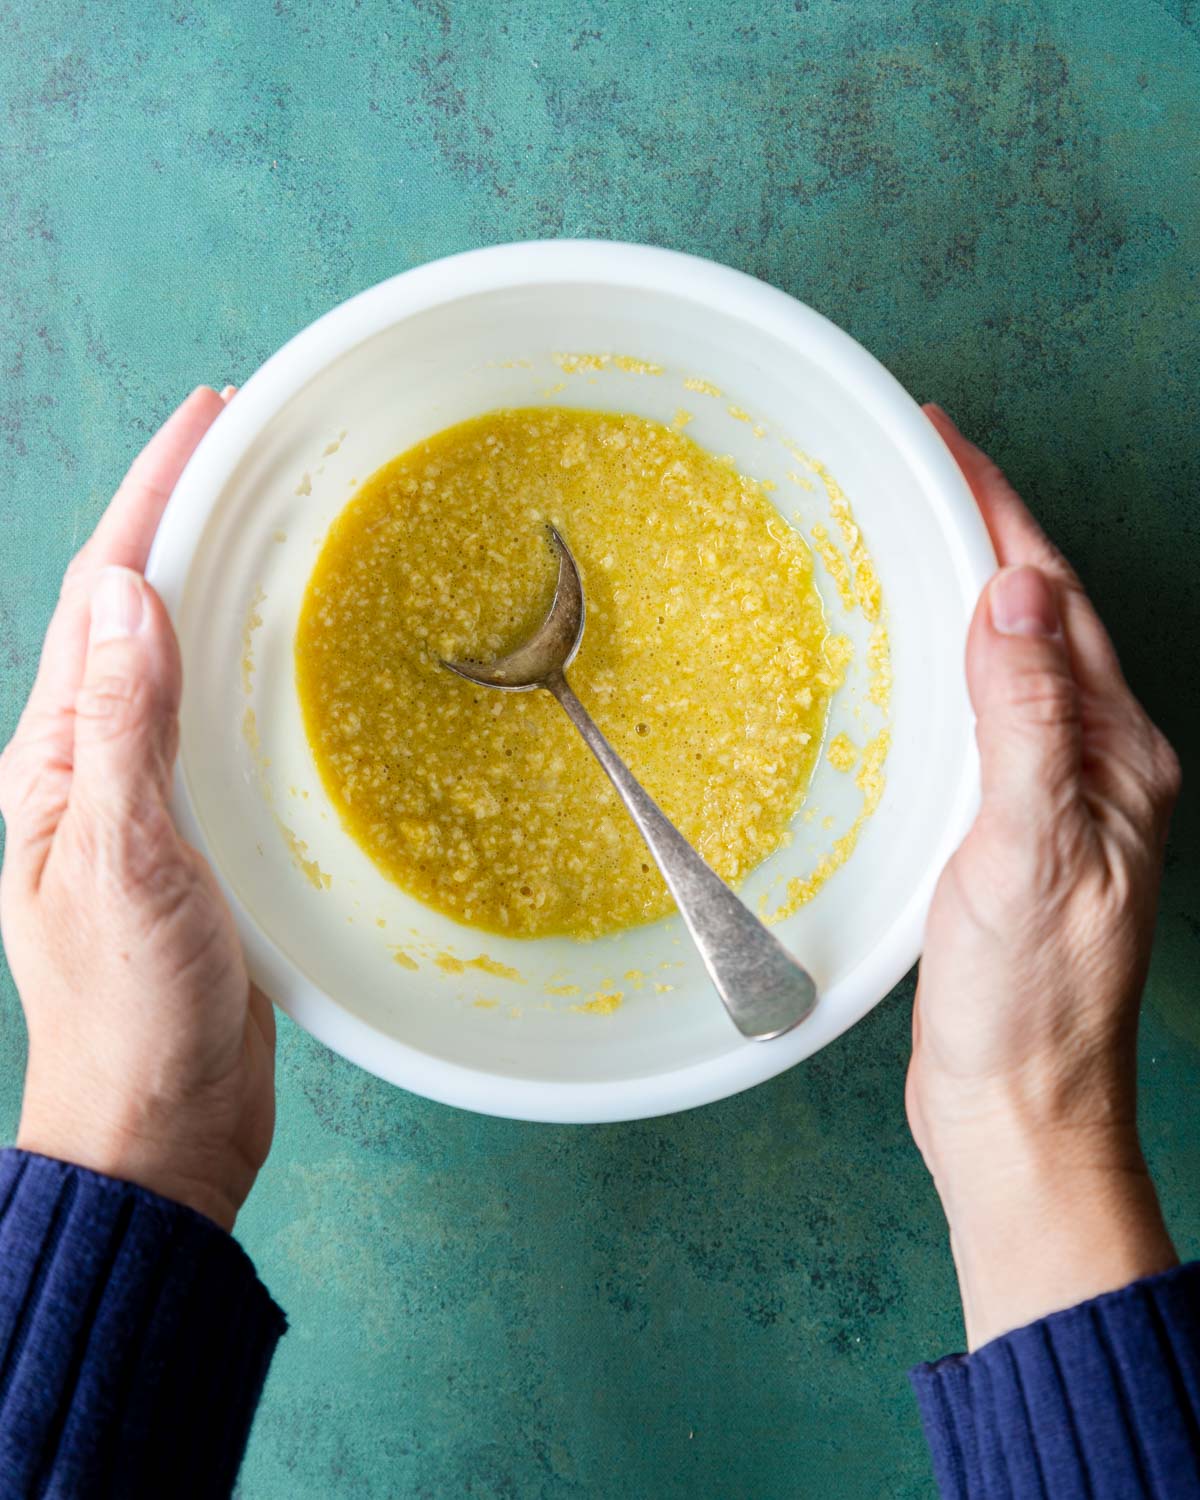
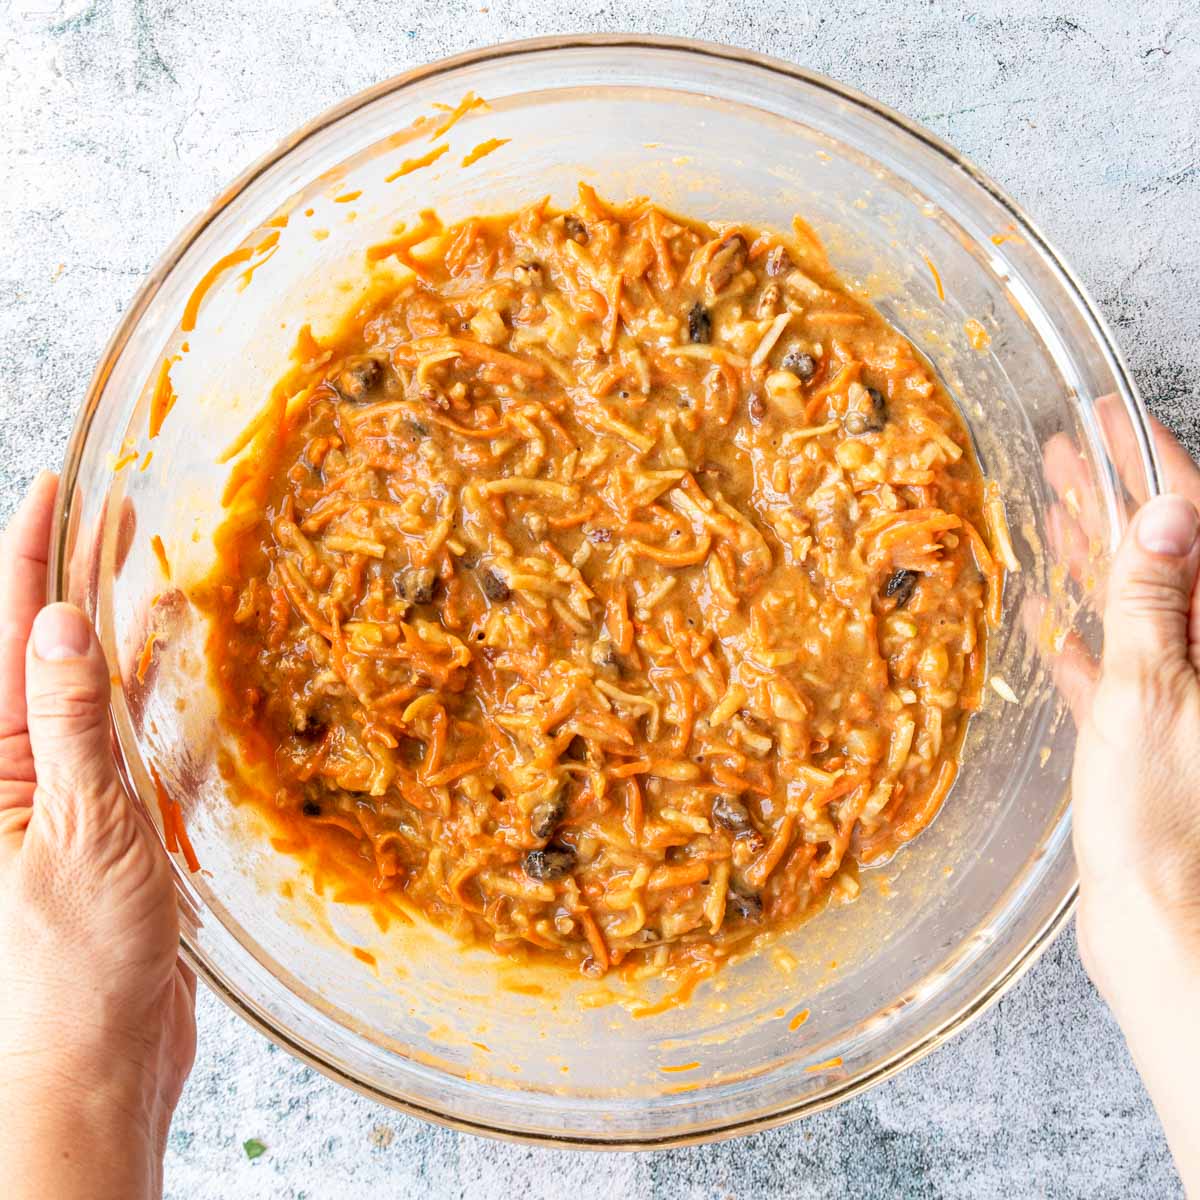
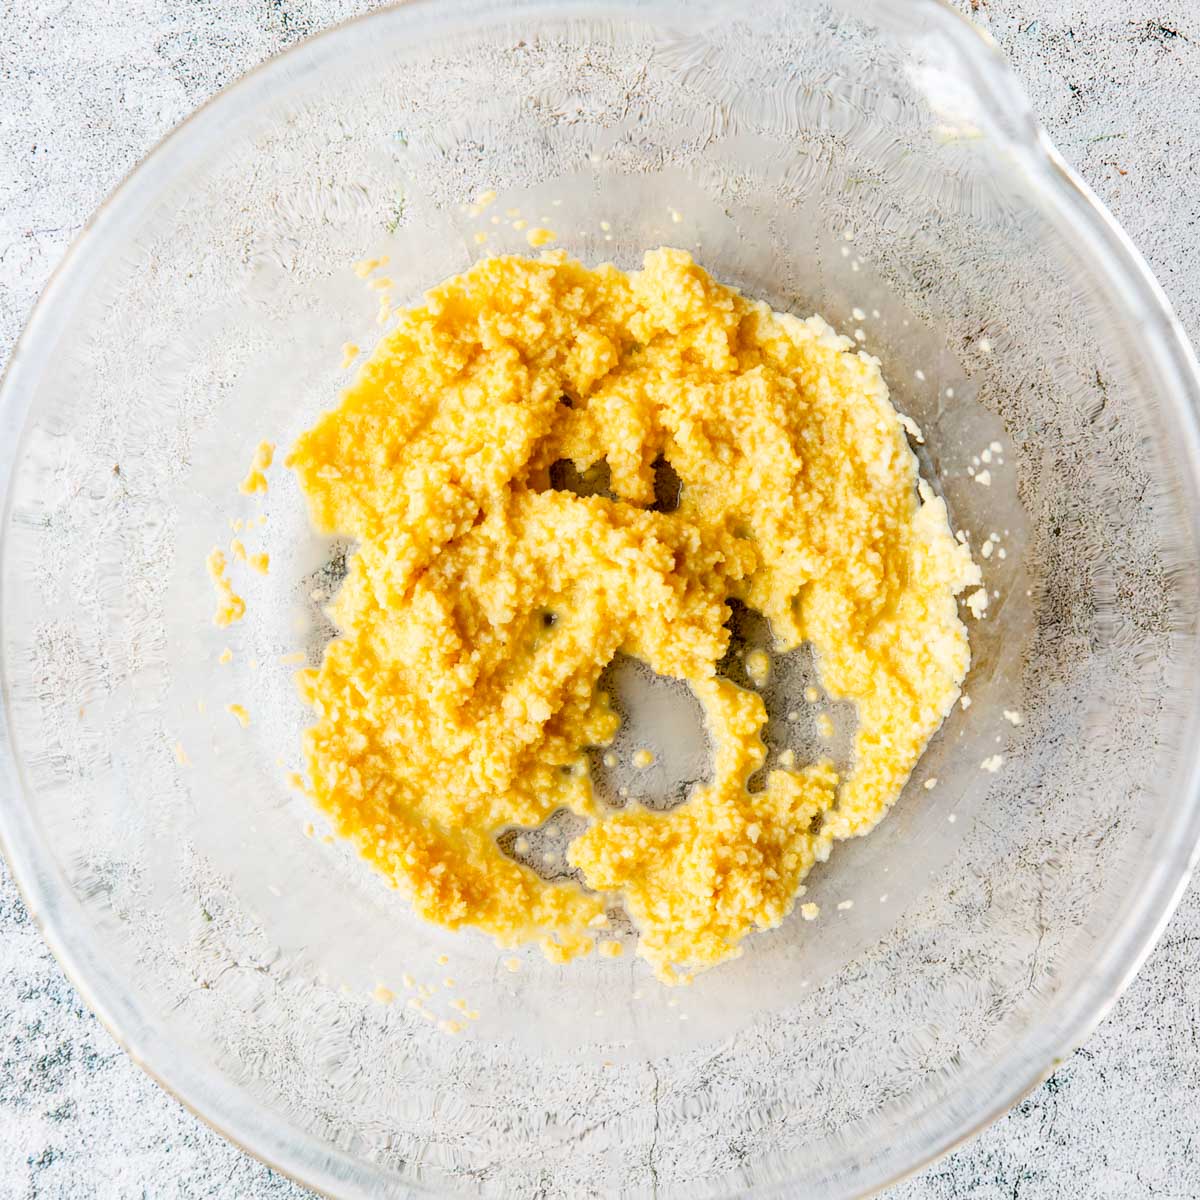
Start by making a panade for your meatballs; In a large bowl combine the panko bread crumbs, egg, and milk. Give it a good stir and set aside for 5 minutes.
A panade is a mixture of a starch and liquid to keep ground meat recipes nice and juicy. I use a panade in most of my burger recipes and meatball recipes.
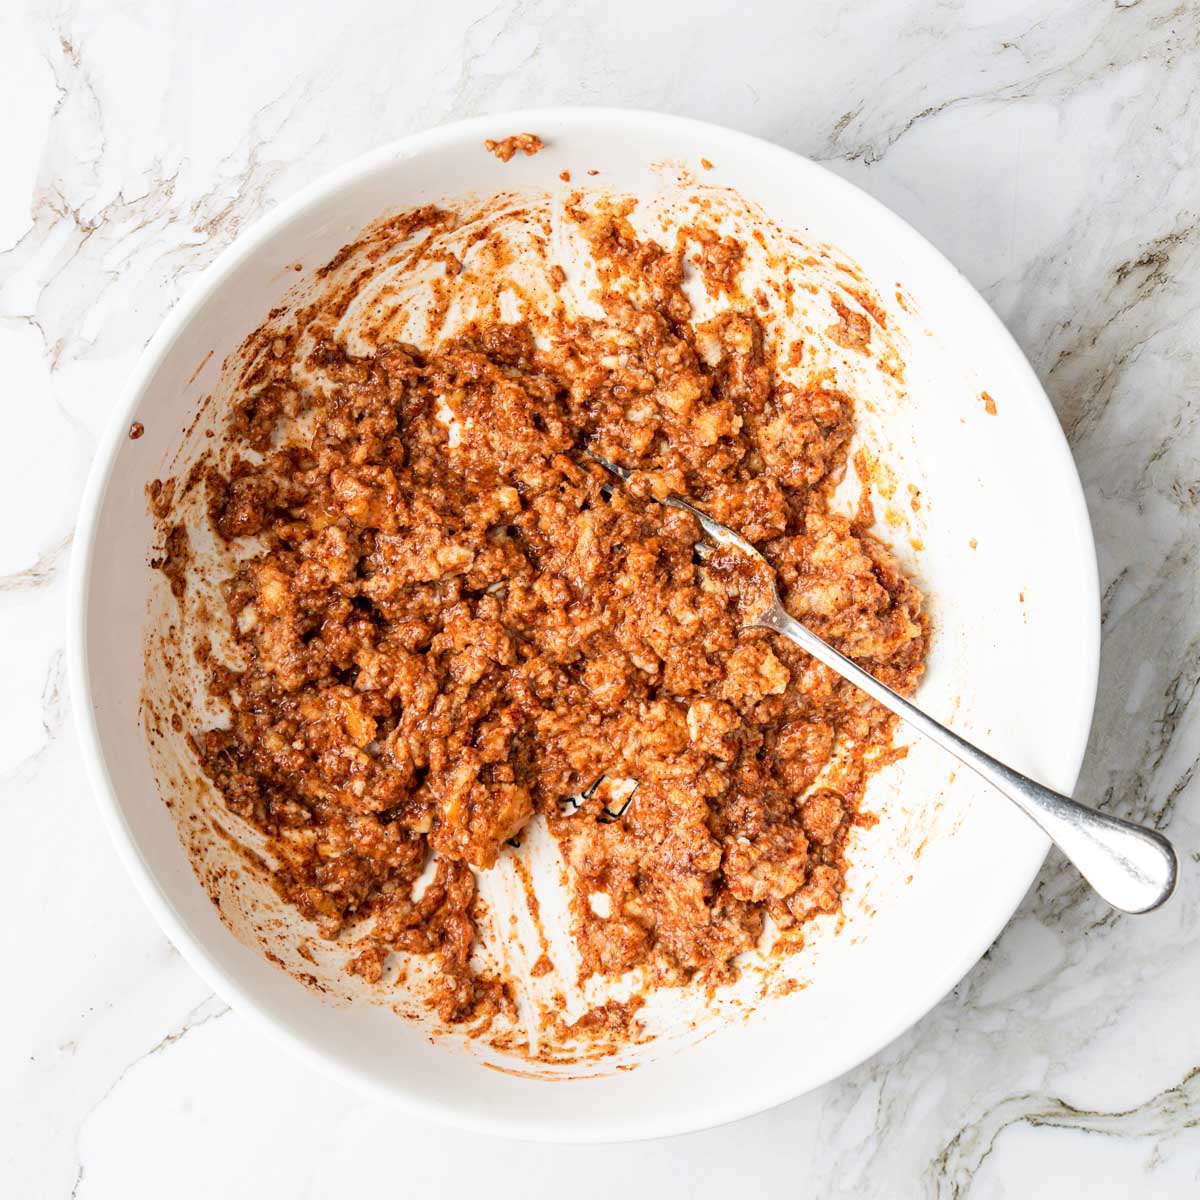
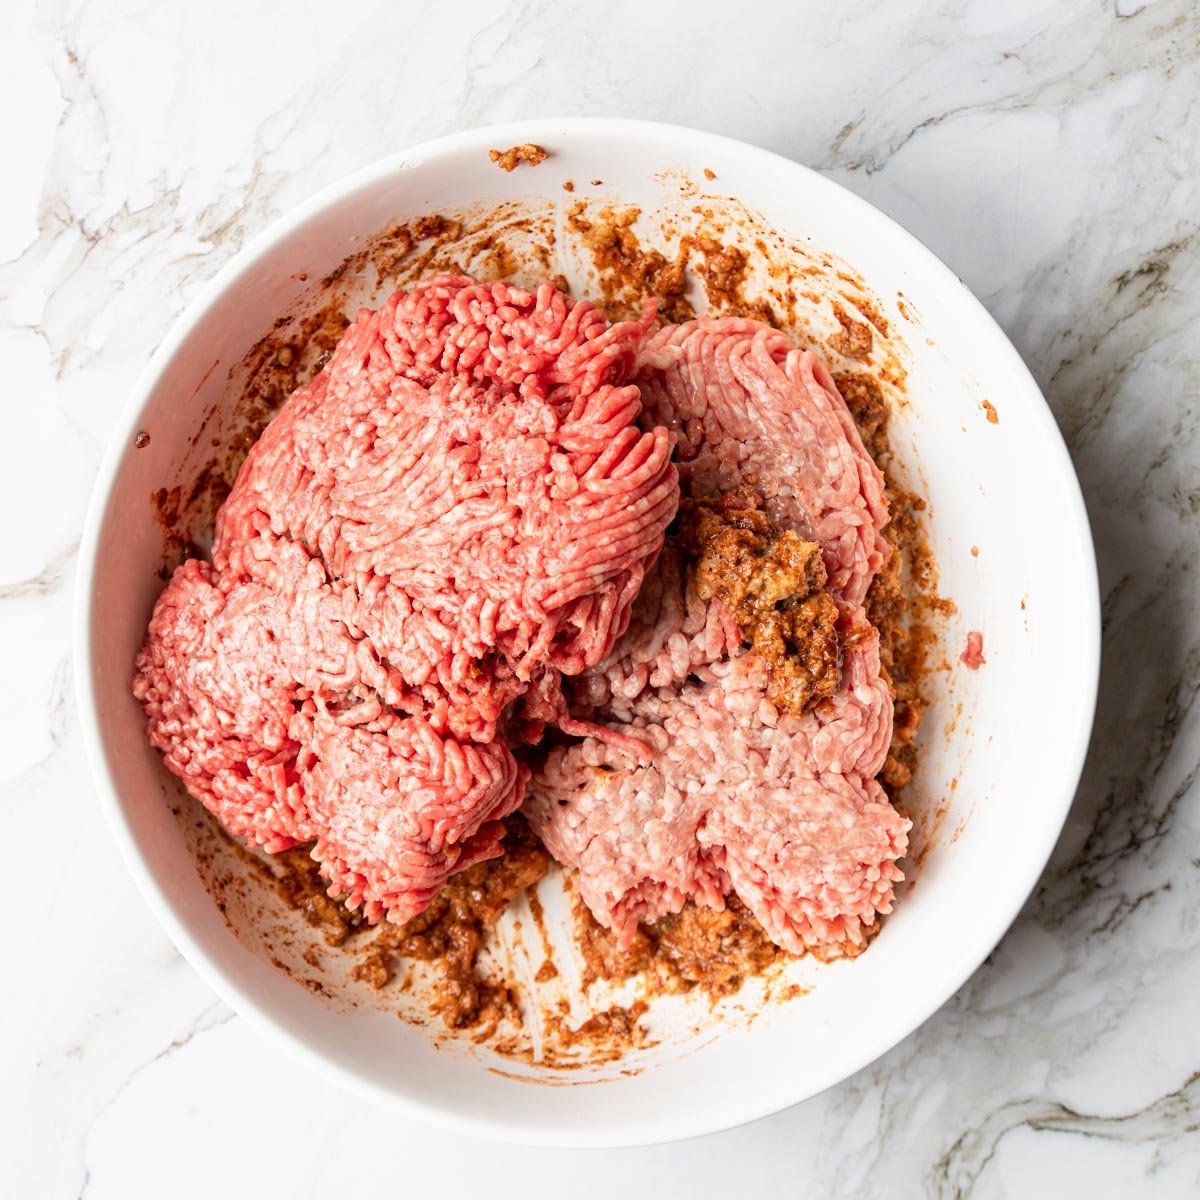
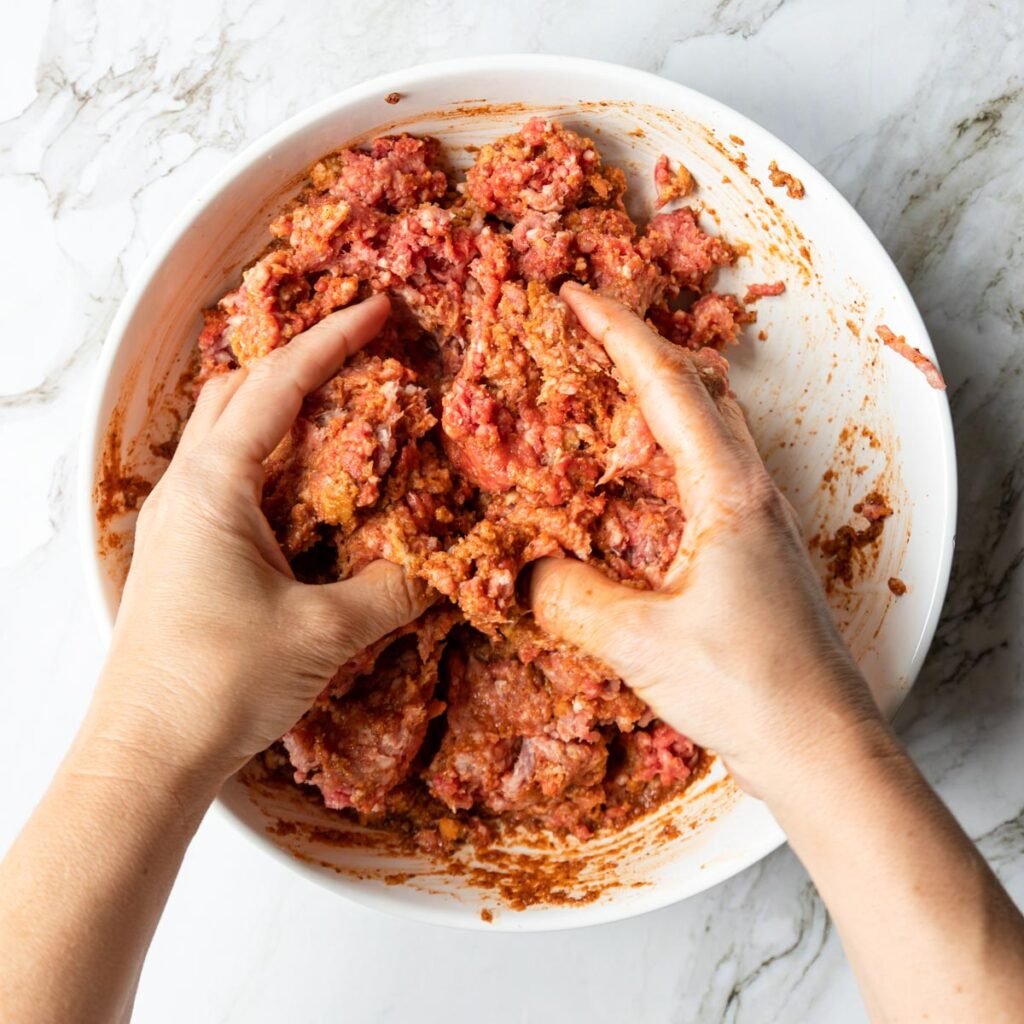
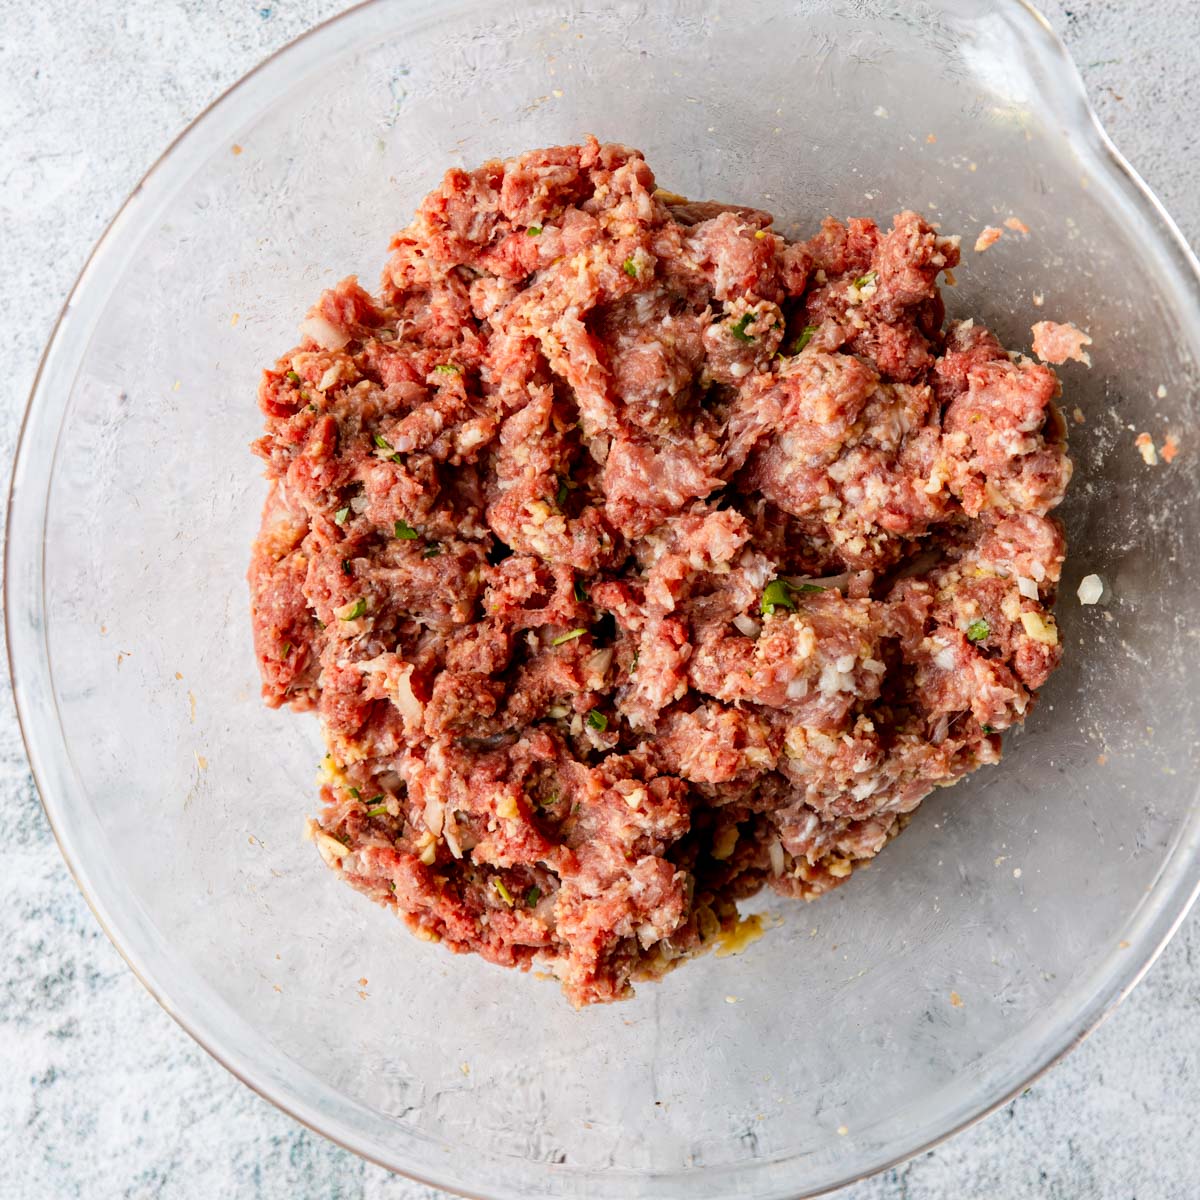
Now add all the seasonings, fresh parsley, fresh onion, and minced garlic and give it a stir. Finally add in the ground beef and ground pork and mix everything together with a fork or clean hands.
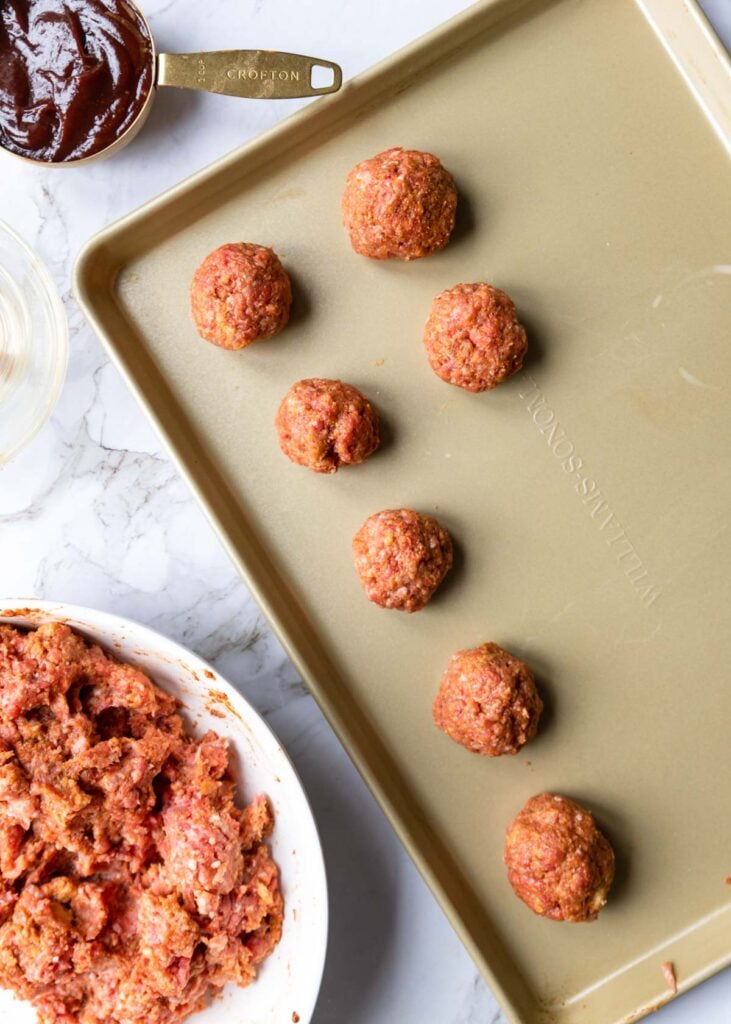
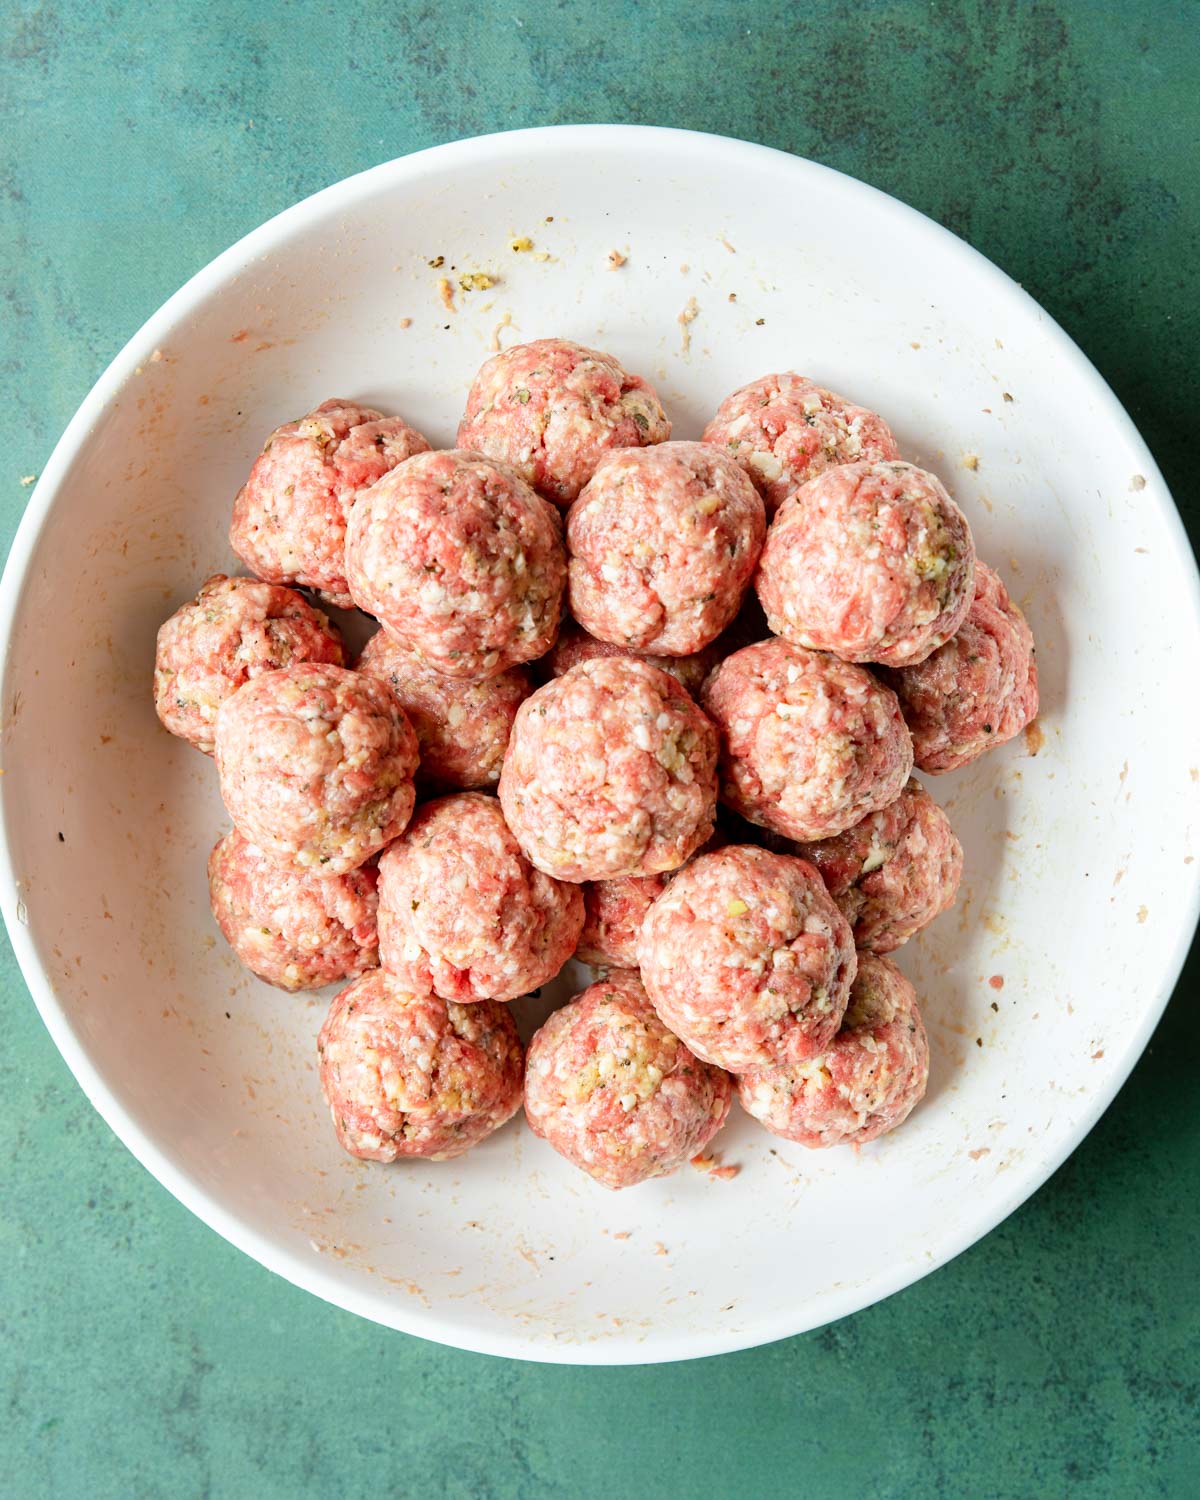
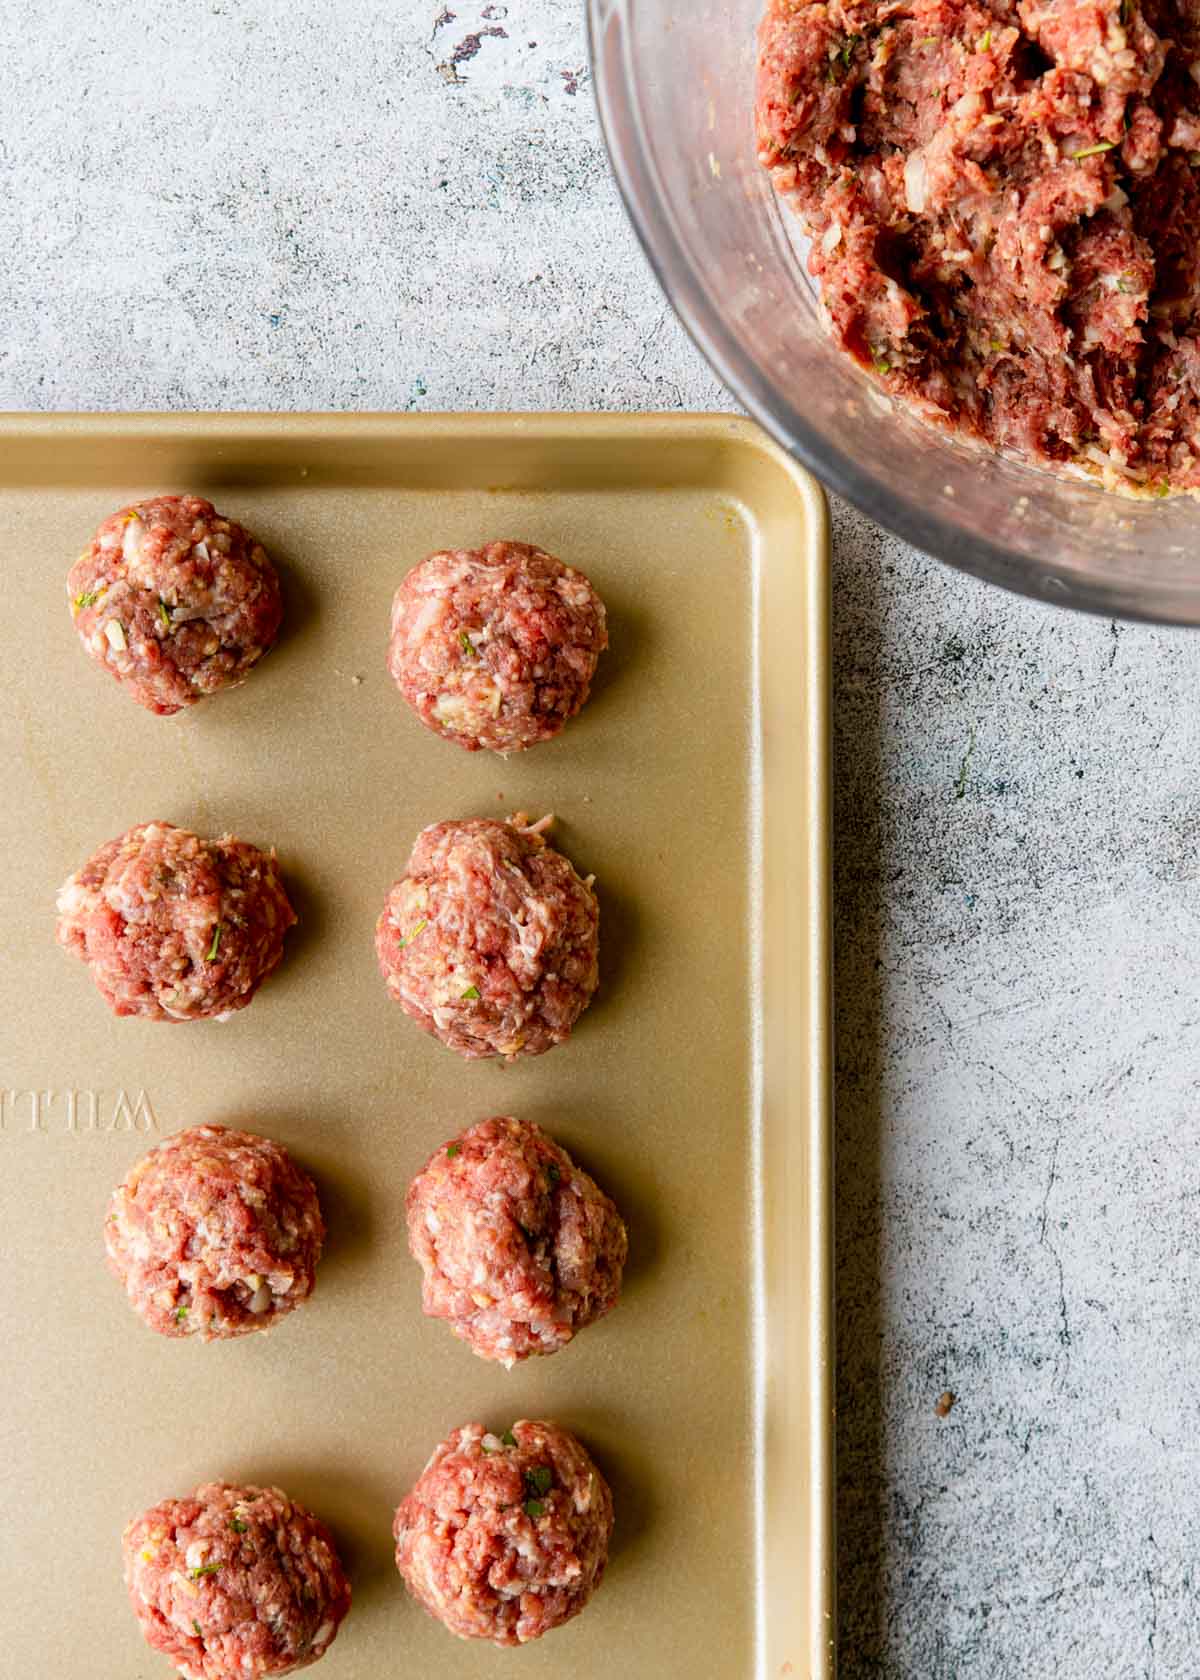
Form the meatballs, about the size of a golf ball or ping pong ball. You should have between 20-24 meatballs.
Pro Tip: A medium sized cookie scoop can help make your meatballs more uniform in size.
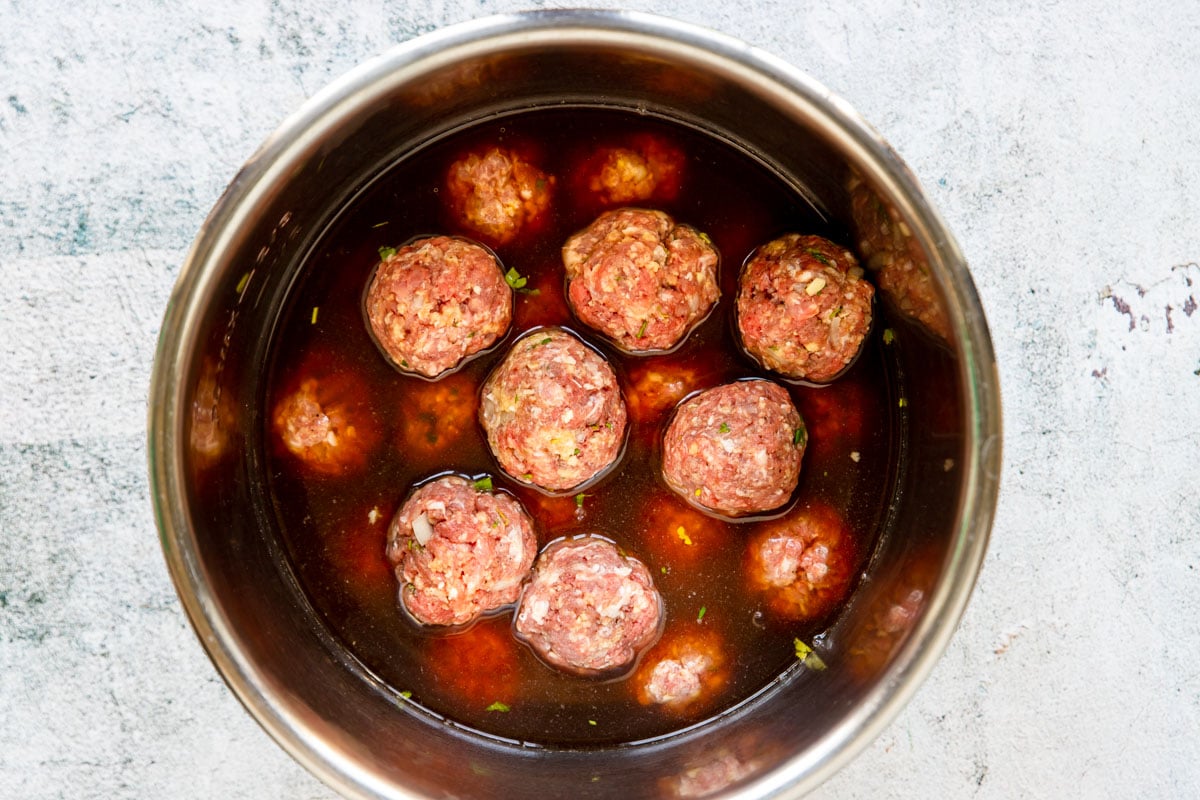
Spray the bottom of the Pot with non stick spray- this helps prevent the burn notice.
Now pour the beef broth and Worcestershire sauce into the Instant Pot.
Place the meatballs directly in the liquid.
Close the Pot and turn the pressure valve to seal. Set to cook on high pressure for 8 minutes.
While the meatballs cook go ahead and make the beurre manie by smashing the softened butter and flour together with a fork. Set aside until later use.
At the end of the cook time do a 5 minute natural release. With a slotted spoon remove the meatballs to a separate bowl or rimmed baking sheet.
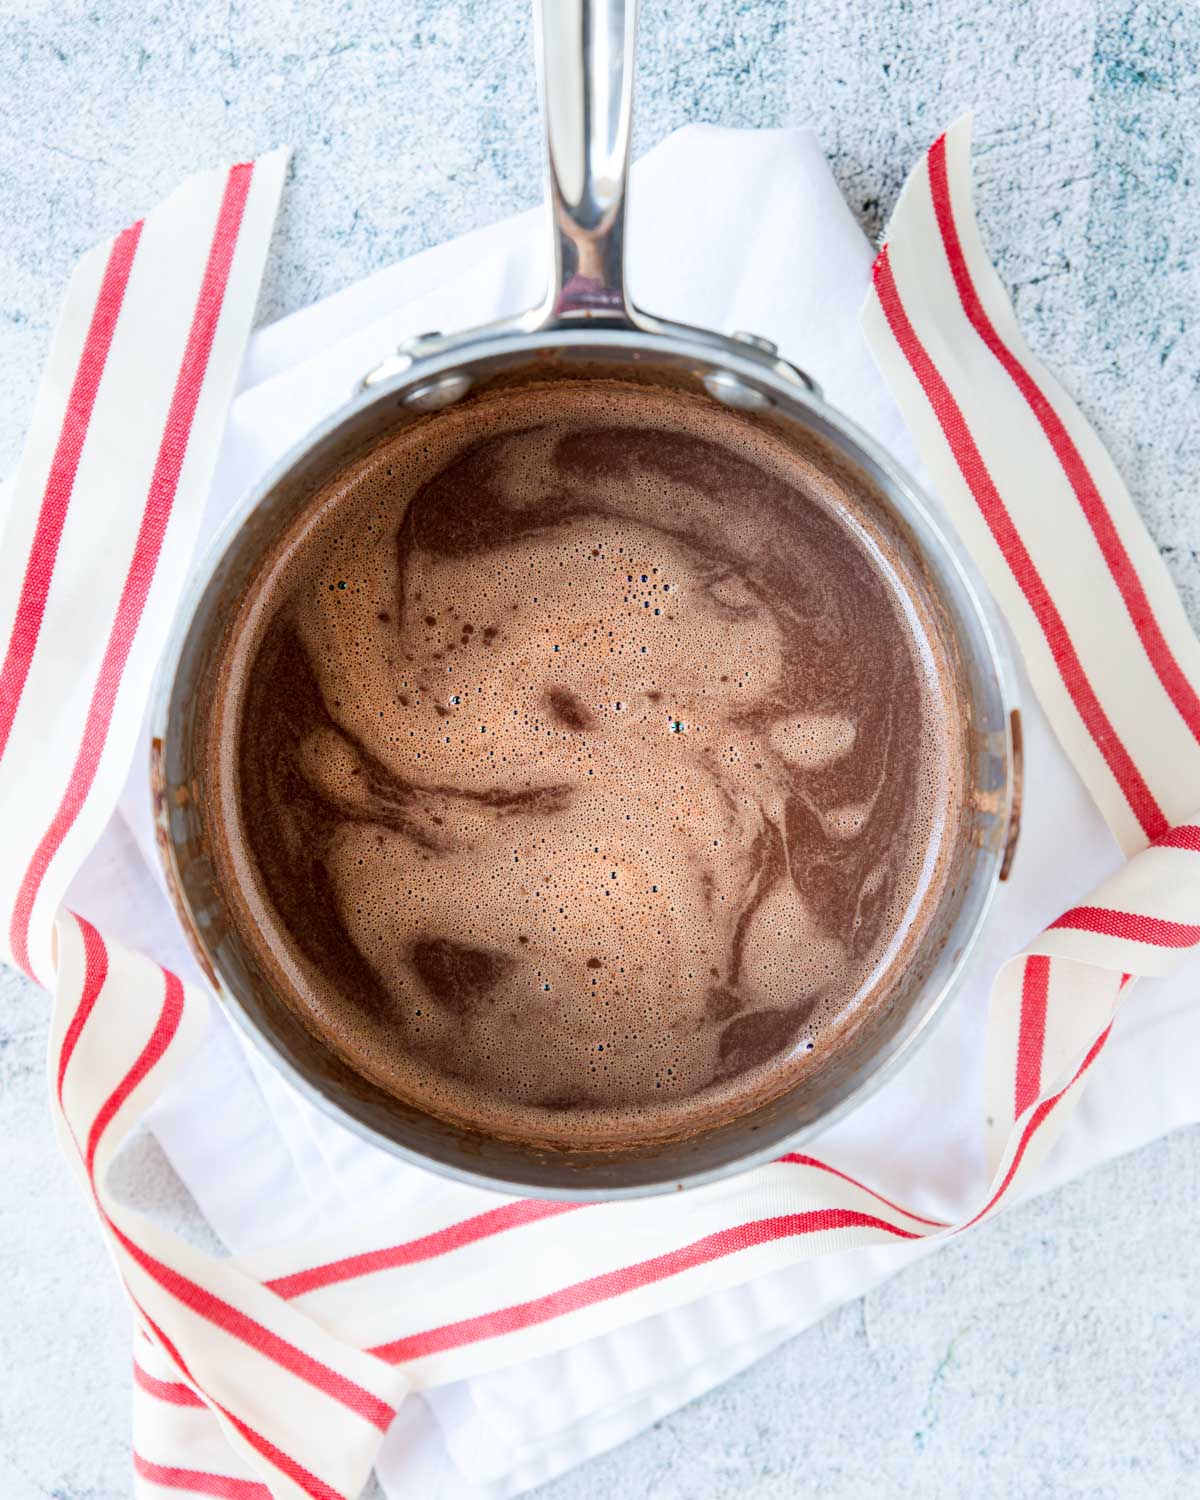
It’s time to make that amazing rich Swedish meatball sauce. Turn on sauté mode. Whisk in the Dijon mustard, kosher salt and heavy cream. Let it warm through for about 2-3 minutes. Then whisk in the flour/butter mixture. Let the sauce simmer for a few minutes until it is the right consistency.
Turn the sauté mode off and add the meatballs and any collected liquid back into the sauce.
Time to eat!
Serving
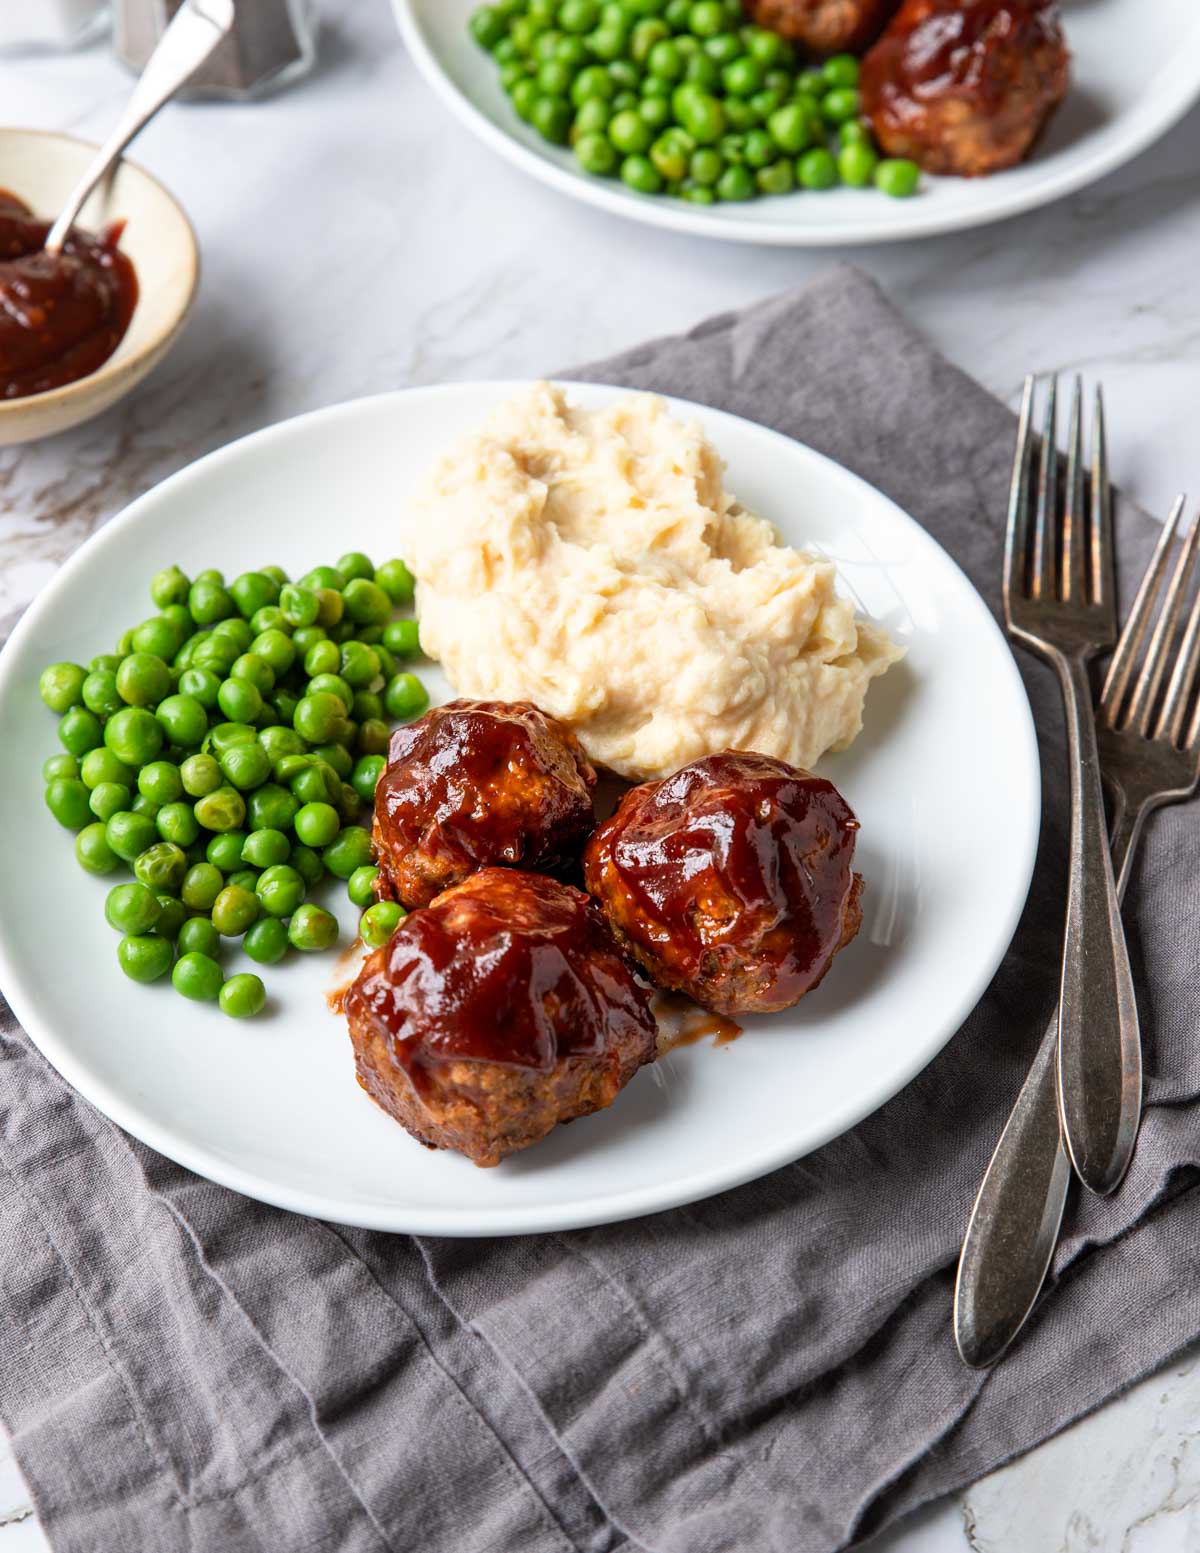
For a delicious dinner these Swedish meatballs are great served over mashed potatoes or egg noodles. I have two great mashed potato recipes for you to check out:
Serve 3-4 meatballs per person along with extra gravy spooned over top.
A green veggie goes great on the side; like green beans, asparagus or peas.
Storing
Store any leftover meatballs in the fridge in an airtight container for up to 4 days.
To reheat in the microwave I recommend slicing the meatballs in half so they heat through to the middle. Then microwave for about 1 min 30 seconds.
I do not recommend freezing leftover meatballs since there is a higher dairy content in the sauce.
Recipe Tips
- For best results use a leaner ground beef so your gravy doesn’t get greasy.
- Make sure your onion are finely diced so your meatballs will stick together.
- Spray the bottom of your Instant Pot with non stick spray to prevent the burn notice.
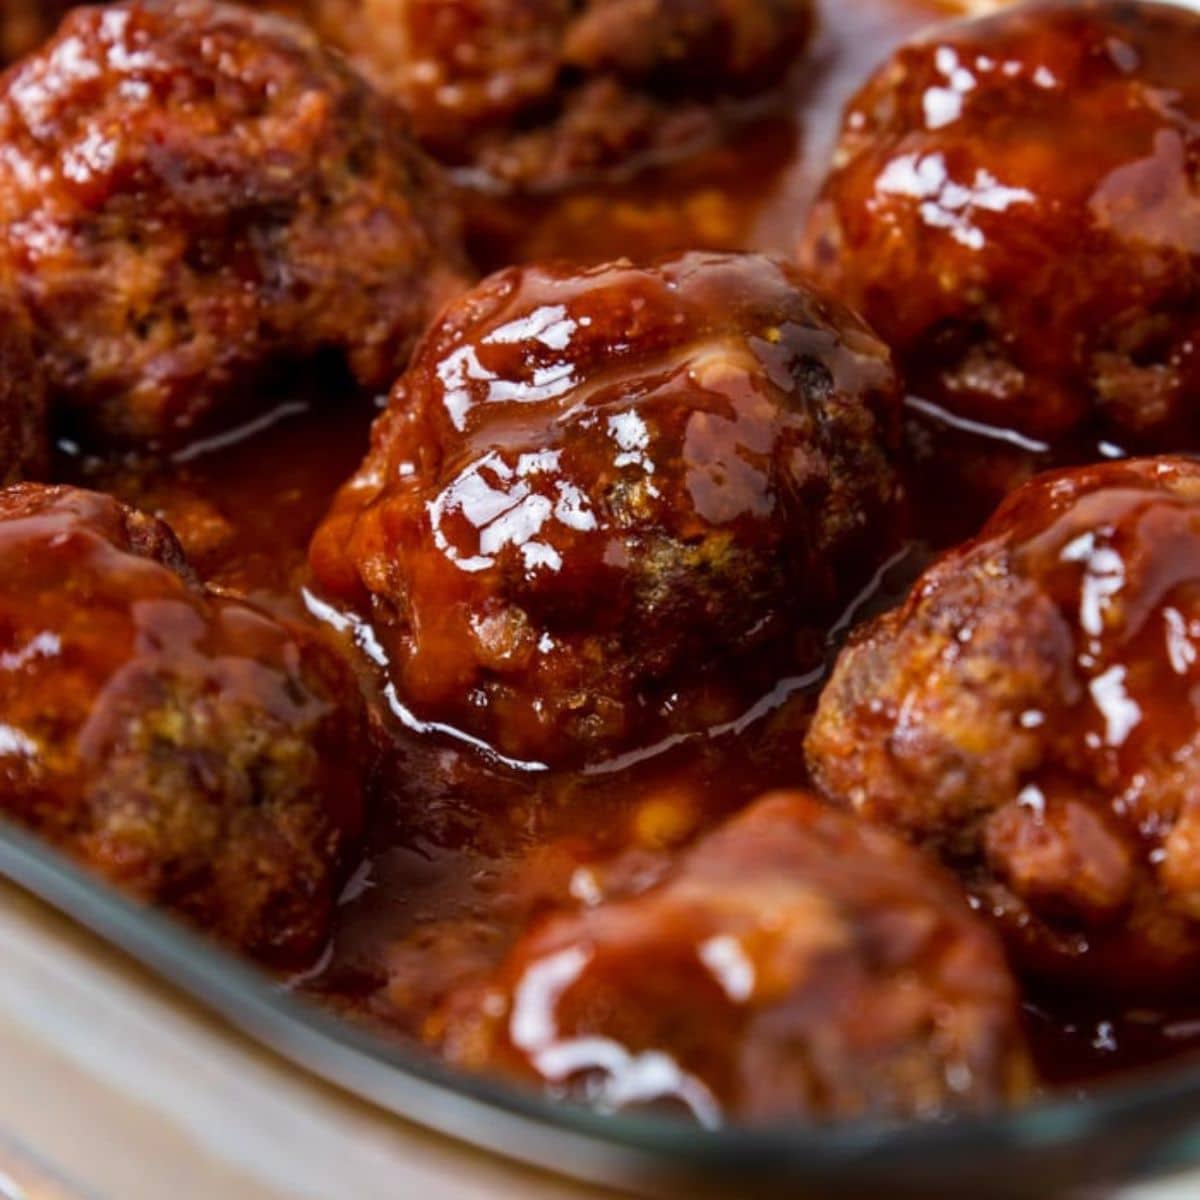
More Meatball Recipes
We love Meatball Recipes here in the Mom’s Dinner kitchen, so check out any of these recipes for your next great dinner!


Did you make this recipe?
⭐⭐⭐⭐⭐
I would love to hear your review, especially if you have tips and tricks to add! Pop down to the comment section and connect with me

Five Star Instant Pot Swedish Meatball Recipe
Ingredients
Swedish Meatballs
- 1 lb ground beef - 85% or 90% lean
- 1 lb ground pork
- 1 egg - lightly beaten
- ½ cup panko breadcrumbs
- 2 tablespoon milk
- ¼ cup yellow or white onion - very finely diced
- 3 garlic cloves - minced
- 1 tablespoon fresh parsley - chopped
- ¼ teaspoon ground all spice
- ¼ teaspoon ground nutmeg
- 1 ¼ teaspoon kosher salt
- ¼ teaspoon black pepper
Sauce/Gravy
- 3 cups beef broth
- 2 tablespoon Worcestershire sauce
- 1 ½ teaspoon Dijon mustard
- 1 tsp kosher salt
- 1 cup heavy cream
- 4 tablespoon salted butter - softened
- ¼ cup plus 1 tablespoon all purpose flour
- non stick spray
Instructions
Swedish Meatballs
- In a large bowl make the panade by stirring together the panko bread crumbs, lightly beaten egg and milk. Let it sit for 5 minutes to soften.1 egg, ½ cup panko breadcrumbs, 2 tablespoon milk
- Add the onion, garlic clove, parsley, nutmeg, all spice, kosher salt, and black pepper. Stir that all together¼ cup yellow or white onion, 3 garlic cloves, 1 tablespoon fresh parsley, ¼ teaspoon ground all spice, ¼ teaspoon ground nutmeg, 1 ¼ teaspoon kosher salt, ¼ teaspoon black pepper
- Now add the ground beef and ground pork. With clean hands or a fork lightly mix everything together.1 lb ground beef, 1 lb ground pork
- Form the meatballs, about the size of a ping pong or golf ball. A medium sized cookie scoop can help with this task making your meatballs uniform size, but isn't necessary. You will have between 20-24 meatballs.
Pressure Cook
- Spray the bottom of the Instant Pot with non stick spray. This always helps with the burn notice.non stick spray
- Pour in the beef broth and Worcestershire sauce.3 cups beef broth, 2 tablespoon Worcestershire sauce
- Add the meatballs to the liquid.
- Close the lid and turn the pressure valve to seal.
- Set to cook on high pressure for 8 minutes. Finish with a 5 minute natural release.
- With a slotted spoon remove the meatballs to a seperate bowl or rimmed baking sheet.
Swedish Meatball Sauce
- Turn the saute mode on (normal or low).
- Whisk in the Dijon Mustard, Kosher Salt and Heavy Cream. Let it heat through and lightly simmer for 2 minutes.1 ½ teaspoon Dijon mustard, 1 teaspoon kosher salt, 1 cup heavy cream
- While that warms mash together the softened butter and flour until it is completely combined .This is called a buerre manie and is a great way to thicken liquids without using cornstarch or arrowroot!4 tablespoon salted butter, ¼ cup plus 1 tablespoon all purpose flour
- Whisk the butter/flour mixture into the liquid. It should thicken pretty quickly.
- Once the sauce is as thick as you would like turn the saute mode off and add the meatballs and any collected liquid back into the pot.
- Give it a light stir and it's time to eat!
Serving
- Swedish Meatballs are traditionally served over top a starch, like mashed potatoes or egg noodles. Here are some great mashed potato recipes:INSTANT POT MASHED POATOES YUKON GOLD MASHED POTATOES
- Serve 3-4 meatballs per person along with extra gravy spooned over top.A green veggie goes great on the side; like green beans, asparagus , broccoli or peas.
Storing
- These Instant Pot Swedish Meatballs store perfectly, making them a great recipe for meal prep. They will keep in the fridge in an airtight container for up to 4 days.
- To reheat in the microwave I reccomend cutting the meatballs in half so they heat through completely.
- I do not reccomend freezing these meatballs because of the dairy content.