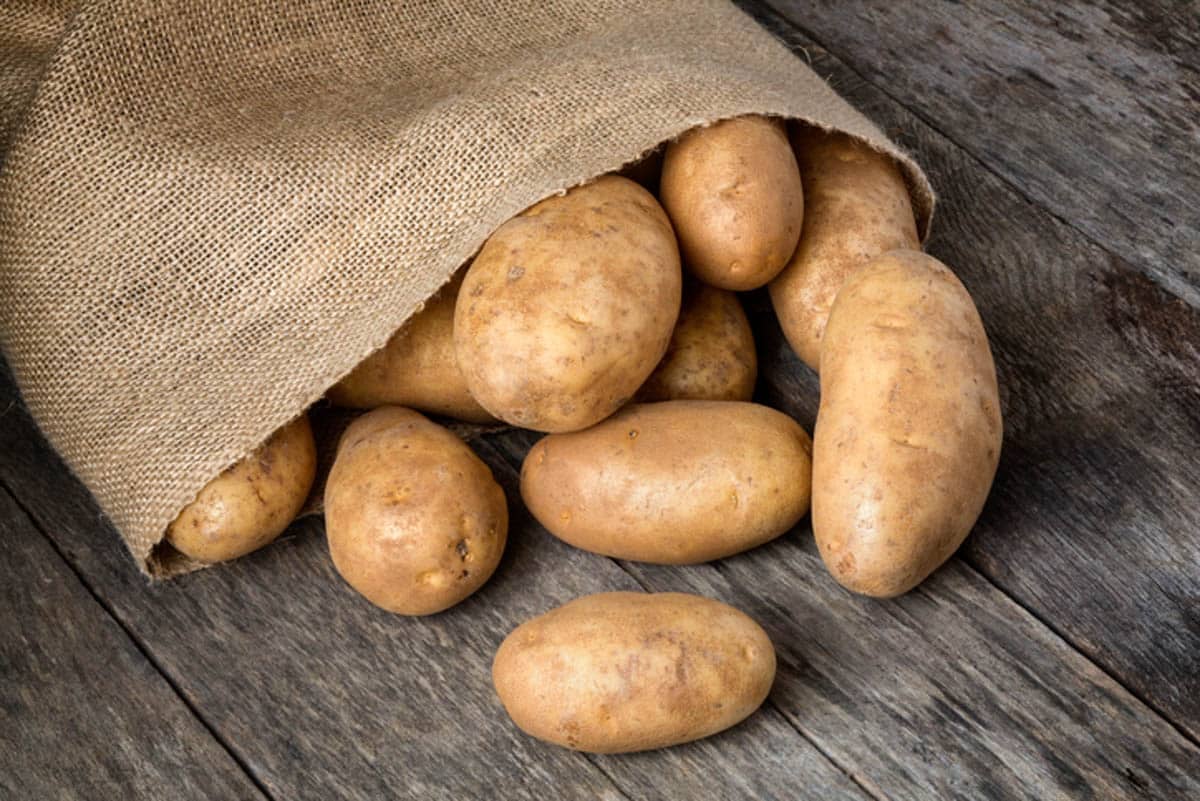
In episode 089 we are making Caesar Chicken Bake for dinner. This is a super flavorful chicken dinner. This recipe is actually based on an Ina Garten recipe for Caesar Swordfish, so you know it’s going to be amazing. Chicken is baked up with a homemade creamy Caesar sauce.
Serve it with a rice, couscous or risotto and a roasted green veggie.
Transcript
Click for the full transcript.
Intro: Welcome, welcome everybody to another episode of Let’s Make Dinner, your audio library of amazing dinner recipes you can always get on the table. I’m your host, Susie Weinrich.
Susie Weinrich: What’s up everybody? Hello. Happy Thursday. I’m so glad you’re here. I have to tell you, I am on Cloud nine lately because Spring has sprung here in Kansas City. The flowers are blooming. All of the trees have sprung forth all of their green leaves. It’s just beautiful. I feel like when you go outside, it just looks like it looks like a park everywhere you go. It’s gorgeous. So in light of that, I feel like it is time to start transitioning to some more spring dinner recipes. Some things that are a little bit lighter, maybe cooked on the grill. Things that you can prep ahead of time so that you have more time to play outside and be out in the sun. So today, this Thursday, we are making a delicious baked Caesar Chicken. I have to tell you that this recipe is actually based on an Ina Garten recipe. You know, Barefoot Contessa, the Queen mother. She has a recipe for a Caesar Swordfish that looked absolutely delicious. I don’t eat a ton of seafood. I’ll eat some, but I don’t eat a ton. So I thought, how can I take this recipe and kind of tweak it for chicken? So that’s what we’ve done here. It’s basically a baked chicken with this delicious lemony Caesar cream sauce with capers over top, and then it’s baked in the oven. It is wonderful. You can pair it with some real springtime vegetables like roasted asparagus and maybe some garlic couscous. There’s a brand of couscous called Near East. They have a roasted garlic couscous that is amazing. And if you’ve never made couscous, it takes five minutes to make. It’s crazy. It’s a perfect side dish.
Tips and Tricks: So let’s get into a couple of tips and tricks for this recipe for a Baked Caesar Chicken. First of all, the chicken. Every time we have chicken and a recipe, I talk about this, and I like to buy Air Chilled chicken. It is a process they use to chill the chicken down for packaging. The traditional method is that the chicken is actually dunked in cold chlorinated water to bring it to temperature for packaging. With Air Chilled chicken, it’s actually hung and processed through cold air rooms, so it’s coming to temperature slower, and you’re not adding extra water to the chicken. So anytime you’re in cooking and talking about cooking methods, water equals less flavor, in dehydration, less water is more flavor.
So with that air-chilled chicken, you’re getting super flavorful chicken that has the perfect texture every time. Have you ever bought chicken, baked it, and then you’re like, why does this chicken chew like rubber? Super bizarre. I don’t know what that is, but when I buy Air Chilled chicken, never had that happen. I will say air-chilled chicken is more expensive, but it is absolutely worth it.
They have Air Chilled chicken now at Costco, so you can get it there in those big packages. In the Midwest here, there’s a brand called Smart Chicken that I prefer to purchase. You can get your organic free range. All of those things, those are great. But the biggest difference between flavor and texture is buying Air Chilled.
Okay, the next tip and trick, for this recipe, you need lemon zest and you need lemon juice. Anytime a recipe calls for both of those, you want to make sure that you zest the lemon first. That’s taking that bright, delicious peel off of the lemon. You use a zester, a rasp, and a Microplane. Then cut the lemon in half and squeeze the juice out. It will be way easier to do it that way than the reverse.
All right, two more ingredients I want to talk about. The Greek yogurt in this recipe is part of that Caesar cream sauce. With baking and Greek yogurt, I love to buy whole-milk Greek yogurt instead of fat-free Greek yogurt. You also want to make sure that you’re buying plain Greek yogurt, not vanilla or flavored. The other option here is to use sour cream. So if you don’t want to use Greek yogurt, not your thing, just buy sour cream and use it in its place.
The other ingredient is mayonnaise. We’re using mayonnaise, not Miracle Whip. They are not the same thing, so make sure you use mayonnaise. I’ll tell you some brands that we love to use. Hellmanns of course, is king of mayonnaise. Dukes are actually coming right up on Hellmanns. I’ve never used Dukes, but people love it. The other one I gotta tell you, I buy Aldi mayonnaise and it is a great DUP for Hellmans.
Baked Caesar Chicken Recipe: Let’s go on to making the full recipe for this Baked Caesar Chicken. This recipe will actually make four chicken breasts. You could make up to six, but what I usually like to do here is buy two larger boneless skinless chicken breasts and then cut them in half lengthwise so you end up with four thinner chicken breasts. Now if your chicken breasts are already not those crazy, huge chicken breasts, then go ahead and just buy four chicken breasts. Then you’re going to take those salt and pepper them on both sides. So of course, use kosher salt here and get them nice and seasoned.
Set those aside. Then you’re going to make your Caesar cream sauce. So in a bowl, you’re just going to whisk together half a cup of mayonnaise, a quarter cup of that whole milk Greek yogurt, one tablespoon of dijon mustard, and one teaspoon of lemon zest. Two teaspoons of freshly squeezed lemon juice, two minced garlic cloves, a quarter cup of capers that have been drained, half a teaspoon of kosher salt, and then black pepper to taste. Whisk that all together. Then what you want to do is reserve about a third of that sauce that you will actually serve on the side at the table.
Then with the remaining sauce, you want to take about three tablespoons and spread that down into the bottom of a glass baking dish. Pop the seasoned chicken right on top of that sauce and then take the rest of the sauce and pour it over top. You’re going to bake this uncovered for 25 to 30 minutes until your chicken reaches 165 degrees at its thickest point. That’s the most important part. This cook time, is 25 to 30 minutes, it could go all the way up to 40 minutes if you have really thick chicken breasts.
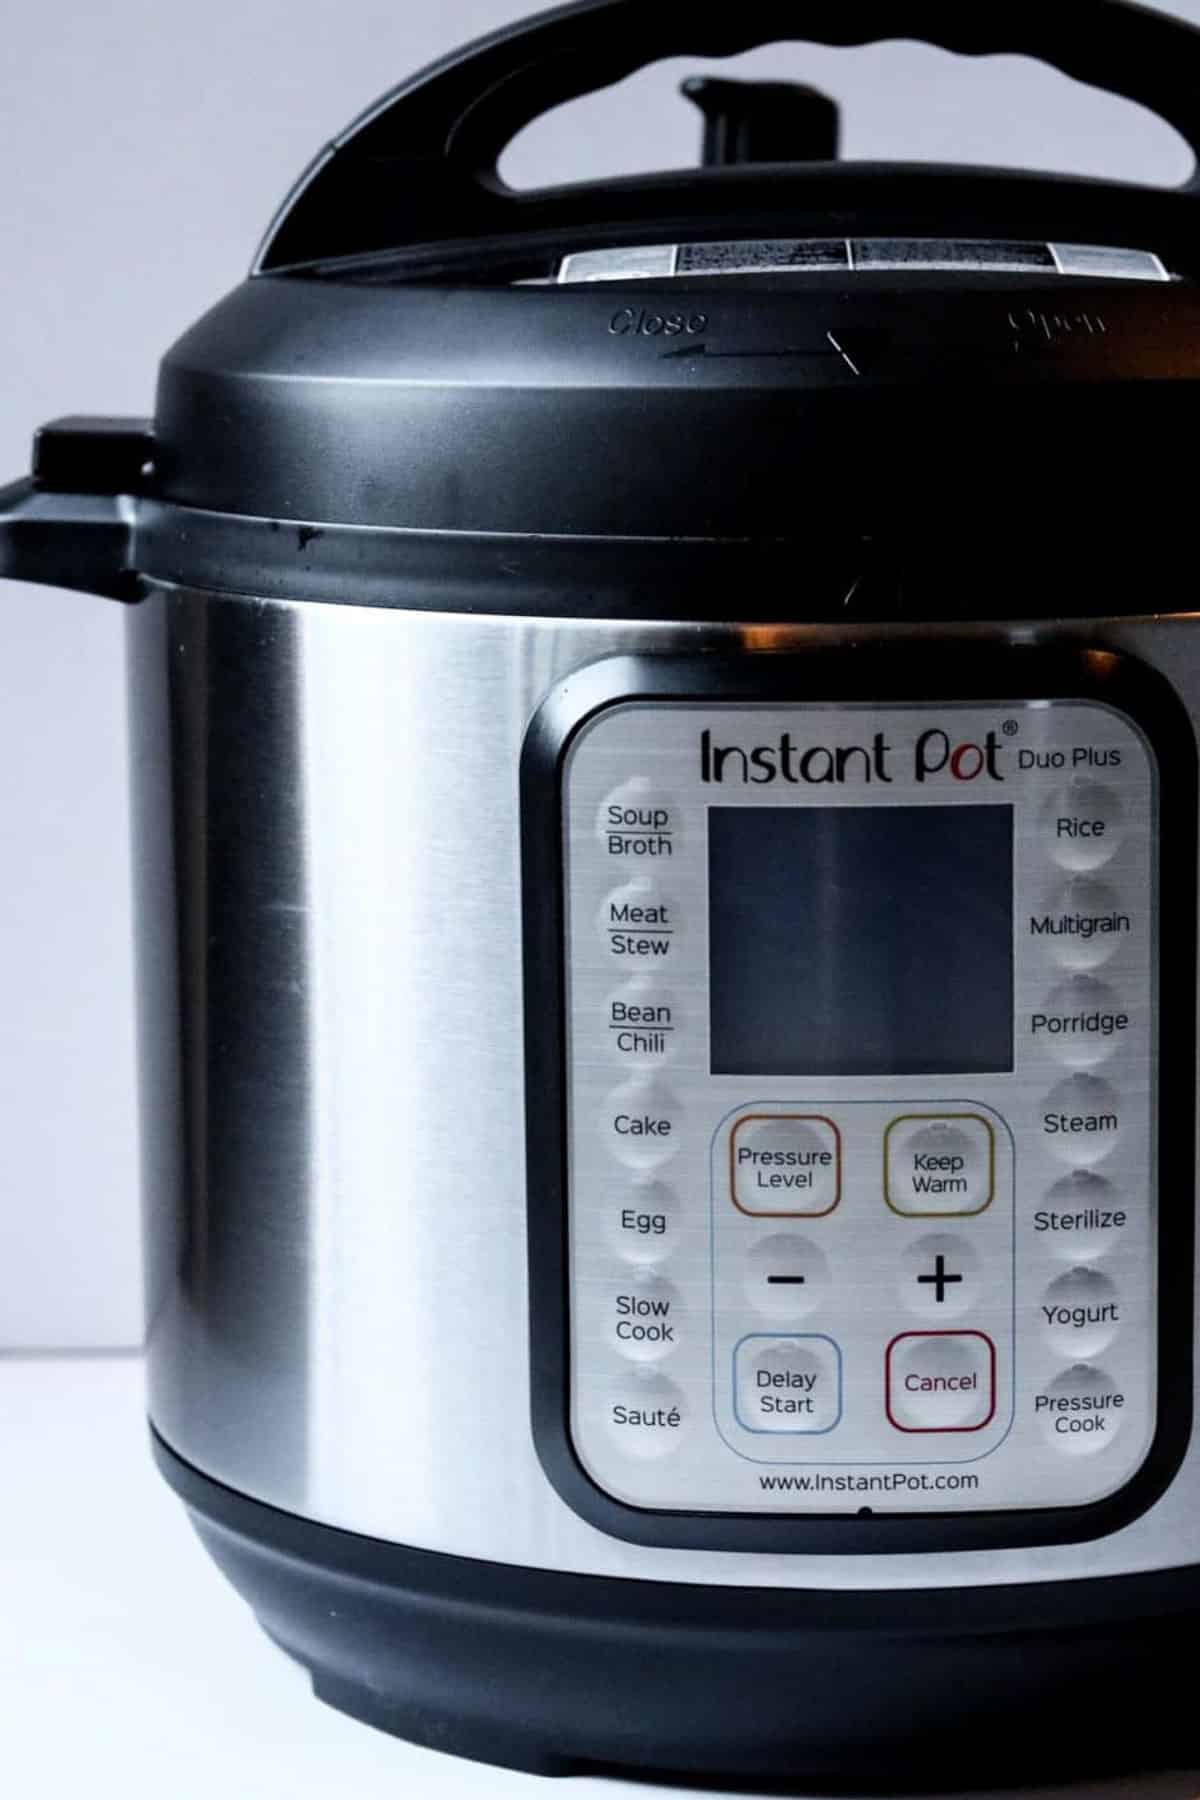
Now at the very end of this recipe, I like to turn the broiler on and cook that chicken for an additional two minutes. That Caesar sauce will start to brown on top. Really delicious. Another option here is to grate some fresh Parmesan cheese over top and let that melt under the broiler. Really delicious. So that’s the full recipe. I mean, so easy. So what I will say, in that time, you can absolutely make some couscous. I’ve got a great recipe for a Parmesan risotto that you make in your instant pot that would be excellent on the side. Then either roasted asparagus, roasted broccoli, or some green beans as a side vegetable would be perfect.
So this was kind of a quick little episode today. That’s all I’ve got for this recipe. If you are loving this content here on Let’s Make Dinner, then I would love to have you subscribe to the newsletter that goes out every Thursday and Sunday. I send out a newsletter on Thursday for this podcast, and then on Sunday I send out a newsletter for Mom’s Dinner, the website where I share all of these recipes, where I go over any new recipes, any appearances or things that I have coming up and dinner ideas for the week. You can go to momsdinner.net/subscribe and you will find a little page where you can subscribe to the newsletter there, or I will put a link in the show notes for you.
Outro: So until next time, I hope this episode of Let’s Make Dinner, makes your dinner time a little easier. See ya.
Double Dip: All right guys, now it’s time for your Double Dip. Thank you so much for sticking around. So if you’re loving these episodes of Let’s Make Dinner, then always stick around for the double dip at the end of the episode because I’m going to go over what we’re going to be making next week. Then you can add it to your meal plan for next week and have the ingredients all ready when the episode comes out and you can cook right along with me.
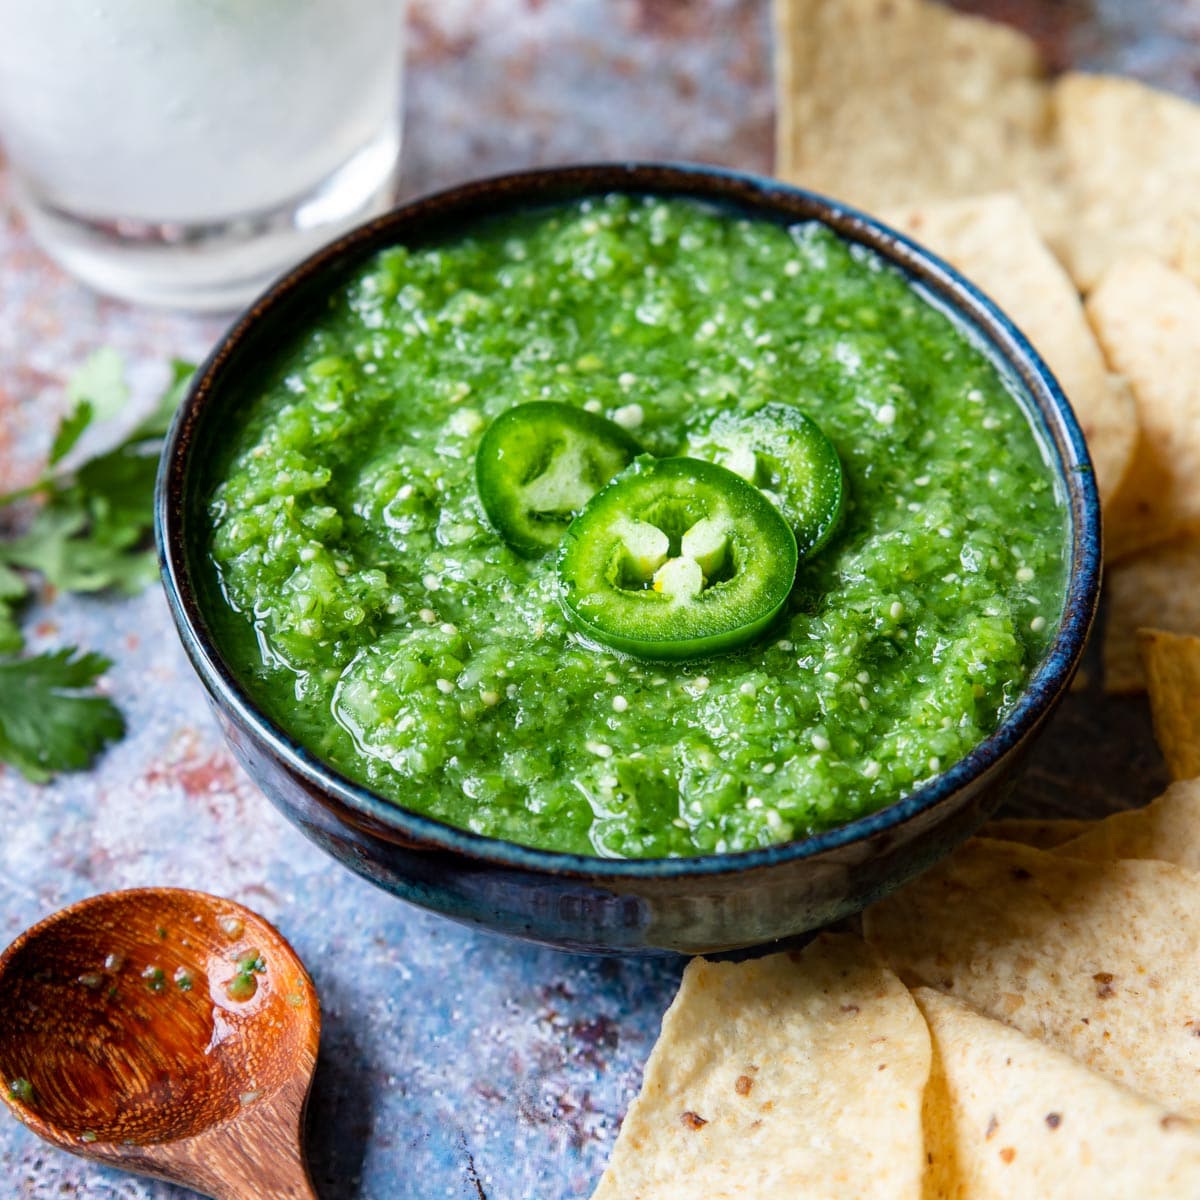
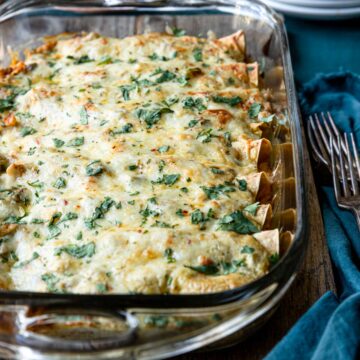
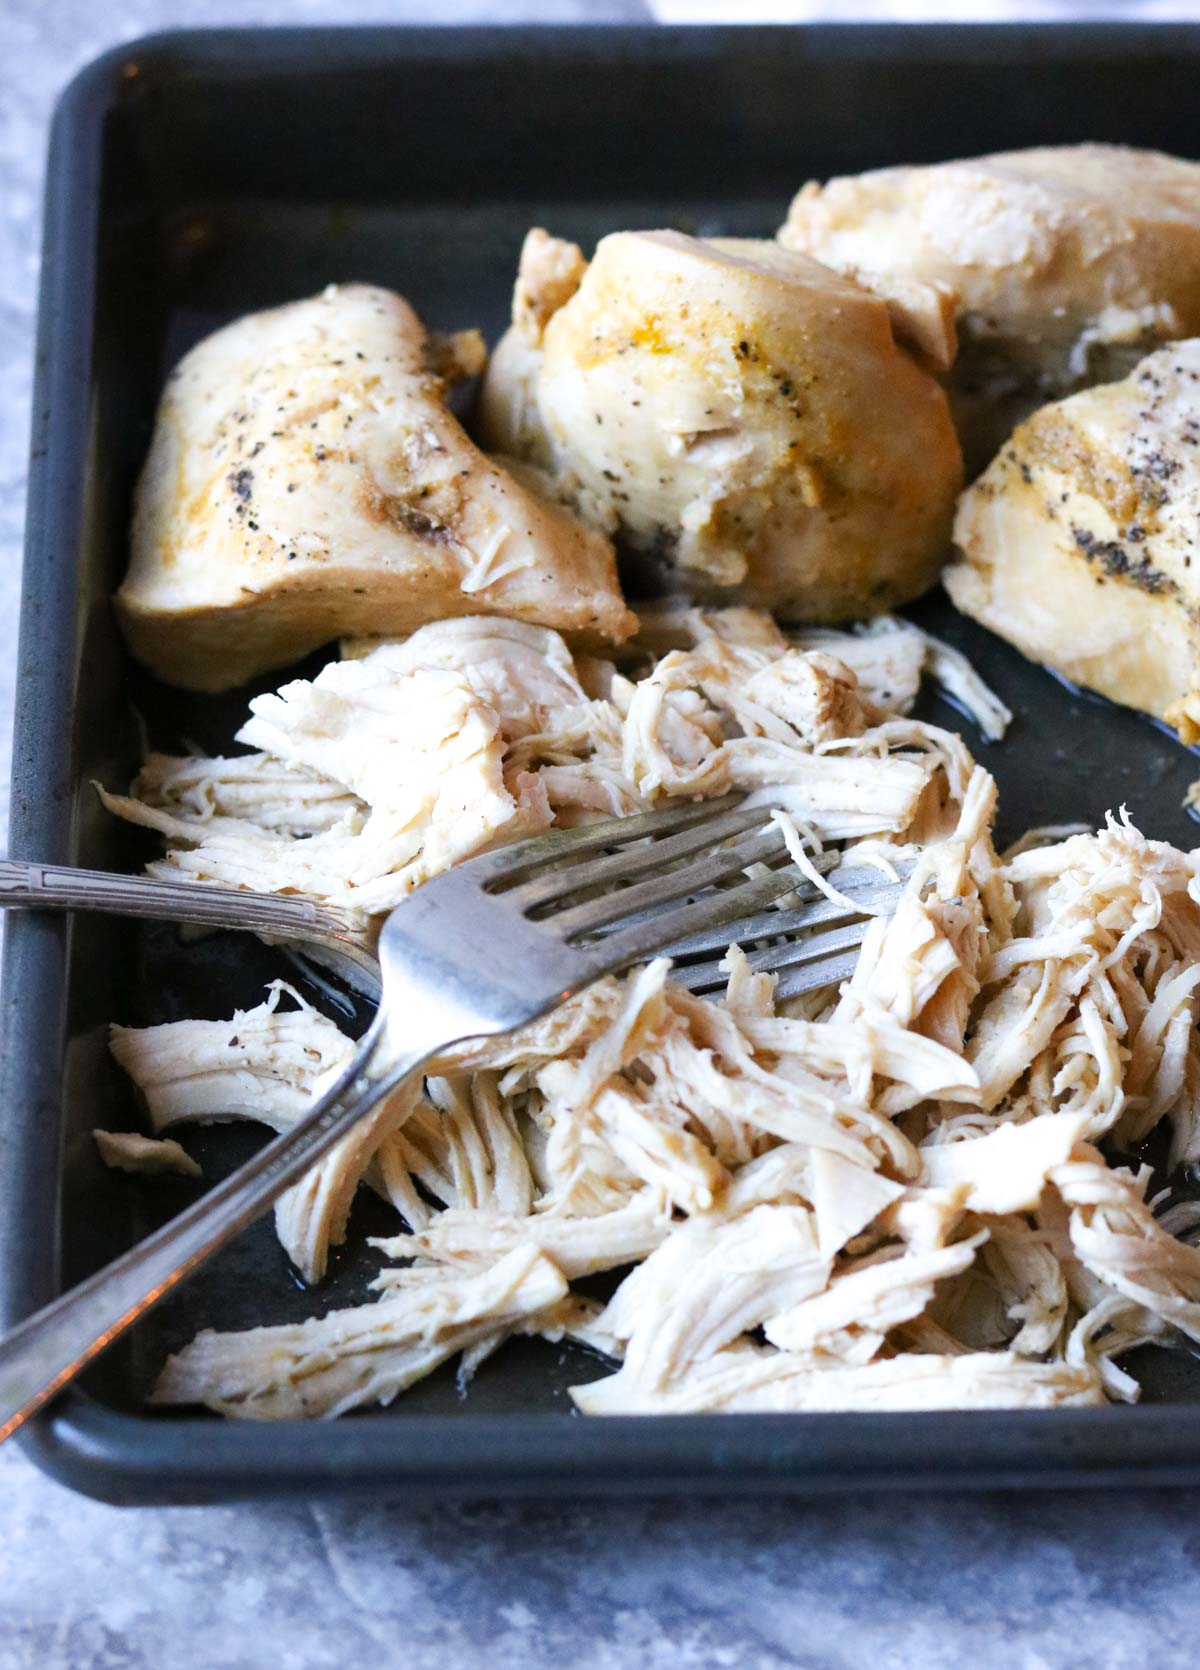
So next week on Thursday, we’re making Cream Cheese Chicken Enchiladas. So if you listen to these in real-time, then you know that Cinco de Mayo is coming up. So we got to try all of our yummy Mexican recipes. This one is absolutely delicious. Cream Cheese Chicken Enchiladas. Here’s what you’re going to need to make these: olive oil, yellow or white onions, fresh garlic, jalapeno, and two and a half cups of cooked shredded chicken. This is a great time to use that rotisserie chicken from Costco. Eight ounces of cream cheese, four ounces of sour cream, a four-ounce can of chopped green chilies, kosher salt, 10 to 12 flour tortillas or yellow corn tortillas, 20 ounces of red enchilada sauce, and then an eight-ounce block of cheese. You can use Monterey jack, Kobe jack, pepper, jack, cheddar, or whatever you like on top of your enchiladas.
Then for serving, I love to do some fresh avocado, cilantro, green onions, and maybe some shredded lettuce or pico de gallo. Then on the side, think about like refried beans and Mexican rice.
So I will also put a link to this recipe in the show notes so you can go and check out the ingredients and the full recipe if you’re going to make it with me next Thursday.
So until then, I hope you guys have a great week and we’ll see you later.
Recipes Mentioned
- Caesar Chicken Bake
- Roasted Asparagus
- Roasted Broccoli
- Green Beans
- Store bought side dish: Near East Roasted Garlic Couscous
- Instant Pot Risotto or Mushroom Risotto
Next Week
I would love to have you join me every Thursday when a new episode of Let’s Make Dinner comes out. Cook along with me or listen to the recipe!
Next week we are making Cream Cheese Enchiladas. Grab the ingredients and make them for dinner.

Subscribe To Stay Connected!
Sign up for the Mom's Dinner Newsletter and get dinner help delivered straight to your inbox. From new recipes and videos to weekly dinner ideas and kitchen tips, it's your go-to resource for feeling confident at dinnertime.