Nothing beats the rich taste of Homemade Chicken Stock. Simmer a whole fryer chicken or leftover chicken bones with veggies and aromatics for a few hours and you will have the most amazing golden stock. It will take all your recipes that call for chicken stock to the next level!
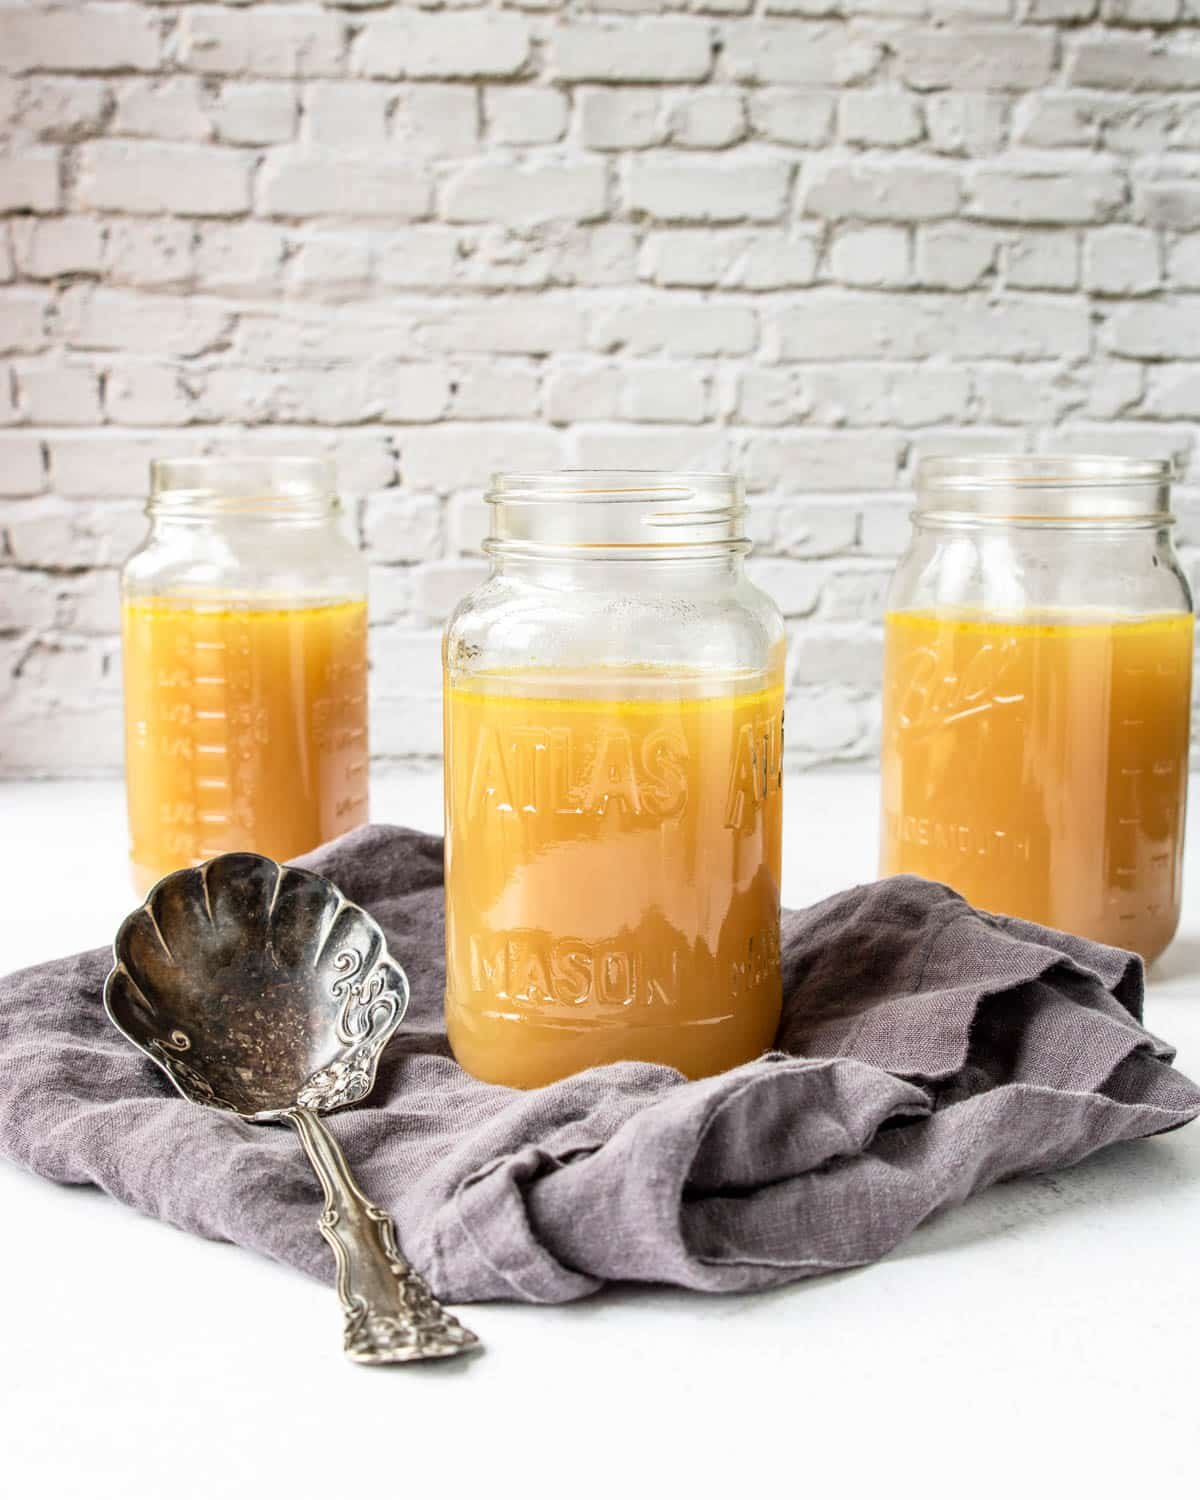
Chicken stock is a staple ingredient in many dishes, from soups and stews to sauces and gravies. While it is easy to pick up a can or carton of chicken stock from the store, nothing beats the taste and nutritional value of homemade chicken stock.
Making your own chicken stock is not only cost-effective, but it also allows you to control the ingredients and adjust the flavor to your liking.
This recipe has a long simmer time, so if you are short on time and need your stock stat, try this Instant Pot Stock Recipe instead!
Recipes to Use Your Homemade Chicken Stock
Here are some of our favorite recipes to use this liquid gold Chicken Stock:
- Homestyle Chicken Noodle Soup
- Chicken Noodle Soup for Kids
- Chicken Pot Roast
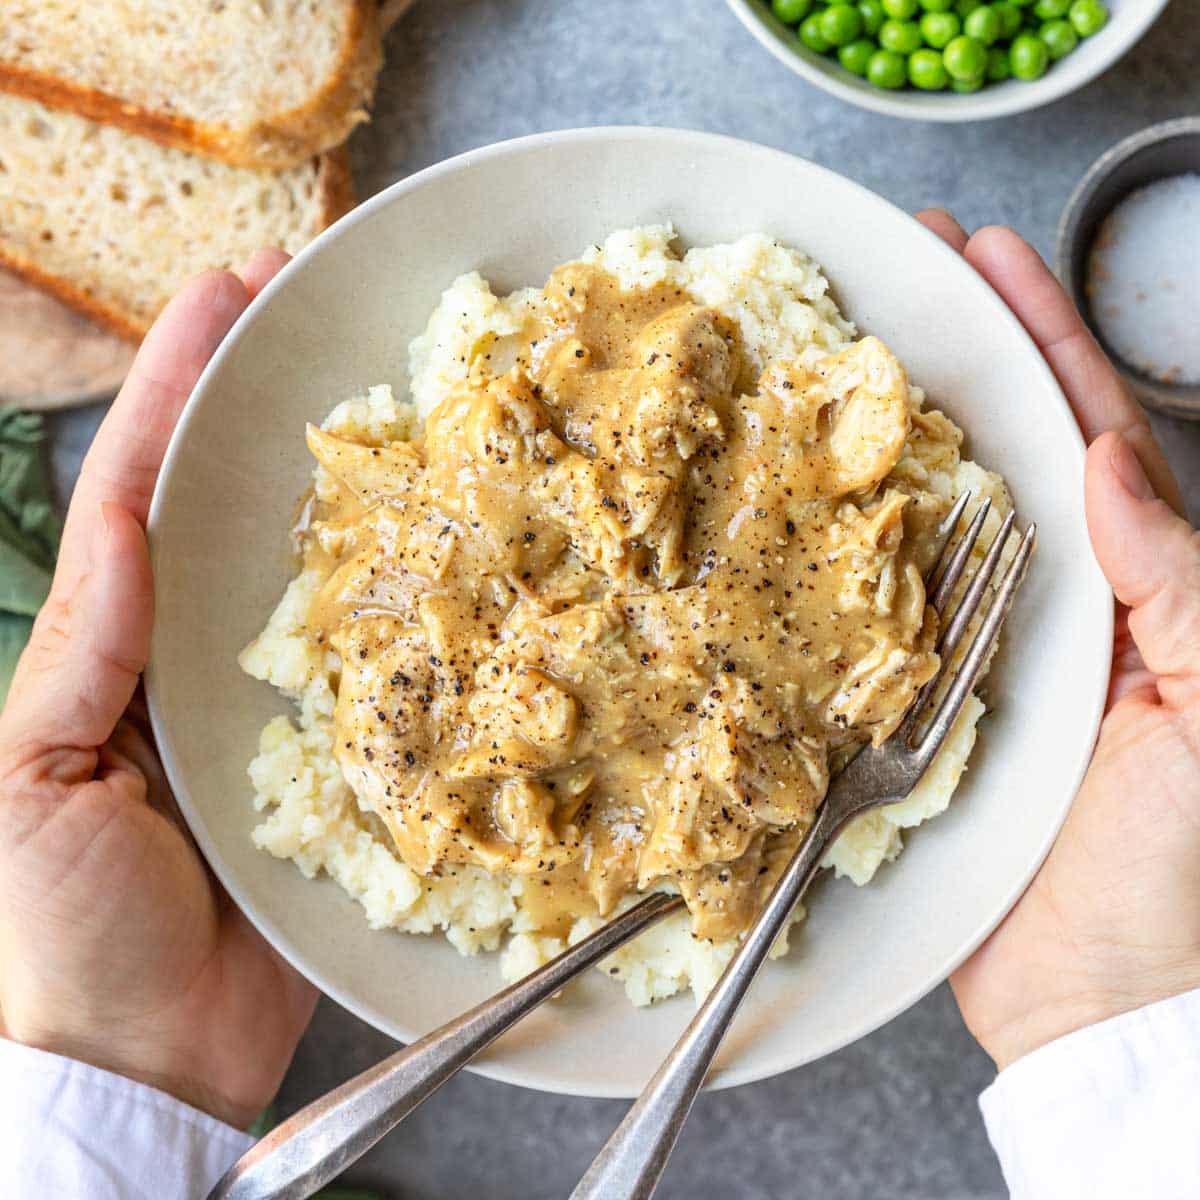
- Gravy Without Drippings
Benefits of Stock
Homemade chicken stock has a depth of flavor that cannot be replicated by store-bought varieties. This is because it is made with fresh, whole ingredients, including chicken bones, vegetables, and herbs, that are simmered for an extended period of time.
The long simmer time allows the flavors to be extracted from the chicken bones and veggies, meld together and intensify, resulting in a rich, flavorful stock.
In addition to being delicious, homemade chicken stock is also more nutritious than store-bought varieties. It is packed with vitamins and minerals that are extracted from the bones during the cooking process, including collagen, calcium, magnesium, and phosphorus.
Ingredients
The ingredients for homemade chicken stock are simple and easy to find. Here is a list of the basic ingredients you will need:
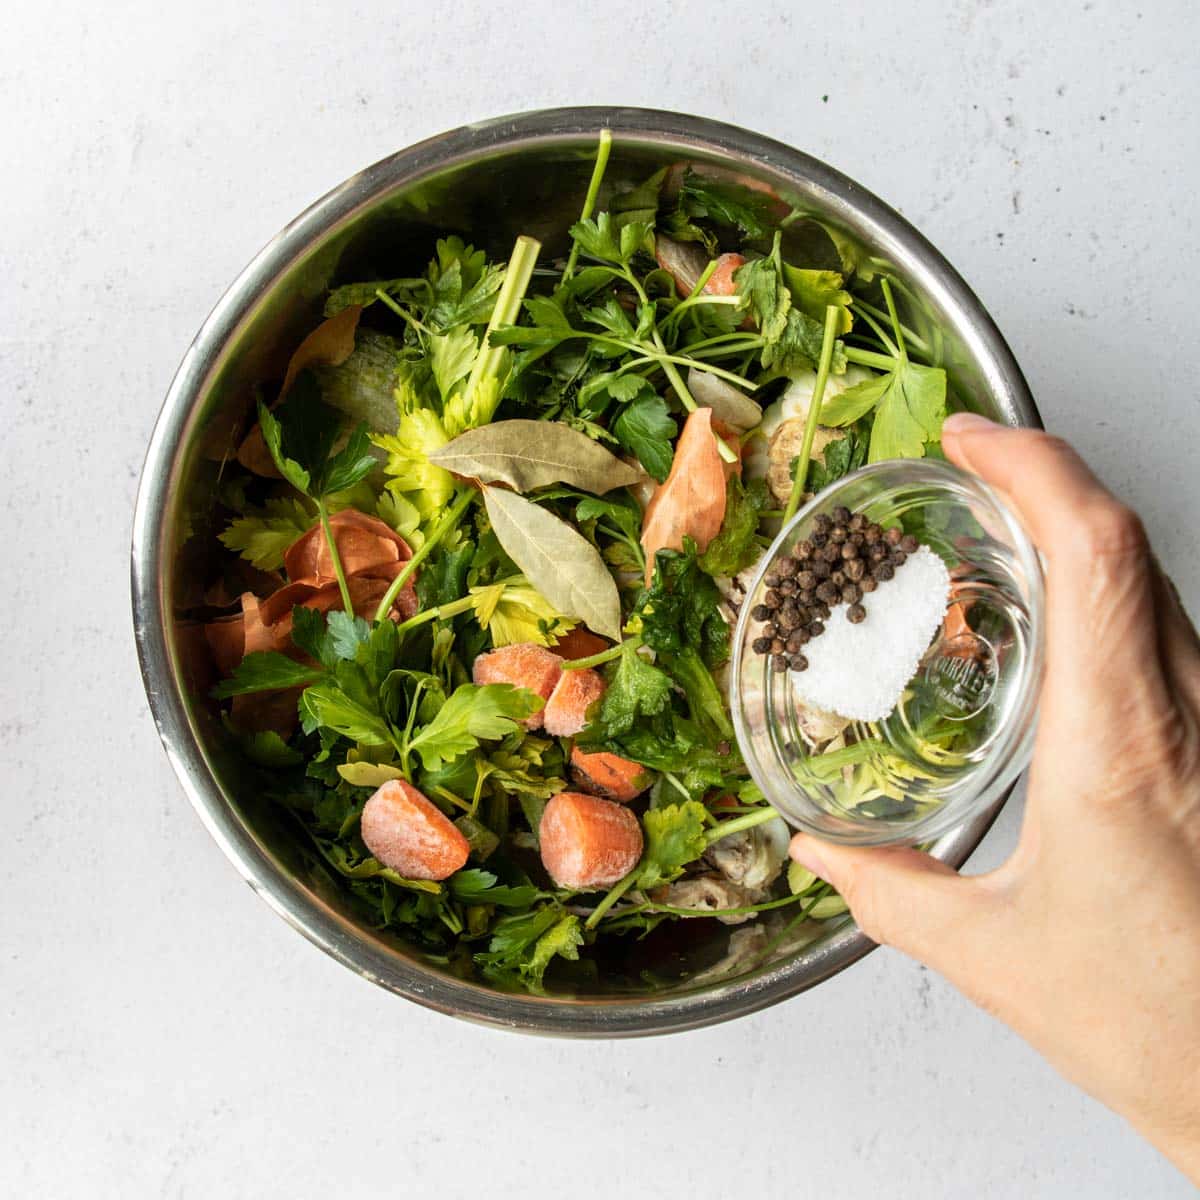
Chicken bones: You will need chicken bones to make STOCK, when you make BROTH you only need the meat. Either a whole fryer chicken, chicken parts, such as a carcass or leftover bones from a roasted chicken, will work. After you have a rotisserie chicken or chicken on the bone, the leftover bones or carcass can be stored in the freezer for up to 3 months and used for stock at a later time!
Water or Chicken Broth: Water is completely sufficient to make chicken stock since you will be extracting the flavor from the chicken bones, meat and the veggies/herbs. But Chicken Broth can absolutely be used in place of the water.
Standard Vegetables: The most common veggies to use are onions, carrots, celery, and garlic . It doesn’t even need to be the whole veggie! Save your veggie scraps, carrot peels, celery bottoms and onion peels. Keep them in a Ziploc baggie in the freezer for up to 6 months and pull them out when you are ready to make stock.
Additional Vegetables: Some other flavors you might consider adding are parsnips, leeks, mushrooms, and parsley.
Herbs & Spices: Add some delicious aromatics to ramp up the flavor, like bay leaves, thyme, rosemary, lemon, peppercorns, and kosher salt. Sometimes if I really want to amp up the flavor I will stir in a Tablespoon of chicken base at the end OR a couple chicken bouillon cubes at the beginning, this is kind of cheating but we love the flavor.
Ground Turmeric is another great option that has anti-inflammatory properties, especially when paired with black pepper, and can bolster the color of your stock!
Required Equipment
To make homemade chicken stock, you will need a few basic pieces of equipment:
- Stock pot: A large stock pot is necessary to hold all of the ingredients and allow for the simmering process.
- Fine mesh strainer: This is used to strain the stock after it has cooked to remove any bones or vegetable pieces.
- Storage containers: You will need containers to store the chicken stock in after it has cooled. I love to use large mason jars for the fridge, and gallon Ziploc bags or Souper Cubes for the freezer.
How to Make Homemade Chicken Stock
There are several methods for making homemade chicken stock, including this Instant Pot Chicken Stock Method, but we are going to focus on the stovetop method.
- Start with the chicken bones.
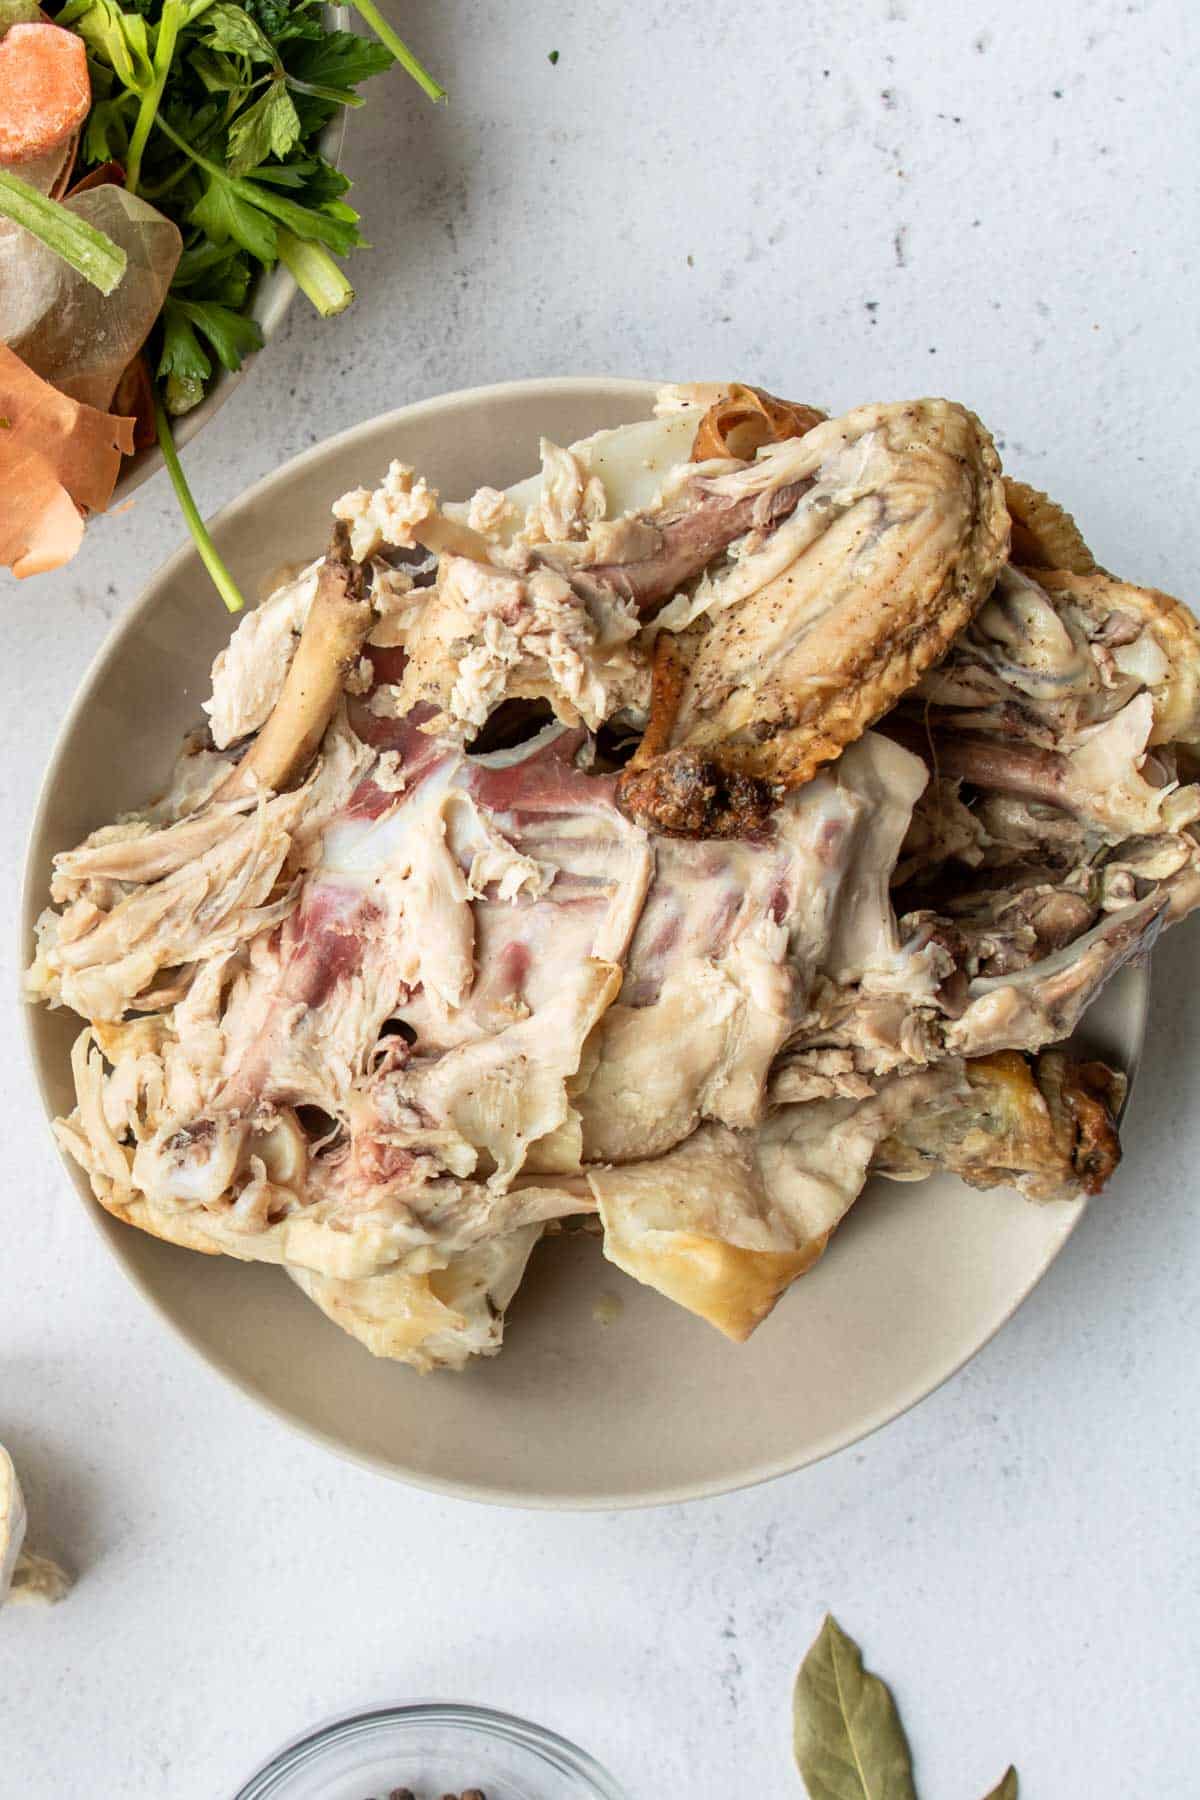
If you are using a whole cooked rotisserie chicken, remove the meat and save it for another use. If you are using chicken parts, such as a carcass or leftover bones place them in a large stock pot.
- Add water and vegetables.
Add enough cold water or chicken broth to the pot to cover the bones by a few inches. Add roughly chopped vegetables, such as onions, a whole garlic head cut in half, carrots, green onions, and celery, to the pot (or your frozen veggie scraps!).
- Add herbs and seasonings.
Add herbs, such as bay leaves, black peppercorns, rosemary, fresh thyme, and/or parsley to the pot. You can also add a little kosher salt.
- Bring to a simmer.
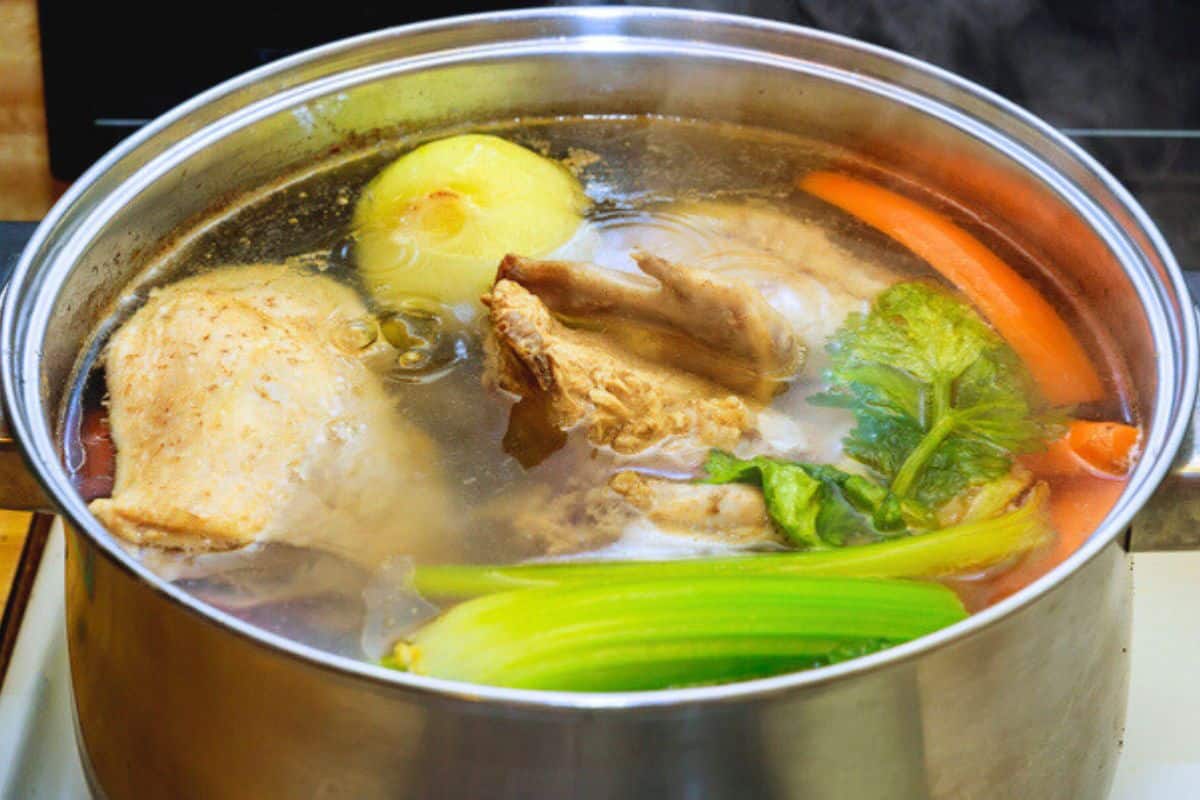
Place the pot on the stove over medium high heat and bring it to a simmer. Once it reaches a simmer, reduce the heat to low. Cover and simmer for 4-6 hours (up to 8 hours!). If any scum rises to the surface during cooing, skim it off with a metal spoon and discard. During the last hour stir in a Tablespoon of Chicken Base (we like Better Than Bouillon).
**Scum is a white or dirty looking foam that can occur within the first hour or two of cooking chicken.
- Strain the stock.
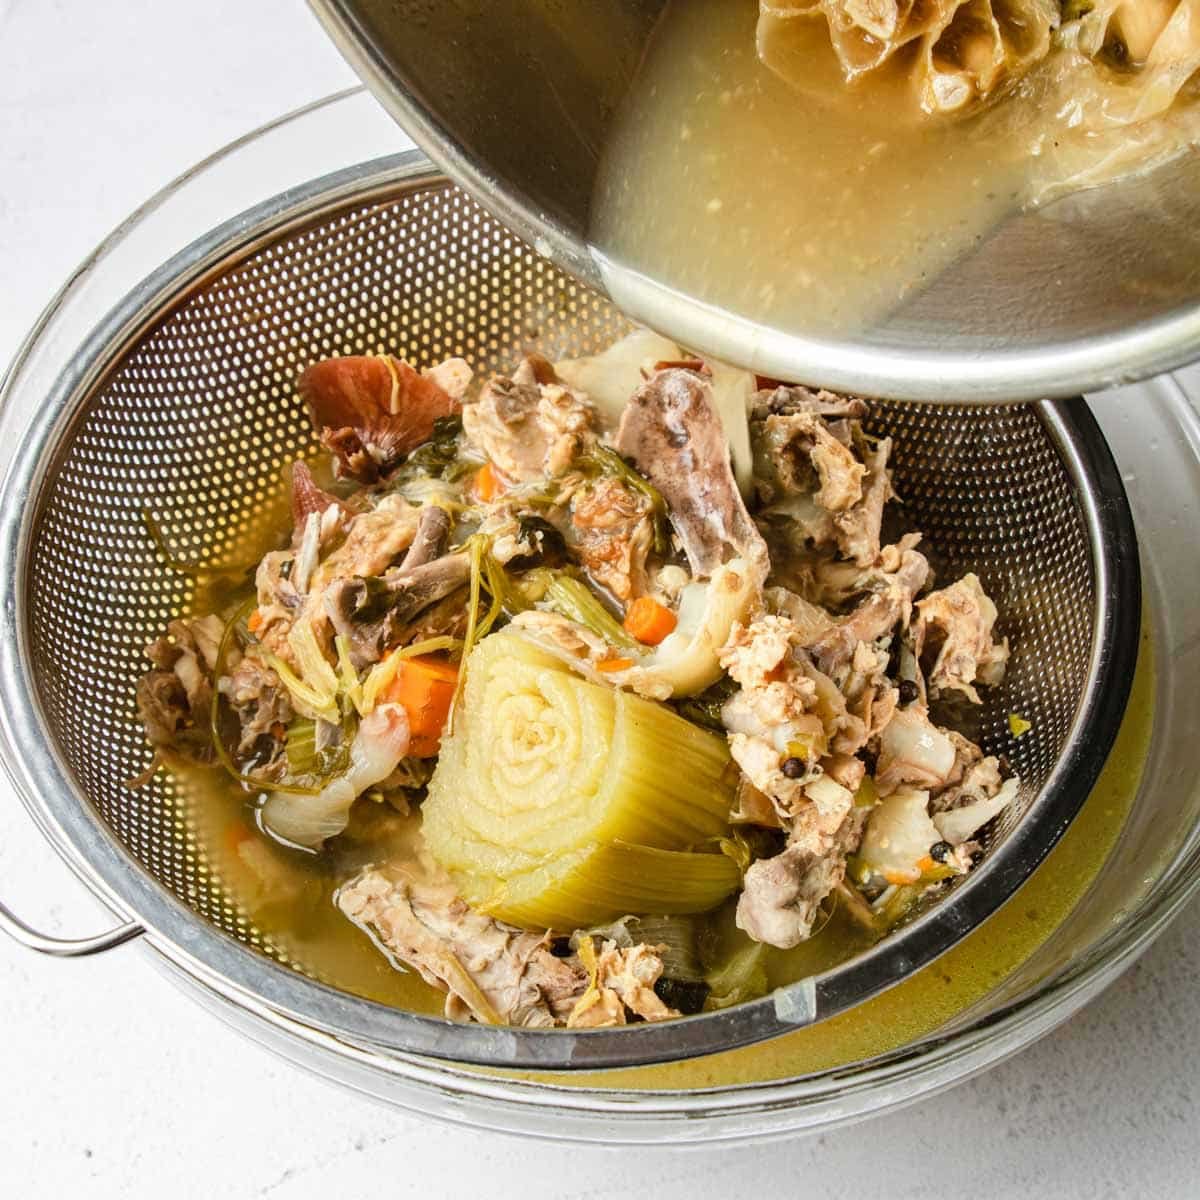
Once the stock has cooked, remove it from the heat and let it cool slightly. Use a ladle to transfer the stock to a fine mesh strainer set over a large bowl or pot. Strain the stock to remove the solids from the liquid. You can discard the solids at this point.
- Store or use the stock.
Once the stock has been strained, let it cool completely before refrigerating or freezing. Homemade chicken stock can be stored in the refrigerator for up to 5 days or in the freezer for up to 6 months.
Tips for Removing Fat From Stock
You want all the delicious golden chicken stock liquid to use in your recipes, not the greasy fat! There are a few ways to do that. My favorite way is to chill the chicken stock in the fridge and then skim off the hardened fat on the top (option #1).
Here are a few ways for removing fat from chicken stock:
- Chill the stock: One of the easiest ways to remove fat from chicken stock is to refrigerate it overnight. Once the stock has cooled down, the fat will solidify on top, making it easy to remove with a spoon.
- Use a fat separator: Another option is to use a fat separator. This handy tool allows you to pour the stock into a container and the fat will rise to the top while the stock settles at the bottom. Simply pour off the stock, leaving the fat behind to discard.
- Use a paper towel: You can also use a paper towel to soak up the fat from the surface of the stock. Simply place a paper towel on top of the stock and gently press it down to absorb the fat.
- Skim the fat: While you’re simmering the stock, periodically skim the fat off the surface with a ladle or spoon. The fat will look shiny or greasy on top of the stock.
Storing and Freezing
I like to divide a big batch of this Homemade Stock so some is ready for use right away in the fridge and then the rest goes in the freezer for use at a later date.
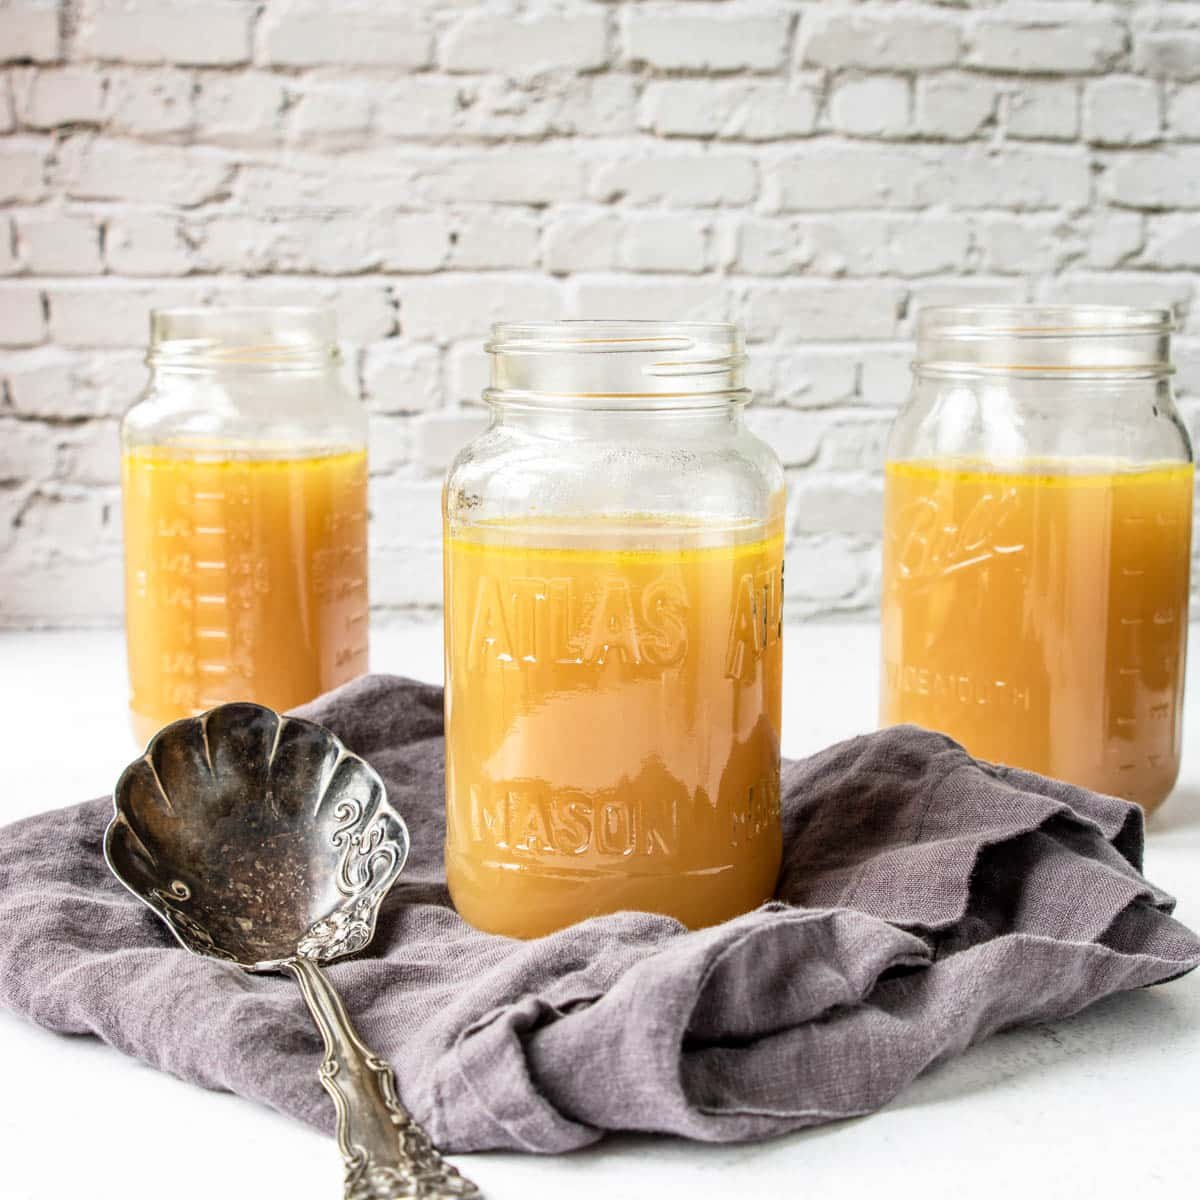
You can store Chicken Stock in the fridge for up to 5 days. I love using large mason jars to store it in the fridge.
In the freezer, your stock will be good for up to 6 months. Large gallon size Ziploc baggies are great to use. Or these Souper Cubes are a great way to freeze your stock too!
Pro Tip: when freezing your stock, freeze it in 2 or 4 cup portions so that you don’t need to thaw a whole batch just to use 2 cups!
Recipe FAQ’s
This is actually a REALLY good sign! It means that your delicious chicken stock is full of collagen, which is great for your skin, hair and bones. Once you heat the stock it will return to it’s liquid state.
Make sure you add plenty of aromatics like bay leaves, garlic, black peppercorns, lemon, and fresh herbs like thyme, rosemary and parsley. Also a tablespoon of chicken base or a couple bouillon cubes can really ramp up the flavor!
Stock and Broth are sometimes used interchangeably in recipes. But they are quite different. Stock is more flavorful and has a higher level of nutrition while broth is light in color and flavor and is great in recipes where you don’t necesarily want to taste the chicken flavor.
Chicken bones are required to make stock. Whether or not the chicken meat is involved in the making of stock is personal preference.
Chicken broth is made from simmering the meat of chicken, not the bones.
You will just need a couple things to make a delicious chicken stock:
chicken bones or carcass, water, vegetables, aromatics.
Chicken bones: You will need chicken bones to make STOCK, when you make BROTH you only need the meat. Either a whole fryer chicken, chicken parts, such as a carcass or leftover bones from a roasted chicken, will work. After you have a rotisserie chicken or chicken on the bone, the leftover bones or carcass can be stored in the freezer for up to 3 months and used for stock at a later time!
Water or Chicken Broth: Water is completely sufficient to make chicken stock since you will be extracting the flavor from the chicken bones, meat and the veggies/herbs. But Chicken Broth can absolutely be used in place of the water.
Standard Vegetables: The most common veggies to use are onions, carrots, celery, and garlic . It doesn’t even need to be the whole veggie! Save your veggie scraps, carrot peels, celery bottoms and onion peels. Keep them in a Ziploc baggie in the freezer for up to 6 months and pull them out when you are ready to make stock.
Additional Vegetables: Some other flavors you might consider adding are lemon, parsnips, leeks, mushrooms, and parsley.
Herbs & Spices: Add some delicious aromatics to ramp up the flavor, like bay leaves, ground turmeric, thyme, rosemary, peppercorns, and kosher salt. If you really want to amp up the flavor stir in a Tablespoon of chicken base at the end or add a couple chicken bouillon cubes at the beginning, this is kind of cheating but makes amazing flavor.
This is personal preference. Both will work since you are simmering the broth for a long amount of time and don’t need to worry about using raw chicken. Some say that cooked or roasted chicken bones (like a leftover rotisserie chicken carcass) actually produces more flavorful stock.
This is actually a good sign! If your chicken stock is clear or translucent it would lack flavor and be more broth-like. The fact that it is opaque and cloudy means that it is full of flavor and nutrition.
If you use a whole fryer chicken to make chicken stock you can definitely use the meat to make other recipes after it cooks. It is basically poached chicken at this point. Just make sure the meat is cooked to 165 degree internal temp so that it is safe to eat.
Remove the cooked meat from the carcass and shred. Save in the fridge for up to 4 days or pop in the freezer for up to 3 months. Would be great in enchiladas or soups!
It is not necessary to peel your veggies before using them in your chicken stock pot. Onion peels and garlic peels can be left on, carrots do not need to be peeled, etc…
However, it is always a good idea to wash them or scrub then, especially if they are considerably dirty or covered in visible dirt.

💛💛💛💛💛
Did you make this recipe?
I would love to hear your review, especially if you have tips and tricks to add! Pop down to the comment section and connect with me
Homemade Chicken Stock Recipe
Equipment
- Large Stock Pot
- large bowl
Ingredients
- chicken bones or a large fryer chicken see note #1
- 1 whole yellow onion quartered (do not need to peel)
- 1 head of garlic halved (do not need to peel)
- 3 large carrots cut into 3 pieces each (do not need to peel)
- 2 large celery ribs cut into 3 piece each (leaves or the bottom of celery stalk are great too!)
- 1 bunch parsley
- 2 bay leaves
- ½ teaspoon kosher salt
- ½ teaspoon black peppercorns or cracked black pepper
- 2-4 quarts water or chicken broth (this is 8-16 cups)
- 1 tablespoon chicken base (can sub 3 chicken bouillon cubes, see note #3)
Optional add in's to consider:
- 1 lemon halved
- fresh rosemary and/or thyme
- leeks, mushrooms, green onions, and/or parsnips
- 1 teaspoon ground turmeric
Instructions
- In a large stock pot over medium heat add the chicken bones, veggies, aromatics, seasonings, and then cover everything with water or chicken broth by a few inches – this will be between 8-16 cups of water.(if you are using the bouillon cubes instead of chicken base, add those now)chicken bones or a large fryer chicken, 1 whole yellow onion, 1 head of garlic, 3 large carrots, 2 large celery ribs, 1 bunch parsley, 2 bay leaves, ½ teaspoon kosher salt, ½ teaspoon black peppercorns or cracked black pepper, 2-4 quarts water or chicken broth
- Add optional add in's if using:1 lemon, fresh rosemary and/or thyme, leeks, mushrooms, green onions, and/or parsnips, 1 teaspoon ground turmeric
- Bring the pot to a simmer, then reduce the heat to low. Skim any scum that has accumulated on the top of the stock.*Scum is a white or dirty looking foam that can occur within the first hour or two of cooking chicken.
- Cover and cook on low for 4-6 hours, up to 8 hours.
- During the last hour of cooking stir in the chicken base, if using.1 tablespoon chicken base
- Taste the chicken stock and see if you want to add any seasoning; kosher salt, pepper or more chicken base.
- Remove from the heat and let cool for 15 mintues.
- Place a fine mesh strainer over a large bowl. Ladle or pour the stock through the strainer, removing the solids from the liquid. Discard the solids.
- At this point you can use the stock right away or store it for later.
Removing The Fat
- It is a good idea to remove some of the fat that extracted during the cooking.
- Cooling method: for removing any fat you can pop it in the fridge.In a couple hours the fat will harden on the top and you can skim it off and discard.
- Fast cooling method: Place the bowl of chicken stock over a large bowl full of ice. As it cools the fat will float to the top and start to solidify.
- Fast method: Use a fat separator to remove the fat from your chicken stock.
Storing & Freezing
- Store your chicken stock in the fridge for up to 5 days. I like to use large mason jars to store in the fridge.Pro Tip: don't worry if your stock turns into jelly in the fridge. That's a good thing! It means your stock is full of collagen. It will return to it's liquid state upon reheating.
- To keep your stock longer, store it in the freezer for up to 6 months. Souper Cubes or gallon Ziploc baggies work great in the freezer.Pro Tip: freeze it in smaller 2-4 cup portions so that you don't have to thaw the whole batch to just use a couple cups.
Notes:
- Either a whole fryer chicken (raw or cooked), chicken parts, such as a carcass or leftover bones from a roasted chicken, or grilled chicken will work. Or after you have a rotisserie chicken or chicken on the bone for dinner, the leftover bones or carcass can be stored in the freezer for up to 3 months and used for stock at a later time!
- If you stored veggie scraps in the freezer you can use those in place of the veggies in the recipe card.
- If you use chicken base stir it in during the last hour of cooking your stock, if you sub chicken bouillon that can be added in the beginning of making your stock.
If nutrition facts are provided they are calculated as an estimate to the best of our knowledge.



Comments
No Comments