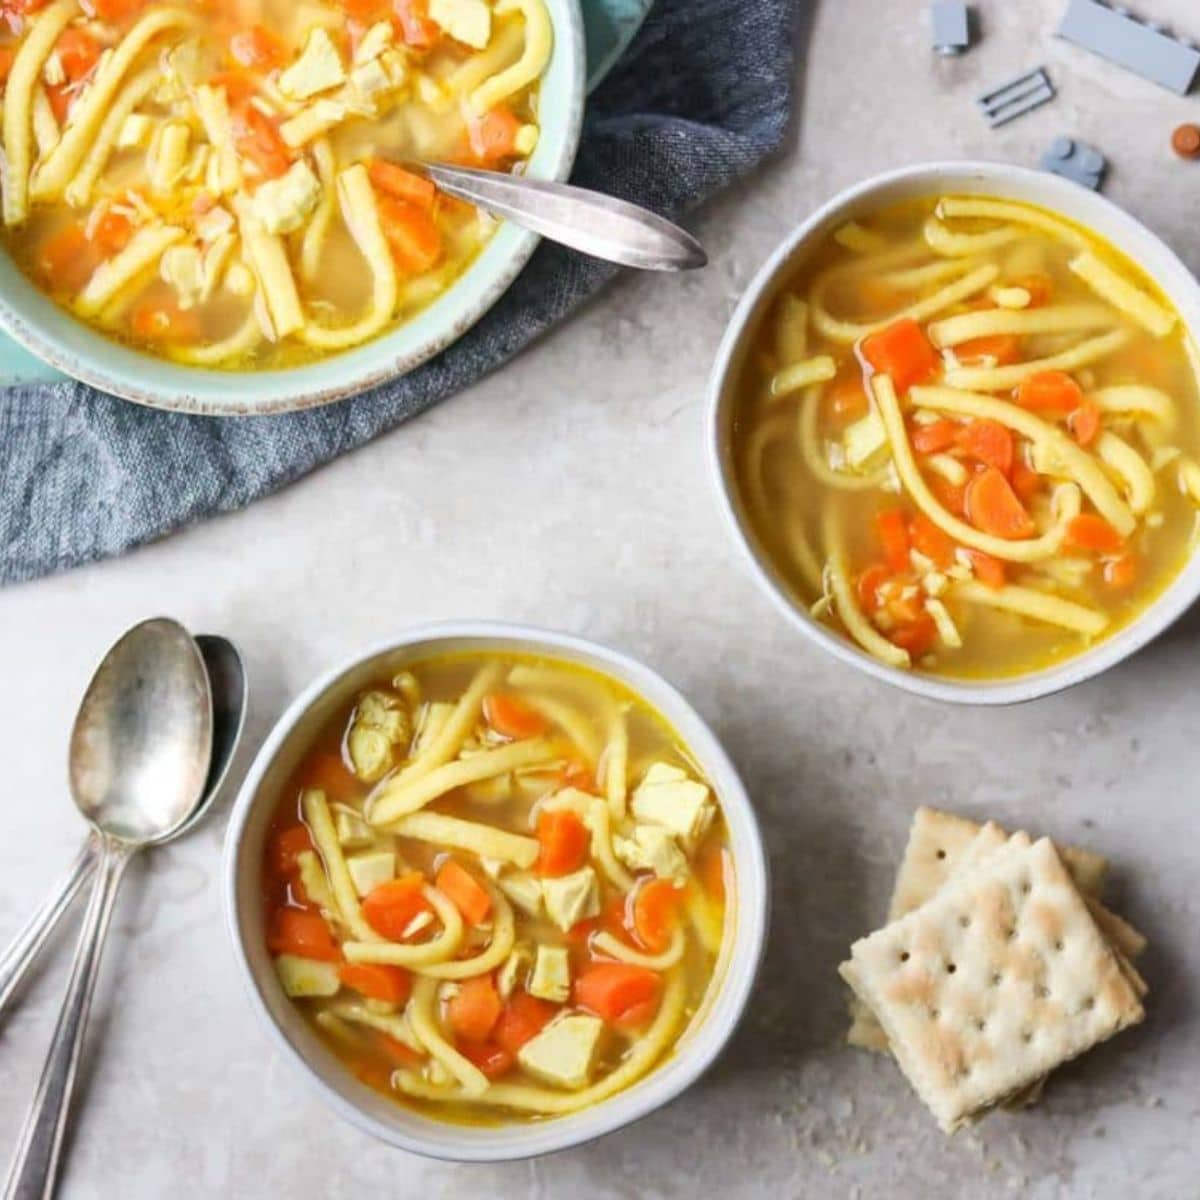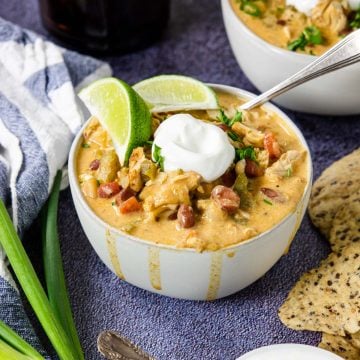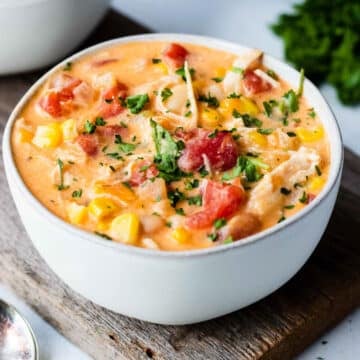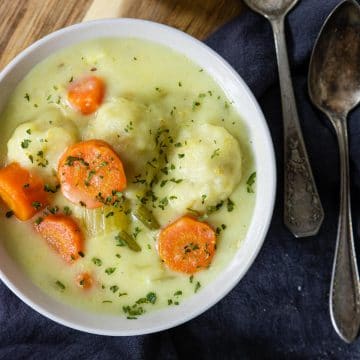
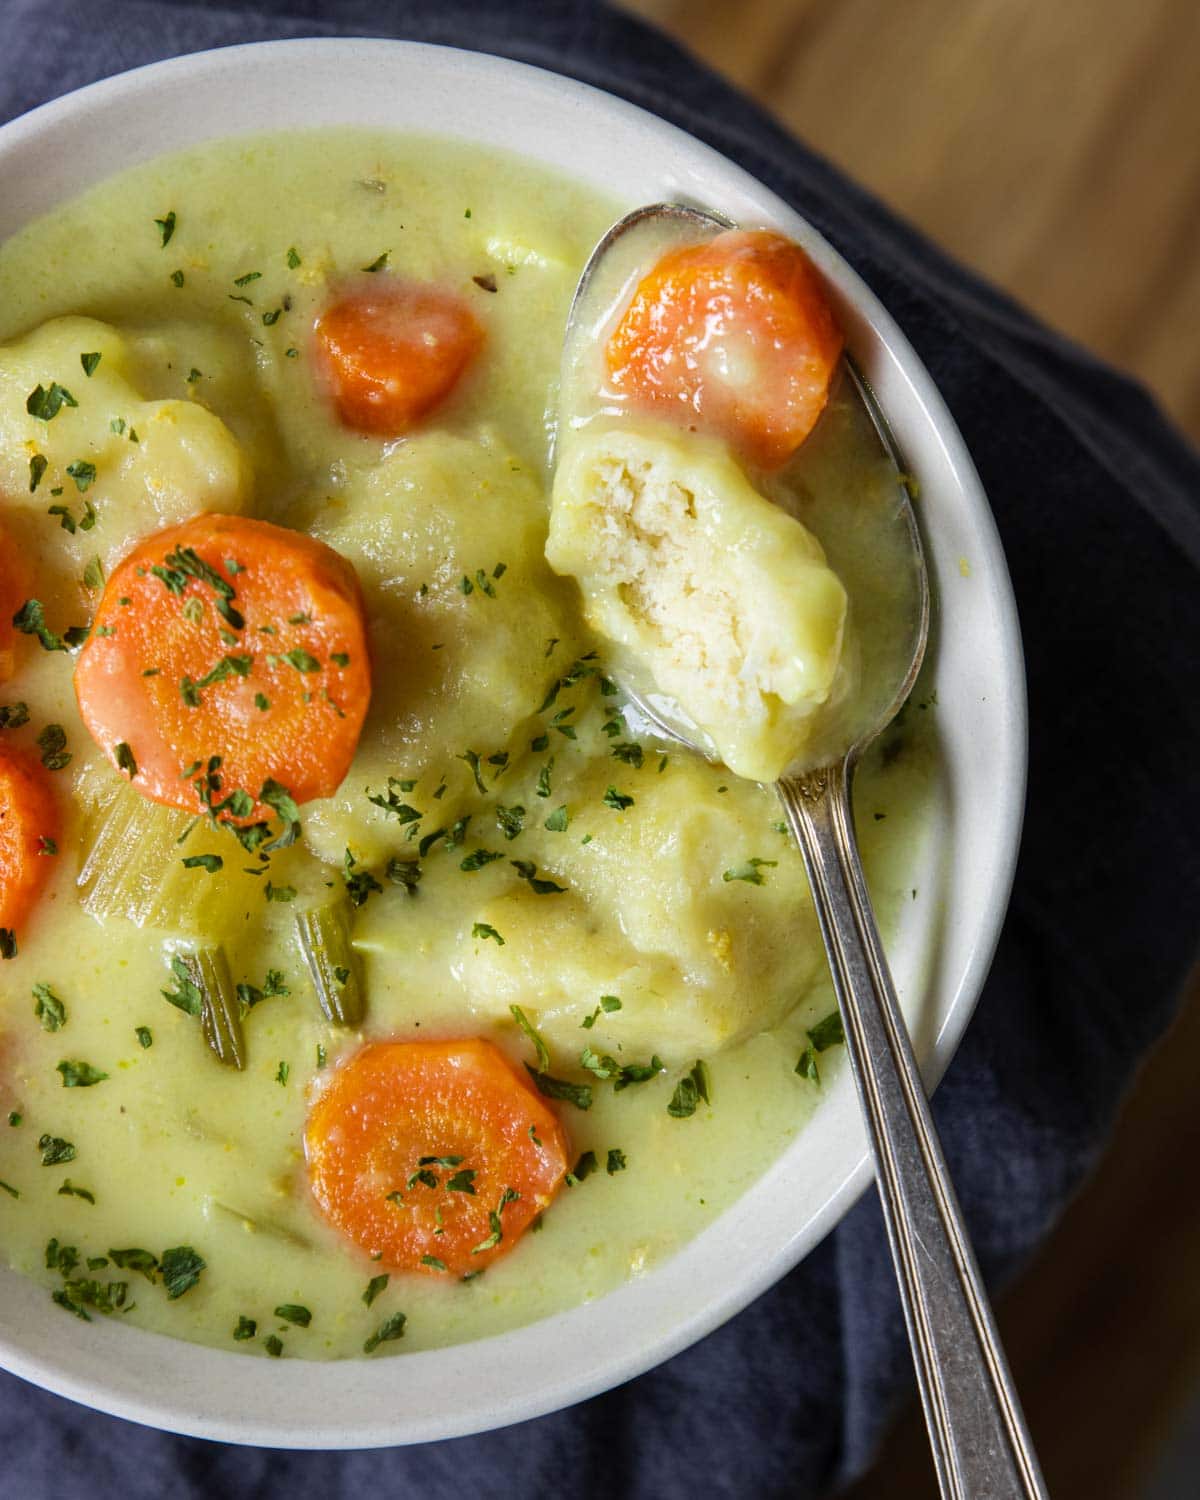
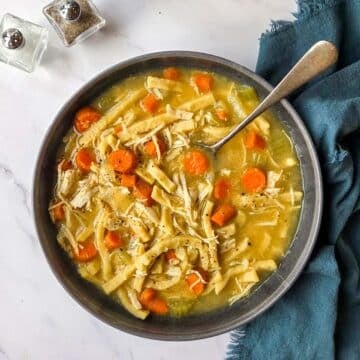
Instant Pot Chicken and Dumplings is a classic comfort food recipe, updated for your modern electric pressure cooker! Creamy chicken stew is filled with tender chicken and fluffy homemade dumplings. It is a family friendly dinner that everyone will love!
You can also make this on your stove top with this Chicken and Dumplings Recipe.
For a REALLY easy chicken and biscuit recipe, great for weeknights or if you don’t have an Instant Pot, check out this recipe for Chicken & Biscuits.
Dumplings
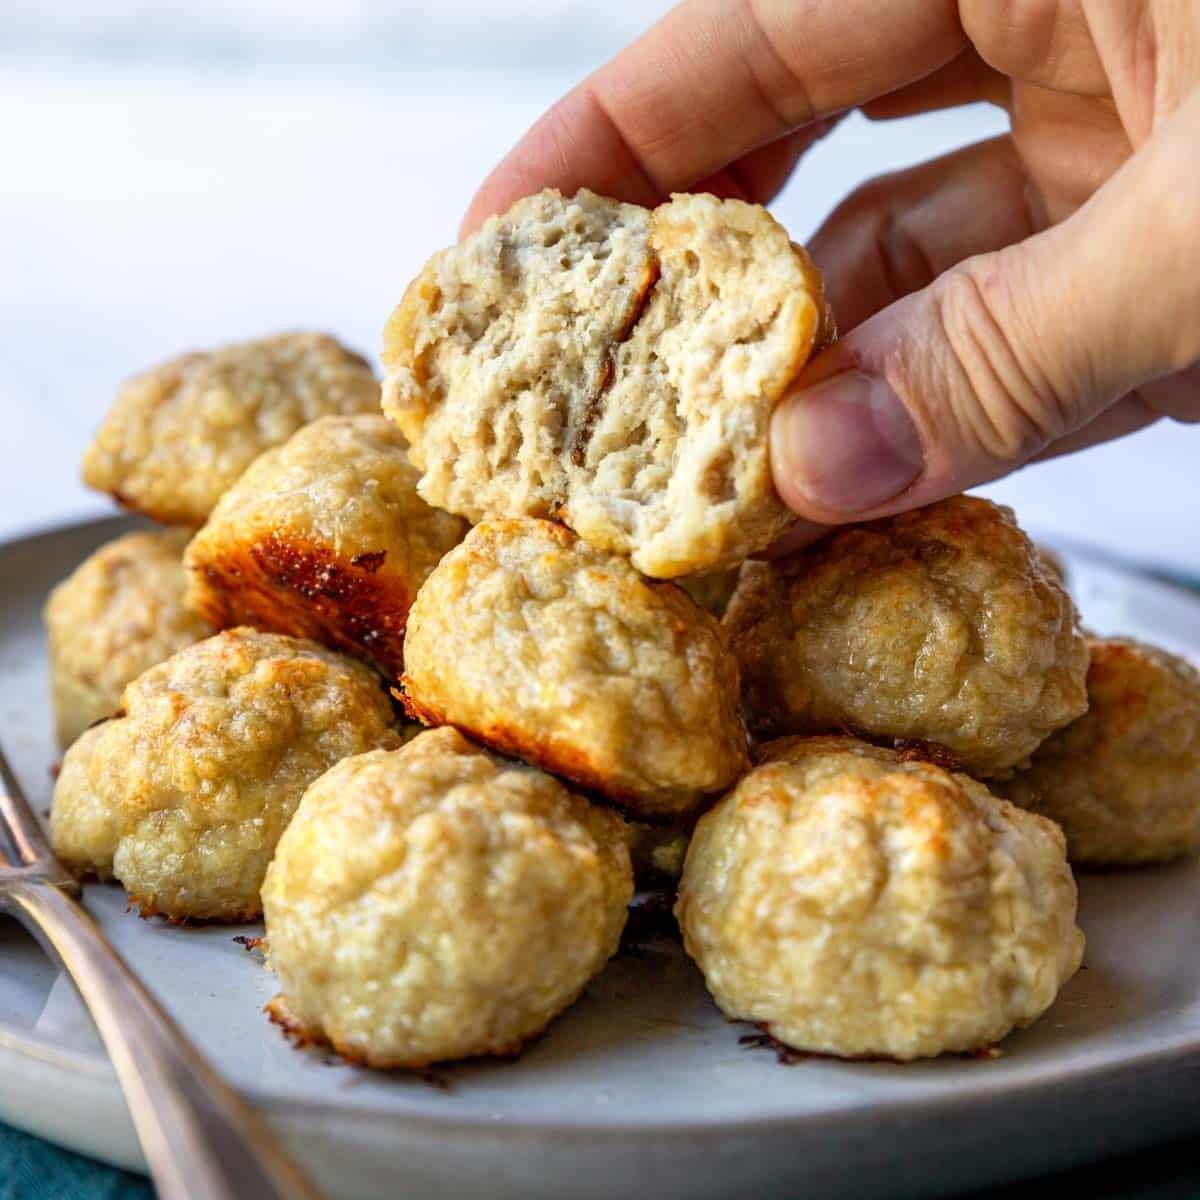
Dumplings are light and fluffy dough balls that are cooked in liquid. The outside stays moist and the inside has more of a biscuit texture.
To make amazing dumplings you need flour, baking powder, salt, butter and milk. There are two key secrets to really great dumplings:
- Don’t overmix the dough!
- Let them simmer in the liquid without disturbing them. No stirring!
Flavoring
Another option with dumplings is adding some herbs to flavor them. Consider adding a couple teaspoons of rosemary, thyme or chives to your dumpling dough.
Size
You can decide what size dumplings you like. If you want more of a bite size, use a teaspoon to drop the dumplings. If you like a larger dumpling that you have to cut into then use a heaping tablespoon.
Note that they will expand a little when they simmer in the liquid.
How to Make Instant Pot Chicken & Dumplings
There are a few steps involved in making this pressure cooker chicken and dumpling recipe, but it is so worth it!
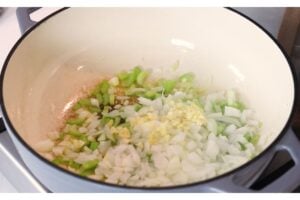
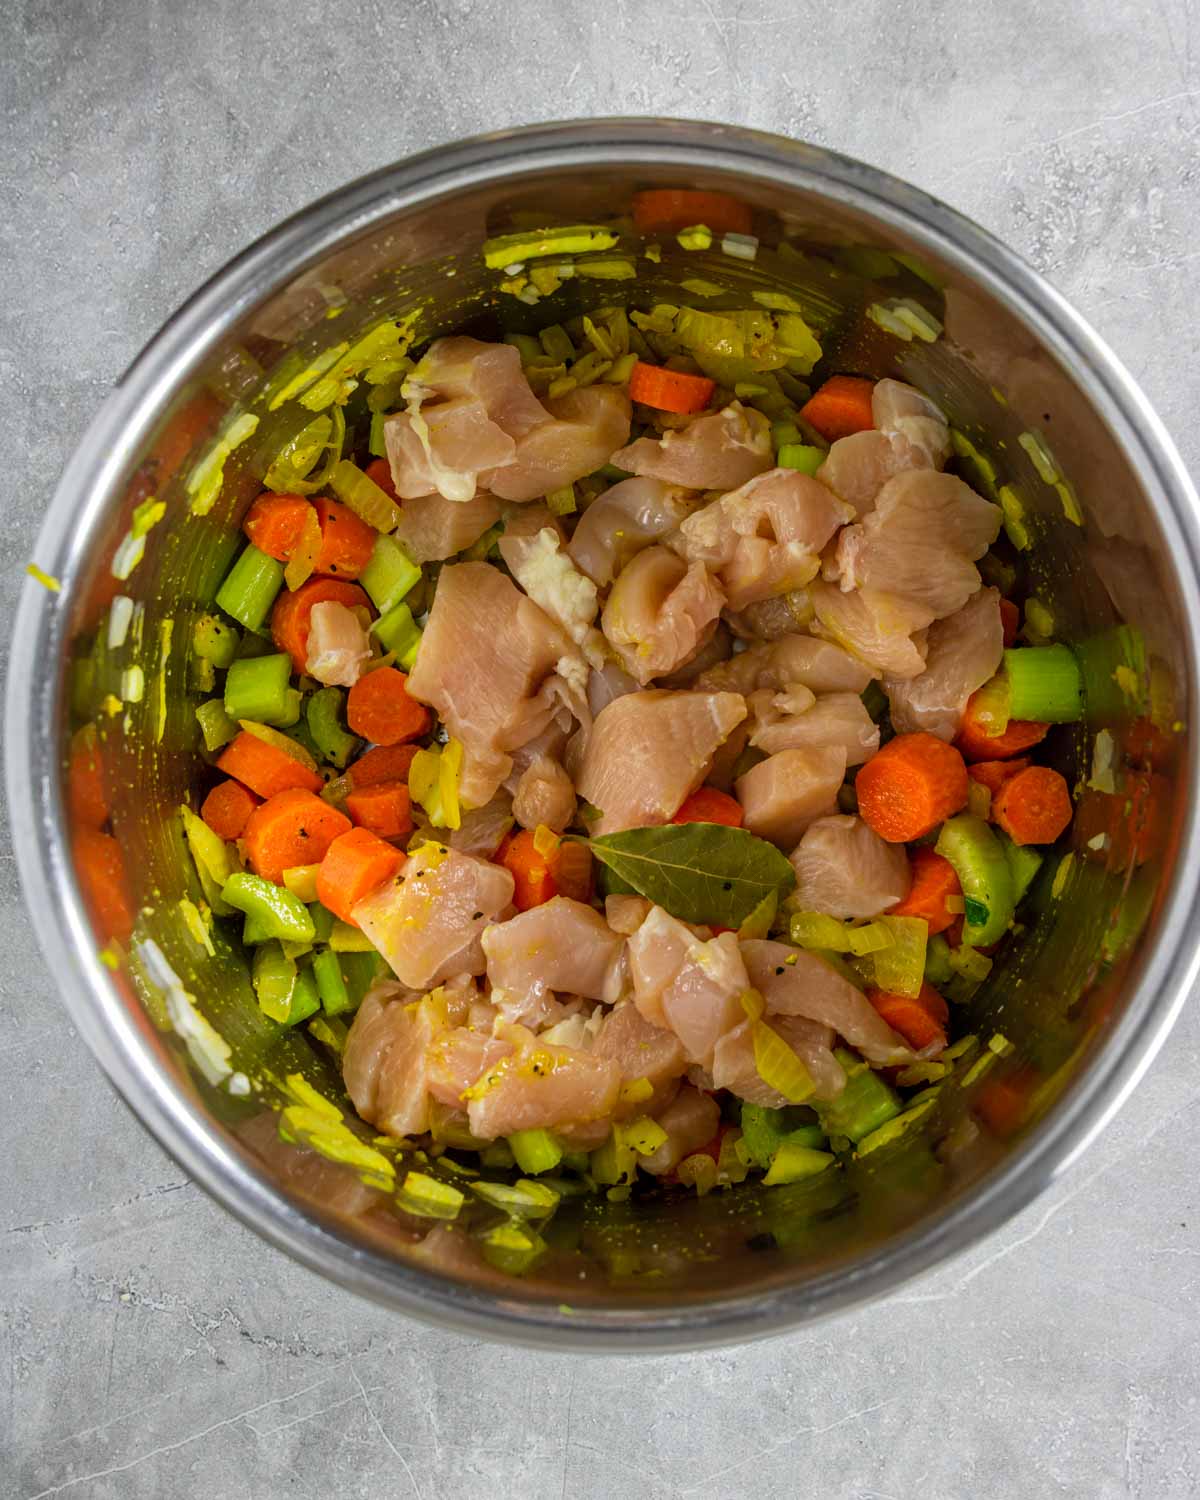
Start by turning your pot on to sauté mode, add the oil and sauté the onions and garlic for about 5 minutes.
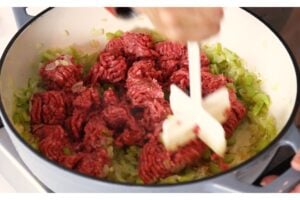
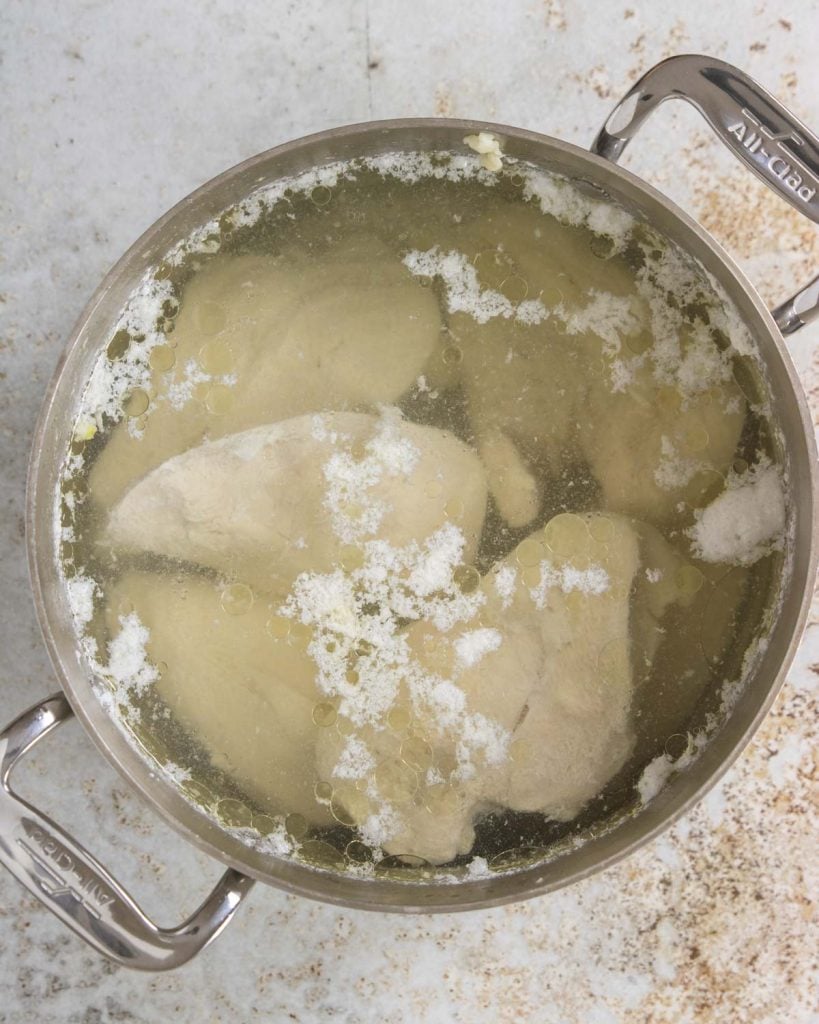
Turn the pot off and add in the carrots, celery, turmeric, onion powder, salt, pepper, bay leaf, chicken base, chicken, water, chicken broth.
Pop the lid on and set to cook on high pressure mode for 5 minutes. Do a 5 minute natural release, then do a quick release with the remaining pressure.
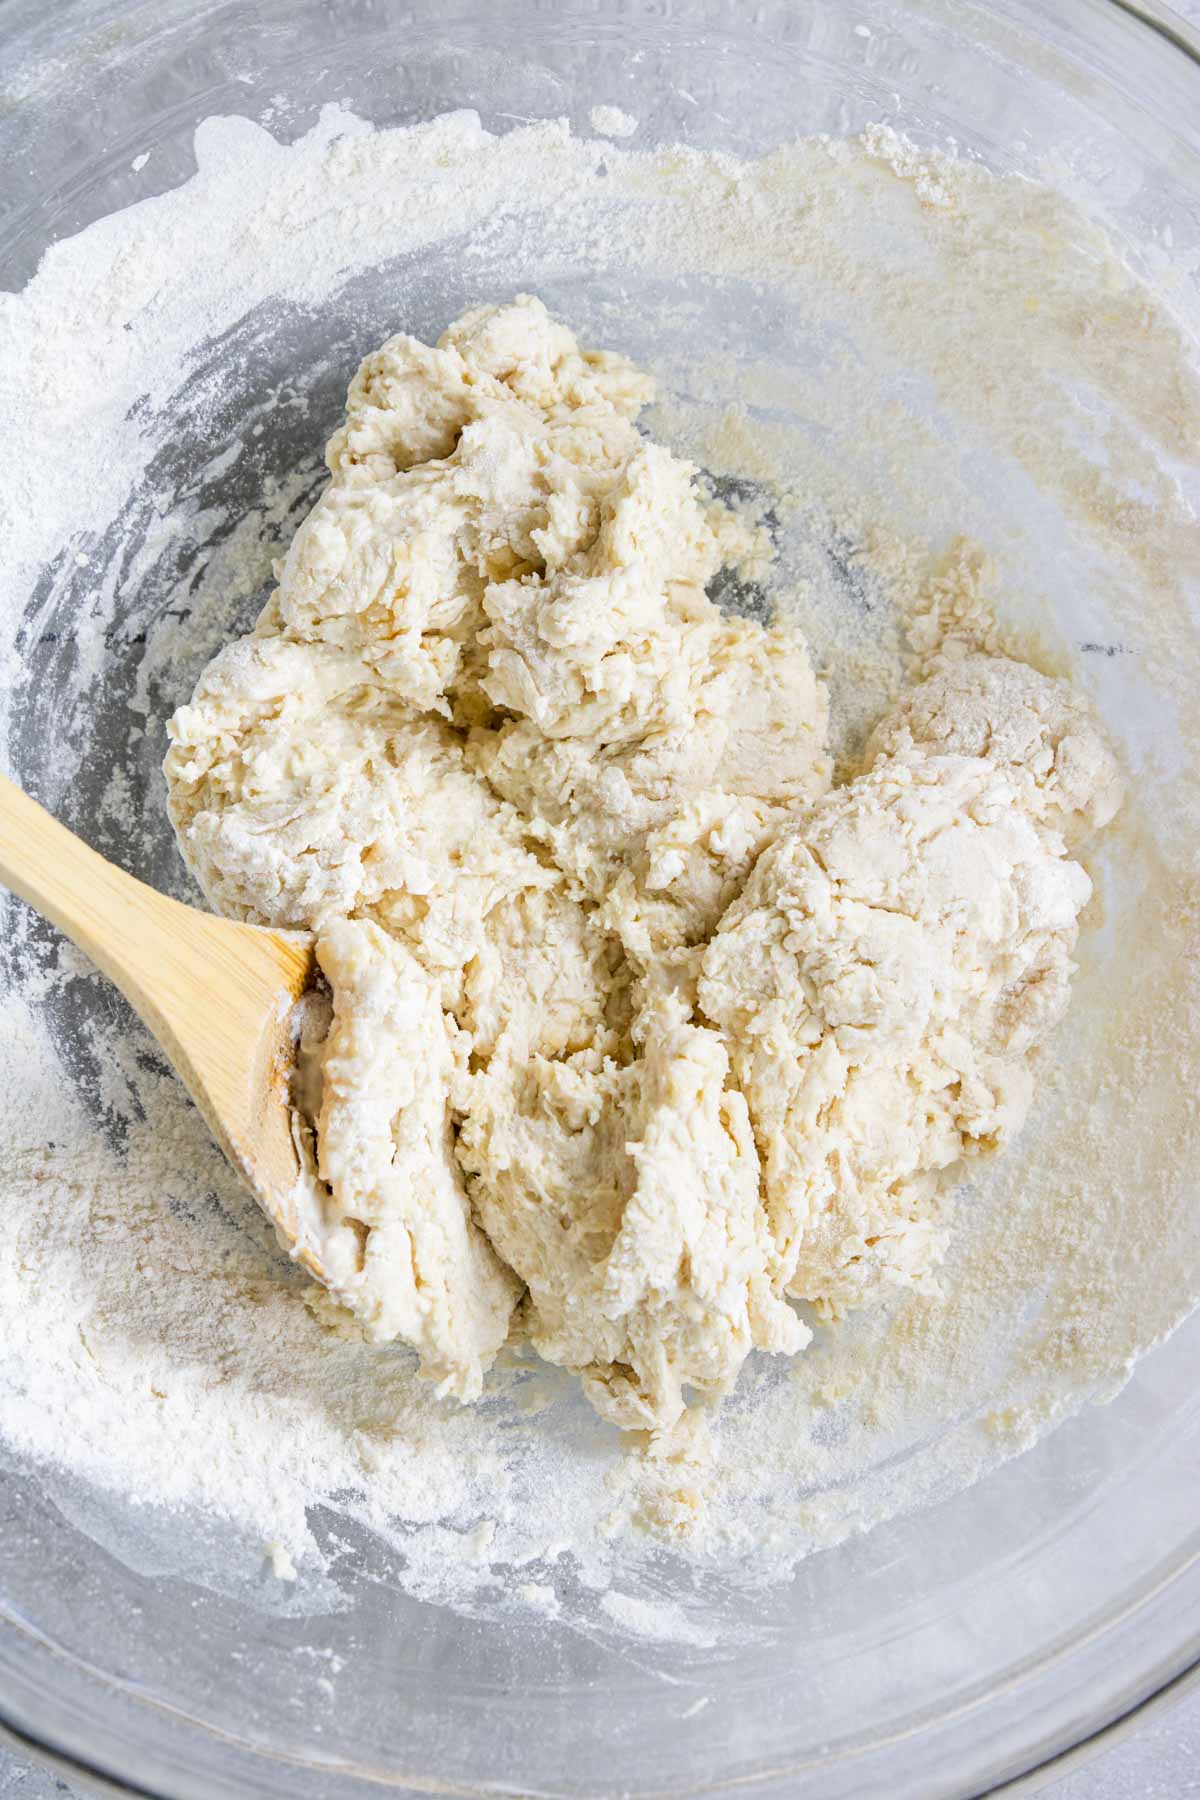
WHILE THE POT IS DOING A NATURAL RELEASE/QUICK RELEASE mix the dumpling dough:
In a bowl sift together the flour, baking powder, and salt. Lightly stir in the milk and melted butter JUST UNTIL IT COMES TOGETHER. Don’t overmix the dough.
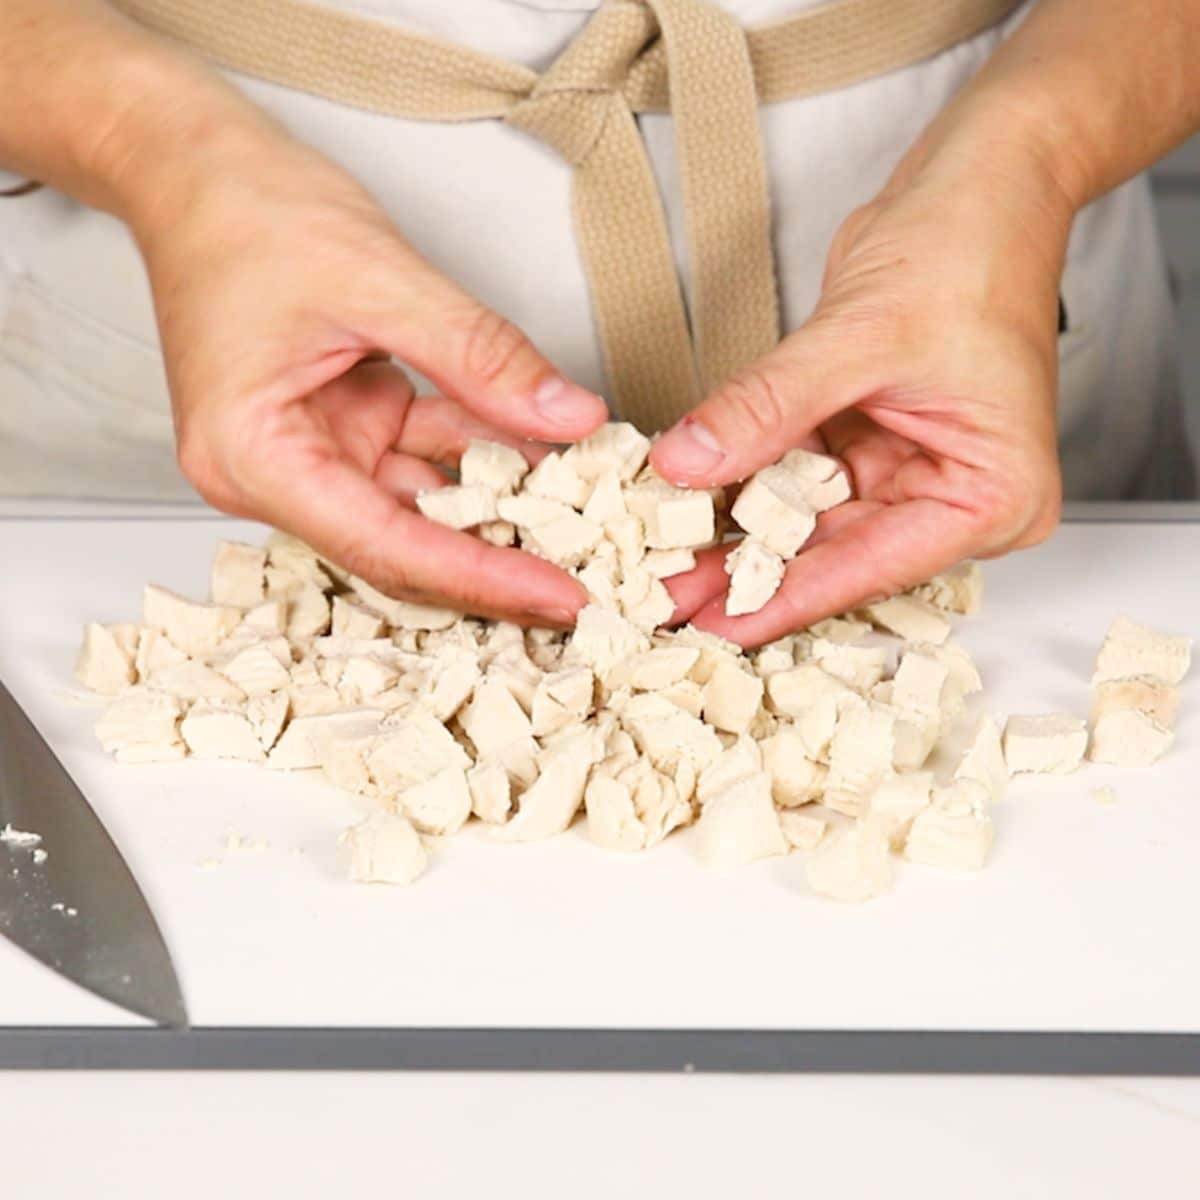
Remove the lid from the Instant Pot. Optionally you can shred a few pieces of the chicken if you like smaller pieces.
Turn the pot on to sauté mode.
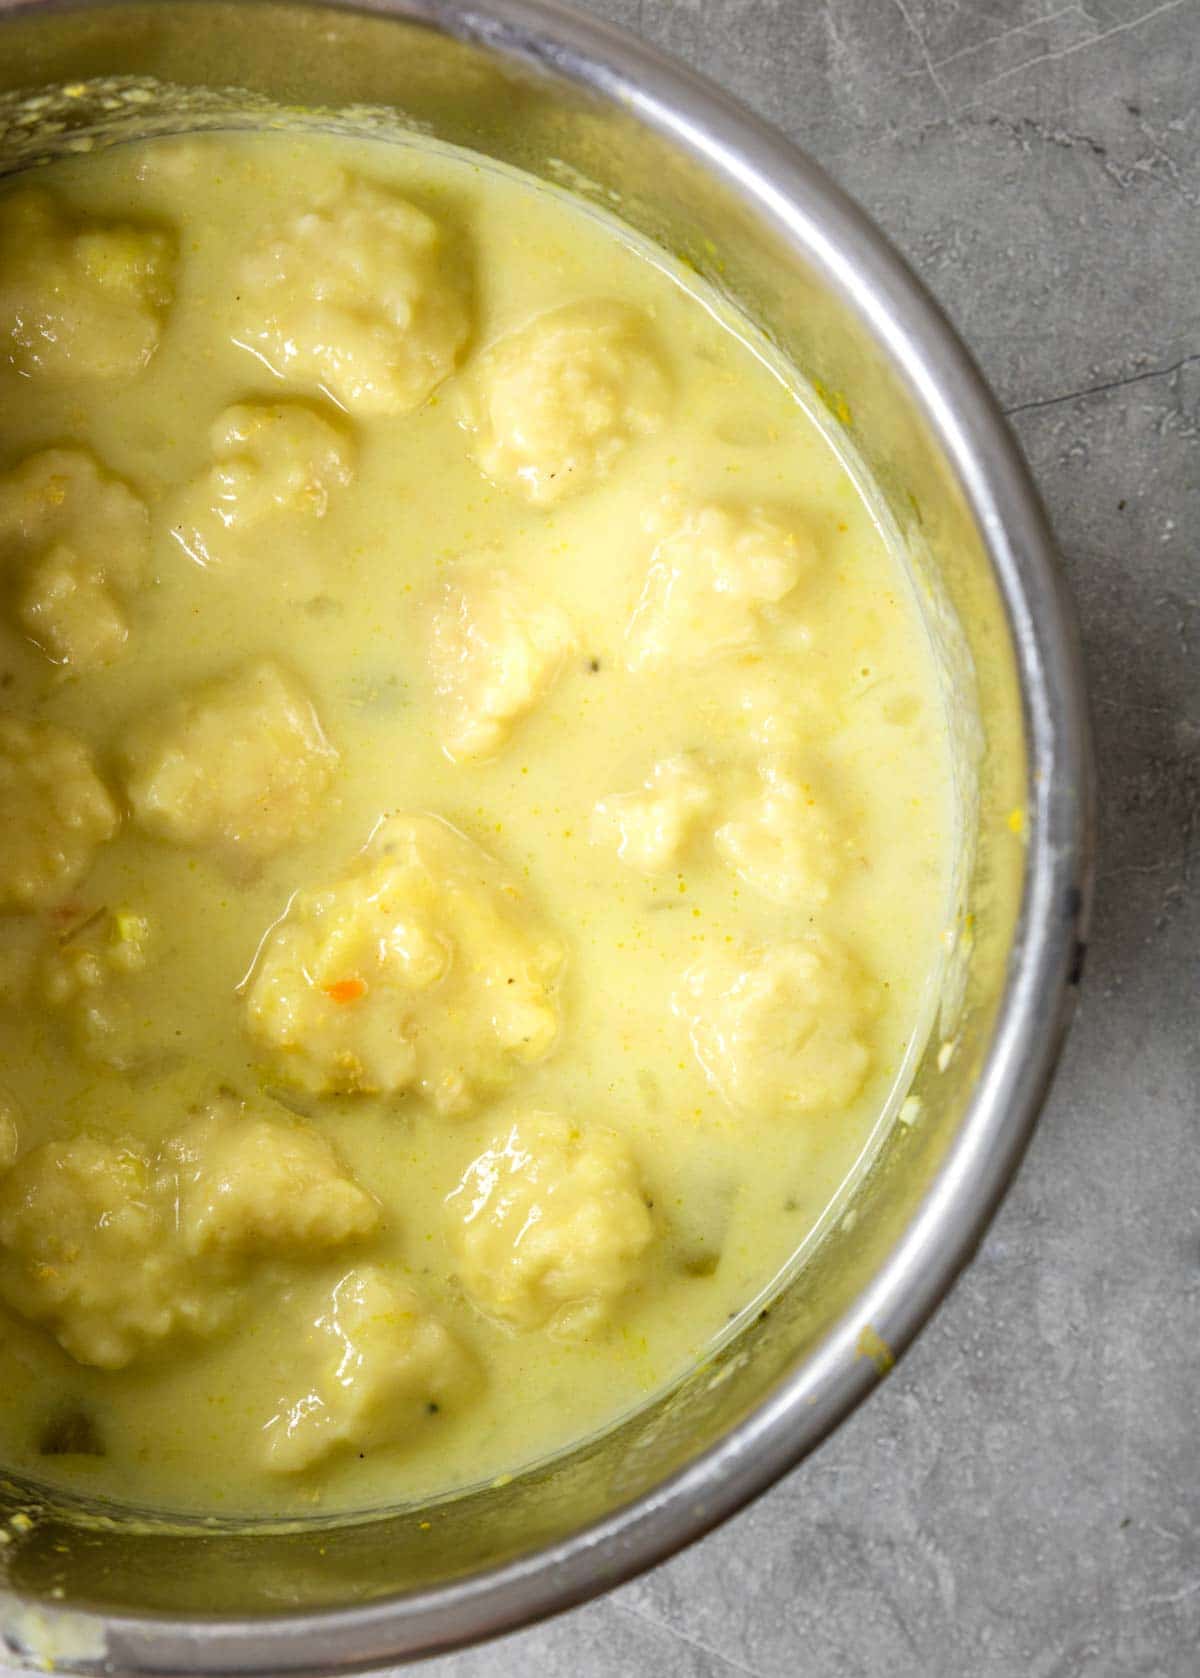
Drop spoonfuls dumpling dough into the hot liquid. Resist the urge to stir the pot and stir the dumplings.
Pro Tip: do not stir the dumplings into the liquid until they are fully cooked. By letting them simmer untouched they will have better texture.
Once the pot comes to a boil hit the sauté button twice until it scrolls through to “low”.
Simmer on low for 15 minutes.
Turn the pot off and pour in ½ cup heavy whipping cream. NOW you can stir the pot!
Let it sit for 5-10 minutes to cool and thicken a little.
Serving
Chicken and Dumplings is pretty much a complete meal with your protein, starch and veggies all in one. You could absolutely serve it with a side salad!
Recipe Tips
- Do not overmix your dumpling dough.
- Use a quick release melon baller to make easy work of scooping and releasing the dumplings.
- Do not roll your dumpling dough into a perfect circle. You want the edges to be a little craggy. It makes for amazing texture!
- Resist the urge to stir your dumplings while they are cooking.
- Don't skip the chicken base. The flavor won't be the same without it.
Related Recipes

Did you make this recipe?
⭐⭐⭐⭐⭐
I would love to hear your review, especially if you have tips and tricks to add! Pop down to the comment section and connect with me

Instant Pot Chicken and Dumplings
Ingredients
- 1 tablespoon olive oil
- 1 yellow onion, diced
- 3 garlic cloves, chopped
- 2 cups carrots, peeled and cut in ½ inch chunks
- 1 ½ cups celery, cut in ½ inch chunks
- ¼ tsp turmeric powder
- ½ teaspoon onion powder
- 1 teaspoon kosher salt
- ½ teaspoon black pepper
- 1 bay leaf
- 2 tsp chicken base - I use Better Than Bouillon Brand
- 2 boneless skinless chicken breasts, cut into bite size pieces - could also use boneless skinless chicken thighs or a combo or the two.
- 2 cups water
- 32 oz chicken stock or broth
- ½ cup heavy whipping cream
Homemade Drop Dumplings
- 2 cups all purpose flour
- 1 tbsp baking powder
- 1 teaspoon kosher salt
- ¾ cup milk
- 4 tbsp butter, melted
Instructions
- With the Instant Pot on saute mode (normal), add the oil to the pot and saute the onions and garlic for 5 minutes.
- Turn off saute mode and stir in the carrots, celery, turmeric, salt, pepper, onion powder, bay leaf, chicken base, water, and chicken broth. Lay the cut chicken on top.
- Pop the lid on the pot and lock the pressure vent to seal. Set to cook for 5 minutes on high pressure. Do a 5 minute natural release, then release the remaining pressure with a quick release.
- WHILE THE POT IS DOING THE NATURAL RELEASE MIX THE DUMPLING DOUGH.
- DUMPLING DOUGH – In a large bowl sift together the flour, baking powder, and salt. Pour in the melted butter and milk. Stir lightly, just until the dough comes together. DO NOT OVER MIX YOUR DOUGH. You will end up with tough leathery dumplings.
- Remove the lid from the pot. (optional – you can shred a few pieces of chicken before moving on)Turn the pot back on to saute mode (normal) drop heaping teaspoon or heaping tablespoon of dumpling dough into the soup. (teaspoon if you want bitesize dumplings, tablespoon for larger dumplings)
- Bring the pot to a boil. Once it boils turn the saute function to low by pressing the saute button twice, you will see it scroll to low on the display screen.
- Simmer the dumplings for 15 minutes. RESIST THE URGE TO STIR THE POT/DUMPLINGS. They will have a better texture if you let them simmer. Turn the pot off and then pour in the ½ cup heavy cream. Now you can give the pot a light stir.
- Remove the bay leaf and discard!
- Let the Chicken & Biscuits cool for 5-10 minutes before serving. It will be HOT!
Recipe Tips and Notes:
- Do not overmix your dumpling dough.
- Use a quick release melon baller to make easy work of scooping and releasing the dumplings.
- Do not roll your dumpling dough into a perfect circle. You want the edges to be a little craggy. It makes for amazing texture!
- Resist the urge to stir your dumplings while they are cooking.
- Don't skip the chicken base. The flavor won't be the same without it.