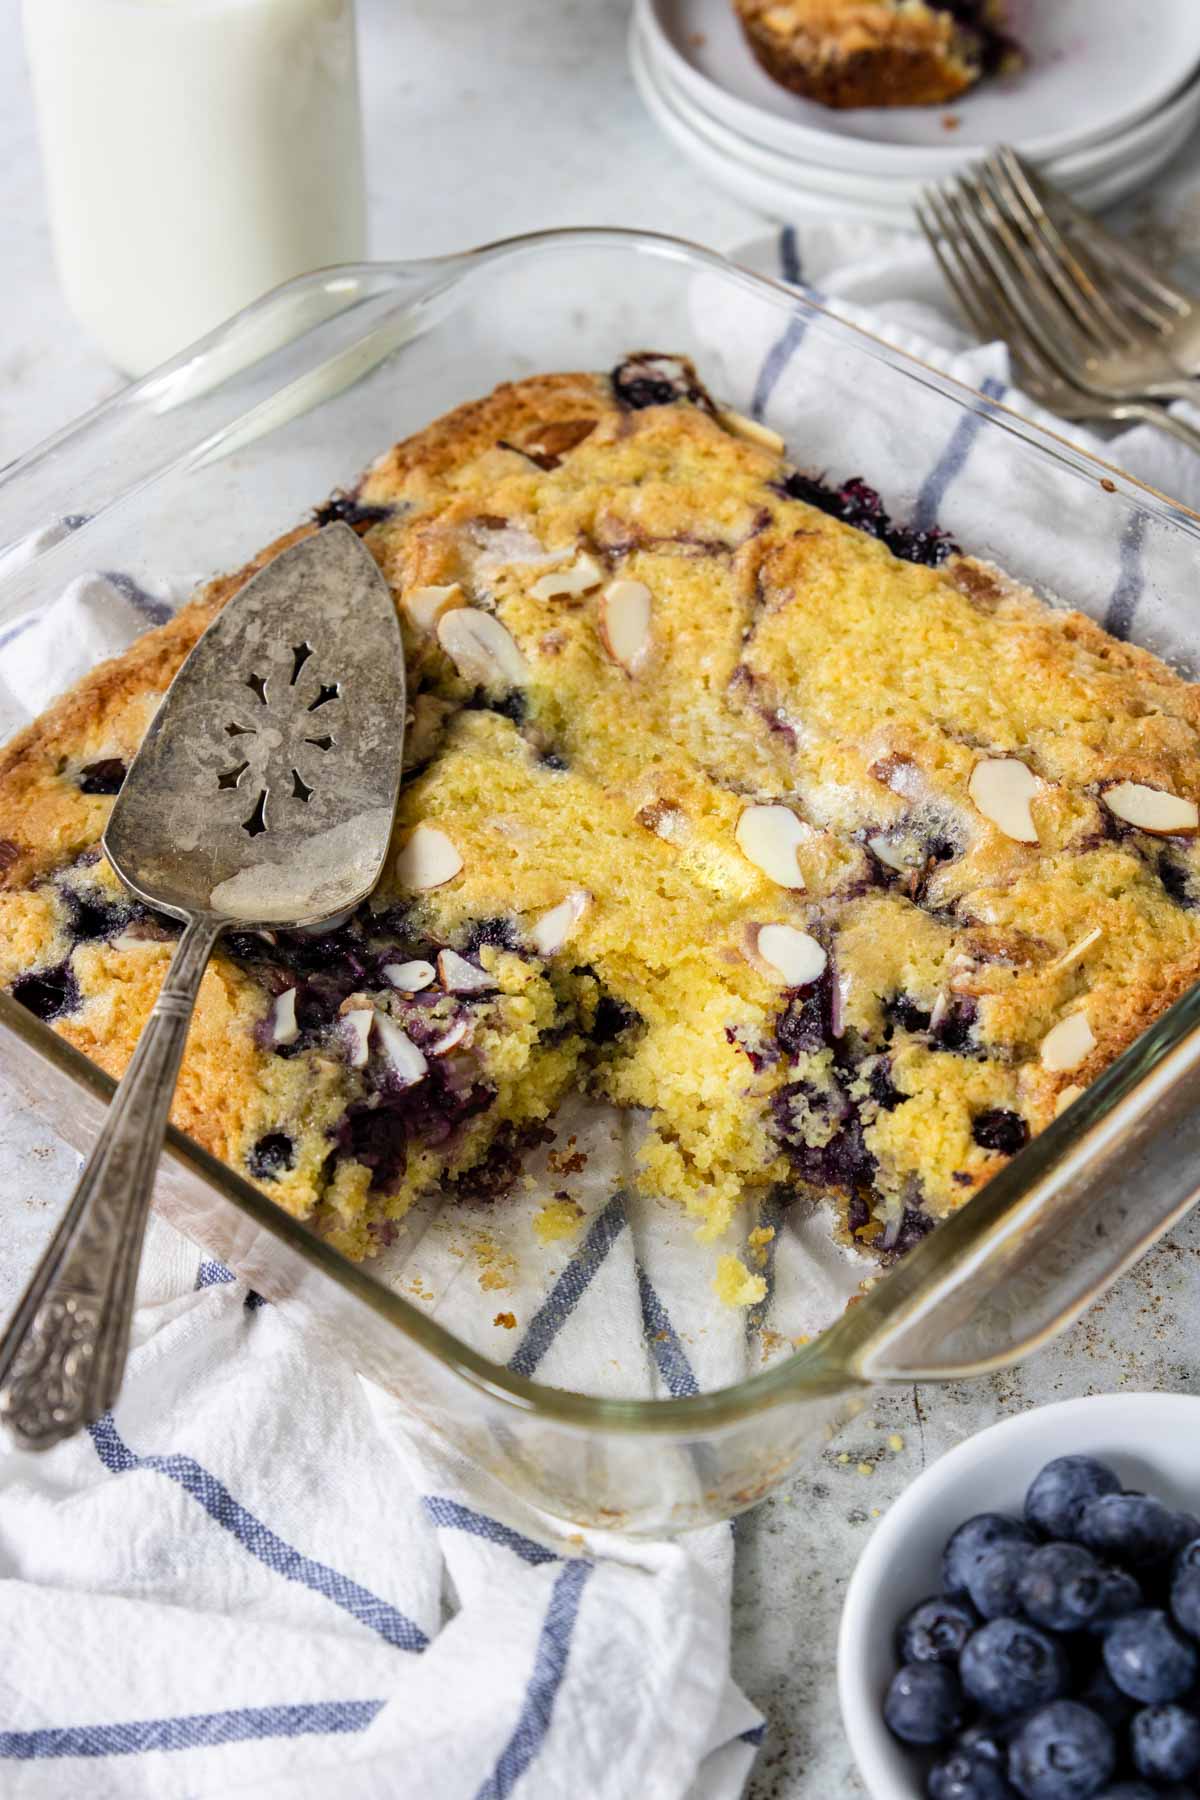
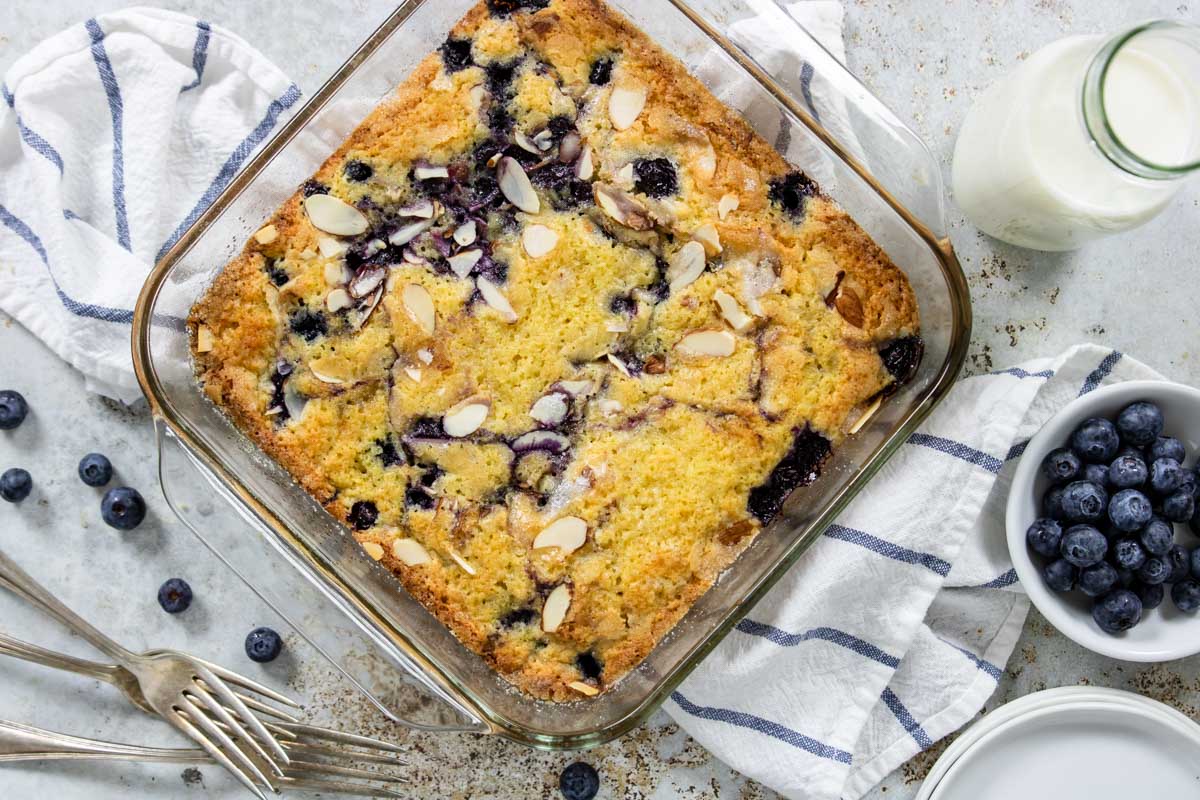
Blueberry Breakfast Cake will absolutely brighten up your morning! Tender lemon flavored cake is dotted with juicy blueberries and topped with almond slices and sugar. Serve it with a hot cup of coffee or with a side of scrambled eggs or Overnight Ham & Egg Breakfast Casserole.
During the holidays this Cranberry Almond Cake is similar and great for the winter months!
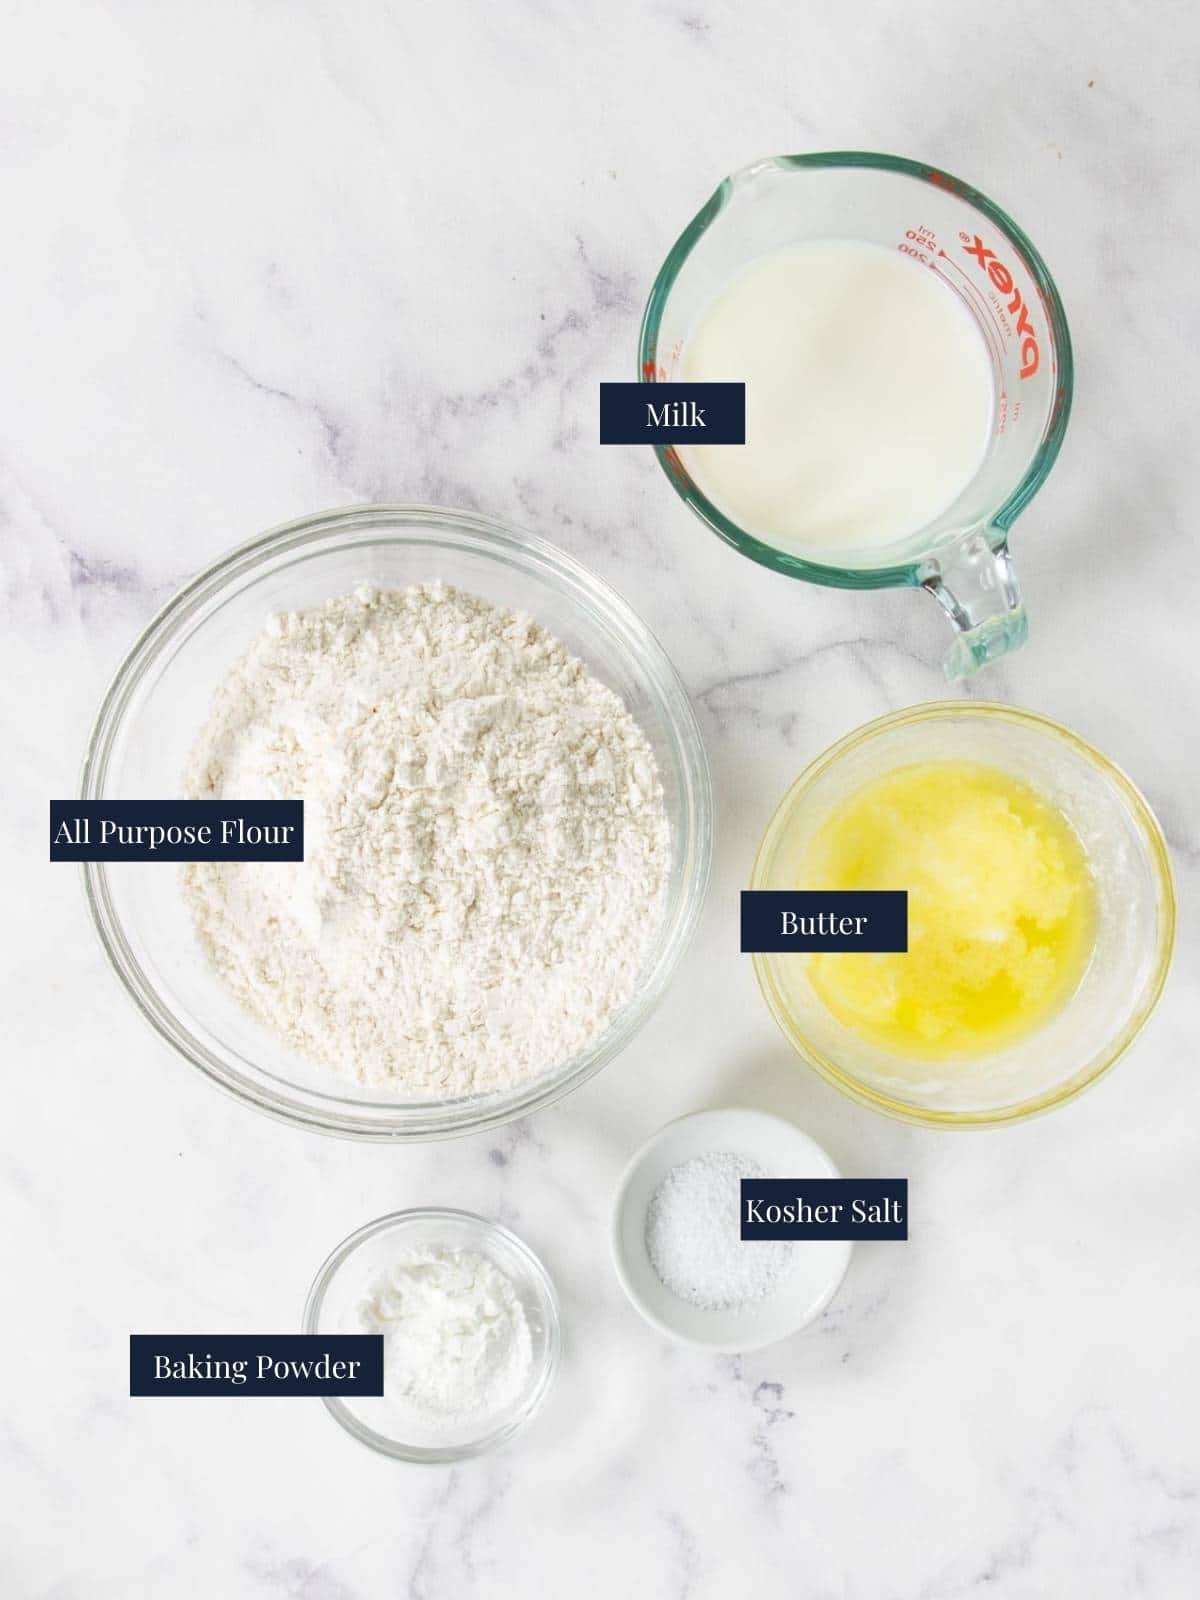
Ingredients
Here are the ingredients that you need to make your Blueberry Breakfast Cake Recipe, plus some tips on your eggs, blueberries and lemons.
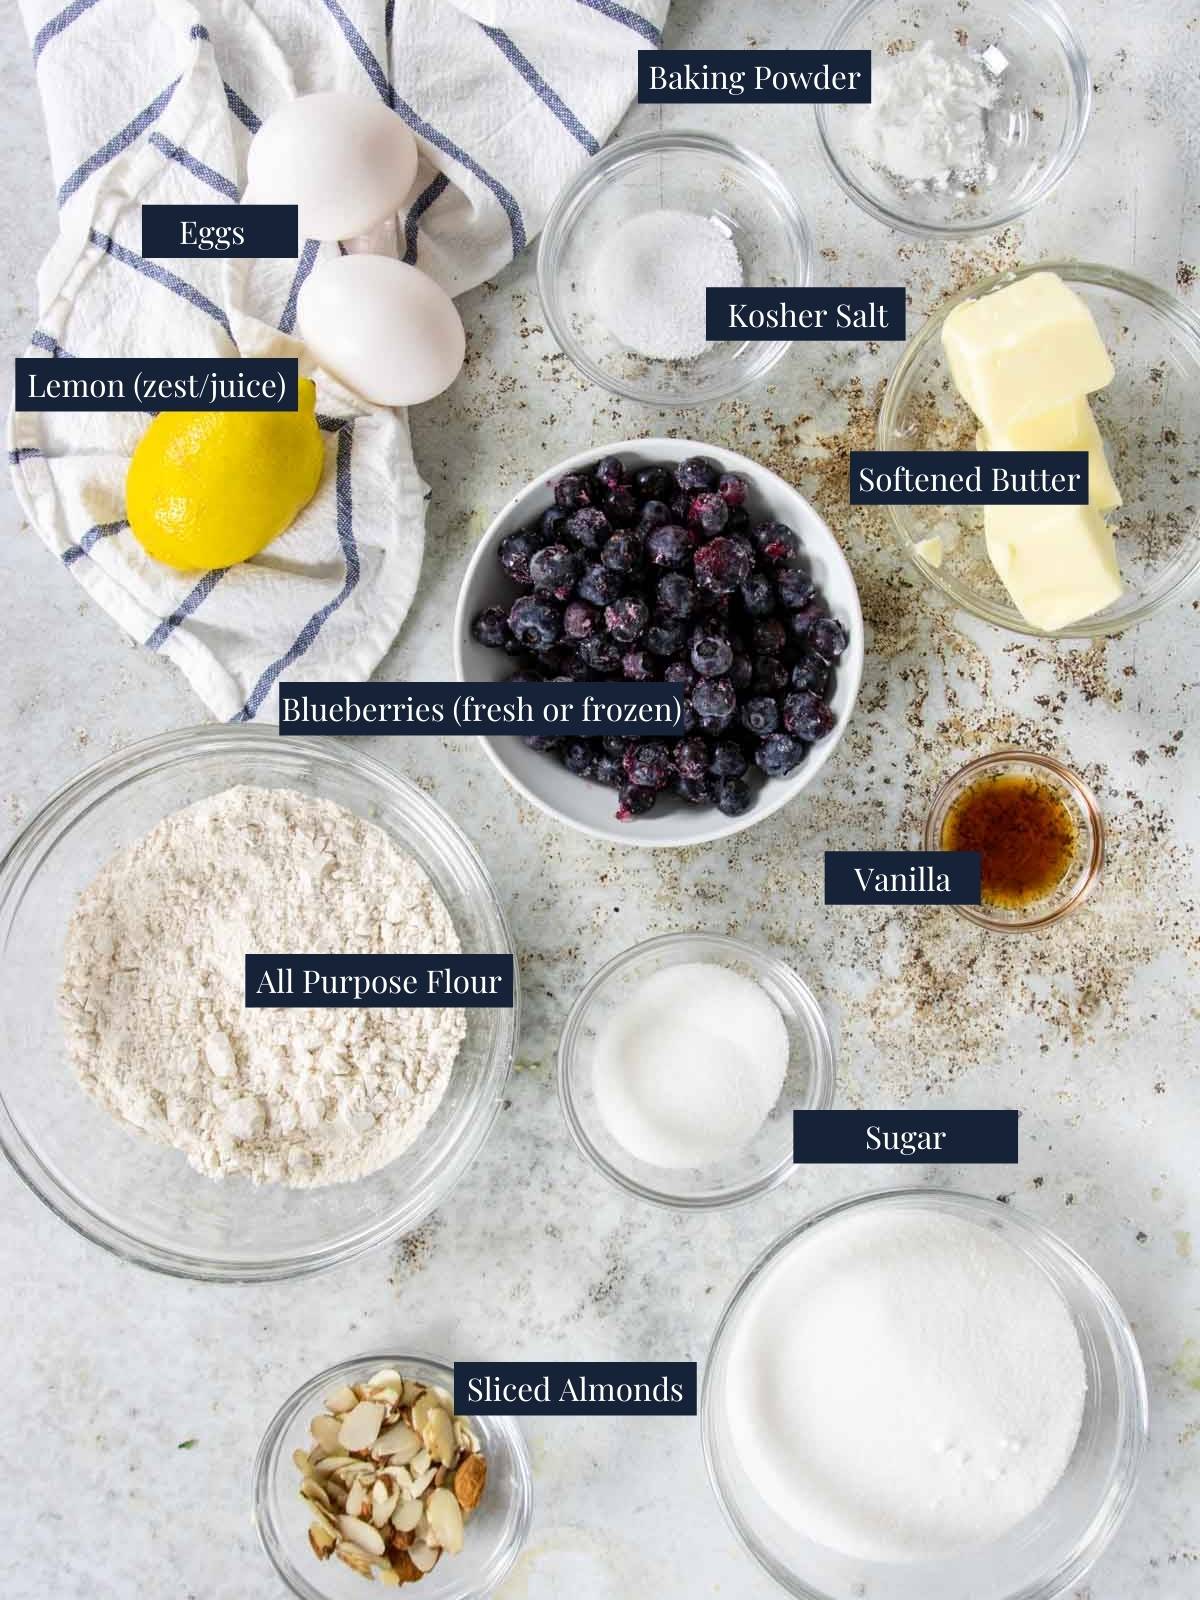
Blueberries – You can use fresh or frozen blueberries in this recipe. If you use frozen they may sink a little more in the cake during baking.
You can absolutely toss your frozen blueberries in a little flour to combat the sinking. But I found that step isn’t completely necessary.
Lemon – You should only need 1 lemon for this recipe. Make sure you zest it first and then squeeze it for the juice.
Room Temp. Eggs – To make room temp eggs quickly, simply place the whole eggs in a cup of warm water for about 3-5 minutes.
Step by Step Picture Instructions
Start by preheating your oven to 350 degrees. Spray an 8×8 glass baking dish with cooking/baking spray.
In a stand mixer with a paddle attachment (or hand held mixer), cream together the softened butter and sugar.
Add in the vanilla extract, lemon juice, and lemon zest, mix for another minute.
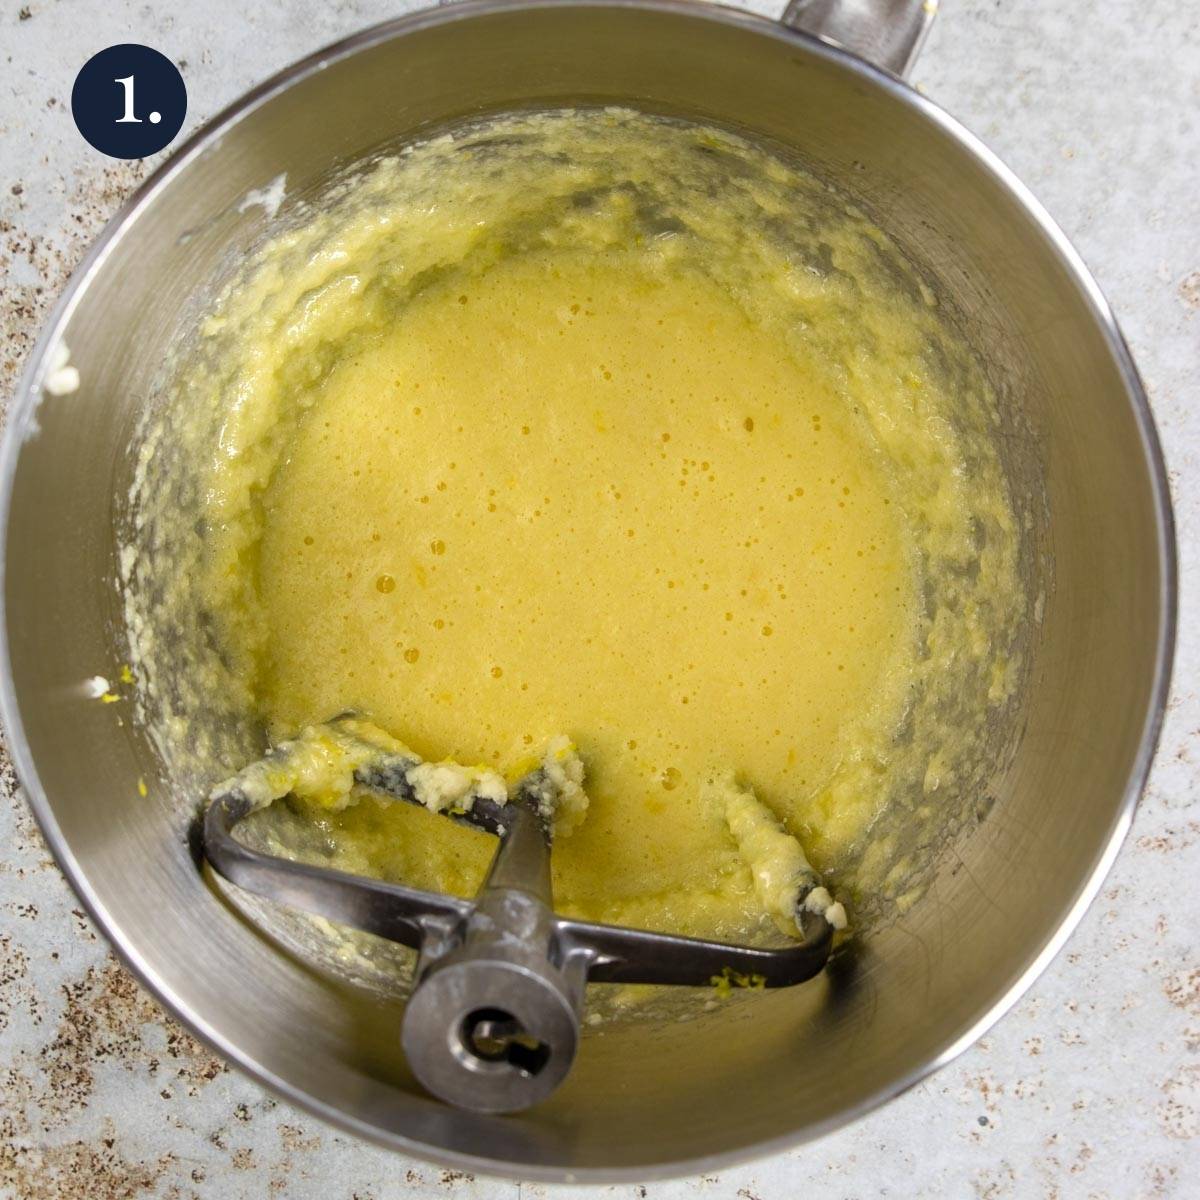
Add one egg at a time. Continue mixing for about 2 minutes, don’t skimp of the time here.
Pro Tip: Beating the eggs/butter/sugar for 2 minutes allows the batter to increase in size and helps with the leavening of the cake and will make it nice and tender!
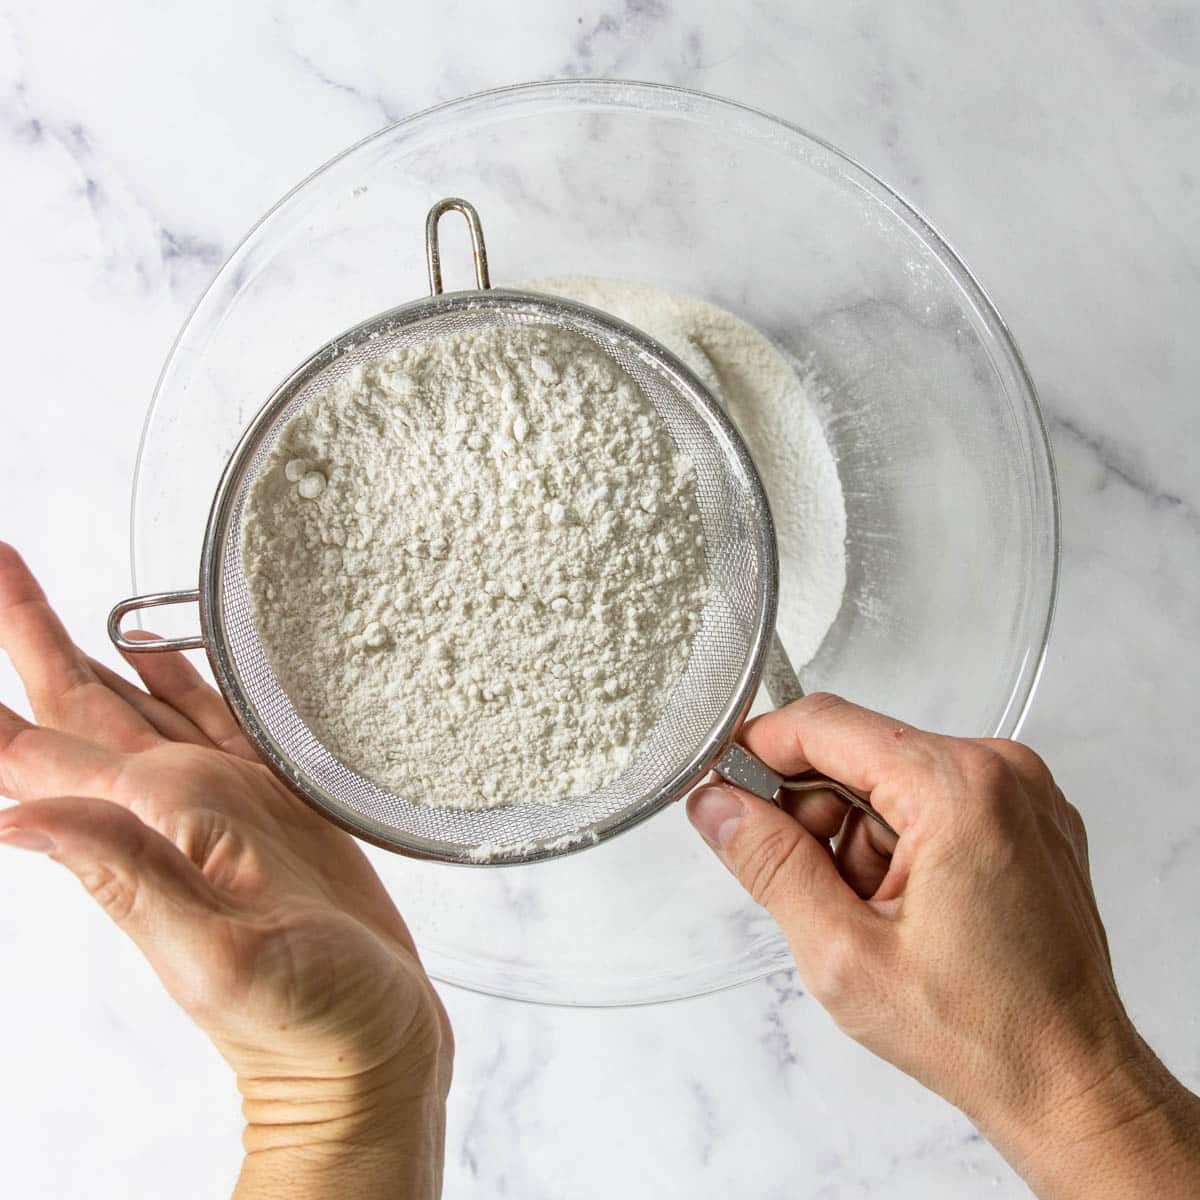
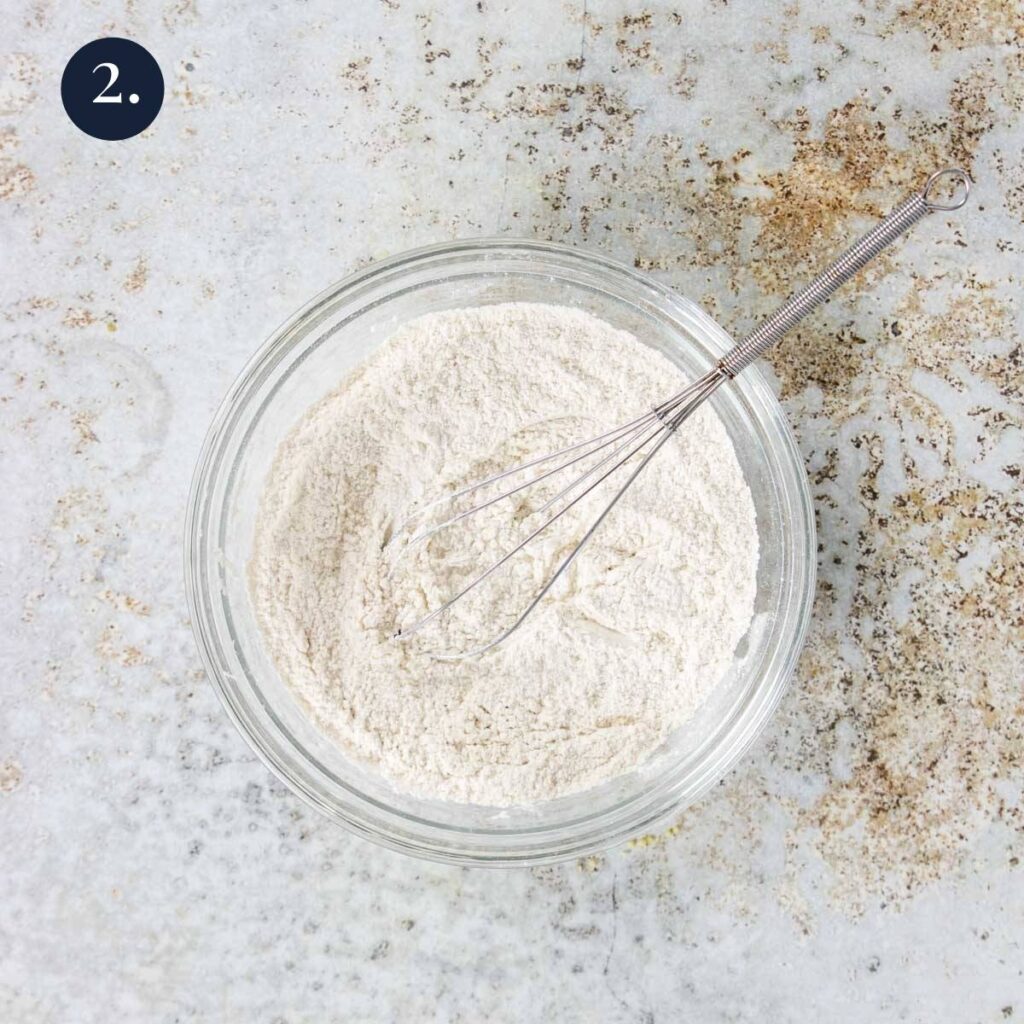
Meanwhile in a small bowl whisk together the flour, baking powder and salt.
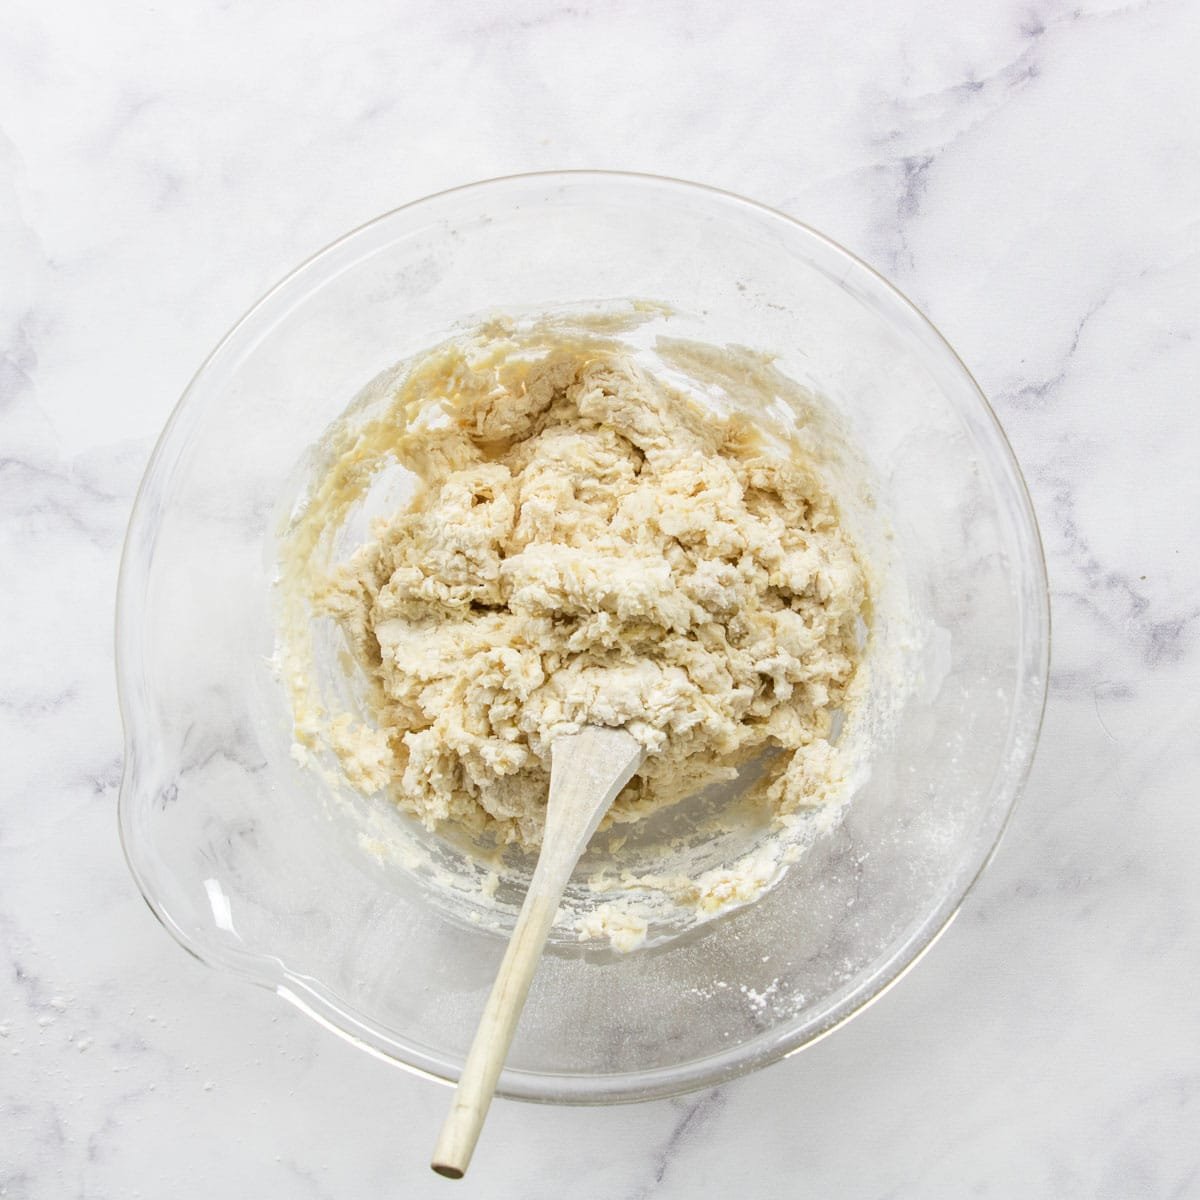
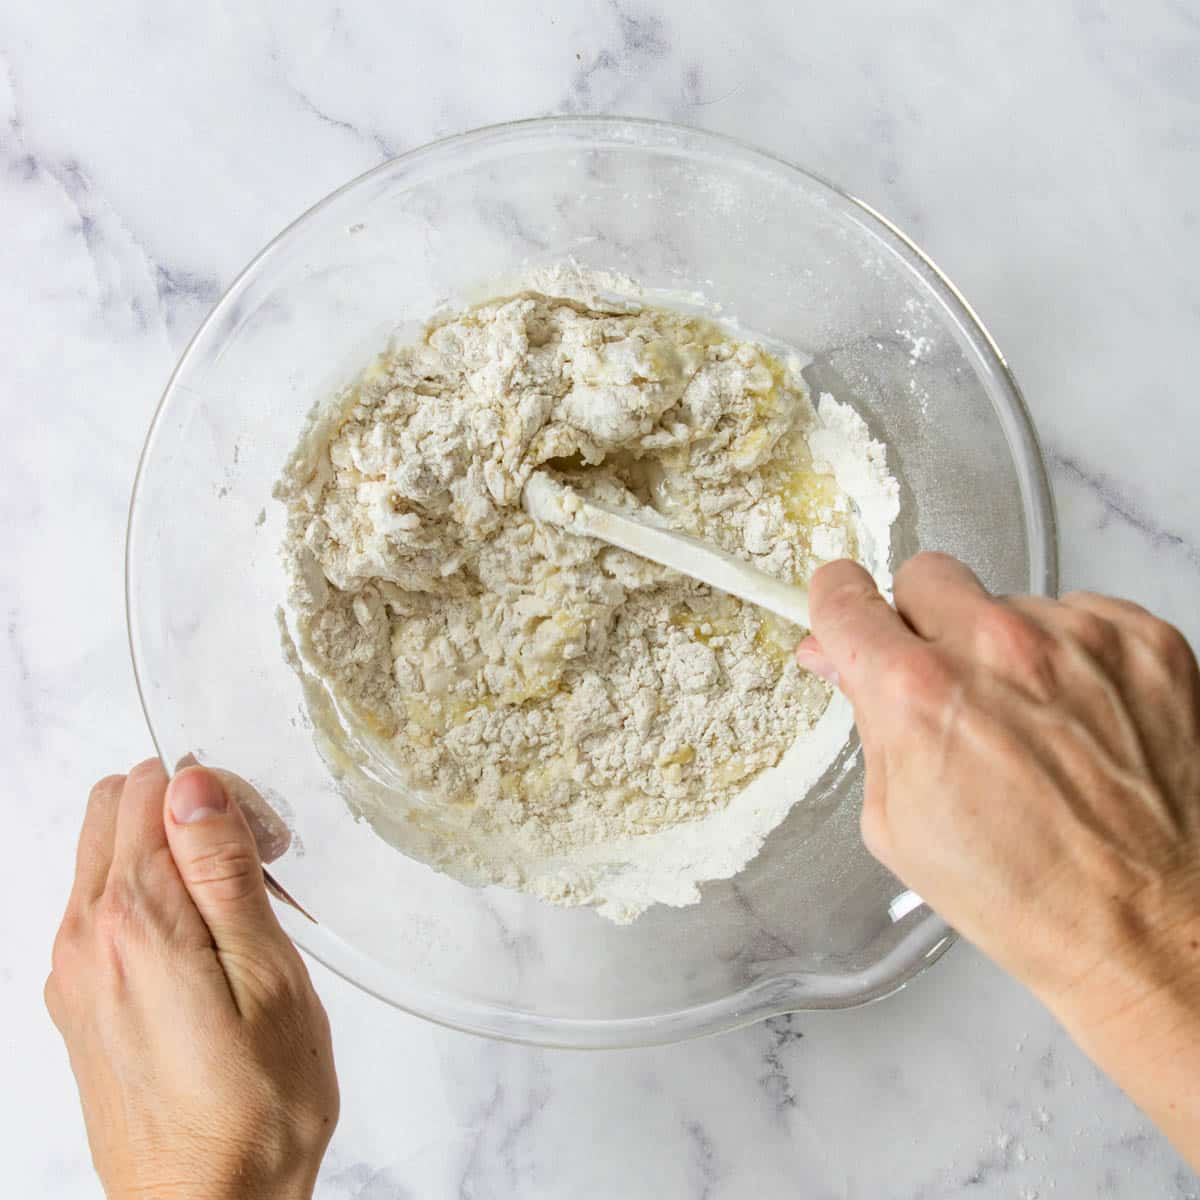
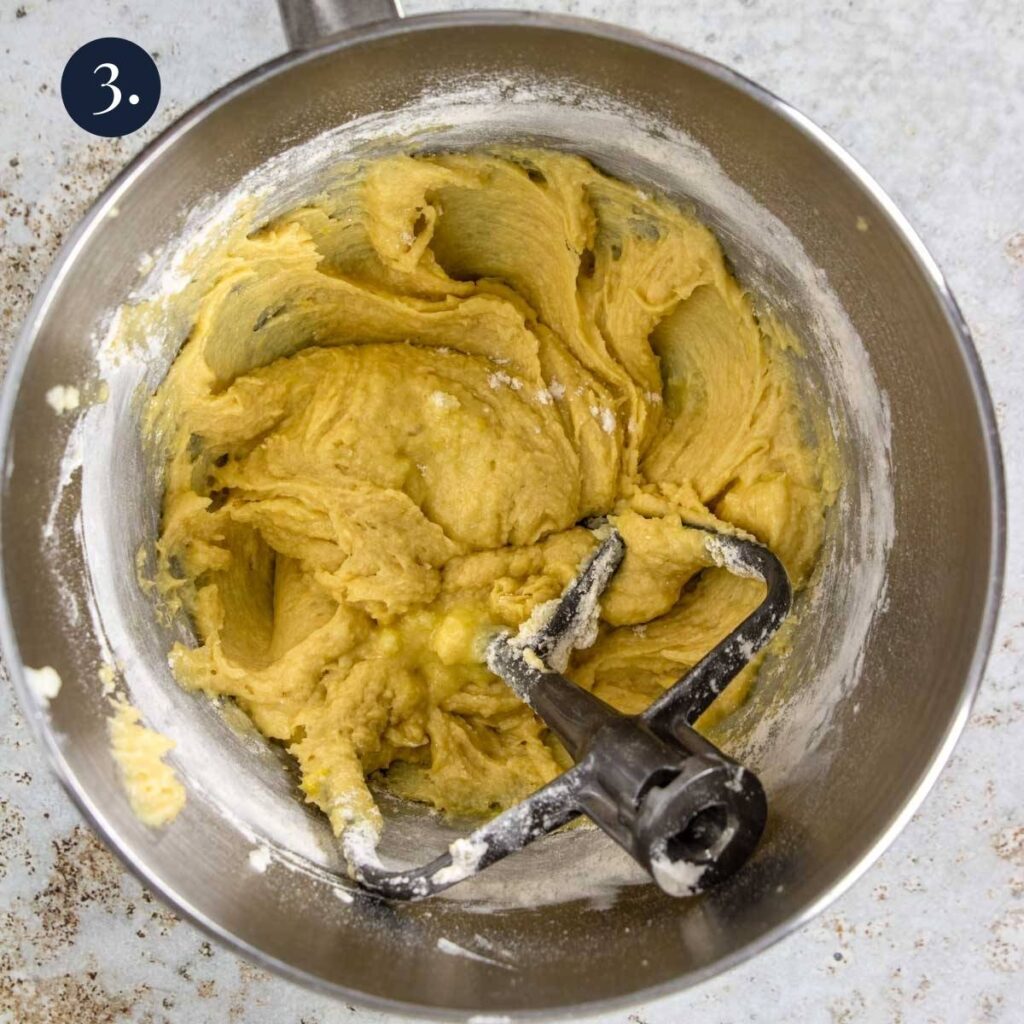
Add half of the flour mixture to the batter and mix in. Add the other half and continue mixing just until combined. (The batter will be thick. That is ok!)
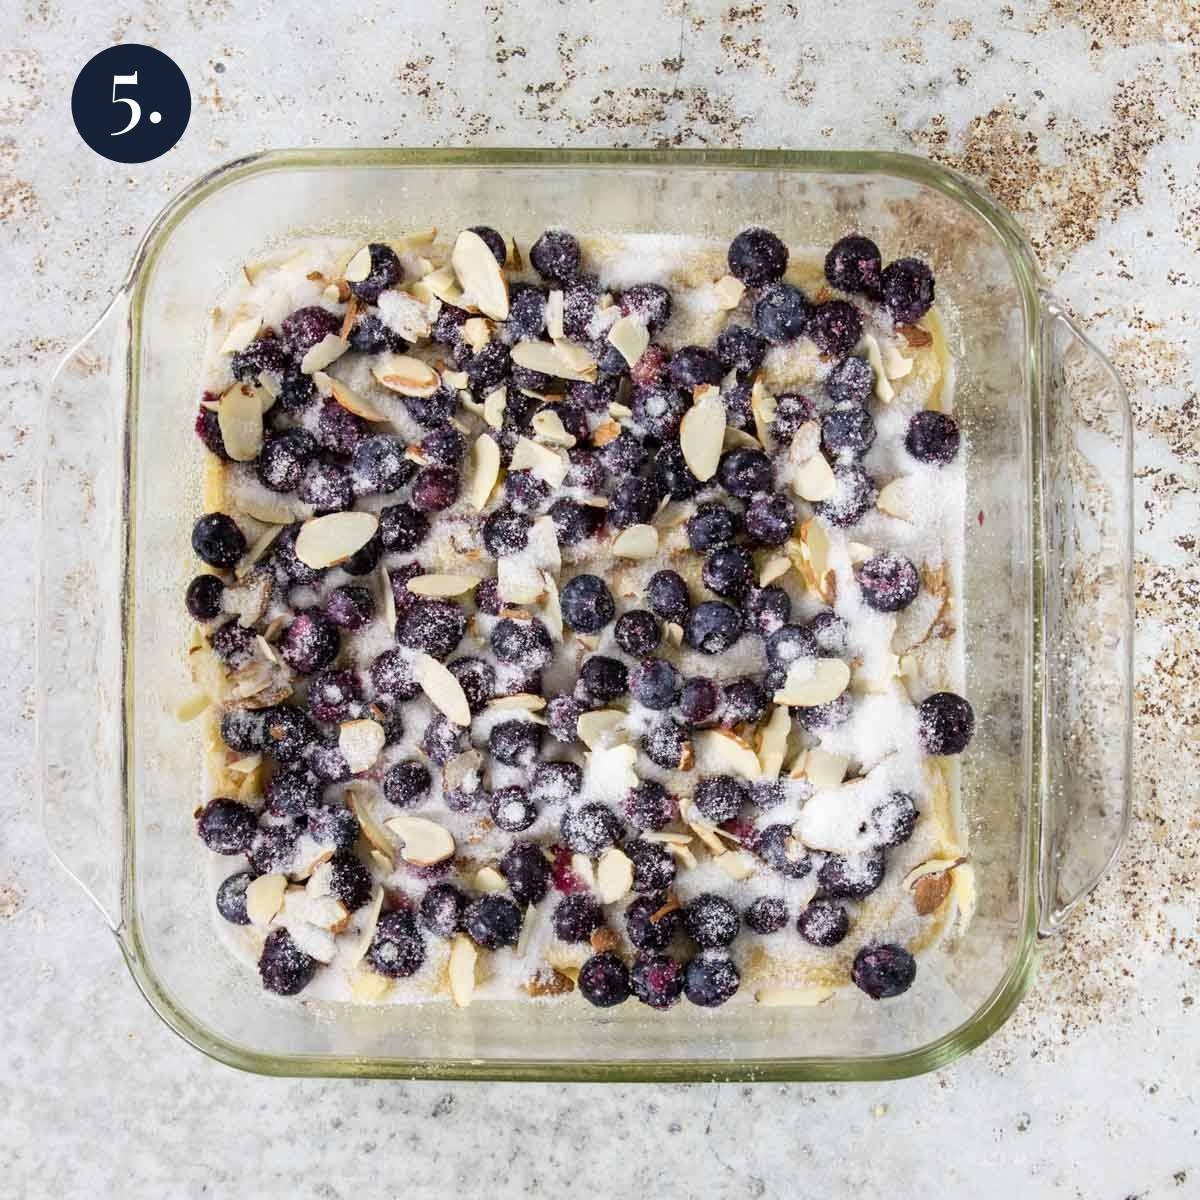
Pour the batter into your prepared 8×8 baking pan. Spread it evenly across the pan.
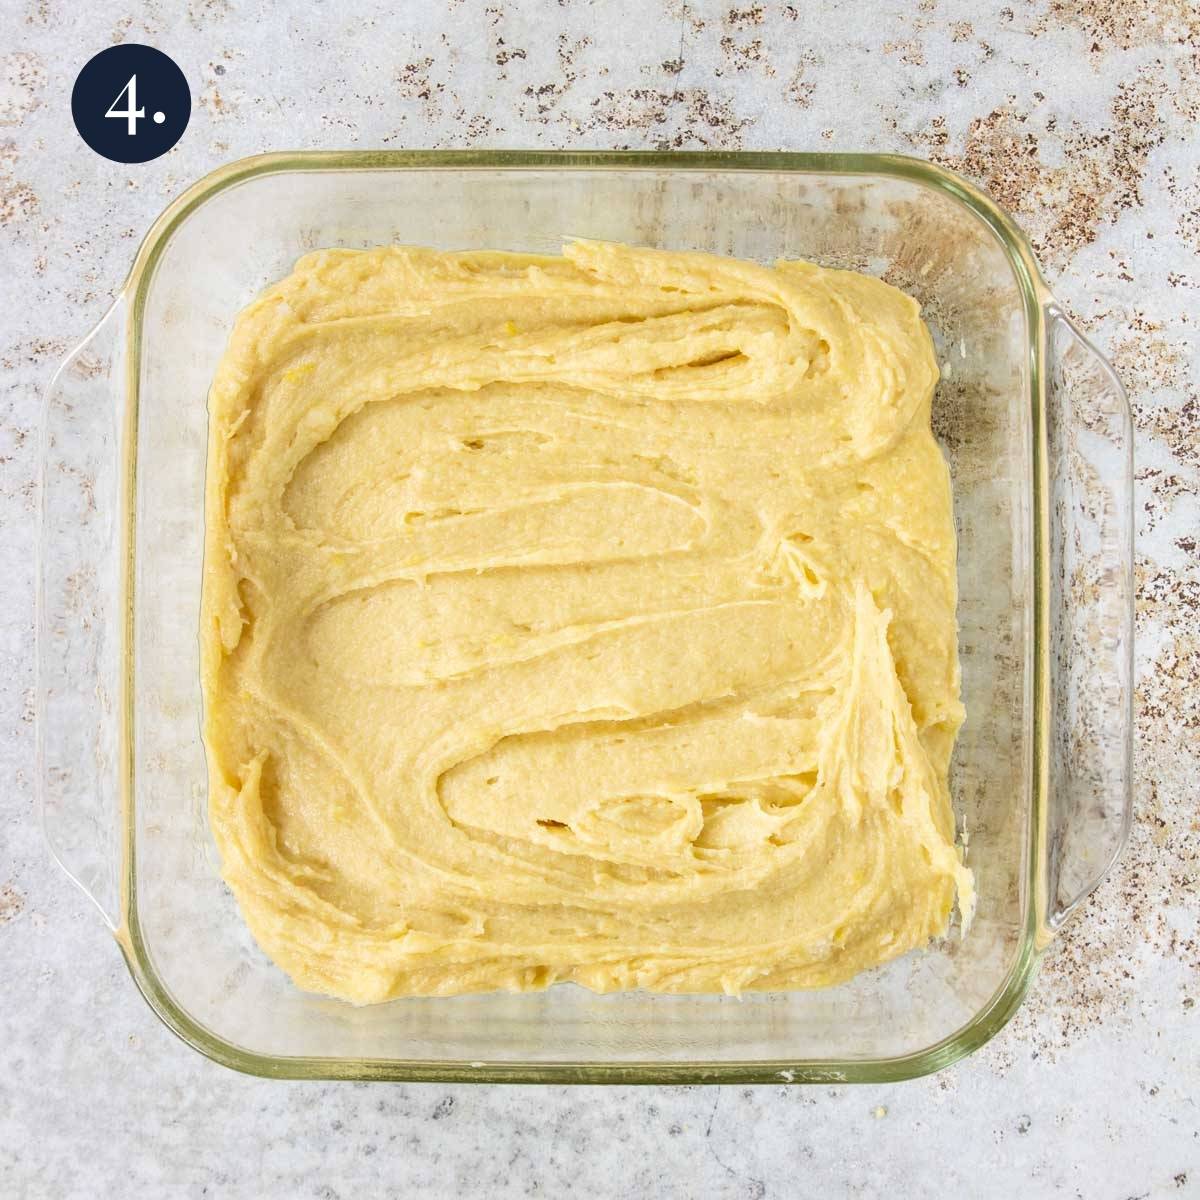
Sprinkle the top with the blueberries, then the almonds, then finish with the 1 ½ tablespoon sugar.
Bake for 35-40 minutes until it is lightly golden around the edges and baked through in the center.
Note: if you have to use a dark metal pan you will want to check your cake at about 30 minutes.
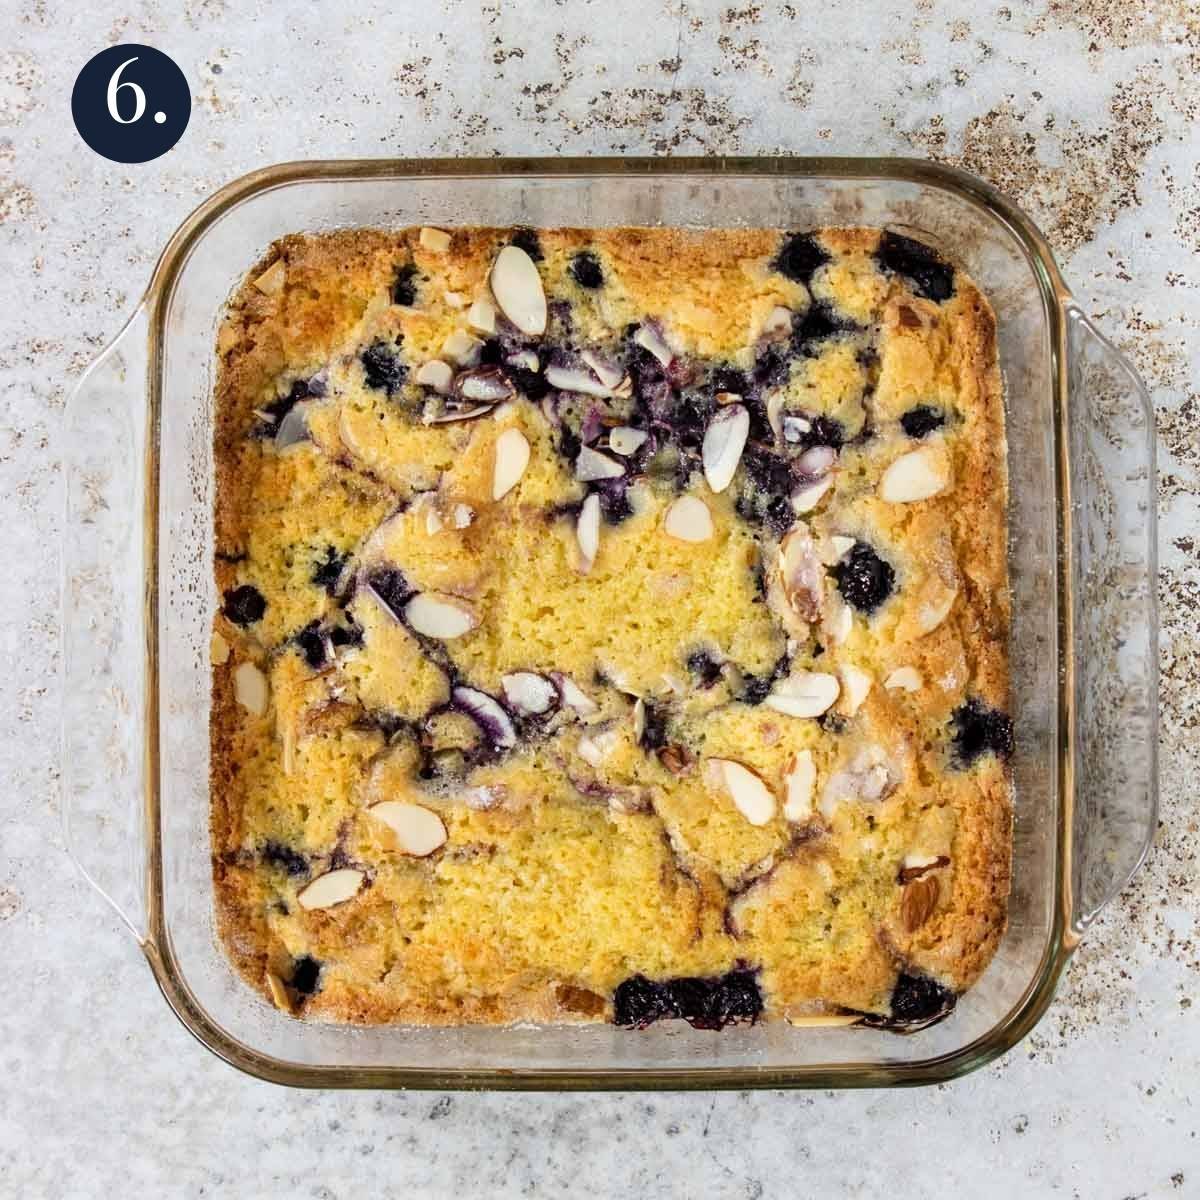
Let the cake cool for 30 minutes to 1 hour.
Cut into 9 squares (3×3) and serve!
Recipe Tips
- Quickly bring your eggs to room temp by placing them in a cup of warm water for 3-5 minutes.
- Zest your lemon before squeezing the juice.
- Use fresh or frozen blueberries. You can optionally toss the frozen blueberries in a little flour to help them not sink in the cake (but not necessary).
- If you forgot to soften your butter, check out this post on softening butter!
Related Recipes


Did you make this recipe?
⭐⭐⭐⭐⭐
I would love to hear your review, especially if you have tips and tricks to add! Pop down to the comment section and connect with me

Blueberry Breakfast Cake
Equipment
Ingredients
- ½ cup butter - softened
- 1 cup sugar - plus 1 ½ tablespoon for the top
- 1 teaspoon vanilla
- 1 ½ teaspoon lemon juice
- 1 ½ teaspoon lemon zest - it is easiest to zest the lemon before squeezing it!
- 2 large eggs - at room temp
- 1 cup all purpose flour
- 1 teaspoon baking powder
- ½ teaspoon kosher salt
- 1 cup frozen or fresh blueberries
- 2 tablespoon sliced almonds
- cooking/baking spray
Instructions
- Preheat the oven to 350°. Prep an 8×8 glass baking dish with cooking/baking spray.
- In the bowl of a stand mixer fitted with the paddle attachment (or a hand held mixer) cream together the softened butter and sugar.
- Pour in the vanilla extract, lemon juice, and lemon zest. Mix for another 30 seconds.
- Pour in the room temp eggs, one at a time, then continue to mix on medium speed for 2 minutes. Don't skimp on the time here… it will help the cake leaven in the oven and become nice and tender.
- Meanwhile, in a small bowl whisk together the flour, baking powder and salt.
- Add half of the flour mixture to the batter and mix, add the other half and mix just until it is combined. Your batter will be nice and thick at this point.
- Pour the batter into the prepared baking dish and spread it evenly across the pan.Sprinkle the top with the blueberries, then the almonds, and finish with the 1 ½ tablespoon sugar.
- Bake for 35-40 minutes, until the edges are golden and the cake is cooked through in the center. If you used a dark metal baking dish, check the cake at about 30 minutes.
- Let the cake cool for 30 minutes – 1 hour.
- Cut into 9 squares (3×3) and serve with a cup of hot coffee.
Recipe Tips and Notes:
- Quickly bring your eggs to room temp by placing them in a cup of warm water for 3-5 minutes.
- Zest your lemon before squeezing the juice.
- Use fresh or frozen blueberries. You can optionally toss the frozen blueberries in a little flour to help them not sink in the cake (but not necessary).
- If you forgot to soften your butter, check out this post on softening butter!