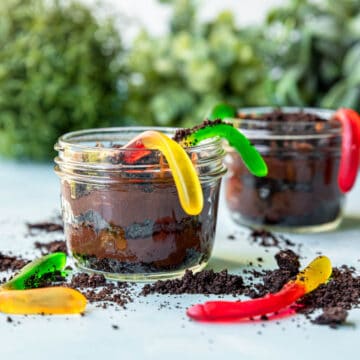
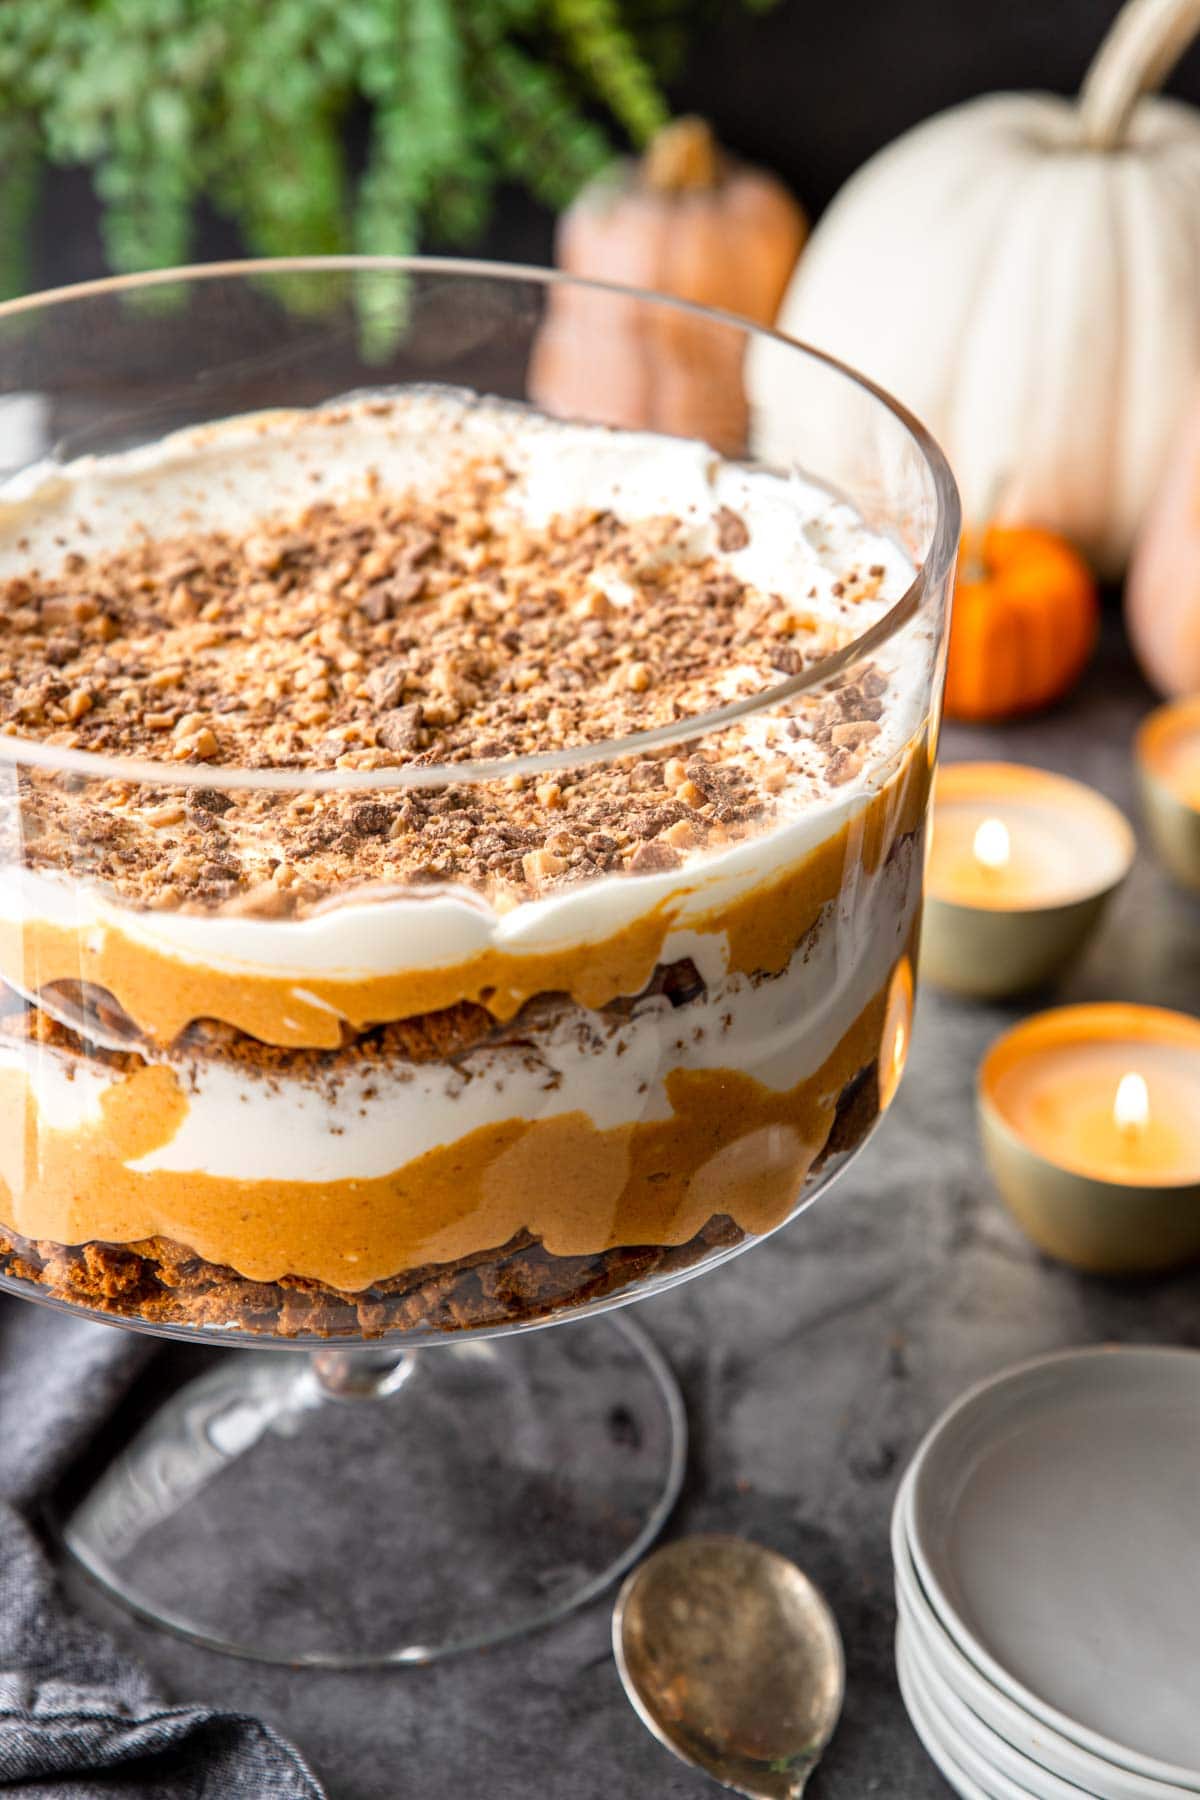
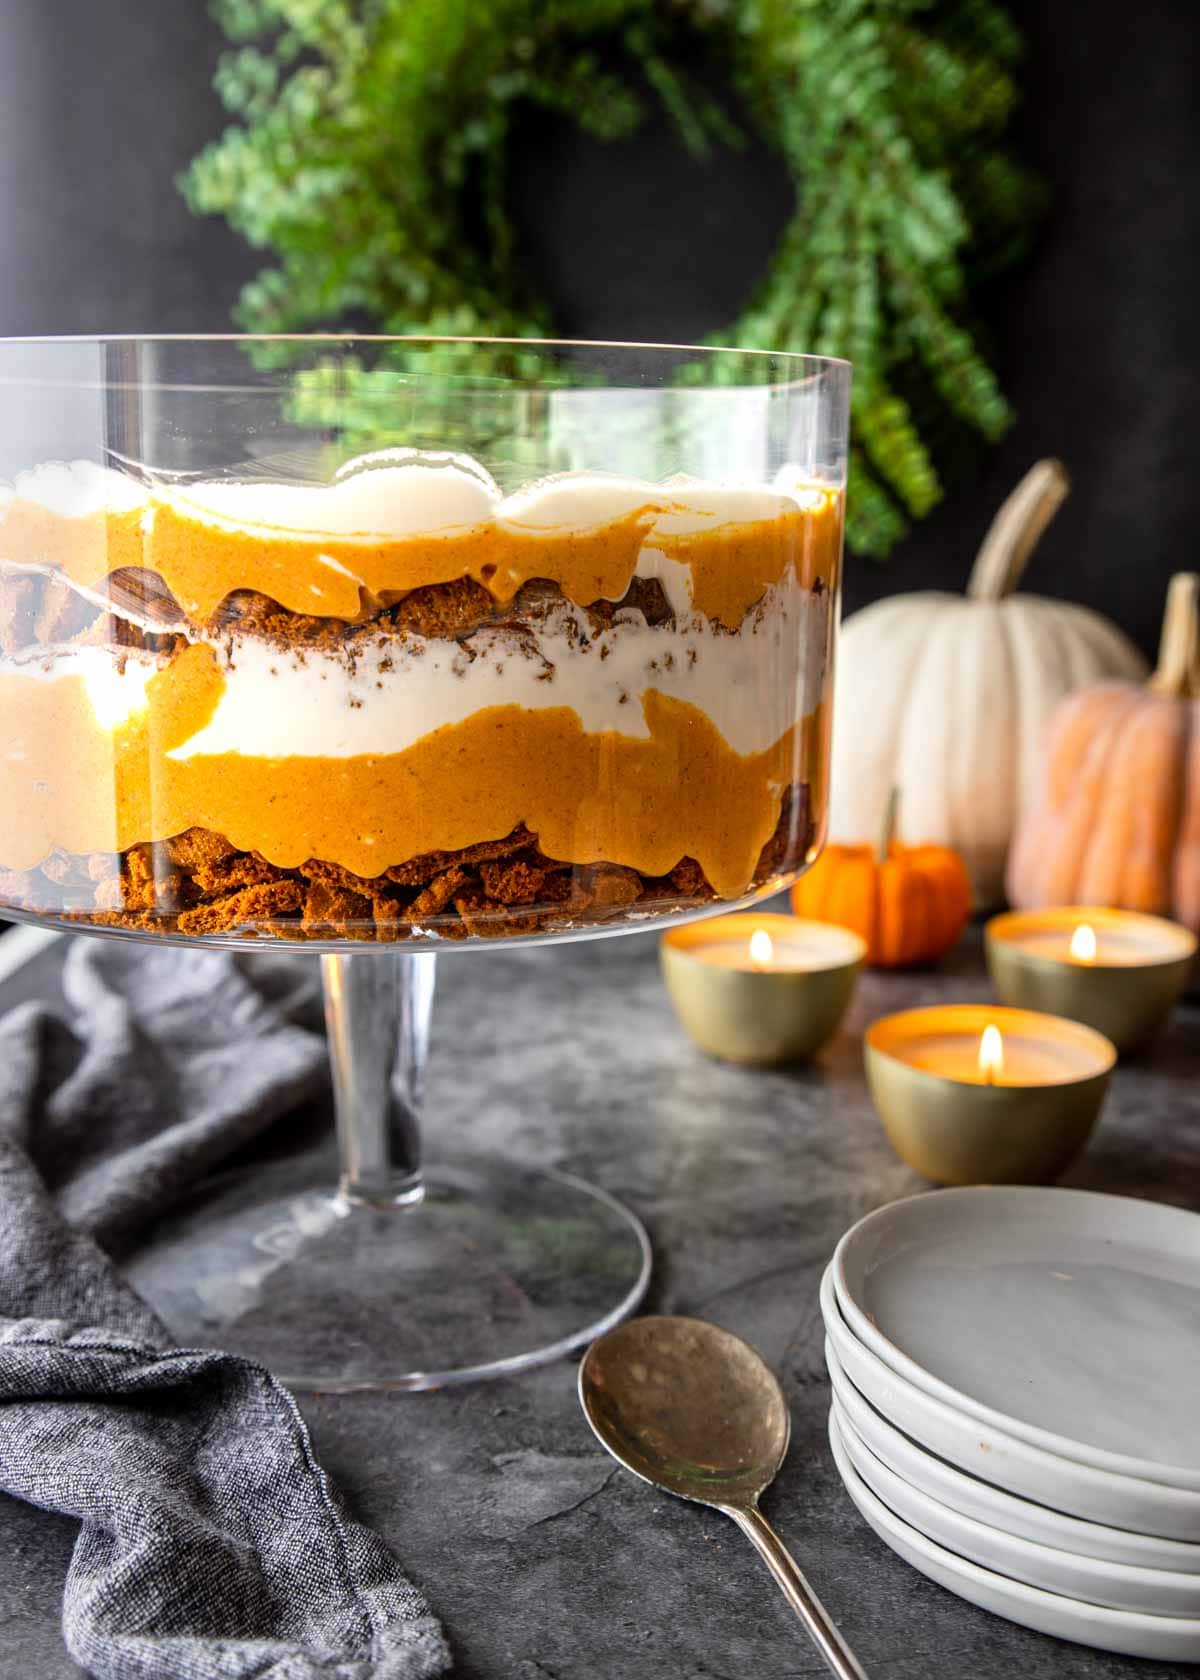
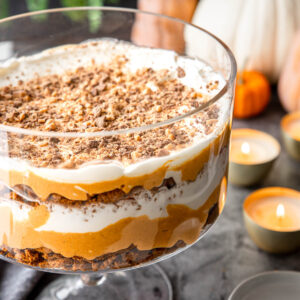
When Thanksgiving rolls around, you want a dessert you can trust – one that feels just as good to make as it does to bring to the table. This Pumpkin Trifle is one my family has made time and again for Thanksgiving, and it always disappears before the night is over. I can promise this one is simple to put together yet presents like a showstopper. A beautiful trifle bowl is filled with layers of crushed Biscoff cookies, pumpkin and cream cheese mousse, and whipped cream. The top is finished with bits of chocolate toffee.
Traditionally pumpkin pie and pecan pie are served at the Holidays. So if you are not a pie lover this Trifle will be the perfect Thanksgiving dessert for you! And if pumpkin isn’t your favorite flavor, pop over to these decadent Individual Chocolate Trifles or these Pecan Pie Bars.
"Made this for Friendsgiving, and getting ready to make it for my family Thanksgiving! Delicious. A friend told me that he doesn't like many pumpkin things, and this trifle made the list of the two pumpkin things he likes." – Amanda, Mom's Dinner Cook
[feast_advanced_jump_to]What is a Trifle?
A trifle is a traditional British dessert made in a large stemmed glass bowl and served cold. It is commonly made with layers of cake, custard (or pudding mixture) and some type of fruit.
Why You’ll Love This Thanksgiving Trifle
This is truly a spectacular dessert perfect for the holiday season.
The layers of flavors meld together as it sits in the fridge. The Biscoff cookies soak up a little of the pumpkin cream cheese mousse and whipped cream, so some of the cookies stay crispy and some soften. It’s the perfect mix of textures!
- Pumpkin is the flavor of the season, and this dessert delivers!
- Instead of traditional sponge cake or angel food cake this recipe uses super flavorful Biscoff Cookies that add texture and flavor.
- Mixing the pumpkin with cream cheese makes an amazing layer of pumpkin cheesecake-like filling.
- Pumpkin pie spice flavors are added – cinnamon, ginger, nutmeg and clove for a perfectly balanced flavor.
Pumpkin Trifle Recipe Ingredients
Pictured are the ingredients that you need to make your Pumpkin Trifle Dessert. Plus some tips on a few ingredients:
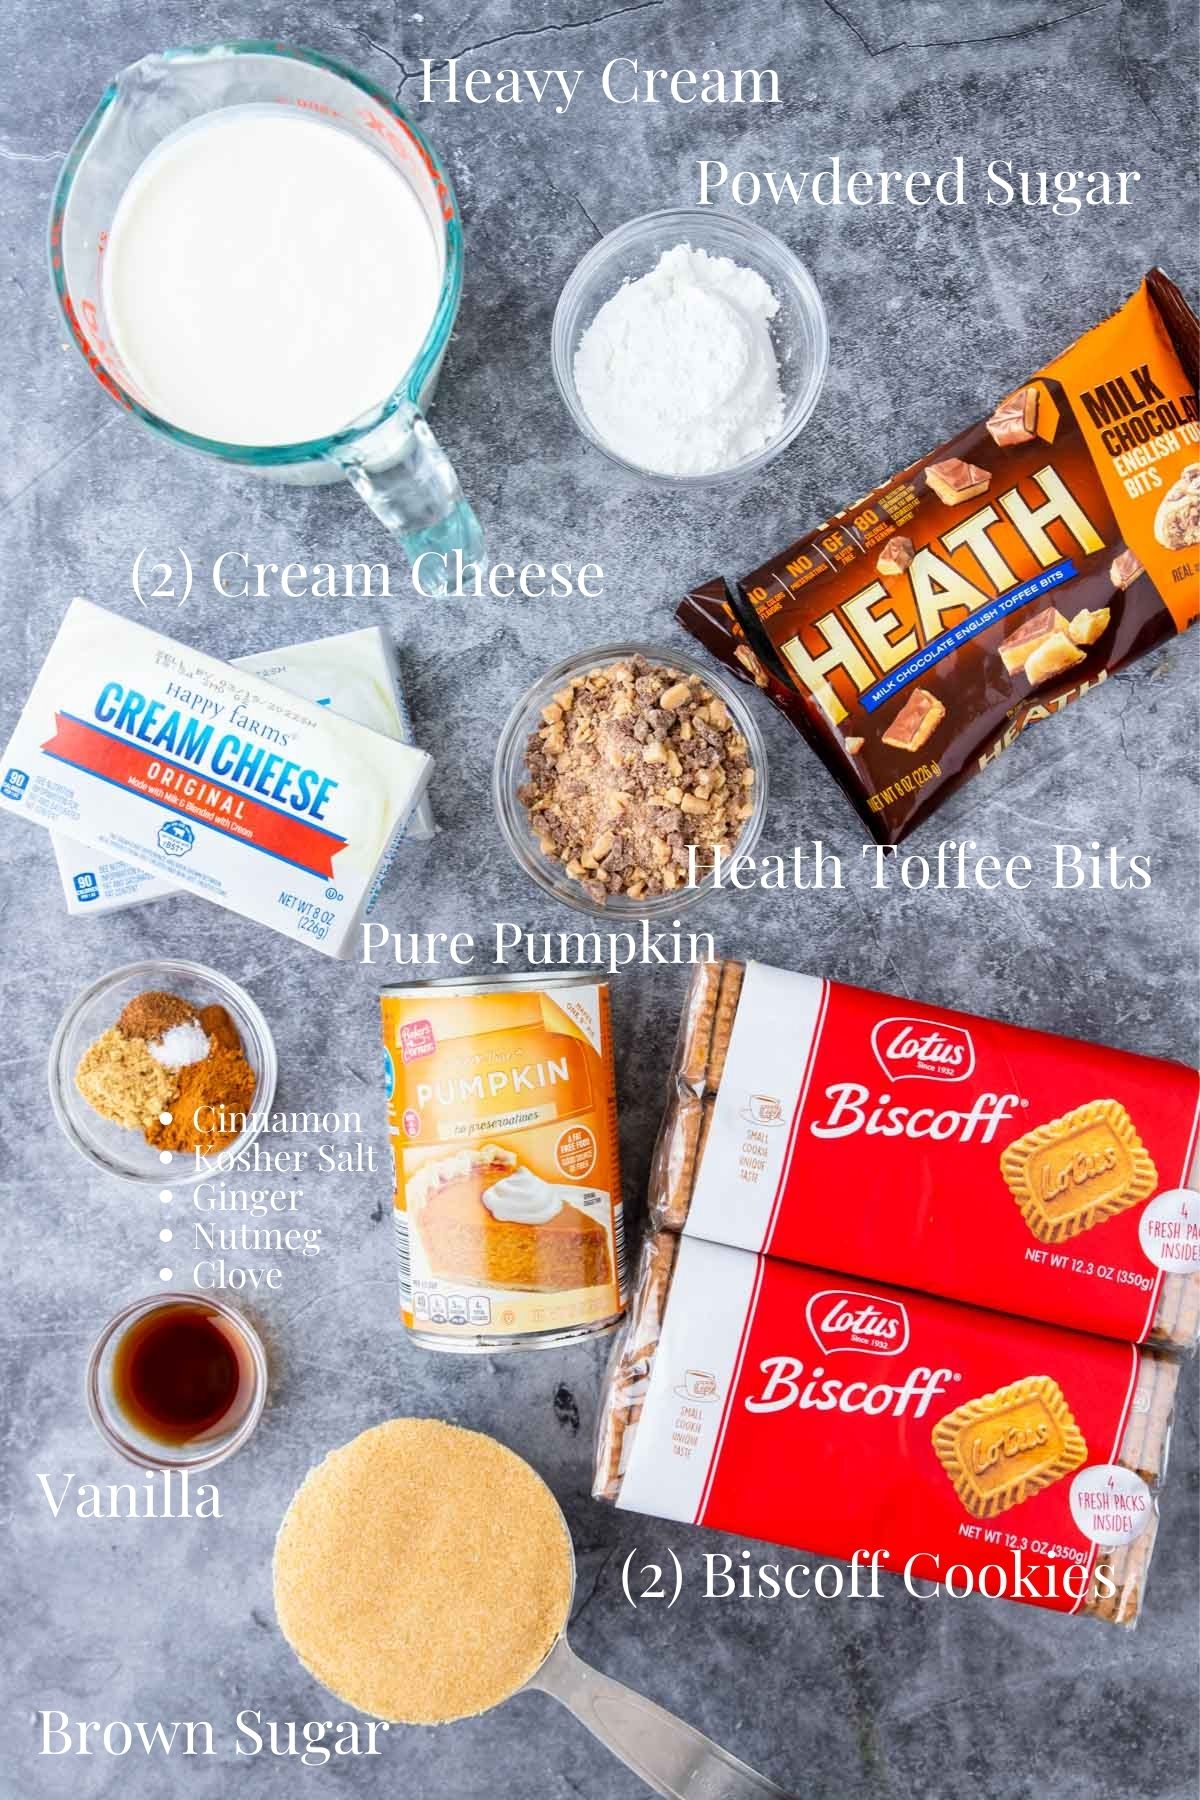
Pumpkin: Make sure that you buy 100% pure pumpkin puree, not pumpkin pie filling.
Cream Cheese: Get full fat cream cheese and make sure you soften it at room temperature so it blends creamy, with no lumps.
Toffee Bits: You can find these packaged toffee bits near the chocolate chips in the baking aisle. However, if they do not have them at your grocery store you can buy 2 Heath Candy Bars and crush them for the top.
Biscoff Cookies: Instead of graham crackers we use a more flavorful version called Biscoff Cookies. See the section below to learn more about these cinnamon cookies.
Biscoff Cookies
Biscoff Cookies are the best part (or one of the best parts) of this Thanksgiving Trifle! They are a traditional European Biscuit cookie that is served with coffee or tea. They kind of tastes like a really hearty cinnamon graham cracker. The sugar is caramelized during the baking process so they have a very brown sugary taste.
You can find them in the cookie aisle at your grocery store.
You will need 2 packages to make the full recipe.
Recommended Trifle Bowl
A traditional trifle bowl is a large glass bowl (to see the beautiful layers) and usually has a stem. See the photo below for reference:
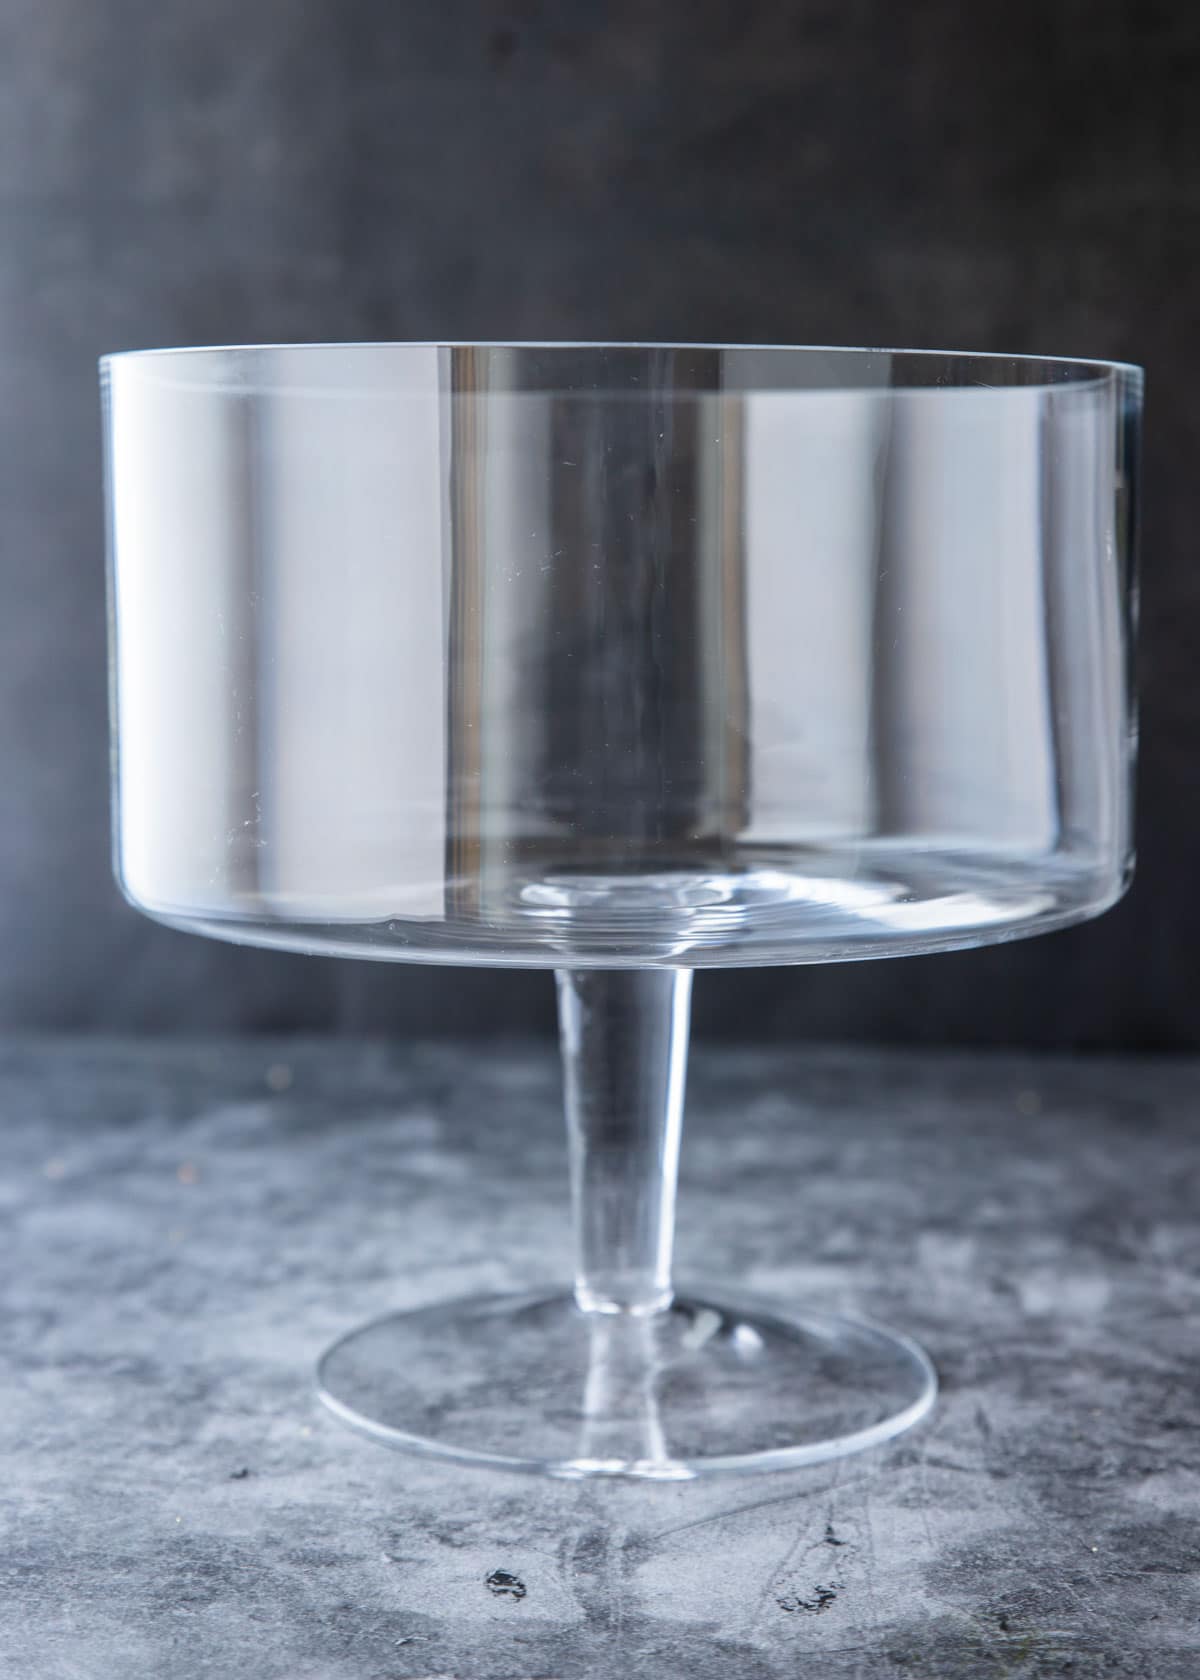
They come in all sizes, for this large desert I recommend that you use a 9″ Trifle Bowl (affiliate link).
How to Make Pumpkin Trifle Dessert
This is an excellent no-bake dessert that actually comes together really quickly. Just make sure you leave time to let it set in the fridge.
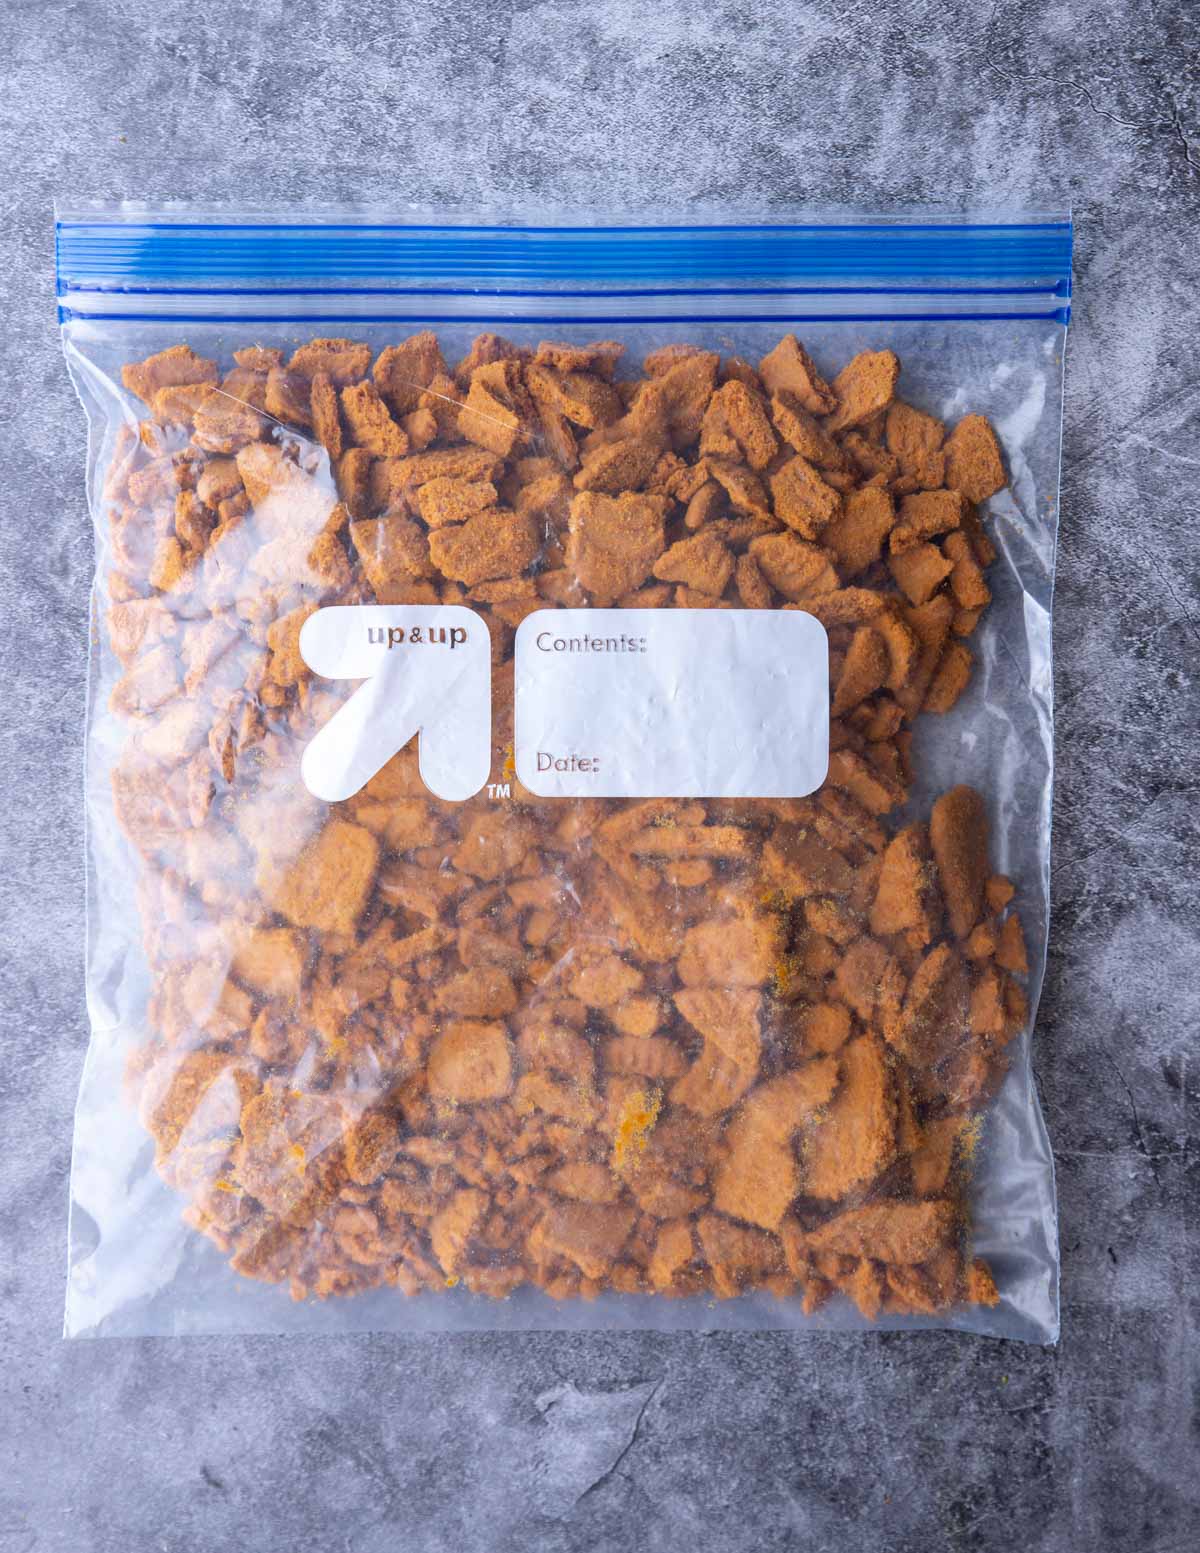
- Grab 2 large resealable baggies. Place each package of Biscoff cookies it a large ziploc. Crush them so you have bite sized pieces.
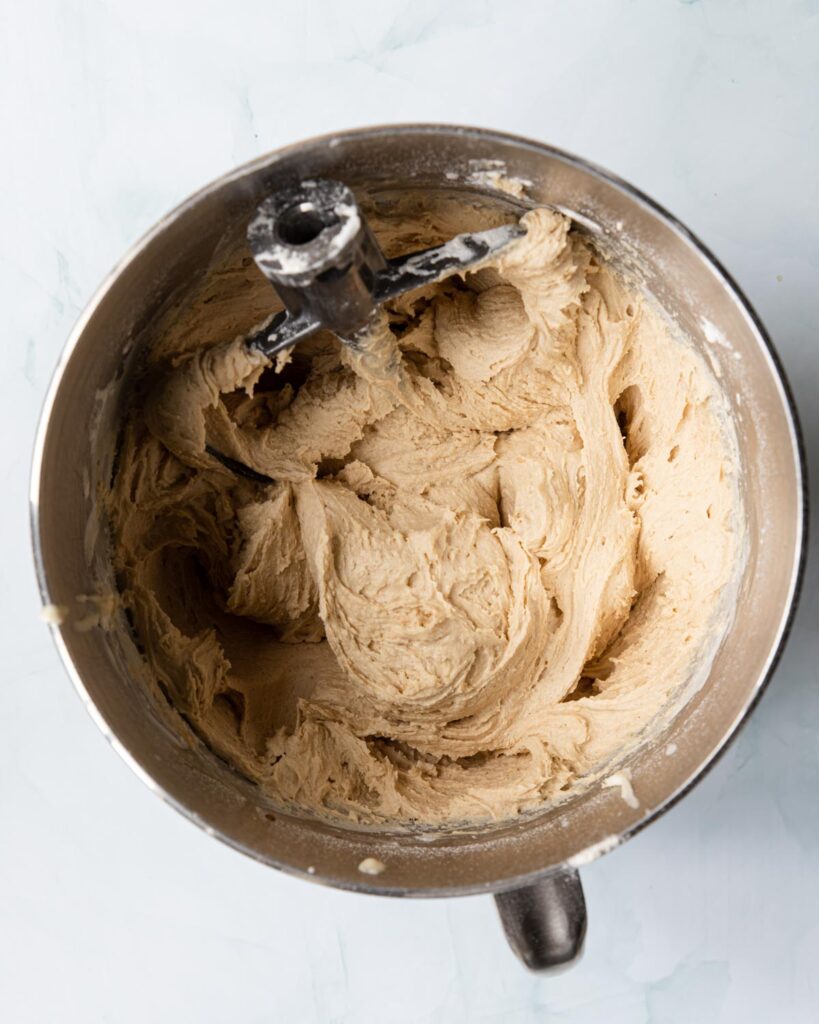
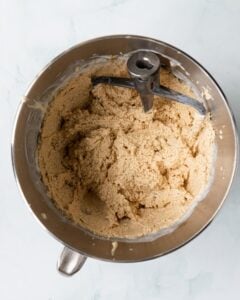
- In a stand mixer with a paddle attachment (or hand mixer) mix the cream cheese until it fluffy, then add in the brown sugar slowly. Finally add in the pumpkin, vanilla and spices.

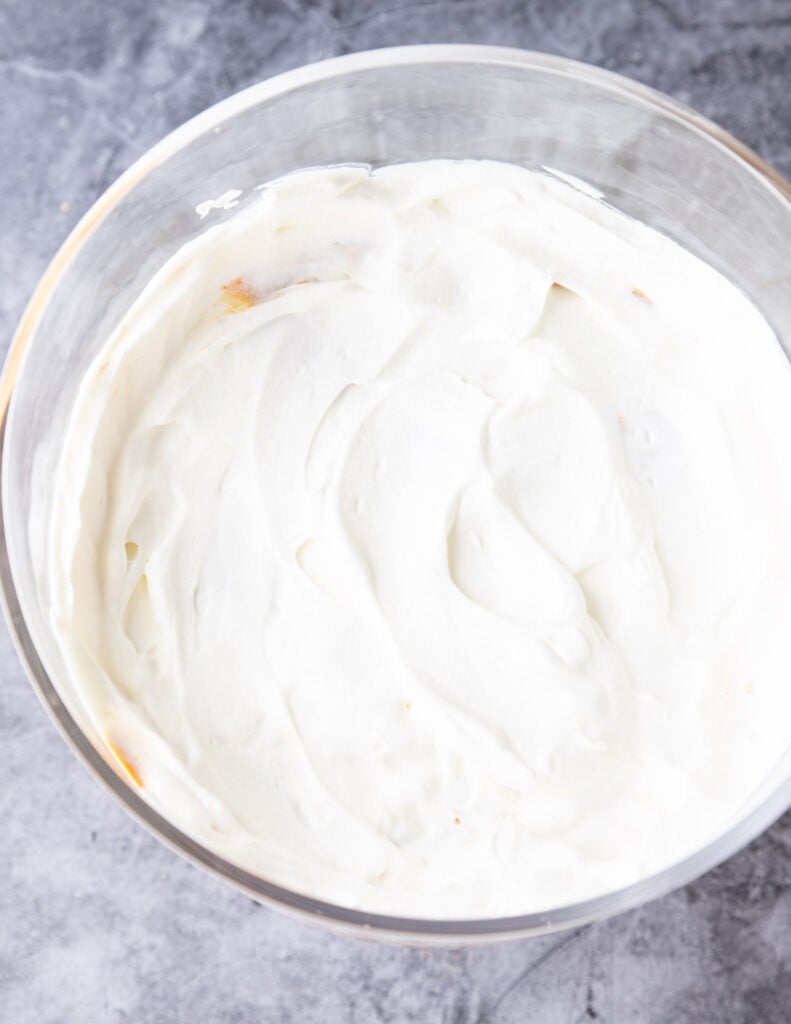
- In a separate bowl whip the heavy cream until it starts to thicken. Sprinkle in the powdered sugar and beat until you have medium stiff peaks.
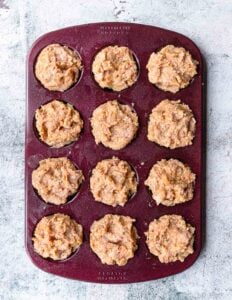
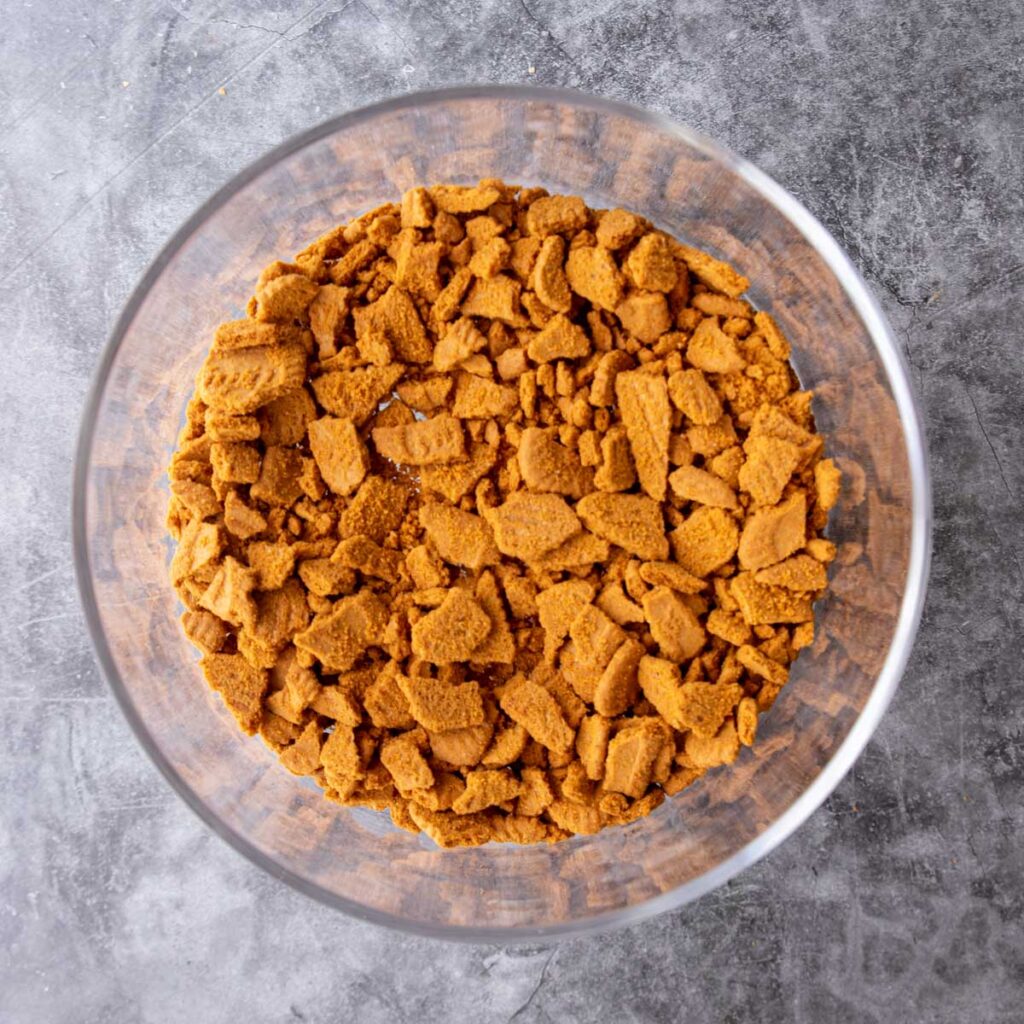
- Now in the bottom of a trifle dish pour one bag of crushed cookies.
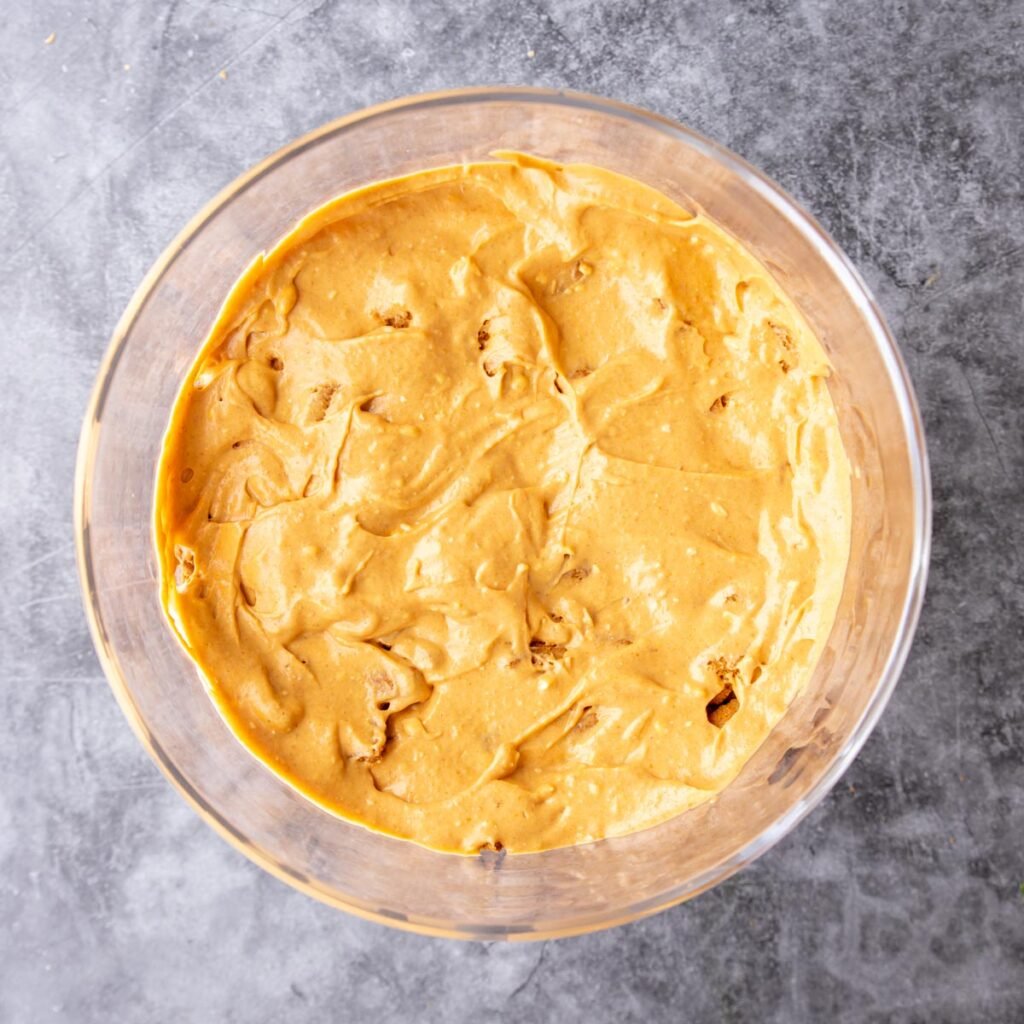
- Top with half of the pumpkin mixture, spreading it to the sides and slightly up the side of the bowl to create a layer.
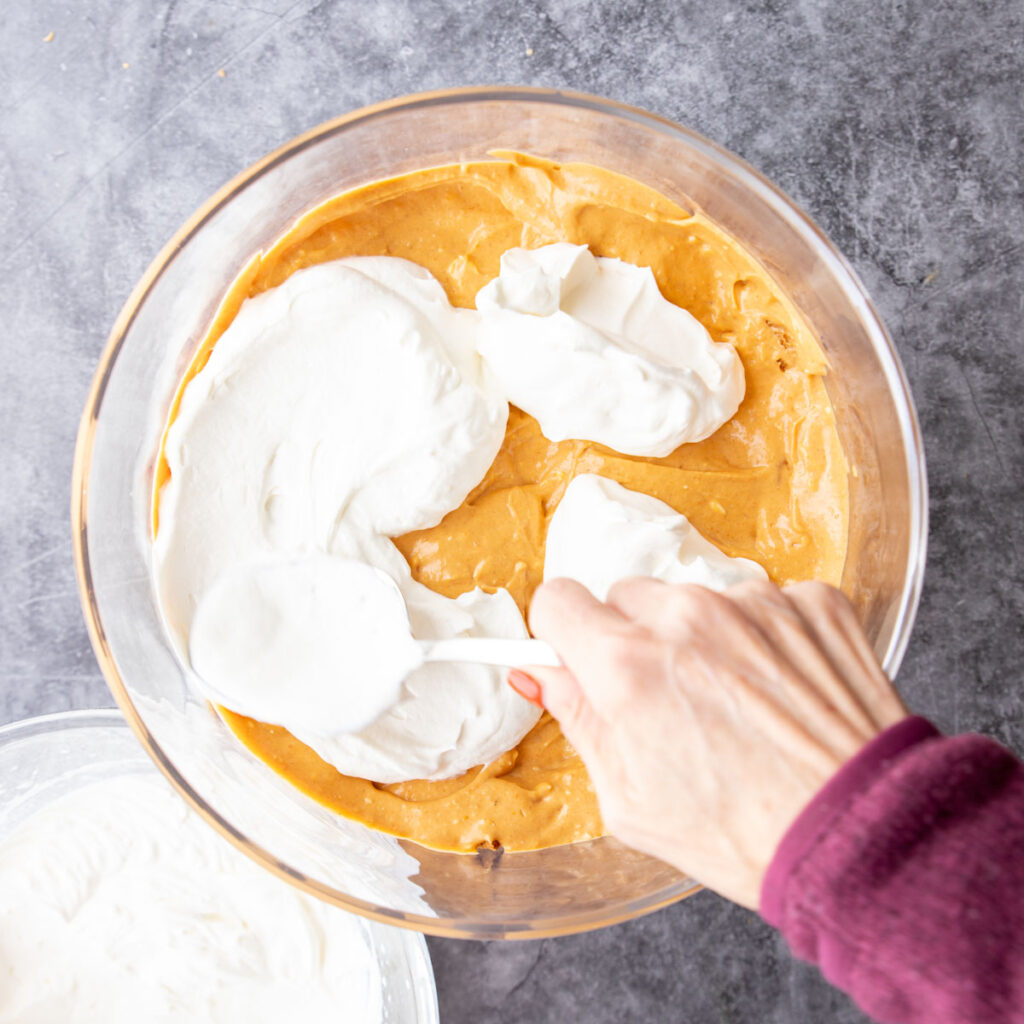
- Top with half the whipped cream.
- Repeat with the cookie layer, then remaining pumpkin and remaining whipped cream.
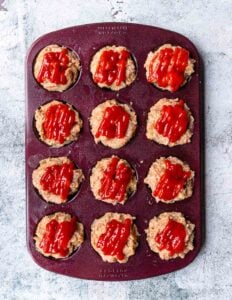
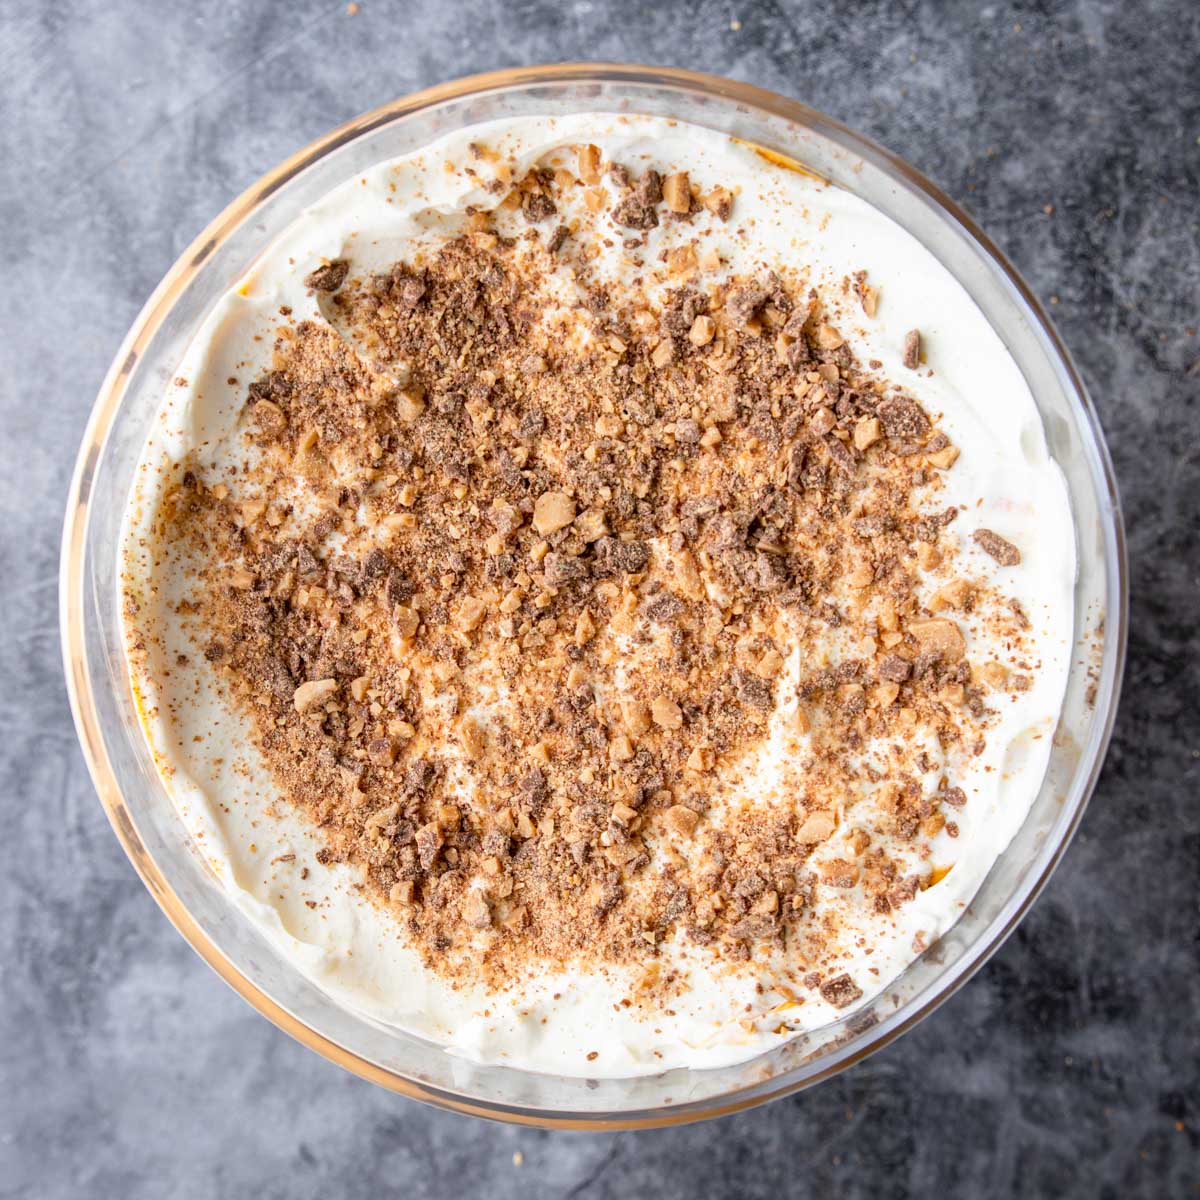
- Finish by smoothing out the top and sprinkling on the toffee bits.
Cover the bowl with plastic wrap and pop in the fridge for 4 hours up to 24 hours.
Serving Suggestions for Thanksgiving Trifle
Since this is such a festive dessert that has amazing presentation I recommend actually bringing the entire trifle bowl to the table. Then scoop individual servings onto plates/bowls or dessert glasses. It goes great with a hot cup of coffee or tea and good conversation!
Recipe Tips
- Make sure your heavy cream is COLD. It will whip up faster and creamier.
- If you can’t find toffee bits, purchase 2 or 3 Heath Candy Bars to crush.
- Get 100% pure pumpkin puree, NOT pumpkin pie filling.
- Make sure your cream cheese is softened at room temp, that way it will blend up smooth with no lumps.
- When layering very slightly paint each layer up the sides of the trifle bowl, about ½ inch, so that you can see each layer.
Storing
Leftover Thanksgiving Trifle can be stored in the fridge, covered with plastic wrap, for up to 4 days.
Perfect Thanksgiving Dinner Menu
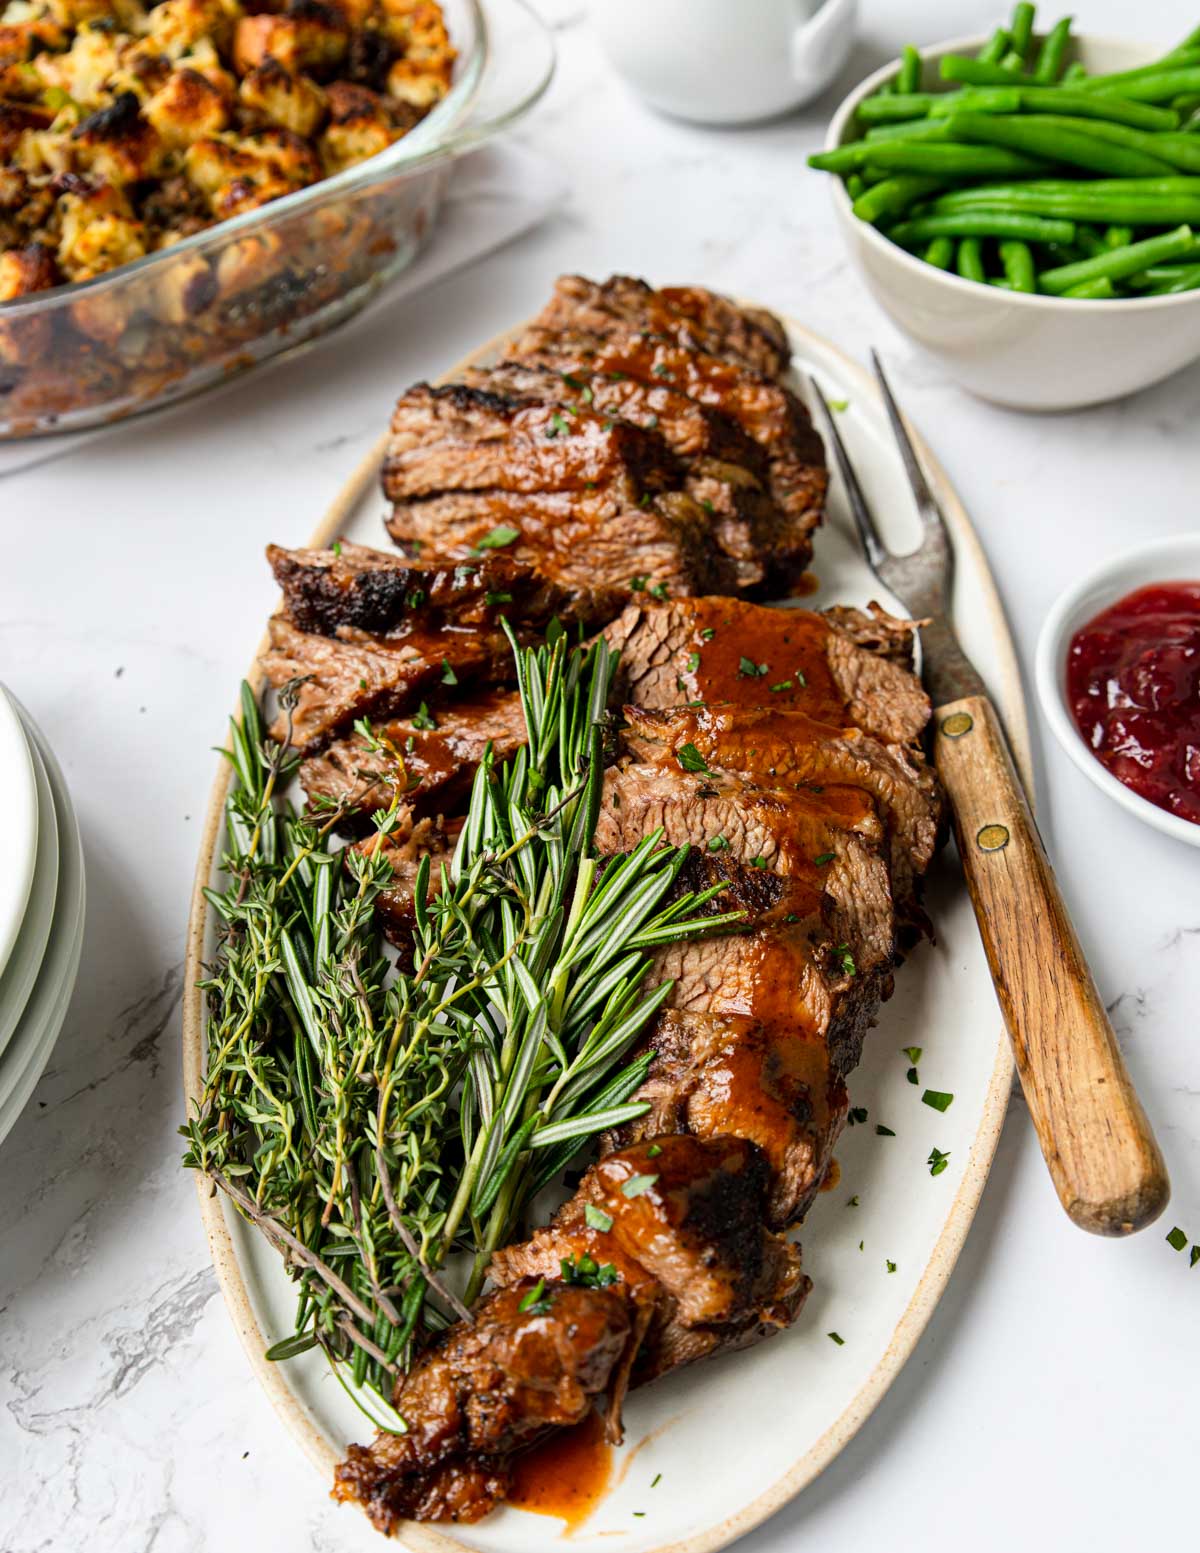
All of these recipes will make a truly impressive Thanksgiving dinner:
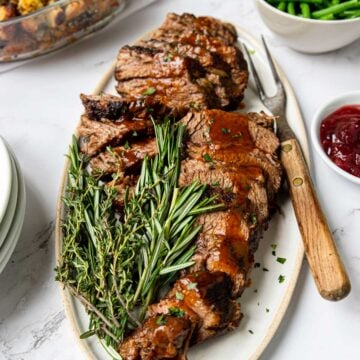
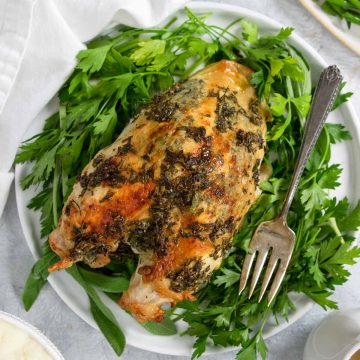
- Oven Roasted Turkey Breast
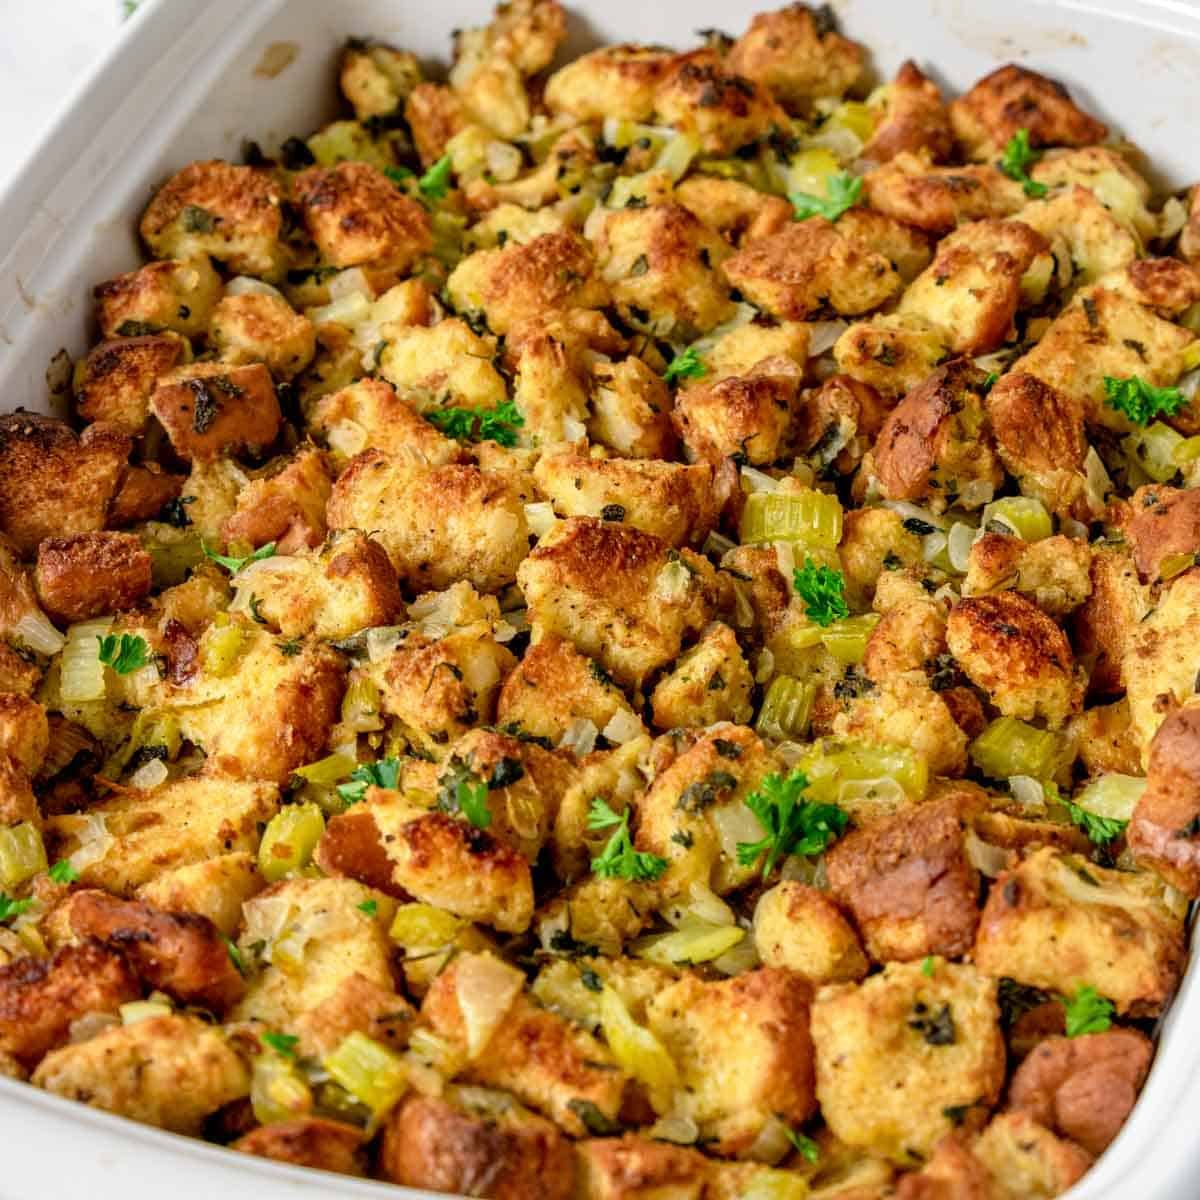
- How to Make Stuffing Recipe
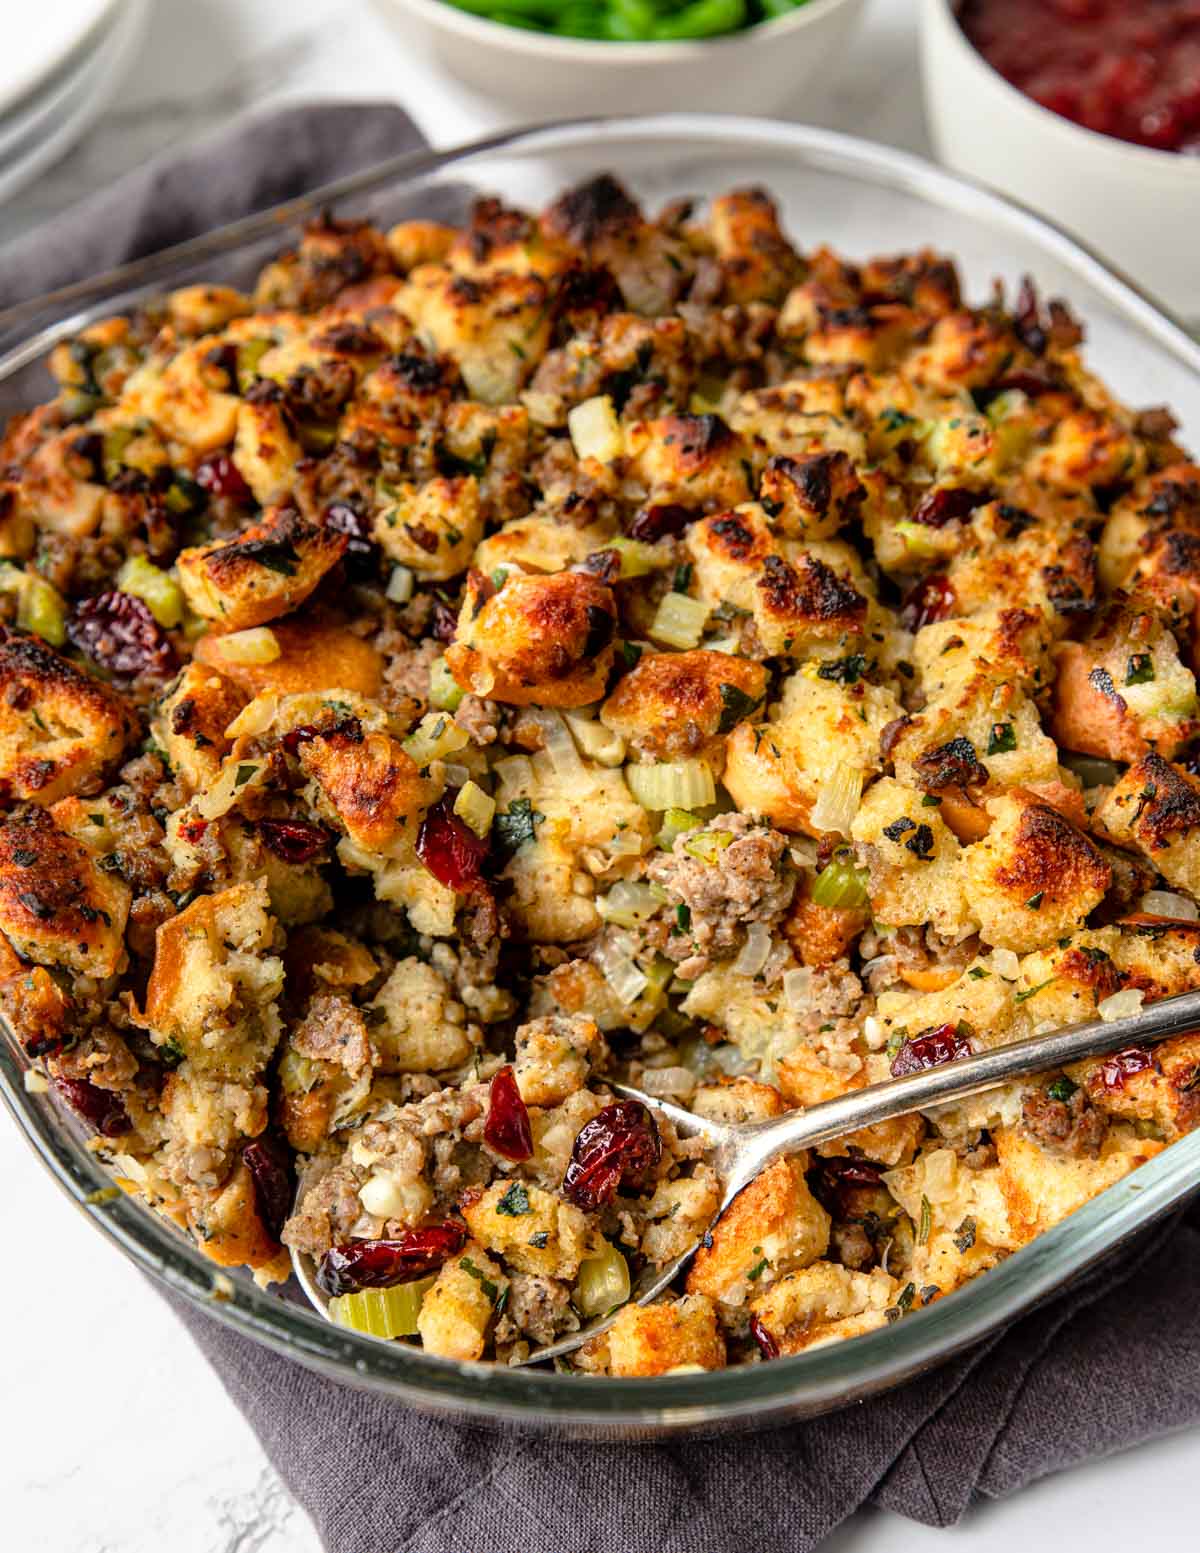
- Thanksgiving Stuffing with Sausage
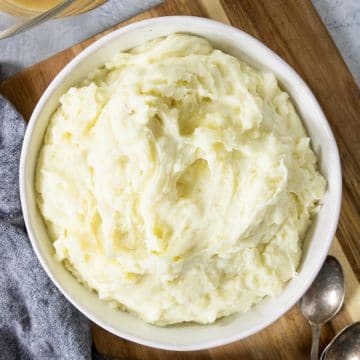
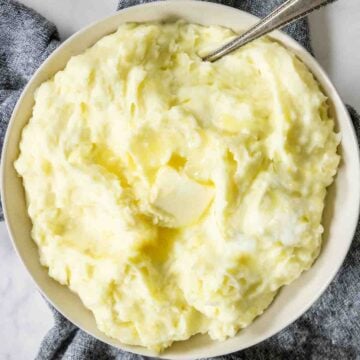
- The BEST Yukon Gold Mashed Potatoes
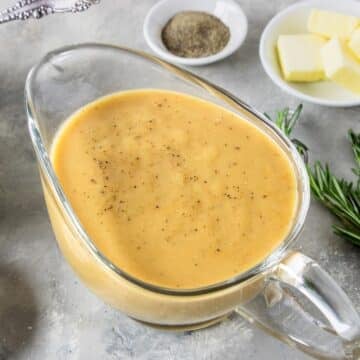
- Super Flavorful Gravy Without Drippings
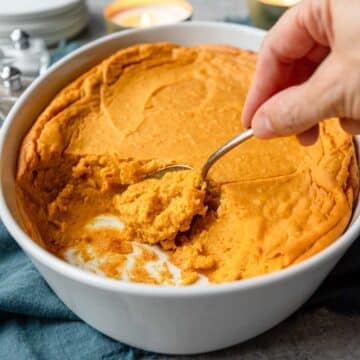
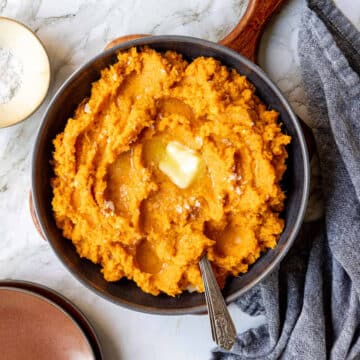
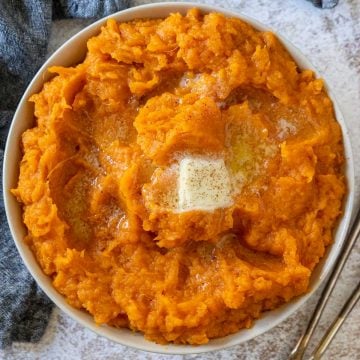
- Instant Pot Mashed Sweet Potatoes
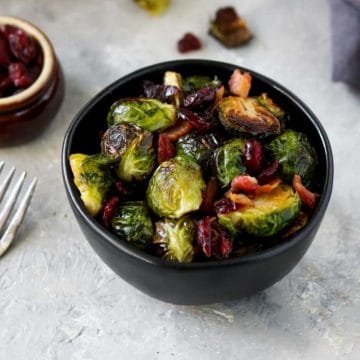
- Roasted Brussels Sprouts with Bacon & Cranberries
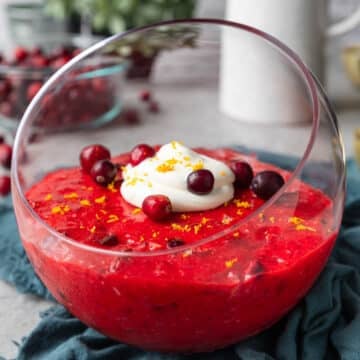
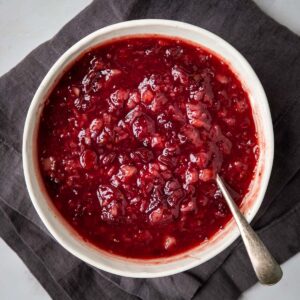
- Best Canned Cranberry Sauce Recipe
- Jiffy Corn Casserole With Cheese


Did you make this recipe?
⭐⭐⭐⭐⭐
I would love to hear your review, especially if you have tips and tricks to add! Pop down to the comment section and connect with me
Thanksgiving Pumpkin Trifle Recipe + Video
Equipment
- (2) gallon sized resealable plastic bags (zip lock)
Ingredients
- 2 - 8oz. packages cream cheese - - softened
- 1 cup packed brown sugar
- 1 - 15oz can pure pumpkin puree - (do not get pumpkin pie filling!!)
- 2 tsp. vanilla extract
- 1 ½ tsp. cinnamon
- 1 tsp. ground ginger
- ¼ tsp. nutmeg
- Pinch of ground cloves
- ⅛ tsp. kosher salt
- 16 oz heavy whipping cream - - cold!!
- ⅓ cup powdered sugar
- 2 - 12.3oz packages Biscoff cookies - – crushed
- ⅓ cup Toffee bits - ie. Heath Milk Chocolate English Toffee bits
Instructions
- In a stand mixer with a paddle attachment, or an electric mixer, beat the cream cheese until fluffy.**Make sure your cream cheese is completely softened at room temp to make sure there are not lumps.2 - 8oz. packages cream cheese
- Gradually add in the brown sugar and mix until smooth. Add in the 100% pumpkin puree, vanilla, cinnamon, ginger, nutmeg, cloves and salt. Mix until thoroughly combined. Set aside.1 cup packed brown sugar, 1 - 15oz can pure pumpkin puree, 2 tsp. vanilla extract, 1 ½ tsp. cinnamon, 1 tsp. ground ginger, ¼ tsp. nutmeg, Pinch of ground cloves, ⅛ tsp. kosher salt
- In a separate mixing bowl, with a stand mixer or hand mixer, beat the whipping cream until soft peaks form.*Use cold whipping cream so it whips up faster and creamier.16 oz heavy whipping cream
- Gradually beat in the powdered sugar until medium stiff peaks form. Set aside.⅓ cup powdered sugar
- Unwrap each package of cookies and place into 2 separate gallon sized zip lock bags. Using a meat mallet or a rolling pink crush the cookies into bite sized pieces.2 - 12.3oz packages Biscoff cookies
- In a trifle bowl, pour the cookies of 1 zip lock bag into the bottom of the trifle bowl, spread evenly across the bottom.
- Top the cookies with ½ of the pumpkin cream cheese mixture, spreading the mixture to create a smooth layer. * Spread the pumpkin all the way to the sides of the trifle bowl so you can see the layers. You can "paint" the pumpkin up the side of the bowl slightly (½ inch) to show the layer.
- Top the pumpkin mixture with ½ of the whipped cream, spreading to form a smooth layer all the way to the edge of the trifle bowl.
- Repeat the process with the other half of the cookies, pumpkin cream cheese and ending with the whipped cream on top.
- Sprinkle the toffee bits over the top of the whipped cream.⅓ cup Toffee bits
- Cover and refrigerate for at least 4 hours or up to 1 day.
Serving
- Bring the entire trifle bowl to the table for a spectacular presentation.
- Scoop individual portions onto dessert plates/bowls/cups. Make sure to scoop down into the dessert to give all the layers to each person.
- If you have extra toffee bits you can serve those on the side for people to sprinkle extra on their serving.
Recipe Tips and Notes:
- Make sure your heavy cream is COLD. It will whip up faster and creamier.
- If you can’t find toffee bits, purchase 2 or 3 Heath Candy Bars to crush.
- Get 100% pure pumpkin puree, NOT pumpkin pie filling.
- Make sure your cream cheese is softened at room temp, that way it will blend up smooth with no lumps.
- When layering very slightly paint each layer up the sides of the trifle bowl, about ½ inch, so that you can see each layer.