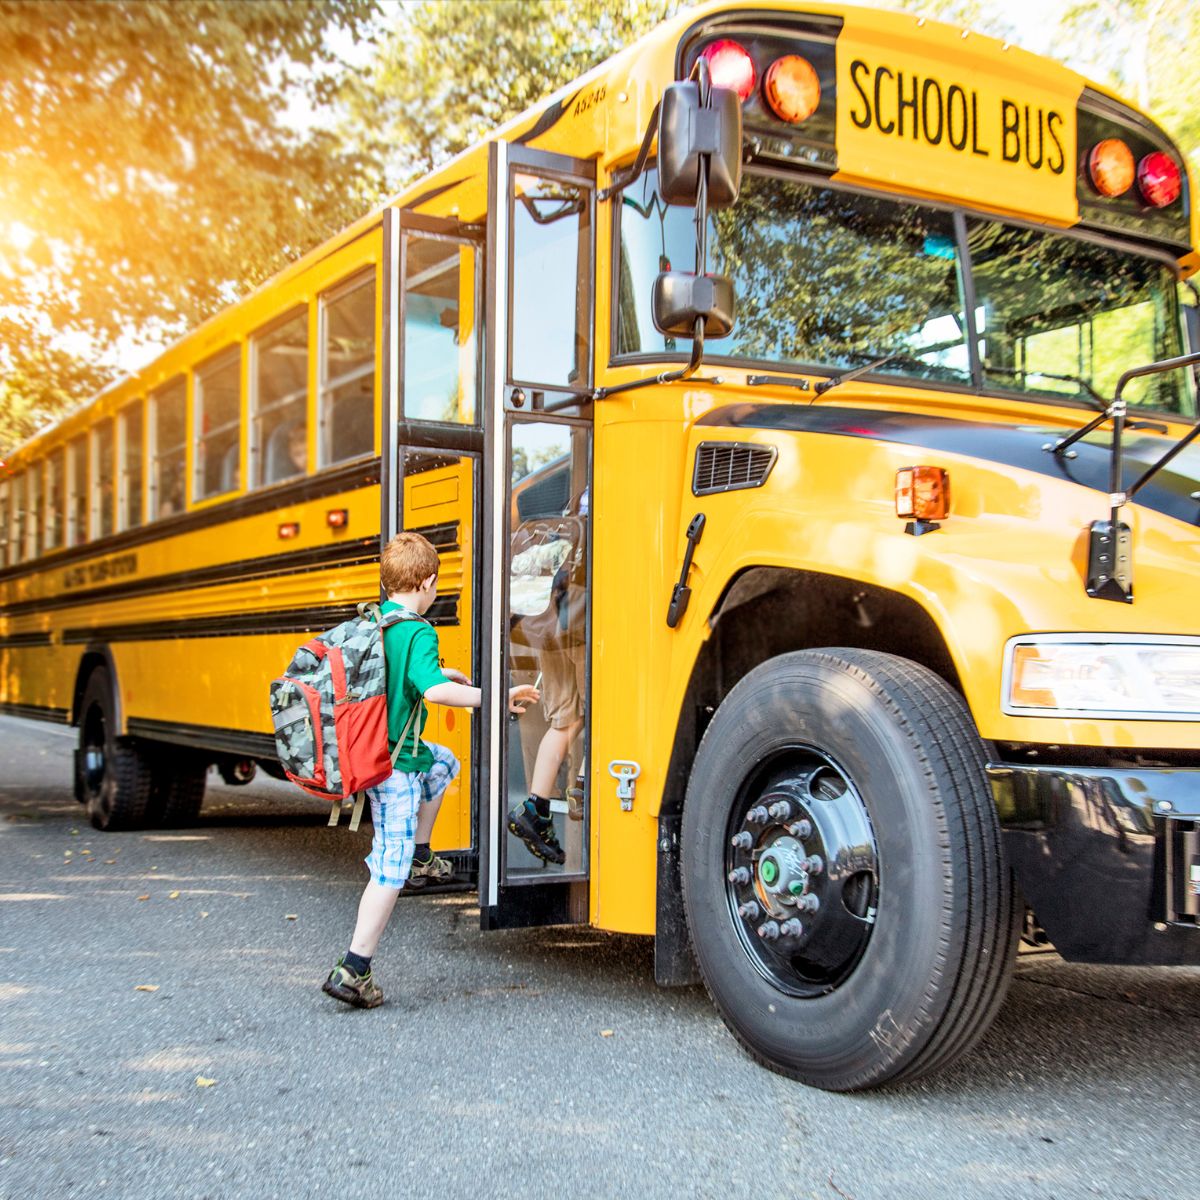
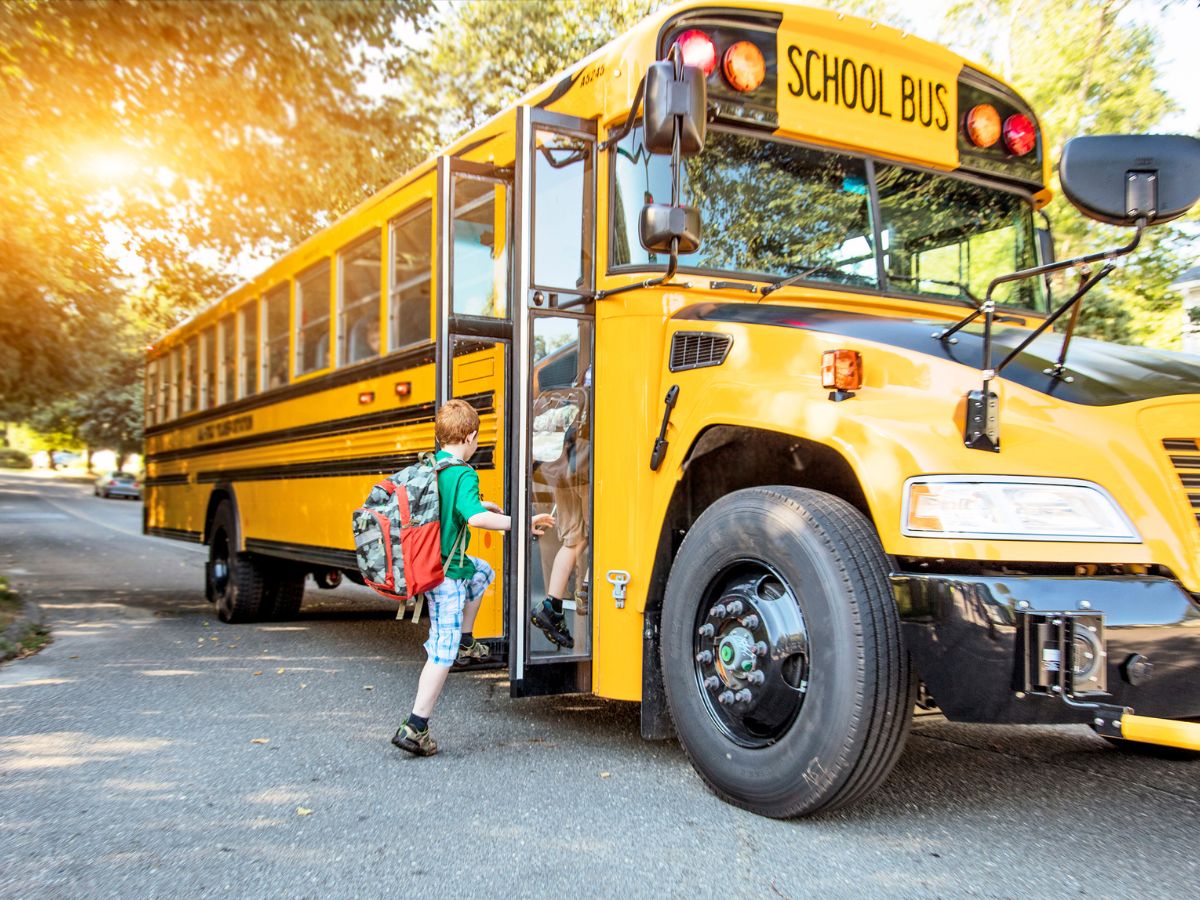
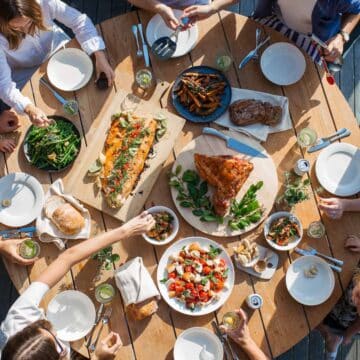
Let’s cut straight to it, you just want easy dinner recipes that your kids will eat! That’s it, right?! Especially when it is back to school time and the struggle is real. The kids are tired, you are tired, and you just need to get food on the table without a lot of fuss or work. BUT you still want it to be delicious, you’re not that desperate.
This is exactly why I created this list of 35+ easy back to school dinner ideas that your kids will eat and you can put on heavy rotation for the rest of the year. Because once you find something your kids will eat, that recipe becomes GOLD!
(this was actually requested by a mom friend and I thought it was a great idea)
[feast_advanced_jump_to]Tips To Make Clean Up Easier & Faster
I know we are all trying to save the planet… which is awesome! Make sure you are recycling, conserving water and eating vegetarian once in a while. But at the beginning

of the school year we all need to make things as easy as possible, especially at dinner time (aka- the witching hour). Here are a few PRACTICAL tips that will make clean up faster:
- Use paper plates
- For the love of everything use the rotisserie chickens at Costco or your local grocery store!
- Make one pan meals (less dishes)
- Line baking sheets with parchment paper or foil
- If there are only a few leftovers put them all in one container (saves fridge space)
- Keep the serve ware in the cabinet… serve chips etc.. right out of the container
- Cut down the number of utensils used when making dinner (if you stir the pasta with a spoon, use it to stir the sauce too)
- Read through an entire recipe before starting
- Make sure the dishwasher is empty or has space available before starting dinner
Tears at Dinner
I am not here to tell you how to deal with kids crying at dinner. Not all kids are the same, they all respond differently to different methods and tactics. BUT what I will tell you is that once you find a recipe that works at dinner, KEEP IT! Print it, pin it, save it! Having something your kids will eat without crying is pure gold!
Another method that might help dinner time anxiety is letting the kids pick one dinner for the week. If you do any kind of meal planning, ask each child to suggest one dinner they would love to have that week.
35+ Dinner Menus
Here are 35+ dinner menus for back to school time that are pretty easy to make and generally kid friendly. If you find one that your kids love then put it in rotation for the entire year!
I have written out some general side dish ideas for each dinner, keeping it as easy as possible. But of course, serve the side dishes YOUR kids will eat! Check out these menu ideas, including links to recipes that are free and printable:
Instant Pot Spaghetti or Spaghetti with Meat Sauce: green veggie or green salad and garlic bread
Homemade Tacos: soft or hard shells, your family’s favorite taco toppings, Mexican Rice or Copycat Chipotle Rice, fruit, chips and salsa
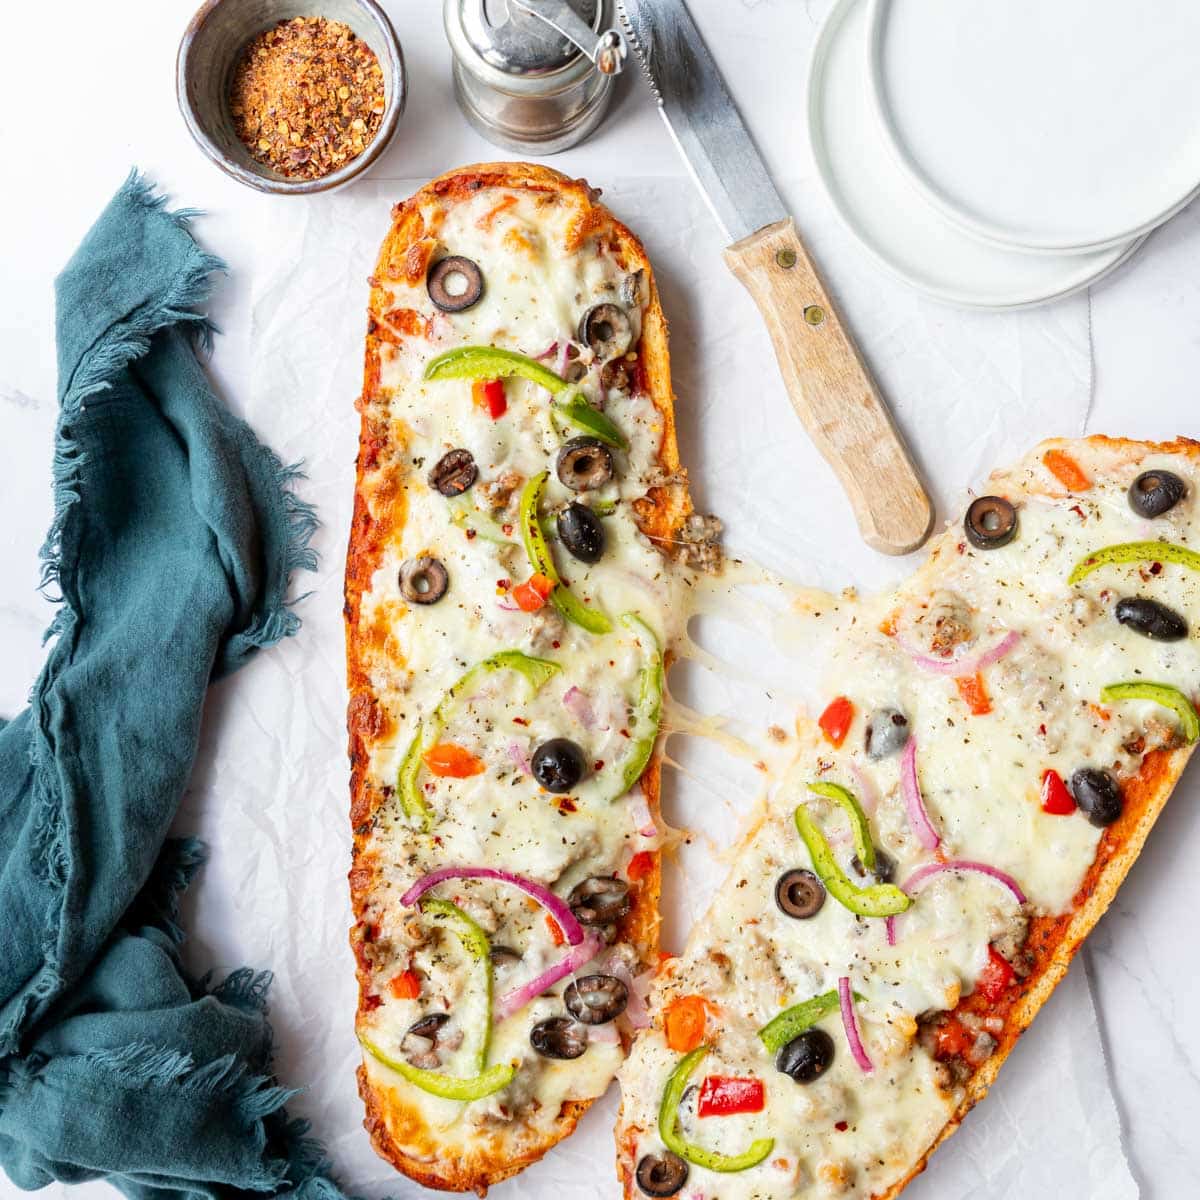
Homemade French Bread Pizzas : carrots with ranch dip
Chicken Noodle Soup for Kids: saltine crackers and chocolate milk
Sloppy Joes: chips or tater tots, raw veggies with ranch dip
Instant Pot Chicken Tacos: soft or hard shells, your family’s favorite taco toppings, 15 minute Refried Beans, fruit, chips and salsa
Baked Kids Chicken Meatballs: spaghetti and marinara, green beans
Chicken Meatballs for Kids: kids favorite dipping sauce, fries, green veggie

Skillet Lasagna: green salad or veggie, garlic bread
Easy Beef Ramen: one bowl meal… no side dishes necessary! Although I bet your kids would love fortune cookies after dinner!
Frozen Chicken Tenders: (we LOVE the Tyson Naturals Gluten Free Chicken Nuggets, we are not gluten free but found they are the BEST. we also love the Bare Chicken Nuggets or the Costco Kirkland Nuggets that look like the Bare Nuggets), cucumber slices and dip, sweet potato fries or tater tots, apple slices
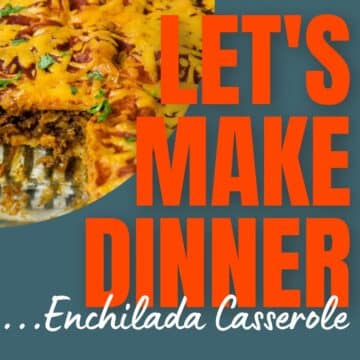
Skillet Enchiladas: Mexican Rice or Chipotle Cilantro Rice, Fruit, Chips and Salsa
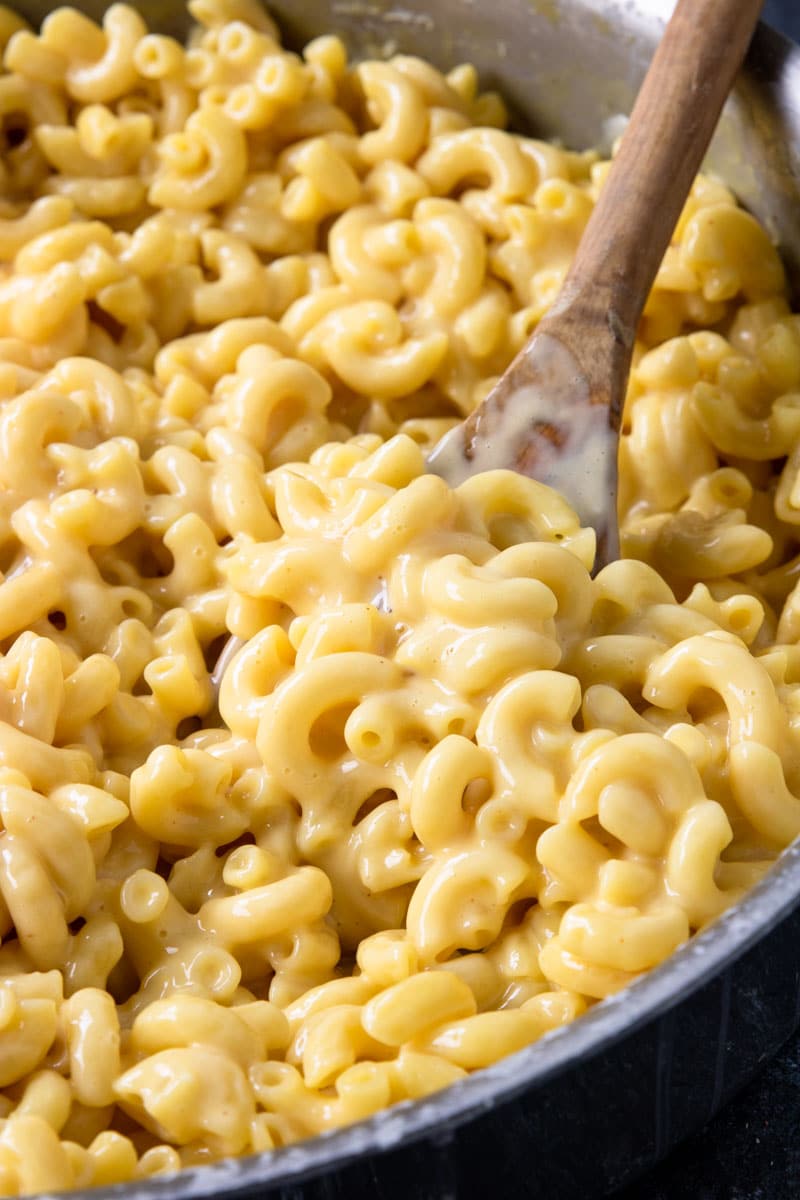
Skillet Mac and Cheese: raw veggies with ranch dip
Meatball Subs (with frozen meatballs, we love Costco frozen Kirkland Beef Meatballs): Pasta salad from the grocery store deli, chips or fries
Baked Turkey Meatballs : mac and cheese and favorite veggies.
Skillet Steak Bites: kids favorite veggie, tater tots or sweet potato fries
Costco or Local Grocery Store Rotisserie Chicken: Instant Pot Mashed Potatoes or Yukon Gold Mashed Potatoes and your family’s favorite cooked veggie (green beans, broccoli, roasted carrots, asparagus...)
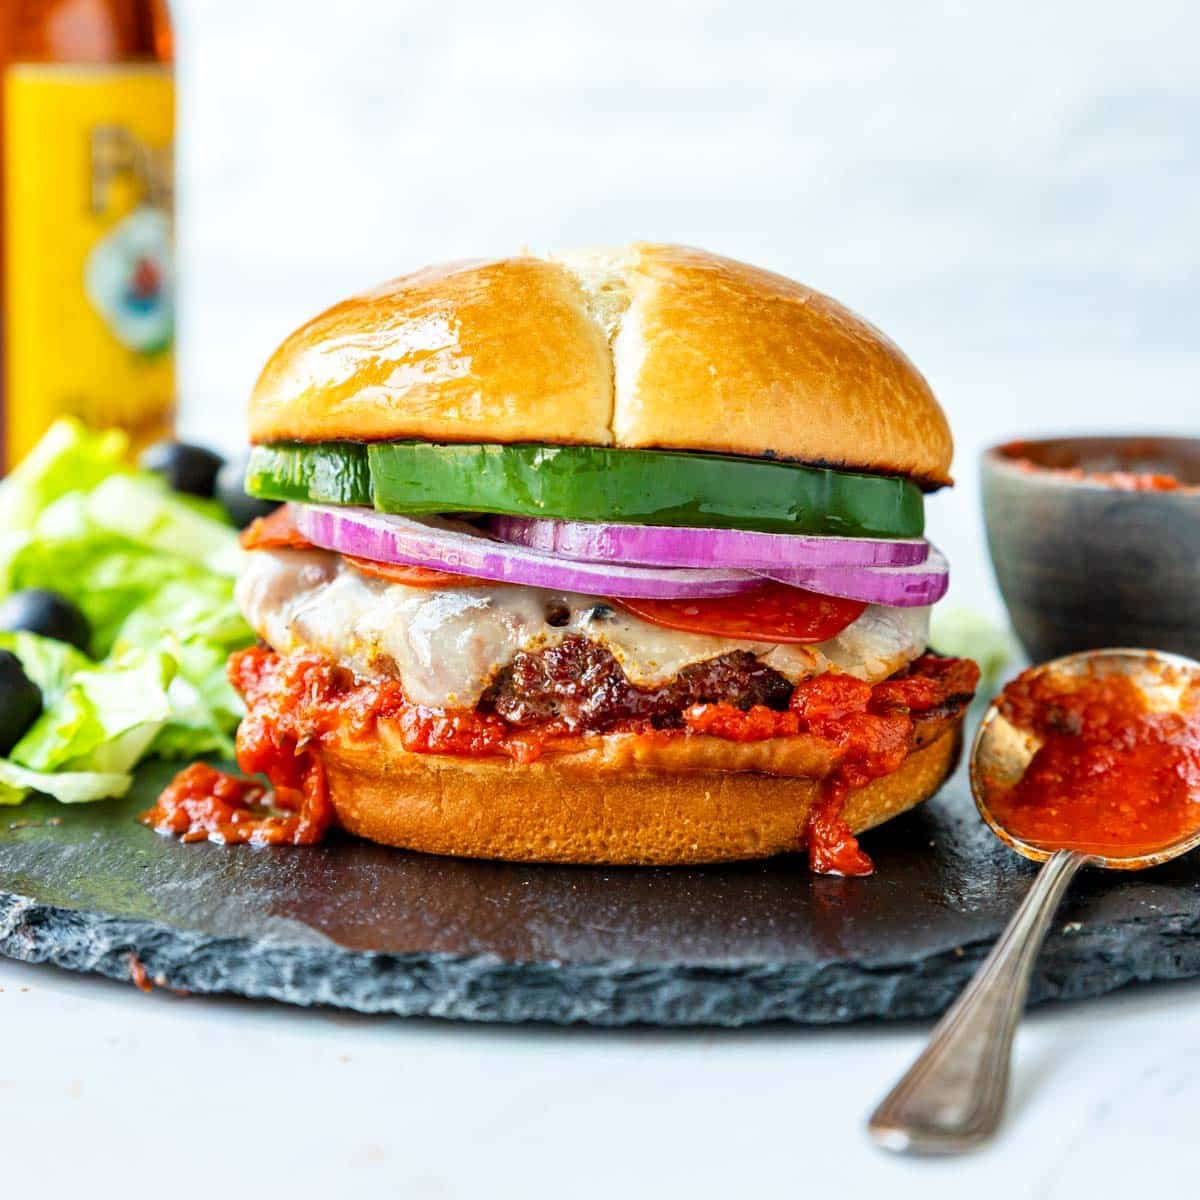
Grilled Pizza Burgers: have an assortment of toppings that you know your kids will like, add fries or chips and a veggie on the side.
Italian Sausage Meatballs : serve over spaghetti with sauce, green veggie, and garlic bread.
Instant Pot BBQ Chicken Sandwiches: buns, pickles, BBQ sauce, store bought sides (choose your kids faves: coleslaw, beans, potato salad, pasta salad)
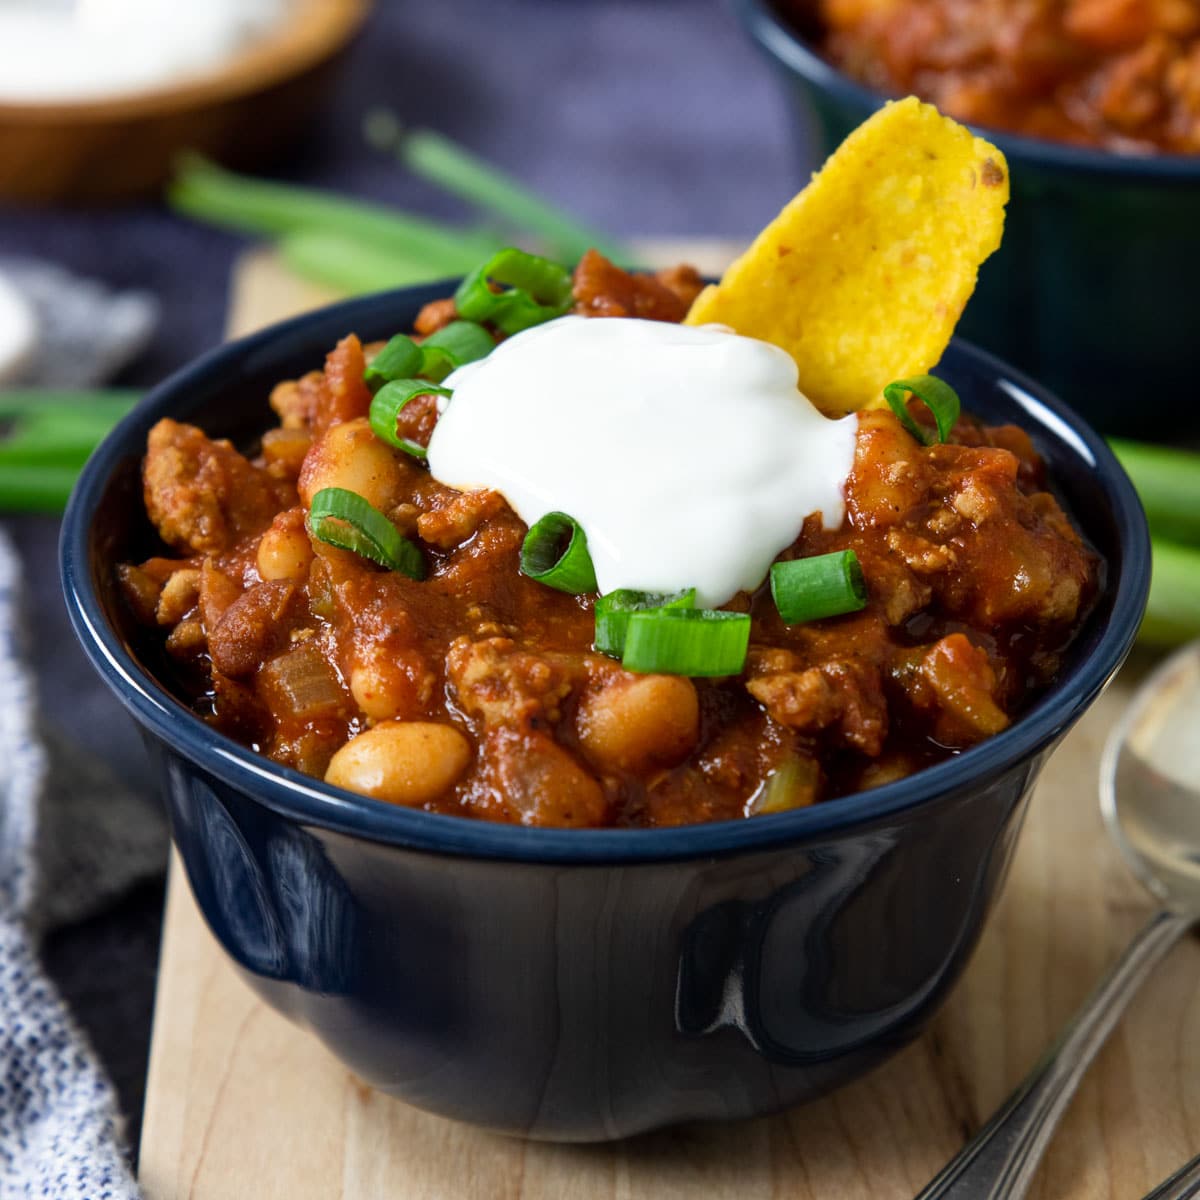
Hearty Turkey Chili: saltine crackers or Fritos, sweet cornbread muffins, honey butter, raw veggies with ranch dip
Instant Pot Chicken Alfredo or Fettucine Alfredo with Chicken: green salad and garlic bread
Breakfast for Dinner: scrambled eggs (let the kids make eggs in a mug), bacon, frozen waffles, fruit
Oven Cooked Bacon
Cook your bacon on a rimmed baking sheet lined with parchment paper at 400 degrees for 20 minutes, flipping the bacon over at about the 12 minute mark.
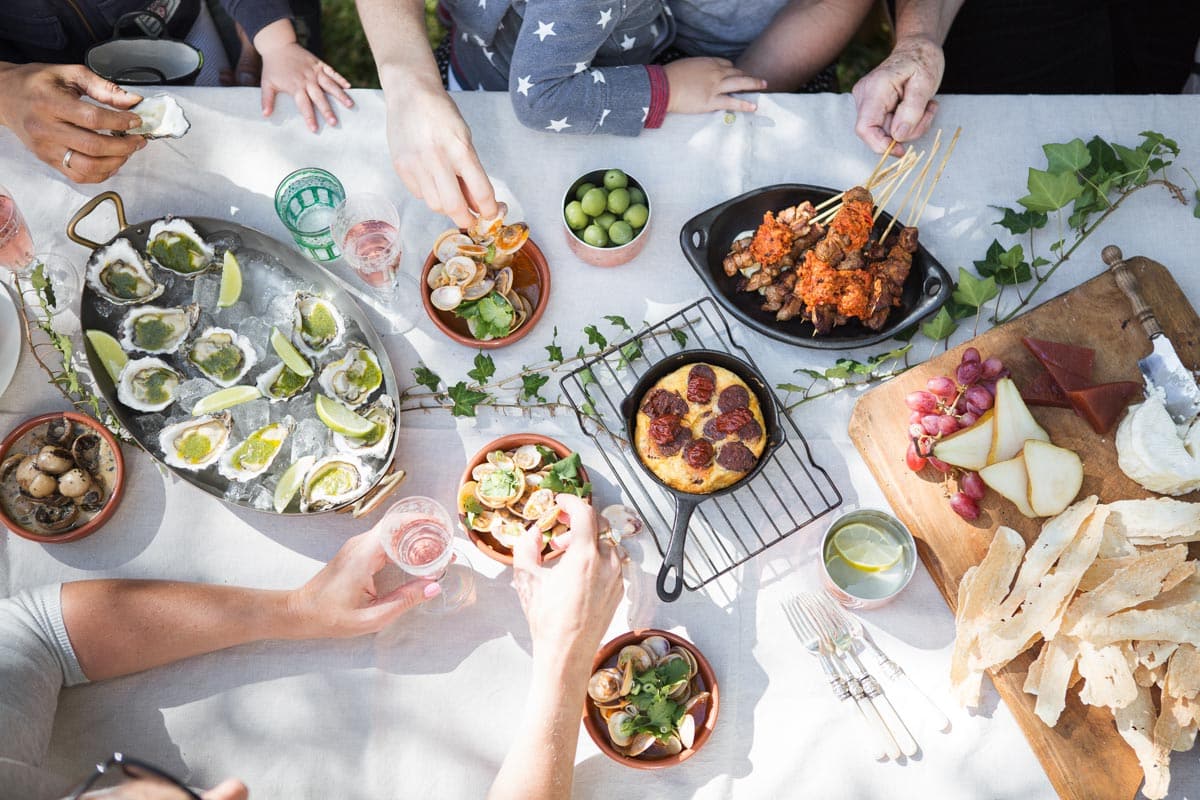
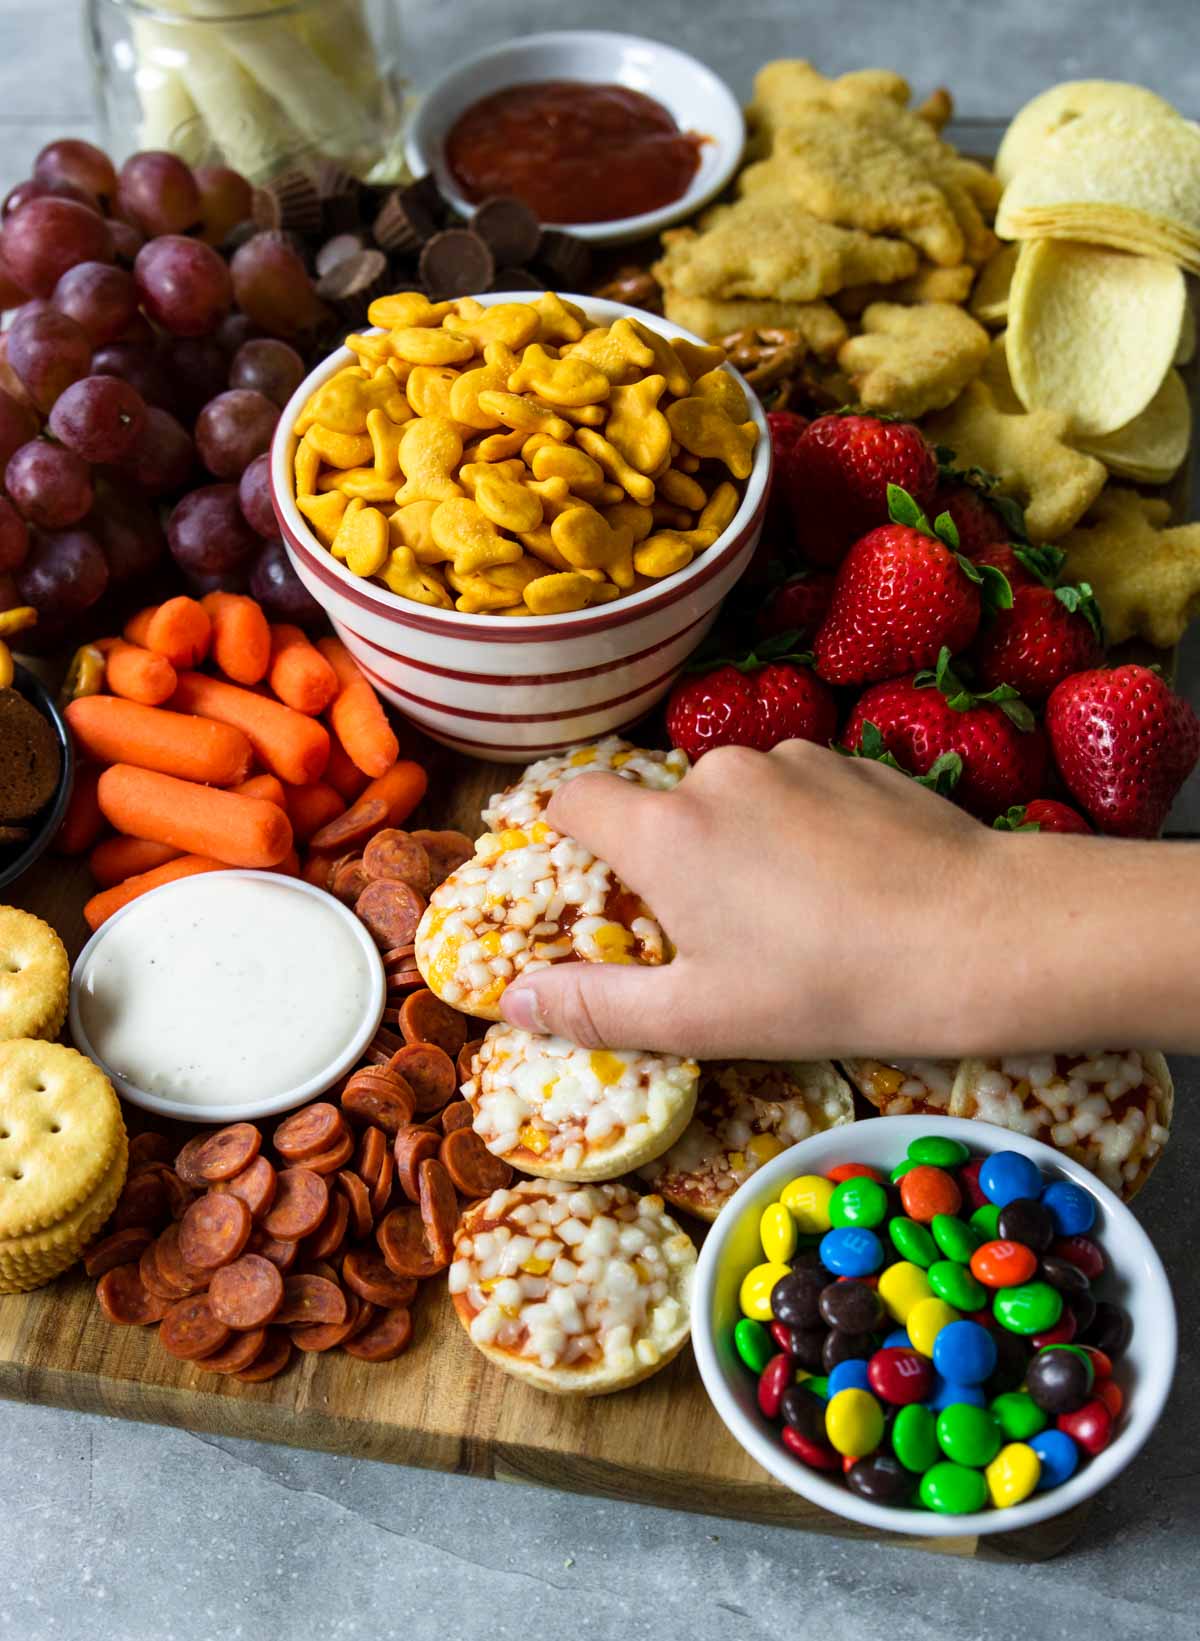
Kids Charcuterie Board: all in one!! This one could definitely be eaten outside while you play in the yard
Instant Pot Boneless Pork Ribs or Oven Baked Boneless Ribs : chips or fries, store bought sides (choose your kids faves: coleslaw, beans, potato salad, pasta salad)
Chili Dogs: Hot dogs (simmered in water), buns, quick chili for hot dogs, cheese, chips, apple slices
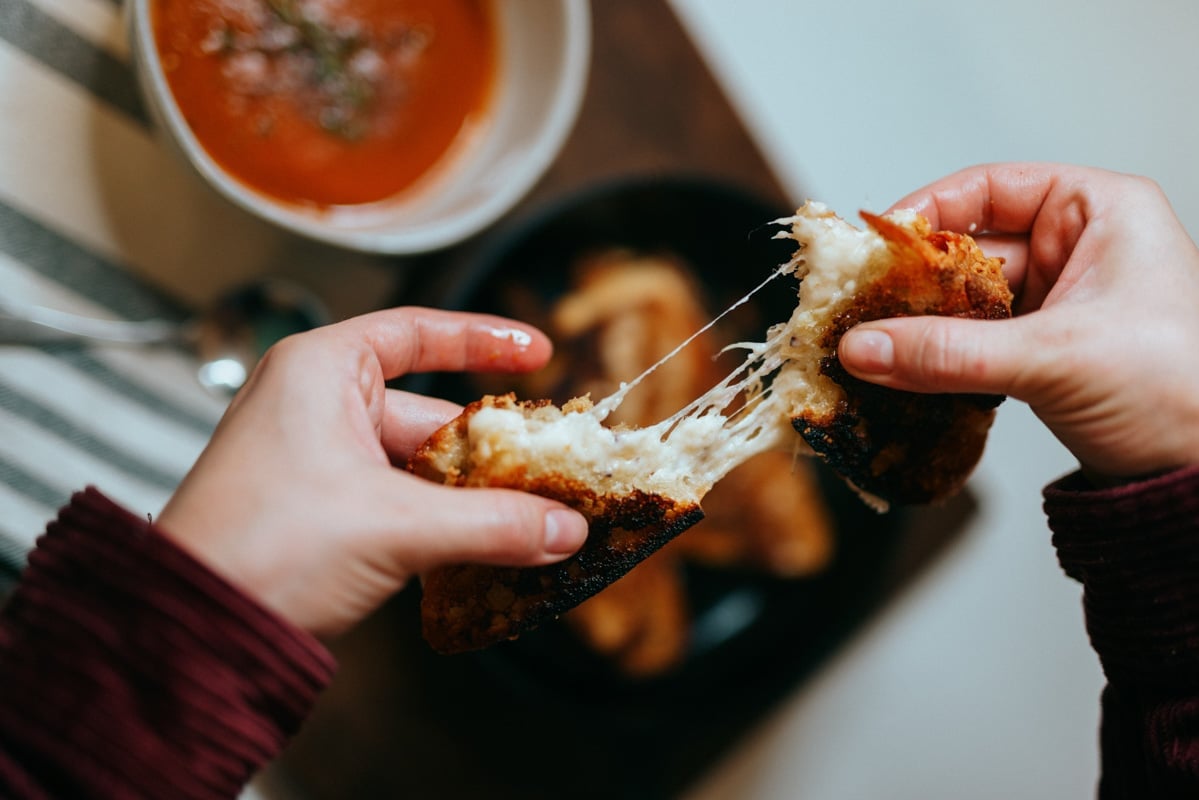
Crazy Easy Tomato Basil Soup and Grilled Cheese: add some goldfish crackers or cheez-its
Cheese Quesadillas served with Black Bean and Avocado Salsa on top or on the side, and Chipotle Copycat Rice.
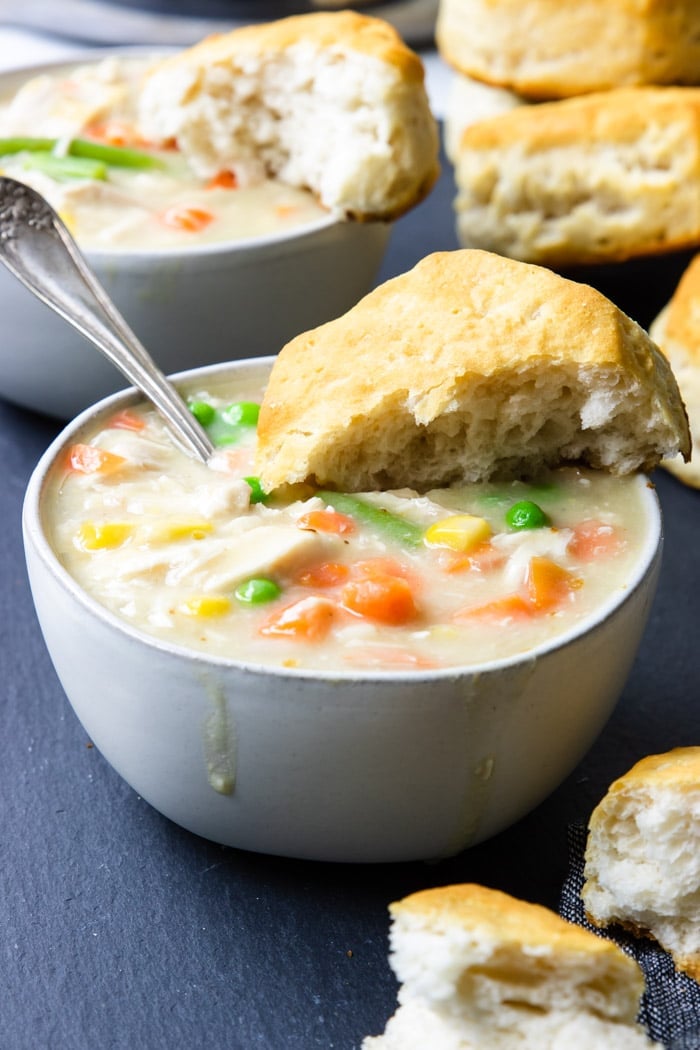
Easy Chicken and Biscuits: all in one dinner, no side dishes necessary
Fish Stick Tacos: fresh cut pineapple, chips and salsa
Instant Pot Hamburger Soup: saltine crackers and chocolate milk
BBQ Chicken Sliders: store bought pasta salad, fries, apple slices
Creamy Chicken Noodle Soup: add some thick warm bread and chocolate milk.

Creamy Chicken Tacos: Chips with guacamole and salsa, 15 Minute Refried Beans, fruit
Grilled Burgers or Turkey Burgers: grilled veggie skewers and fries
Creamy Chicken and Noodles: side salad or veggie, garlic bread
Shredded Chicken and Gravy over Mashed Potatoes: add a green veggie on the side and you are good to go!
More Dinner/Menu Resources
I LOVE posting this kind of resource! Planning full meals with side dishes can be a big task. Here are some more helpful Full Meal resources on Mom's Dinner:

Follow Along!
I hope these 30+ practical back to school dinner menus help you get dinner on the table all week long! Make sure to follow along with Mom’s Dinner and subscribe to our You Tube Channel for more great content.

Subscribe To Stay Connected!
Sign up for the Mom's Dinner Newsletter and get dinner help delivered straight to your inbox. From new recipes and videos to weekly dinner ideas and kitchen tips, it's your go-to resource for feeling confident at dinnertime.