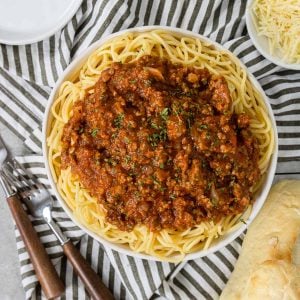
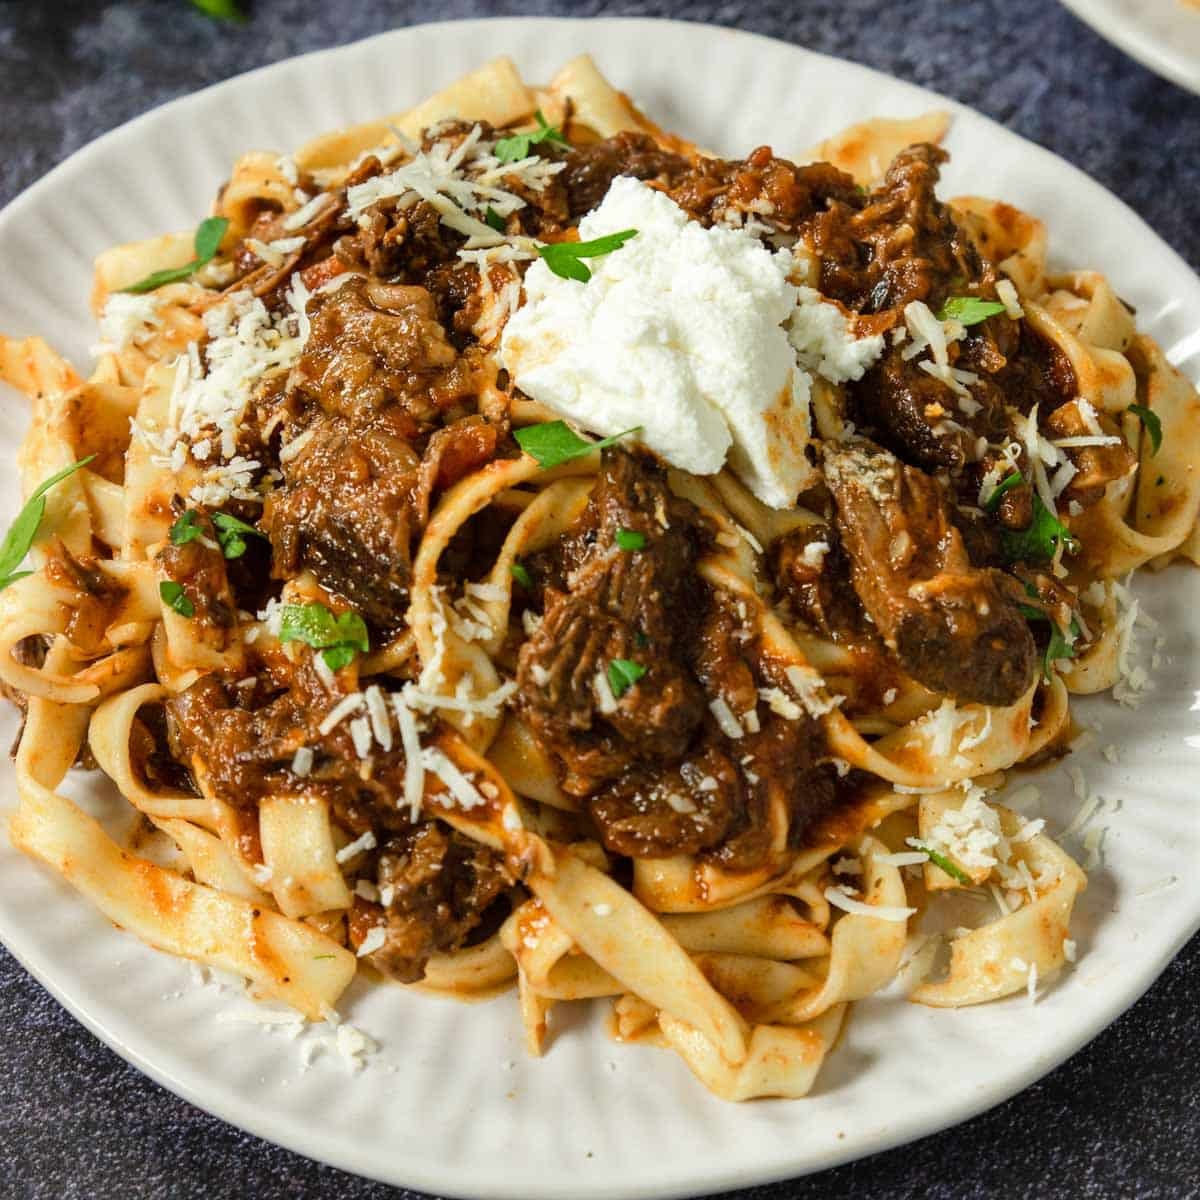
Beef Ragu is a thick and hearty tomato based sauce that is filled with tender shredded beef, a little red wine, and herbs & spices. It is all slow cooked together over low heat for 2.5 hours until the beef just falls apart. It is perfect served over pappardelle or tagliatelle pasta. This dinner recipe is worthy of company but also makes great meal prep to eat through the week!
You can also make Beef Ragu in your Electric Pressure Cooker, head over to this recipe for Instant Pot Beef Ragu!
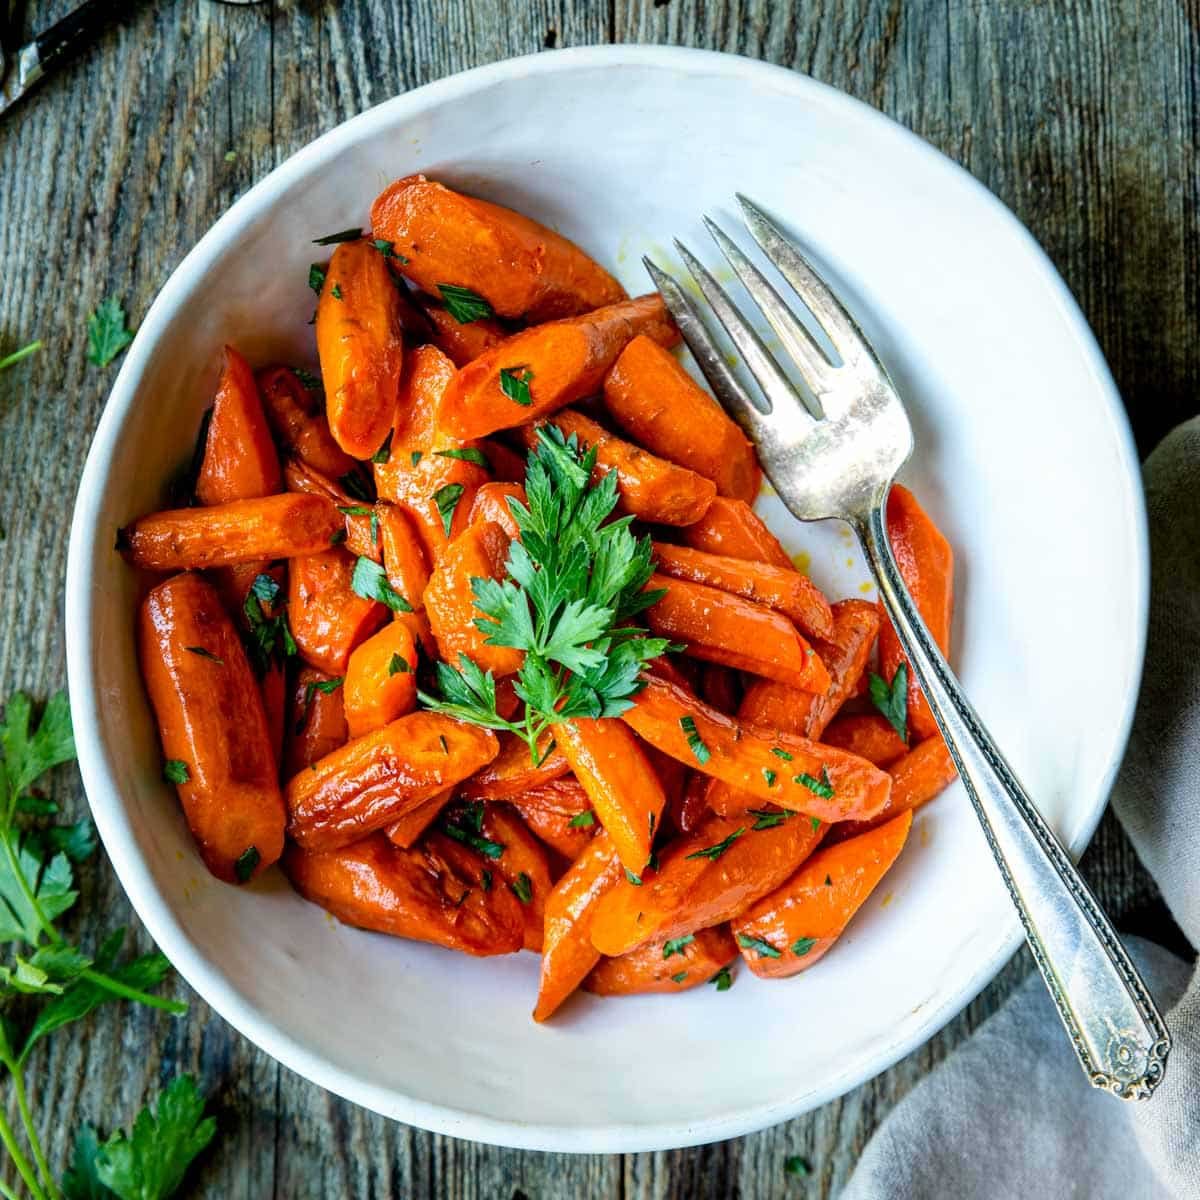
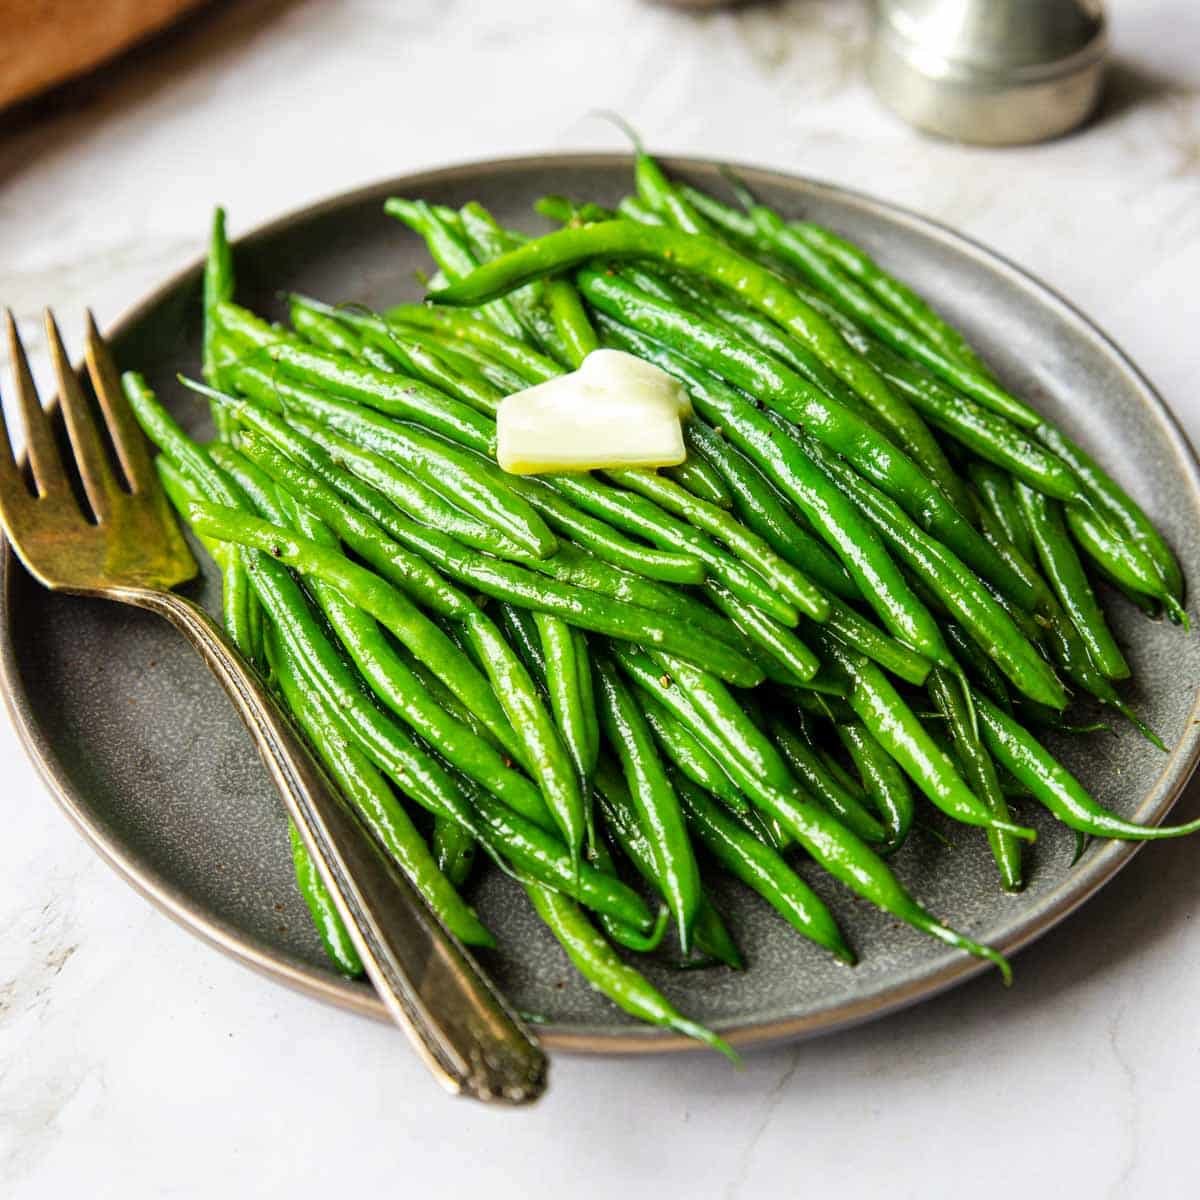
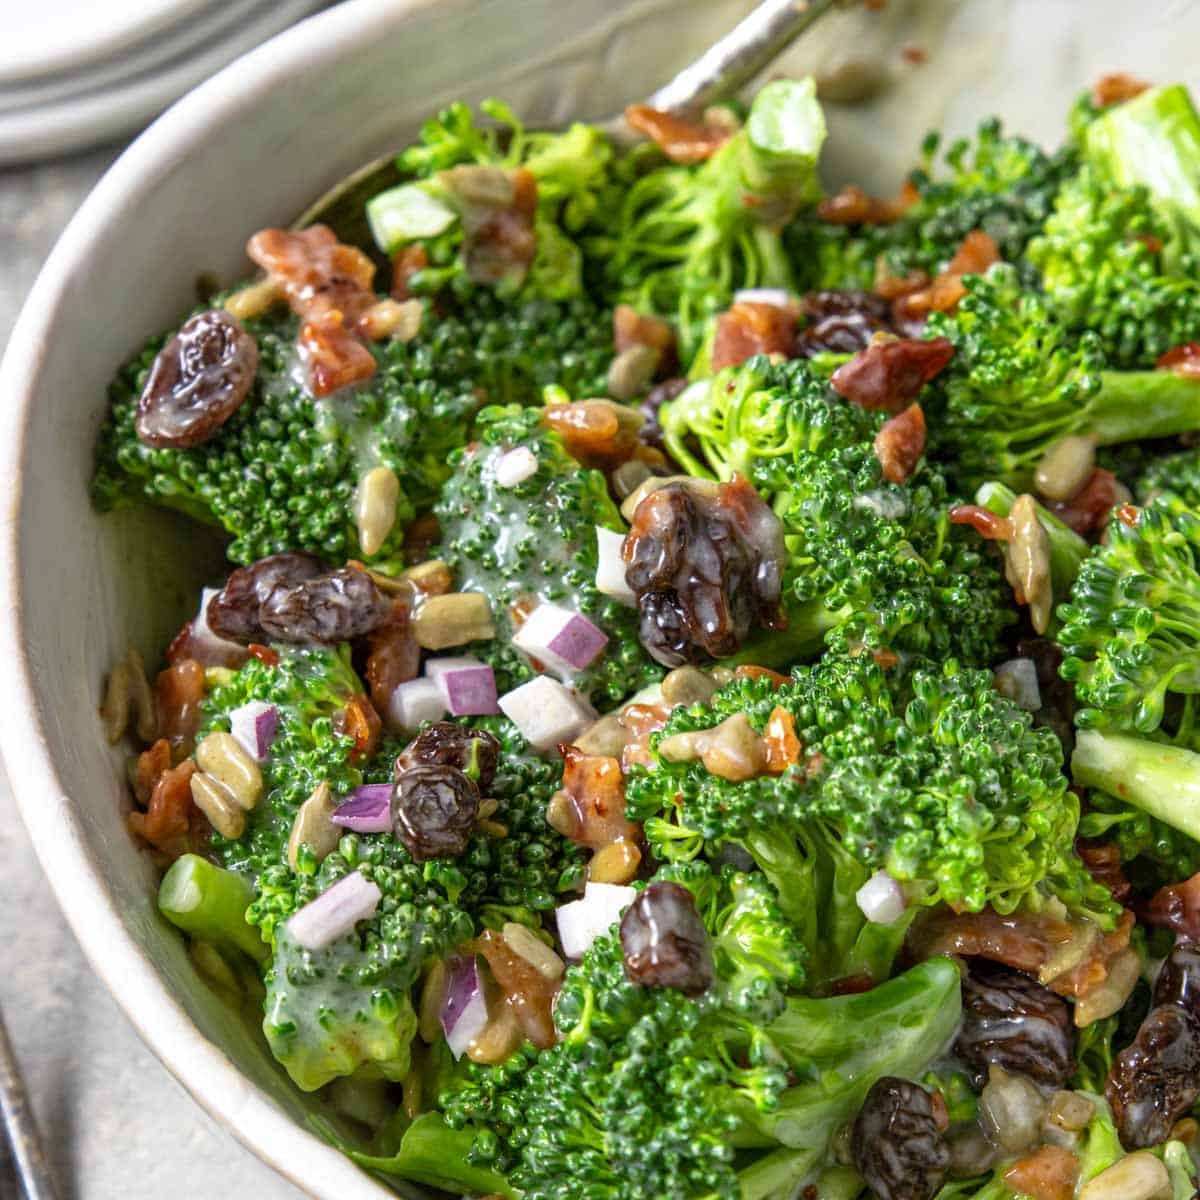
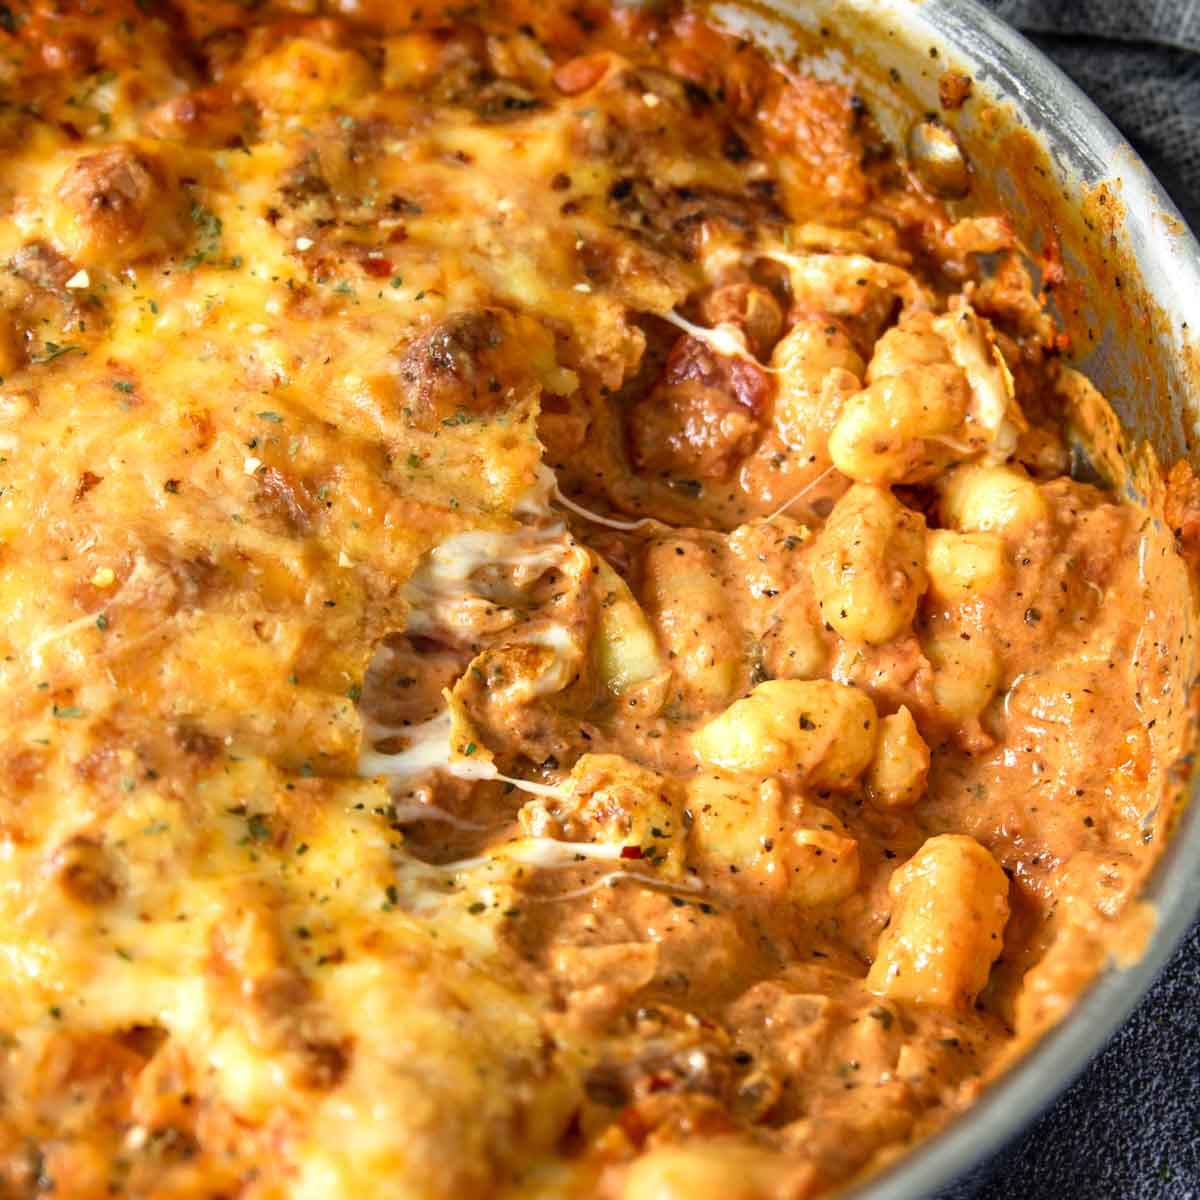
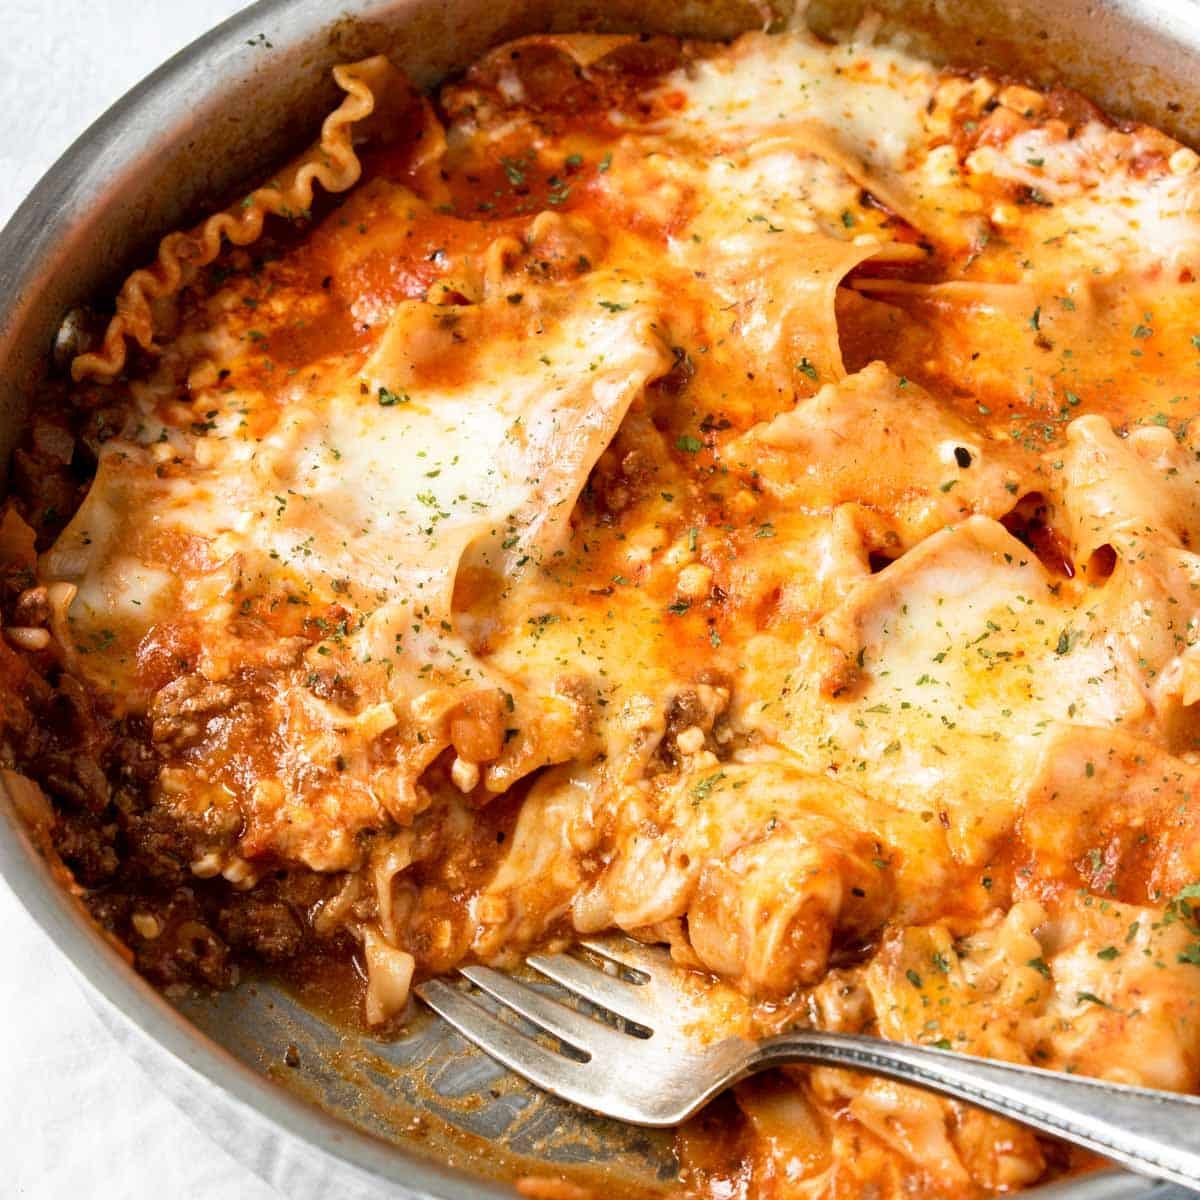
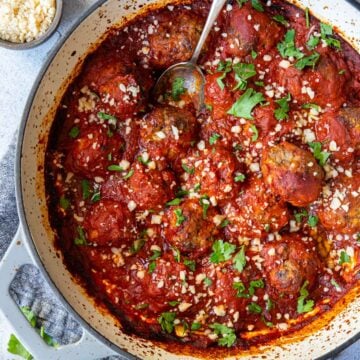
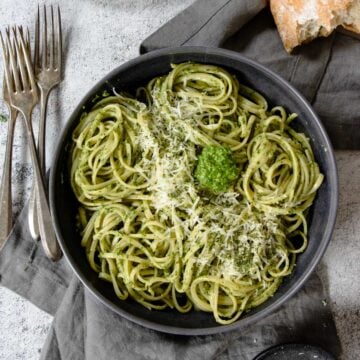
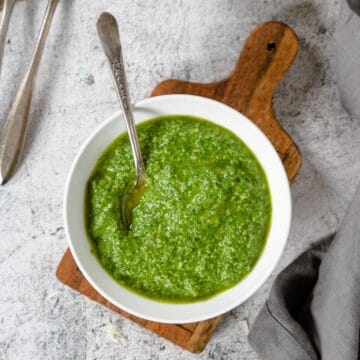
If you are craving a pasta dish but don’t have 2 ½ hours to invest in a sauce, check out these easier pasta sauce recipes:
What is Ragu
A ragu is a traditional Italian dish made with ground meat, onions, tomato puree, and wine and served over pasta. This recipe is exactly that with the exception of the ground meat. We are using a whole chuck roast that slow cooks and then shreds into tender pieces in this ragu recipe.
Ingredients
This is a pretty straightforward recipe, only calling for easy to find ingredients, a lot of which you probably already have in your kitchen:
Beef
When you are choosing a chuck roast for this recipe make sure to choose a nicely marbled roast that doesn’t have too many large chunks of white fat. A “choice” grade chuck roast is perfectly fine for this recipe, no need to get “prime”.
Wine
Select a red wine that you would like to drink that has a deep rich flavor. Something like a Cabernet Sauvignon, Merlot, Malbec, or Zin. This is not the time for a delicate wine like Pinot Noir or a sweet wine like port.
Tomatoes
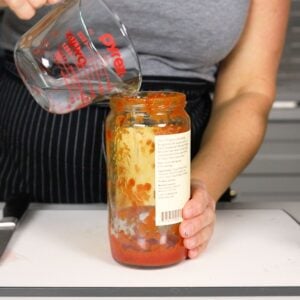
Since the canned crushed tomatoes are the main base for this ragu you want to make sure and buy a high quality brand- Cento, Di Napoli or Muir Glen are all great!
Now is not the time to save $0.75 on store brand crushed tomatoes. Save those for your chili!
How to Make Beef Ragu- Step by Step
Just a few steps and a couple hours and you will have a deep and rich Beef Ragu to serve over pasta! Let’s get started:
- Prep the Beef
- Sauté the Veggies & Seasonings
- Add Liquids & Beef To The Pot
- Slow Cook On The Stove Top
- Shred The Tender Beef
- Skim Grease and Serve
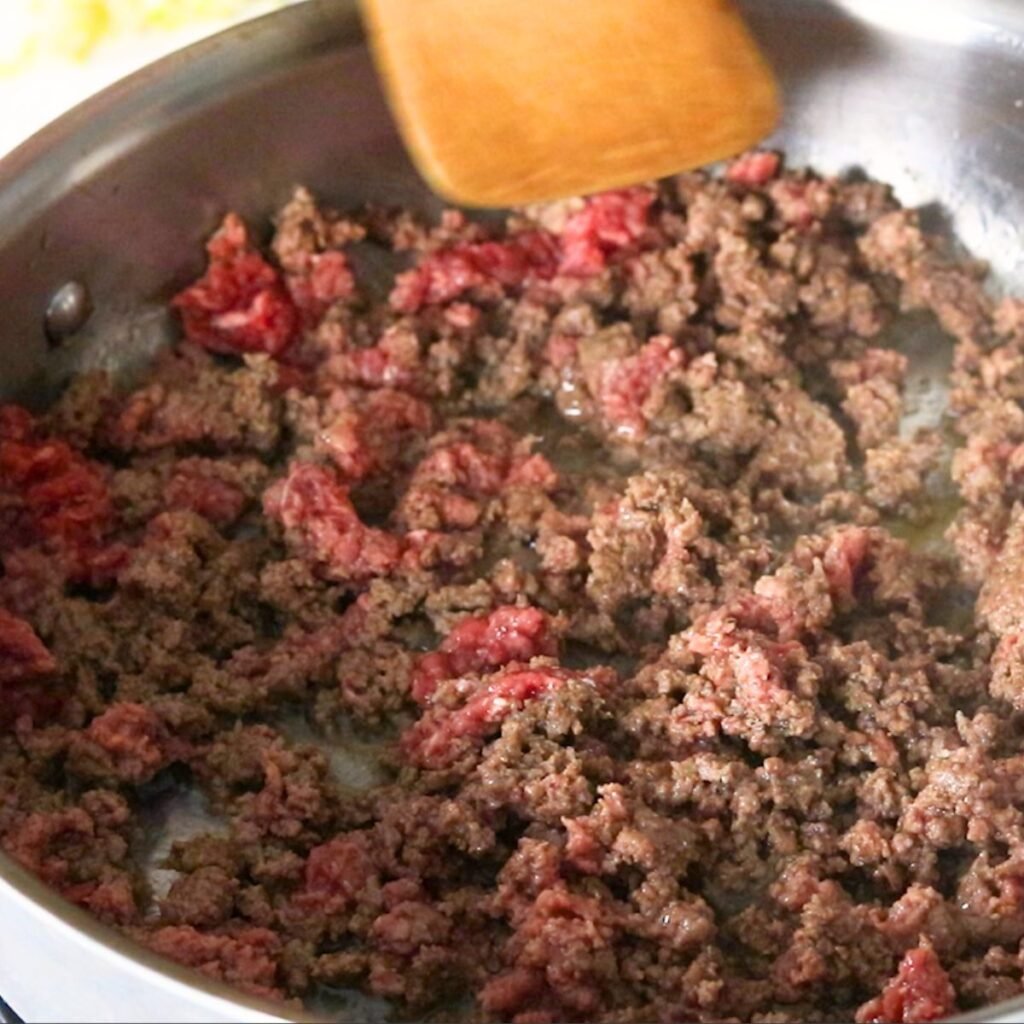
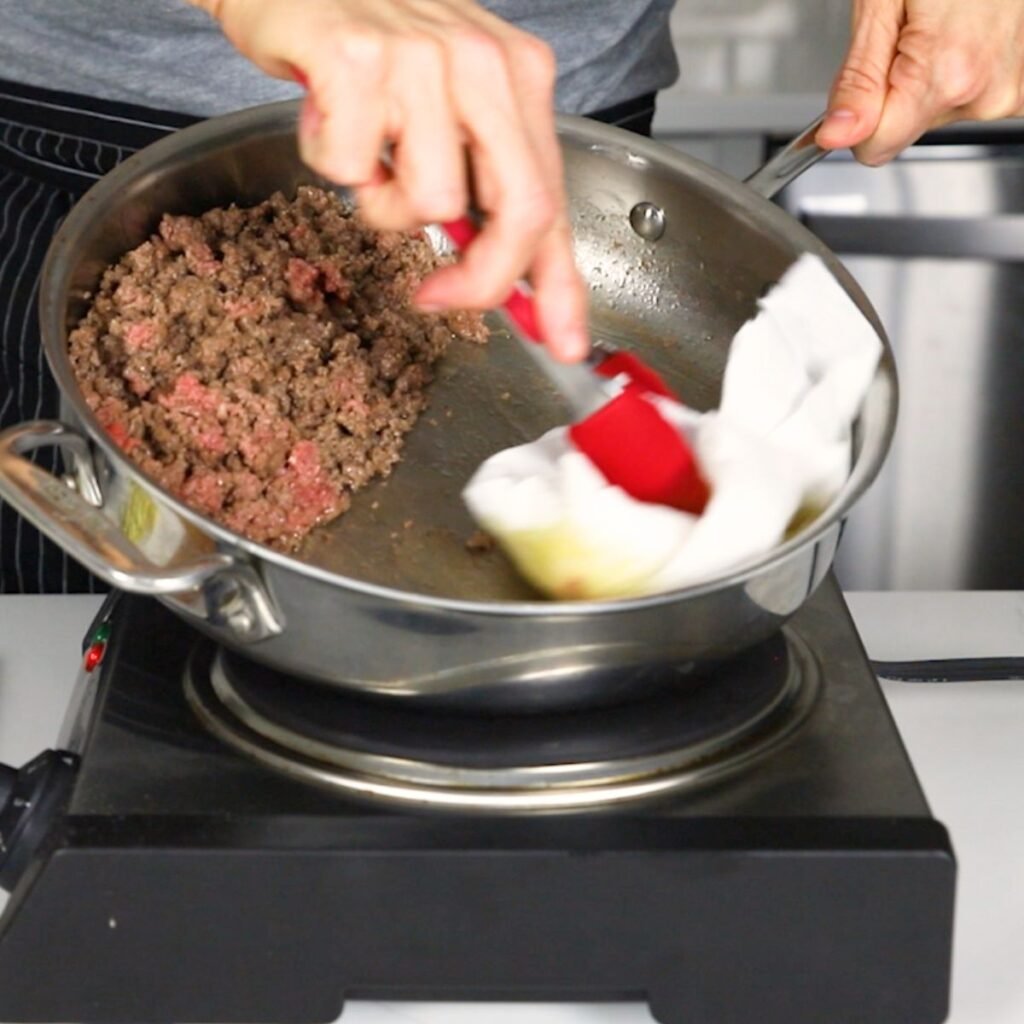
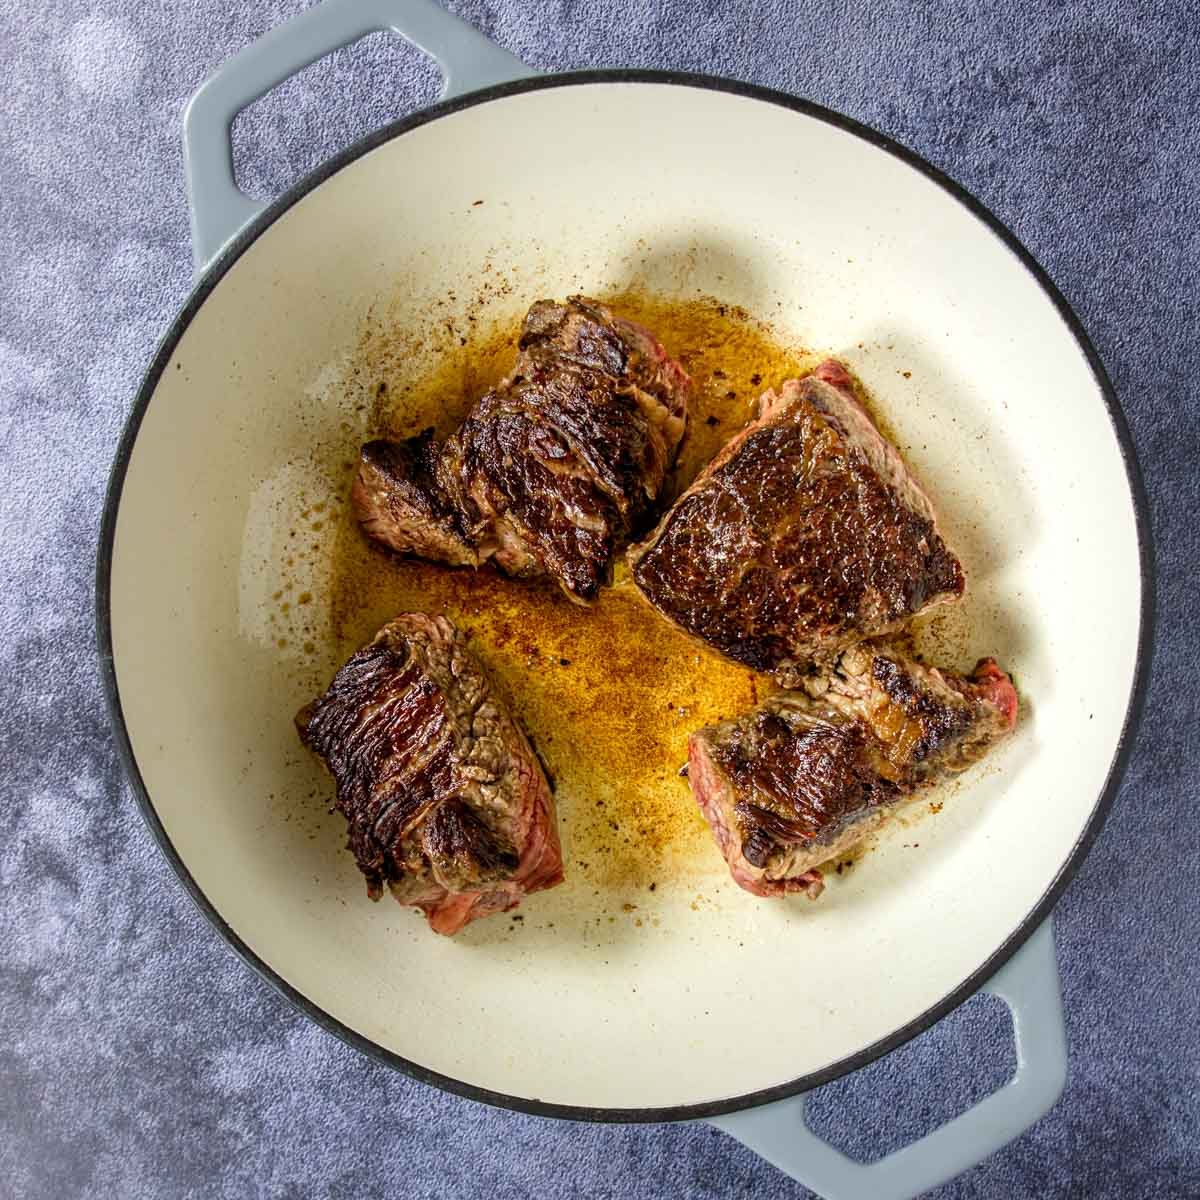
Cut your chuck roast into 3-4 large pieces. Lightly pat dry and season with salt and pepper.
Grab a large glazed cast iron pot, Dutch oven, or braising pot (something like a Le Creuset or Lodge Dutch Oven is perfect!). Set it over medium heat, add the oil. Brown the chuck roast pieces on two sides. Remove from the pan and set aside.
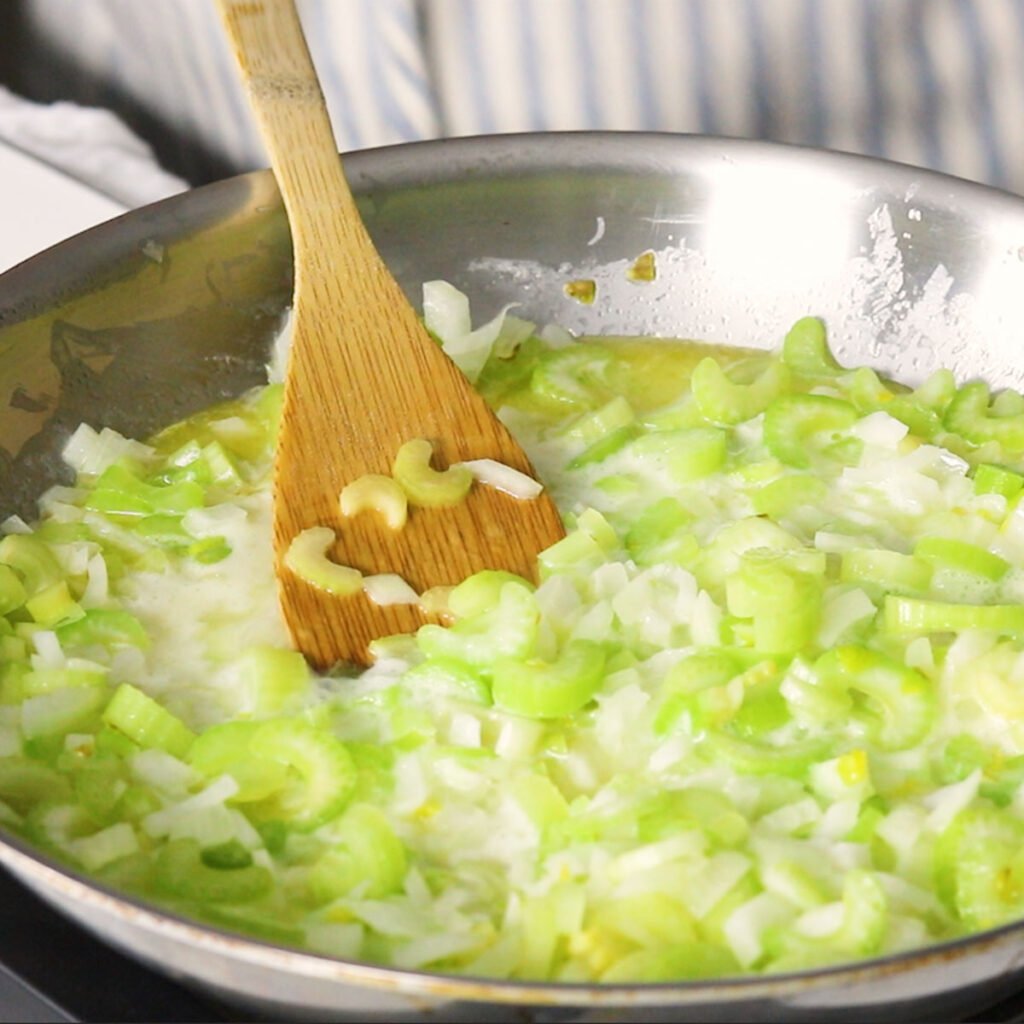
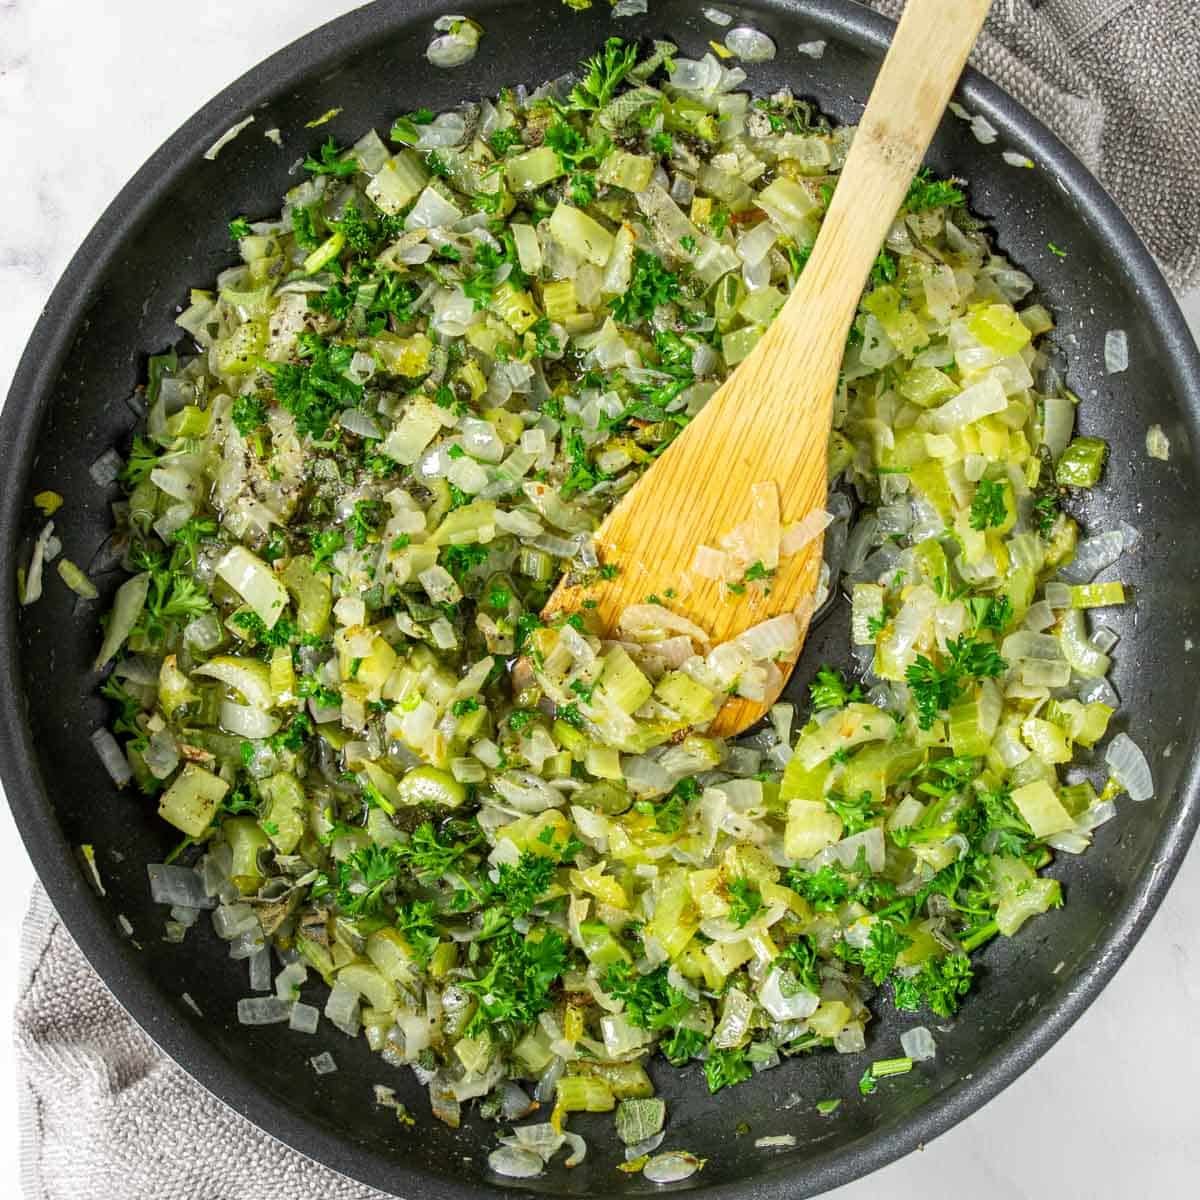
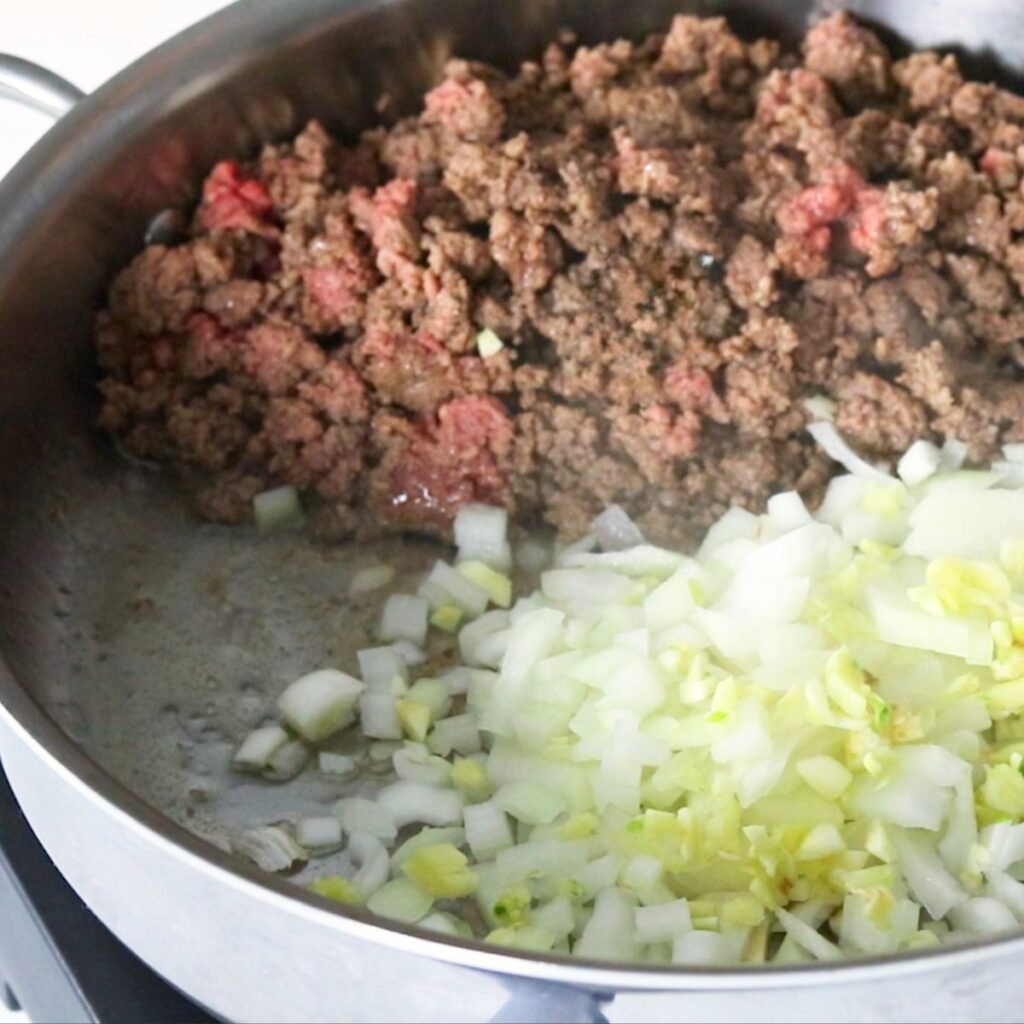
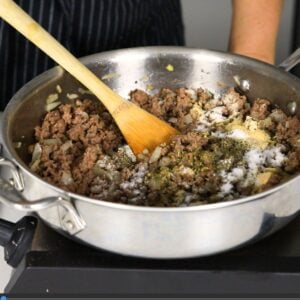
Add the onions to the empty pot and sauté for 10-15 minutes until softened. Stir in the tomato paste, garlic cloves, fennel seed, dried basil, all spice and red pepper flakes, warm for 2 mins.

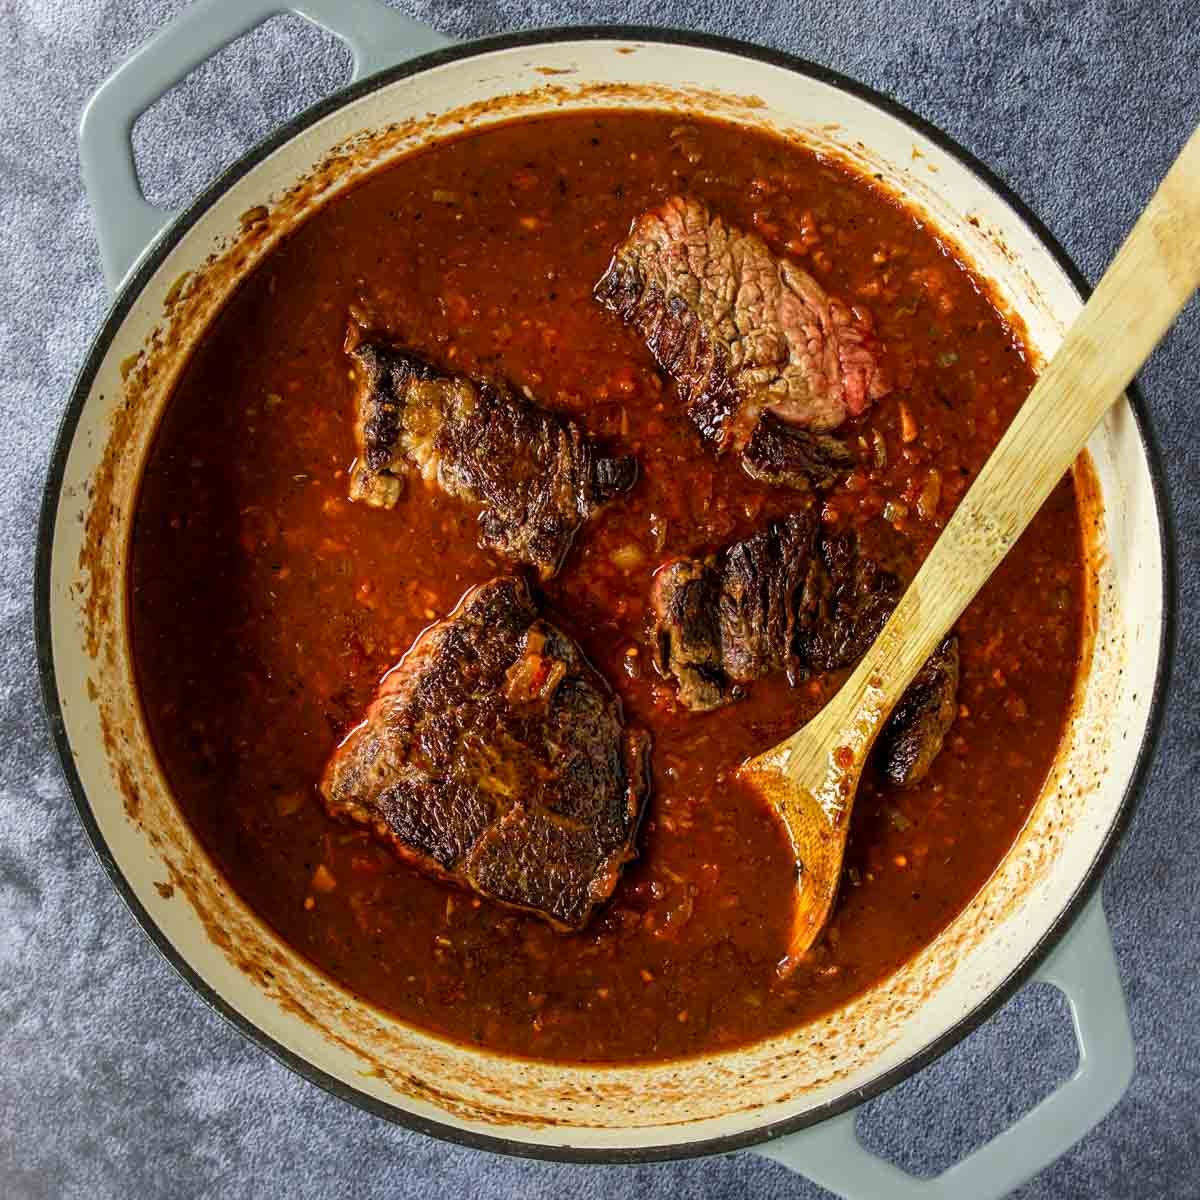
Deglaze the bottom of the pot with the red wine.
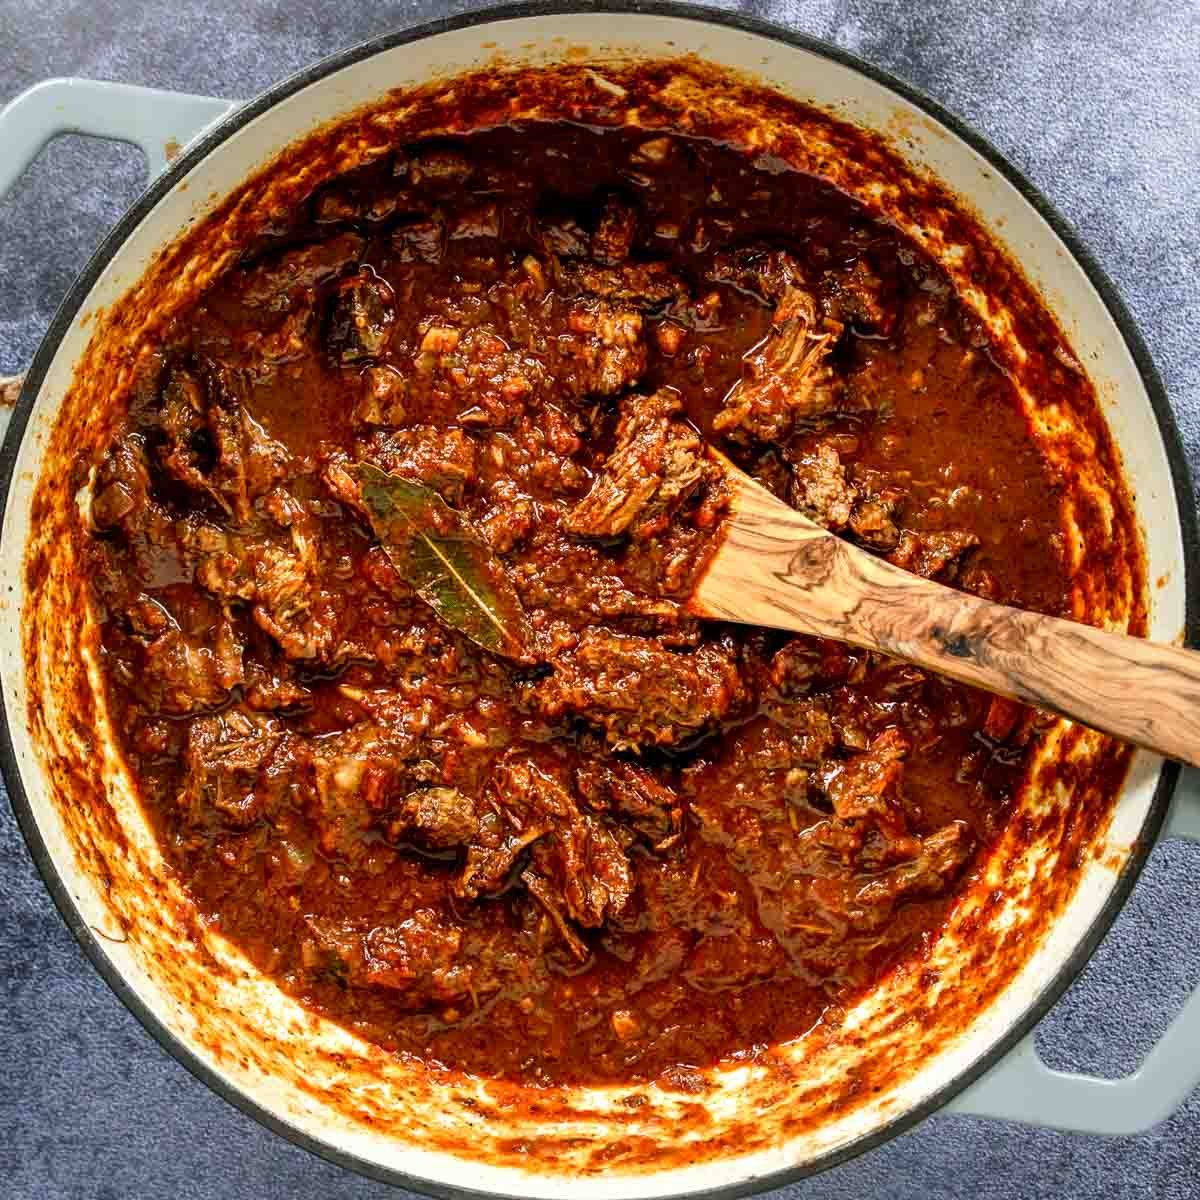
Add in the tomatoes, water sugar, bay leaf, balsamic and water give it a stir. Add the beef back to the pot.
Bring the pot to a boil over medium-high heat. Then turn to low and pop the lid on. Set a timer for 2 hours and 30 minutes.
Remove the beef from the pot and shred it with two forks. Set aside.
Pro Tip: Do this on a rimmed baking sheet to collect any juices that run out of the beef.
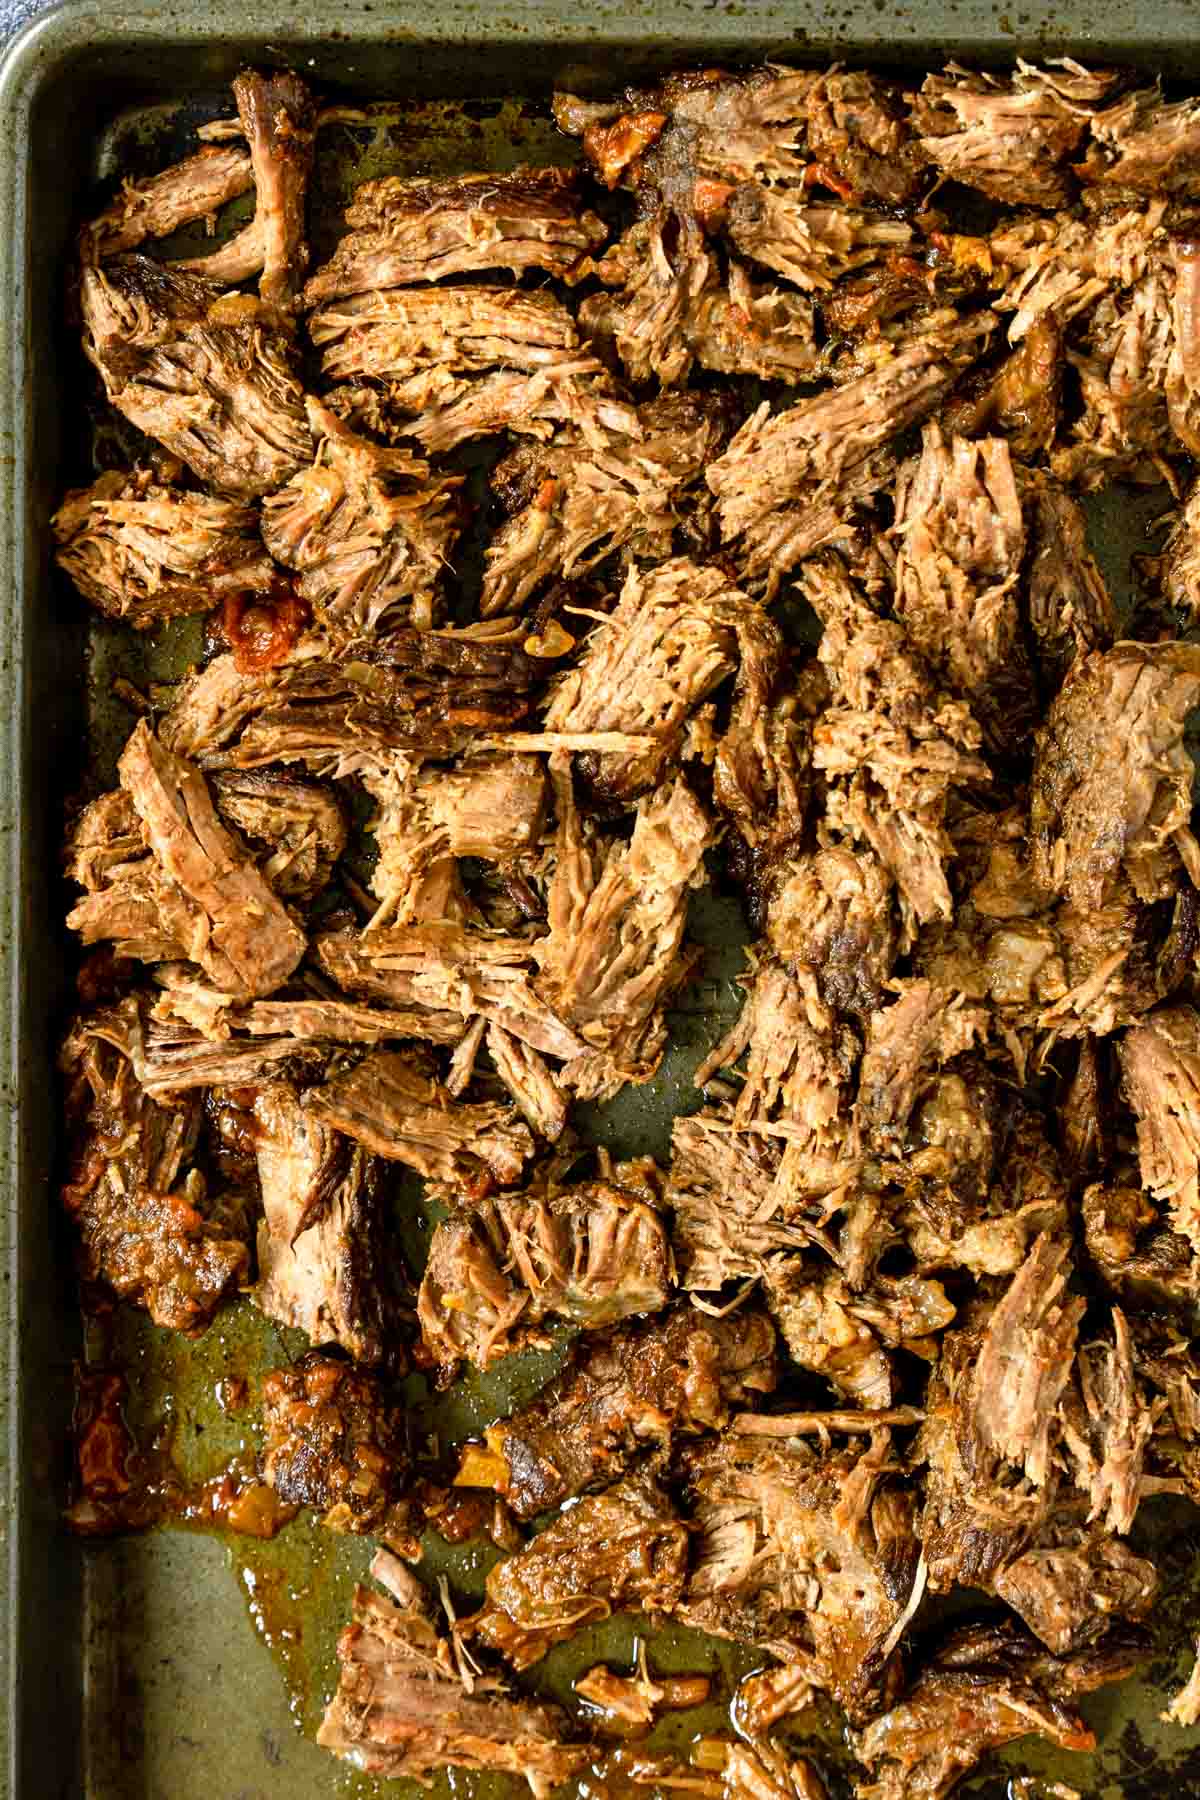
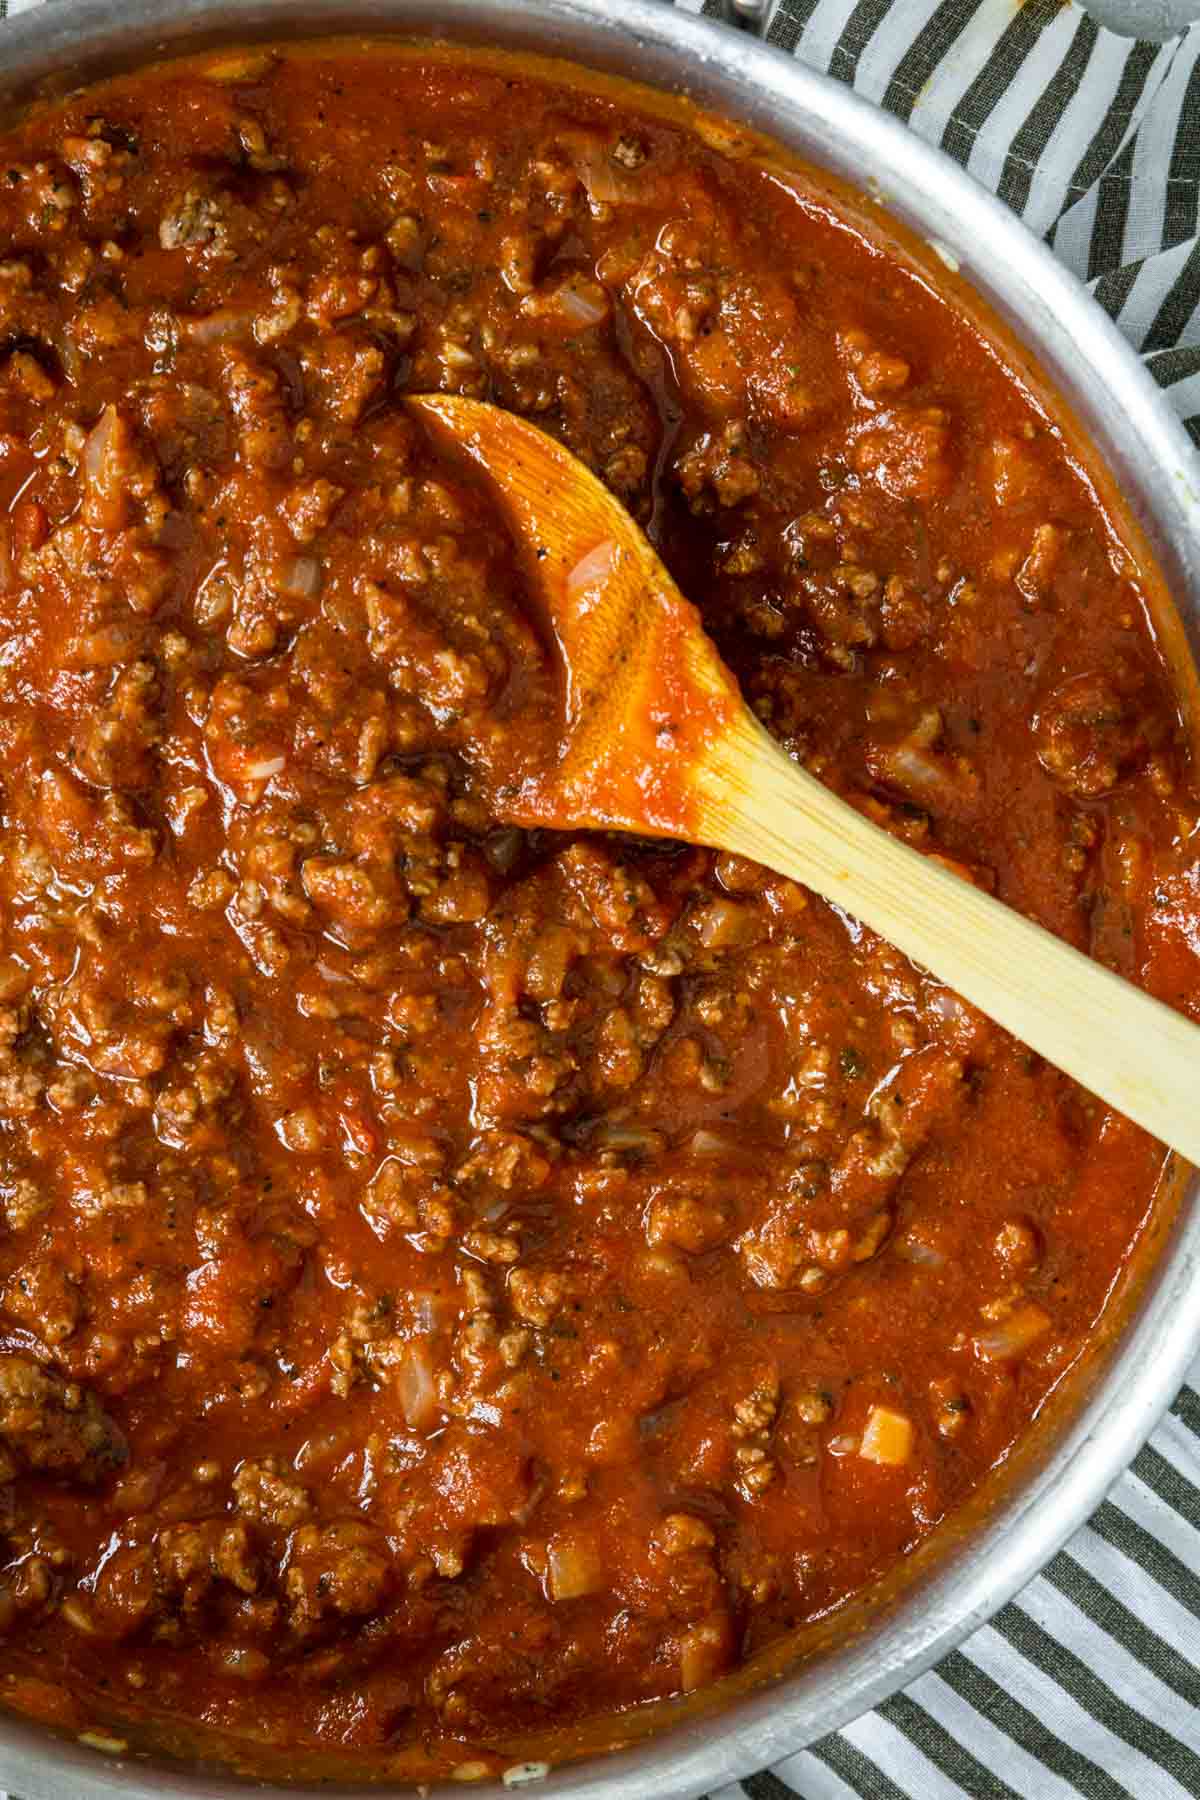
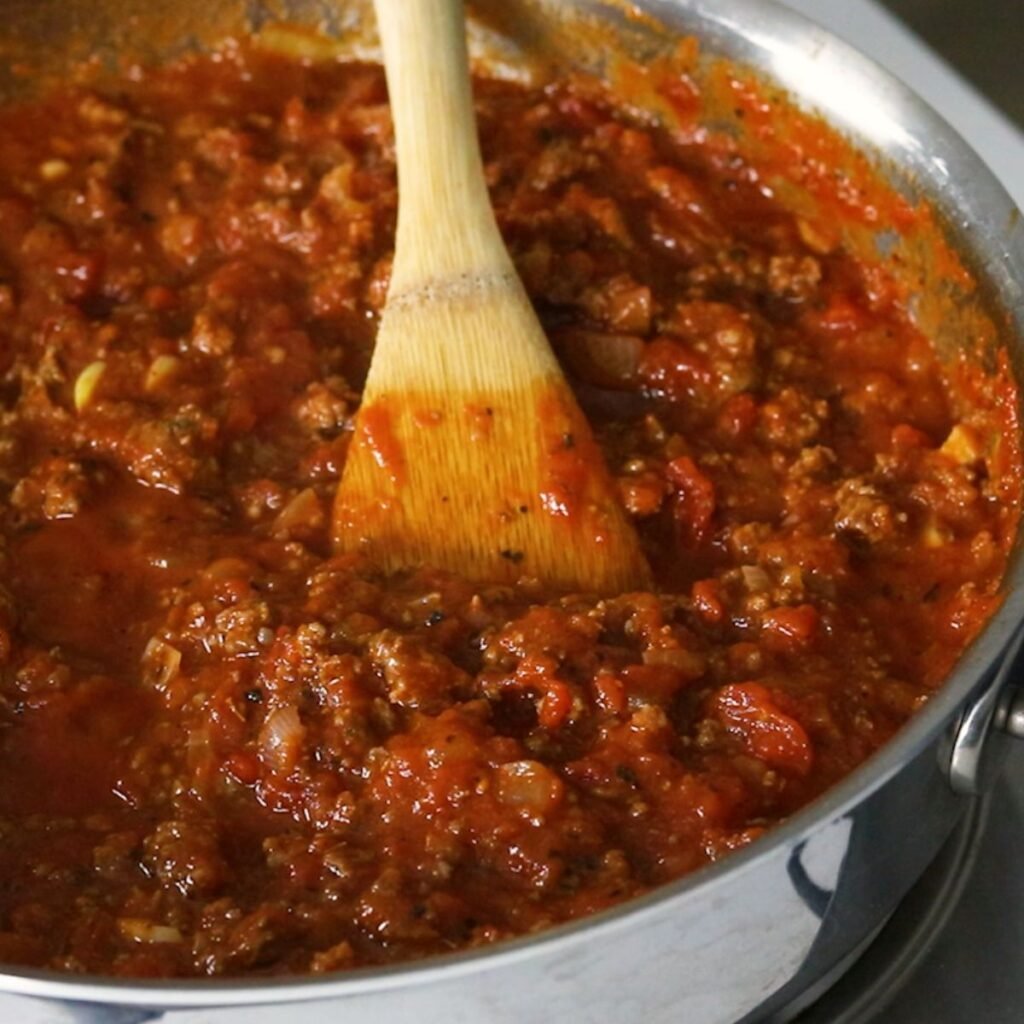
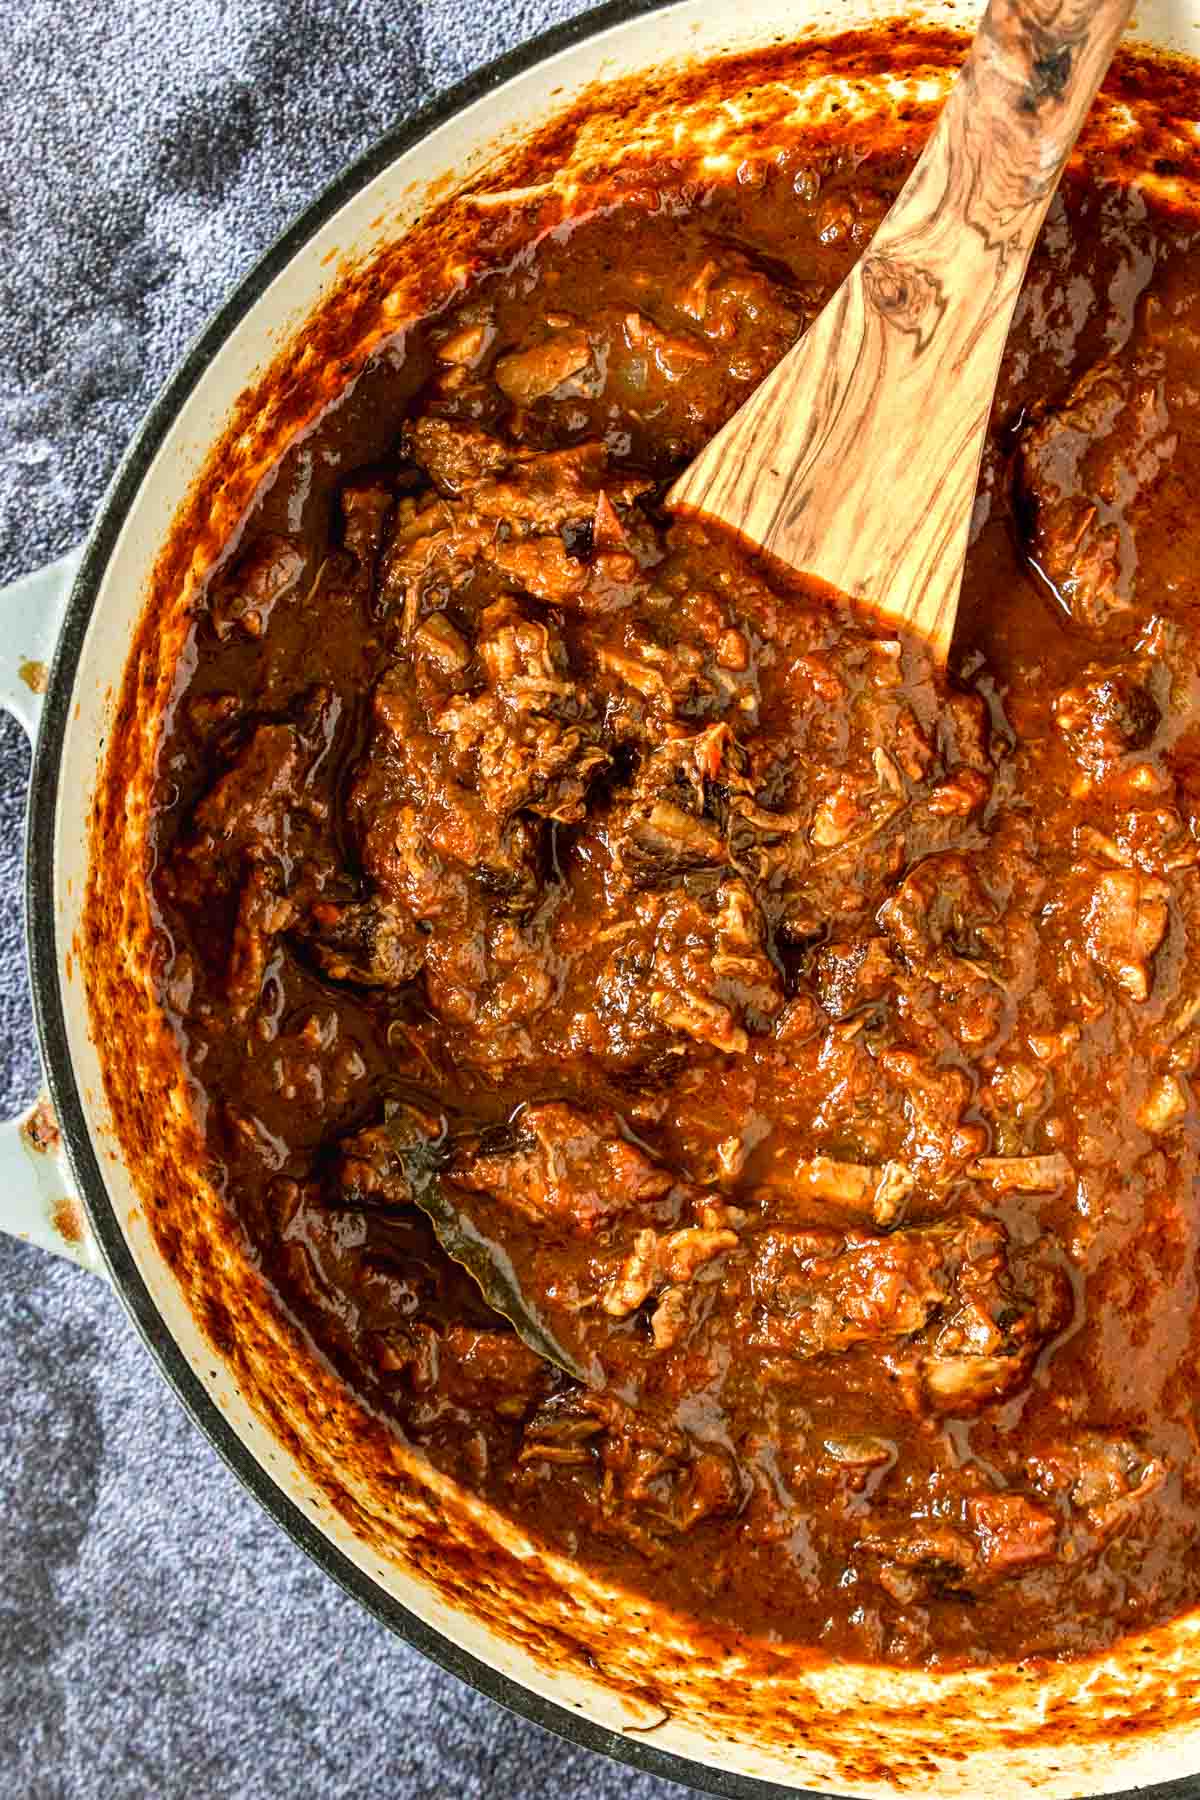
Skim any grease off the top of the sauce and discard. Turn the heat to medium and simmer the tomato sauce for about 5-10 minutes so it will thicken a little.
Remove the bay leaf and then add the shredded beef to the pot. Turn the heat off. Taste for additional seasonings.
Serving
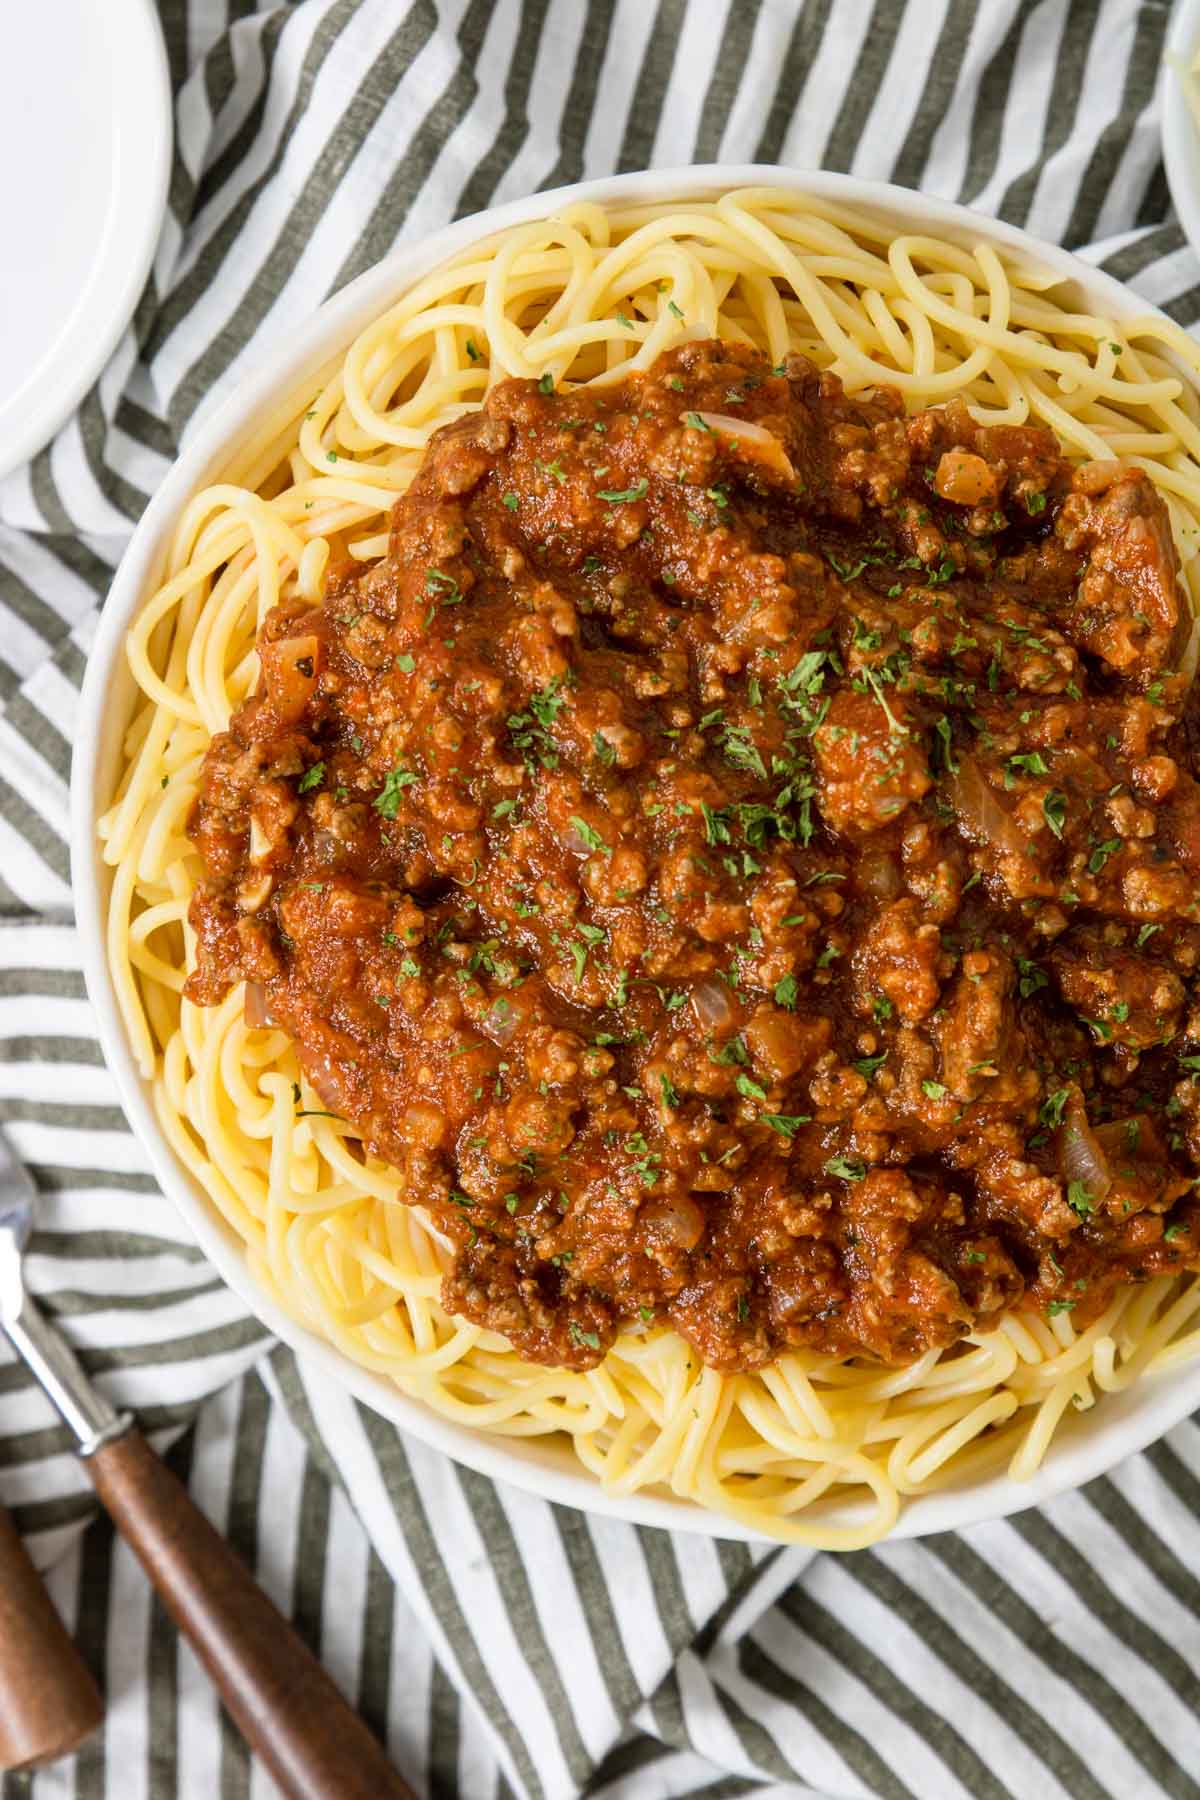
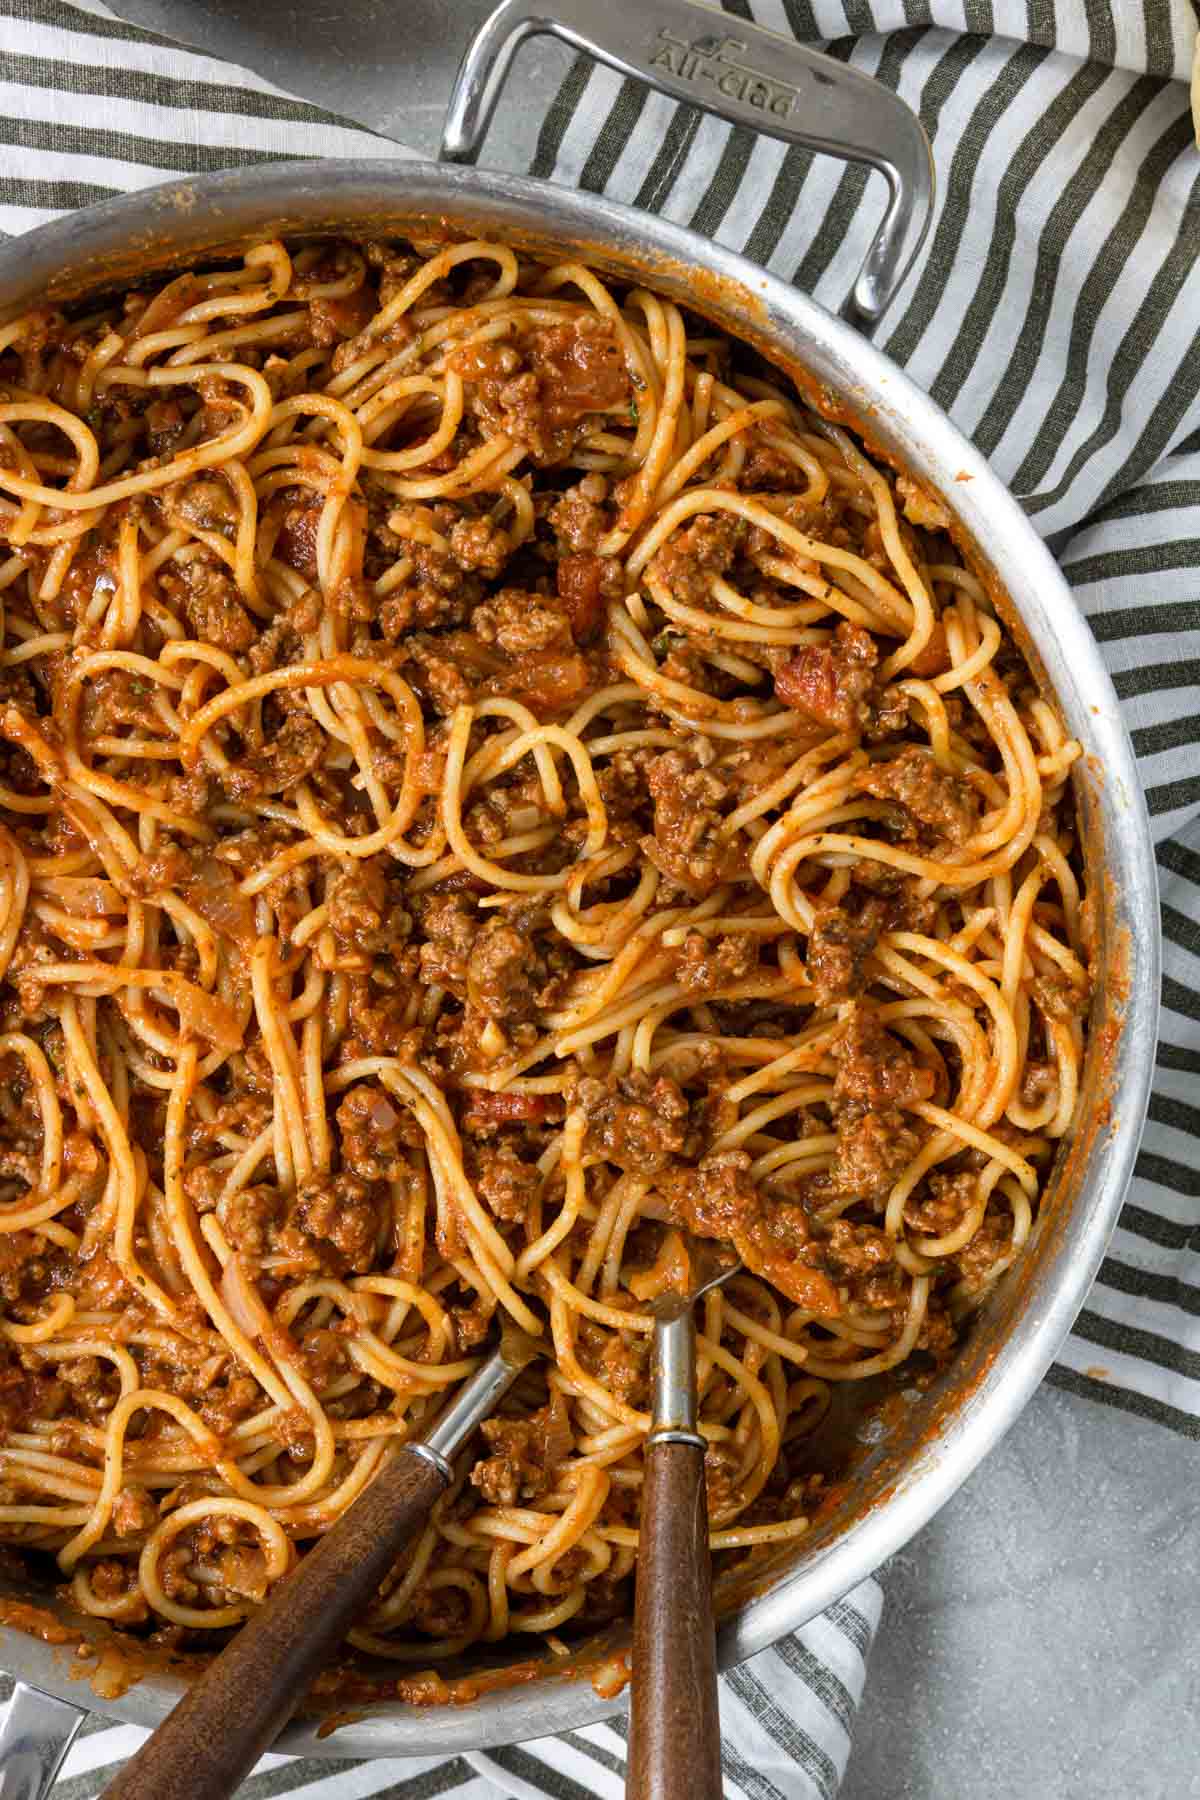
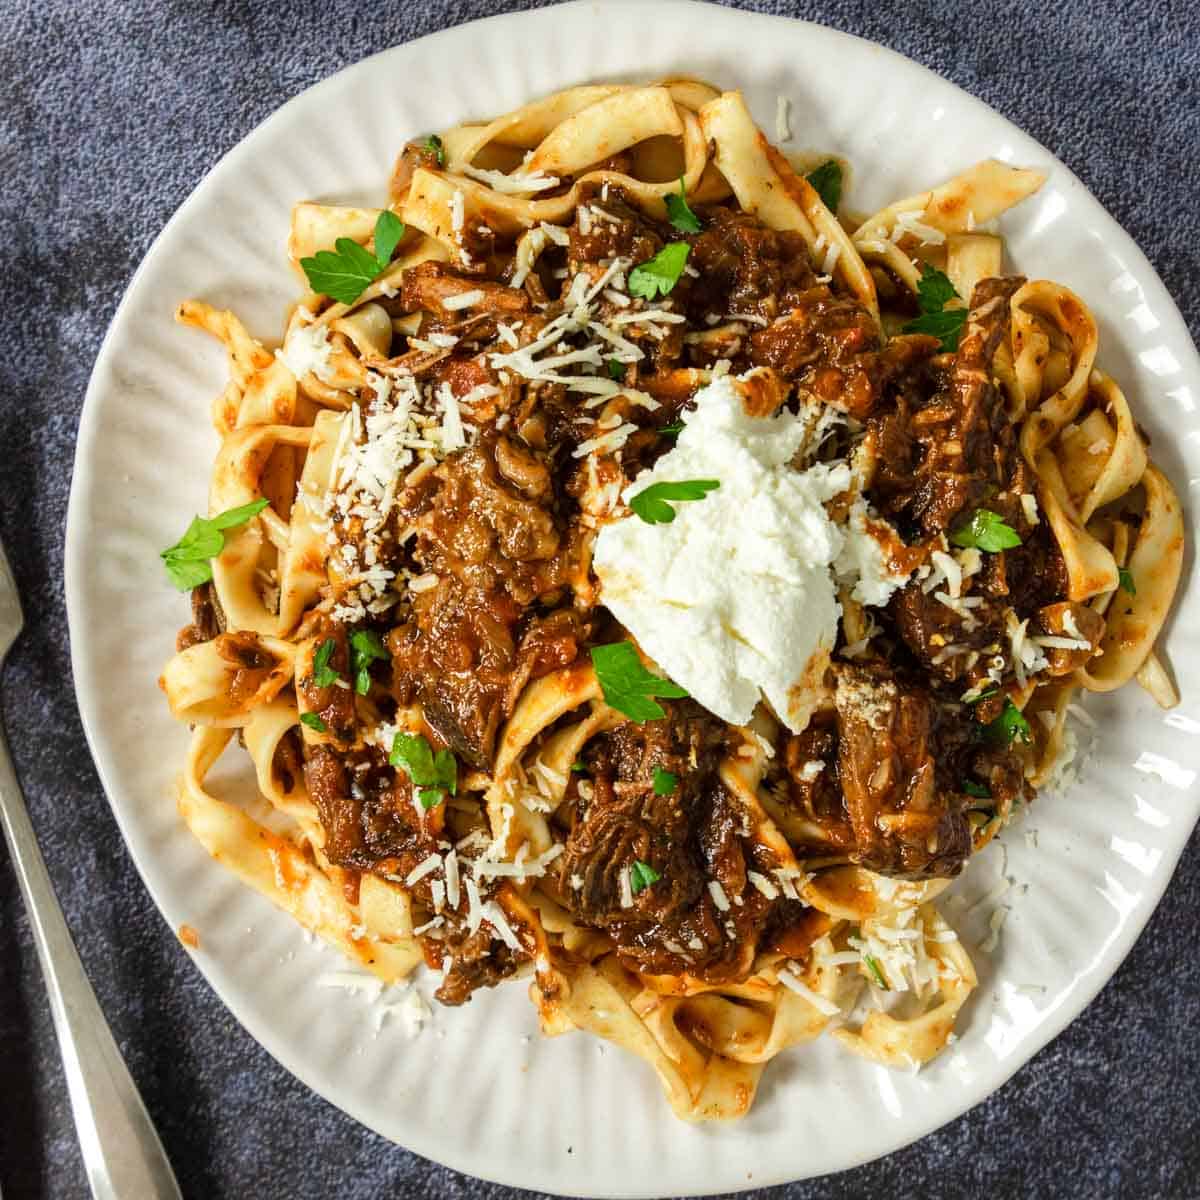
Serve this hearty Beef Ragu over pasta topped with a dollop of whole milk ricotta cheese and a sprinkle of parmesan or Romano cheese!
A side salad like Caesar or this Perfect Side Salad and some warm crusty bread are perfect accompaniments!
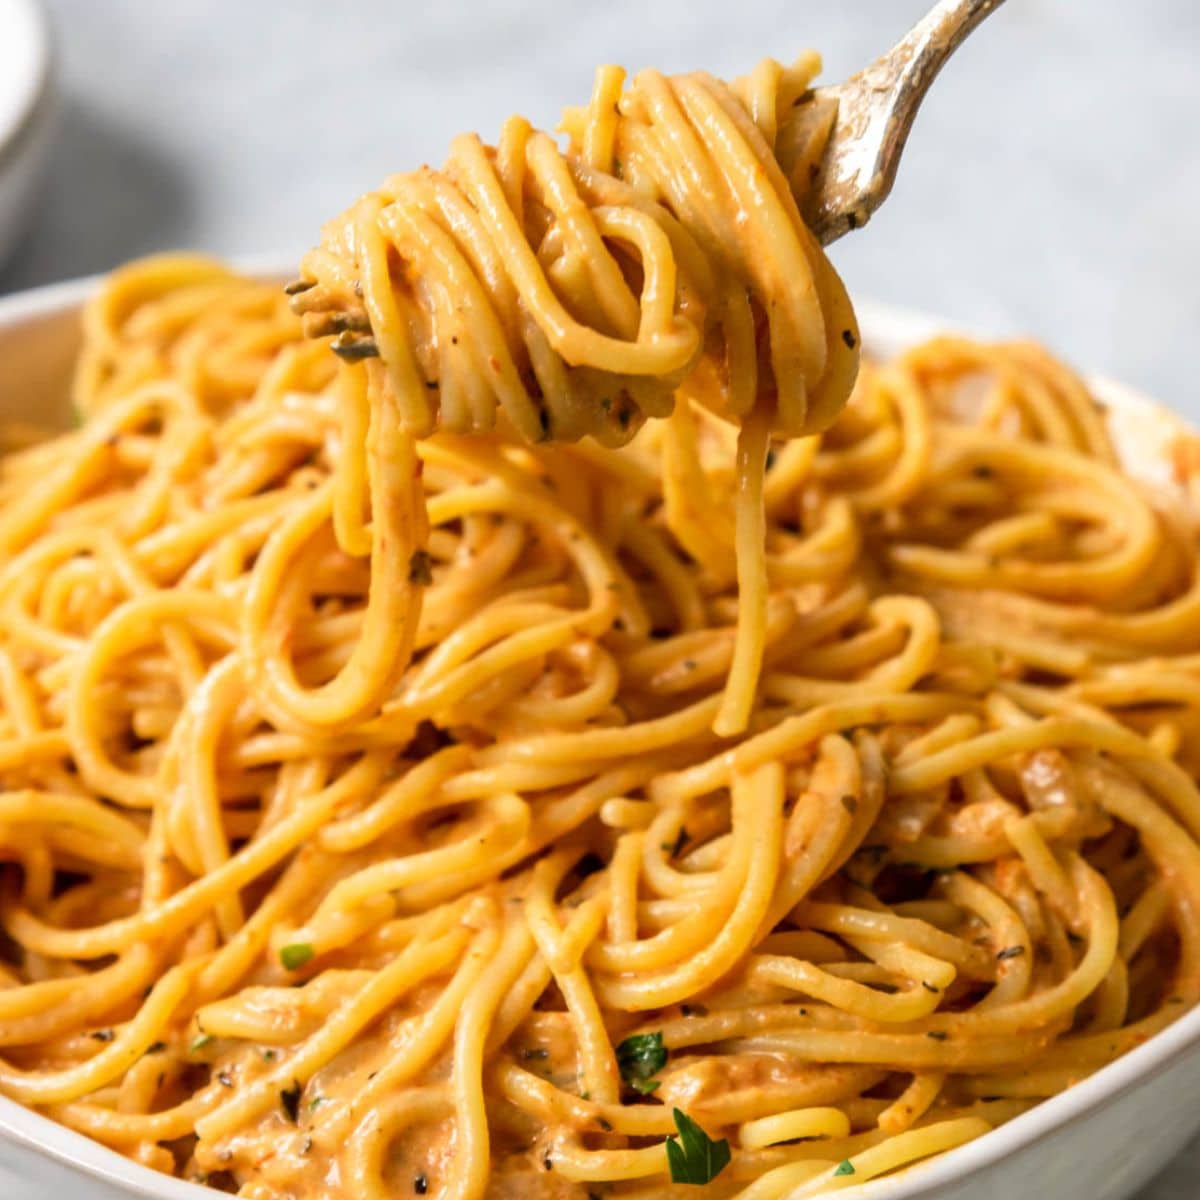
Which Pasta To Use with Ragu
Since this is such a hearty Ragu sauce you want to make sure you use a pasta that will stand up to the sauce. And if you are feeling really ambitious you can make your own pasta! But if you are up for store bought, I recommend using:
Make Ahead
This recipe is like a good stew or chili, it gets better with time. So if you can swing it to make it a day or two ahead, I highly recommend it!
Prepare it completely and then let it cool, store it in the fridge for up to 4-5 days.
Reheat on the stove top over medium heat.
More Pasta Sauce Recipes To Love


Did you make this recipe?
⭐⭐⭐⭐⭐
I would love to hear your review, especially if you have tips and tricks to add! Pop down to the comment section and connect with me
Slow Cooked Beef Ragu Recipe
Ingredients
- 2 lb chuck roast - cut into 2-3 pieces large fat pieces trimmed, pat dry, seasoned with salt and pepper
- 2 tablespoon olive oil
- 1 large yellow or white onion, diced
- 1 tablespoon tomato paste
- 3 garlic cloves, chopped
- 1 teaspoon dried basil
- ½ teaspoon fennel seed
- ½ teaspoon all spice
- ¼ tsp red pepper flakes - (lessen to a pinch if you don't want any "heat")
- 1 cup good red wine - (cabernet, merlot, malbec or zin will work)
- 28 oz canned (good!!) crushed tomatoes in heavy puree
- ½ cup water
- 1 tablespoon sugar
- 1 bay leaf
- 2 teaspoon balsamic vinegar
Serving
- pasta – tagliatelle, pappardelle, mafaldine, or rigatoni
- whole ricotta cheese - *optional
- shredded parmesan or romano cheese
Instructions
- In a large heavy bottom pot, like a Le Crueset or Lodge cast iron pot, warm the olive oil over medium heat. Brown the chunks of beef on two sides. Then set the beef on clean plate.2 tablespoon olive oil, 2 lb chuck roast

- Lower heat to medium low, add the onions to the pot and sauté for about 10-15 minutes until they are softened.1 large yellow or white onion, diced
- Add the tomato paste, garlic, dried basil, fennel seeds, all spice and red pepper flakes. Warm through for about 2-3 minutes.1 tablespoon tomato paste, 3 garlic cloves, chopped, 1 teaspoon dried basil, ½ teaspoon fennel seed, ½ teaspoon all spice, ¼ teaspoon red pepper flakes
- Deglaze the pot by pouring in the cup of red wine. Scrape up any browned bits for the bottom of the pot.1 cup good red wine
- Add the canned tomatoes, water, sugar, bay leaf and balsamic. Give it a good stir and then add the beef back to the pot. Bring to a boil over medium high heat.28 oz canned (good!!) crushed tomatoes in heavy puree, ½ cup water, 1 tablespoon sugar, 1 bay leaf, 2 teaspoon balsamic vinegar
- Lower the heat to low and pop the lid on, simmer for 2.5 hours.
- Remove the beef from the sauce and shred.

- Skim any grease from the top of the sauce, then bring the sauce to a simmer over medium heat for 5-10 minutes to thicken slightly. Remove the bay leaf!
- Add the shredded beef back to the sauce. Give it a good stir and then remove from the heat.
Serving
- Boil the pasta to al dente, drain or just pull out of the cooking water. Toss the noodles in the ragu. Serve topped with a dollop of whole milk ricotta and a sprinkle of parmesan or Romano cheese.