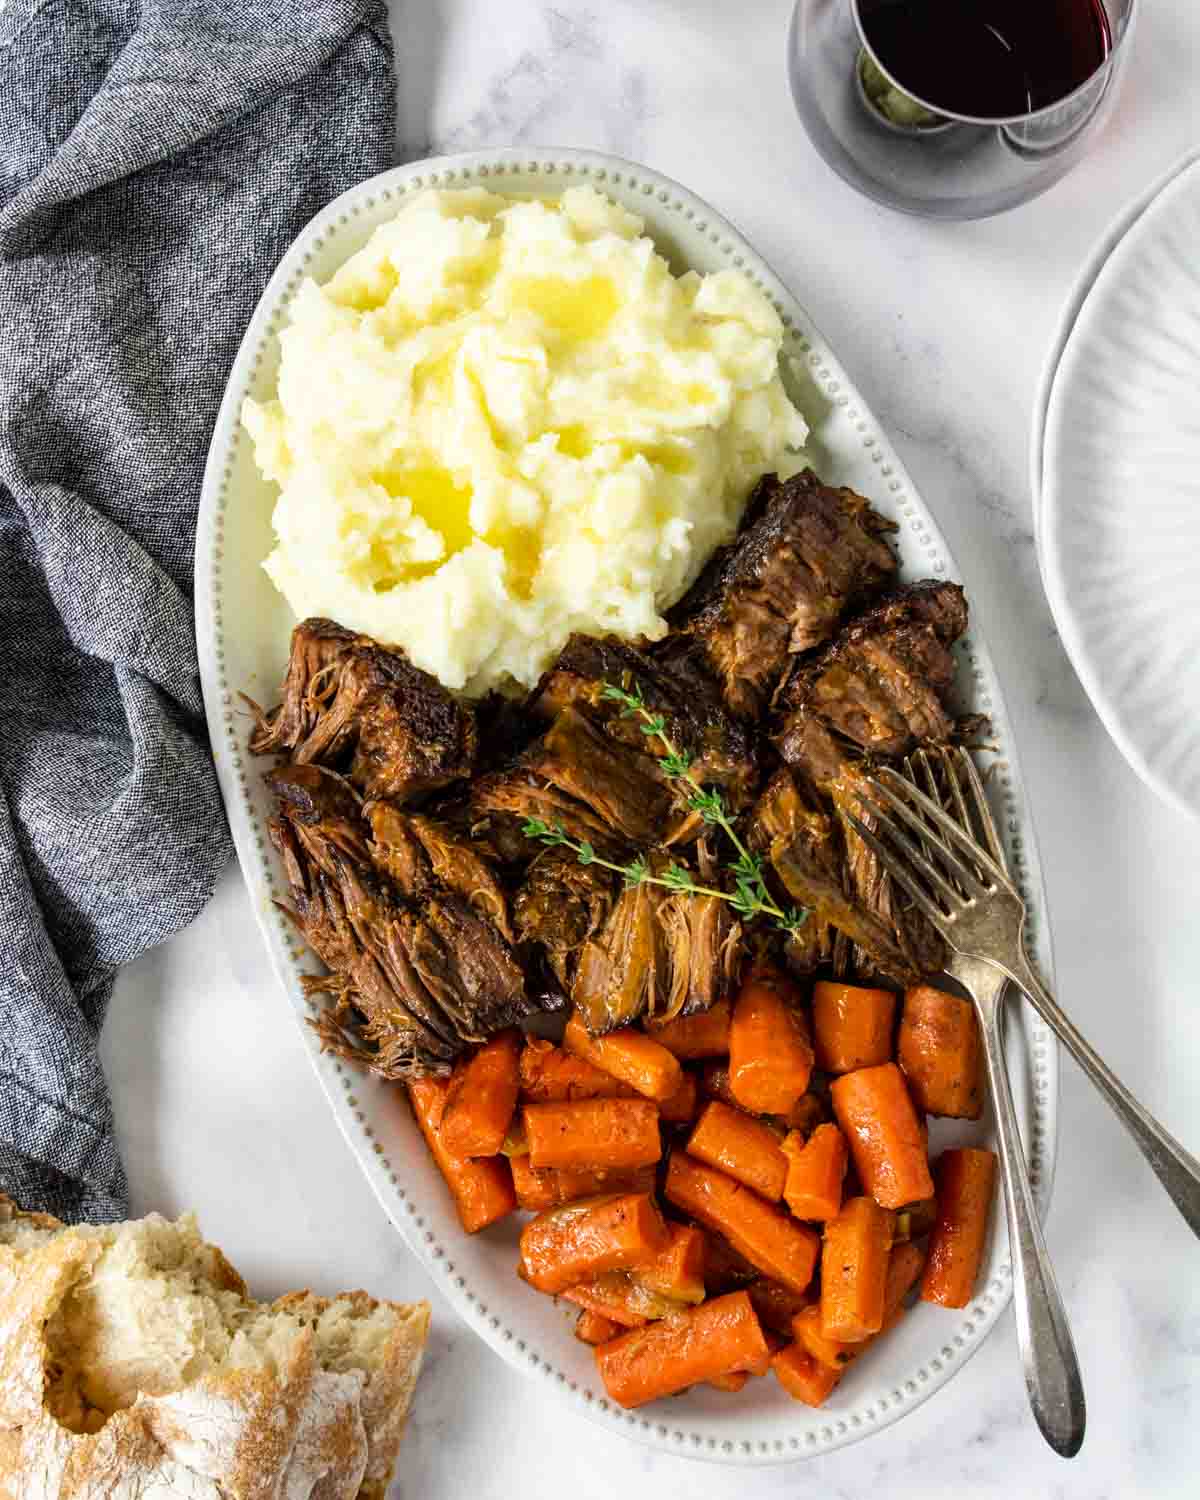
An amazing Beef Pot Roast recipe that turns out perfectly tender. It braises in the oven right along with carrots and an herbed gravy. This is the perfect Sunday dinner you have been looking for! You can also make it in your electric pressure cooker with this recipe for Instant Pot Beef Pot Roast!
Just whip up some Mashed Potatoes (or Instant Pot Mashed Potatoes) and add some rolls and butter to the table and dinner is ready!
Why This is the BEST Recipe
- Fresh herbs along with fresh garlic, balsamic vinegar, and Worcestershire create layers of flavor even before the roast goes in the oven.
- One of your side dishes, cooked carrots, bakes right along with the roast. Hello time saver!
- Braising the chuck roast in beef broth yields the most tender pot roast.
- Before serving you make the most incredible herbed gravy from the braising liquid.
- If you have never made a Beef Pot Roast before this is a great beginner recipe to follow. There are step by step pictures below and expert tips to make sure your first roast turns out juicy, flavorful and fall apart tender!
Ingredients
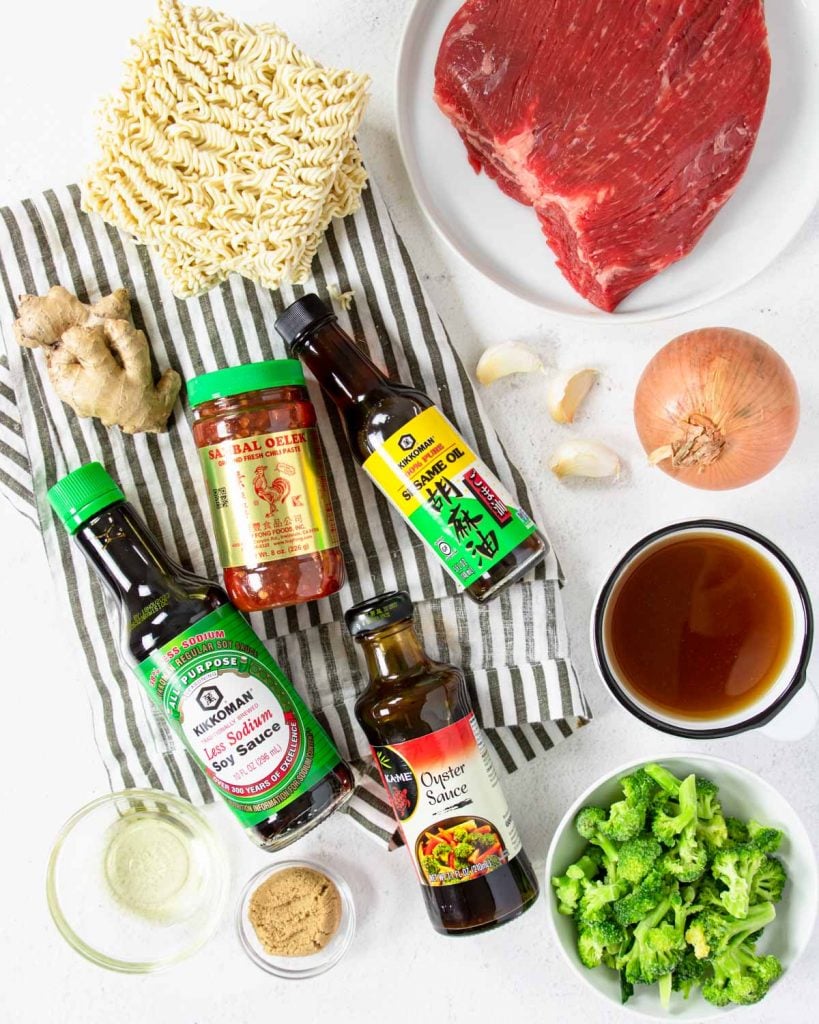
Here are the things you need to make Beef Pot Roast with Gravy, plus some special notes about a few ingredients and supplies:
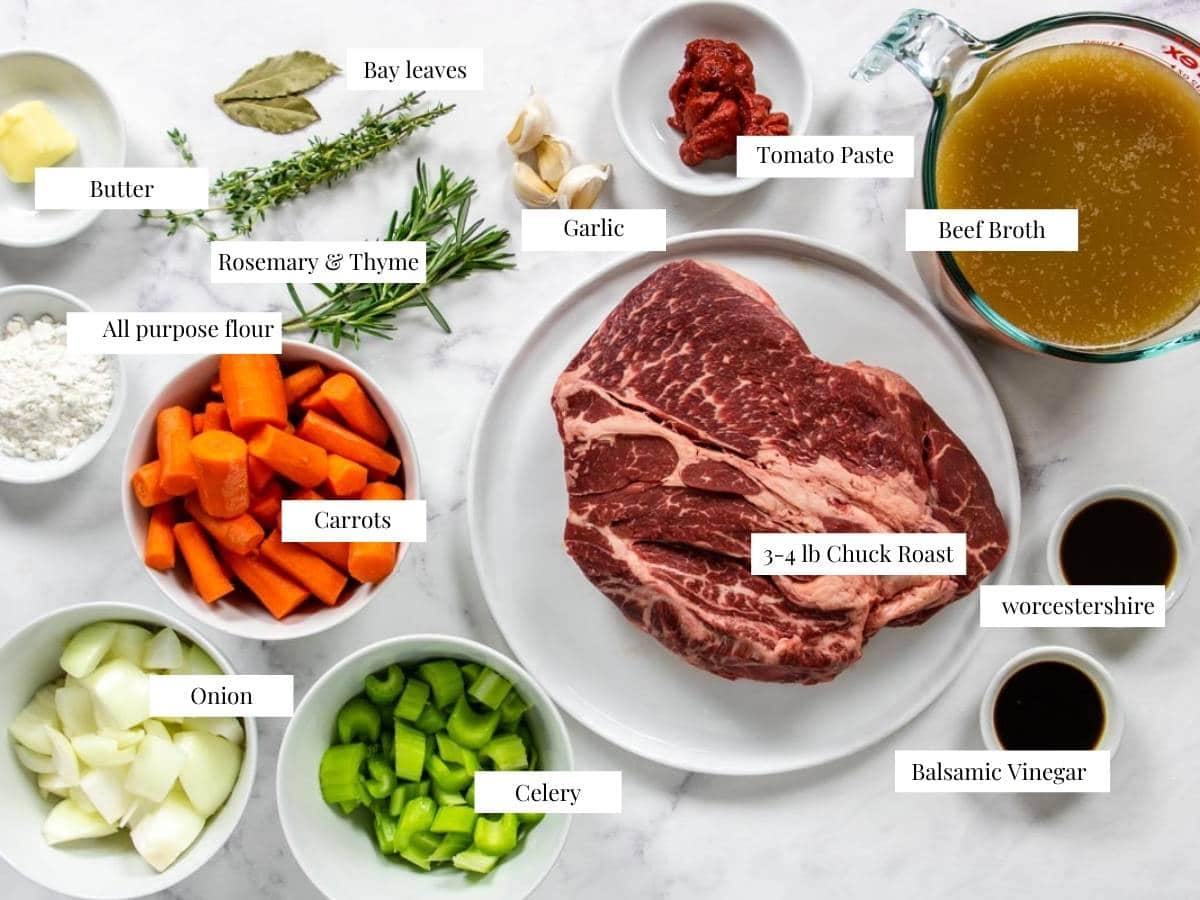
Dutch Oven- You will want to make sure that you have a heavy bottomed pot that has a lid, like a Dutch Oven or glazed cast iron pot. The lid will allow you to properly braise the pot roast in the oven.
Best Beef Choice – In my experience I find that using a 3-4 lb. chuck roast is the best option. It has great flavor and the best ratio of fat to meat (marbling), making it completely fork tender when braised.
However you can also use an arm roast or brisket in this recipe, they have a lower fat content which will allow them to slice into nice individual slices.
Fresh Herbs – Definitely take the extra step to get fresh herbs (rosemary & thyme). They really impart the best flavor.
Step-by-Step Picture Instructions
To make your Beef Pot Roast with Gravy start by grabbing all your ingredients and preheating the oven to 325 degrees.
Pre-Oven Prep
Place your Dutch Oven or heavy bottom pot on the stove top over medium heat. Add 2 tablespoon olive oil to warm.
Meanwhile pat your chuck roast dry with a couple paper towels then sprinkle the salt and pepper on both sides.
Place the seasoned chuck roast in the hot pot and brown the first side for 5 minutes, then flip and brown the other side for 5 minutes.
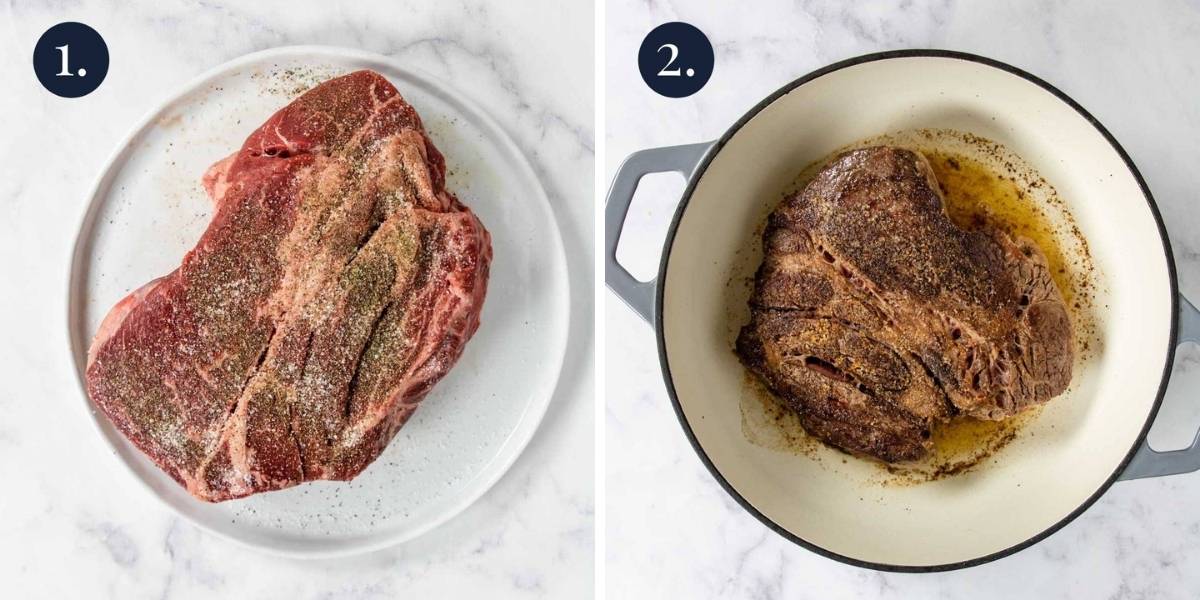
Expert Tip: Do not disturb the roast while it is browning, it needs to stay in contact with the pan to properly brown.
Remove the browned roast and place it on a plate, set aside.
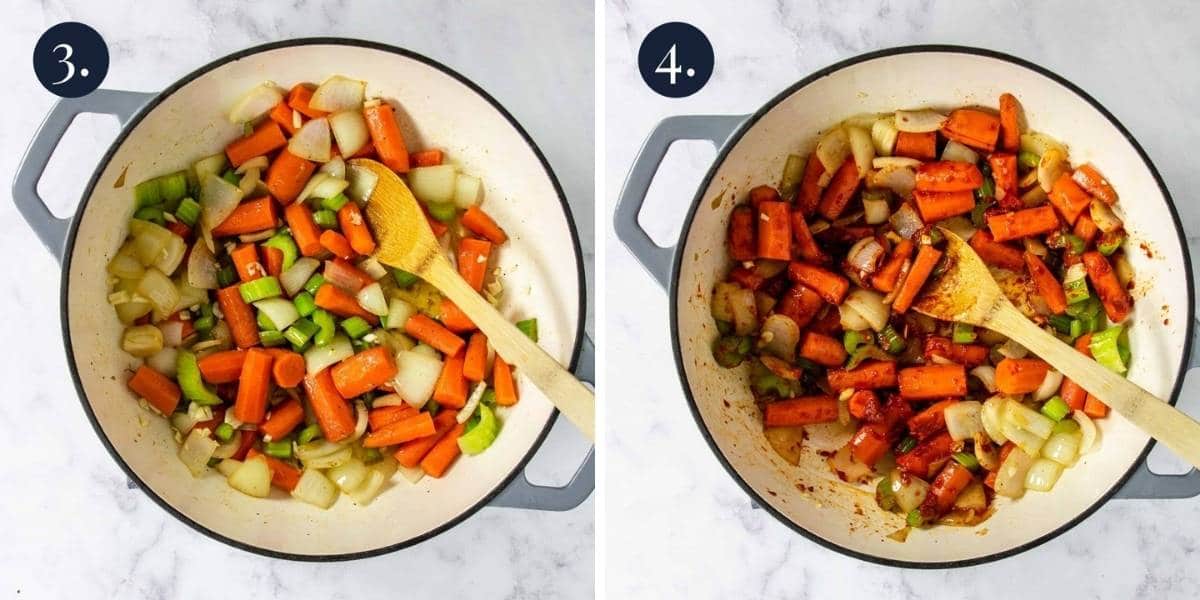
Add an additional 1 tablespoon olive oil to the pot. Add the onions, carrots and celery to the pot and sauté for about 5 minutes.
Add in the garlic and tomato paste and stir around the pot for 1 minute.
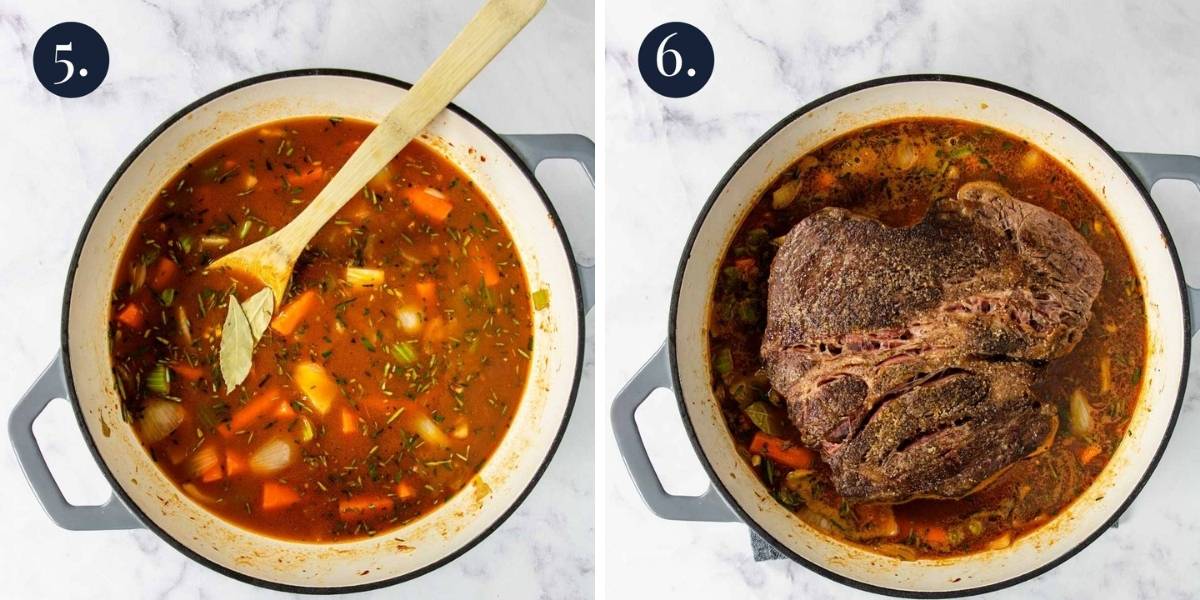
Pour in 1 cup of beef broth and deglaze the bottom of the pot.
Deglazing – when you scrape up the browned bits from the bottom of the pan.
Pour in the remaining 3 cups of beef broth, Worcestershire sauce, balsamic vinegar, rosemary and thyme and bay leaves. Give it all a stir and then bring it to a boil.
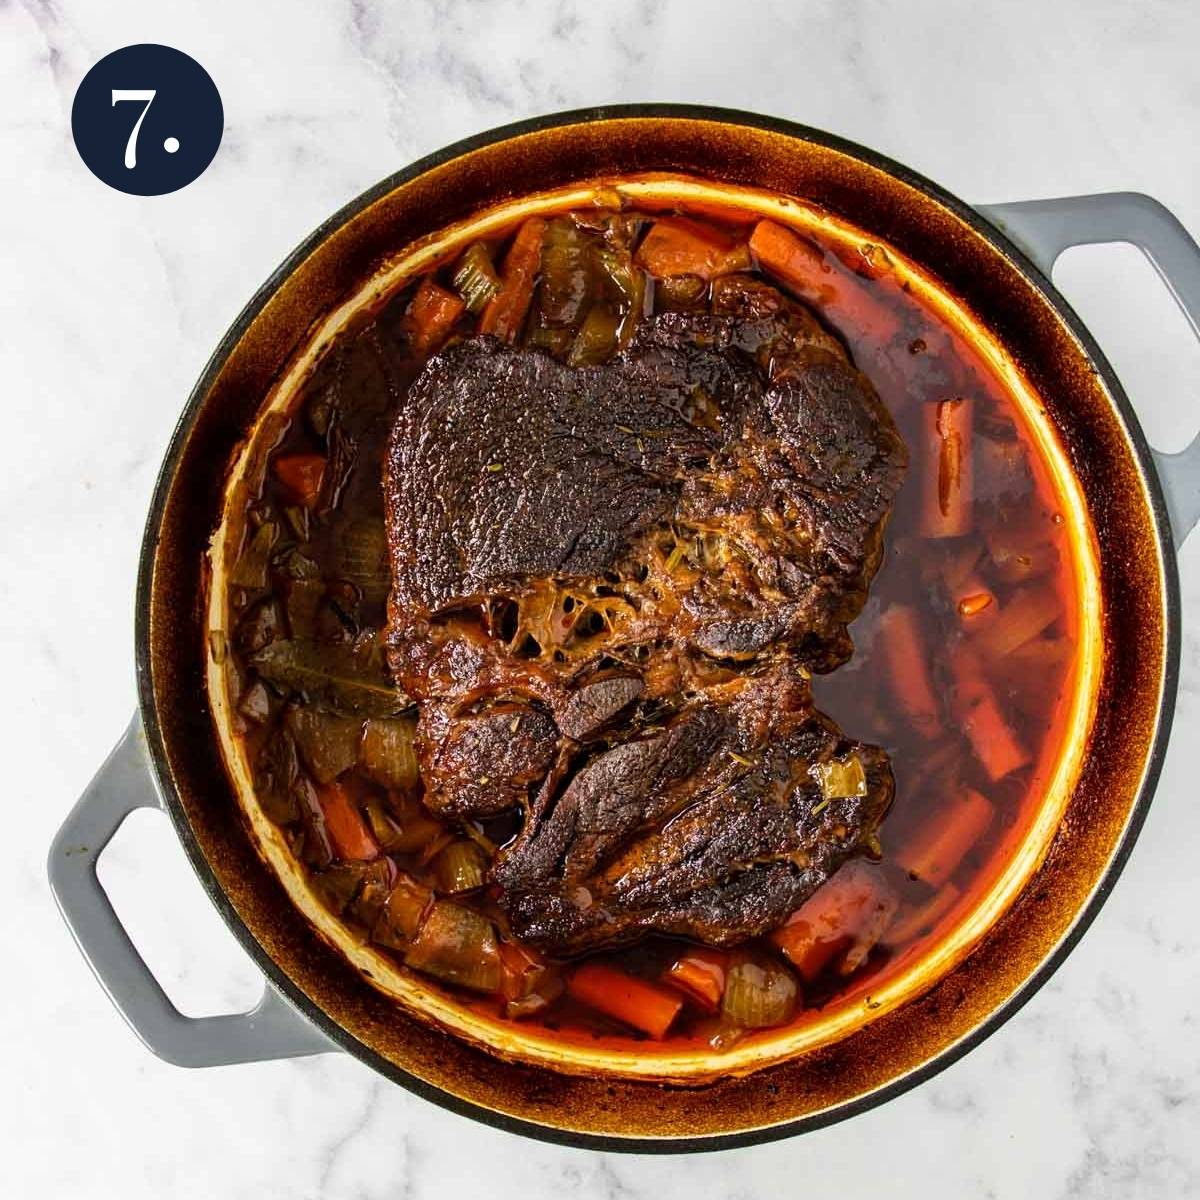
Once it boils remove from the heat and nestle the browned chuck roast back in the pot. You want the liquid to go about ½ way up the roast.
Oven
Place the lid on the pot and pop the pot in the preheated 325 degree oven for 3.5 hours.
Take the pot out of the oven, remove the pot roast and cooked carrots from the pot and place on a serving platter.
Let them rest under a loosely tented piece of foil while you make the gravy….
Make the Gravy
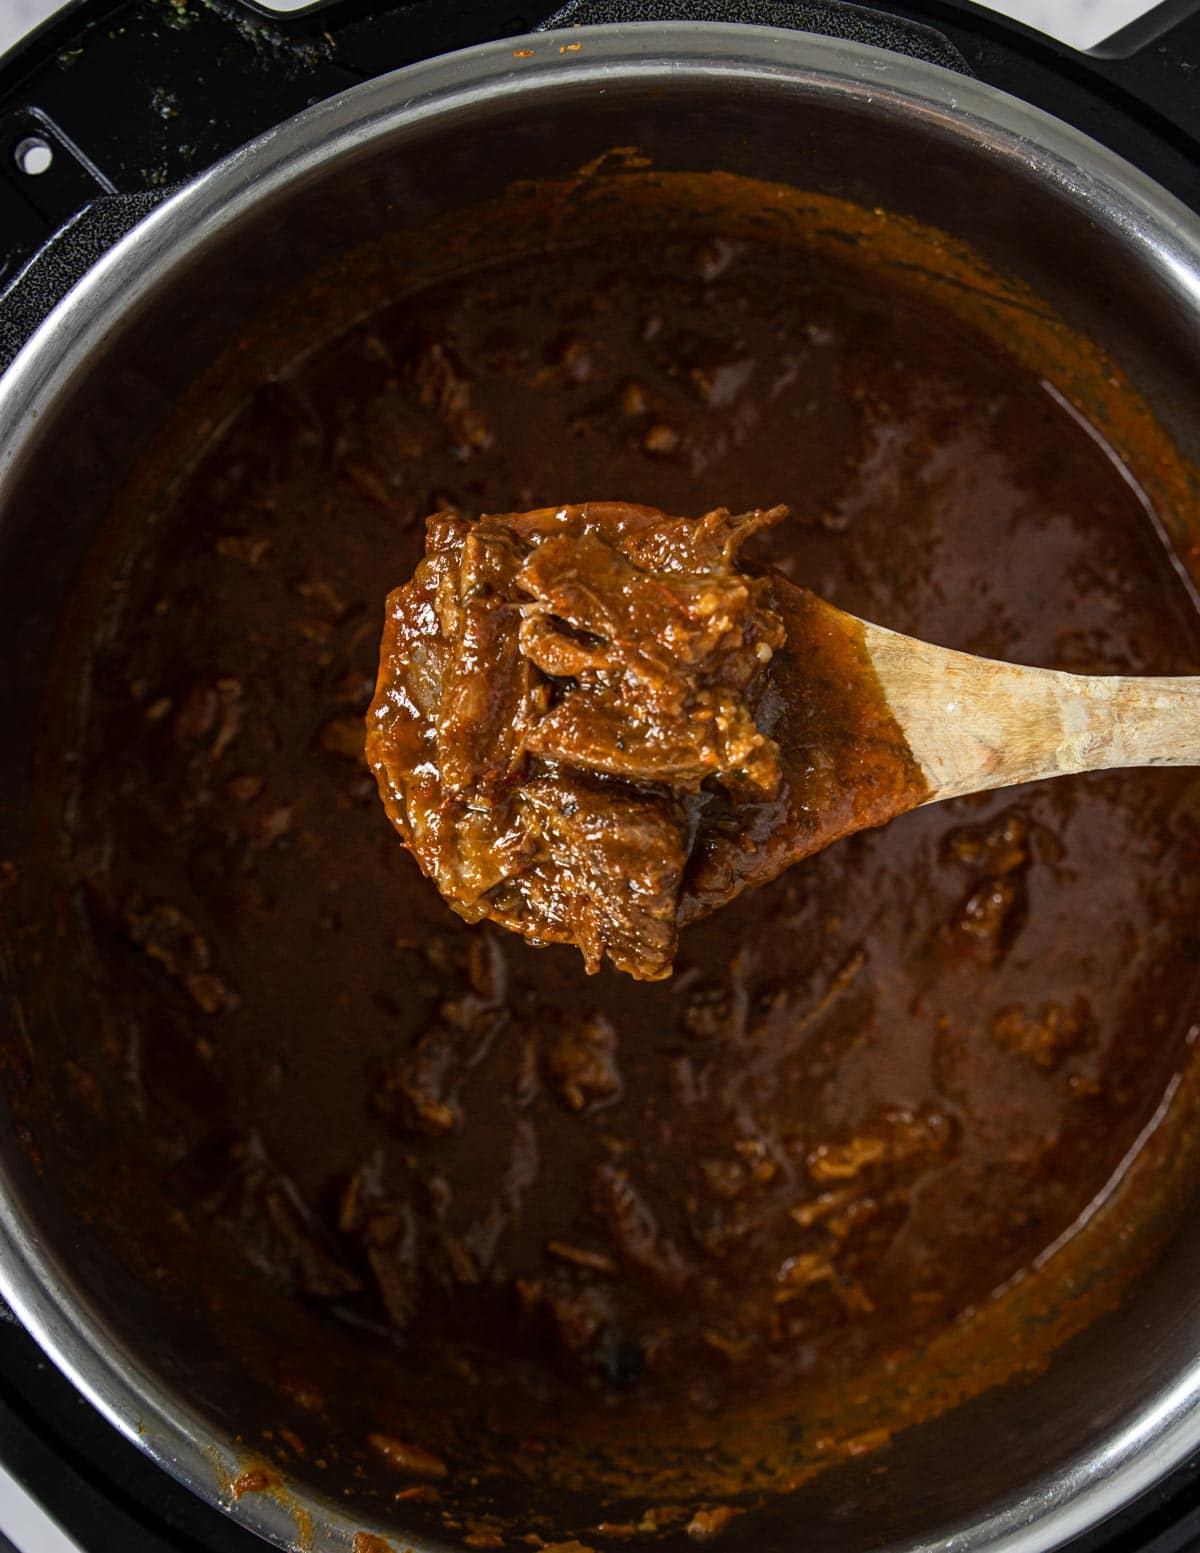
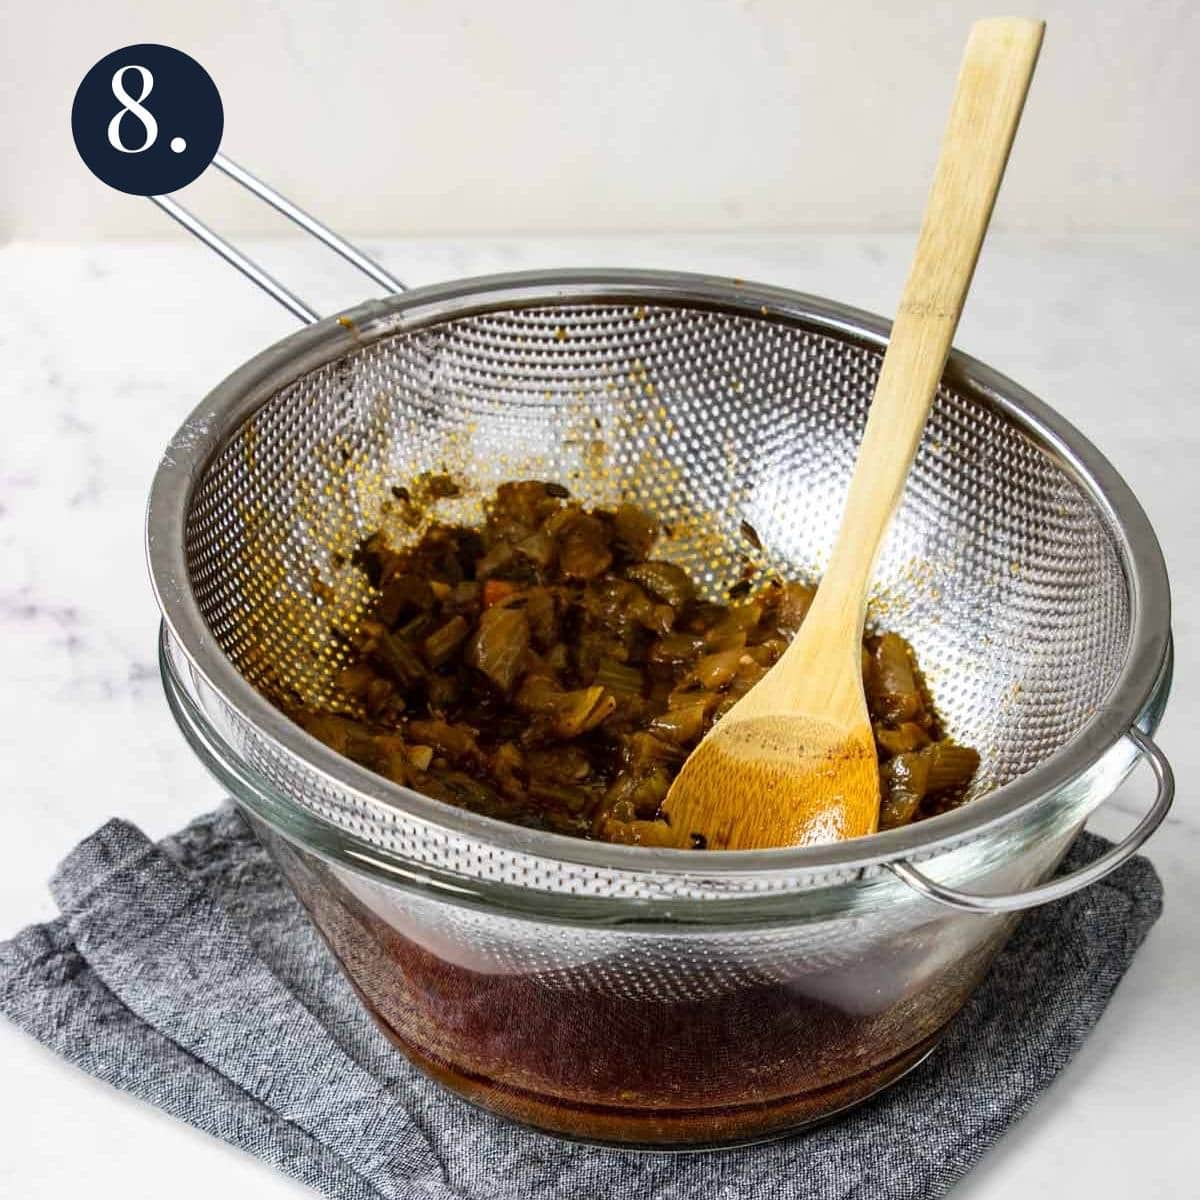
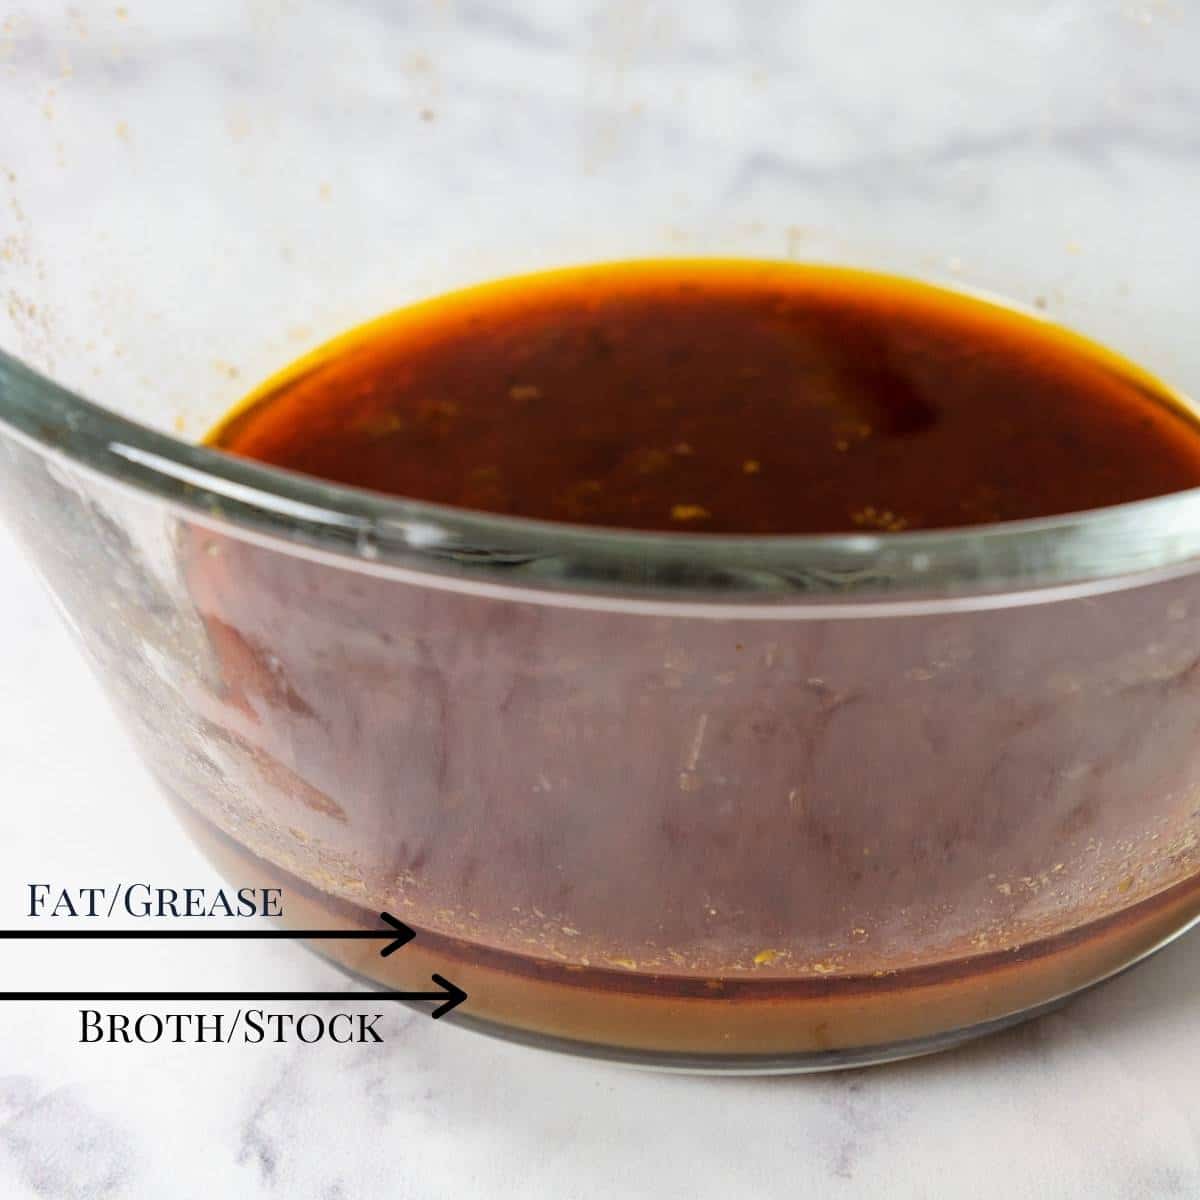
Strain the remaining liquid through a fine mesh sieve set over a bowl to remove the solids (onions, celery, herbs and bay leaves), discard the solids. Skim off as much fat as you can from the top and discard, that fat will make your gravy greasy if you leave it.
Expert Tip: The fat is the translucent shiny orangey liquid at the top of the bowl (see the photo below). Tilt your bowl to the side and most of the fat will fall to one side, making it easier to skim from the top without getting the good liquid/stock underneath.
Pour the remaining strained liquid back in the pot. Bring the liquid to a simmer over medium heat.
In a small bowl mash together the room temp butter and flour, making a Beurre Manié (thickener).
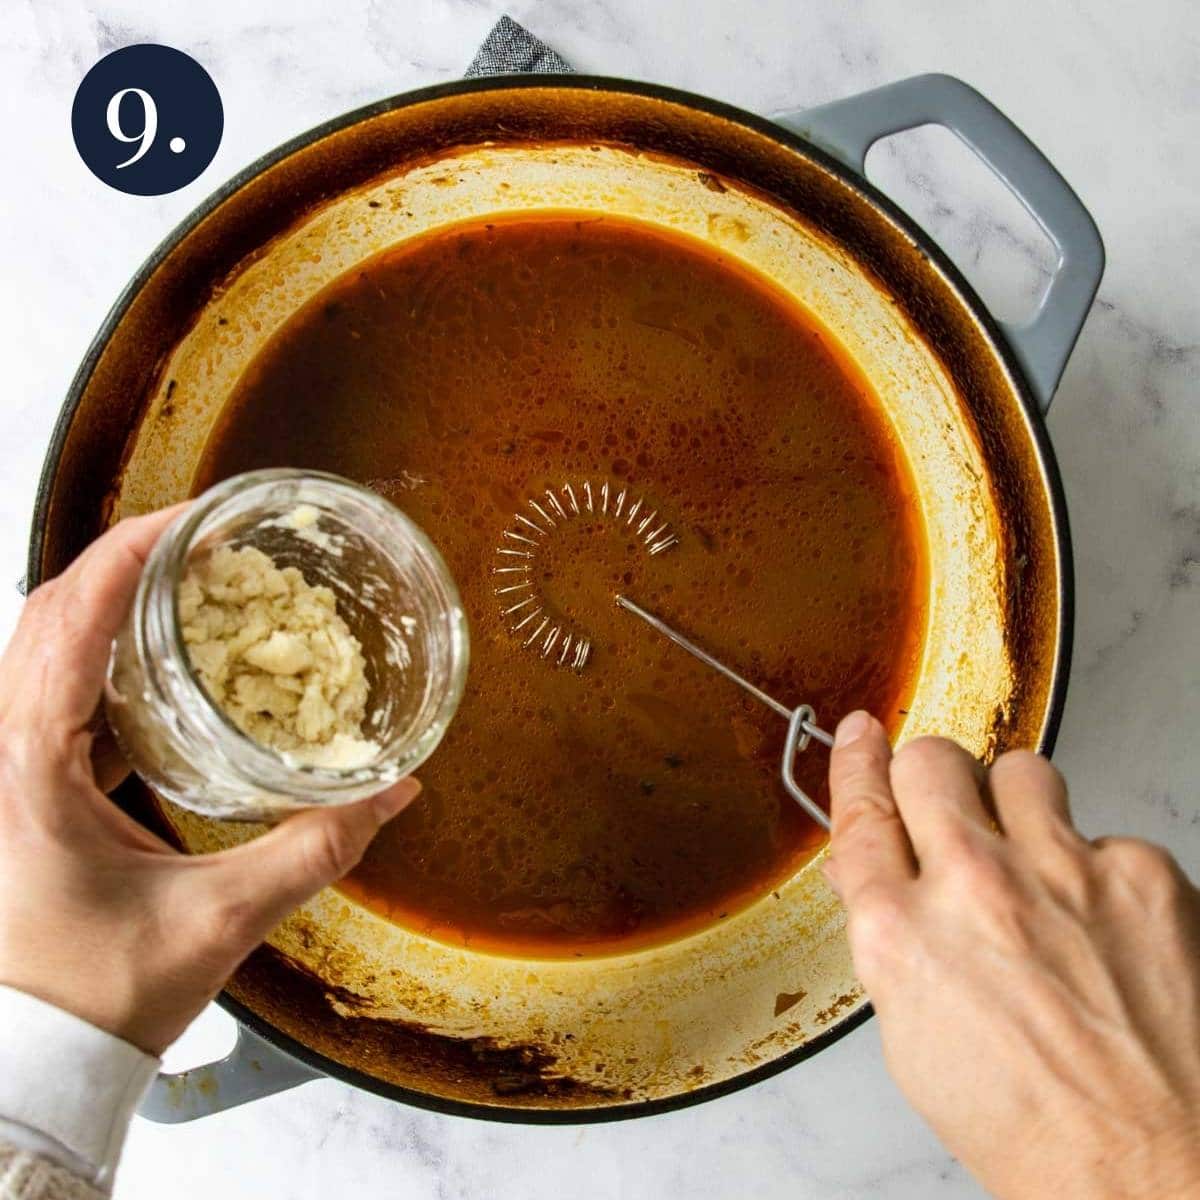
Whisk the flour/butter mixture into the simmering sauce. Let it simmer for about 2 minutes and it should thicken into a really beautiful gravy.
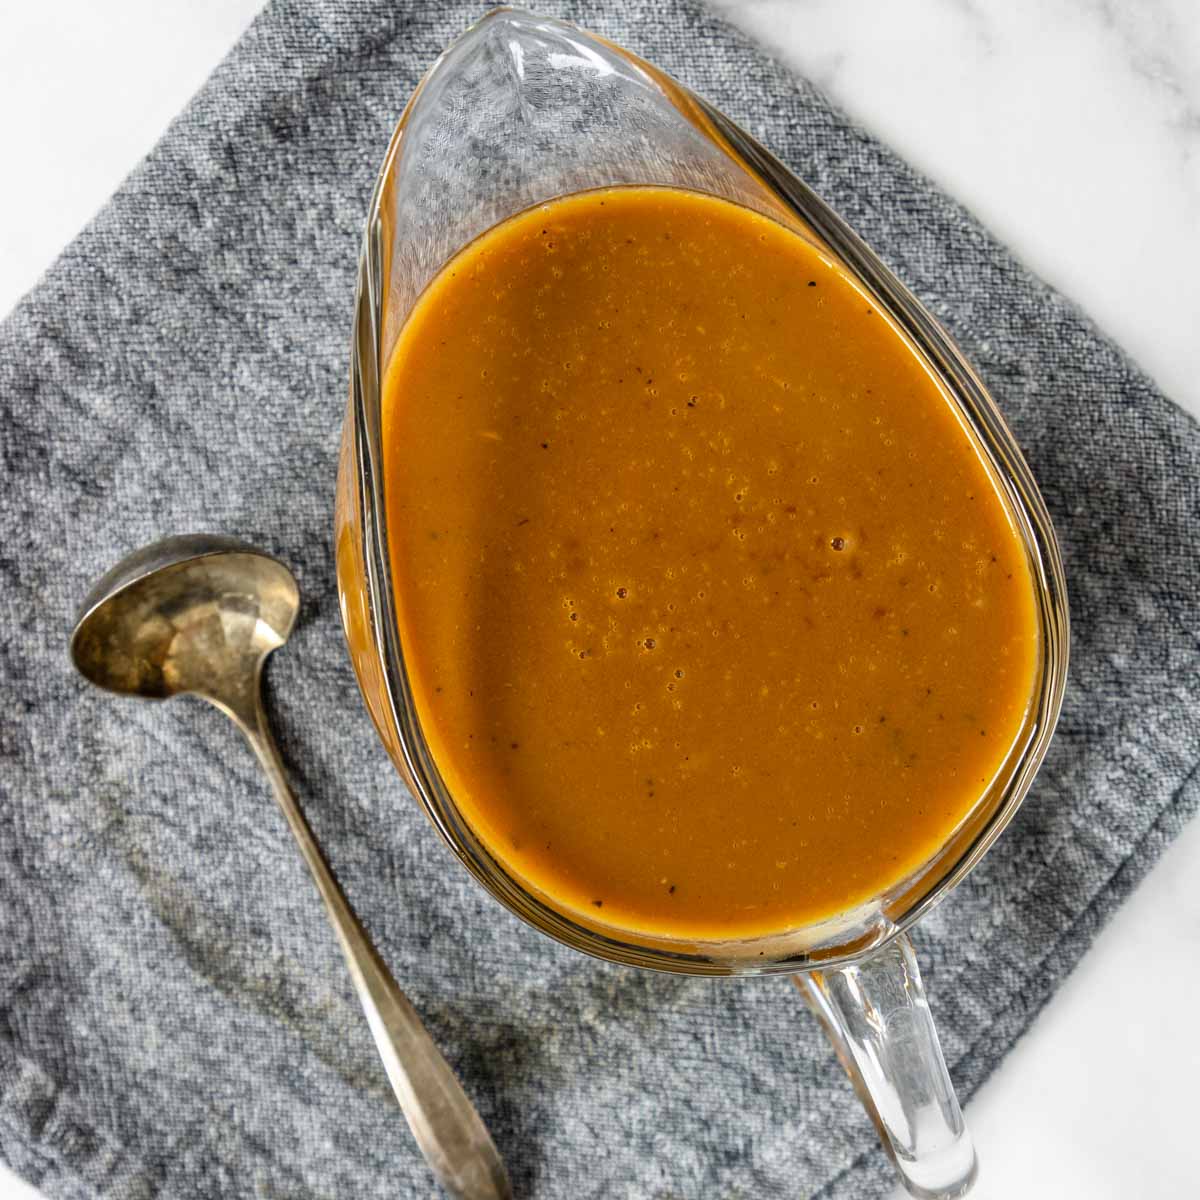
Taste the gravy for additional seasonings (salt and pepper).
Serving
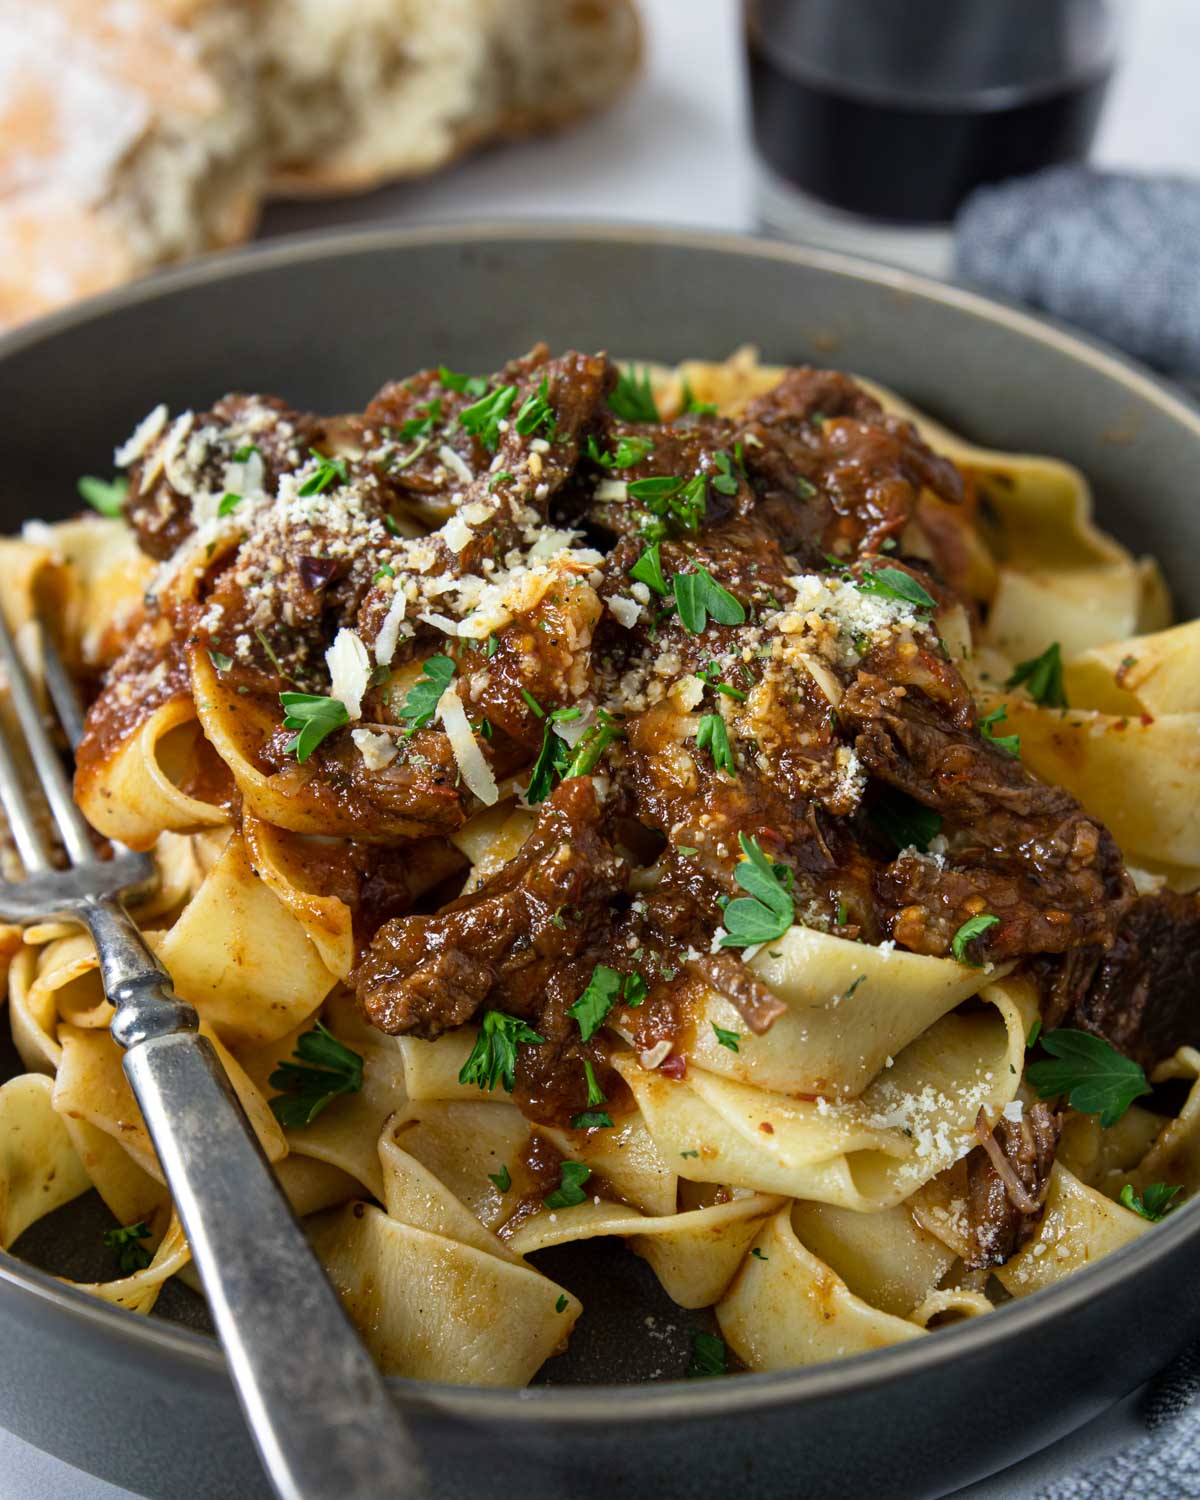
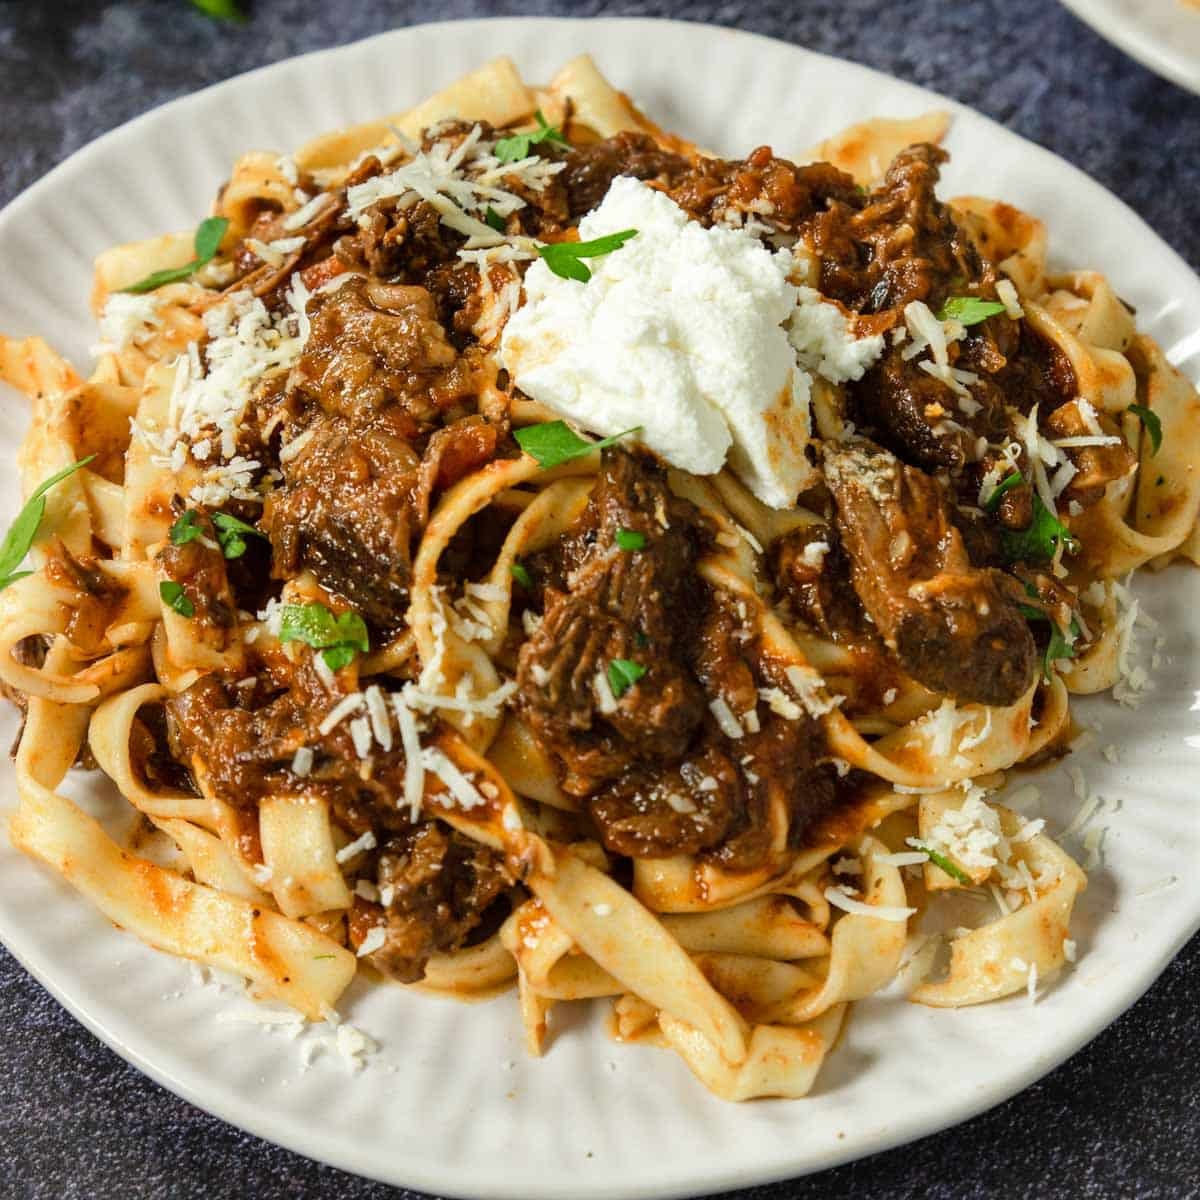
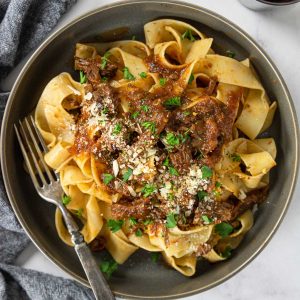
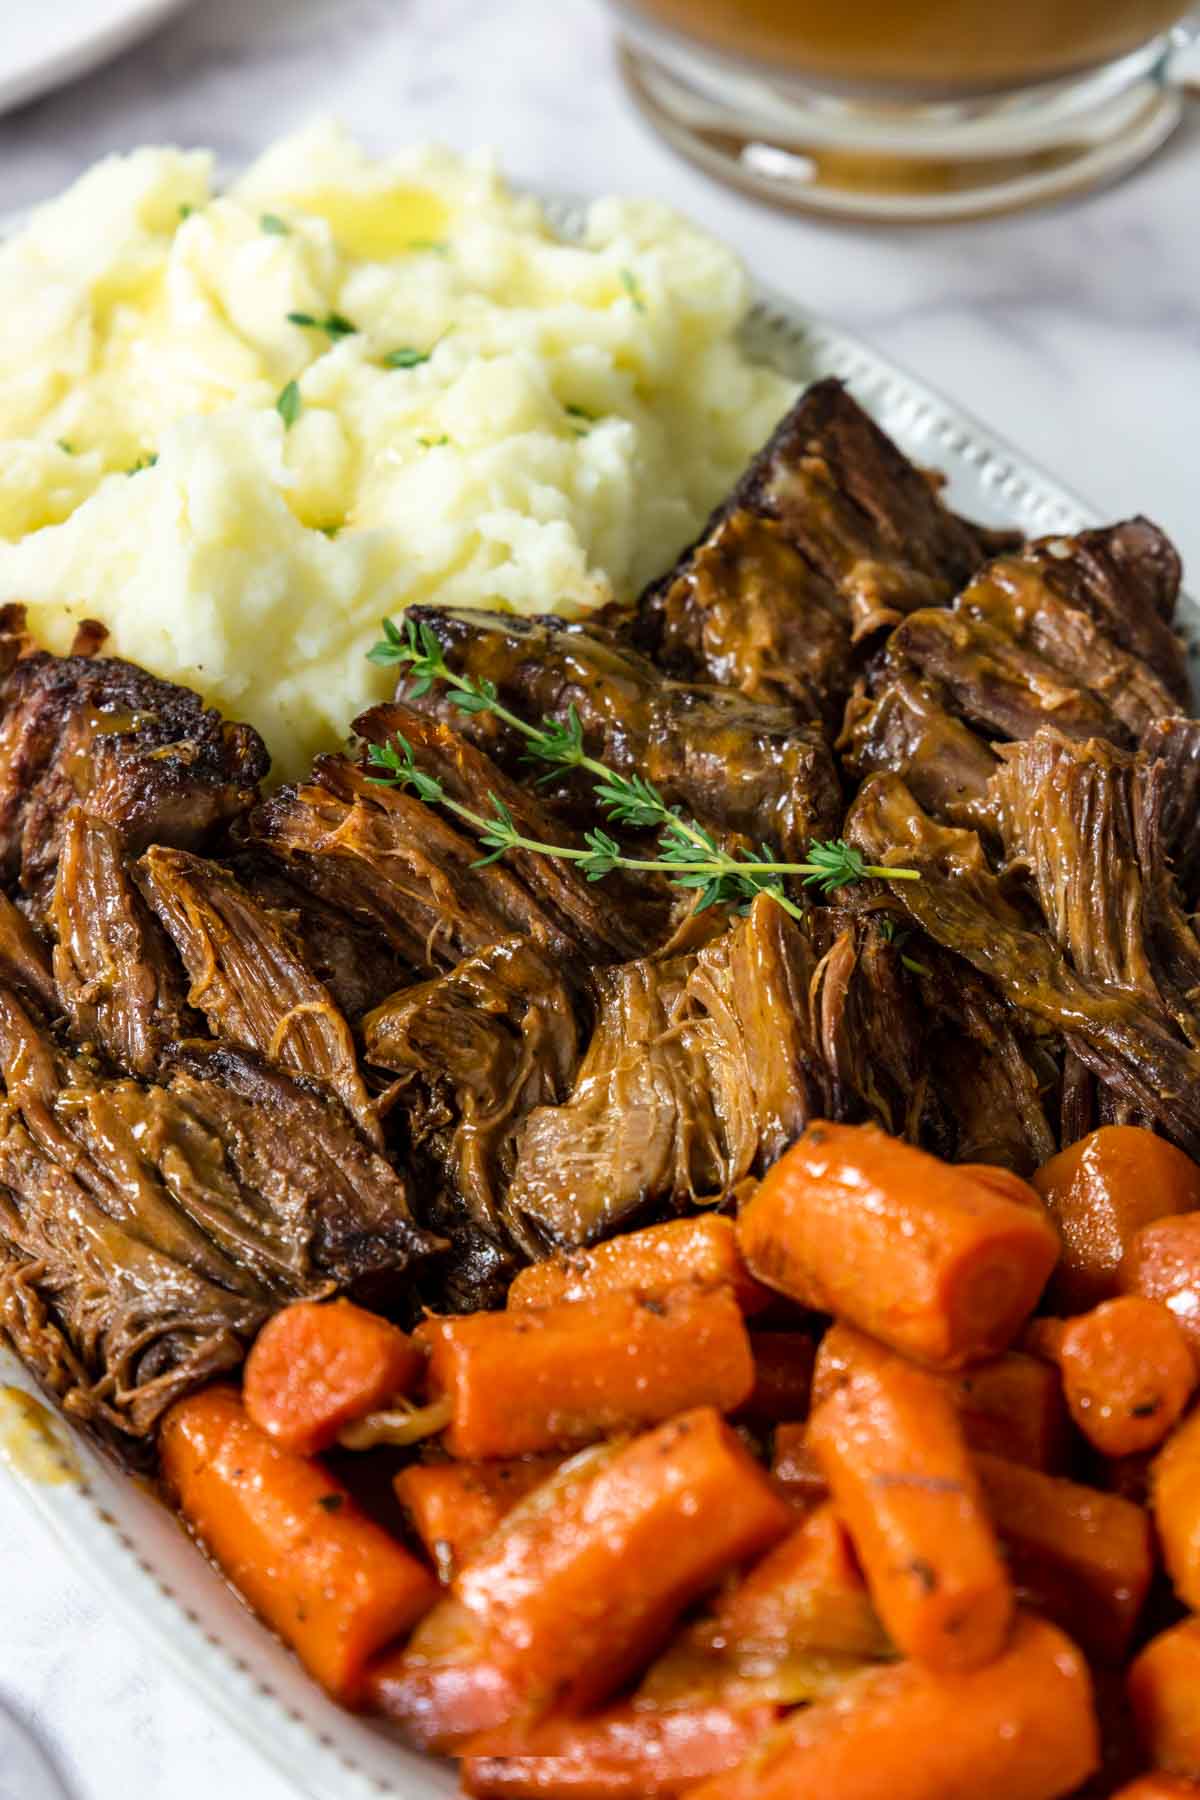
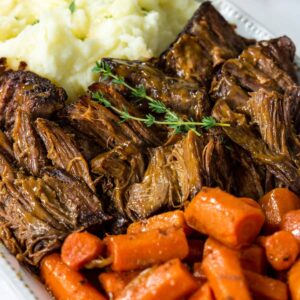
Serve this pot roast sliced/pulled into individual portions with the cooked carrots and a side of mashed potatoes, all topped with the herbed pan gravy.
If you are having a large Sunday Family Dinner then add some rolls and butter, Broccoli Bacon Salad, and Raspberry Jello Salad.
Recipe FAQ’s
Plan on around 3-5 ounces per person. If you have a 3-4 lb. roast you can plan on serving 6-8 people.
A roast, like roast beef is generally cooked dry in the oven. However, a pot roast is cooked in some type of liquid (broth, wine, or water), using a braising method.
Braising is a method of cooking, usually referring to meat or vegetables, where the food is browned in oil over medium heat and then cooked low and slow in a covered pan in a little liquid, either on the stove top or in the oven.
When you braise a cut of beef it will first become pretty firm and then, with time, the connective tissue will melt and the fat will render and it will become fork tender. It is important to allow enough time for your pot roast to braise. If your pot roast is tough, pop it back in the oven for 30 minute increments until it is fall-apart tender.
To thicken gravy you add a little fat and starch. In this case we add a mixture of softened butter and flour, called a Beurre Manié. You can also add a cornstarch slurry, which is a tablespoon of cornstarch mixed with a tablespoon of cool water. Add it while the liquid is simmering.
Related Recipes


Did you make this recipe?
⭐⭐⭐⭐⭐
I would love to hear your review, especially if you have tips and tricks to add! Pop down to the comment section and connect with me
Beef Pot Roast with Gravy
Ingredients
- 3-4 lb beef chuck roast - find one with nice marbling throughout
- 2 teaspoon kosher salt
- 1 teaspoon black pepper
- 3 tablespoon olive oil - divided
- 1 large onion - cubed
- 6-8 large carrots - peeled and cut into 2 inch pieces
- 1 cup celery - chopped
- 4 fresh garlic cloves - minced
- 2 tablespoon tomato paste
- 4 cups beef broth
- 1 tablespoon Worcestershire sauce - (could use soy sauce instead)
- 1 tablespoon balsamic vinegar
- 3 sprigs rosemary - (about 3 inches each)
- 3 springs thyme - (about 3 inches each)
- 2 bay leaves
- 1 tablespoon butter - at room temp
- 2 tablespoon all purpose flour
Instructions
- Preheat the oven to 325°.
- Place your Dutch Oven or heavy bottom pot on the stove top over medium heat, add 2 tablespoon olive oil to warm.
- Meanwhile pat your chuck roast dry with a couple paper towels then sprinkle on the 2 teaspoon salt and 1 teaspoon pepper, coating both sides.
- Place the seasoned chuck roast in the pot and brown on the first side for 5 minutes, then flip and brown the other side for 5 minutes.Expert Tip: Do not disturb the roast while it is browning, it needs to stay in contact with the pan to properly brown.
- Remove the browned roast and place it on a plate, set aside.
- Add the remaining 1 tablespoon olive oil to the pot. Add the onions, carrots and celery to the pot and sauté for about 5 minutes.
- Add in the garlic and tomato paste and stir around the pot for 1 minute.
- Pour in 1 cup beef broth and deglaze the bottom of the pot. Deglazing: when you scrape up the browned bits from the bottom of the pan.
- Pour in the remaining 3 cups of beef broth, Worcestershire sauce, balsamic vinegar, rosemary and thyme sprigs and bay leaves. Give it all a stir and then bring it to a boil over medium-high heat.
- Once it boils remove from the heat and nestle the browned chuck roast back in the pot. Expert Tip: You want the liquid to go about ½ way up the roast. Do not submerge the entire roast.
- Place the lid on the pot and pop in the 325° preheated oven for 3.5 hours.
- Take the pot out of the oven, remove the pot roast and cooked carrots from the pot and place on a serving platter.
- Let them rest under a loosely tented piece of foil while you make the gravy….
Gravy
- Strain the liquid remaining in the pot through a fine mesh sieve set over a bowl to remove the solids (onions, celery, herbs and bay leaves), discard the solids.
- Skim as much of the translucent shiny orange fat from the top of the liquid as you can. Expert Tip: Do not skip this step, leaving this fat will make your gravy greasy!
- Pour the strained liquid back in the pot, bring to a simmer over medium heat.
- In a small bowl mash together the room temp butter and flour, making a Beurre Manié (thickener).
- Whisk the flour/butter mixture completely into the simmering sauce. Let it simmer for about 2 minutes, it should thicken into a nice gravy.
- Taste the gravy for additional seasonings (salt and pepper).
Serving
- Serve this pot roast sliced/pulled into individual portions with the cooked carrots and a side of mashed potatoes (recipe linked below), all topped with the herbed pan gravy.