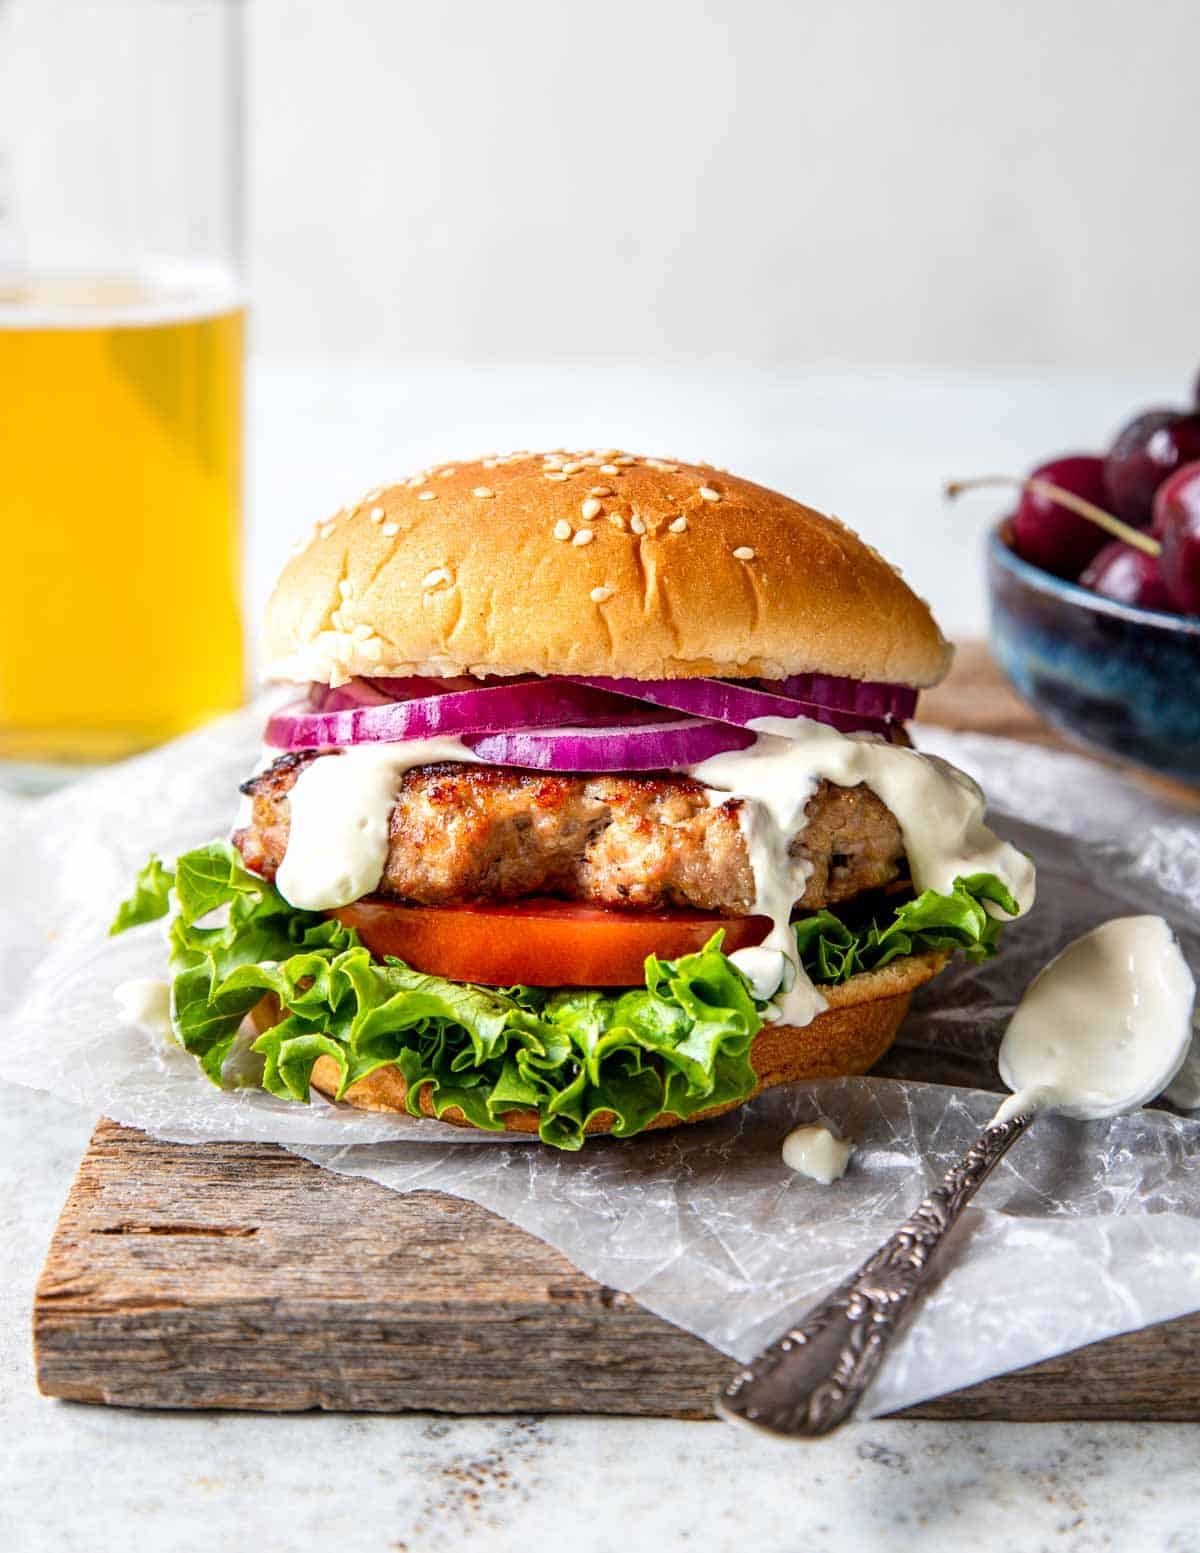
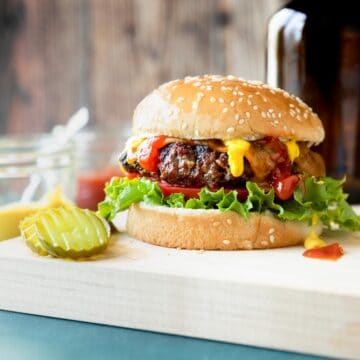
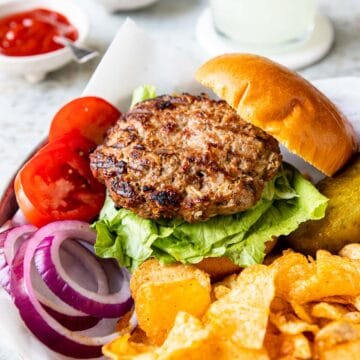
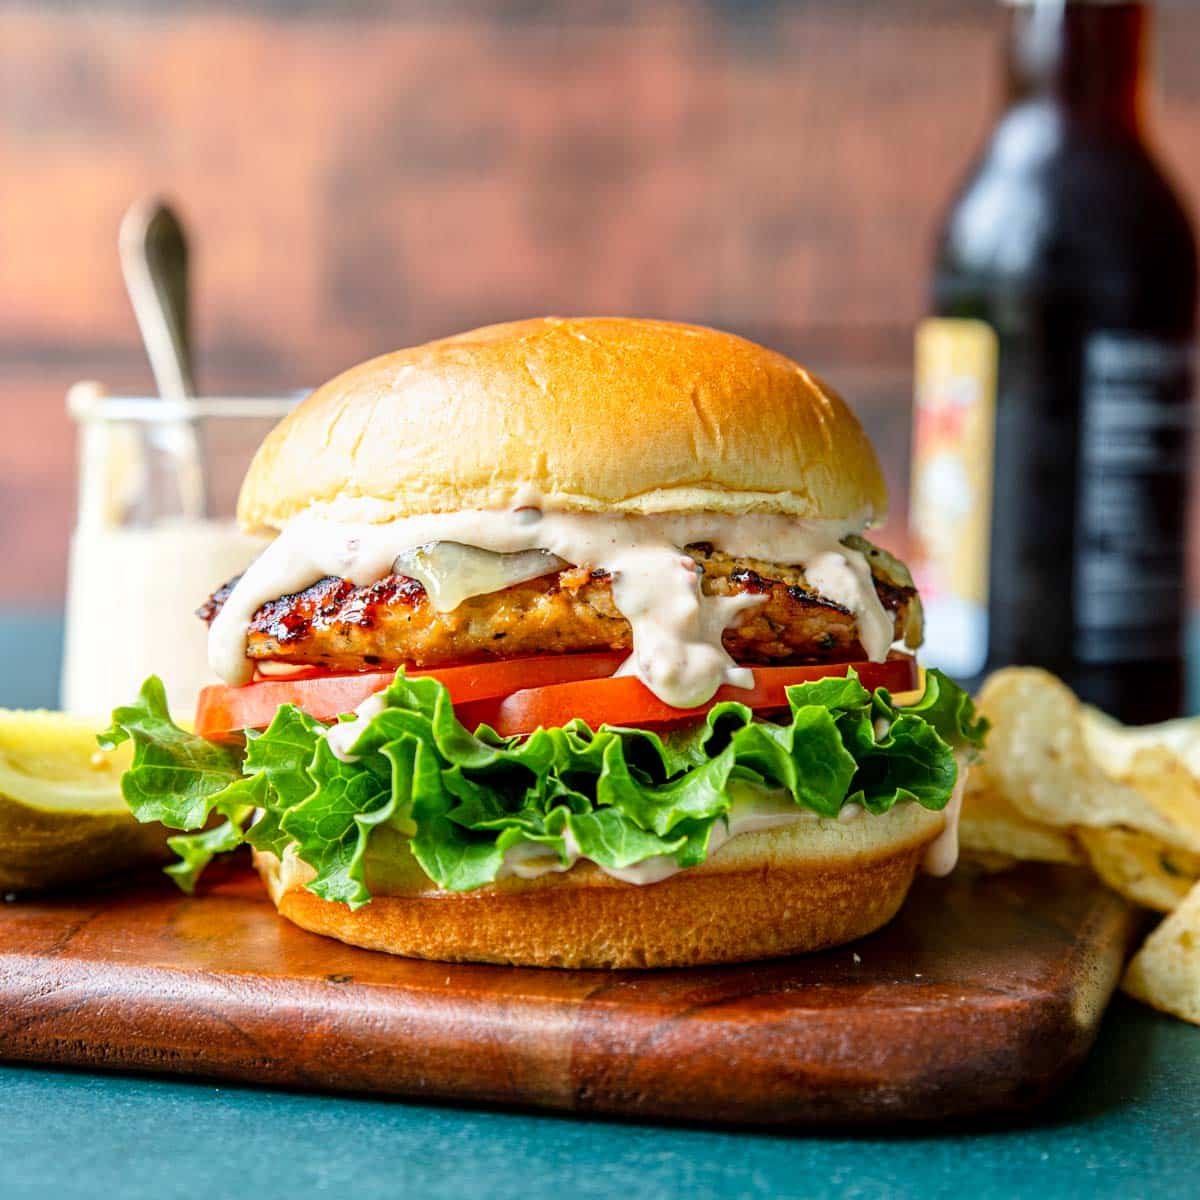
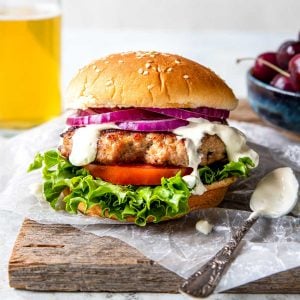
When you need a new kind of burger these Grilled Pork Burgers will be your go to! They are incredibly juicy and delicious, plus they are super easy to make and they grill up really fast. Serve your pork burgers topped with lettuce, tomato, onions and a generous spoonful or two of garlic cream sauce.
We love burgers here at Mom’s Dinner. Some other ones to check out when you want something different than a classic grilled burger:
Why These are Amazing
A couple reasons why this is such an amazing recipe for Grilled Pork Burgers:
- Using a saltine cracker panade keeps your pork burgers so juicy.
- The ground pork mixed with the flavor of the grill is SO good!
- It’s a great alternative to beef hamburgers during prime grilling months.
- The garlic cream sauce takes these burgers right over the top!!
- Ground pork is extremely economical if you are trying to save some money at the grocery store!
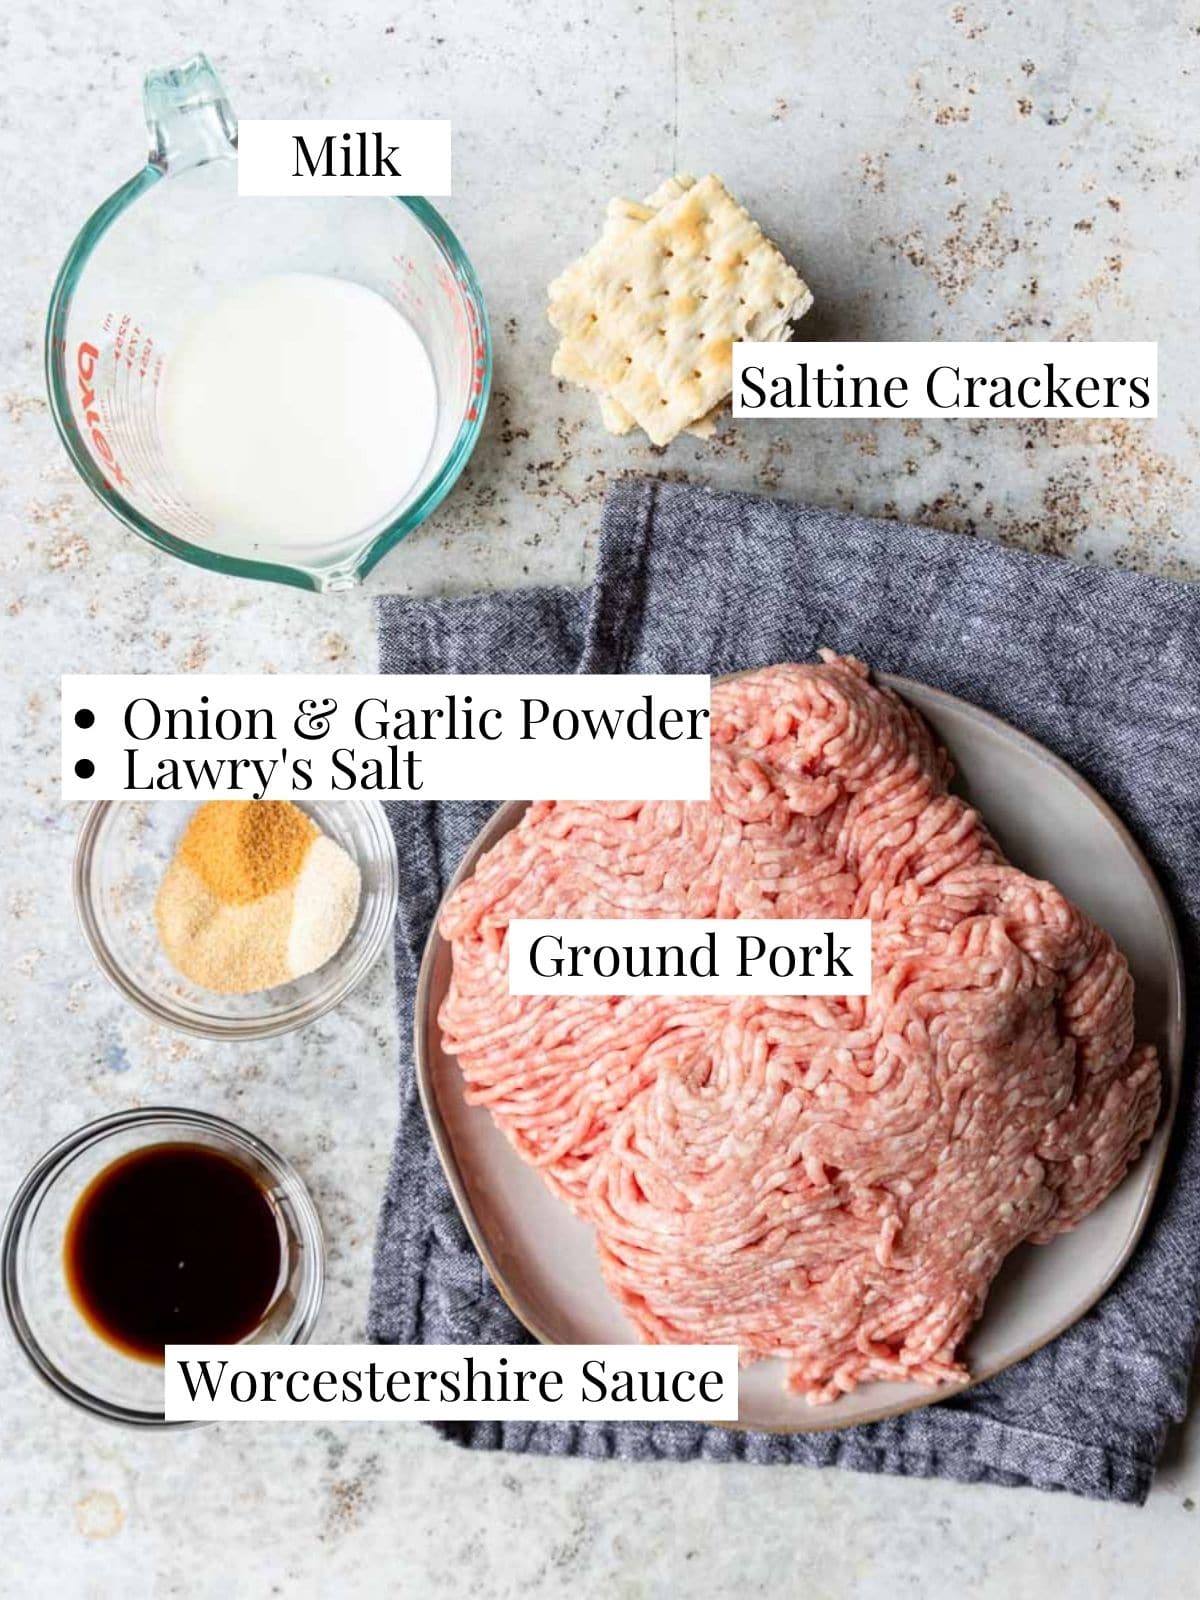
Ingredient Details
You only need a handful of simple ingredients for these Grilled Pork Burgers.
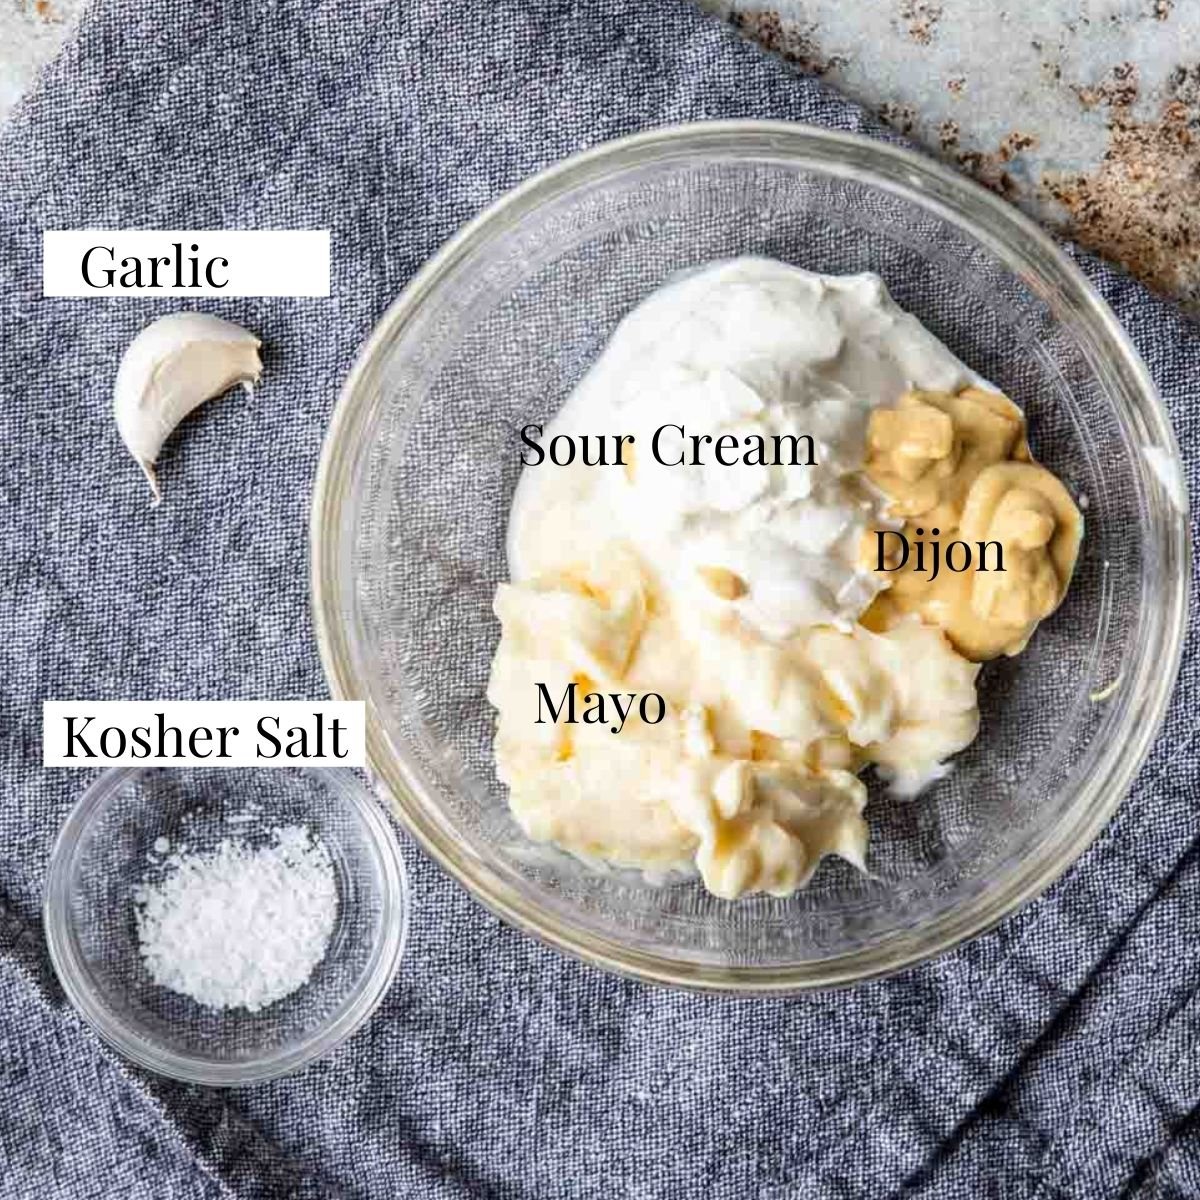
To make the Garlic Cream Sauce you just need a few sauces from the fridge, plus garlic and salt.
Panade for Burgers – Keep ’em Juicy
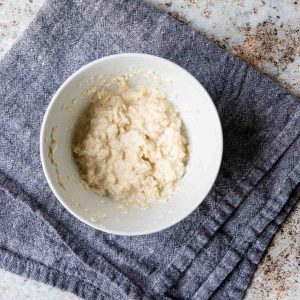
A panade is a mixture of a starch (generally bread, bread crumbs or cracker crumbs) and a liquid (usually milk, buttermilk or stock), to help keep meat juicy and moist while cooking.
In this case we are using a mixture of crushed saltine crackers mixed with milk and Worcestershire sauce. It not only keeps the burgers juicy, the Worcestershire adds nice flavor.
Tips on Making Pork Burger Patties
A couple pro tips on making your pork patties:
- Do not over process your ground pork mixture. You want to mix in the ingredients but don’t over “mash” the pork.
- I find the best way to mix your ground pork and ingredients is using clean hands. That way you can really control how much you are mashing the pork.
- Don’t skip the panade, it keeps the grilled pork burgers so juicy.
- Here’s a great tip for evenly dividing your meat into patties- after you mix the ground pork and it is sitting in the bowl, lightly score the mixture with the side of your hand, into 6 or 8 equal parts. Then scoop each portion up and very lightly form into a patty.
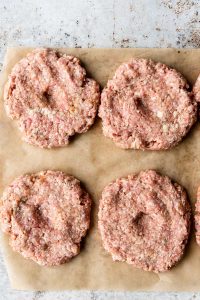
- After you make your patties, press your thumb into the center of each patty creating a large divot. This will prevent your burgers from shrinking up into little pucks while grilling!

Grilling Tips for Pork Burgers
The pork burgers need to be grilled to 160 degrees internal temp to be considered cooked through. Here are some tips for grilling really good and juicy pork burgers:
- Set your grill up for direct AND indirect heat. If you use charcoal that means you will pile all the hot grills on one side of the kettle.
- Start your pork burgers over direct heat with the divot side down. You will grill on this side for about 4 minutes (up to 5 minutes if you made ⅓ pound burgers).

- Flip the burgers over, divot side up, making sure they release from the grill easily. You will not flip them again. Juices will collect in the divot and will reabsorb when they are cooling.
- Cook for about 3 minutes over direct heat on the second side. If the burgers haven’t reached 160 degrees, then pop them over indirect heat to cook until they are ready.
- Let them cool for about 5 minutes before eating. The juices that collect in the divot will reabsorb. YUM!
You can watch Susie make these Pork Burgers and the garlic cream sauce on a 30 minute episode of Pin TV.
More Amazing Burger Recipes


Did you make this recipe?
⭐⭐⭐⭐⭐
I would love to hear your review, especially if you have tips and tricks to add! Pop down to the comment section and connect with me
Grilled Pork Burgers Recipe – with Garlic Cream Sauce
Equipment
- Grill
Ingredients
- 2 lbs ground pork
- 12 saltine cracker - smashed into crumbs
- ¼ cup milk
- 2 teaspoon Worcestershire sauce
- 1 teaspoon Lawry's Season Salt
- 1 teaspoon each: onion powder and garlic powder
Garlic Cream Sauce
- ¼ cup mayo
- ¼ cup sour cream - (or Greek yogurt)
- 1 tablespoon Dijon mustard
- 1 garlic clove minced
- kosher salt to taste
Serving
- buns, lettuce, onions, tomato
Instructions
- Start the grill or get the charcoals ready for direct and indirect heat cooking. In a charcoal grill that means you will put all the hot grills on one side of the kettle.
- In a small bowl mix the saltine cracker crumbs, milk, and Worcestershire sauce smash it together with a fork until no large pieces of cracker remain.This is called a "panade" and will make your pork burgers really juicy.12 saltine cracker, ¼ cup milk, 2 teaspoon Worcestershire sauce

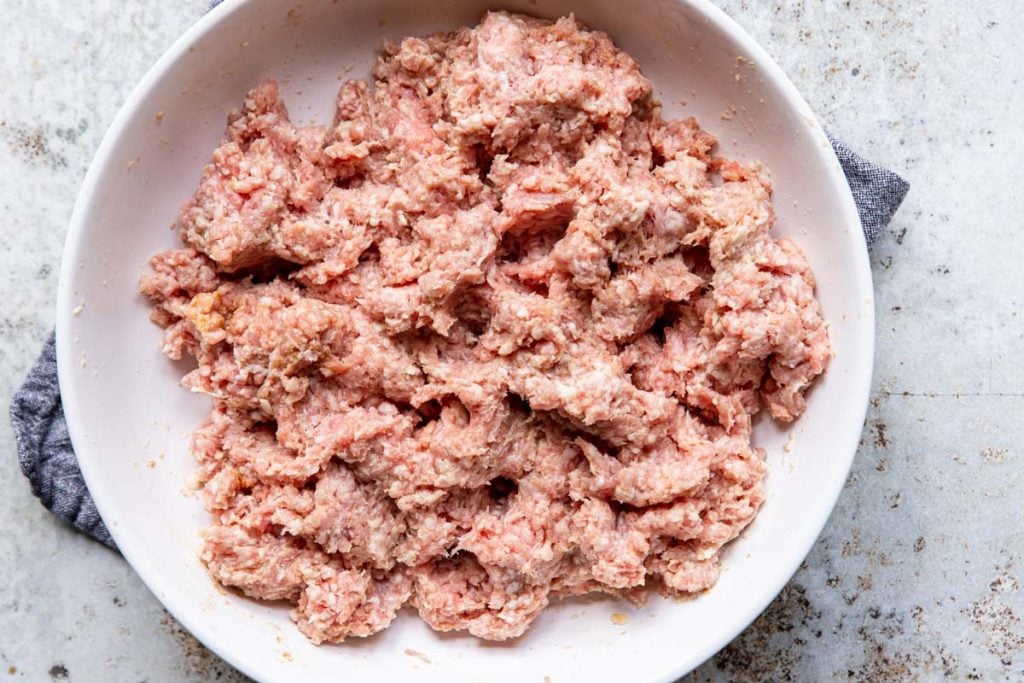
- Add the ground pork, garlic powder, onion powder and Lawry's Season Salt to the saltine cracker panade. Pro Tip: I like to use clean hands or a fork to lightly mix my burger meat. Then to evenly divide the meat into patties, lightly score the meat with the side of your hand into 6 or 8 patties.2 lbs ground pork, 1 teaspoon Lawry's Season Salt, 1 teaspoon each: onion powder and garlic powder
- Form the pork mixture into (6) ⅓ pound burgers or (8) ¼ pound burgers.Pro Tip: press your thumb into the center of each patty making a divot. This will prevent your burgers from shrinking into small pucks. It will also collect the juices so they can reabsorb into the pork burger!

Grilling Pork Burgers
- Start your pork burgers over direct heat with the divot side down. You will grill on this side for about 4 minutes (up to 5 minutes if you made ⅓ pound burgers).
- Flip the burgers over, divot side up, making sure they release from the grill easily. You will not flip them again. Juices will collect in the divot and will reabsorb when they are cooling.Cook for about 3 minutes over direct heat on the second side.
- If the burgers haven't reached 160 degrees, then pop them over indirect heat to cook until they are ready.
- Let the burgers cool for about 5 minutes before eating.
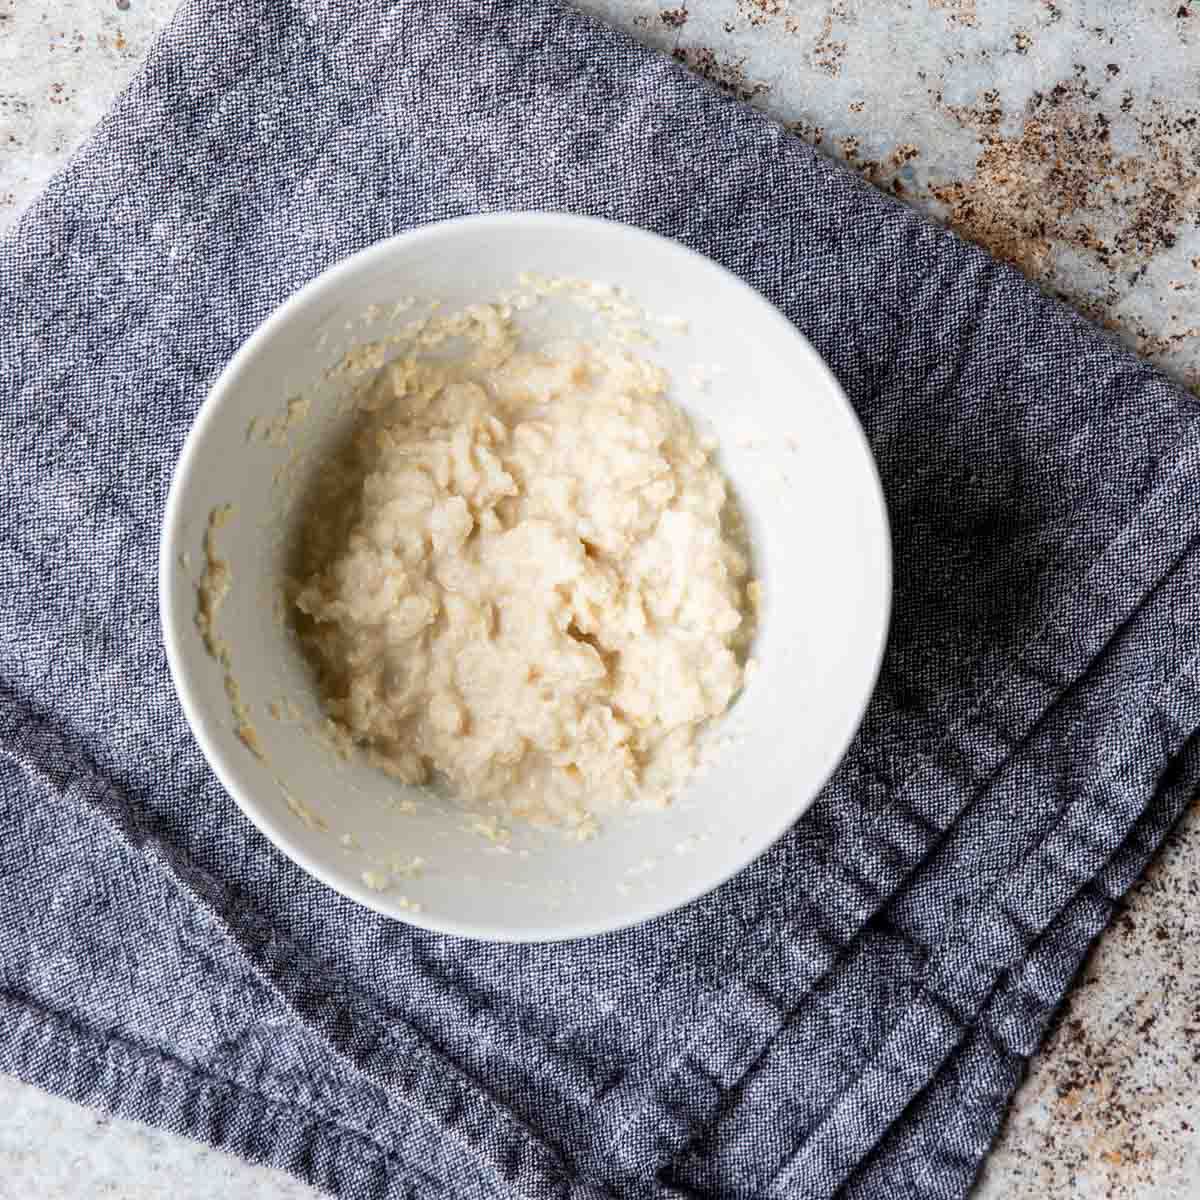
Garlic Cream Sauce
- In a small bowl mix all the garlic cream sauce ingredients together. This can be made ahead and kept in the fridge.¼ cup mayo, ¼ cup sour cream, 1 tablespoon Dijon mustard, 1 garlic clove minced, kosher salt to taste
Assembly
- Place your pork burgers on a bun layered with lettuce and seasoned tomatoes, top with plenty of garlic cream sauce, and onions.
- Would also be great topped with this Dill Slaw for Burgers.