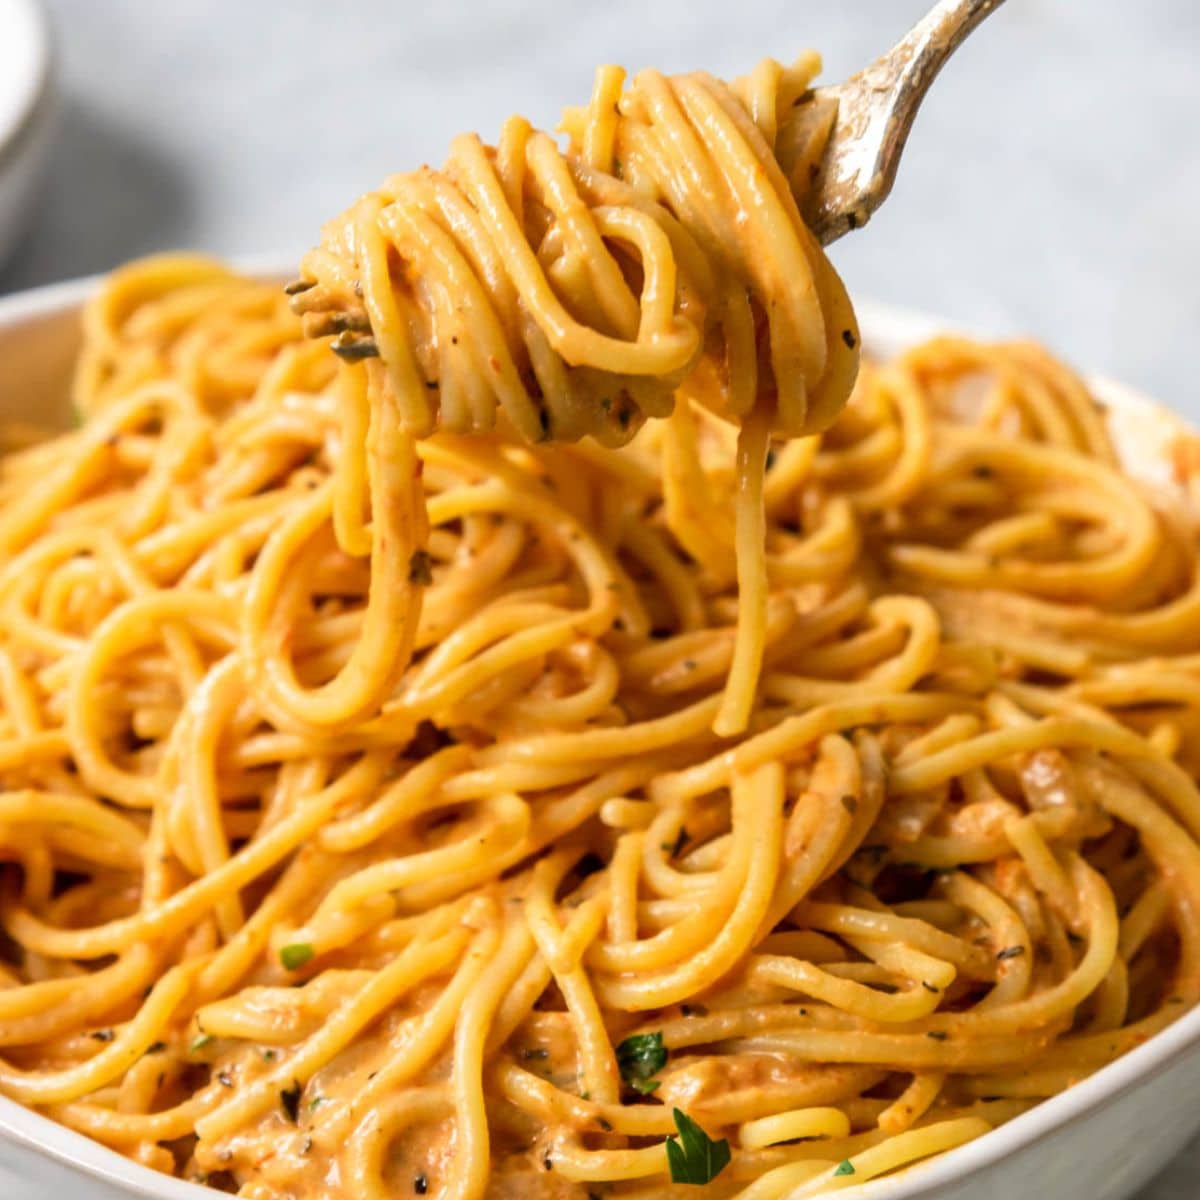
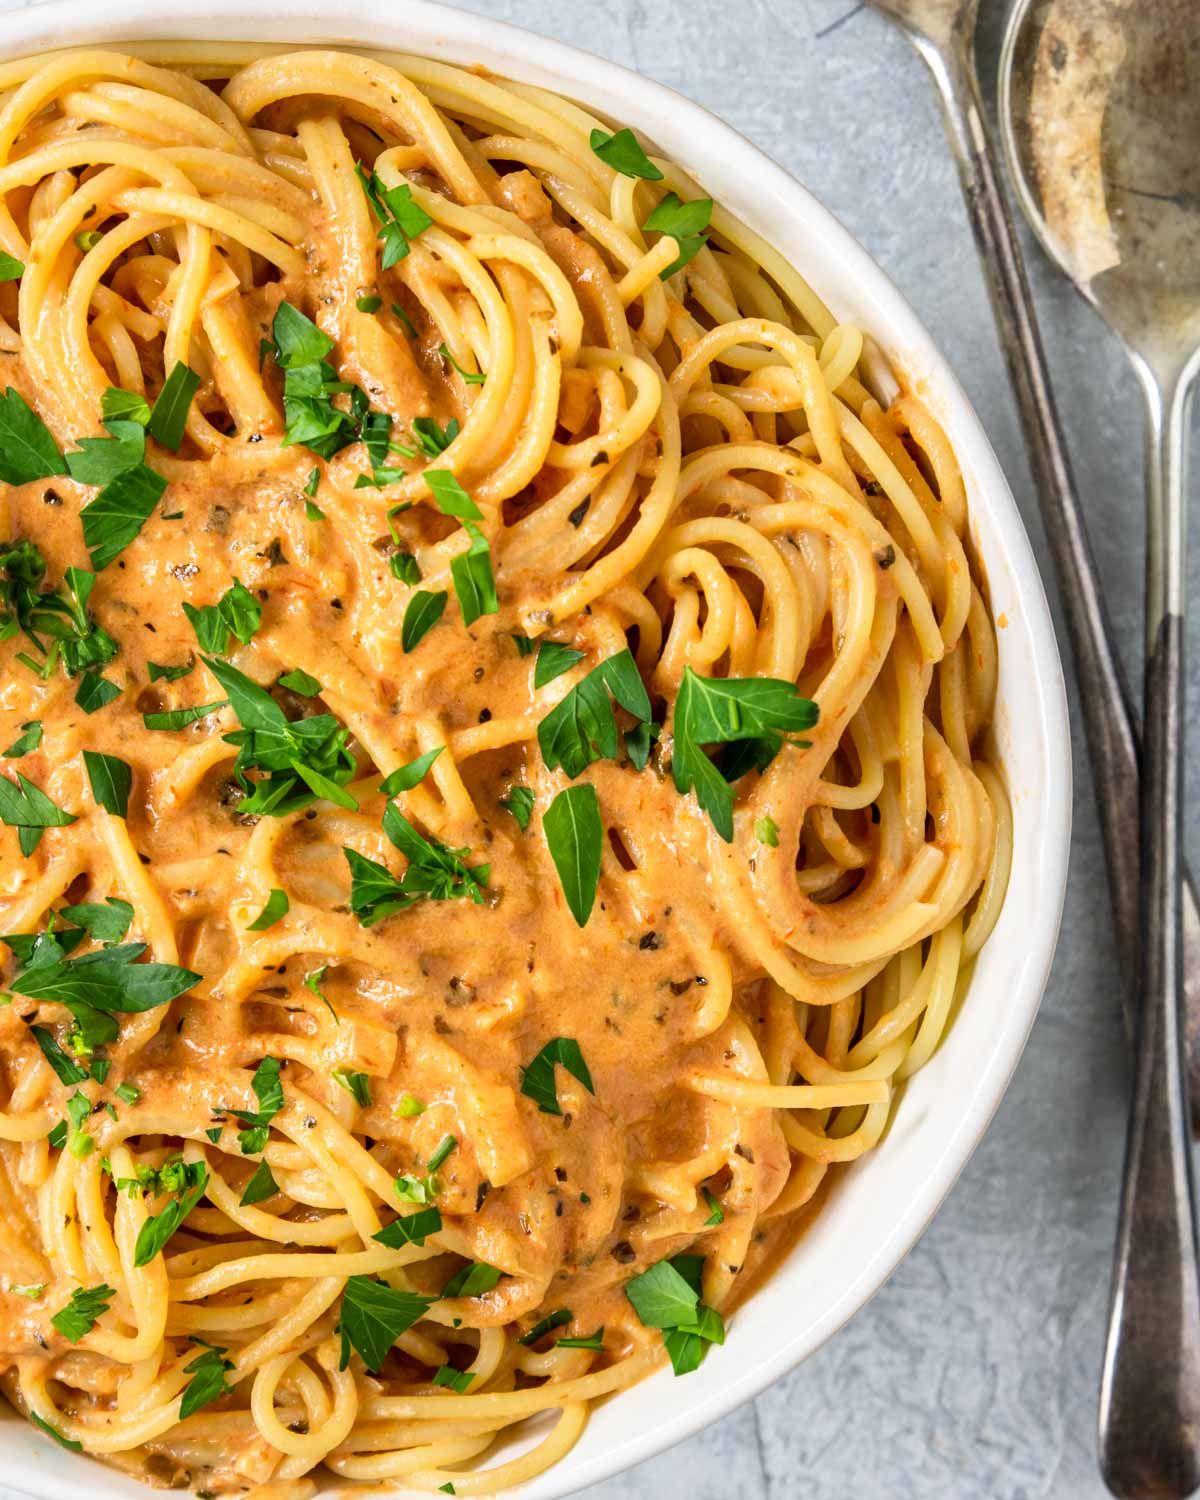
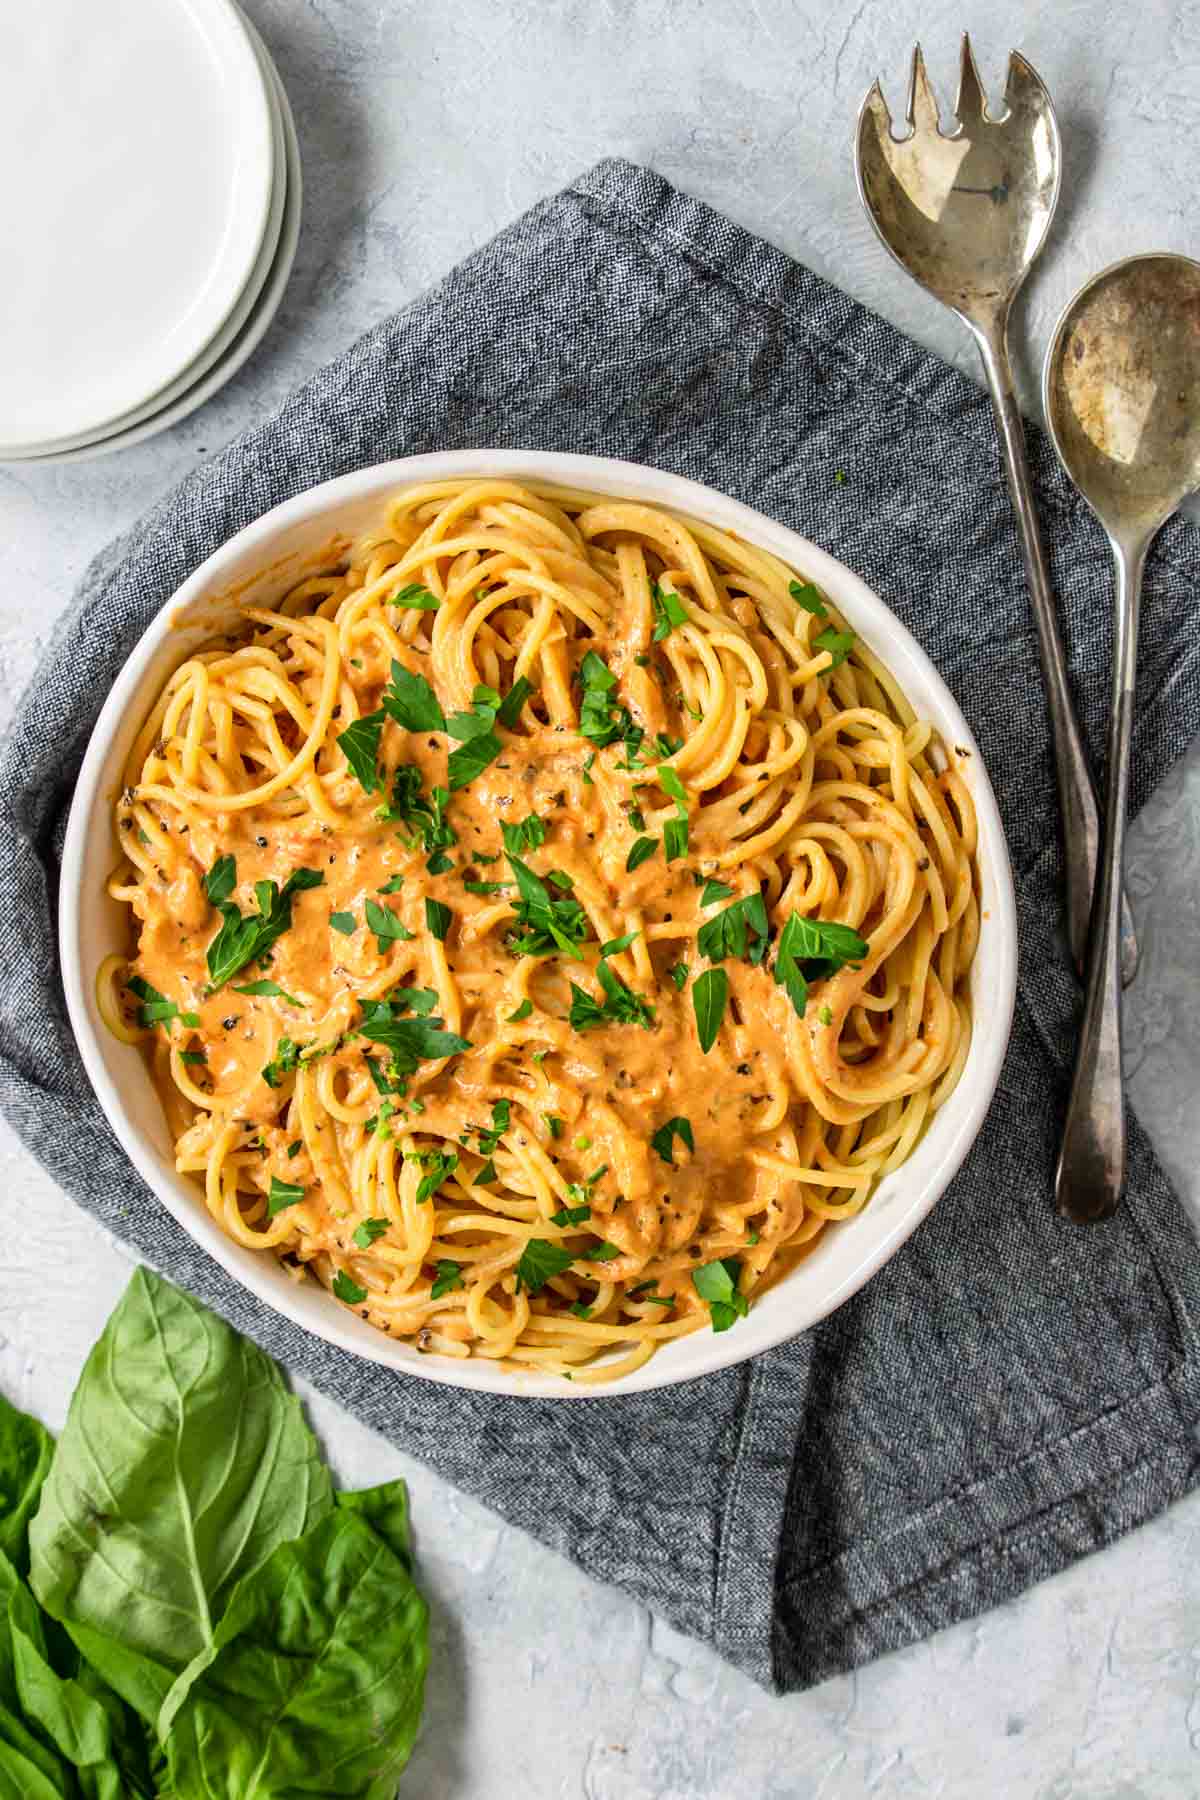
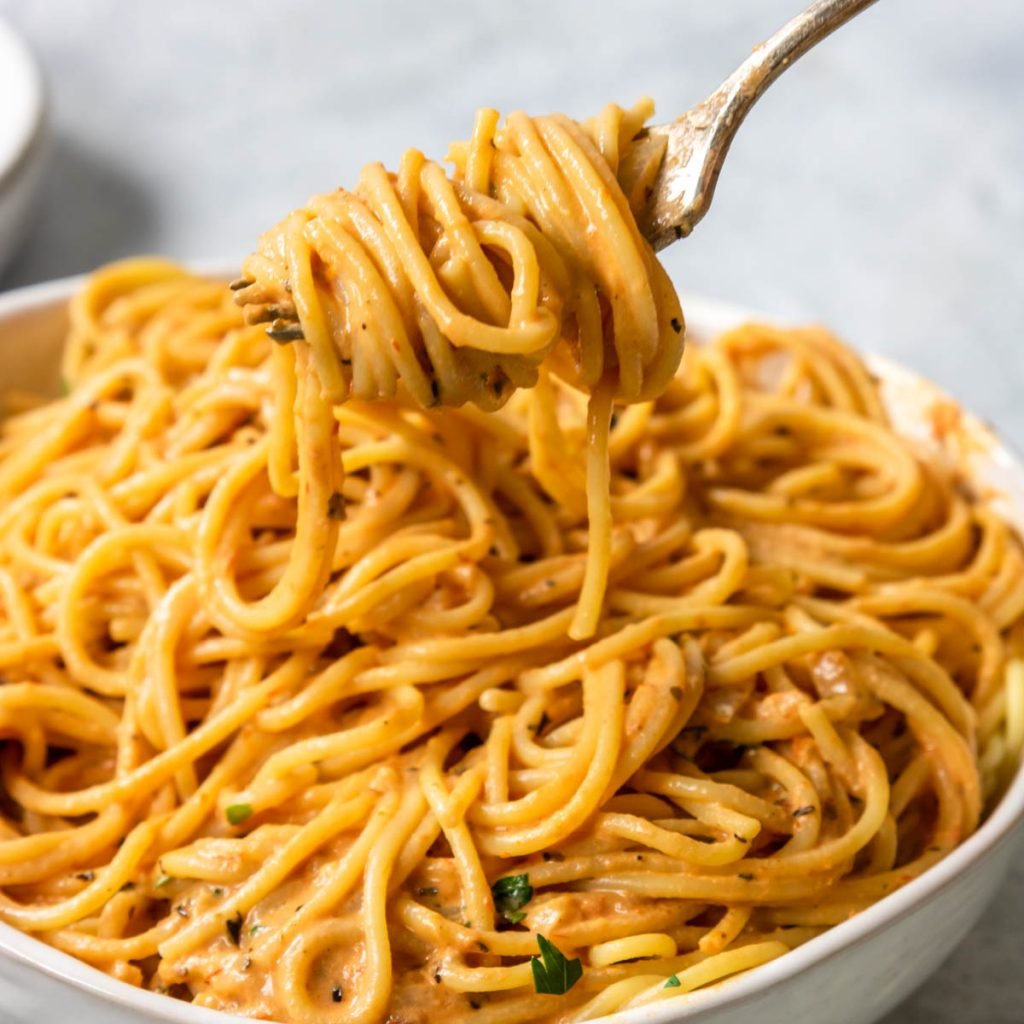
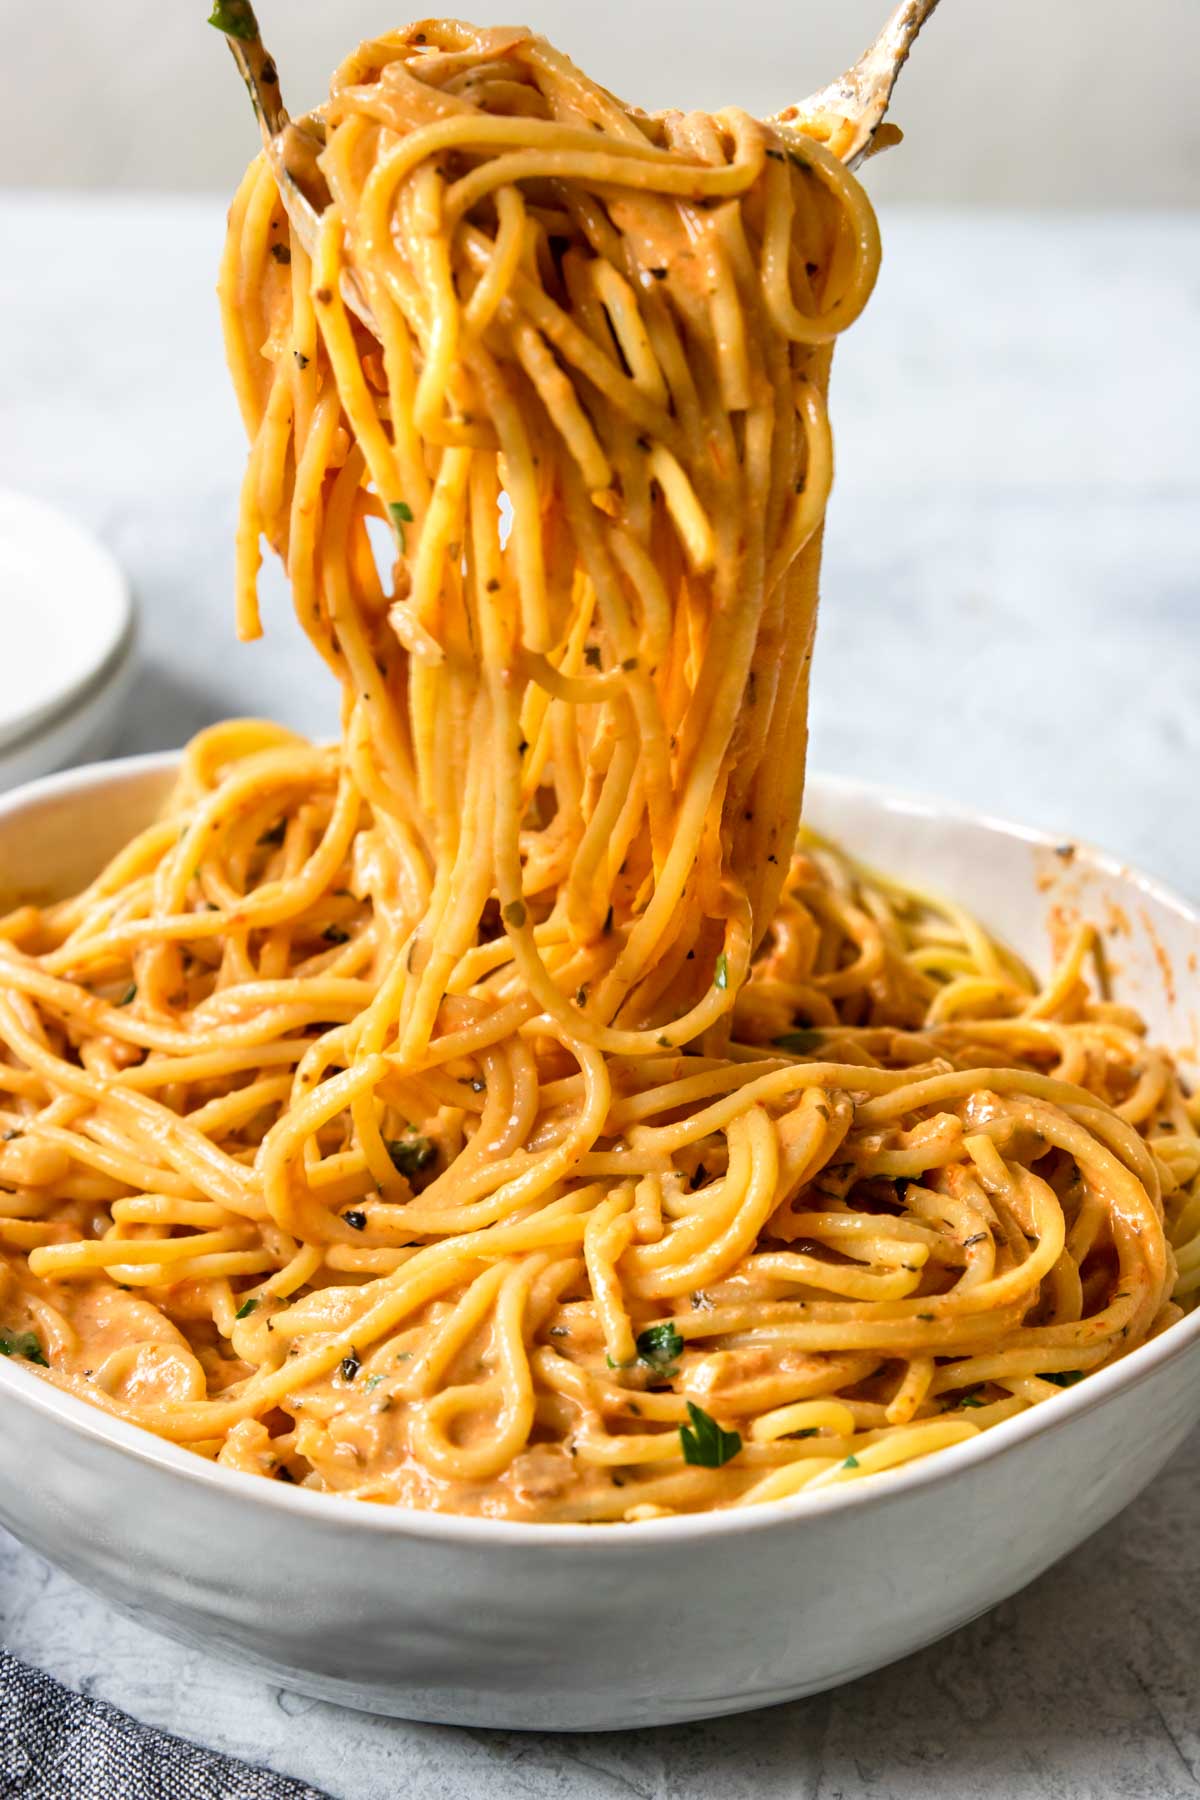
Pan Roasted Cherry Tomatoes tossed over pasta makes an amazing pasta dinner recipe or Italian side dish. It is a lightly seasoned pasta dish that gets its flavor from the delicious fresh tomato juice, extra virgin olive oil, garlic and balsamic. This is a great recipe to make if you have a summer garden full of cherry tomatoes or if you have some tomatoes that need to be used before they turn.
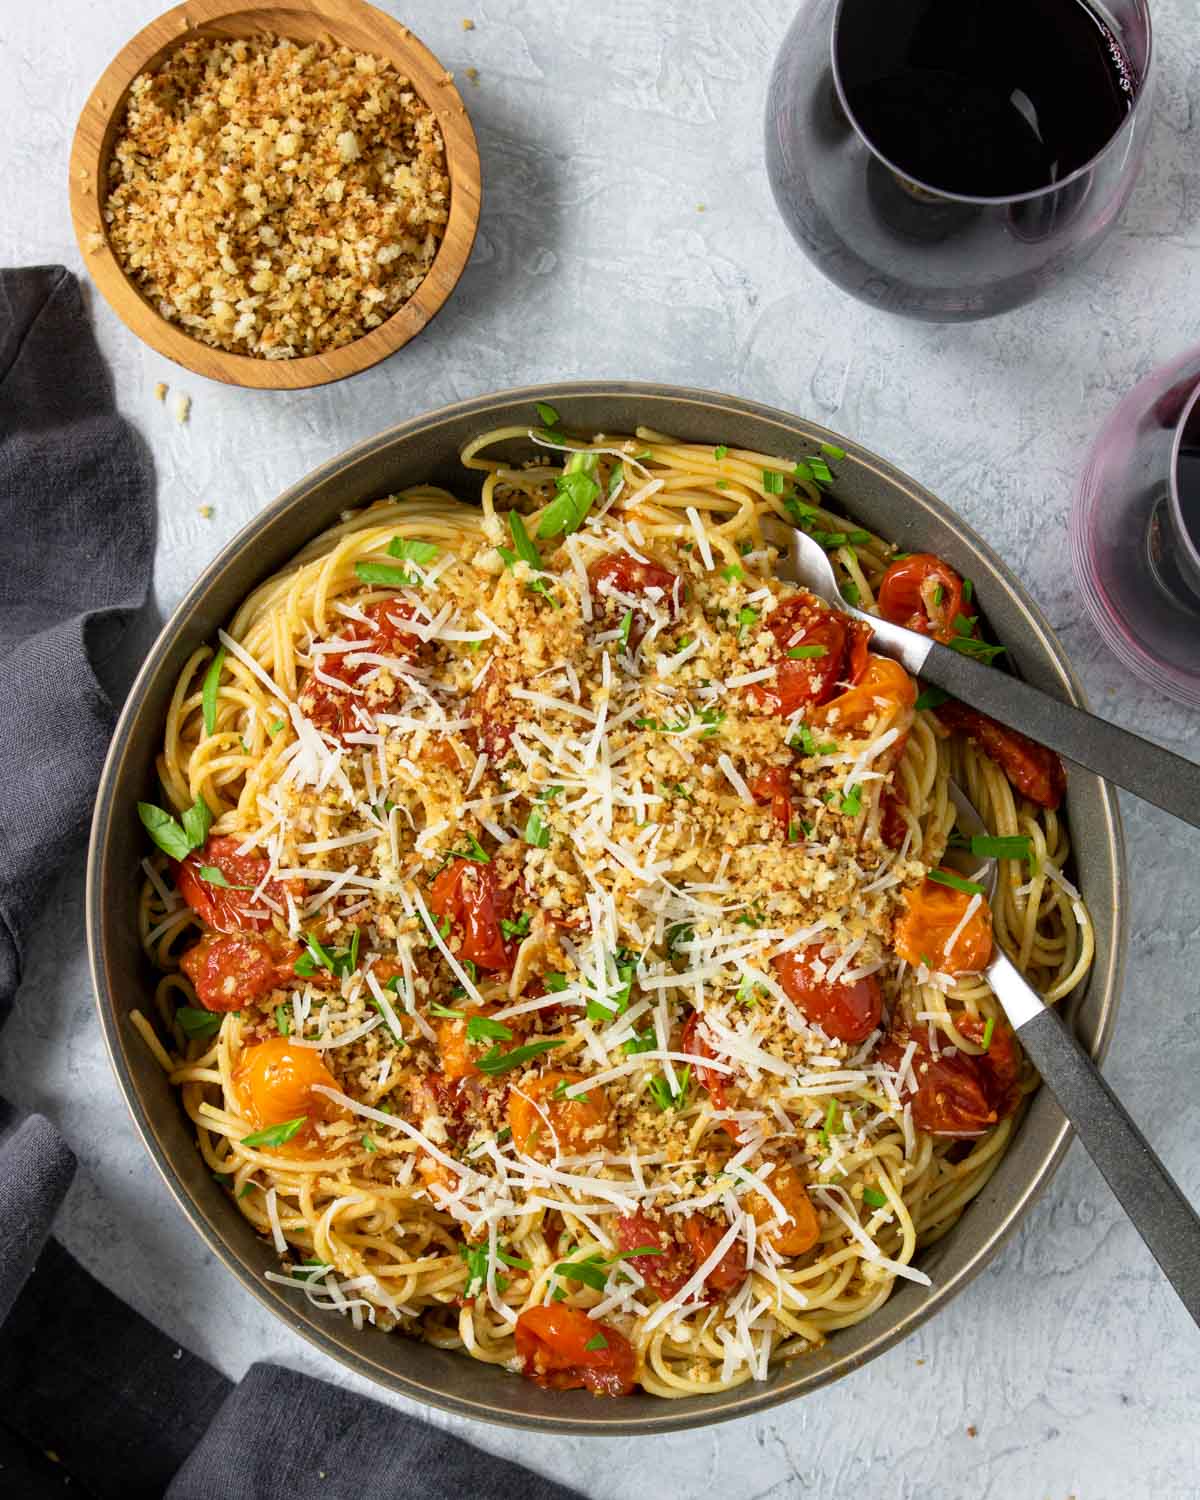
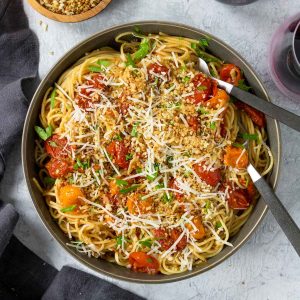
Cherry or grape tomatoes are slow “roasted” in a extra virgin olive oil and then tossed with plenty of garlic, a little sugar and balsamic. The best part are the toasted bread crumbs, parmesan cheese, and fresh basil that tops off this dish!
If you are looking for more of a traditional tomato based marinara sauce you can check out this Homemade Marinara Sauce or Easy Tomato Cream Sauce.
RELATED: Baked Feta with Cherry Tomatoes
How to Make Pasta with Roasted Cherry Tomatoes
While making the pan roasted tomato sauce you will want to boil the water and cook your pasta according to package instructions.
In a large skillet (that has a lid, because the tomatoes will sputter in the oil as they pop) over medium low heat add ½ cup good extra virgin olive oil. Let it heat for a minute or two.
Add 1 ½ to 2 lbs. of cherry or grape tomatoes. Sauté for 10 minutes.
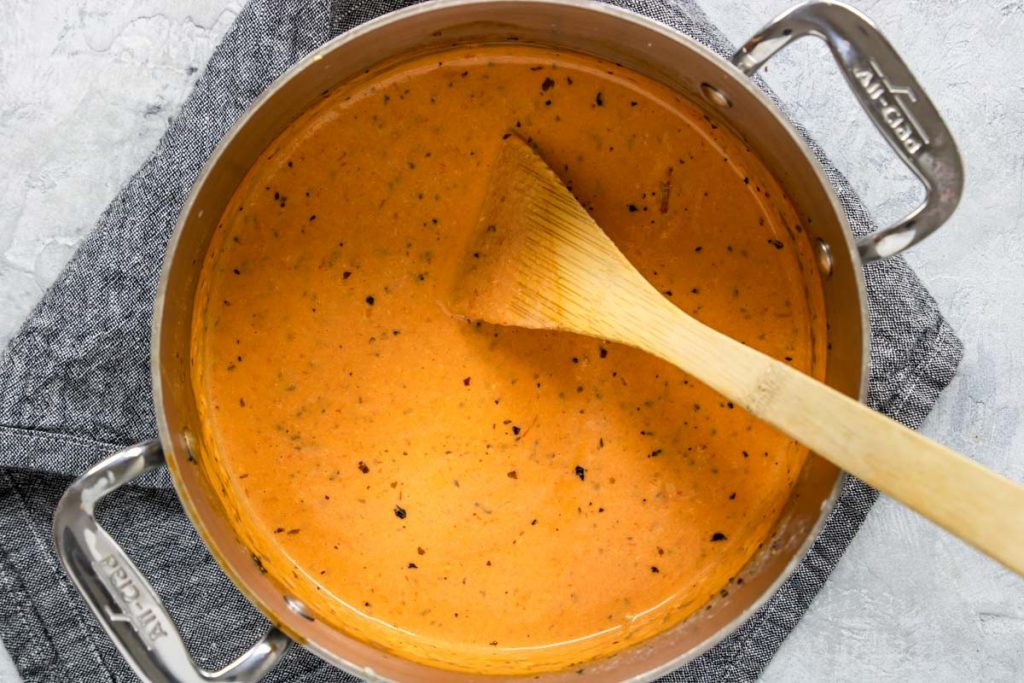
PRO TIP: For the last 5 minutes lightly press on some of the tomatoes with a wooden spoon to release a little extra juice.
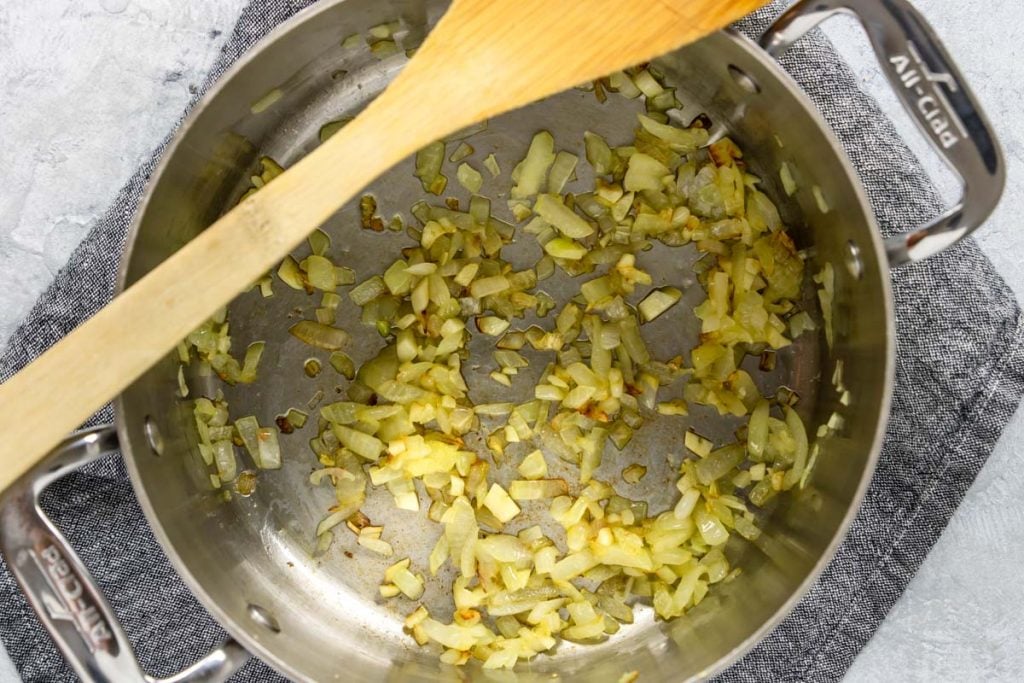
Add 4 thinly sliced garlic cloves and let them warm for 5 minutes.
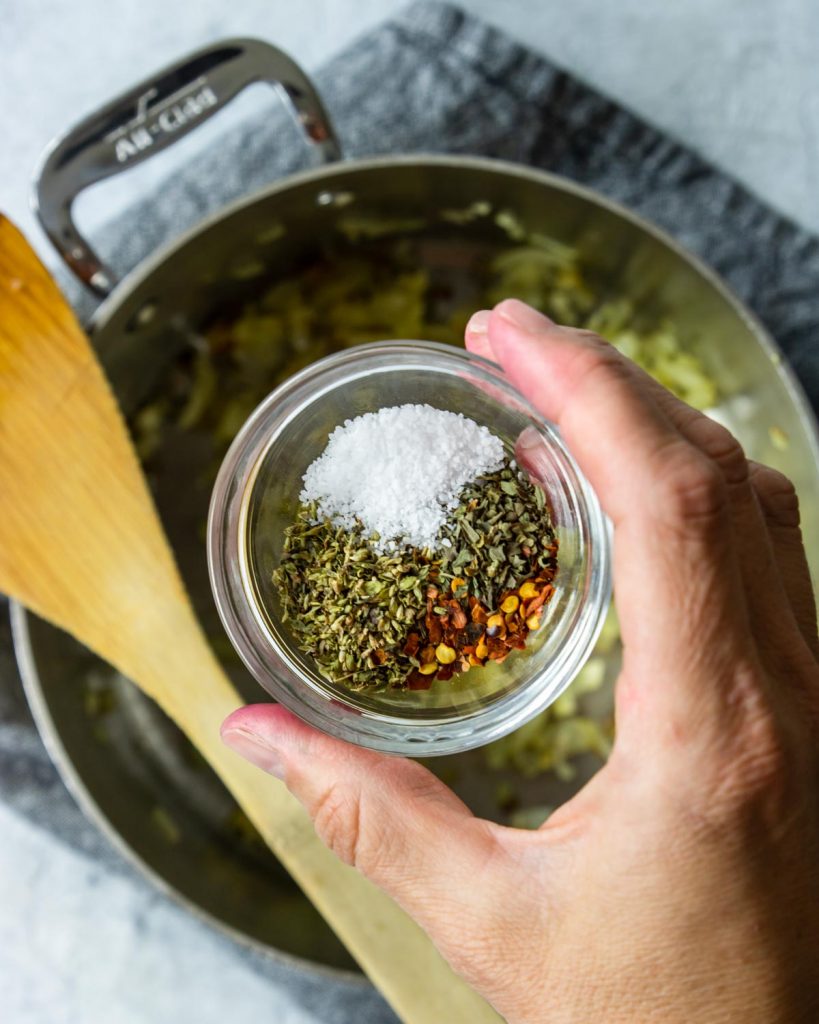
Off the heat add 1 ½ teaspoon kosher salt, 2 teaspoon sugar, and 2 teaspoon balsamic vinegar. Stir it around the pan and then pour it over the cooked pasta. Toss in a lot of fresh torn basil.
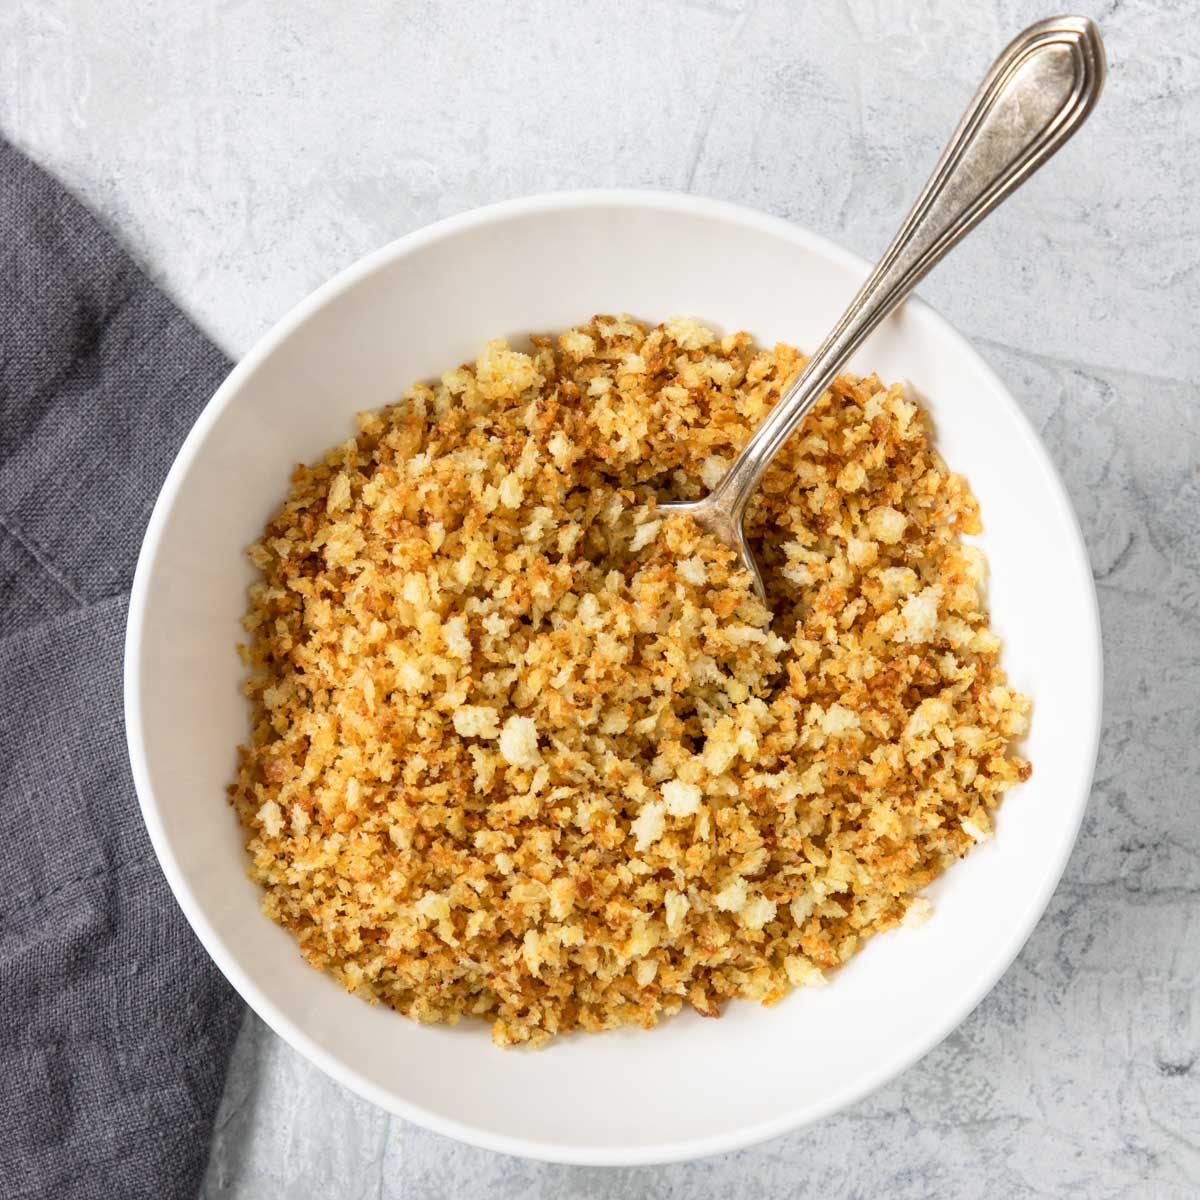
Optional Bread Crumb Topping
In the now empty skillet melt 1 tablespoon butter over low heat. Add ½ cup panko bread crumbs and toast them until they are golden brown and smell like toast.
Serving
Taste the pasta for additional salt or drizzle of extra virgin olive oil.
Then to serve toss the pasta with fresh shaved parmesan cheese and top with the toasted bread crumbs.

This makes an excellent light entrée or Italian side dish for meatballs or Italian Meatloaf!
Could Also be served as a side dish with:

Did you make this recipe?
⭐⭐⭐⭐⭐
I would love to hear your review, especially if you have tips and tricks to add! Pop down to the comment section and connect with me
Roasted Cherry Tomato Pasta Recipe
Ingredients
- 1 lb spaghetti or spaghettini - cooked per package instructions
- 1 ½ lbs to 2 lbs. cherry or grape tomatoes
- ½ cup good extra virgin olive oil
- 4 plump garlic cloves - thinly sliced
- 1 ½ teaspoon kosher salt
- red pepper flakes to taste
- 2 teaspoon balsamic vinegar
- 1 teaspoon sugar
- fresh basil
For Serving- Optional
- ½ cup panko bread crumbs
- 1 tbsp butter
- fresh grated parmesan cheese
- additional extra virgin olive oil
Instructions
Pasta
- Cook your pasta in salted boiling water to al dente, per package instructions.Do this while you make the Cherry Tomato Sauce below.1 lb spaghetti or spaghettini
Pan Roasted Cherry Tomato Sauce
- In a large skillet (that has a lid) over medium low heat add ½ cup extra virgin olive oil.½ cup good extra virgin olive oil
- Once the oil is warm add the cherry tomatoes. Roast in the pan, stirring occasionally, about 10 minutes. NOTE: BE CAREFUL, THE TOMATOES WILL POP AS THEY START TO WARM. Have the lid ready.1 ½ lbs to 2 lbs. cherry or grape tomatoes
- Add the garlic and simmer for another 5 minutes. Also in the last 5 minutes lightly press a few of the tomatoes with a wooden spoon to release a little juice.4 plump garlic cloves
- Remove the pan from the heat, stir in the kosher salt, balsamic vinegar, sugar and optional red pepper flakes. Pour over the cooked pasta and toss in a lot of fresh torn basil.Taste for additional salt, also another drizzle of extra virgin olive oil.1 ½ teaspoon kosher salt, red pepper flakes to taste, 2 teaspoon balsamic vinegar, 1 teaspoon sugar, fresh basil
Serving
- Optional – In the now empty pan, over low heat, add 1 tablespoon butter and the ½ cup panko bread crumbs. Brown until the bread crumbs are golden and smell like toast.1 tablespoon butter, ½ cup panko bread crumbs
- Top the pasta with the toasted bread crumbs, fresh grated parmesan, and more basil.fresh grated parmesan cheese, additional extra virgin olive oil