Cajun Aioli is a slightly spicy, Cajun seasoned, mayonnaise based dip or sauce. It comes together in just a few minutes and you probably already have most of the ingredients in your fridge and spice cabinet!
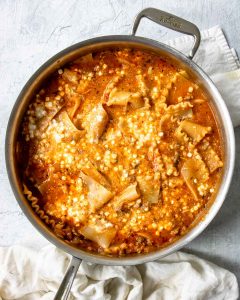
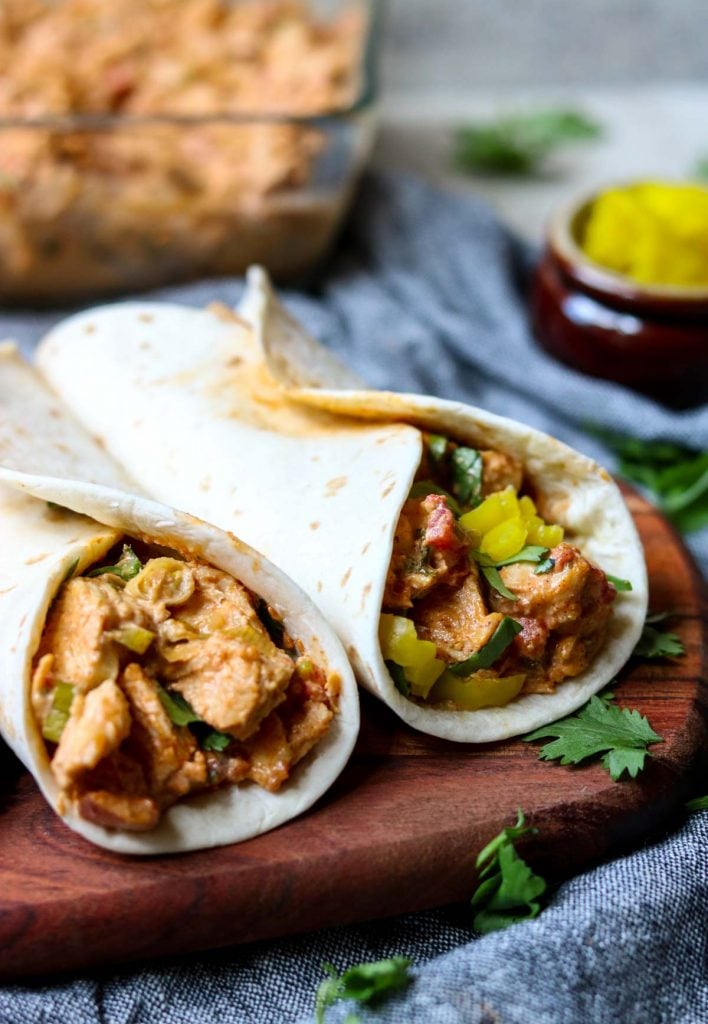
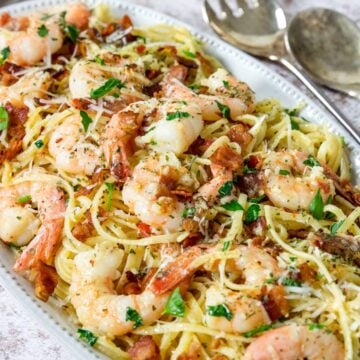
This Cajun Aioli is a great spread on a grilled chicken sandwich or a dip for crispy fried chicken! It would also be amazing with my Skillet Cajun Shrimp recipe.

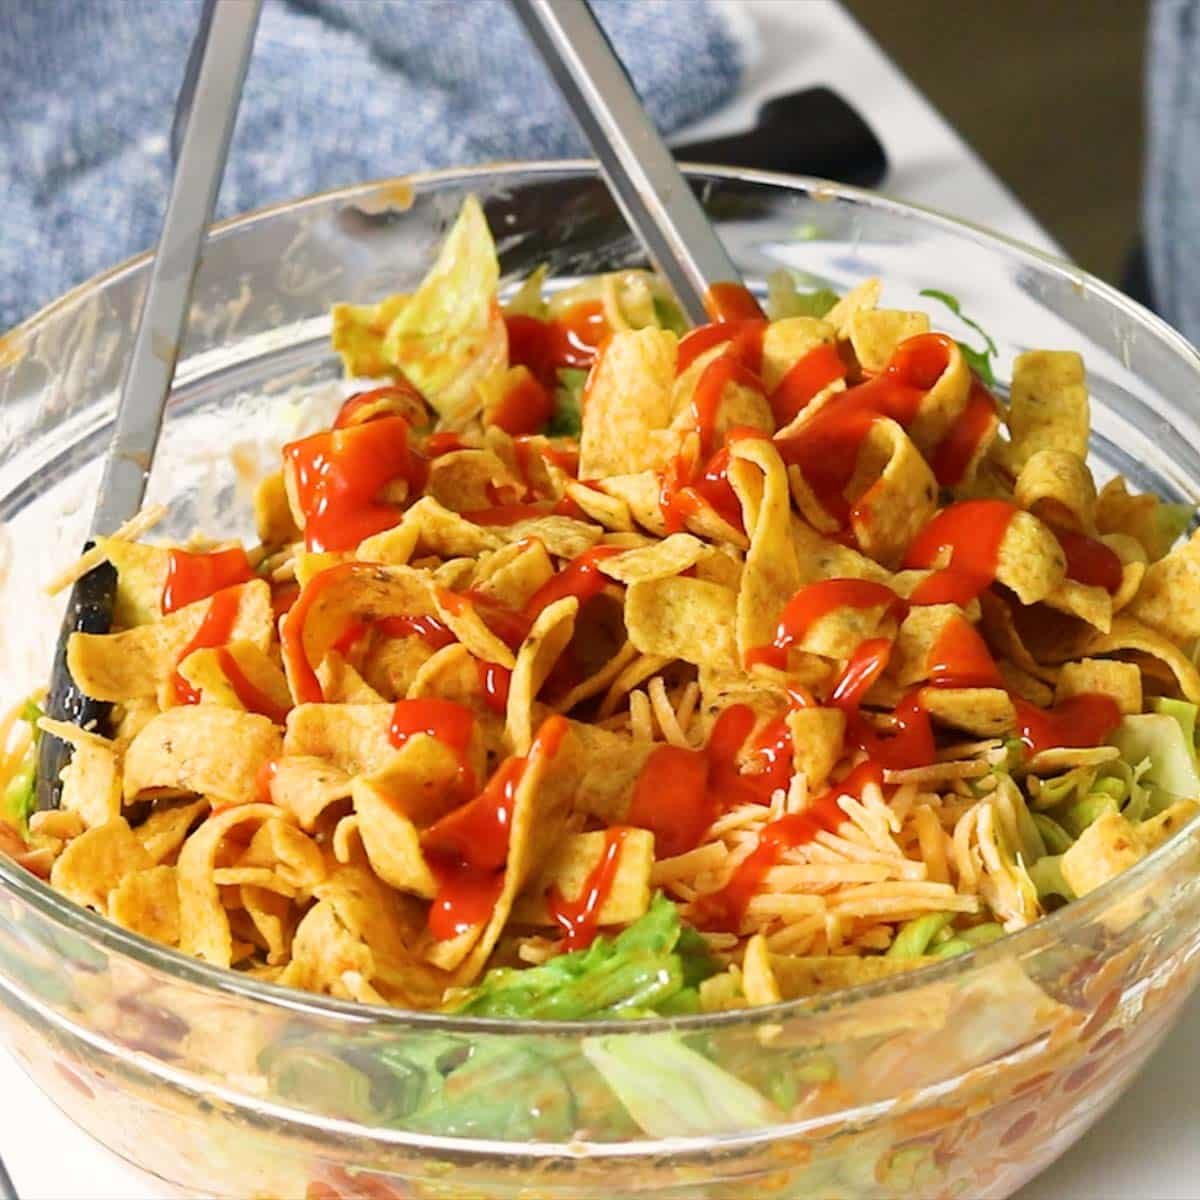
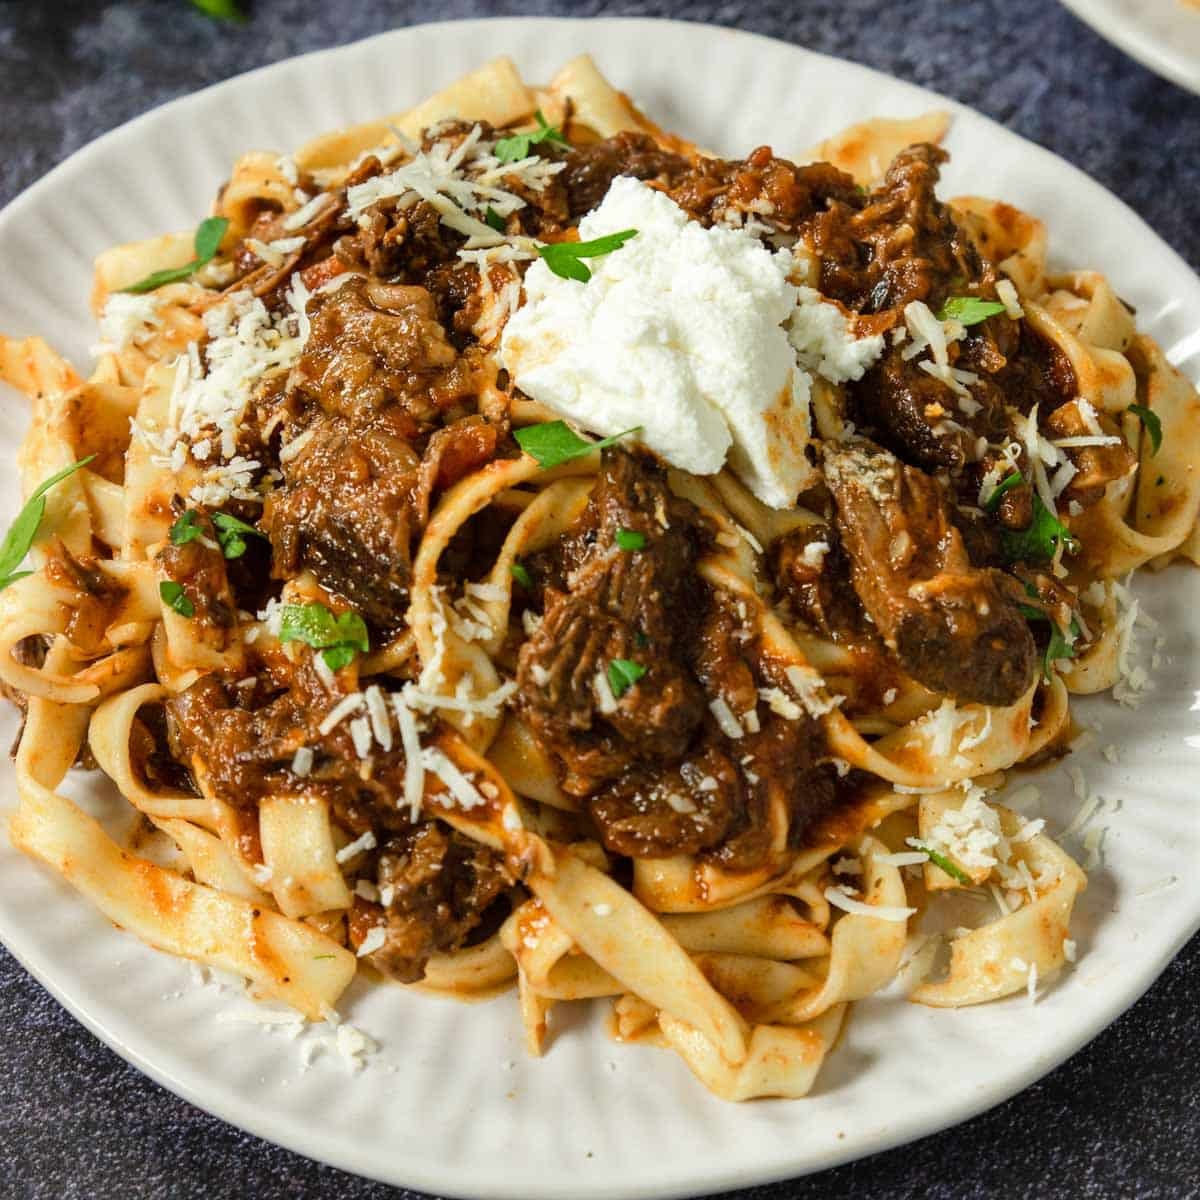
If you love Cajun flavors then definitely check out these delicious recipes too:
What is Aioli
Traditionally aioli is a mixture of egg yolk, lemon juice, garlic and olive oil. Since modern mayo can basically take the place of the egg yolk and olive oil, it is up to us to add the flavor and the garlic!
It’s like cheaters aioli!
How to Make Cajun Aioli
This is such a simple recipe.
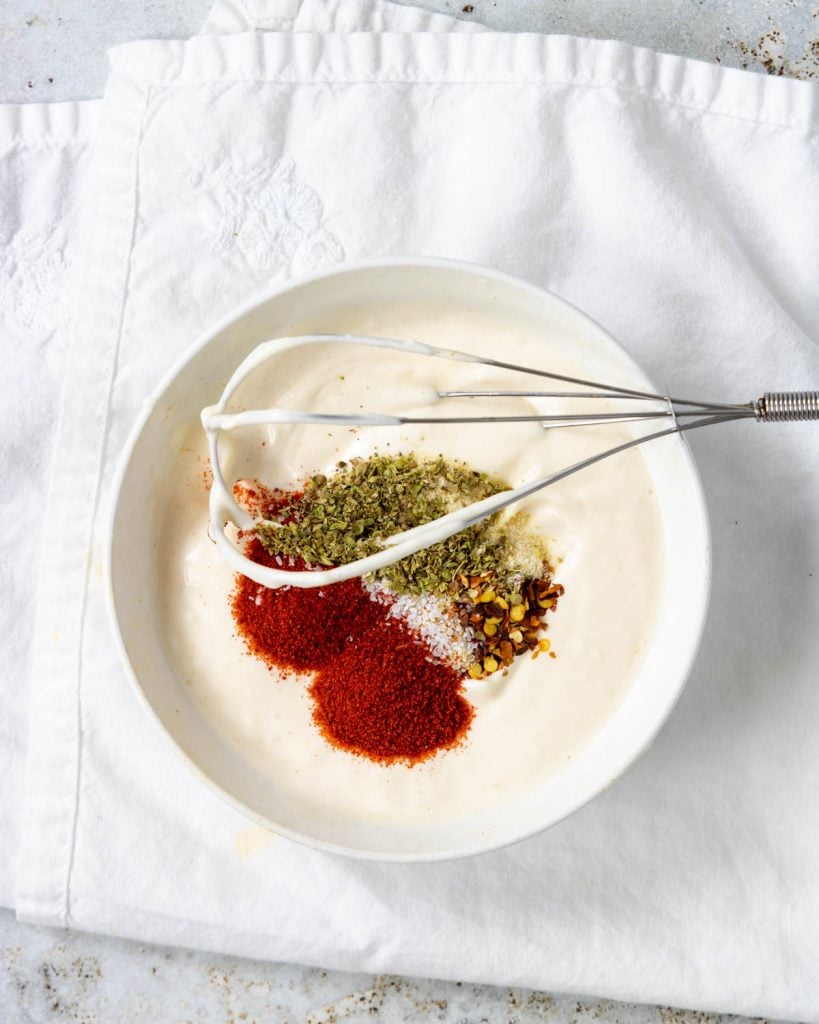
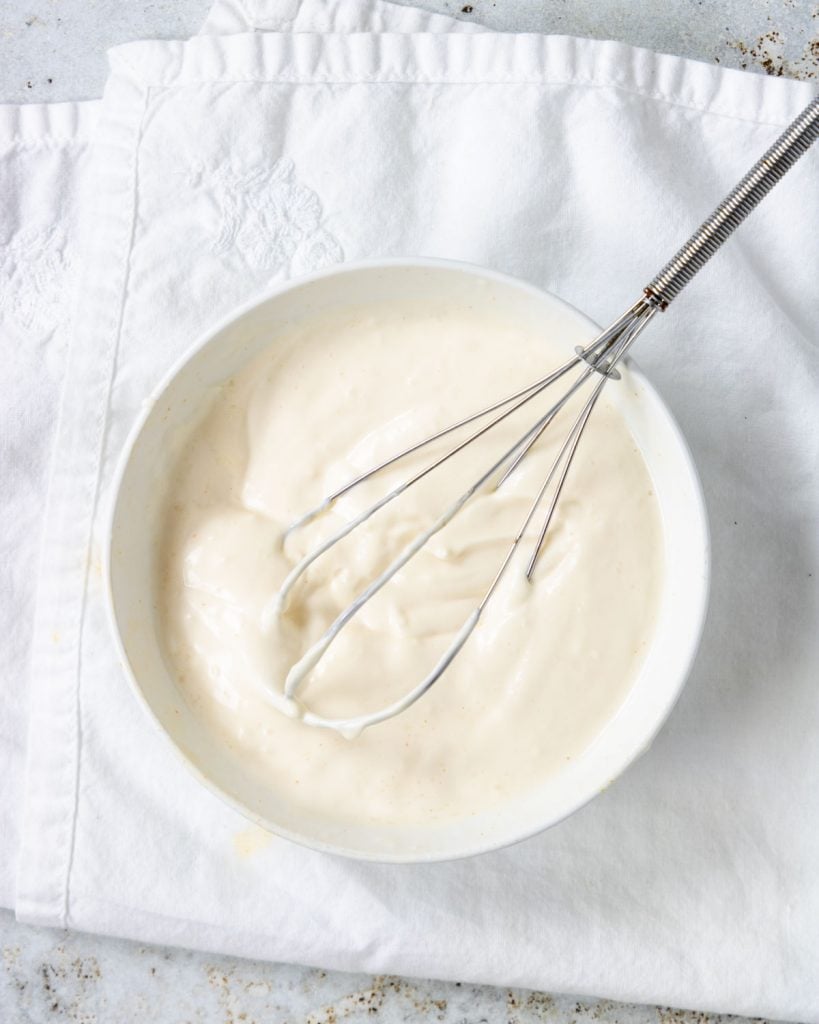
Simply whisk or stir together the mayonnaise with the lemon juice and hot sauce. Once that is completely combined and smooth, stir in all the seasonings and spices.

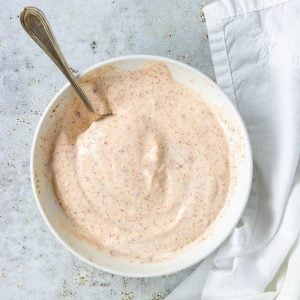
Serve!
Storing
To store this aioli just put it in an airtight container in the fridge and keep for up to 2 weeks.

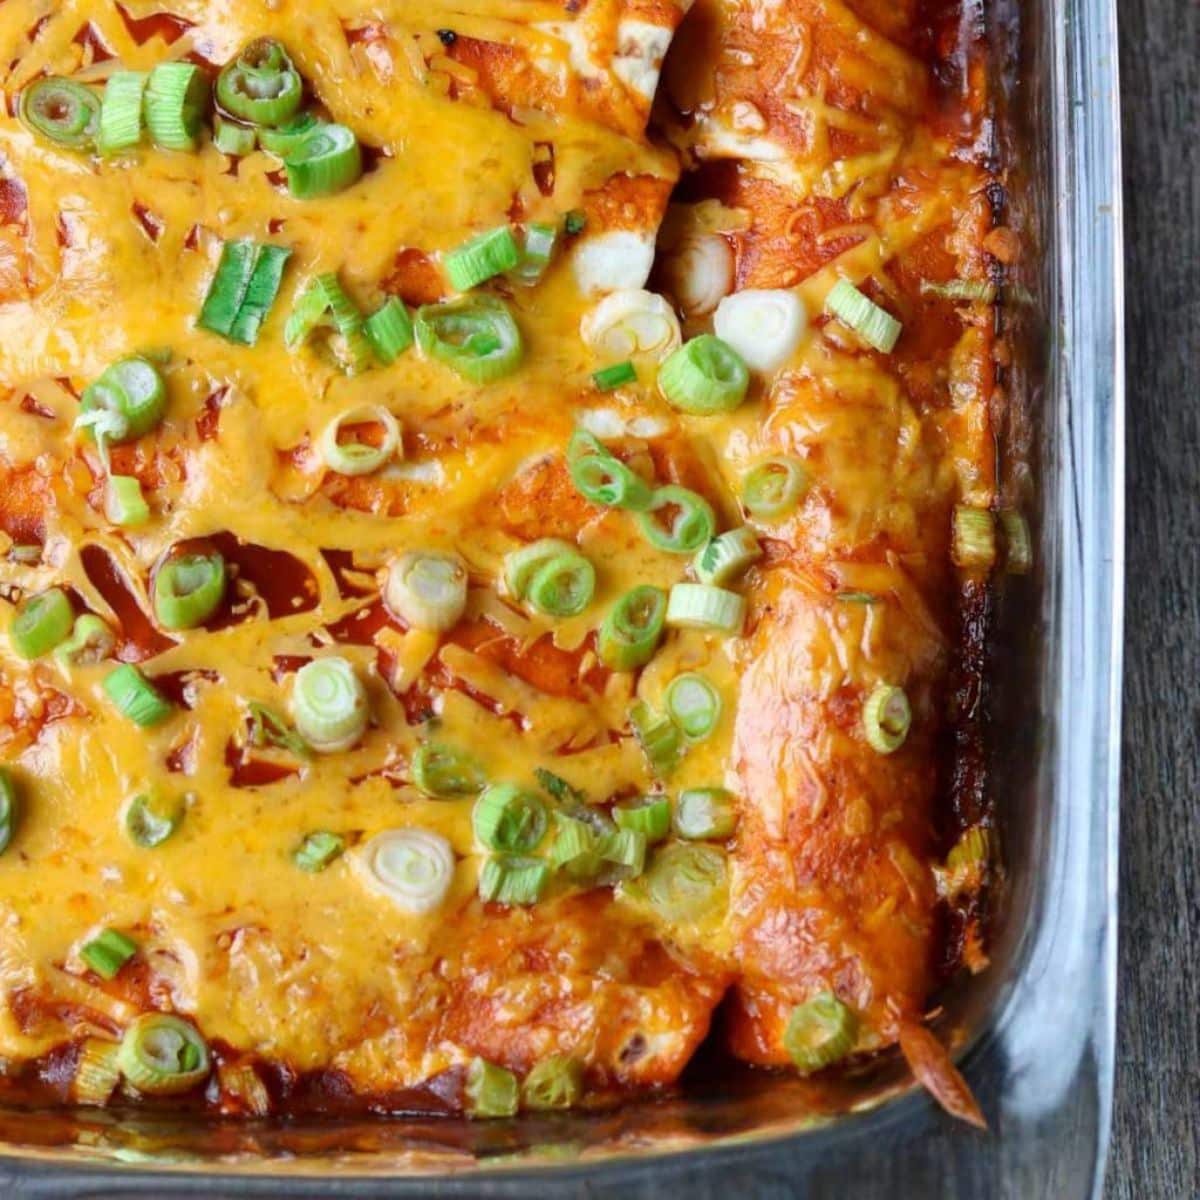
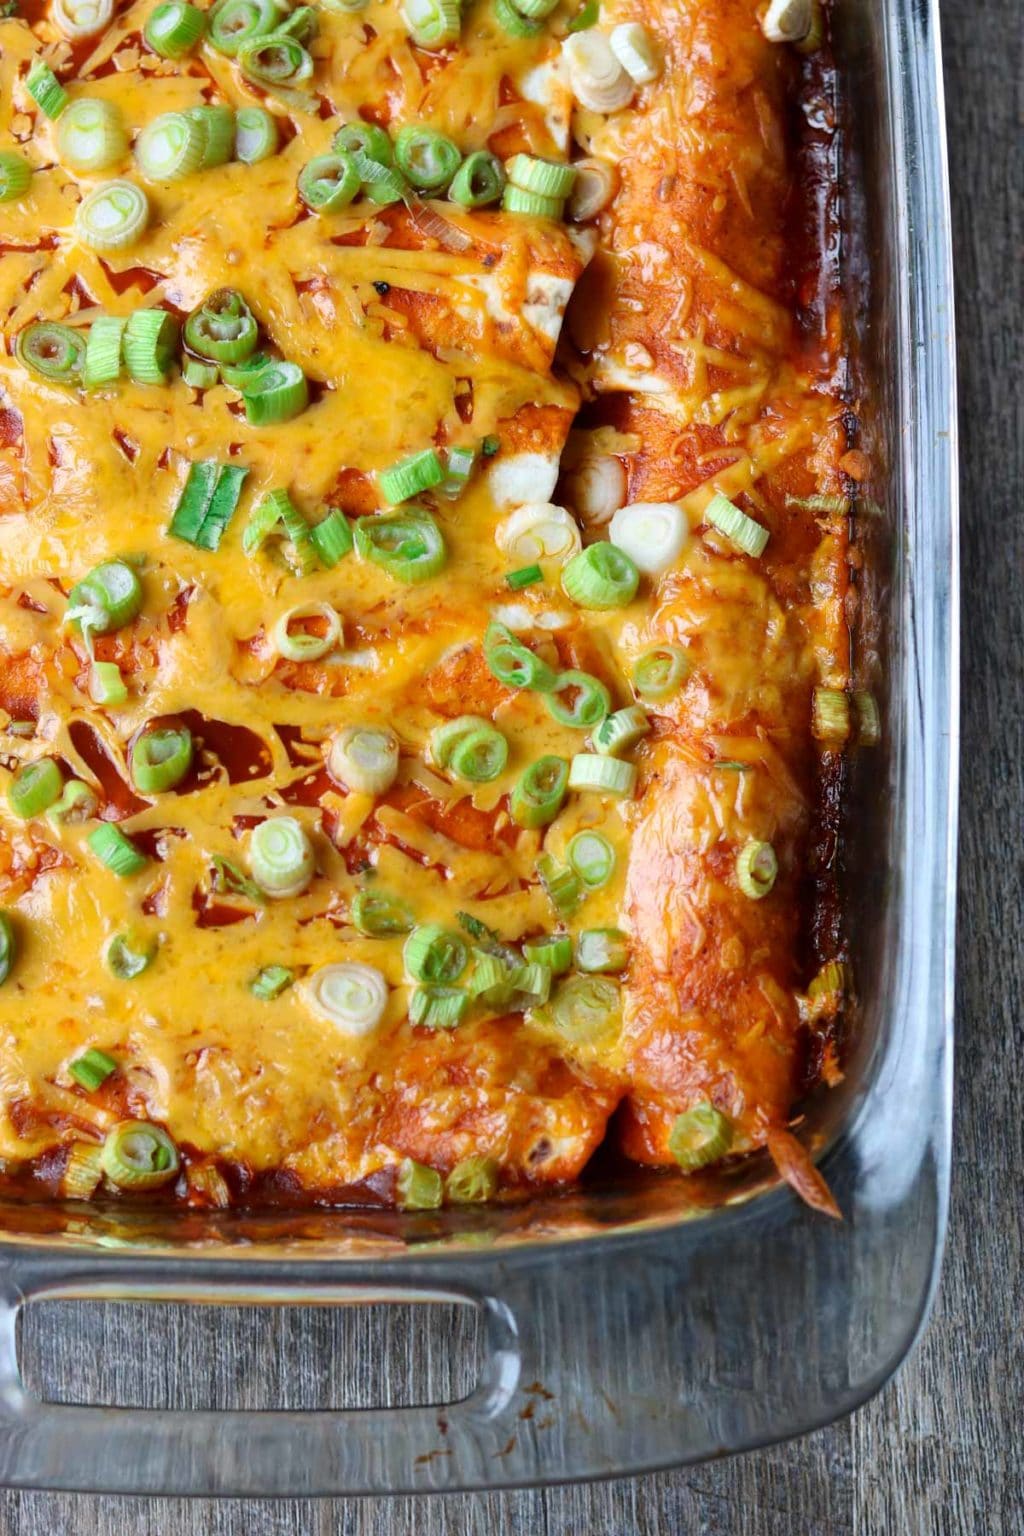
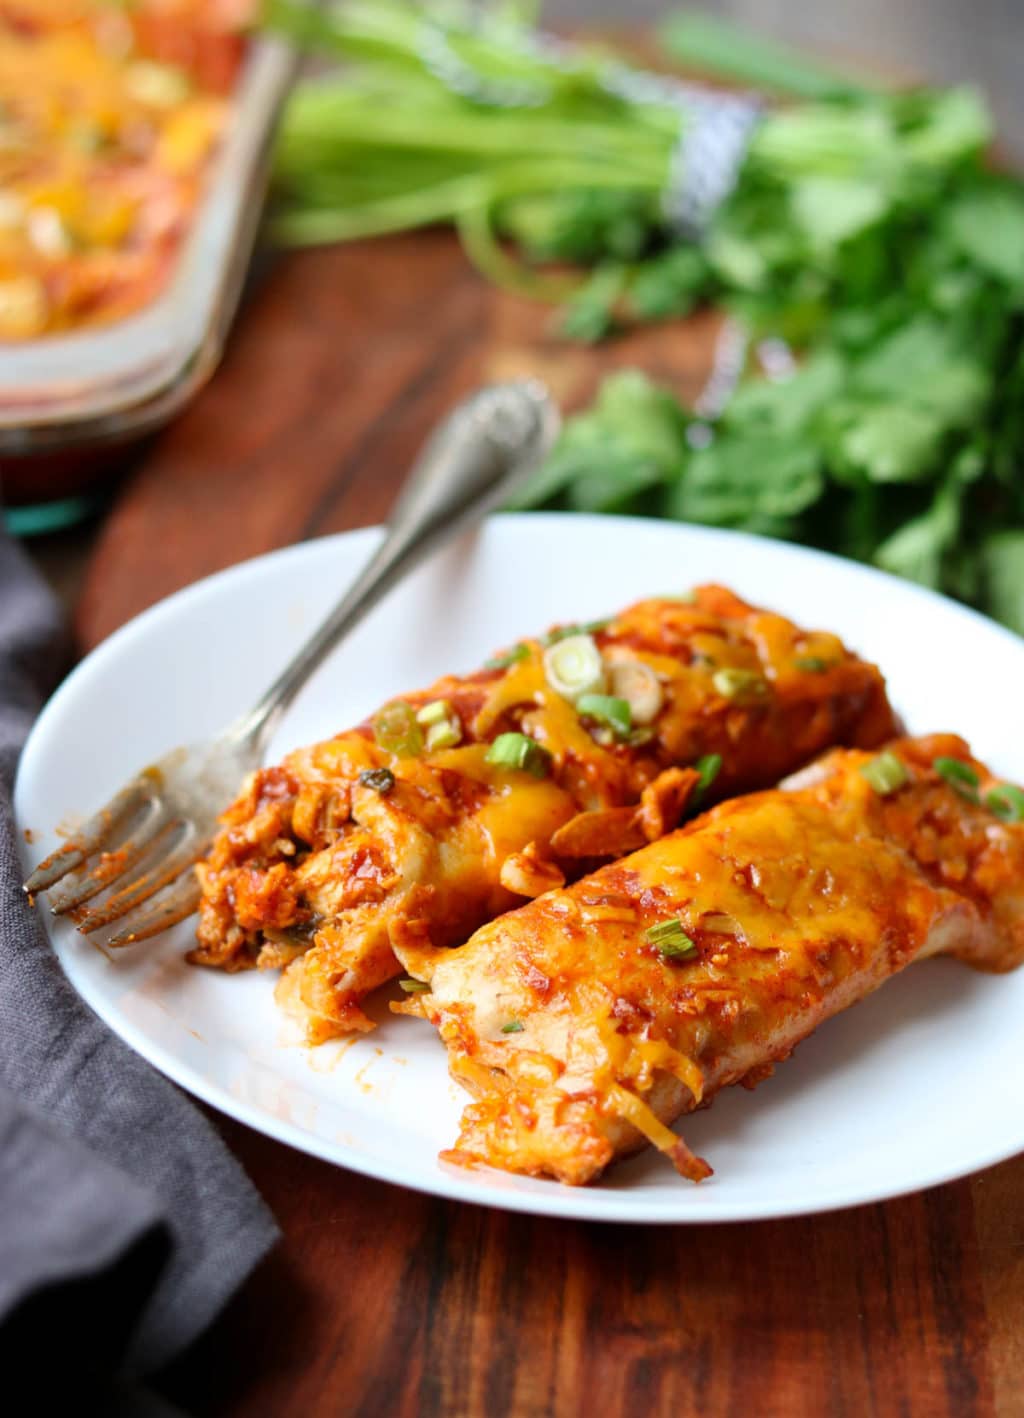
How to Use Aioli
This aioli can really take the place anywhere you would use traditional mayonnaise:
- on a sandwich (fried chicken, grilled chicken or shrimp po’ boy)
- in a sauce
- as an appetizer dip (like with fried pickles or fried shrimp!)
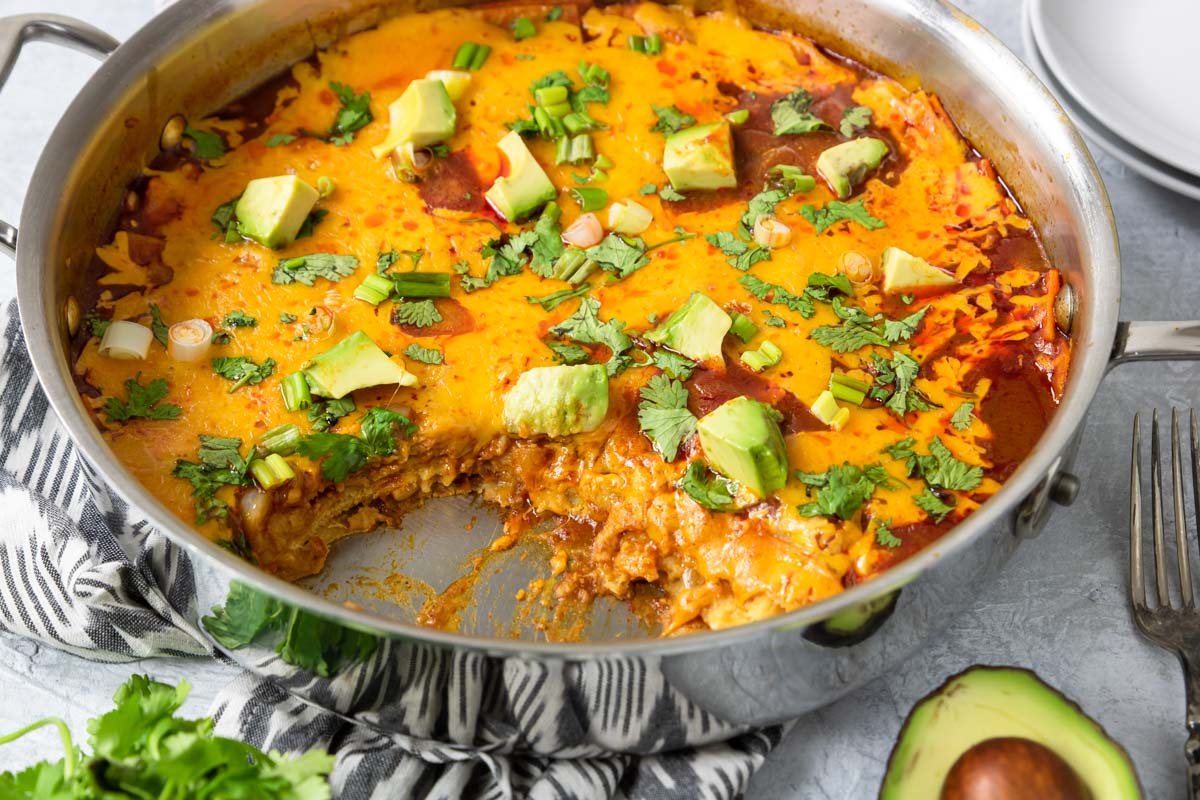
- excellent on this Cajun Salmon

Did you make this recipe?
⭐⭐⭐⭐⭐
I would love to hear your review, especially if you have tips and tricks to add! Pop down to the comment section and connect with me
Cajun Aioli Recipe
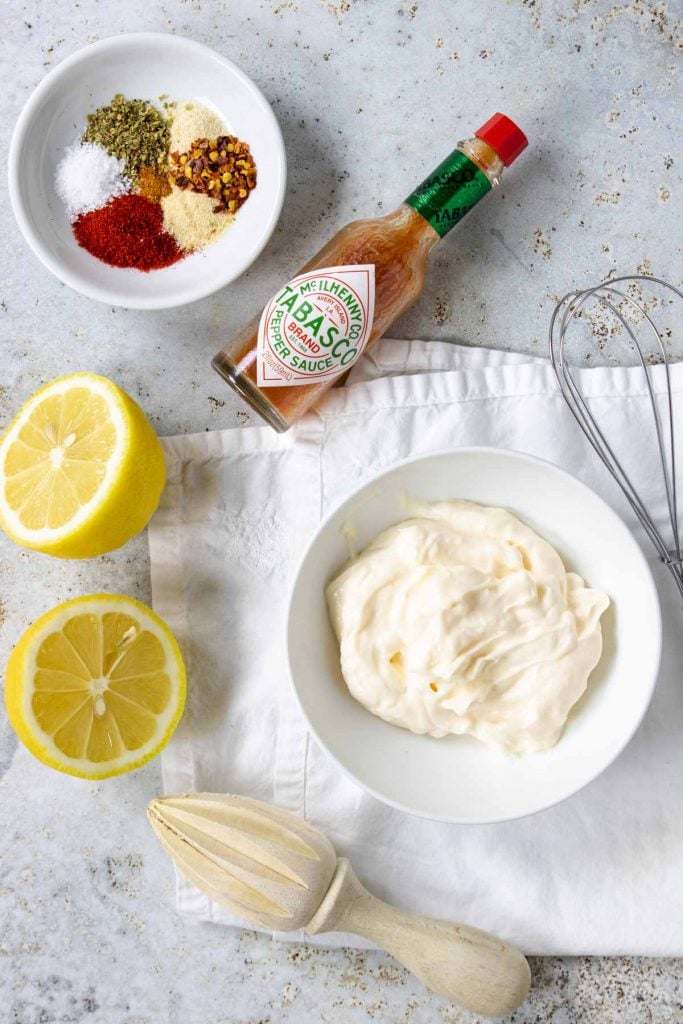
Ingredients
- ½ cup mayonnaise
- 1 tablespoon fresh lemon juice
- 6 dashes hot sauce - I like Tabasco
- ½ teaspoon smoked paprika - (make sure to use smoked!)
- ¼ teaspoon each: garlic powder, onion powder, salt, oregano, red pepper flakes
- pinch cayenne pepper - more for additional heat
Instructions
- Whisk or stir together the ½ cup mayo, 1 tablespoon fresh lemon juice and 6 dashes hot sauce until it is incorporated and smooth.
- Add the ½ teaspoon smoked paprika, ¼ teaspoon each: garlic powder, onion powder, salt, oregano, red pepper flakes, and a pinch of cayenne pepper. Stir until it all comes together.
- Serve! Excellent with Cajun Salmon
Storing
- Store in an airtight container, in the fridge, for up to 2 weeks.