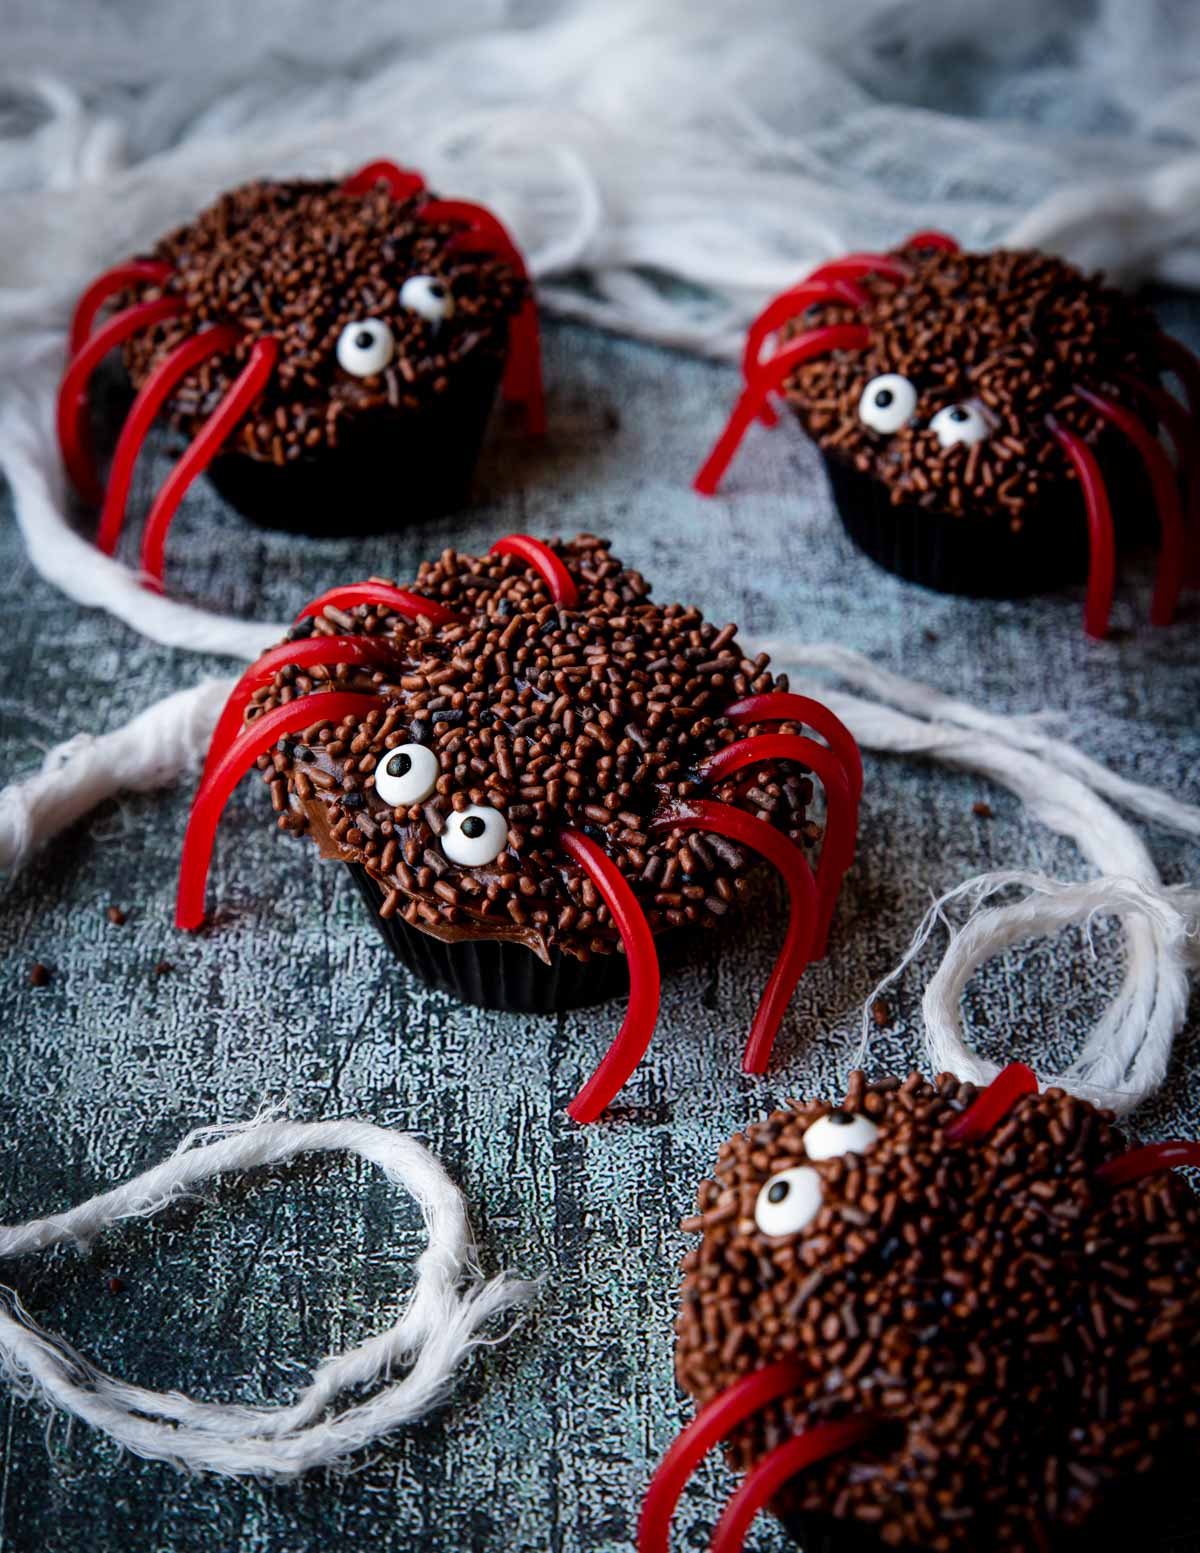
These Spider Cupcakes are the perfect Halloween treat for kids! They make a great Halloween party dessert or classroom treat. You just need chocolate cupcakes, frosting, sprinkles, candy eyes, and pull-n-peel licorice.
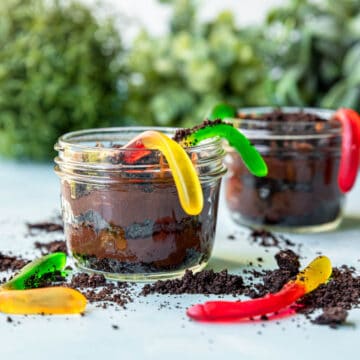
Another creepy crawly dessert to check out are these Dirt and Worm Cups!
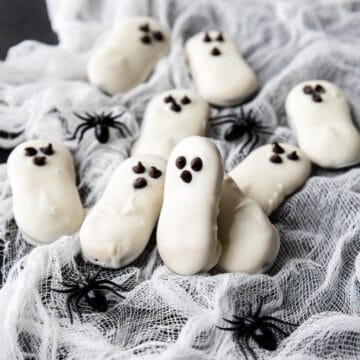
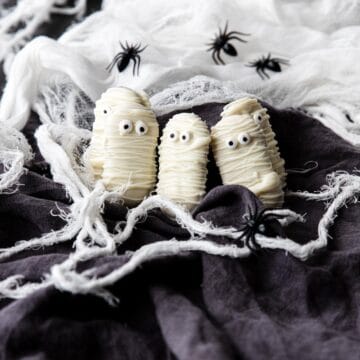
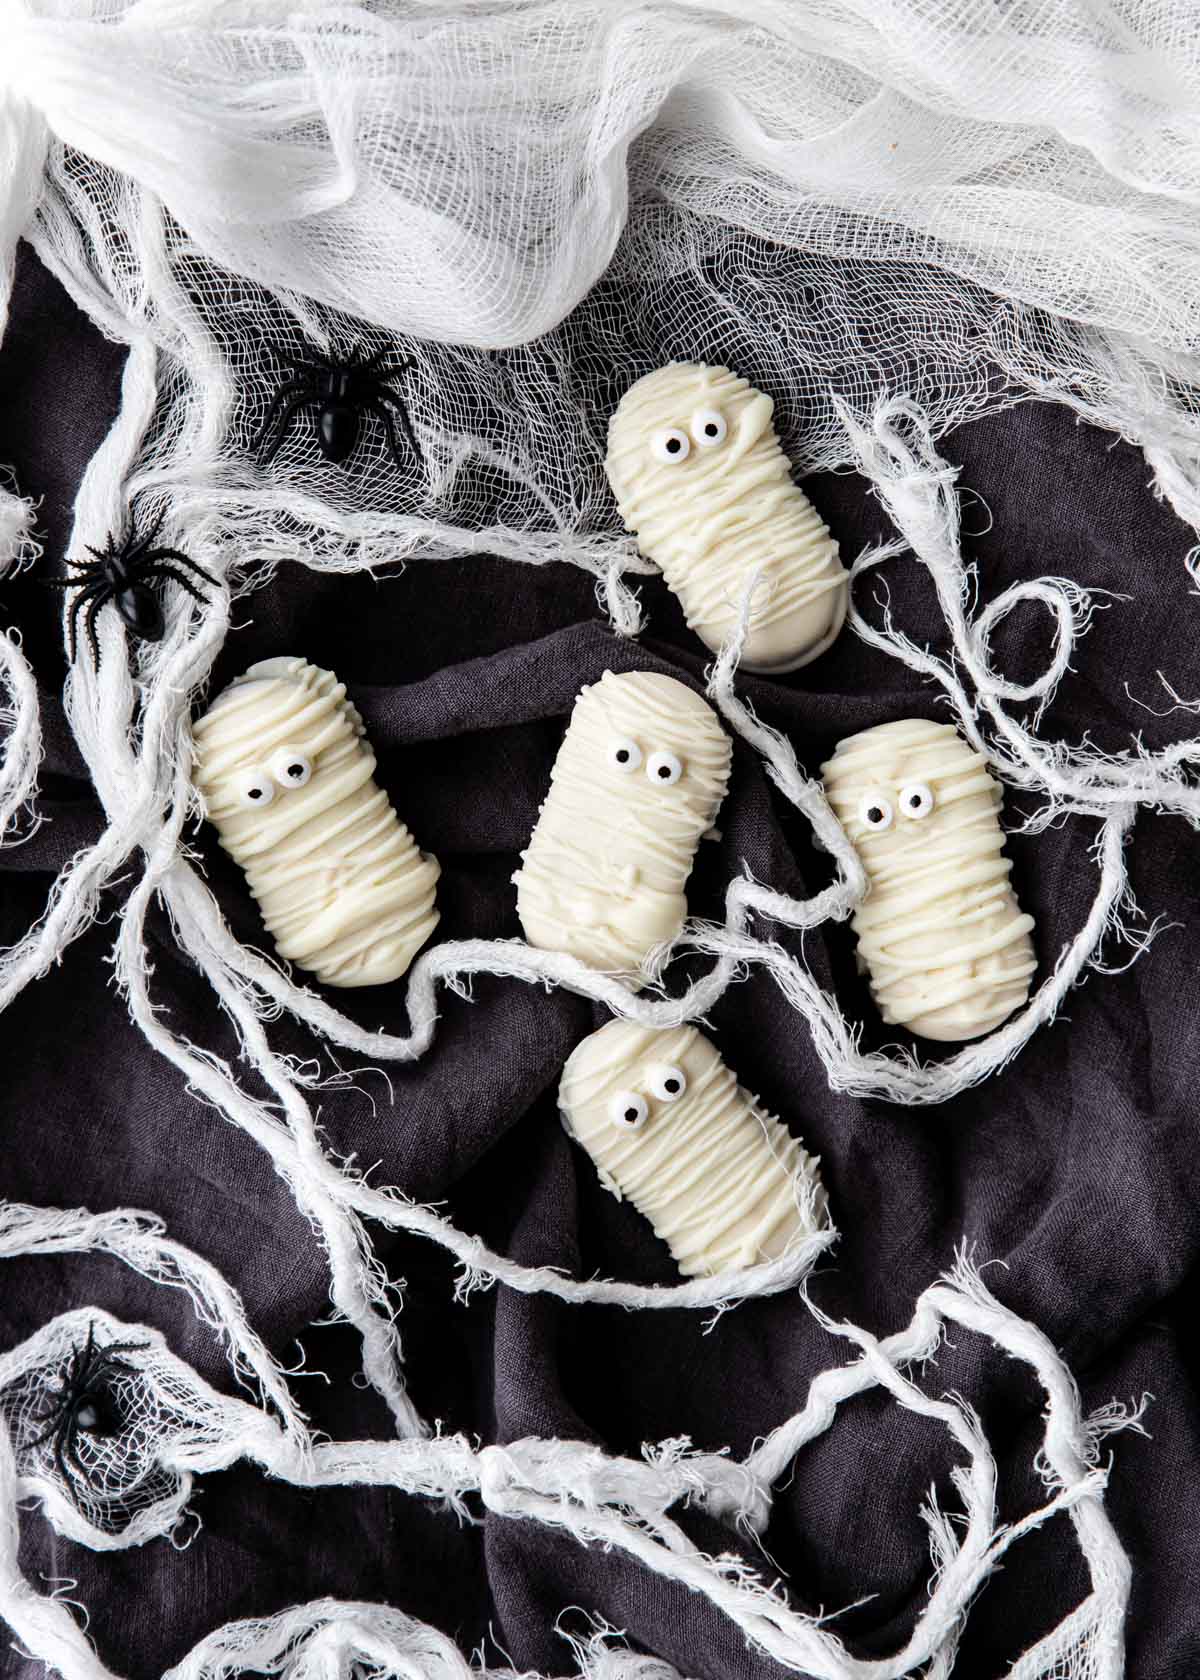
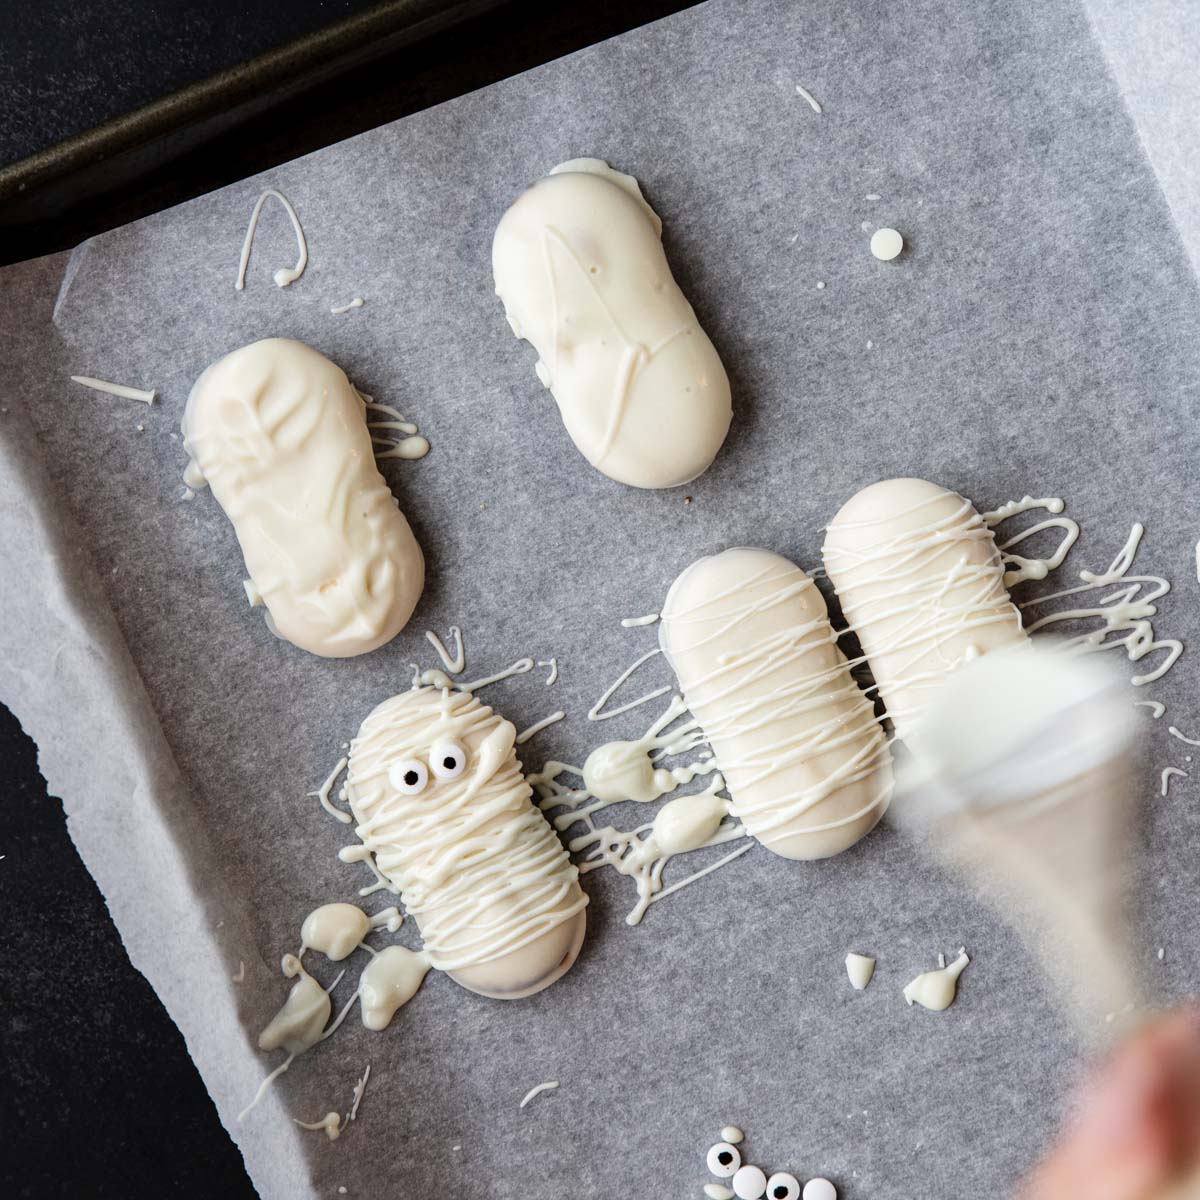
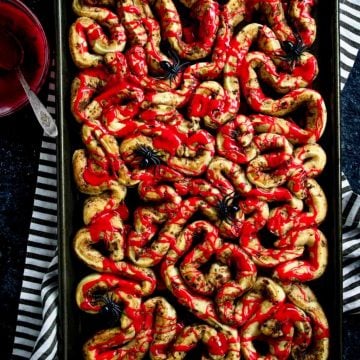
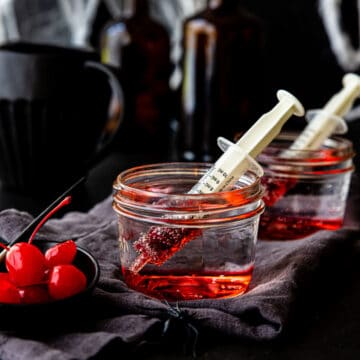
Check out some of these other fun Halloween treats that are easy to make: Ghost Cookies, Mummy Cookies, Bloody Guts Cinnamon Rolls, or Haunted Brownie Brittle.
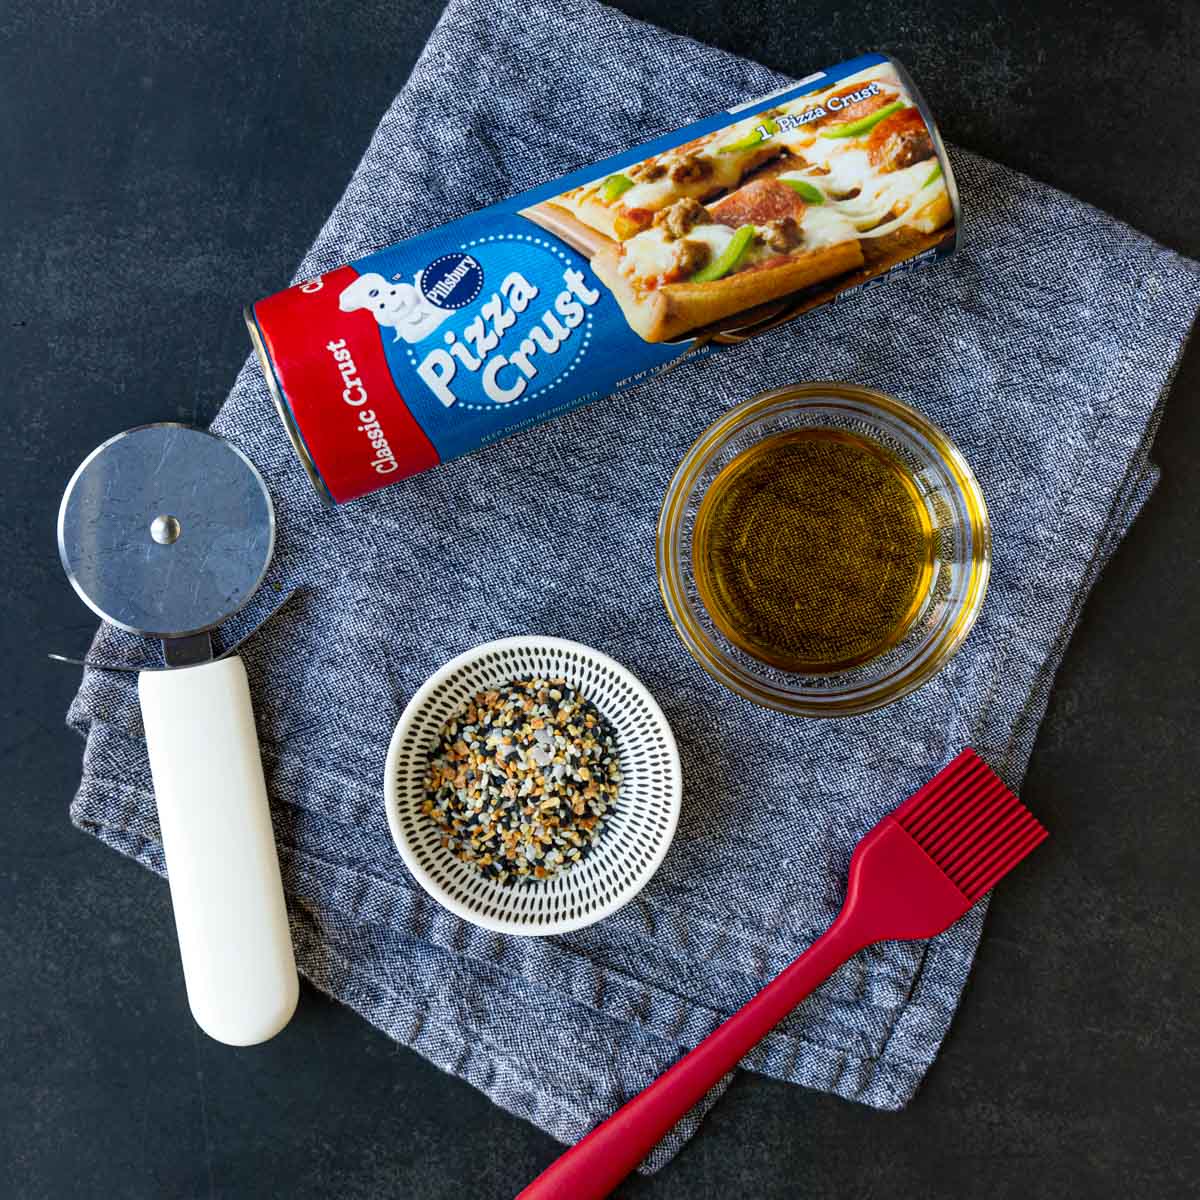
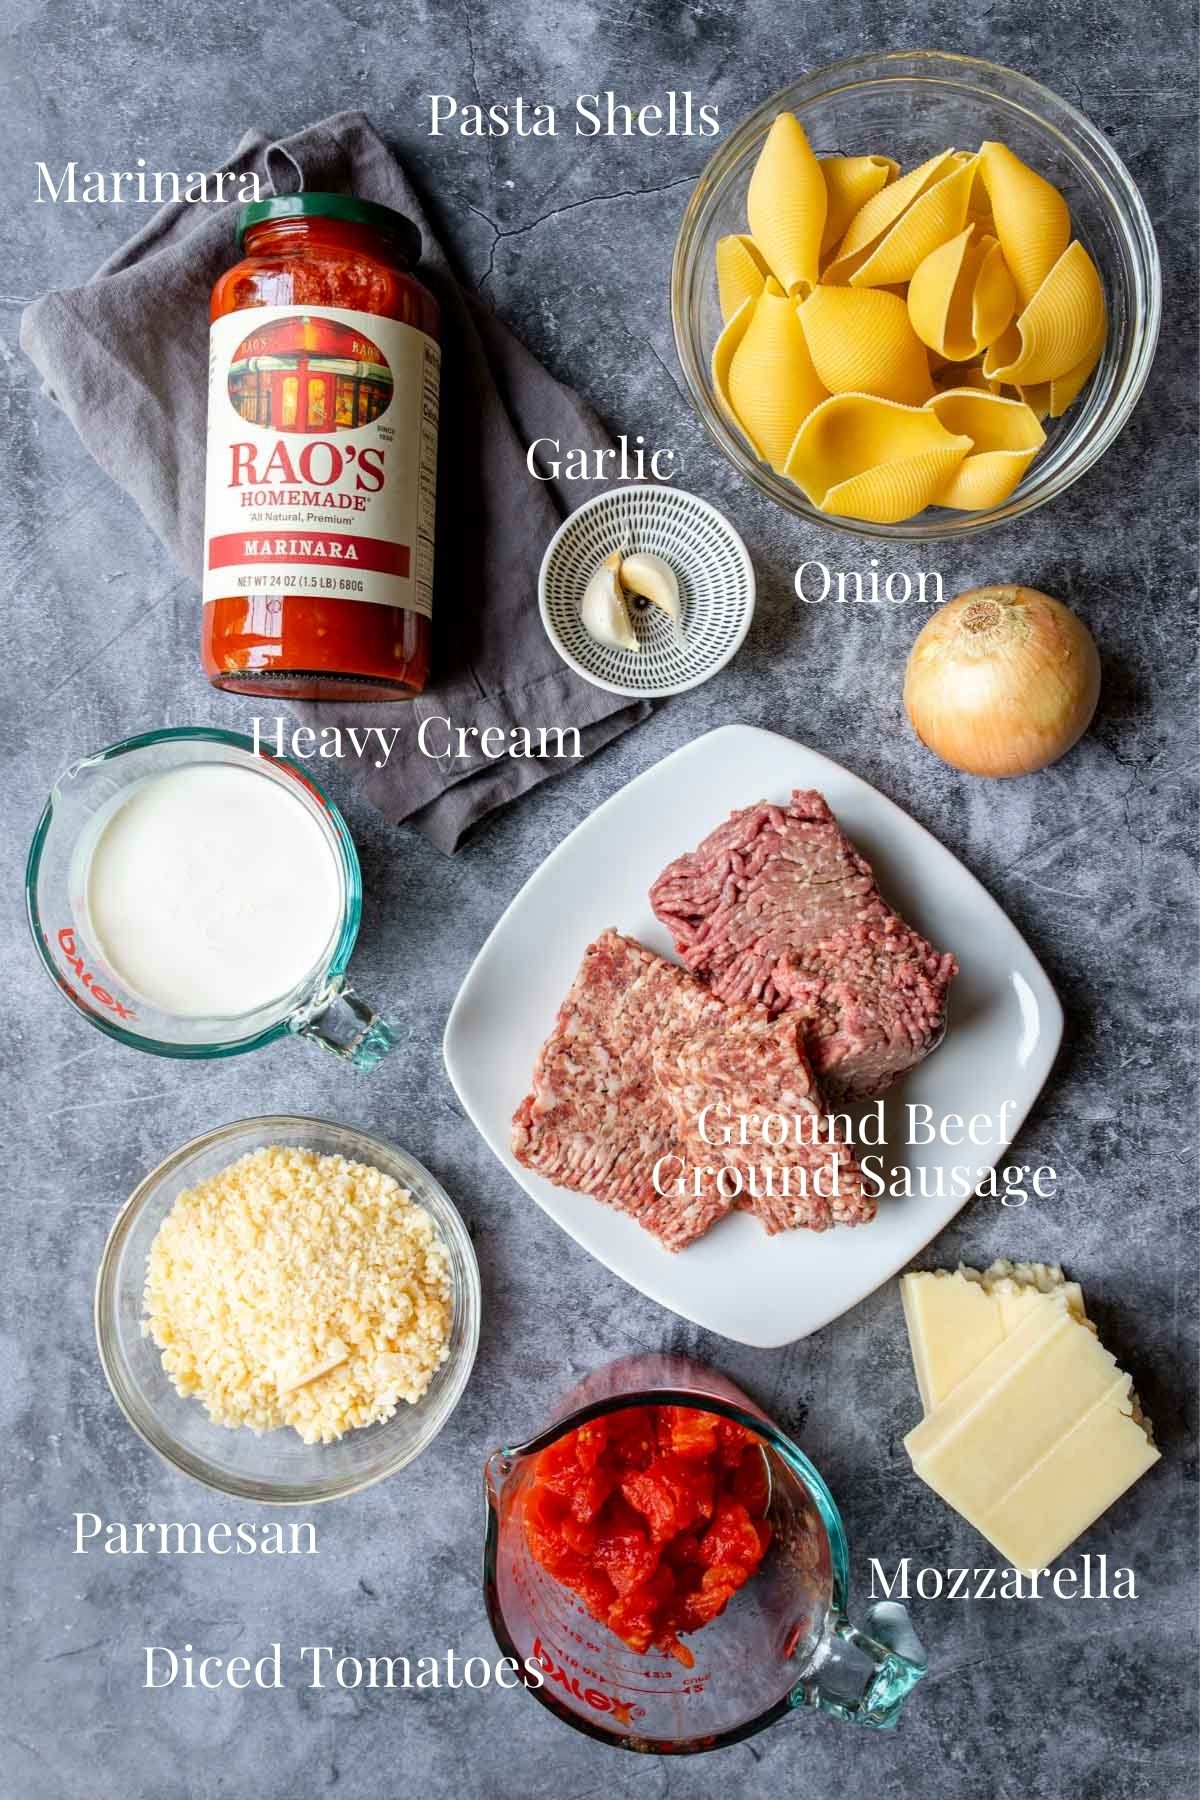
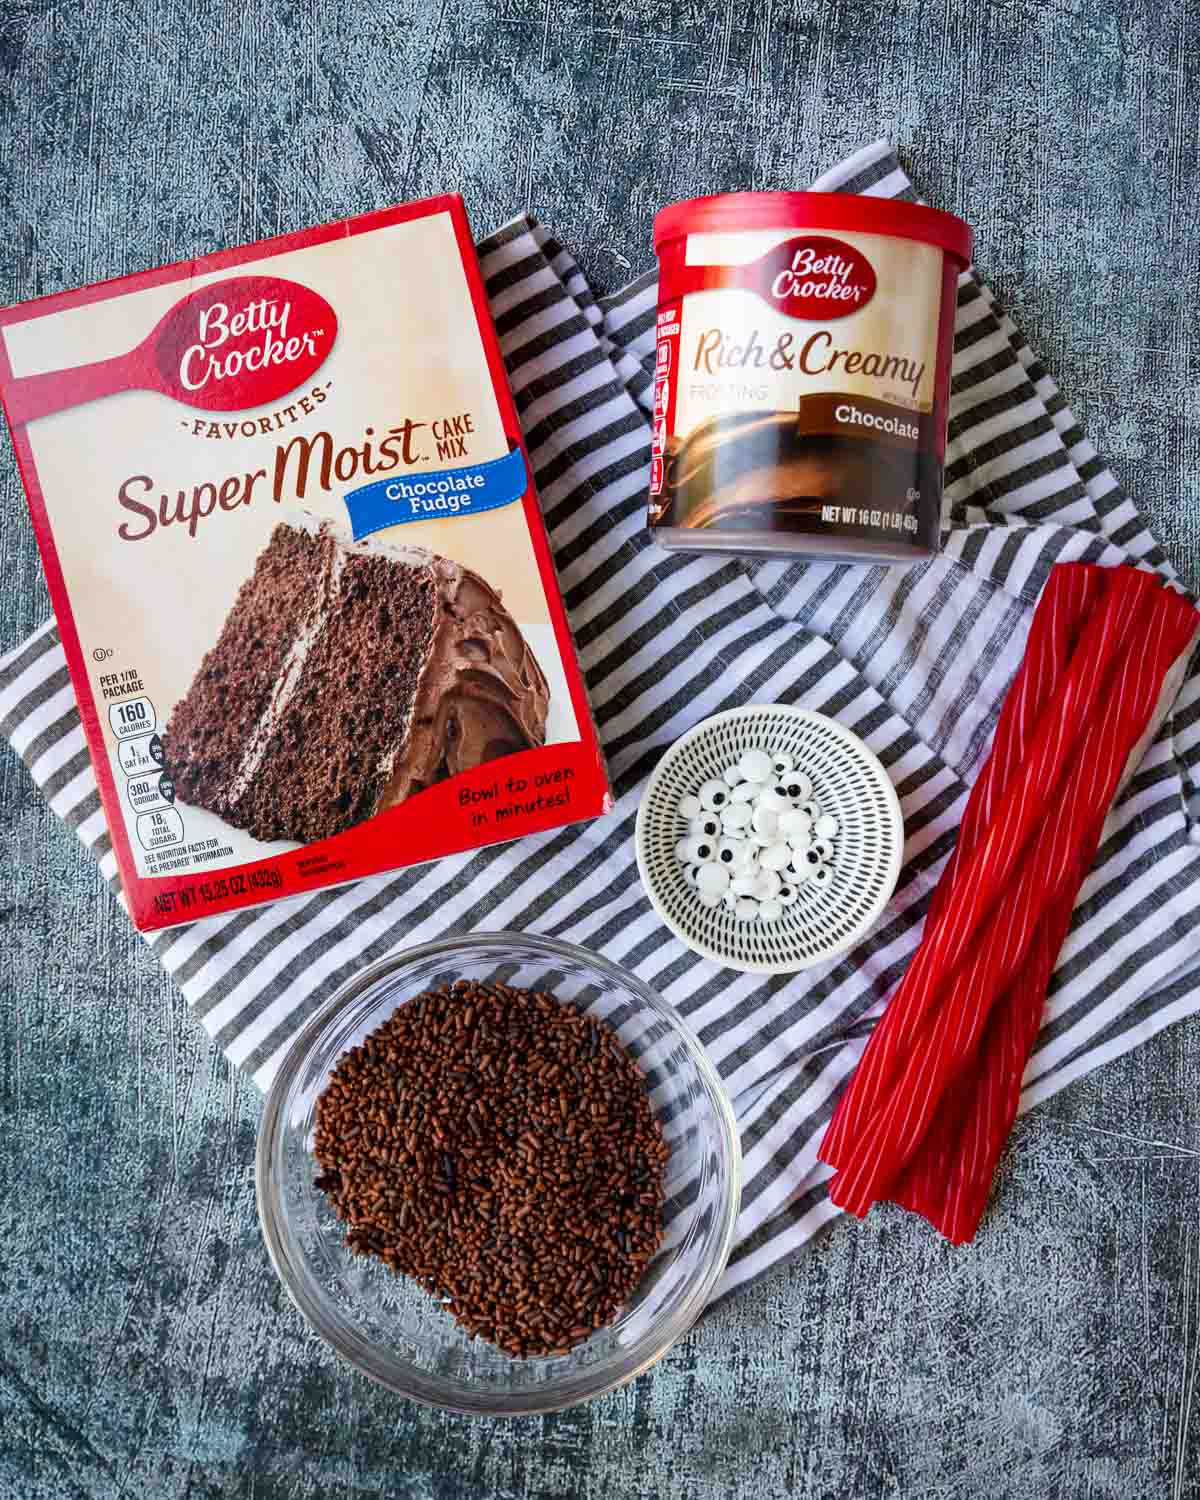
Ingredients
Here are the things that you need to make Spider Cupcakes:
Cupcakes & Frosting
You can make your own chocolate cupcakes, use a box mix, or buy some unfrosted cupcakes at the local bakery. All will work!
Same goes for the frosting – make your own or use store bought. All works!
Sprinkles
All sprinkles are not equal… some are crunchy, some are like sugar crystals, and some are soft.
For these Spider Cupcakes you want to get the soft ones, sometimes called “Jimmies”.
PRO TIP: Go to your grocery store bakery and ask for 1 cup of chocolate jimmies/sprinkles. They will scoop them into a deli container for you, and they will be much cheaper!
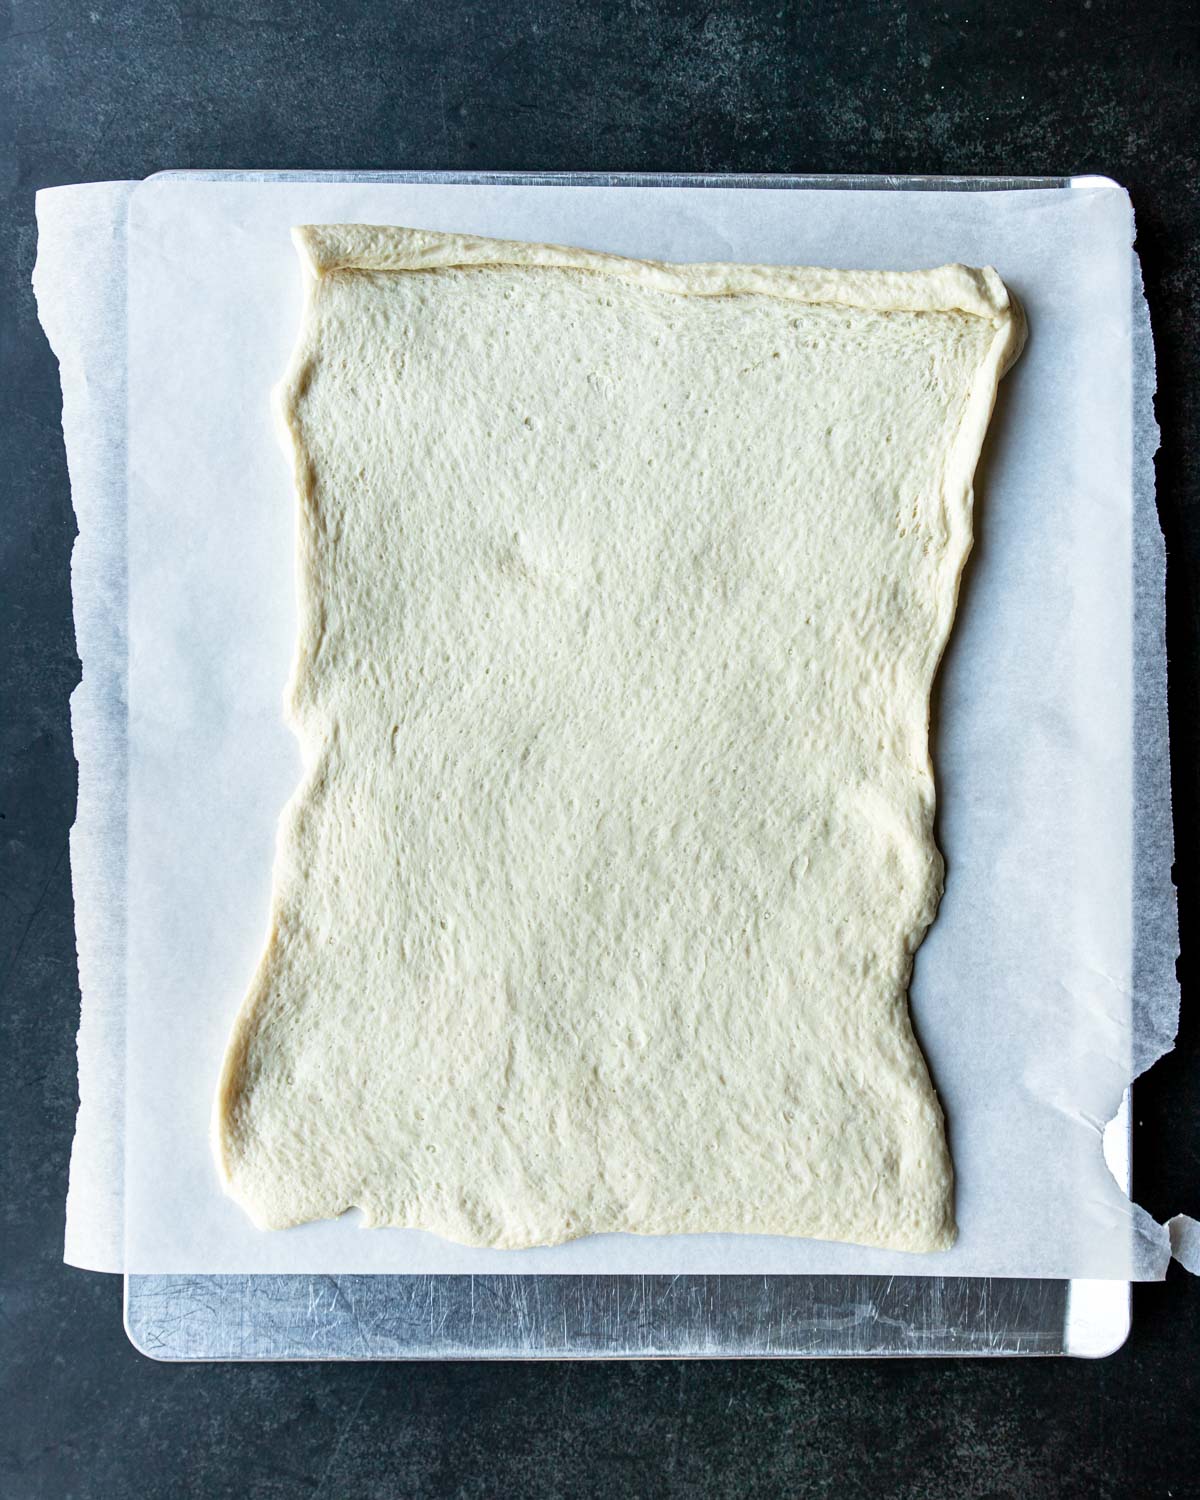
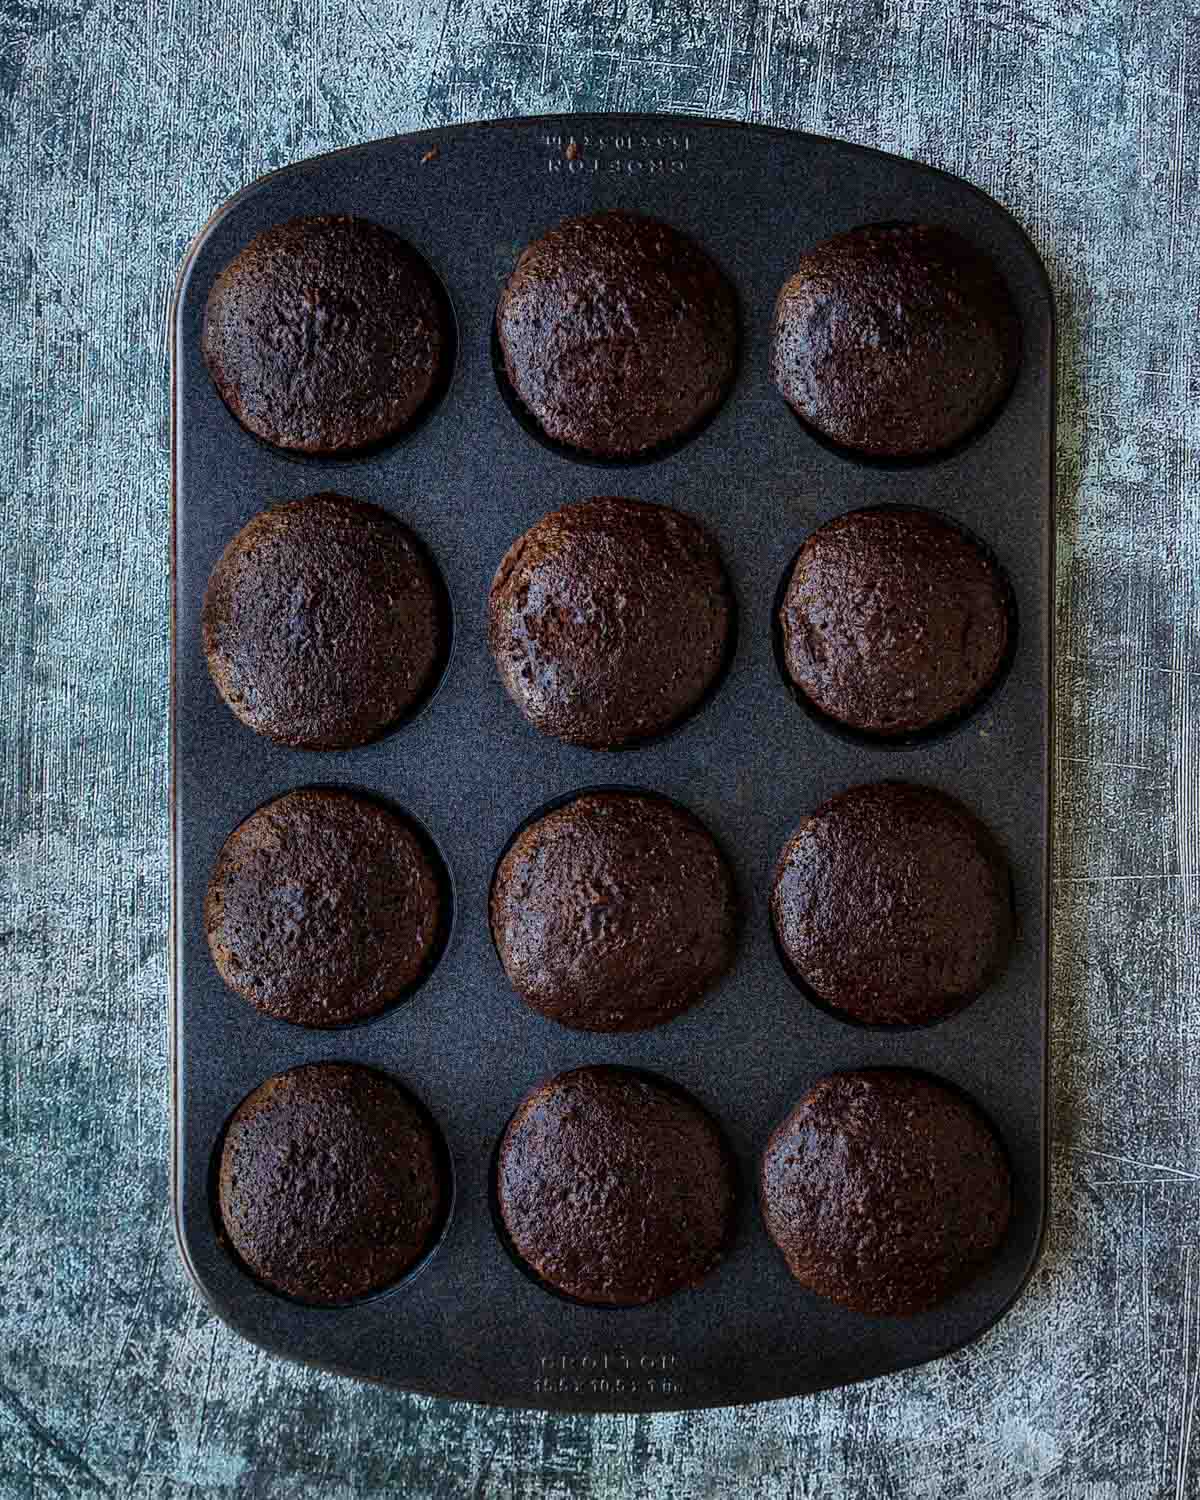
Step by Step Picture Instructions
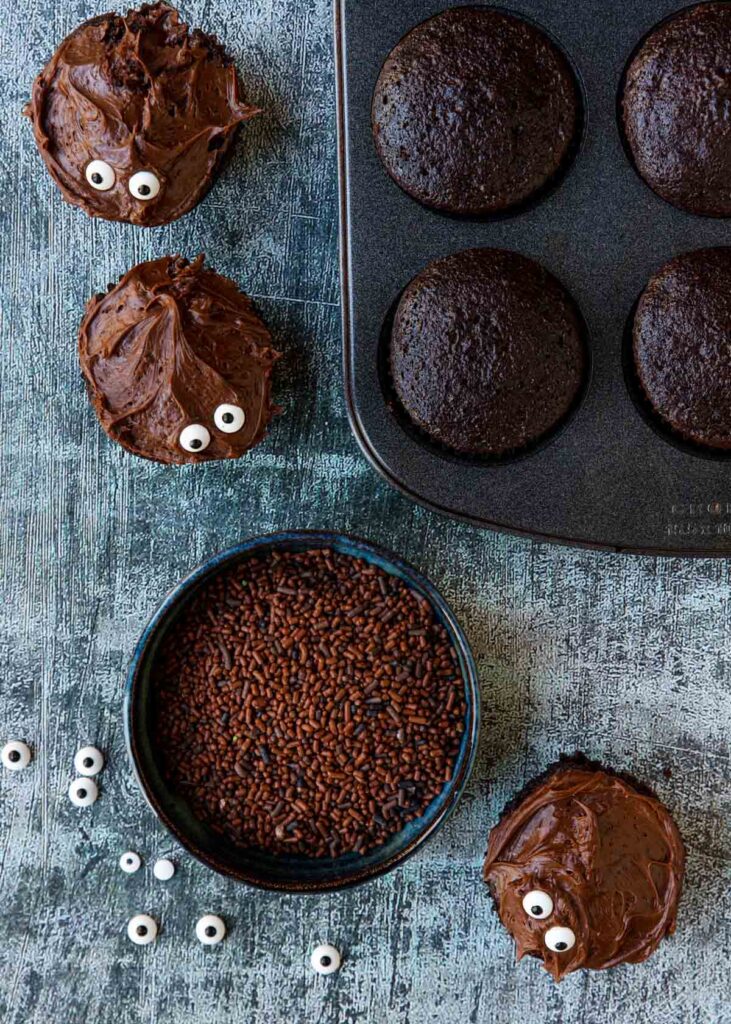
Start by making chocolate cupcakes… or take a shortcut and grab some unfrosted cupcakes from a local bakery or grocery store!
Frost the cupcakes with chocolate frosting. Then adhere two candy eyes to the frosting.
Flip the cupcake upside down and dip in the chocolate sprinkles.

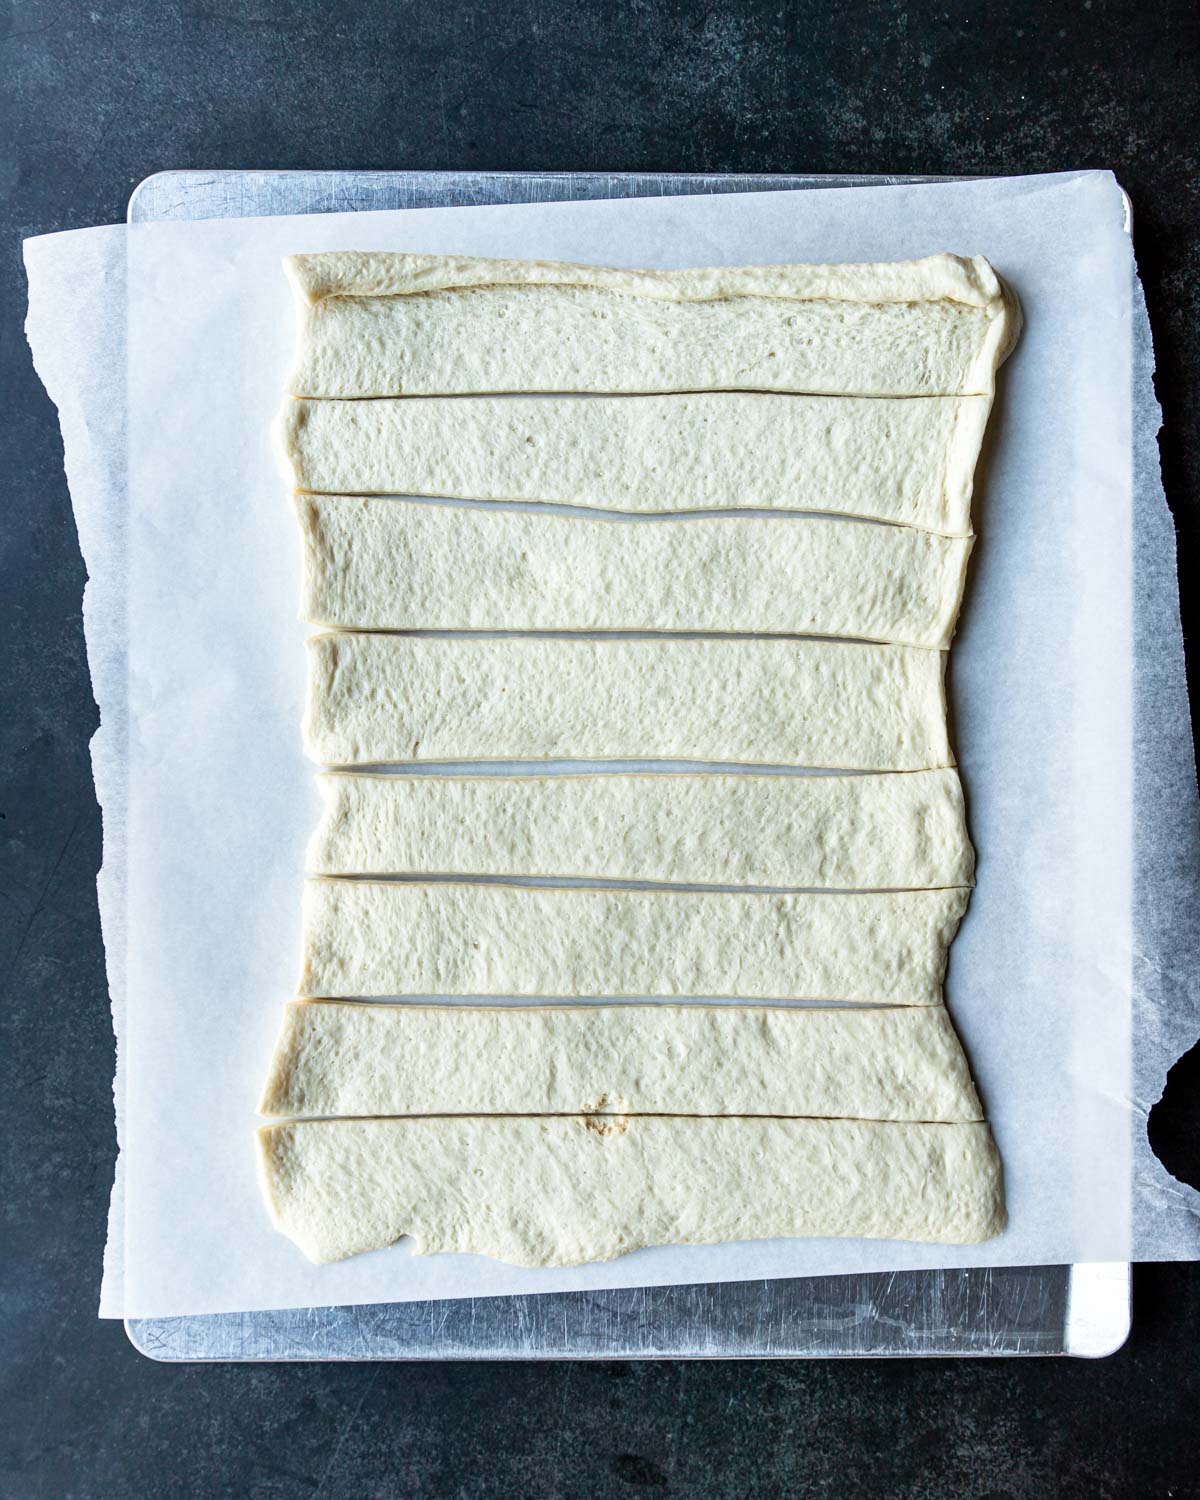
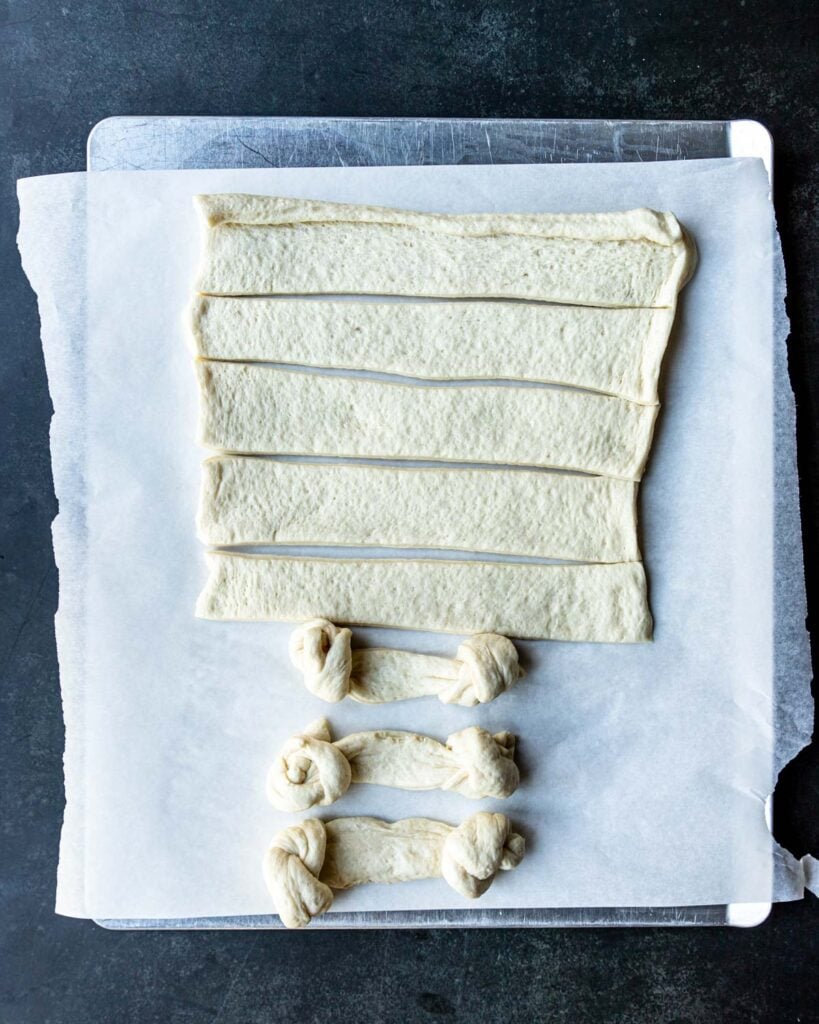
Cut the licorice to the right length. Then pull it apart into individual strands.
Stick the licorice legs into the frosting/cupcake, 4 per side, spiders have 8 legs.
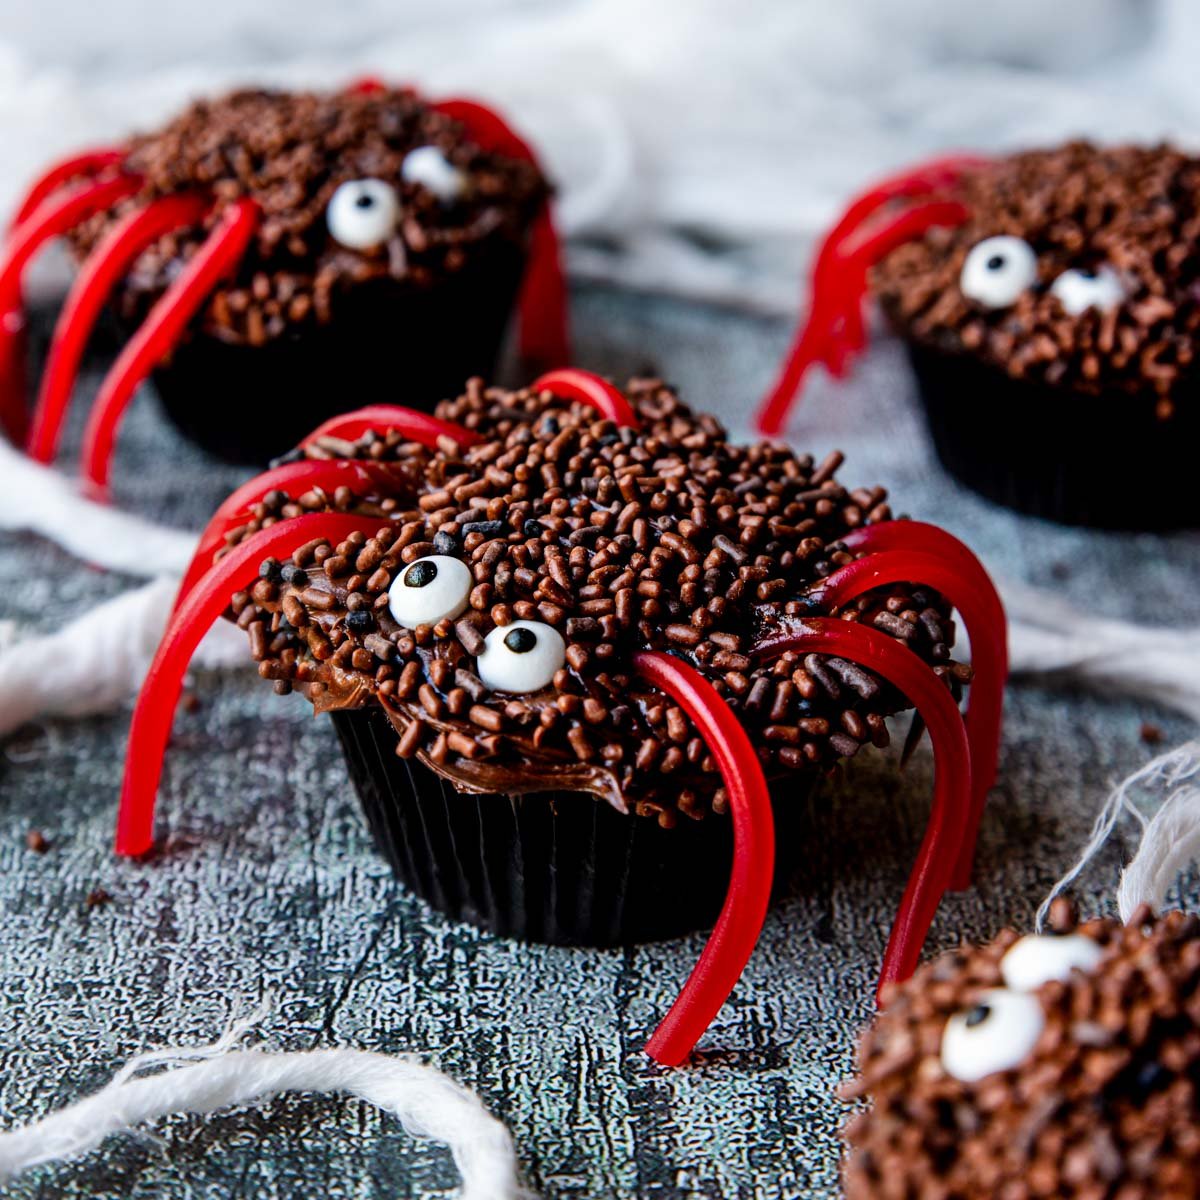
All done- you have cute little Spooky Spider Cupcakes perfect for Halloween!
More Fun Halloween Recipes


Did you make this recipe?
⭐⭐⭐⭐⭐
I would love to hear your review, especially if you have tips and tricks to add! Pop down to the comment section and connect with me

Spider Cupcake Recipe
Equipment
- Cupcake Tin
- Paper cupcake liners
Ingredients
- 15.25 oz box chocolate cake mix - makes 18-24 cupcakes
- (oil, water and eggs per box instructions for the cake mix)
- 16 oz chocolate frosting
- 1 cup chocolate sprinkles/jimmies
- edible candy eyes
- pull-n-peel red licorice
Instructions
Cupcakes
- Prepare and bake the box cake mix per package instructions- as cupcakes. You will have 18-24 cupcakes.
- Cool completely.
Decorating
- Frost a cupcake, place two edible candy eyes on one side.(NOTE: if you are generous with the frosting you may need a second tub of frosting!)
- Gently dip the frosted cupcake in the chocolate sprinkles.
- Cut the pull-n-peel licorice so that you have smaller sections. Pull it apart and then place 8 pieces in the frosting, to appear as the "legs" of the spider.
- Repeat for all the cupcakes.