A super flavorful sheet pan dinner that is easy-to-make and ready in 30 minutes! It can even be made ahead for easy weekly meal prep. This one pan dinner is full of all the fall colors and flavors that you want in your comfort food this time of year.
The smoked beef sausage is warmed thru and the fresh veggies are roasted and perfectly caramelized.
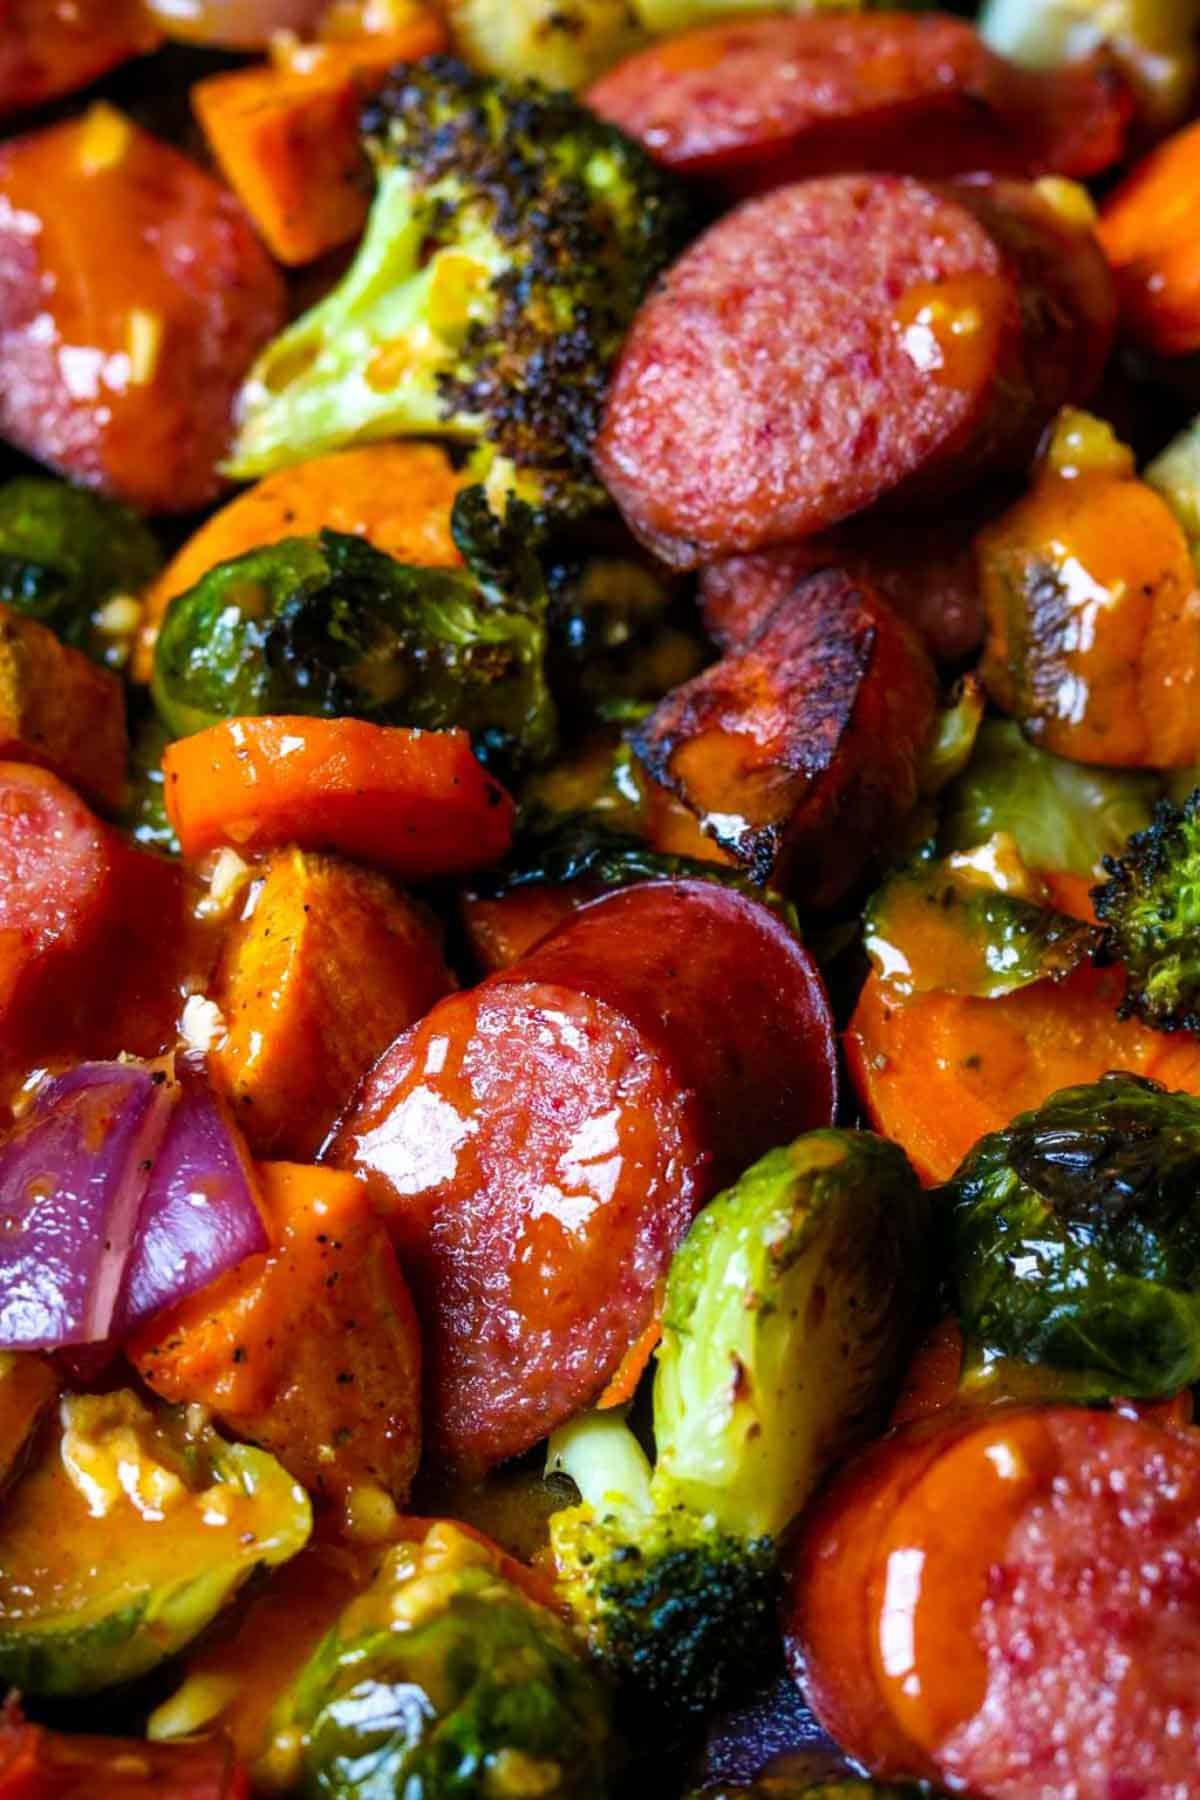
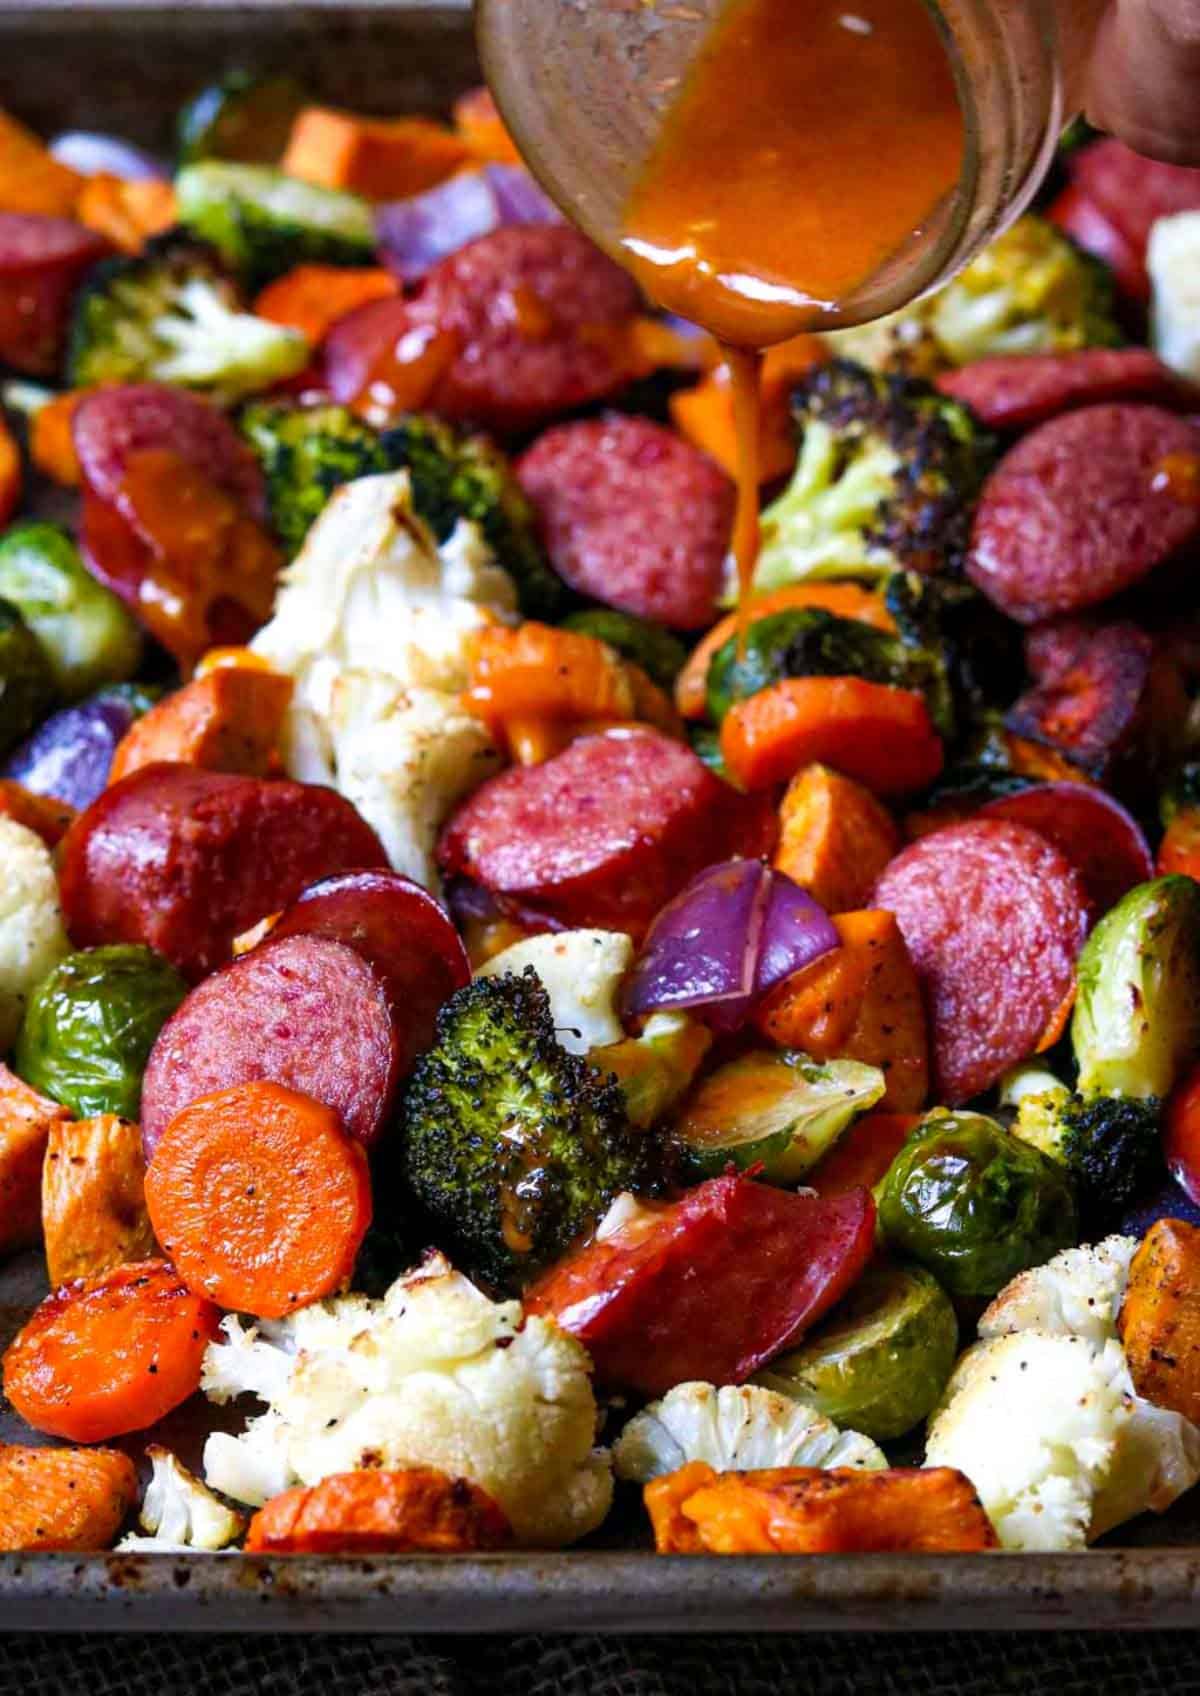
When the sheet pan dinner is pulled hot from the oven you drizzle on a smoked paprika vinaigrette that adds another delicious layer of flavor. It compliments the fall veggies and smoked beef sausage perfectly.
Sheet Pan Dinner
You need to get on board with the sheet pan dinner trend, asap! You can have your entire dinner made in one pan, in the oven, all cooked together, and these recipes are usually done in 30 minutes or less!
Not only is this an incredibly easy way to get dinner on the table… it leaves very little clean-up after the fact.
PIN THIS SHEET PAN DINNER RECIPE HERE!
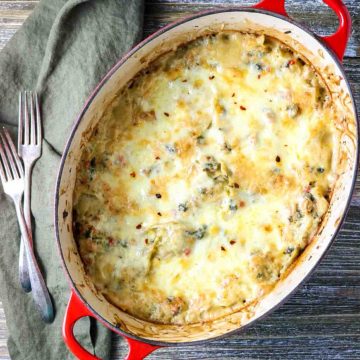
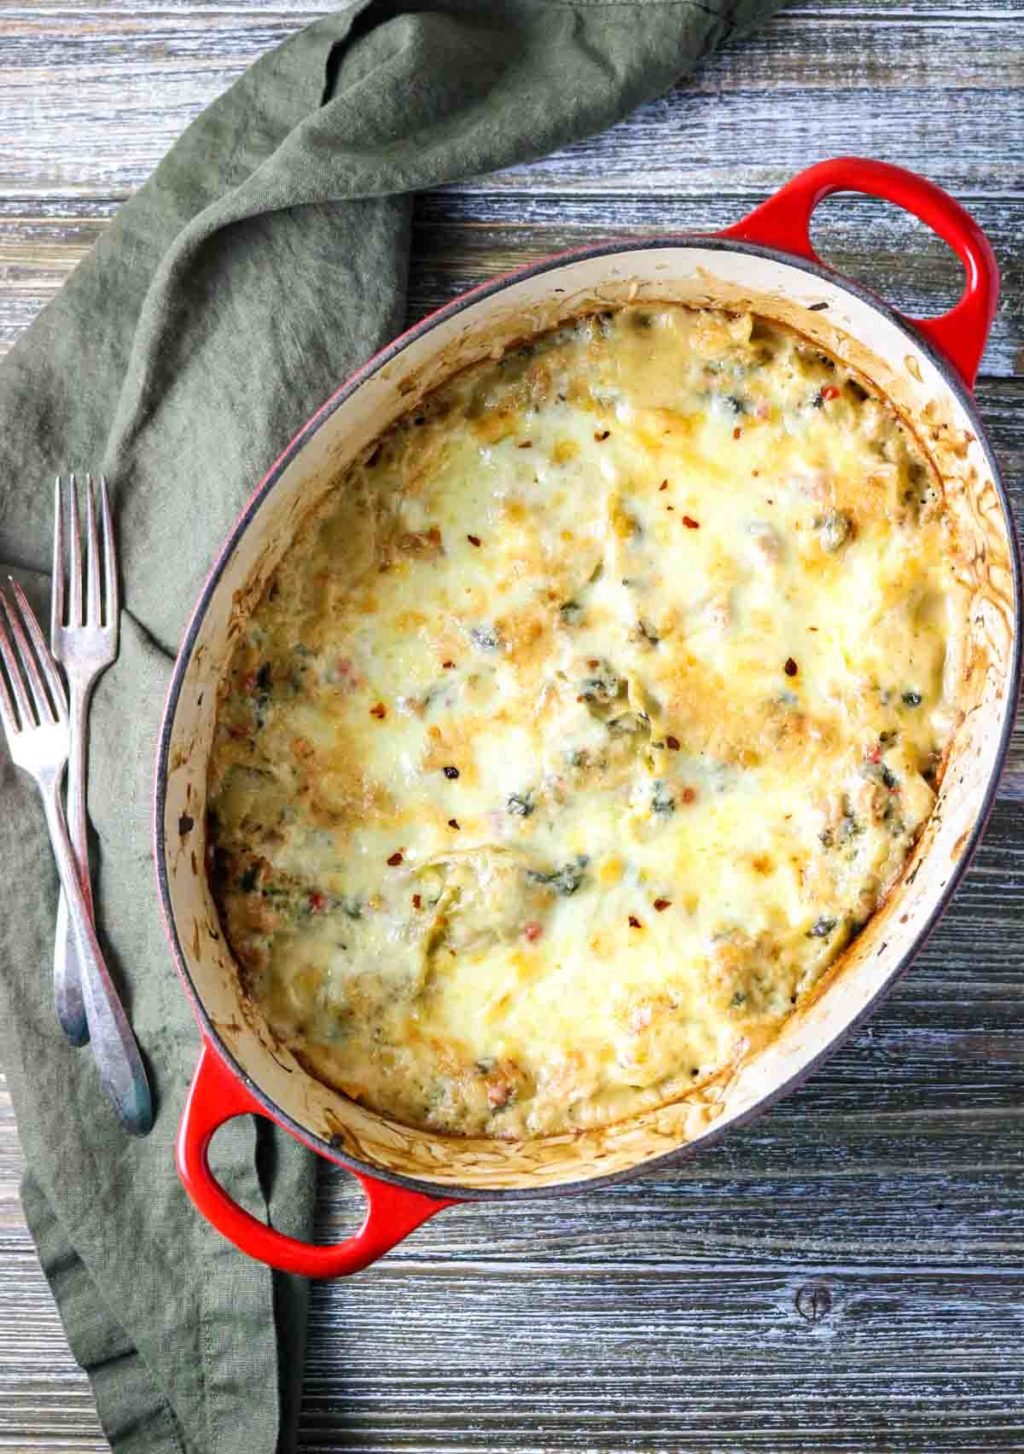
If you like a one pan or one pot dinner, definitely check out my One Pot Dutch Oven Lasagna or my Dutch Oven Spinach Artichoke Lasagna
Roasting Not Steaming
This is a great tip for just about any recipe that calls for roasting or browning in a pan. The key to roasting is making sure you have enough space on the pan between the veggies.
If you over crowd the pan they will steam instead of roast. This is also the same when you are trying to brown in a pan, if you over crowd (or add too much liquid) your item will steam instead of brown.
How to Make a Healthy Sheet Pan Dinner
Grab your largest sheet pan and preheat your oven to 400 degrees.
Cut all your veggies:
- Sweet potatoes are peeled and chopped into ½ to 1 inch cubes
- Onion are peeled and cut into ⅛th’s
- Cauliflower & Broccoli are cut into large florets
- Carrots are peeled and cut into ¼ inch thick coins
- Trim the stem on the Brussel Sprouts and cut in them in half
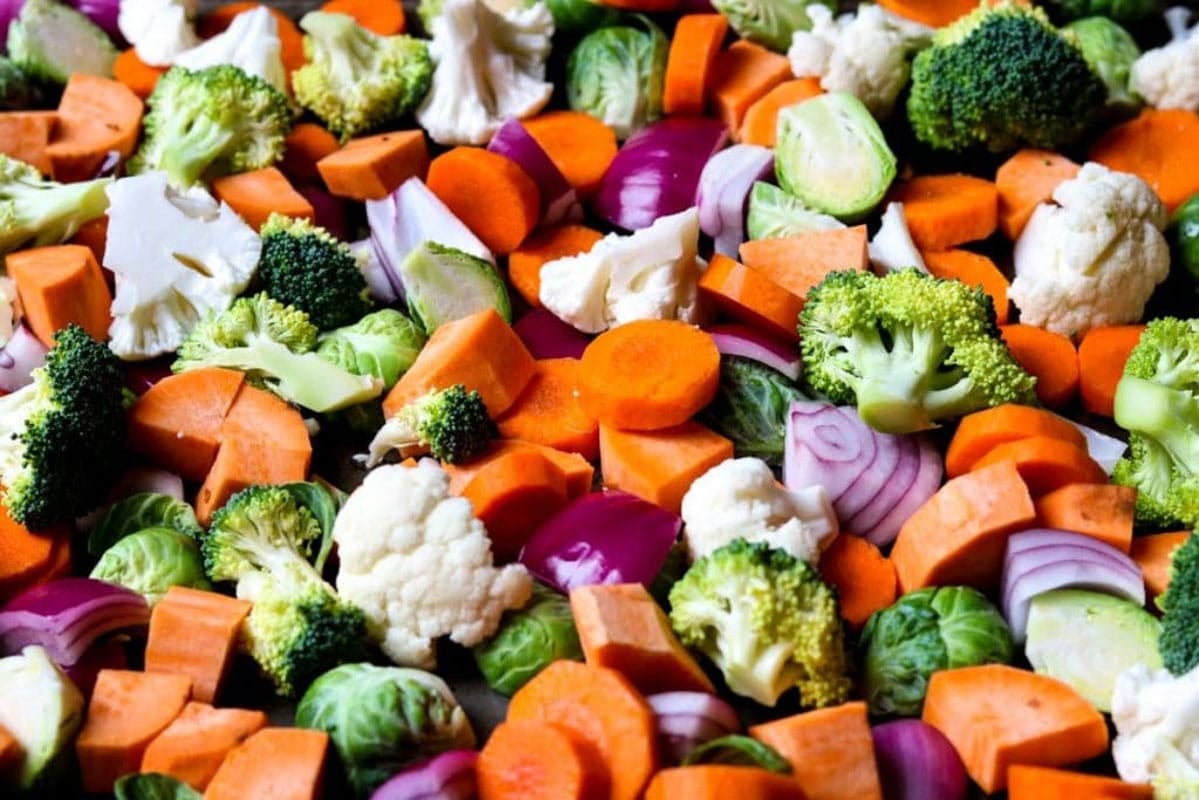
Put all the vegetables on the sheet pan and drizzle with the olive oil and sprinkle with salt and pepper. Toss everything around with clean hands so it is all coated with oil.
Pop that into the preheated oven for 15 minutes.
PRO TIP: Do not crowd the pan with the veggies or they will steam instead of roast. If you need to use two sheet pans, err on the side of too much room.
Meanwhile cut the sausage link into about 20 pieces.
Pull the sheet pan of veggies from the oven, they will be about half way cooked. Give them a good toss with a spatula and then add the sausage to the pan, right on top of the vegetables.
Put it back in the oven for an additional 12 minutes. This will warm the sausage thru and start to caramelize the veggies.
While the sheet pan dinner finishes, go ahead and make the smoked paprika vinaigrette. In a mason jar, mix together all the vinaigrette ingredients:
- olive oil
- apple cider vinegar
- honey
- dijon mustard
- garlic clove
- smoked paprika

Put the lid on the jar and shake it vigorously, until all the ingredients are emulsified together. If you do not have mason jars use a bowl and whisk.
Pro tip: I do not recommend adding salt to your vinaigrette. The veggies and sausage are salty enough! Promise.
Once you pull the sheet pan out the oven, drizzle the vinaigrette over the veggies and beef. Give it a toss with a spatula to distribute the vinaigrette and it’s time to eat.
Make Ahead Dinner
If you know that you are going to have a really busy week, this is a great dinner to prep and have in the fridge for later!
Simply cut all the veggies and place them in an airtight container for up to 2 days. You can also prep the vinaigrette in a mason jar and keep it in the fridge.
When it is time for dinner, just follow the baking instructions and dinner will be ready in under 30 minutes!
More Super Easy Dinners to Check Out


Healthy Sheet Pan Sausage and Veggies with Smoked Paprika Vinaigrette
Equipment
Ingredients
- 1 small red or yellow onion, chopped into 1 inch chunks
- 15 fresh brussel sprouts, stem trimmed and cut in half
- 1 large sweet potato, peeled and cut into ½ to 1 inch chunks
- 2 large carrots, peeled and sliced into coins
- ½ head of broccoli, cut into florets
- ½ head of cauliflower, cut into florets
- 12 oz Fully Cooked Smoked Beef Sausage Link, cut into 20 pieces
- 1 ½ tablespoon olive oil
- 1 teaspoon kosher salt
- black pepper to taste
Smoked Paprika Vinaigrette (most people say they like to double this vinaigrette recipe!!)
- 1 ½ tablespoon olive oil
- 1 teaspoon apple cider vinegar
- 1 teaspoon dijon mustard
- 1 ½ teaspoon honey
- 1 garlic clove, minced
- ¼ teaspoon smoked paprika
Instructions
- Preheat the oven to 400 degrees. Grab the largest sheet pan you have.Pro Tip: if the veggies are crowded on the sheet pan, use two sheet pans and err on the side of too much room. You want the veggies to roast, not steam!
- Prep all the veggies and place on a large sheet pan. With clean hands toss the veggies in the olive oil and sprinkle with kosher salt and pepper.Place in the oven for 15 minutes.1 small red or yellow onion, chopped into 1 inch chunks, 15 fresh brussel sprouts, stem trimmed and cut in half, 1 large sweet potato, peeled and cut into ½ to 1 inch chunks, 2 large carrots, peeled and sliced into coins, ½ head of broccoli, cut into florets, ½ head of cauliflower, cut into florets, 1 ½ tablespoon olive oil, 1 teaspoon kosher salt, black pepper to taste
- Meanwhile cut the sausage link into 20 pieces.12 oz Fully Cooked Smoked Beef Sausage Link, cut into 20 pieces
- Toss the veggies with a spatula. Then place the sausage pieces over the cooked veggies. Place back in the oven for an additional 12 minutes.
- To make the Smoked Paprika Vinaigrette put all the ingredients into a mason jar. Screw the lid on tightly and shake vigorously until all the ingredients are emulsified.Note: a lot of people on Pinterest say that they like to double the vinaigrette recipe because it is SO tasty!1 ½ tablespoon olive oil, 1 teaspoon apple cider vinegar, 1 teaspoon dijon mustard, 1 ½ teaspoon honey, 1 garlic clove, minced, ¼ teaspoon smoked paprika
- Pull the sheet pan out of the oven and drizzle the vinaigrette over the veggies and sausage. Toss to coat.
- Serve right away!