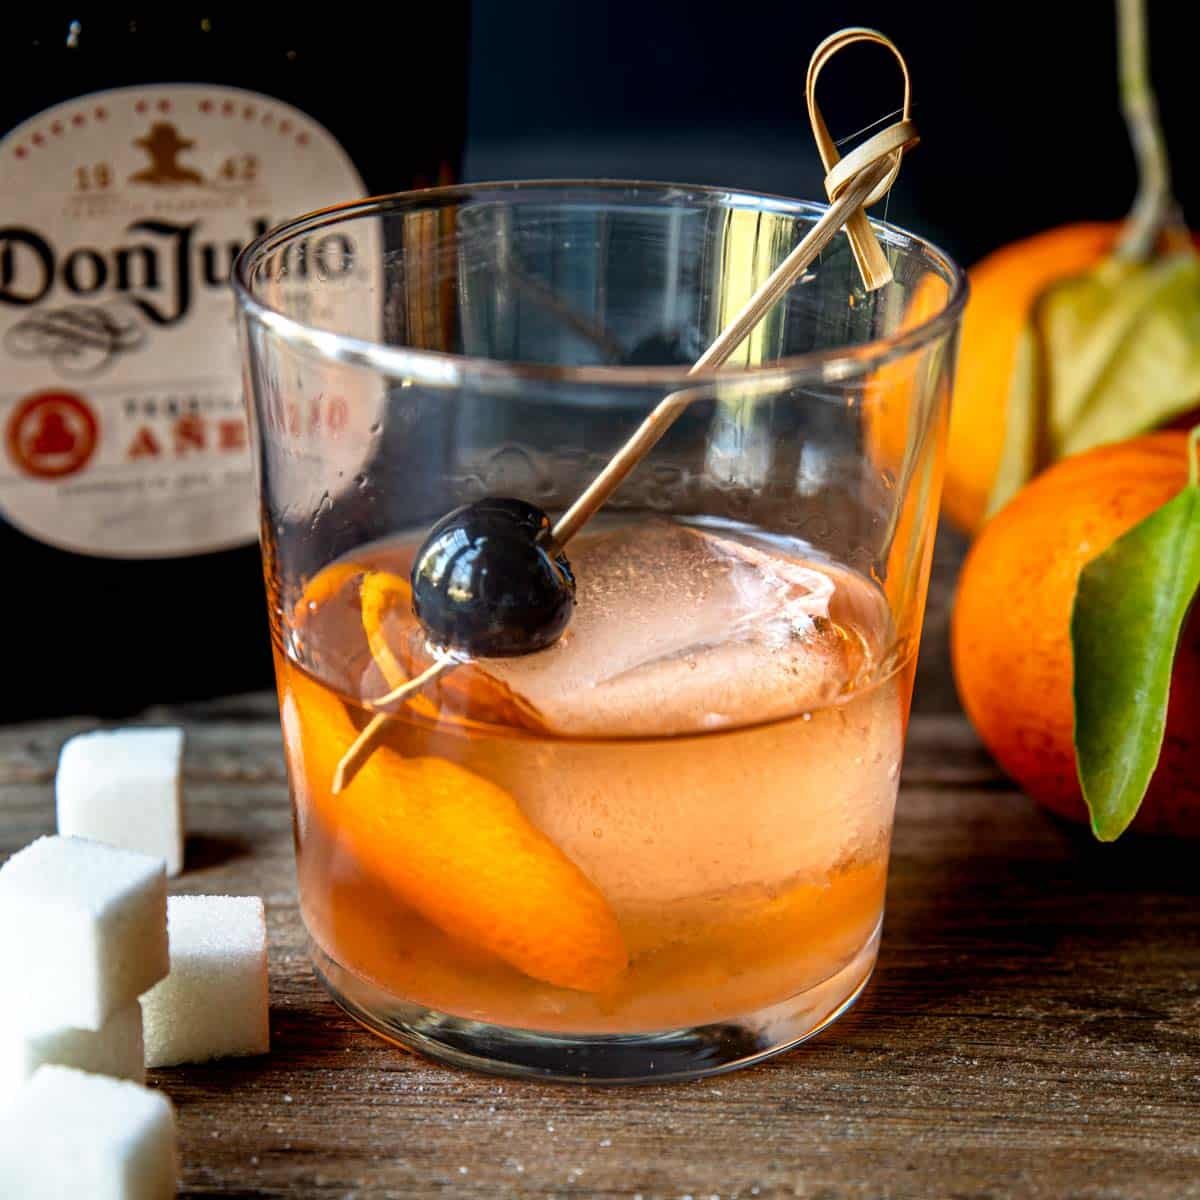
Anejo Sidecar is a great cocktail for tequila lovers! It is like the classic Sidecar cocktail but it is made with Anejo tequila instead of cognac. It makes a really impressive party drink or after dinner drink.
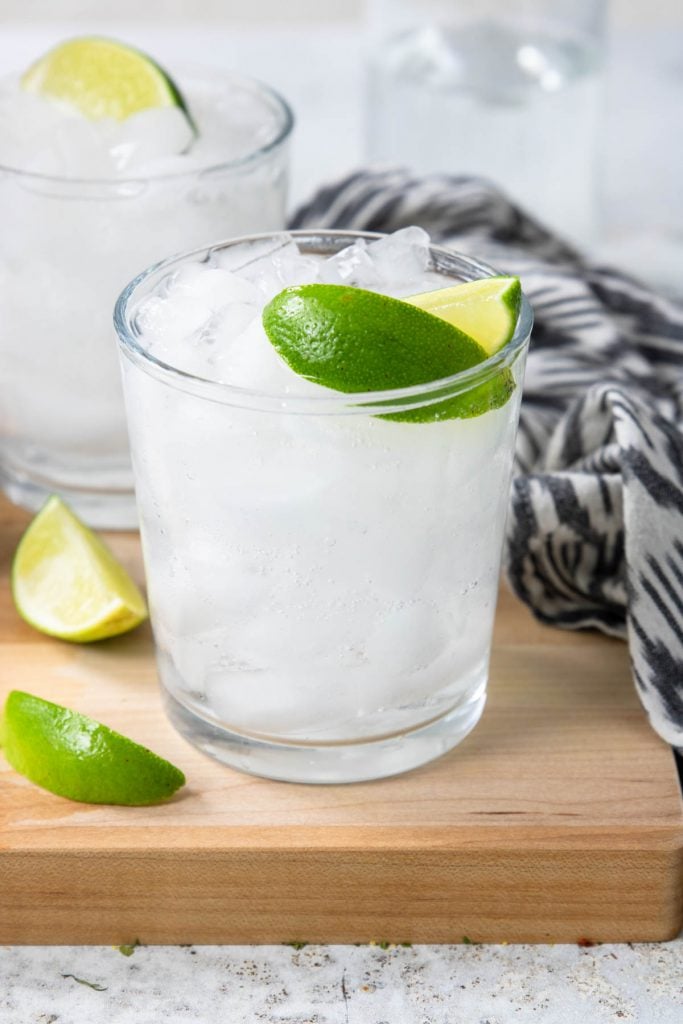
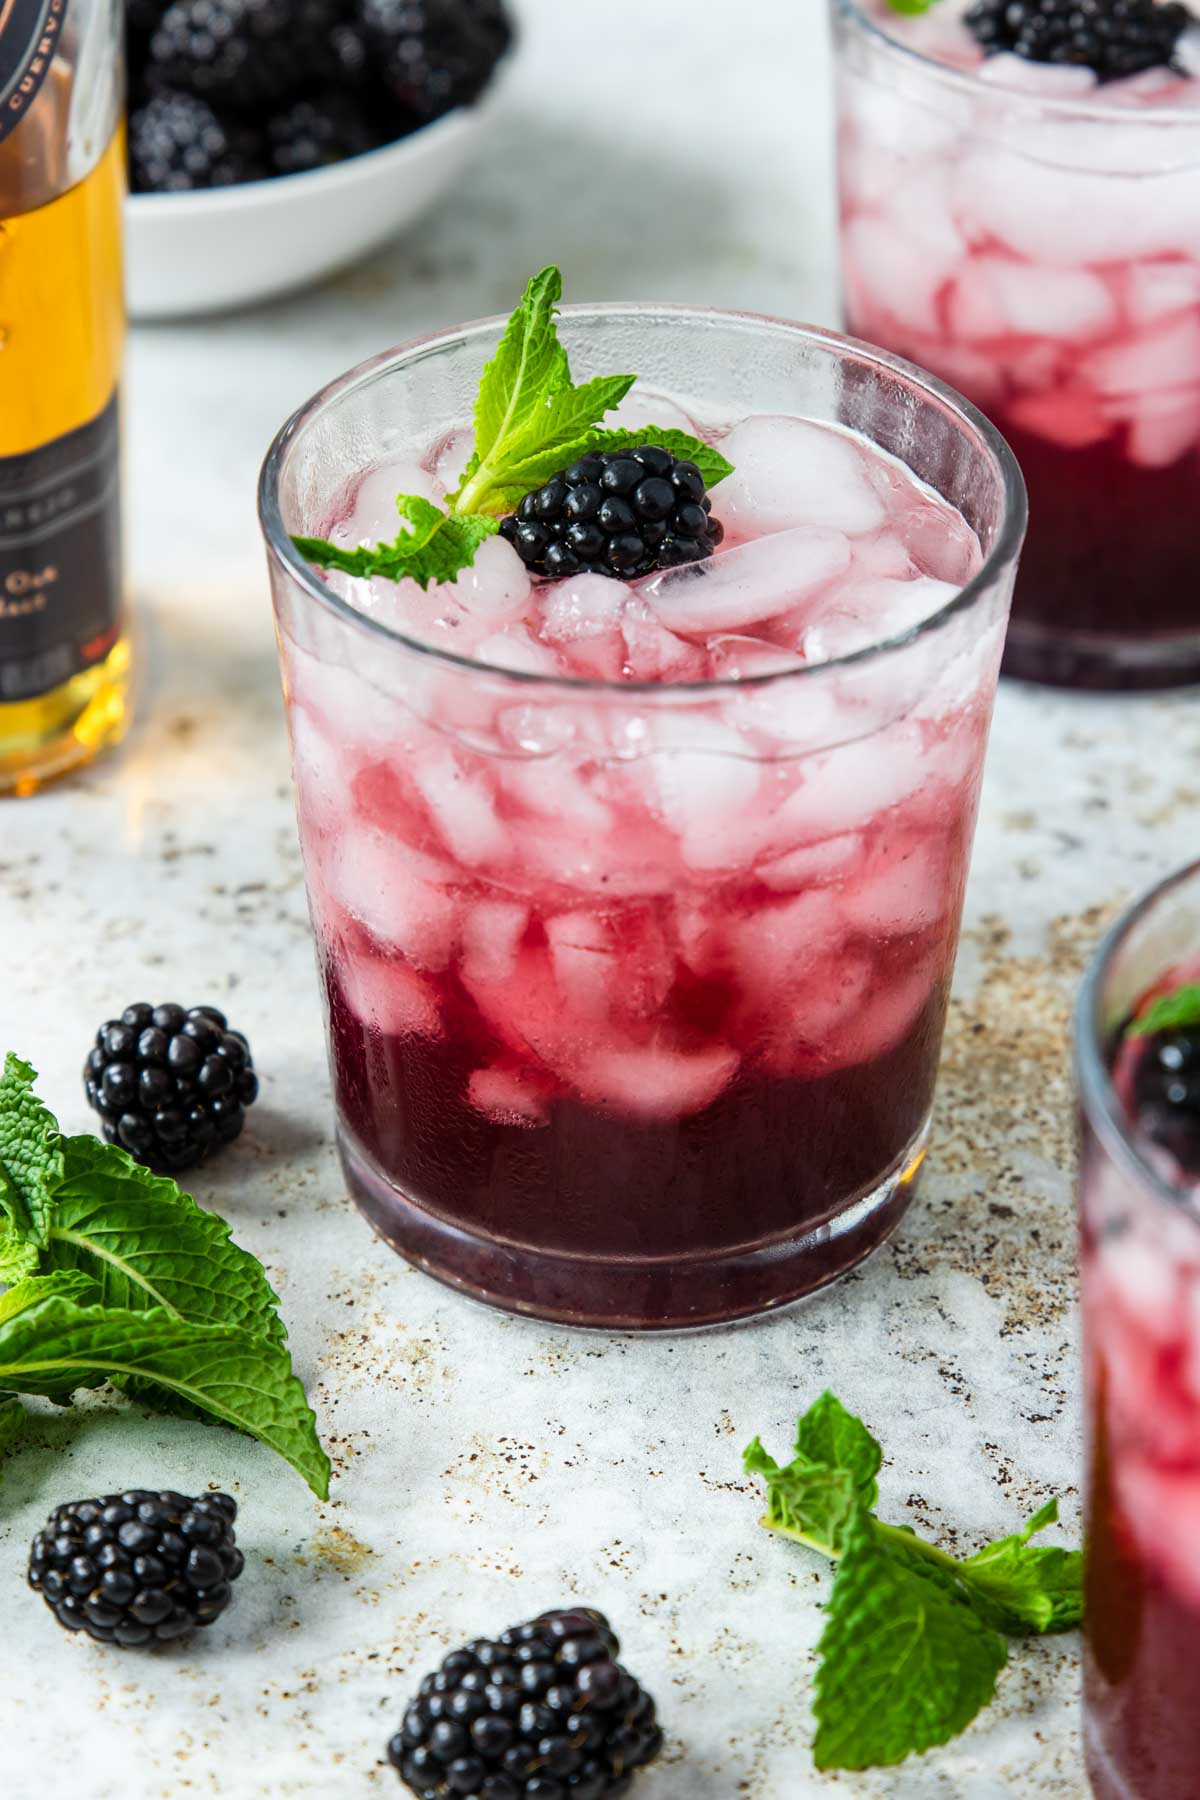
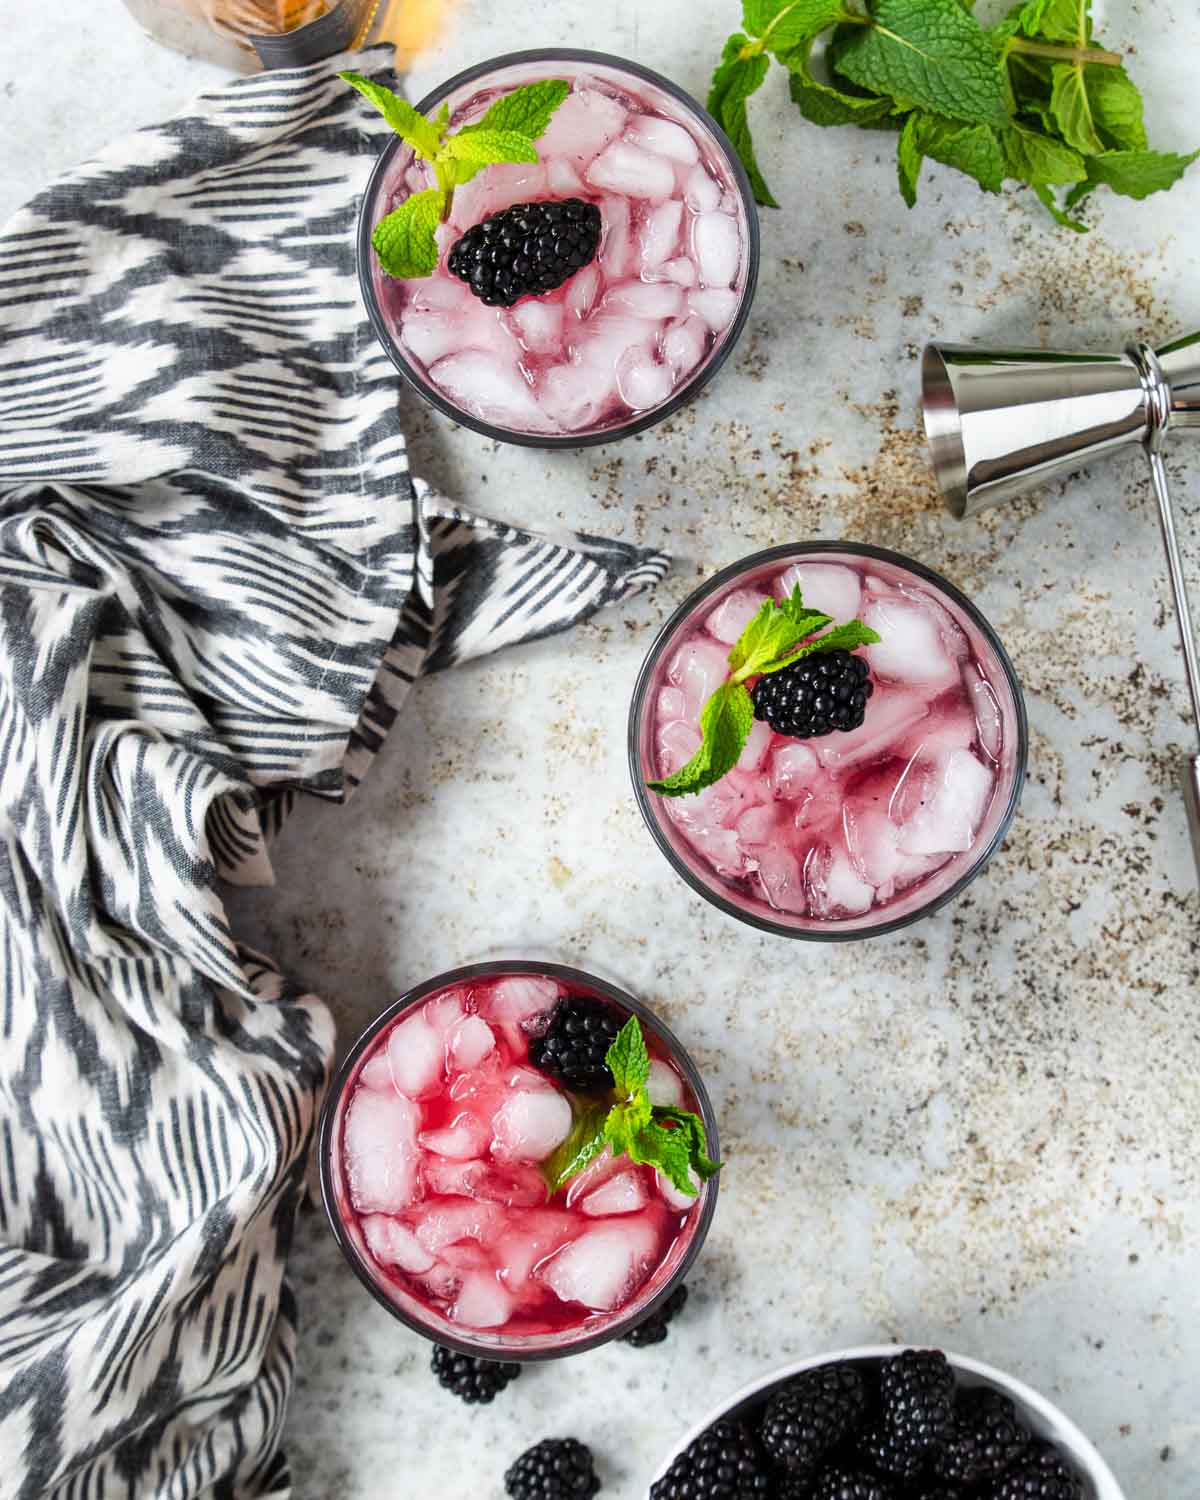
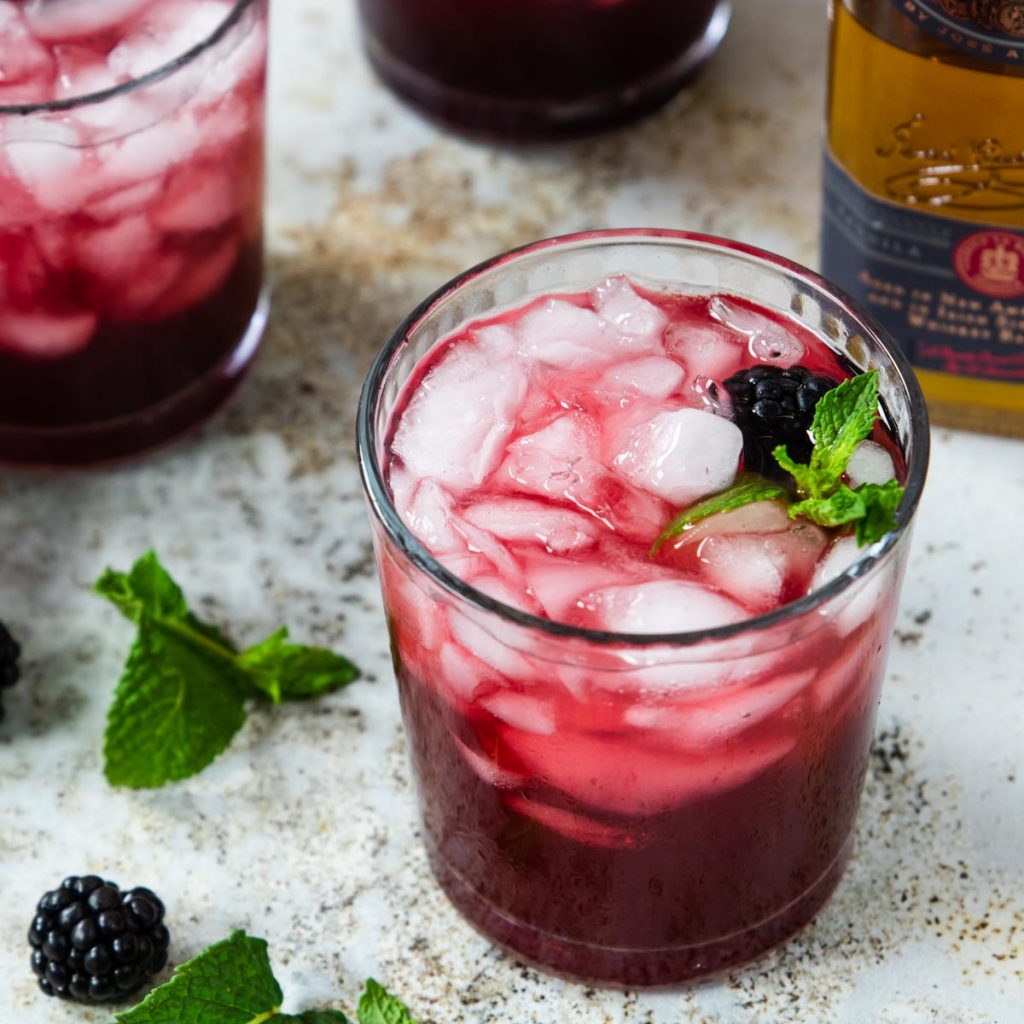
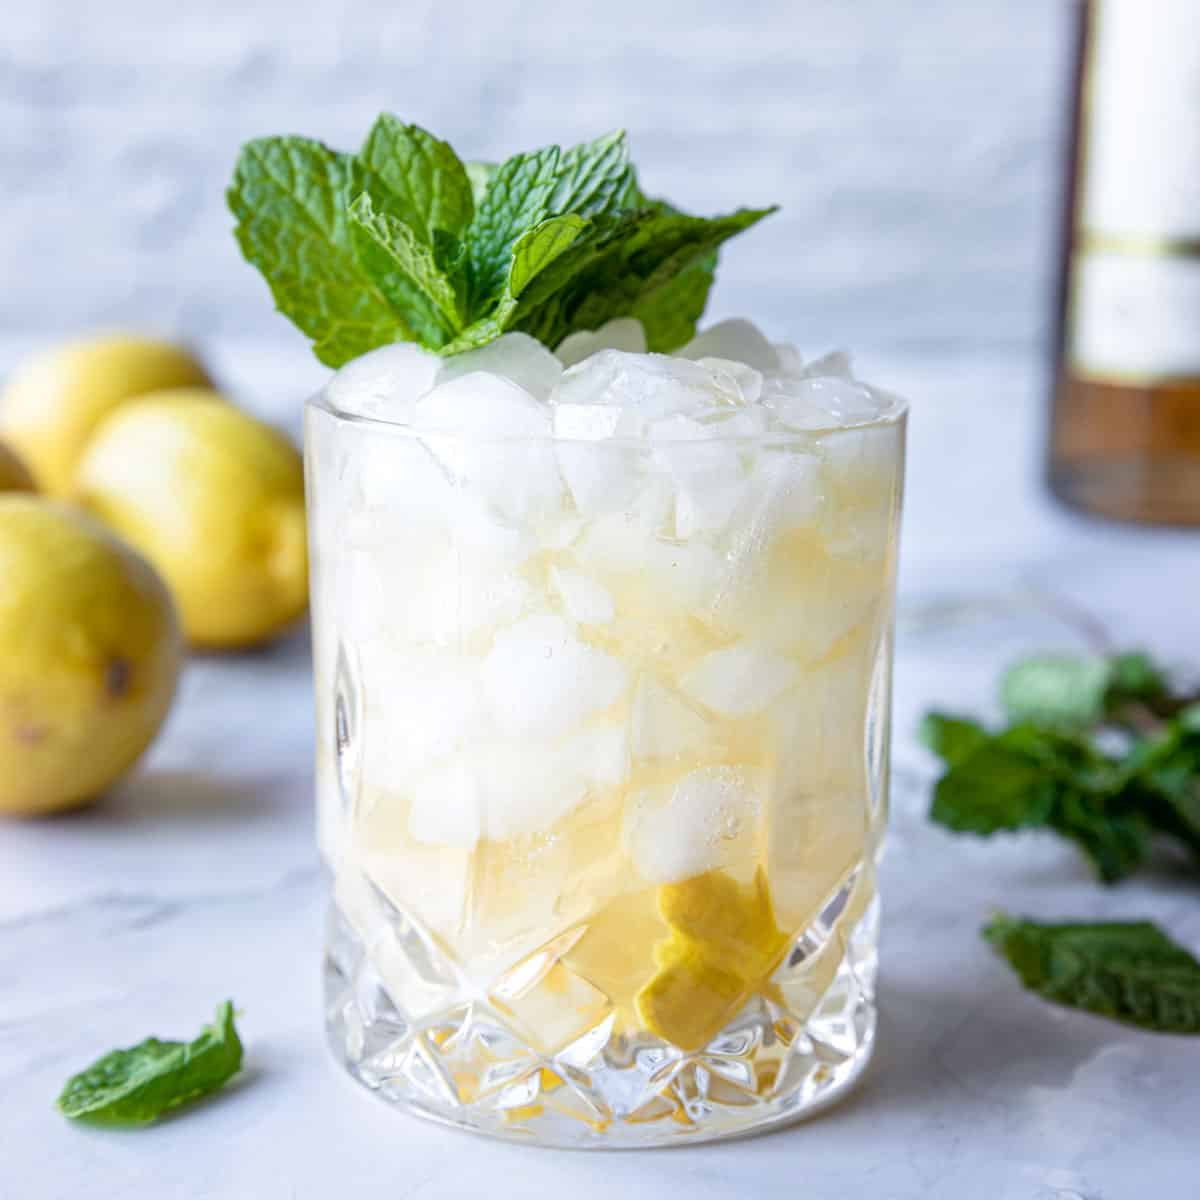
Another great Anejo Tequila drink to check out is my Blackberry Tequila Smash! If you prefer Silver Tequila, my go-to is the Tequila Soda.
What is a Sidecar
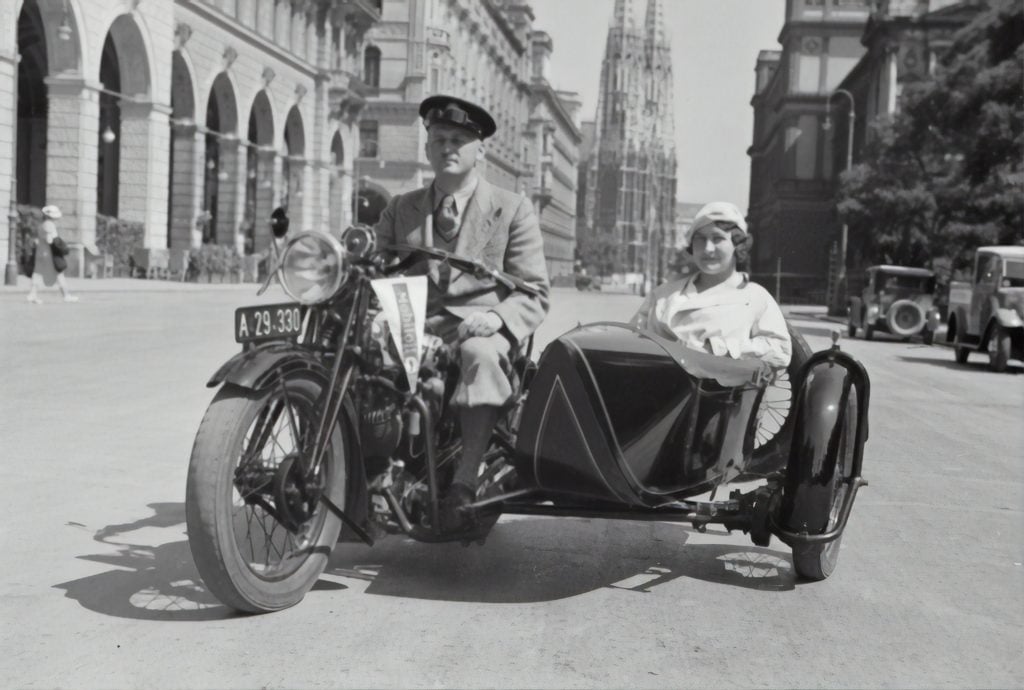
A Sidecar is an old fashioned drink that was popular in the early 1900’s & 1920’s, around the time of the end of World War 1. It was a drink served in hotels in London and Paris, after guests had traveled far. Especially if they were traveling in the sidecar of a motorcycle, which was popular at the time. The cocktail is appropriately named after the sidecar of a motorcycle!
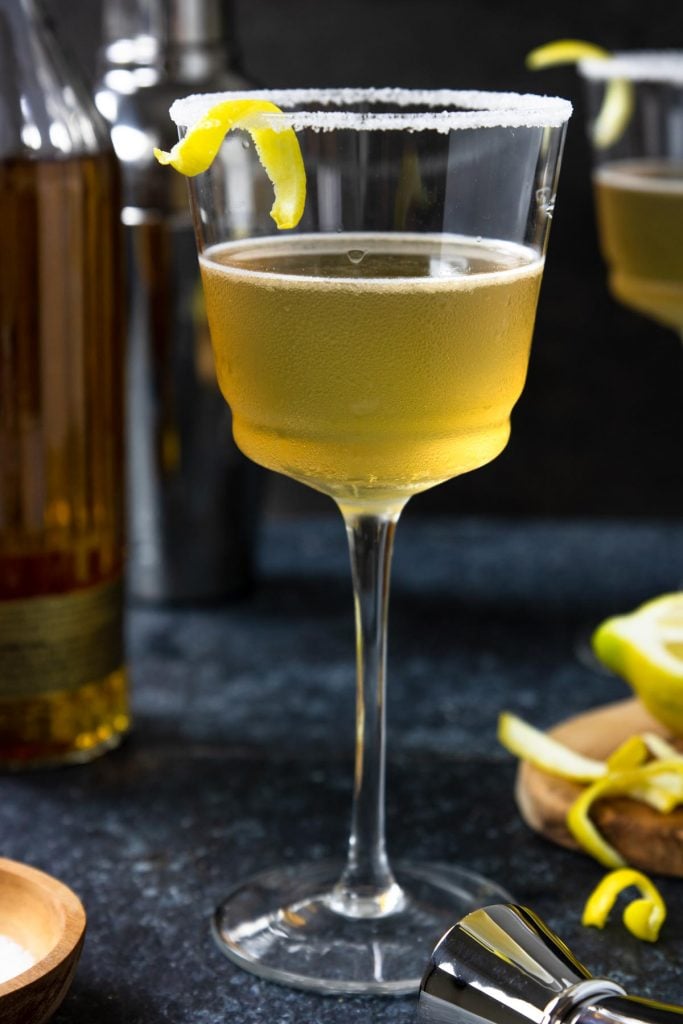
A traditional sidecar is made with cognac, triple sec, and lemon juice, served in a stemmed glass with a sugared rim.
Anejo Tequila
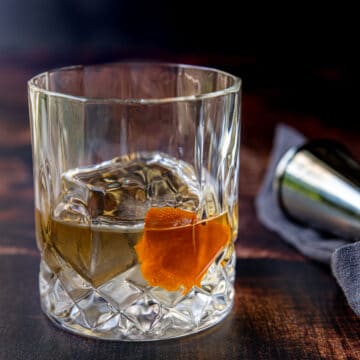
Anejo tequila is a darker colored tequila that has been aged in oak barrels for 1 year. It has a light smokey flavor on the front and the finish is sweet and caramely.
Traditionally it is sipped neat or on ice, but we LOVE it in this Sidecar cocktail!
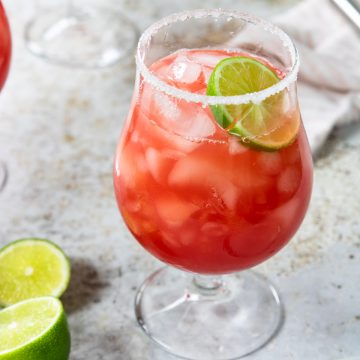
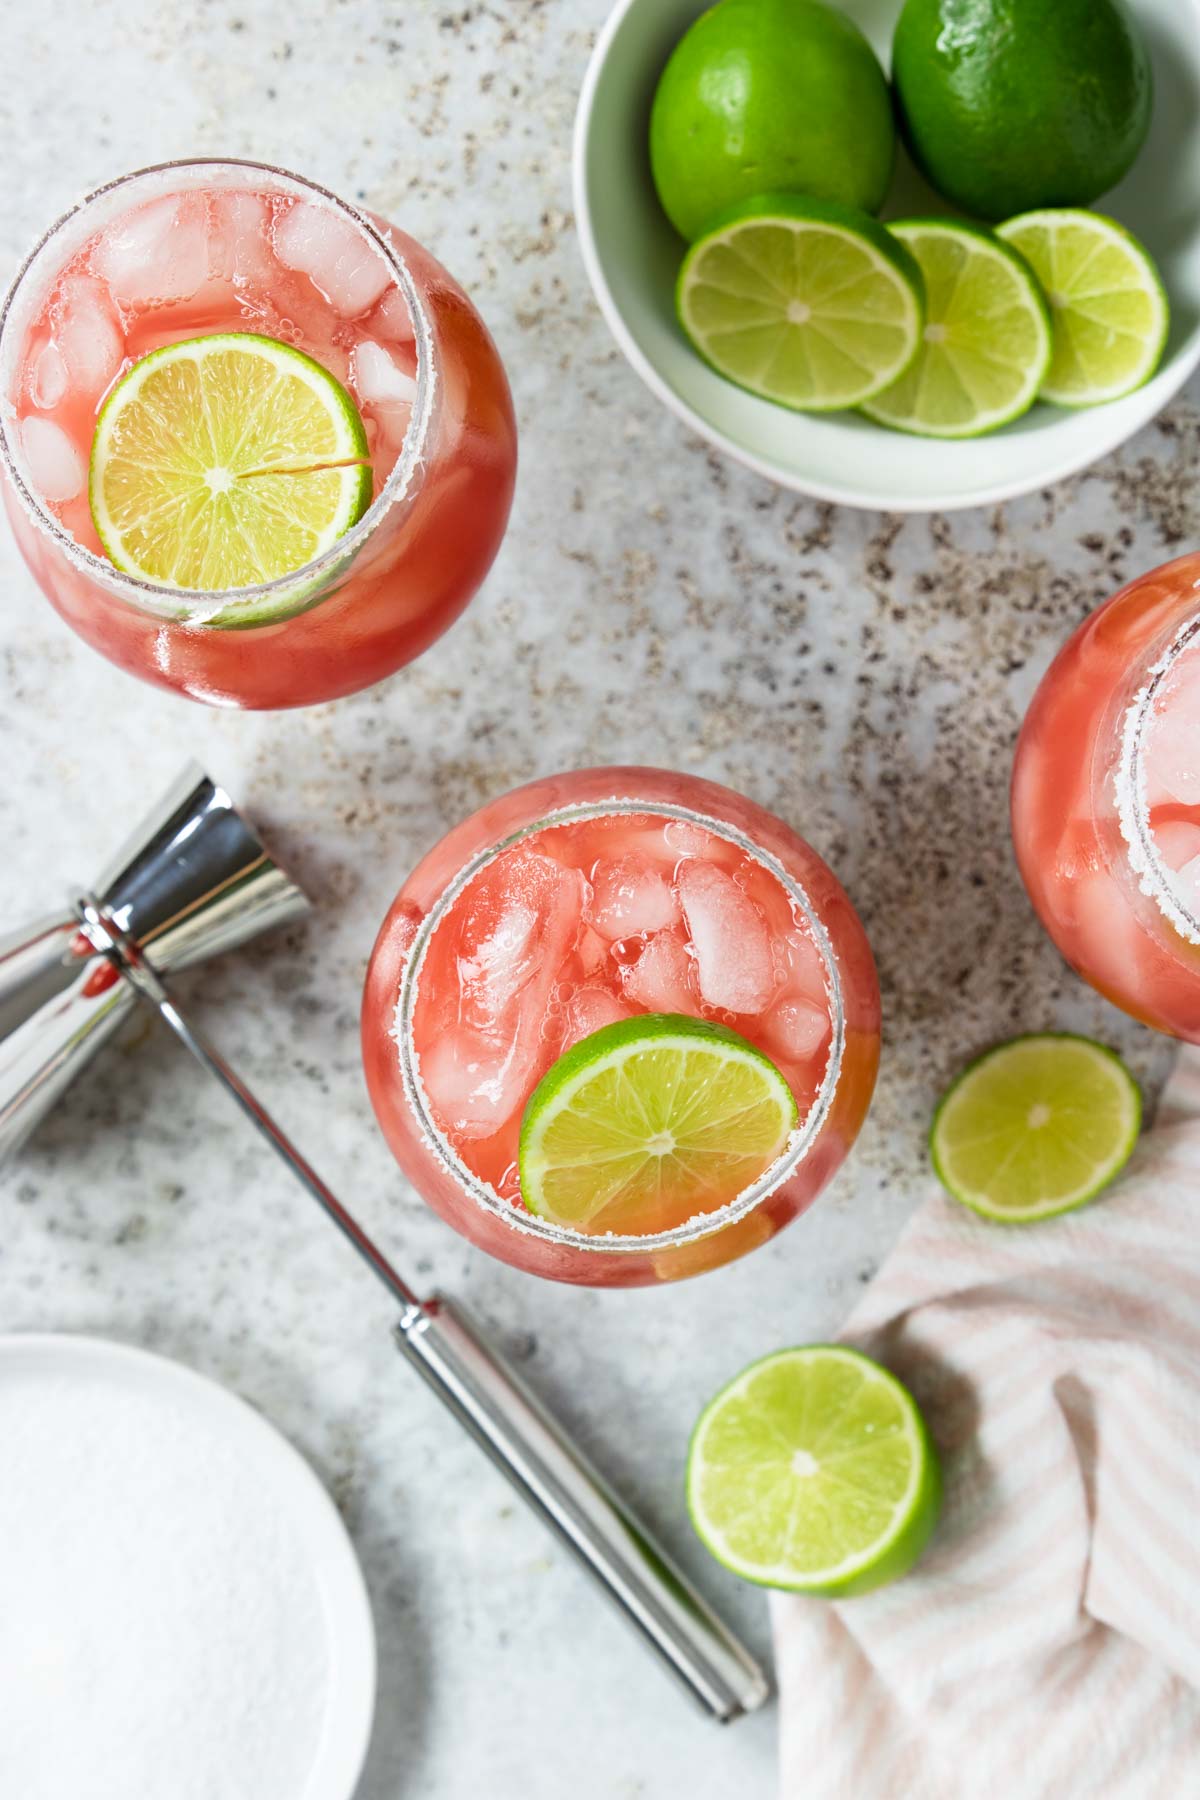
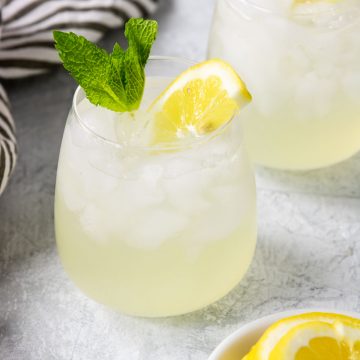
Glassware
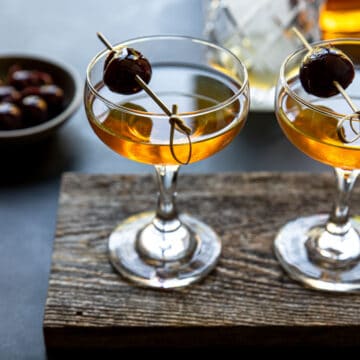
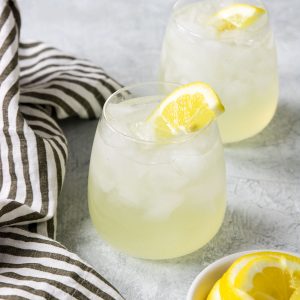
A Sidecar is traditionally served in a coupe glass or a smaller stemmed cocktail glass. You could also serve this in a champagne flute or martini glass.
Anejo Sidecar Recipe

Anejo Sidecar
Equipment
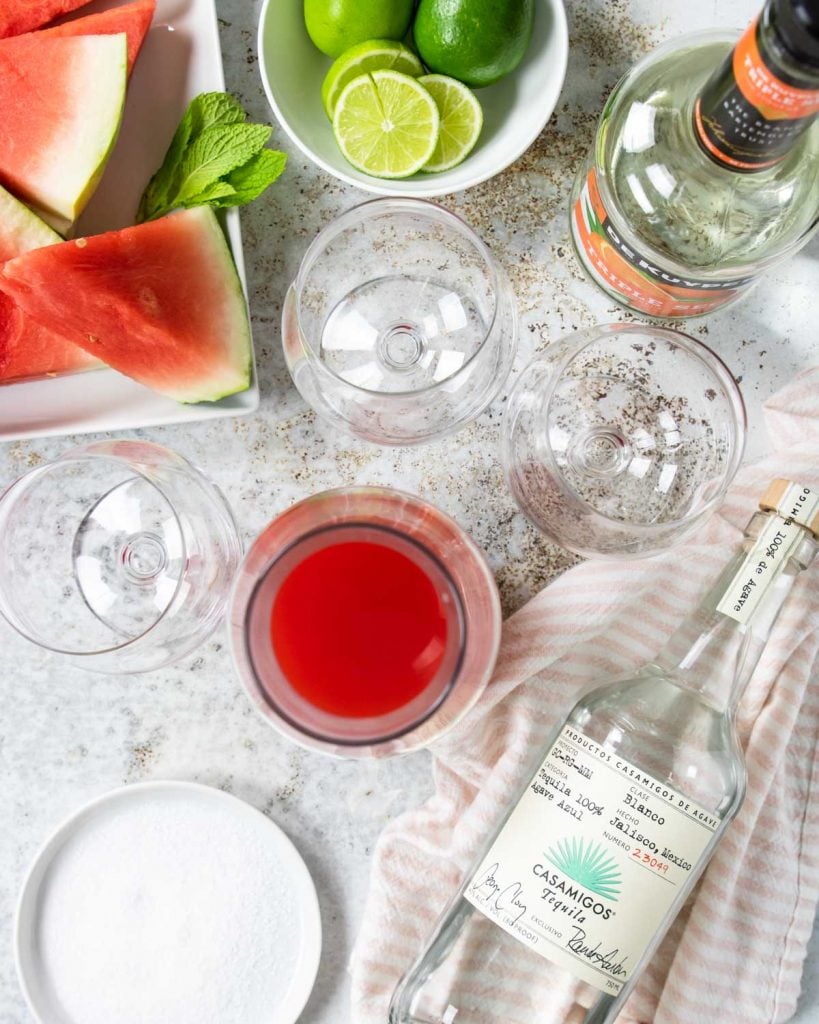
Ingredients
- 2 oz Anejo Tequila
- 1 oz fresh squeezed lemon juice
- 1 oz triple sec
- .5 oz agave syrup
- ice
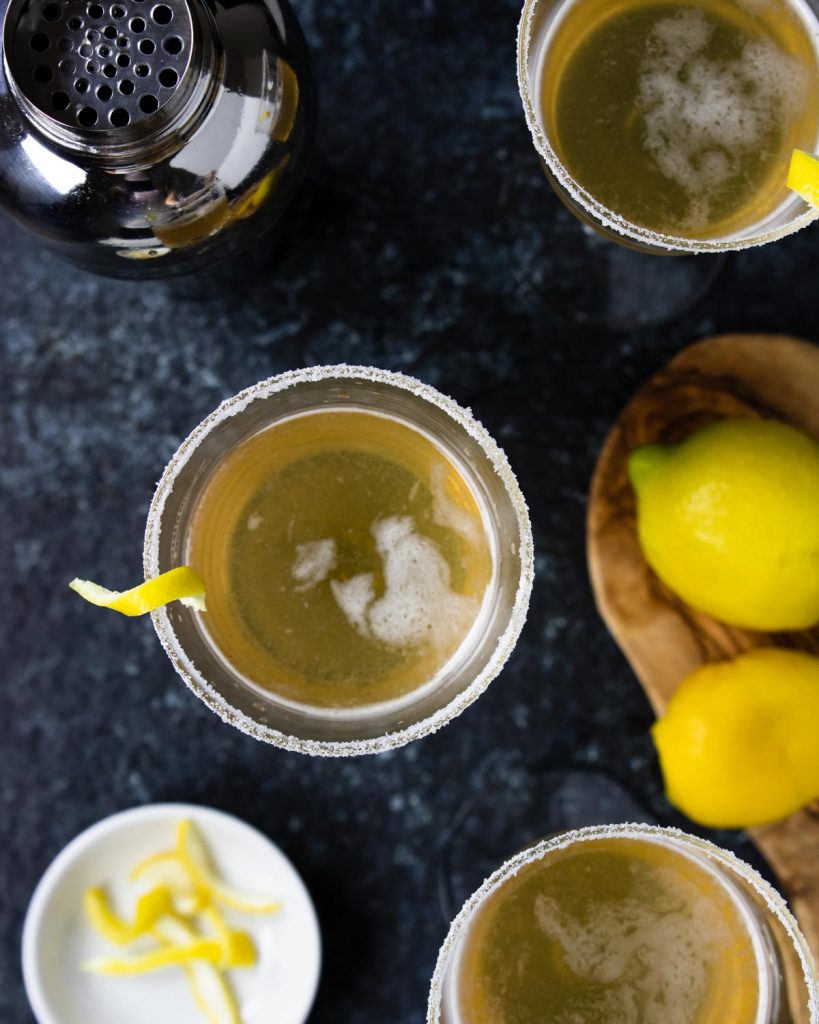
- white sugar and lemon peel twists for serving
Instructions
- Place the sugar on a flat plate. Run a lemon wedge around the rim of your glass. Dip the rim of the glass into the sugar.
- Fill your cocktail shaker half way with ice. Pour in 2 oz Anejo Tequila, 1 oz Triple Sec, 1 oz fresh squeezed lemon juice, and .5 oz agave syrup. Pop the lid on the shaker.
- Vigorously shake the cocktail for 20 seconds. This will break little shards of ice into your cocktail making it extra cold and delish!!
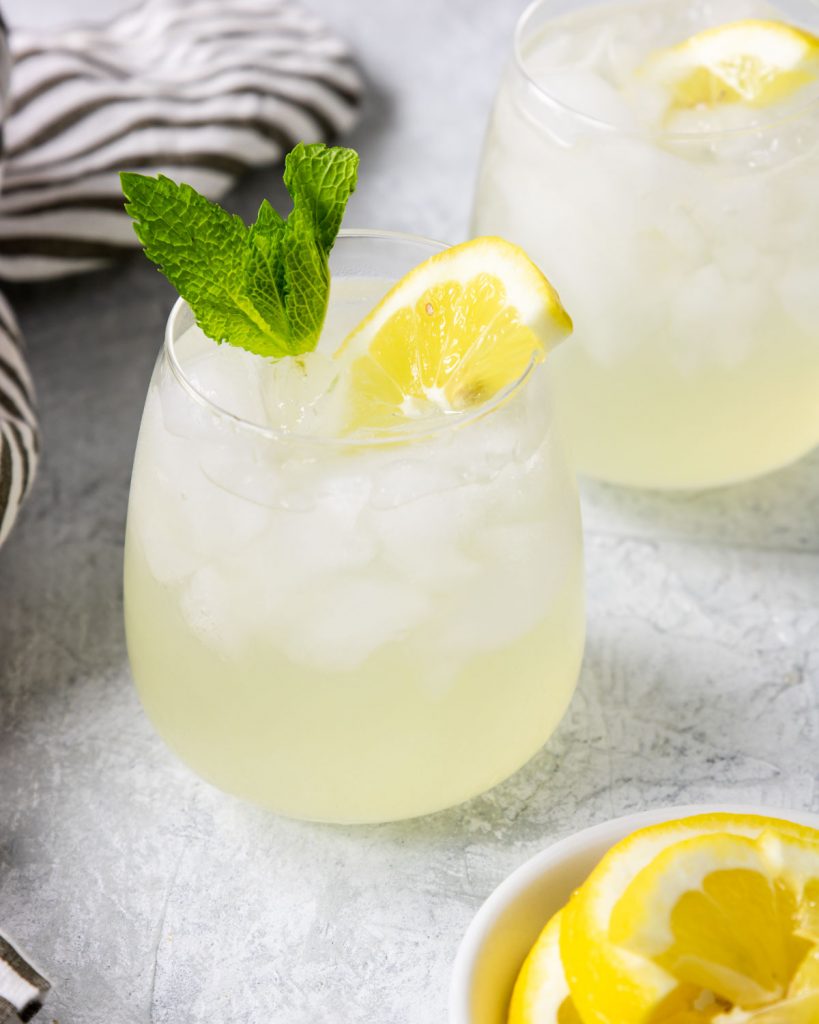
- Pop the strainer cap off the cocktail shaker and pour the drink into the sugar rimmed glass. Garnish with a lemon twist (which is lemon peel without the white pith)