


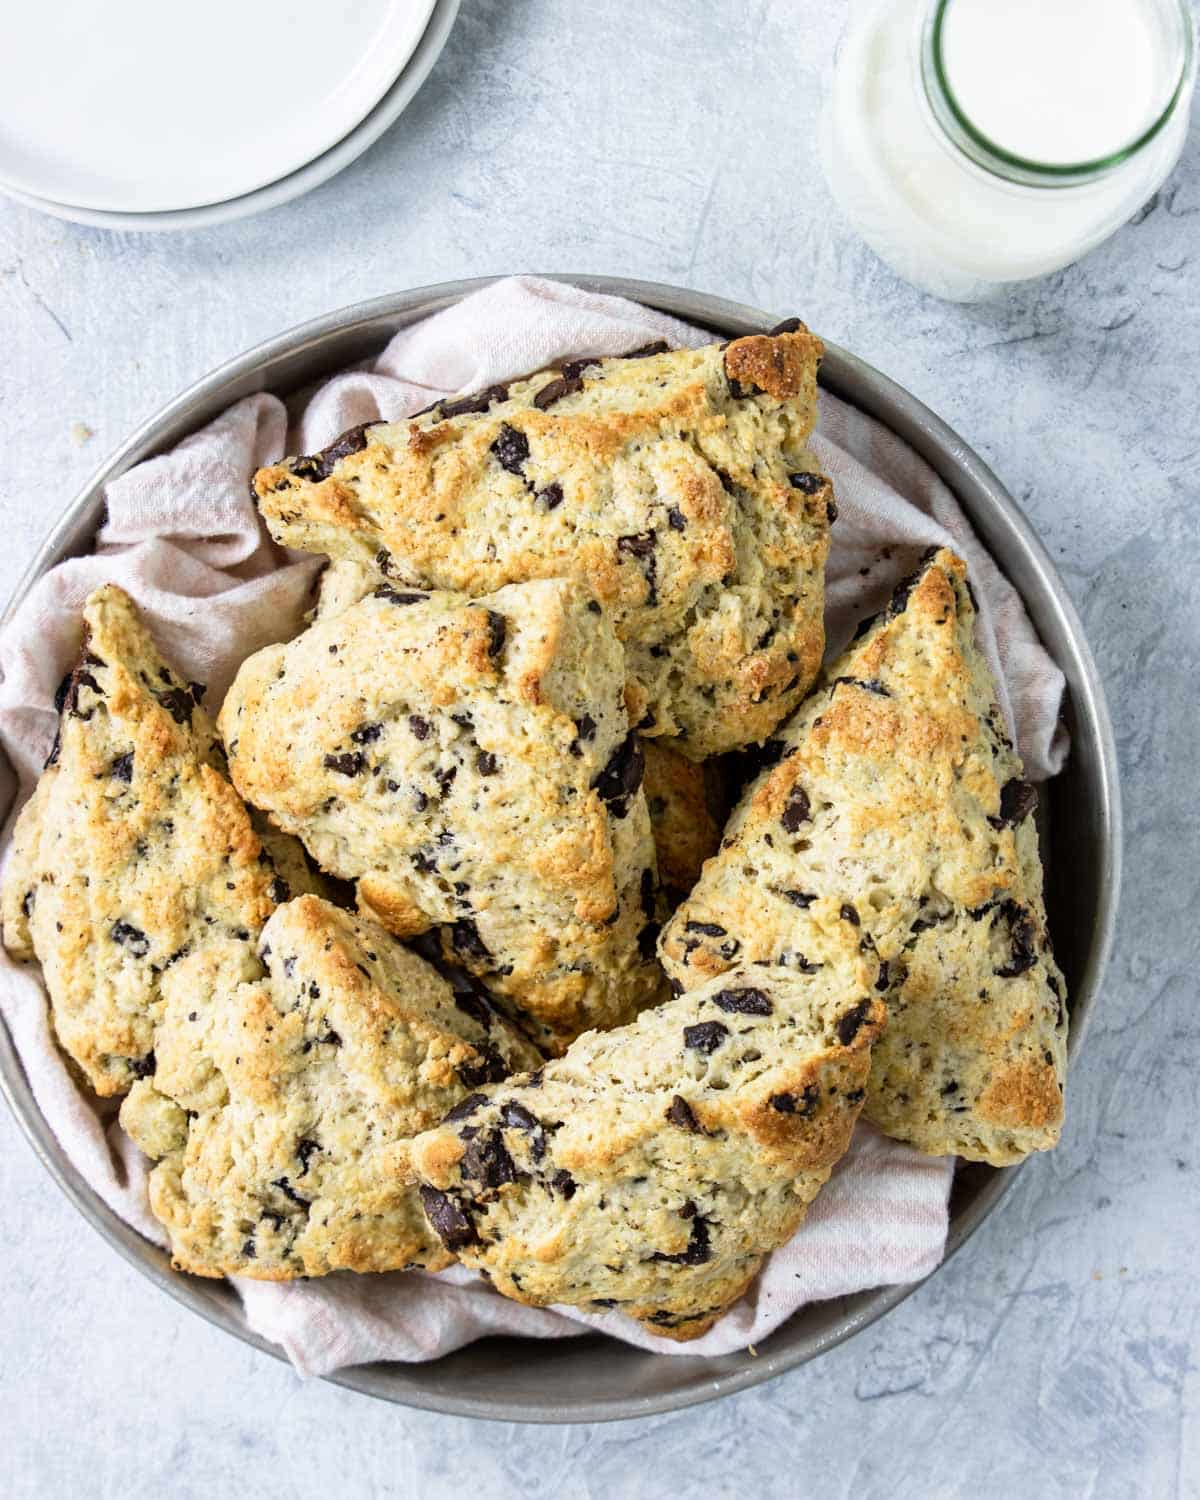
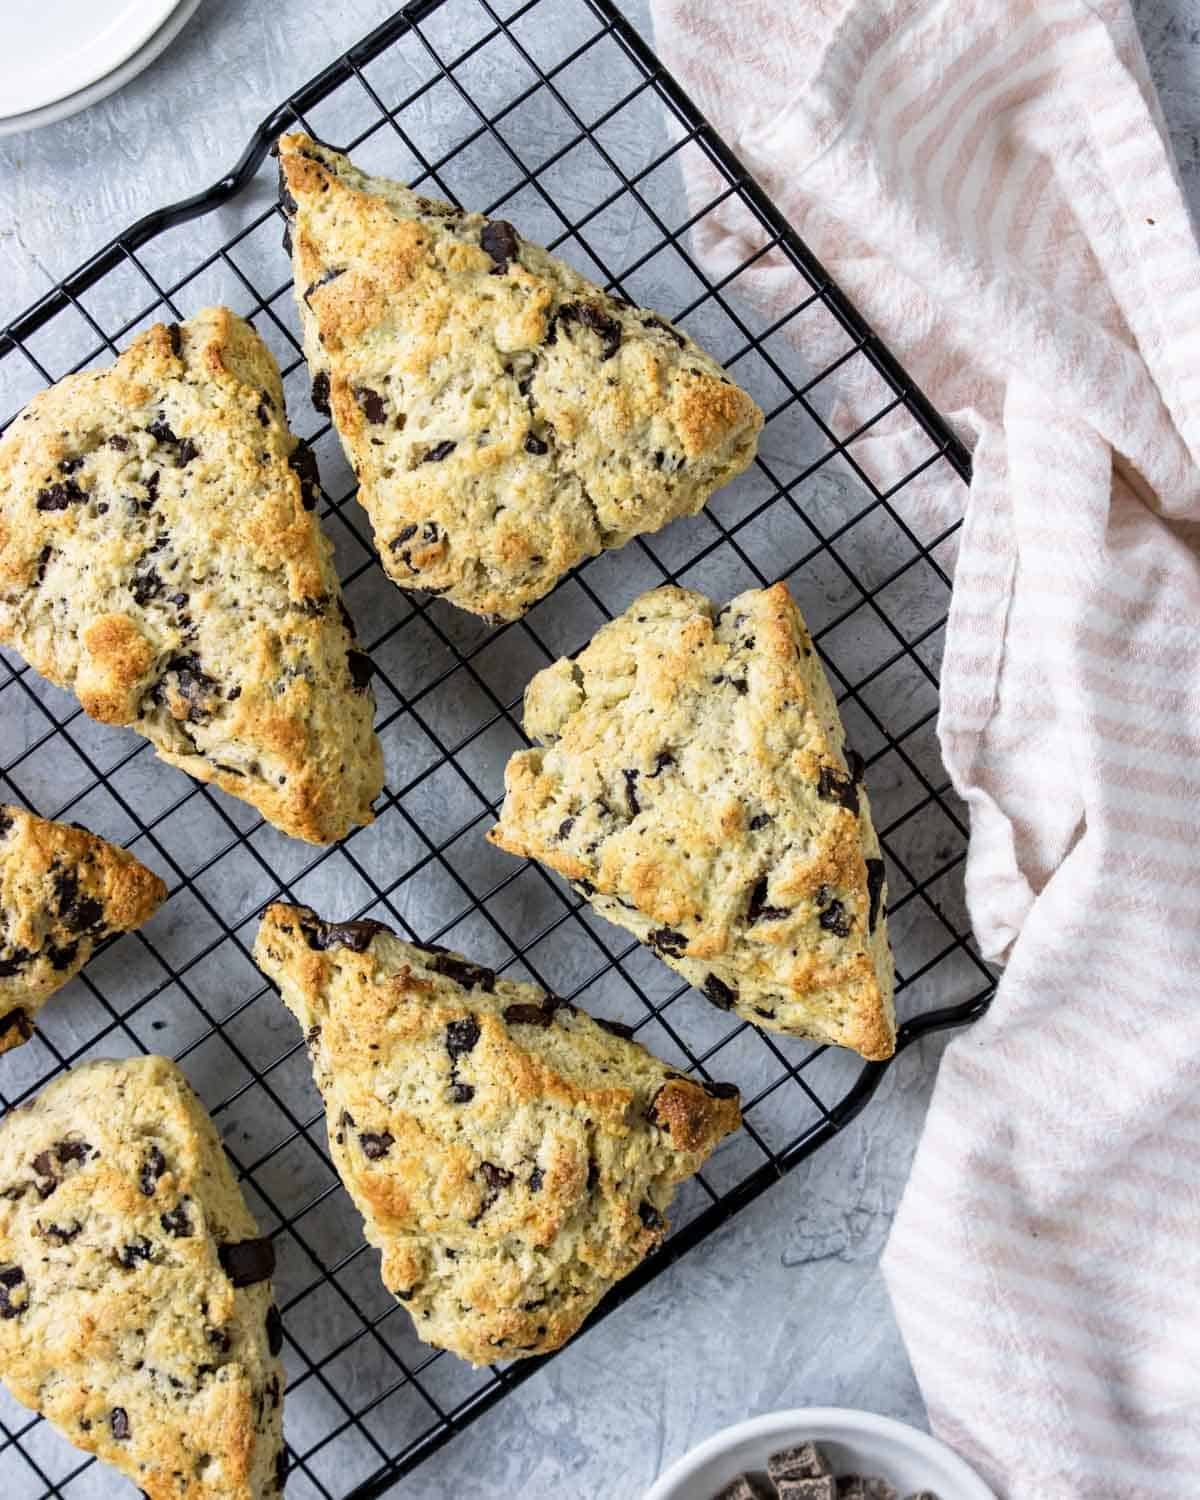
These Chocolate Chip Scones are the perfect breakfast, dessert, or delicious chocolate snack! They are lightly sweet and tender with crisp golden edges. Enjoy them with a cup of hot coffee or a glass of cold milk. They will almost remind you of eating a chocolate chip cookie.
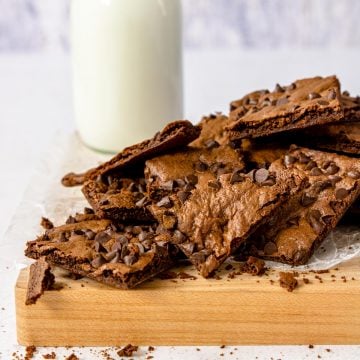
RELATED: Mini Chocolate Chip Muffins & Chocolate Brownie Brittle
What is a Scone
A scone is a delightful baked treat that’s a staple in the world of afternoon tea and brunch. These tender and crumbly pastries originate from the British Isles but have gained worldwide popularity. Scones are typically made from a simple dough of flour, sugar, baking powder, butter, and milk or cream.
What makes them truly special are the endless variations you can create by adding ingredients like dried fruits, nuts, chocolate chips, or savory elements like cheese and herbs.
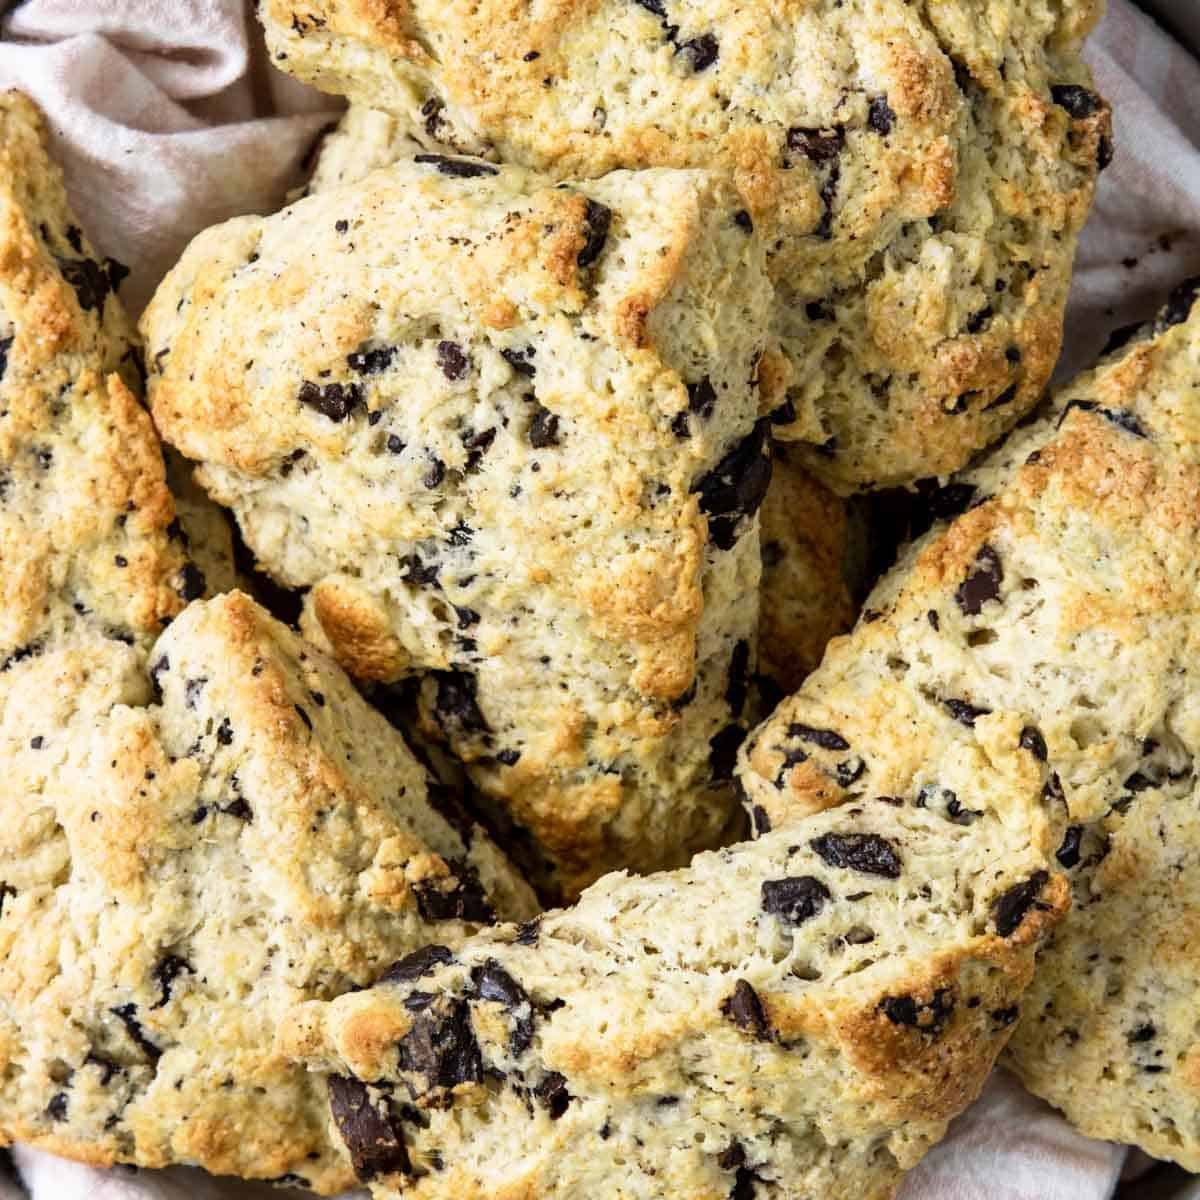
You may feel like you are eating a thick chocolate chip cookie when you have these scones. But, a scone is more closely related to a biscuit than a cookie. The base recipe is very similar to these drop biscuits.
They make a great addition to a pastry basket for brunch or breakfast. However they are sweet enough to be enjoyed as dessert!
Ingredients
If you are a baker then you probably have most of the ingredients to put these Chocolate Chip Scones together:
- whole milk
- egg
- vanilla
- all purpose flour
- sugar
- baking powder
- kosher salt
- cold butter
- semi-sweet chocolate chunks or chips: you can also opt for a dark chocolate chunk or chip.
How to Make Chocolate Chip Scones
- Prep and Gather Ingredients
- Combine Wet Ingredients
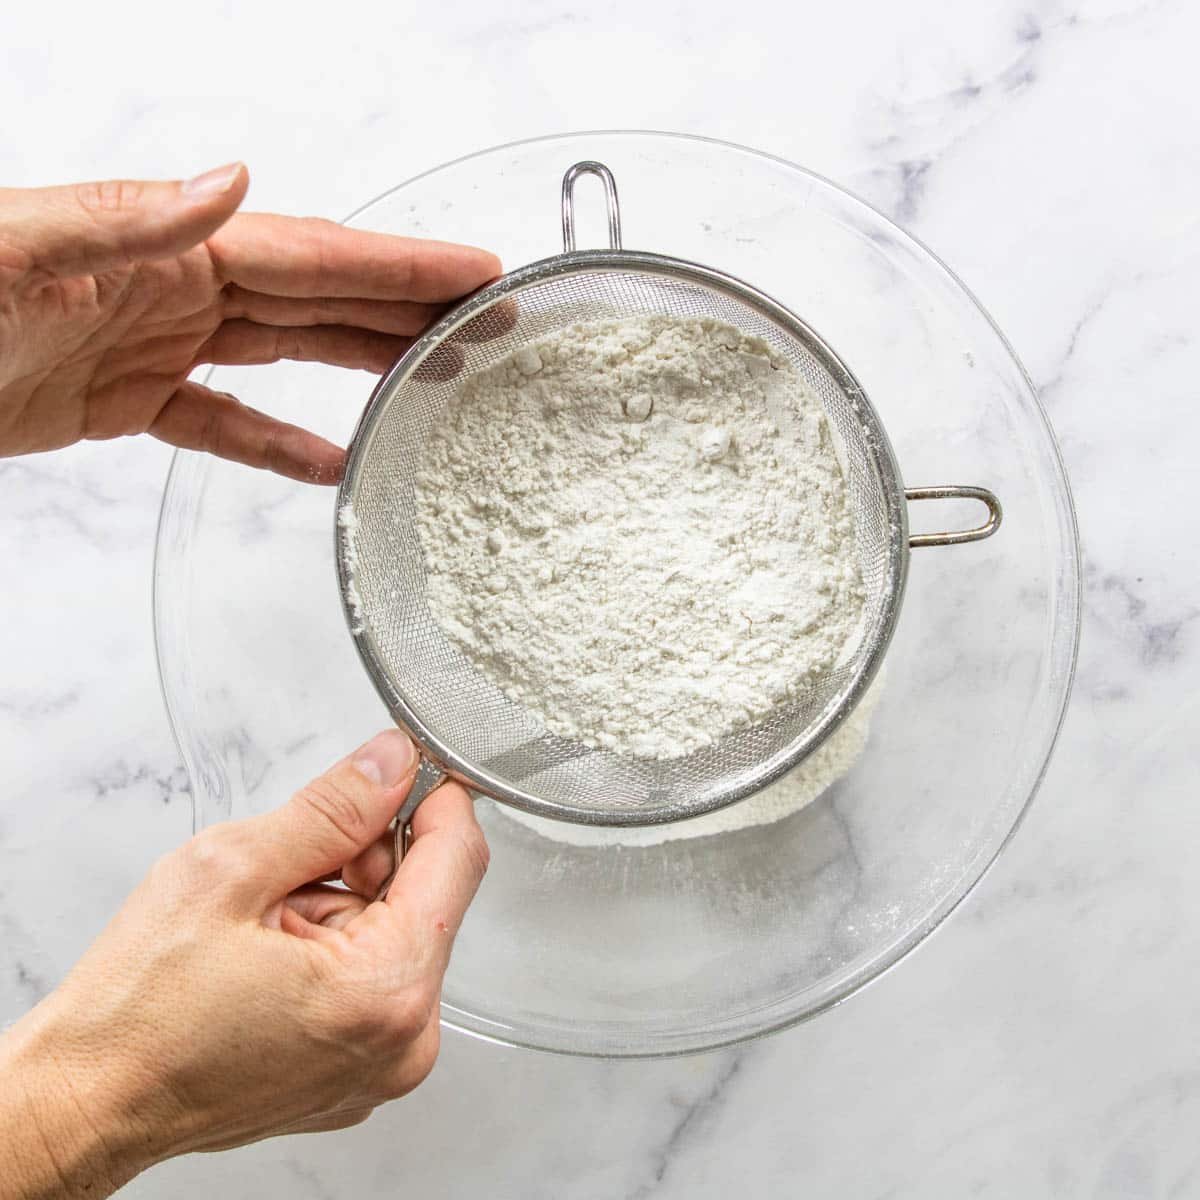
- Sift Dry Ingredients
- Add The Butter
- Add Chocolate Chips and Egg Mixture
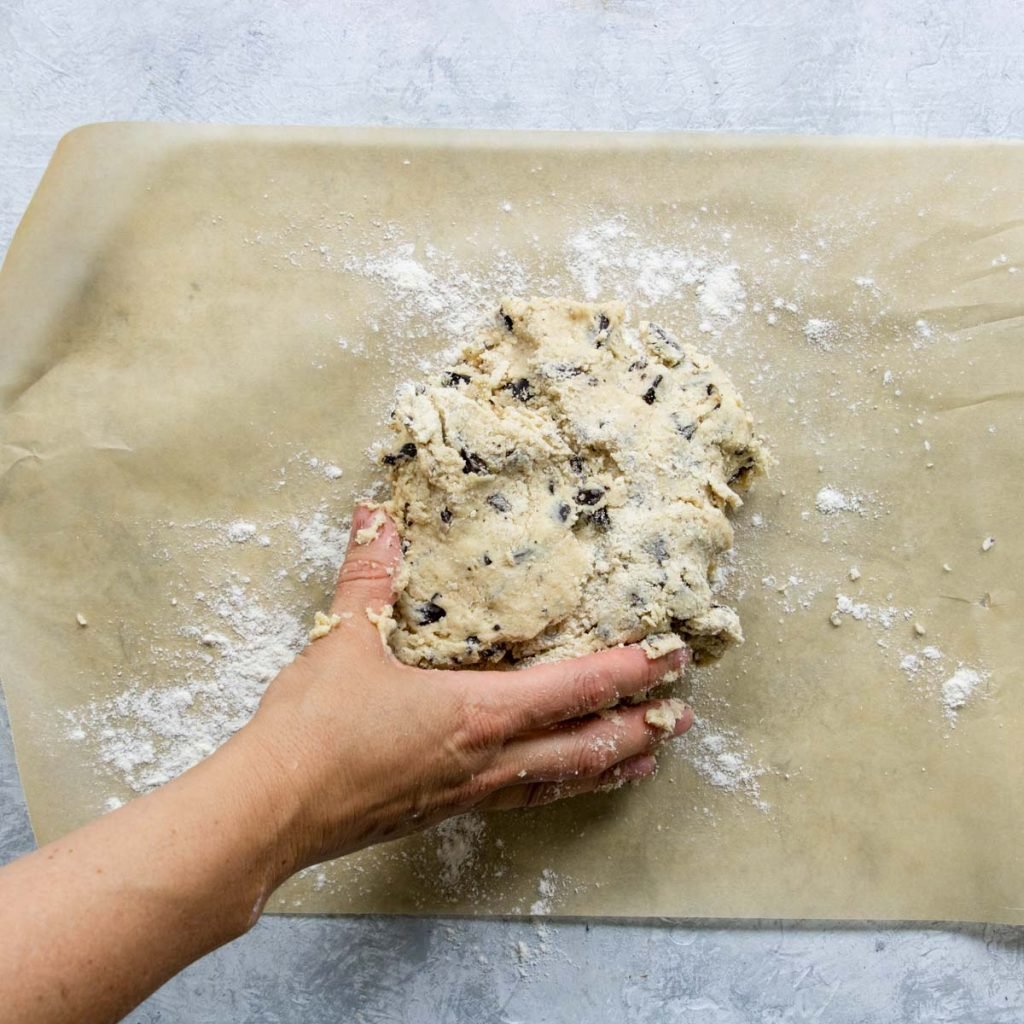
- Form The Dough
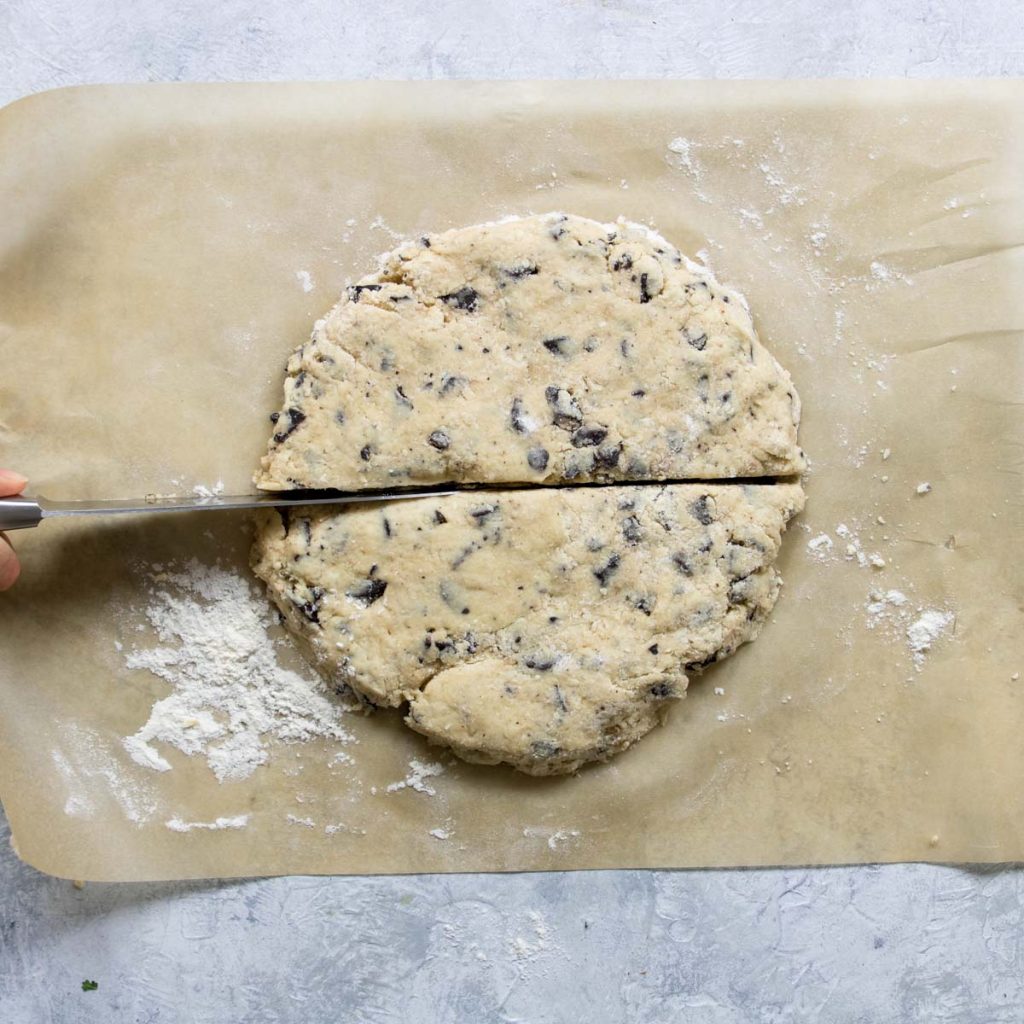
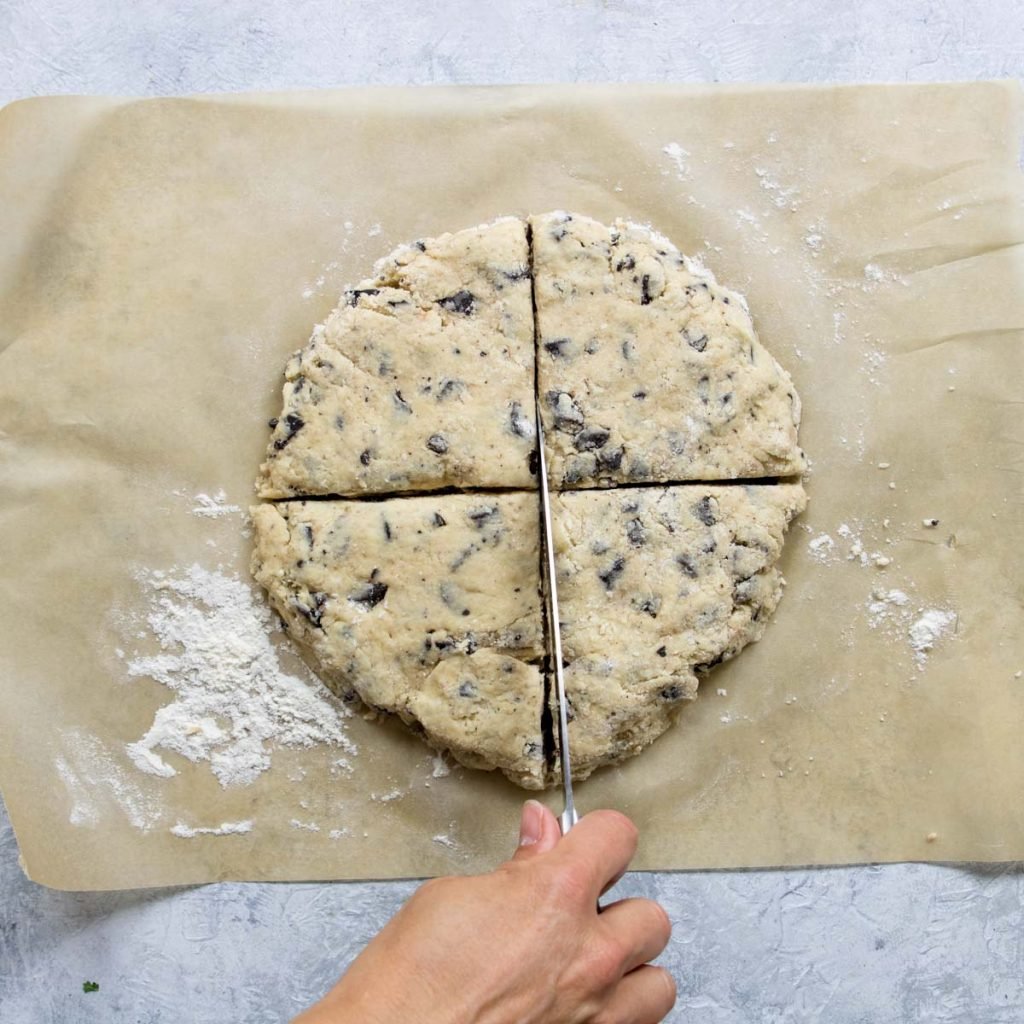
- Cut Into 8 Pieces
- Bake
Start by preheating the oven to 400° F and lining a baking sheet with parchment paper or a reusable silpat. Gathering all your ingredients (except the butter, leave that in the fridge until you are ready to use it).
In a small cup whisk together the milk, egg, and vanilla – set aside.
Now in the bowl of a stand mixer with a paddle attachment sift in the flour, baking powder, sugar, and kosher salt.
Grab the butter out of the fridge and cut it into pea sized pieces. Add it to the flour mixture and turn on the mixer for 30 seconds.
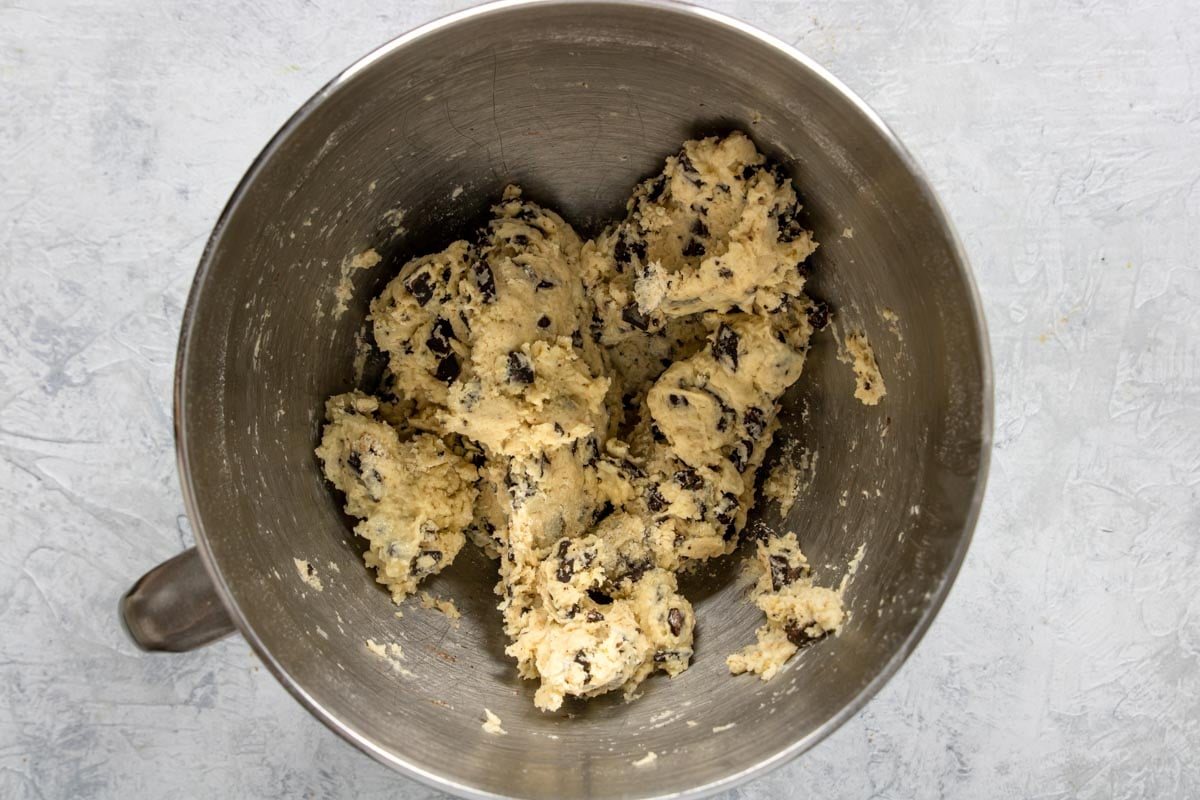
Add the chocolate chips and the egg mixture. Blend it together for just a few seconds until it all comes together.
NOTE: you may need to hand knead the dough a couple times in the bowl to grab up all the flour from the bottom.
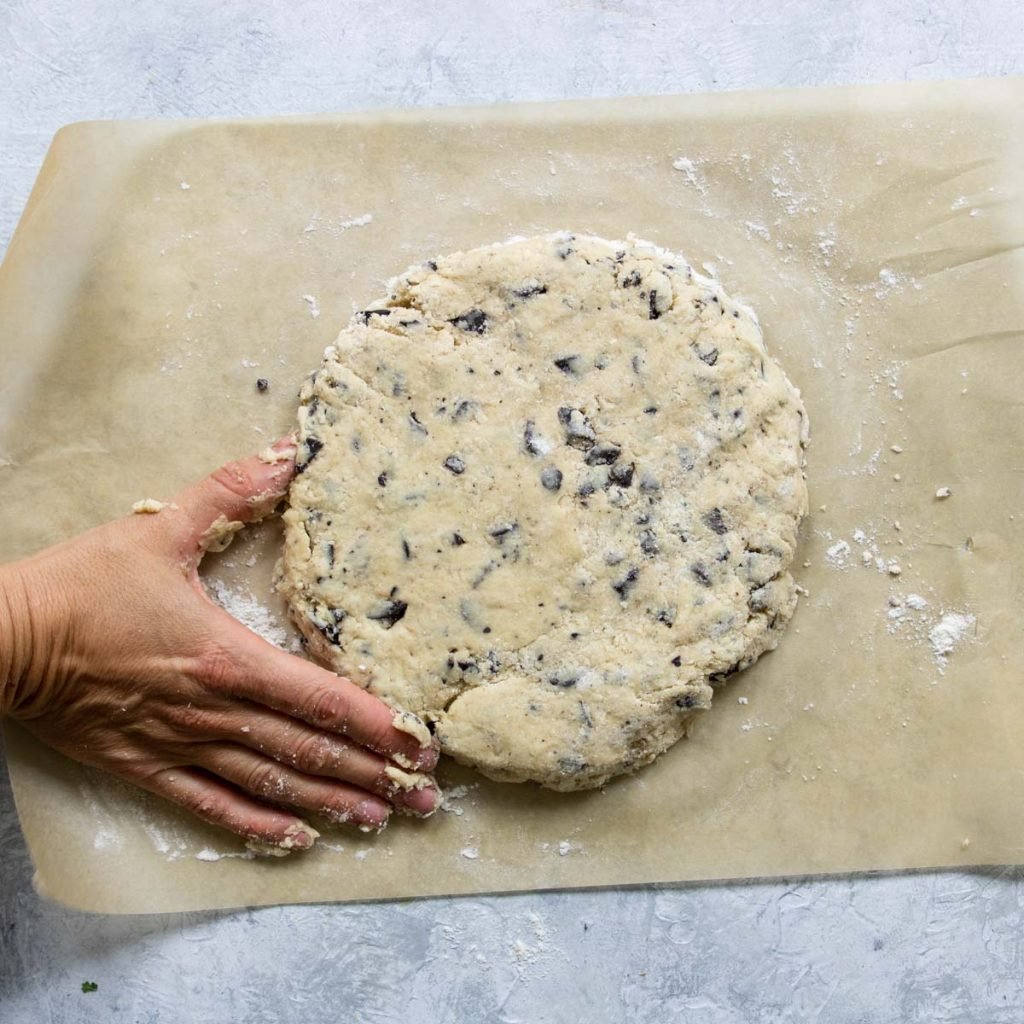
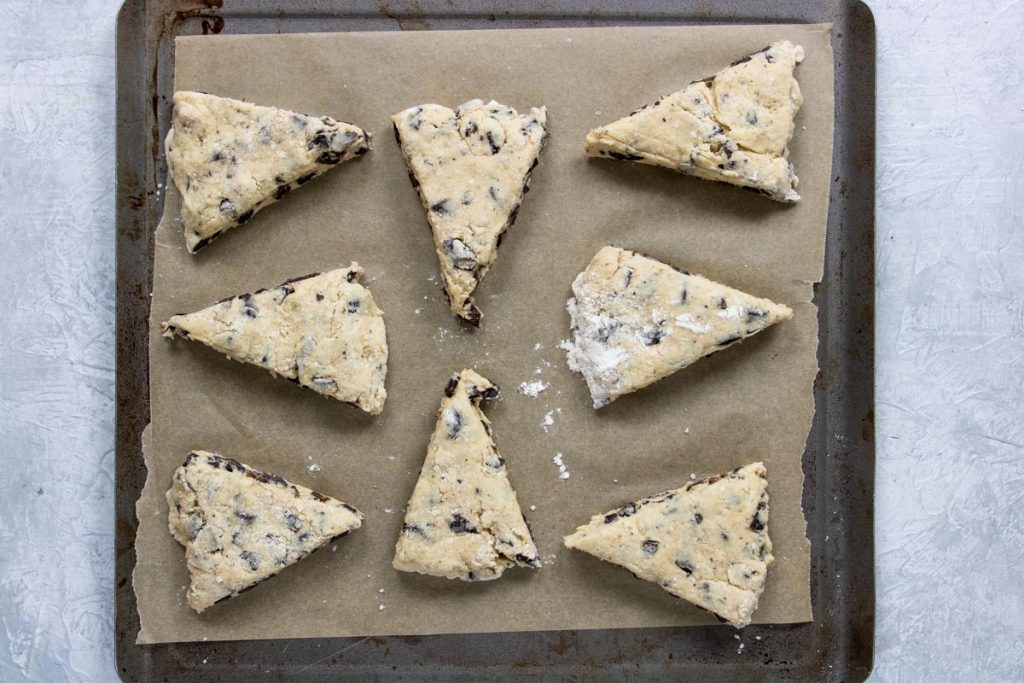
Scrape the dough out onto a cleaned and lightly floured surface. Shape the dough into a ½ inch thick – 8 inch round. See Photos:
Cut the round into 8 equal triangles. Place on the parchment lined baking sheet and place in the fridge for 15 minutes. This will help your scones rise a little higher during baking. However if you are short on time you can skip this step.
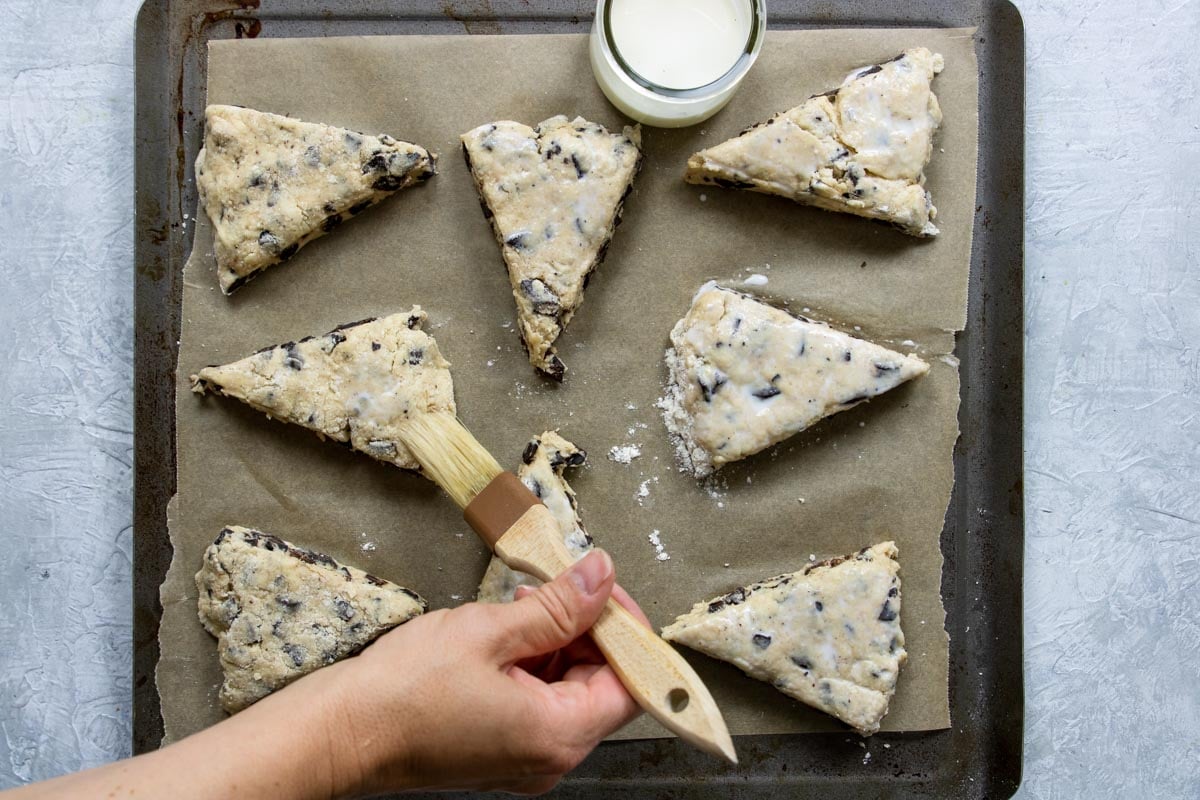
Before they go in the oven brush the tops with a little milk and sprinkle with sugar. Bake for 15 minutes.
Storing and Freezing Scones
Store leftover scones at room temp in an airtight container for up to 5 days.
Freezing After Baking
These chocolate chip scones can be frozen after baking. Make sure they are completely cooled and pop them in a freezer safe bag. They can be frozen for up to 3 months.
Freezing Before Baking
You can also freeze the scone dough to be baked later! Follow the chocolate chip scone recipe up to the point where they go in the fridge, instead pop them in the freezer for about 30 minutes. Then place them in a freezer safe bag. They will be good for about 3 months.
To bake just remove them from the freezer and bake without thawing. You may need to add a couple minutes to the baking time.
Doubling The Recipe
This recipe is easily doubled! Simply double all the ingredients.
When you scrape the dough out of the mixer just divide it into 2 piles and then shape the 8 inch rounds. This will make 16 scones.
More Chocolate Lover Recipes


WATCH SUSIE ON FOOD NETWORK!
⭐⭐⭐⭐⭐
The new gameshow, 100 Cooks, premieres on Food Network June 7th, 2026 at 9est/8cst. I hope you will tune in!
Chocolate Chip Scones Recipe
Equipment
Ingredients
- ½ cup whole milk - (have a little extra for brushing the tops before baking)
- 1 egg
- 1 teaspoon vanilla
- 2 cups all purpose flour
- 3 tablespoon sugar - (have a little extra for sprinkling on the tops before baking)
- 2 ½ teaspoon baking powder
- ½ teaspoon kosher salt
- ¼ cup cold butter - cut into pea sized pieces
- 1 cup semi-sweet chocolate chunks or chips - – can also use dark chocolate
Instructions
- Start by preheating your oven to 400°. Line a baking sheet with parchment paper or a reusable silpat.
- In a small bowl whisk together the whole milk, egg, and vanilla – set aside.½ cup whole milk, 1 egg, 1 teaspoon vanilla
- In the bowl of a stand mixer with the paddle attachment, sift together flour, baking powder, sugar, and kosher salt.2 cups all purpose flour , 3 tablespoon sugar , 2 ½ teaspoon baking powder , ½ teaspoon kosher salt
- Add the cold cut butter to the flour mixture. Run the mixer for 30 seconds to cut the butter into the flour.¼ cup cold butter
- Add in the chocolate chips and the egg mixture. Run the mixer on low for just about 10 seconds until the dough comes together. NOTE: you may need to hand knead the dough in the bowl a couple times to get all the flour from the bottom of the bowl.1 cup semi-sweet chocolate chunks or chips

- Scrape the scone dough out onto a cleaned and lightly floured surface. Shape into a ½ inch thick, 8 inch round circle. Cut the circle into 8 equal triangles.

- Place the triangles on the parchment lined baking sheet. Place it in the fridge to cool for 15 minutes. This will help your scones rise higher. NOTE: if you do not have time to put the scones in the fridge, this step can be skipped.
- Once they come out of the fridge brush the tops with a little milk and sprinkle with sugar.
- Bake for 15 minutes. Then cool on a cooling rack.


Adair says
Unfortunately, these turned out very dry for me. I liked the rise and the flavor, but I’d just need a bit more moisture.
Jodi says
I made these for my training class at work and they were a big hit! Very easy and quick to make. I doubled the recipe and it worked out fantastic!
Thank you for sharing this recipe.