This Pie Crust with Vodka is one of the flakiest and most tender crusts you will find! It is perfect to use in any sweet or savory recipe that calls for a pie crust. All you need are 7 simple ingredients – flour, salt, sugar, butter, vegetable shortening, water, and vodka! Read on to find out why Vodka is such an important part of getting a really flaky crust!
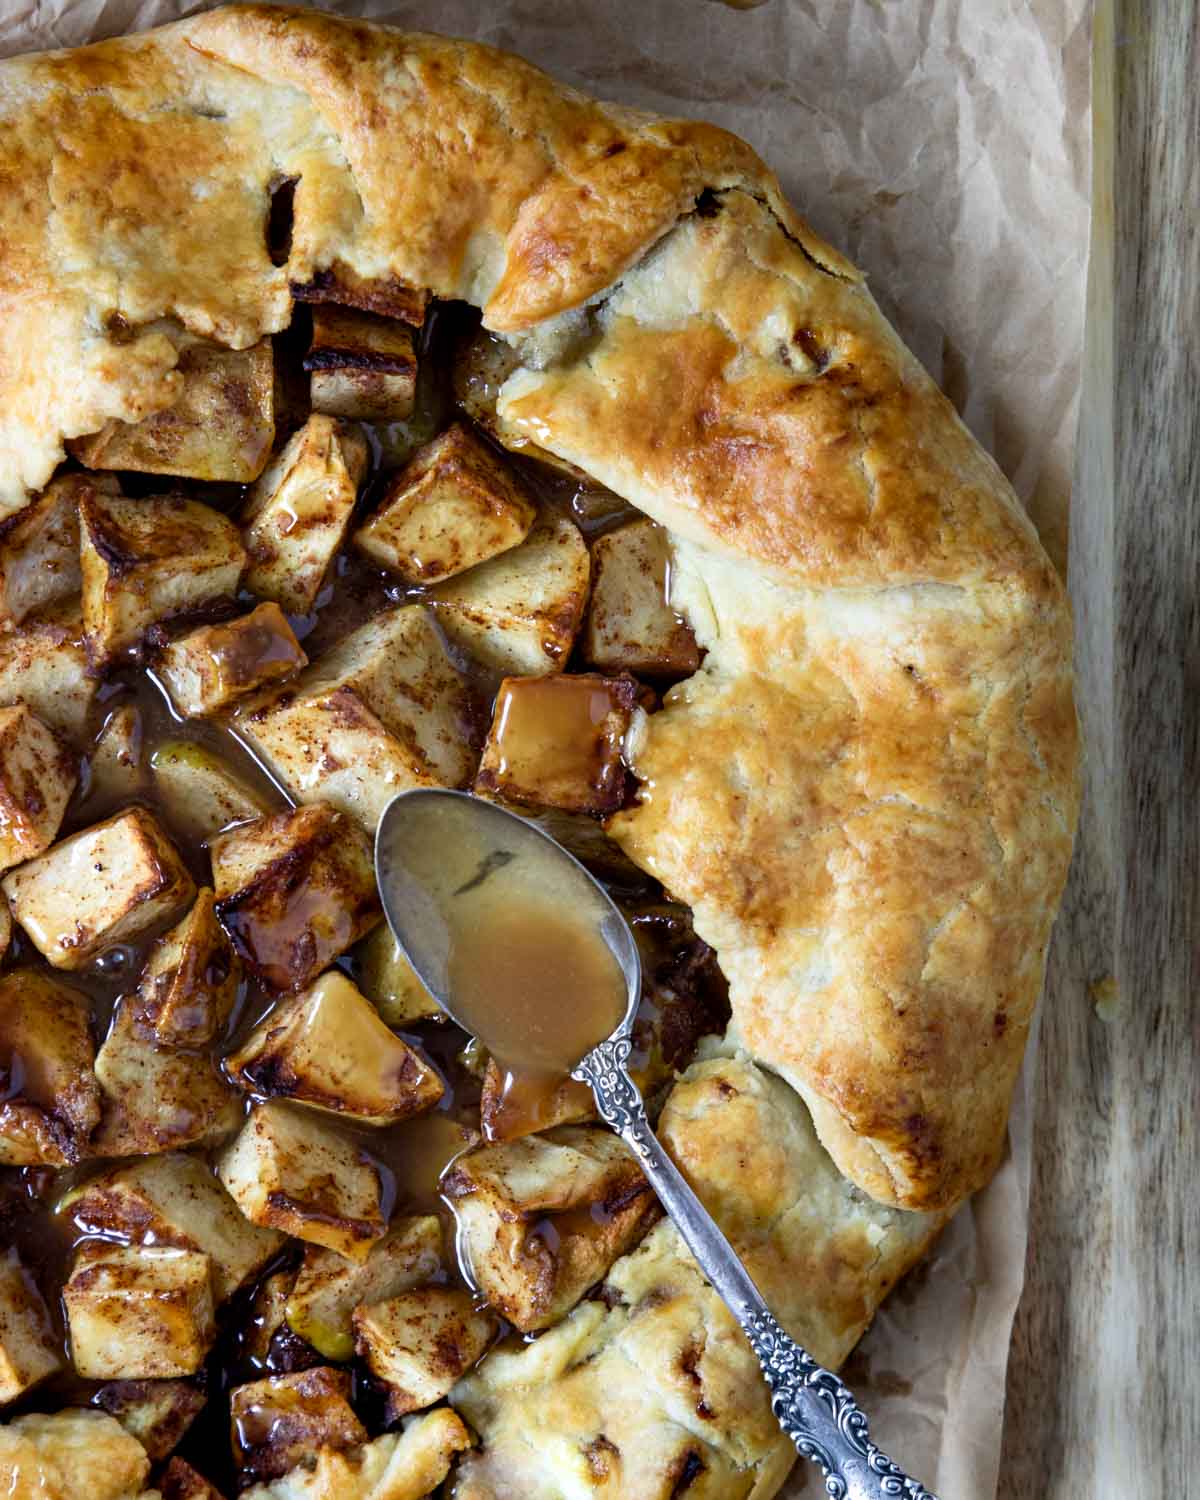
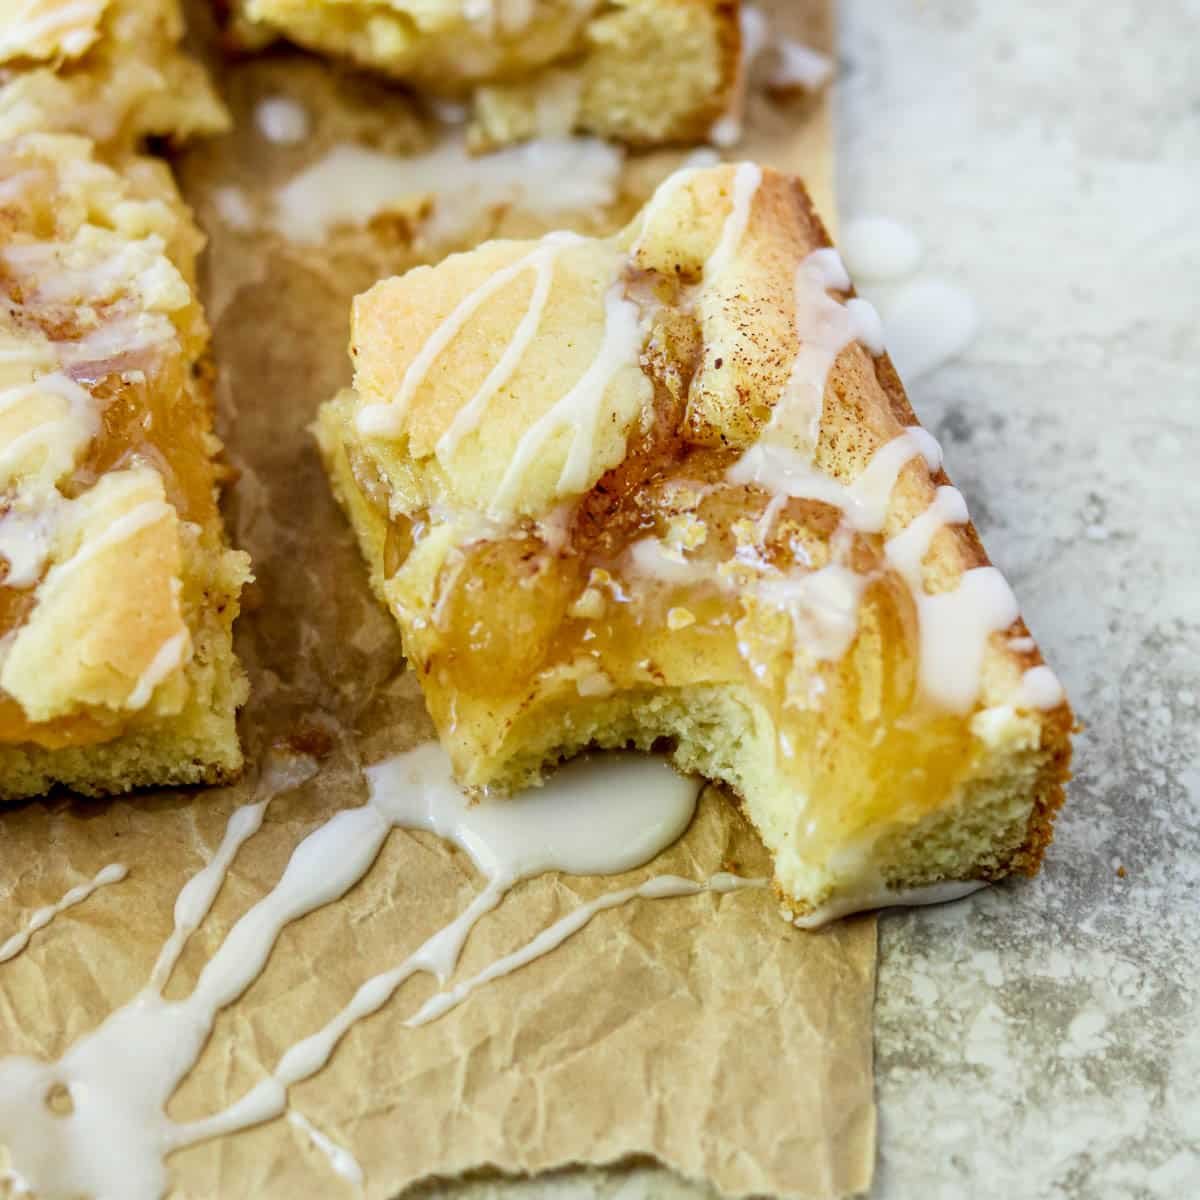
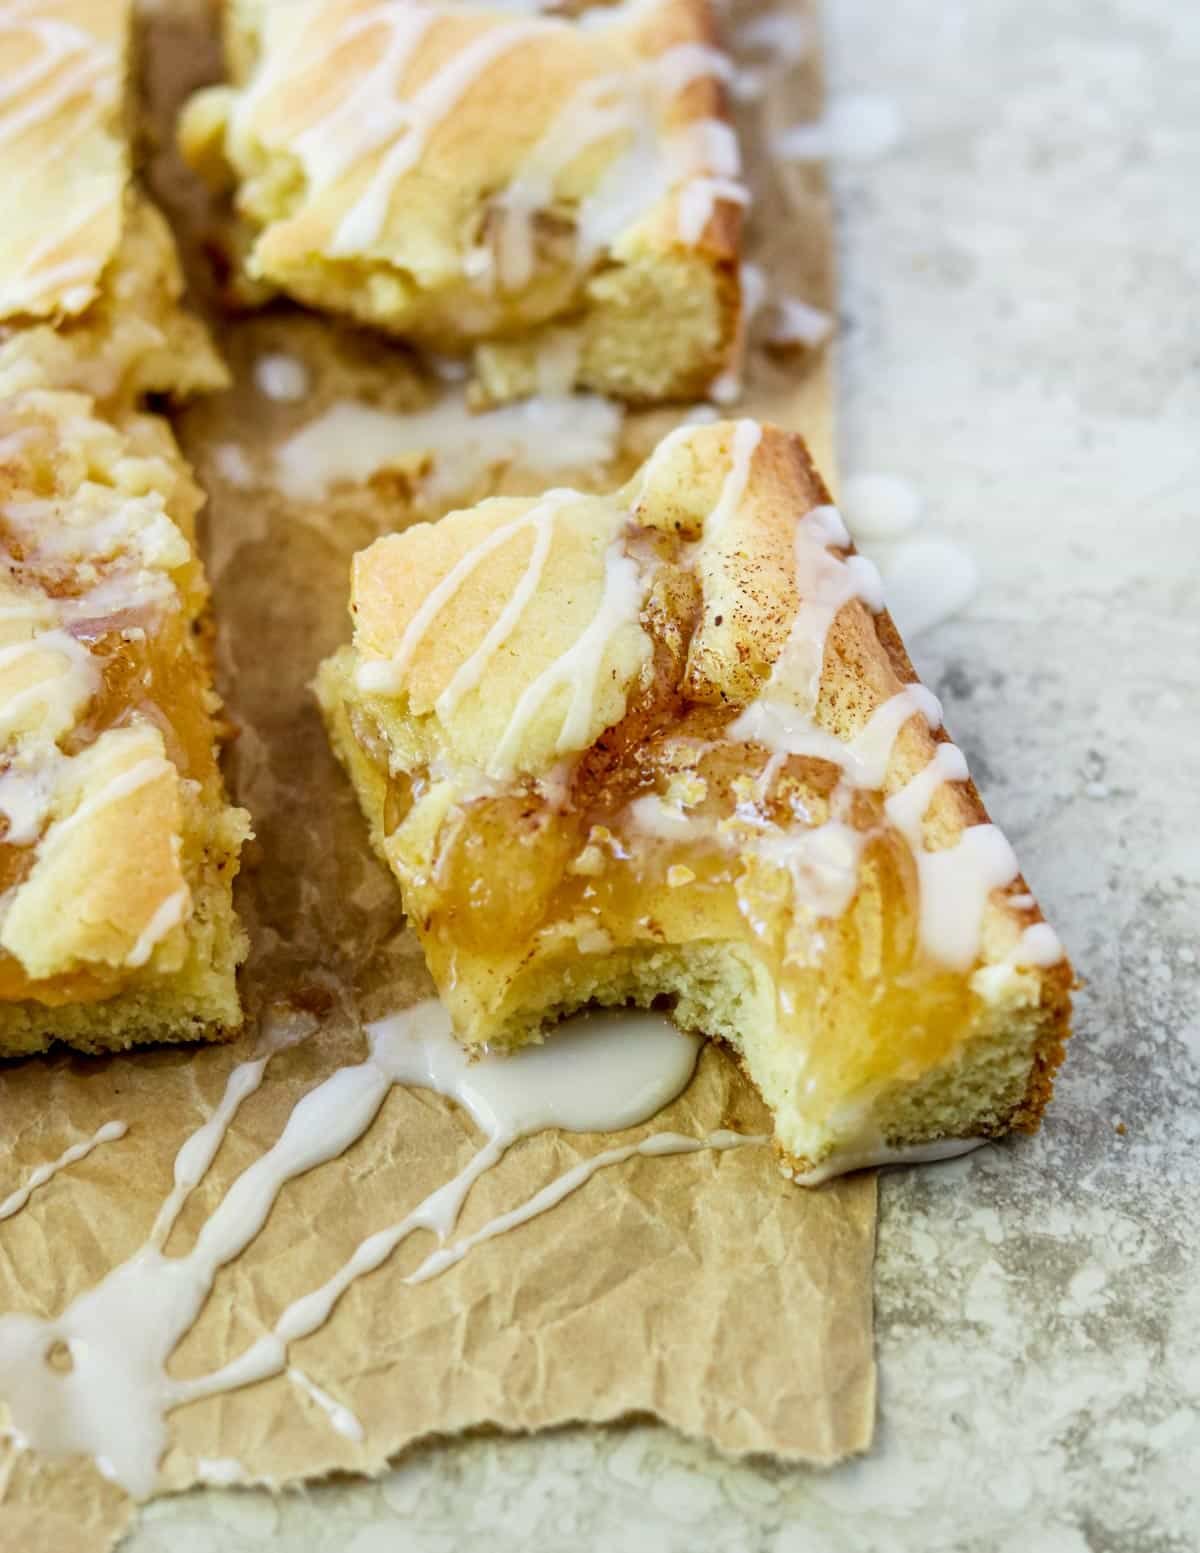
It is the perfect pie crust recipe to use for Apple Crostata (shown above), Blueberry Galette, or something savory like a Turkey Pot Pie.
Why Use Vodka in Pie Crust?
Why use vodka? It makes an amazingly flaky and tender pie crust. That all has to do with the formation of gluten in your crust. Let me explain:
The more gluten that is created in your dough the tougher and NON-flaky your crust will be. That is also why you see a lot of baking recipes say “don’t over mix your dough!!” because it will make the dough tough instead of flaky.
When you add liquid (water) to flour you start to create gluten. However when you add alcohol, in this case Vodka, to your flour you create a considerably less amount of gluten which equals a really flaky and tender crust! The alcohol cooks out and it doesn’t add any liquor flavor to your crust. Promise!!
If Vodka is not something you keep in your house you can always buy one small “airplane” size bottle at the liquor store. They are usually kept up by the registers or behind the registers.
Other Liquors
You could also use gin to make your crust if that is what you have in the house. It is flavored with juniper berries, but if you are only making one crust the flavor shouldn’t come through.
According to Cook’s Illustrated, any 80 proof alcohol works in making a flaky pie crust. Just steer clear of flavored alcohol, like raspberry vodka or pineapple rum!
Step by Step Picture Instructions
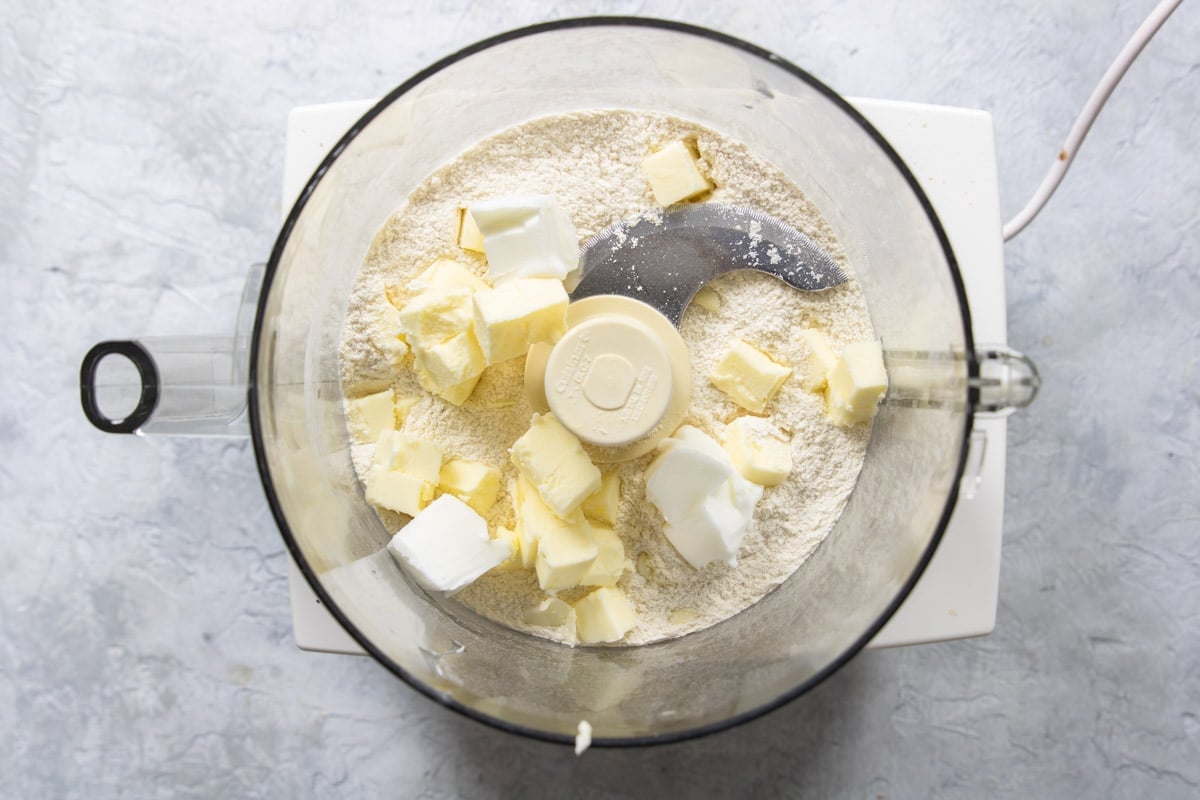
Start by adding 1 cup all purpose flour, ½ teaspoon kosher salt, and 1 tablespoon sugar to the food processor and pulse 4-5 times to mix.
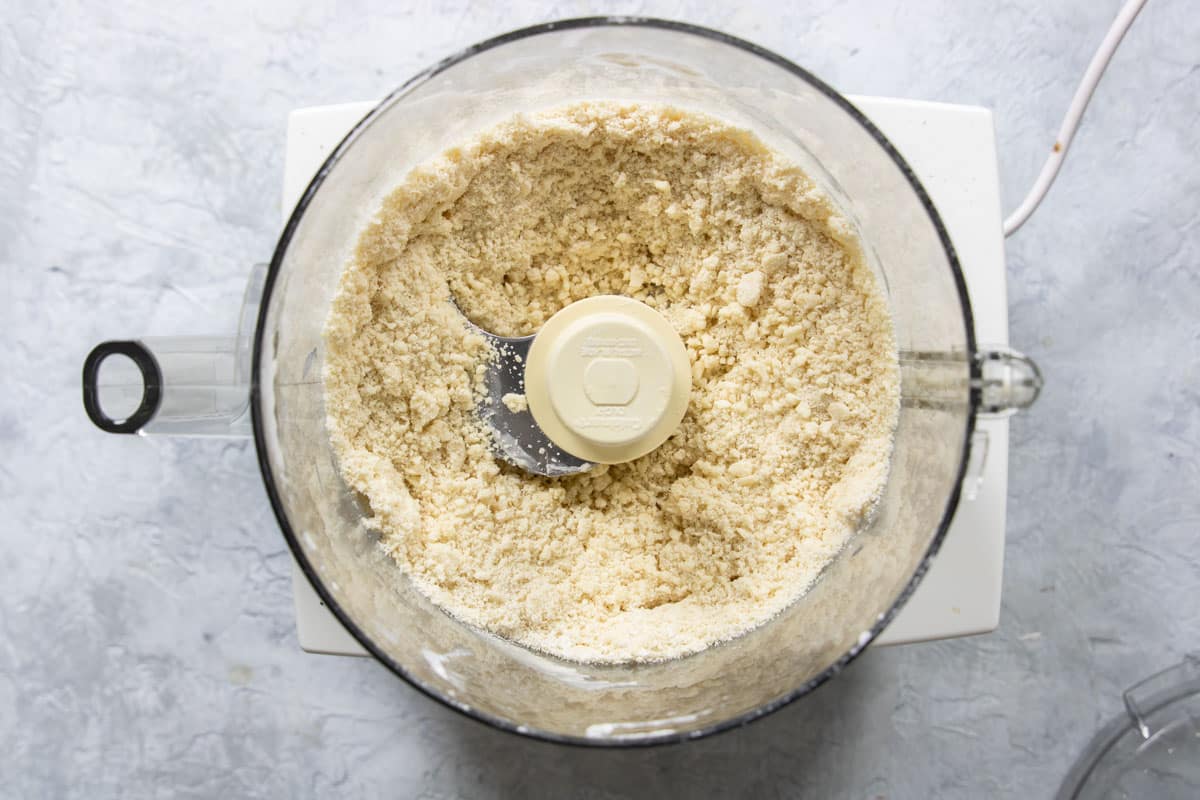
- Add 6 tablespoons COLD butter that has been cut into ¼ inch cubes and ¼ cup chilled solid vegetable shortening (Crisco) that has been cut into 4 pieces.
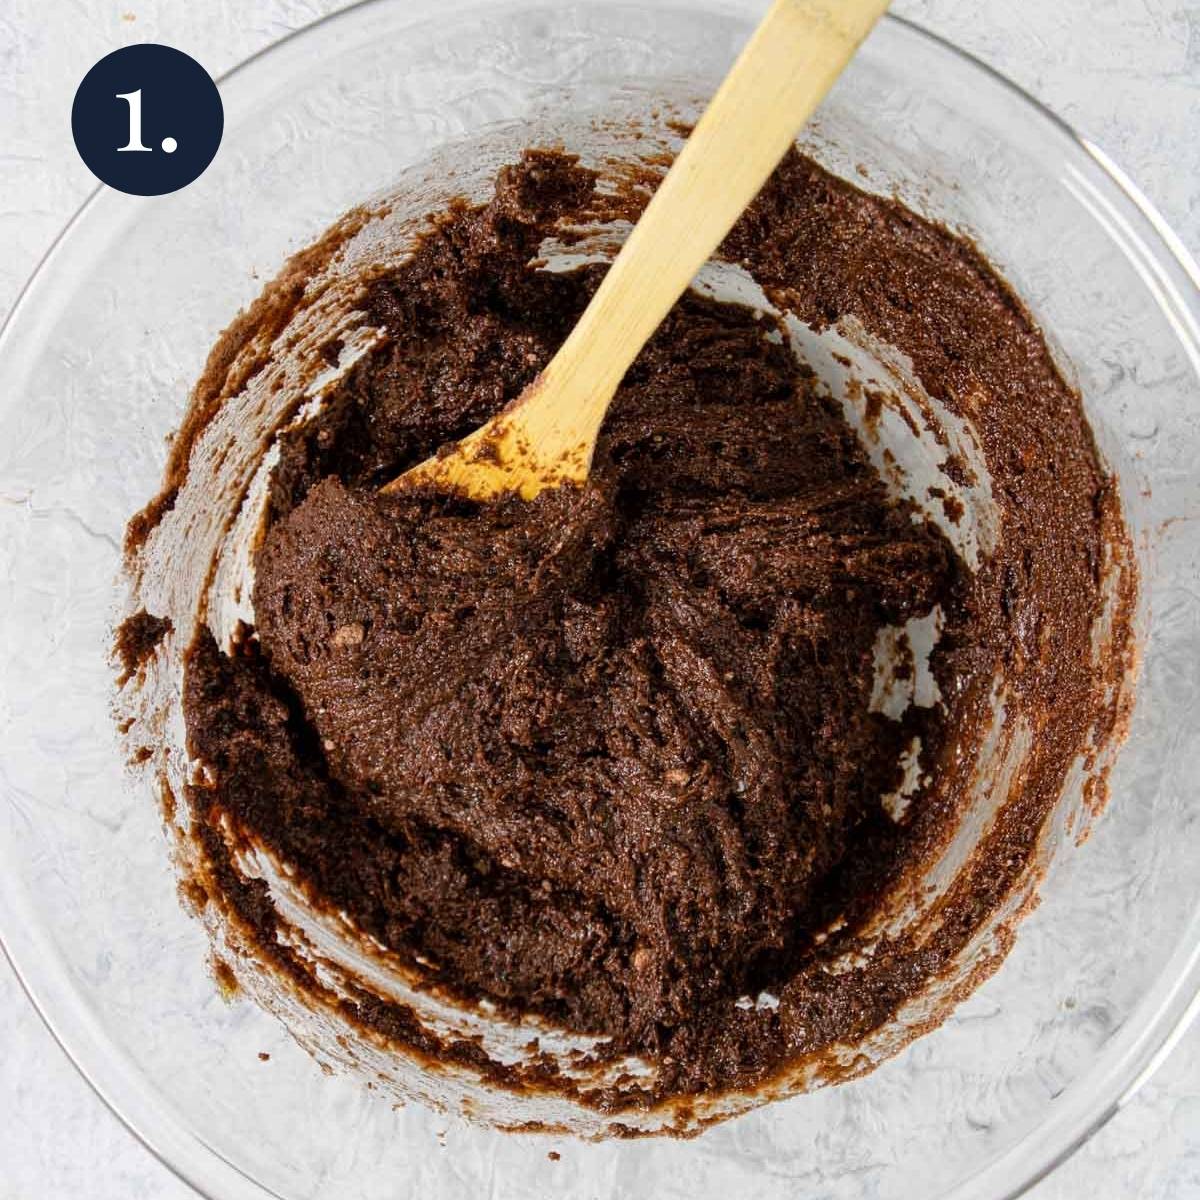
- Process for about 15 seconds, the dough should start to resemble cottage cheese with small clumps.
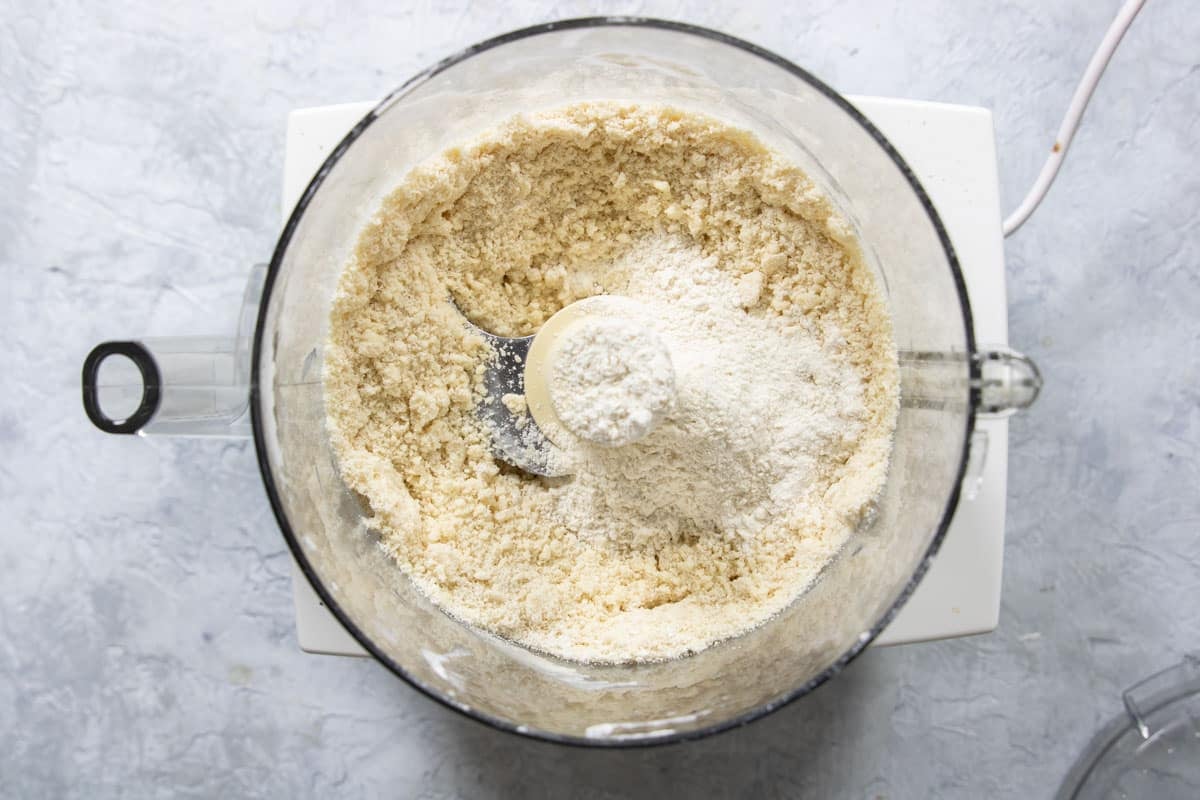
- Scrape the bowl to redistribute the dough mixture. Add remaining ¼ cup flour and pulse about 4-6 times.
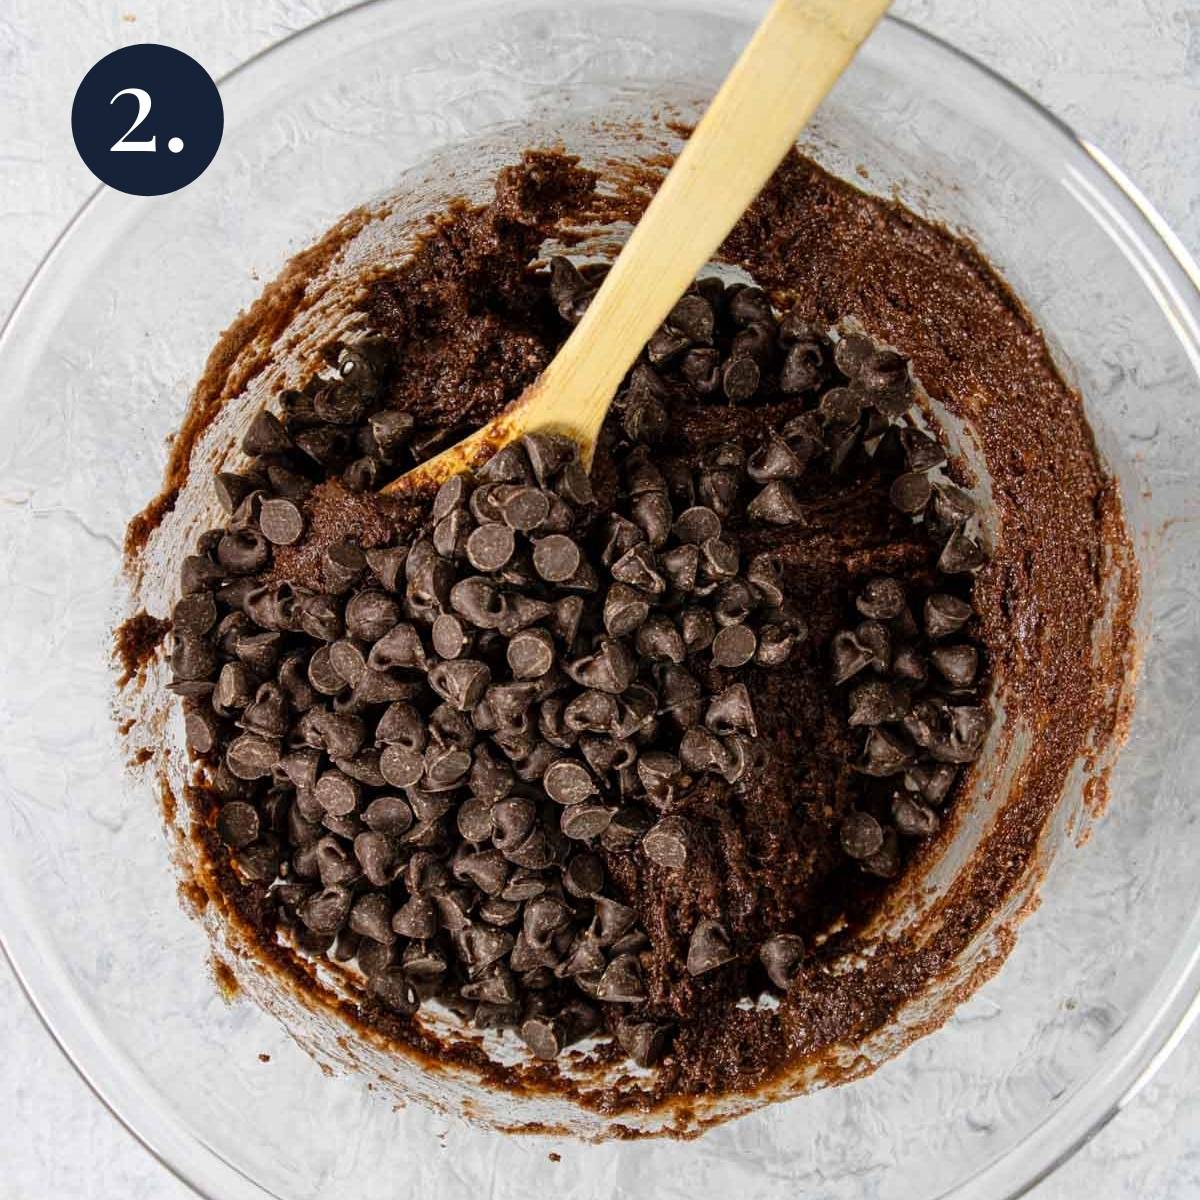
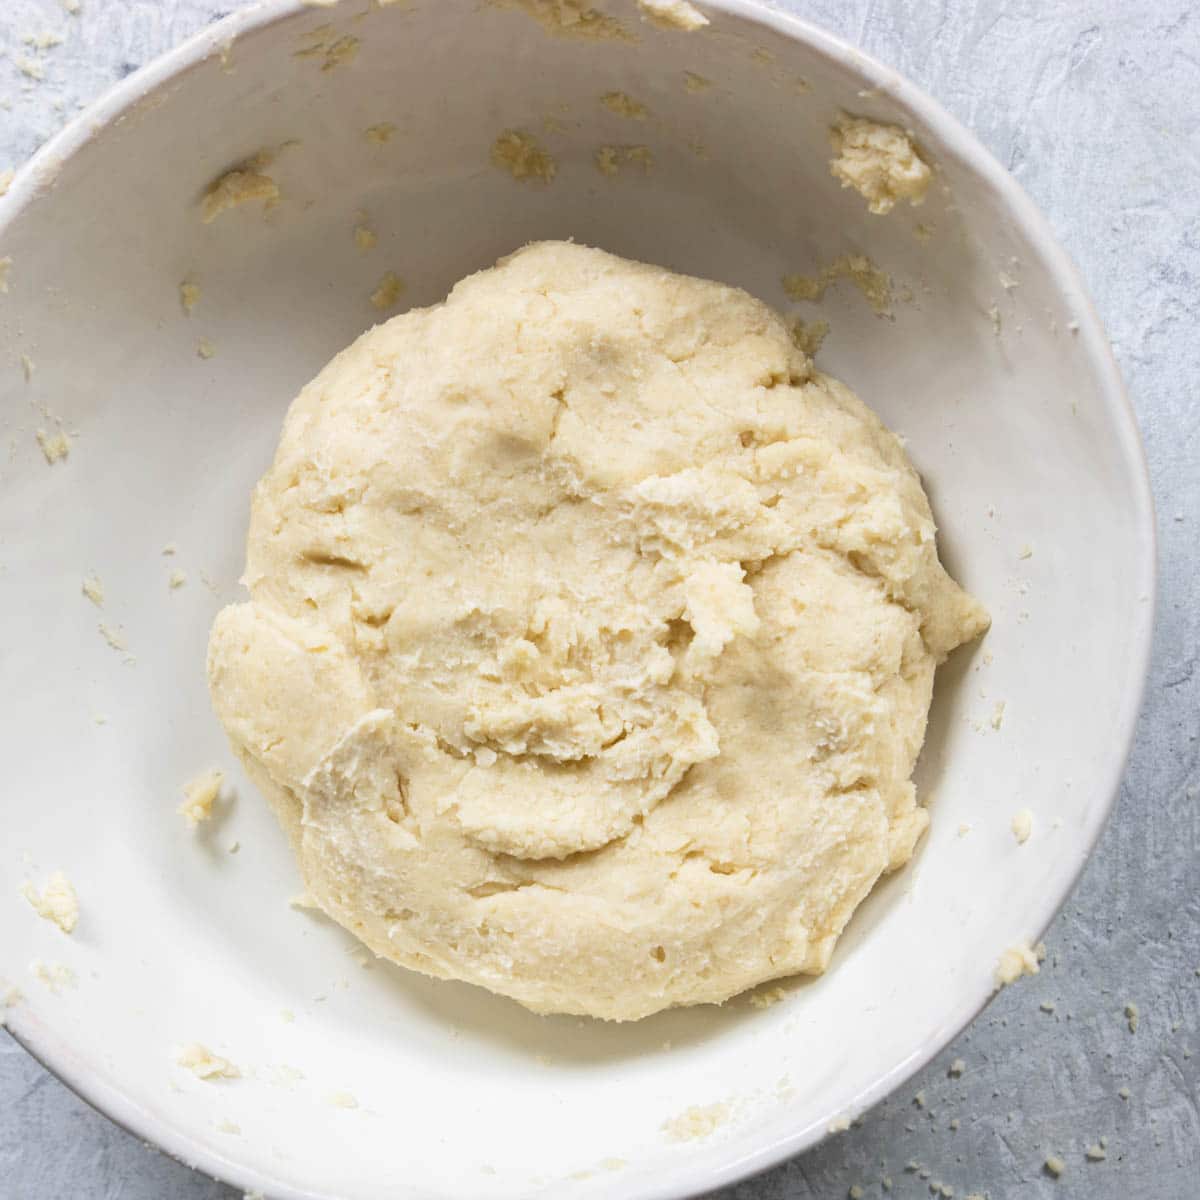
4. Empty the contents into a mixing bowl (it will still be crumbly) and sprinkle with 2 tablespoons COLD Vodka and 2 tablespoons COLD water.
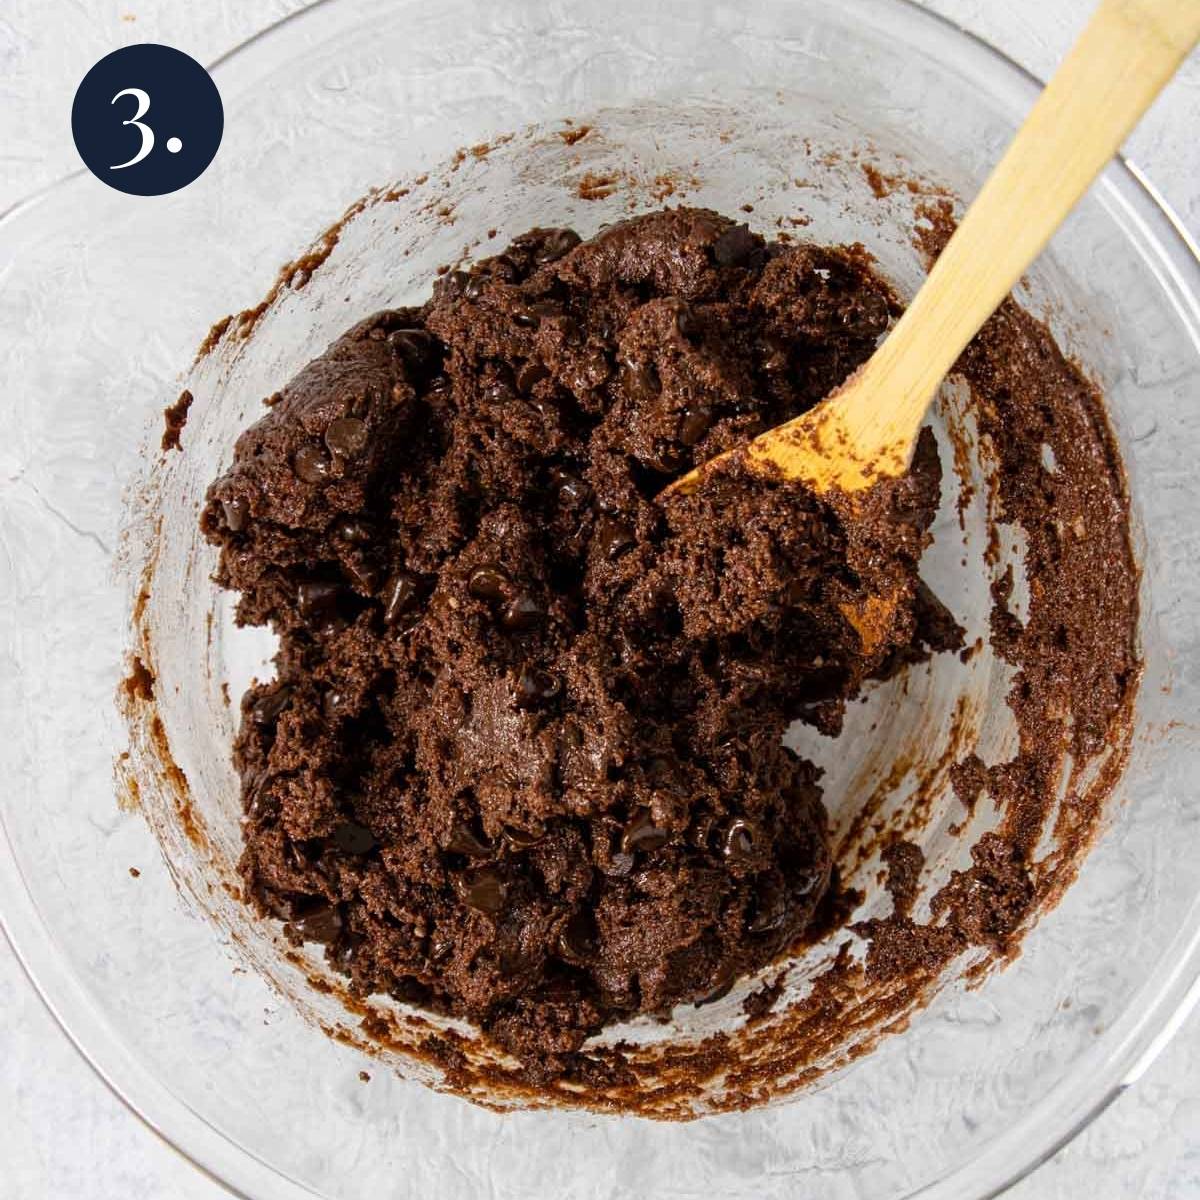
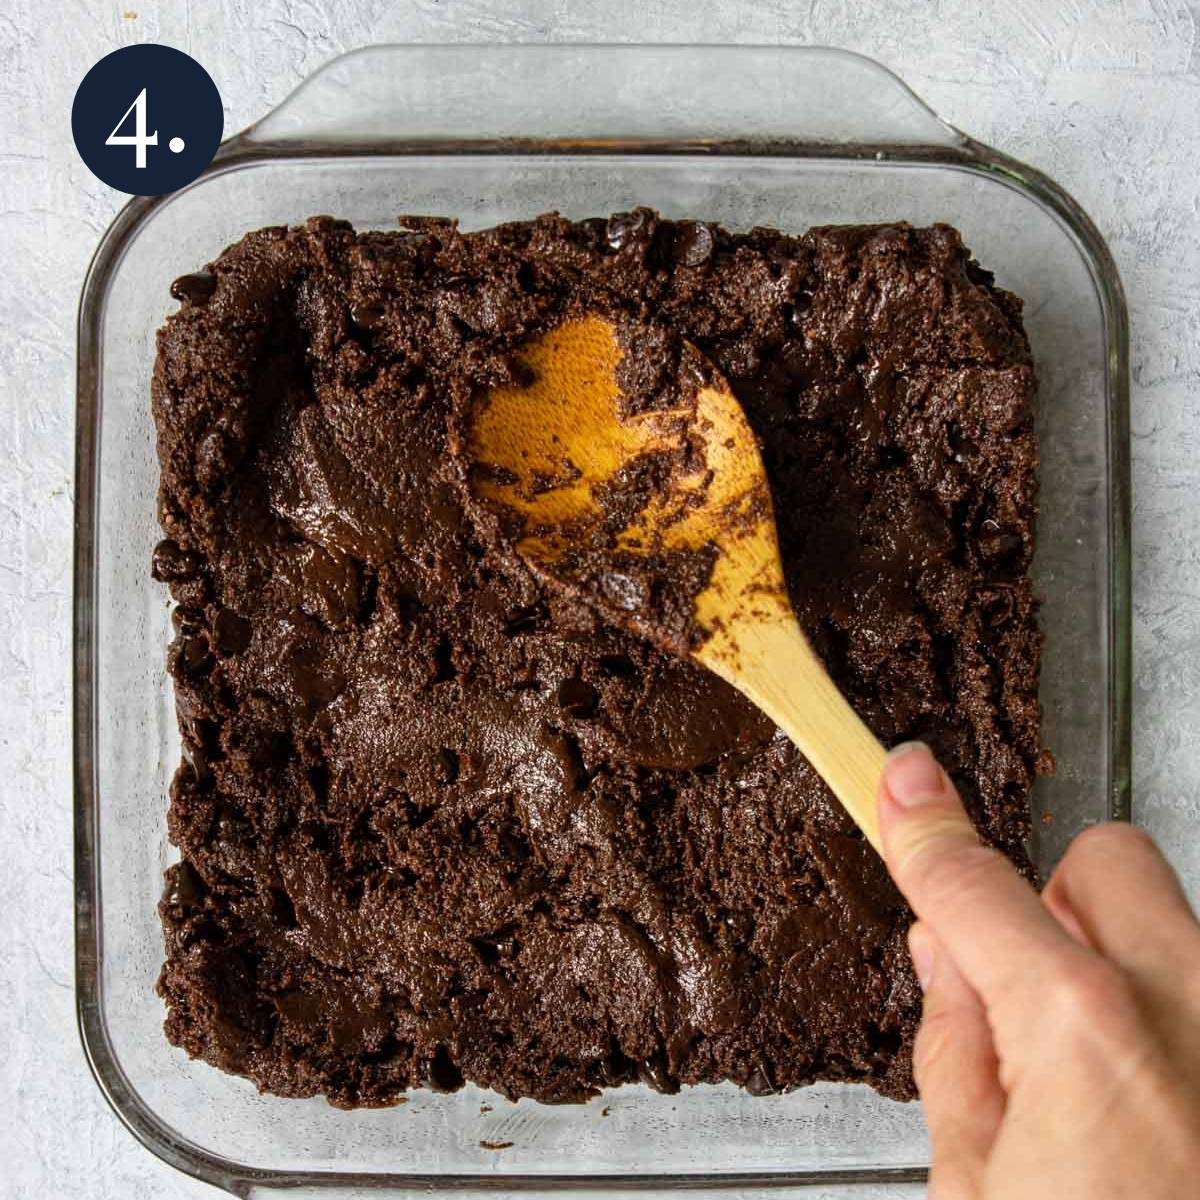
5. Fold and mix the dough just until it comes together. It will be a little sticky and tacky, but Do not overmix. Form into a disk.
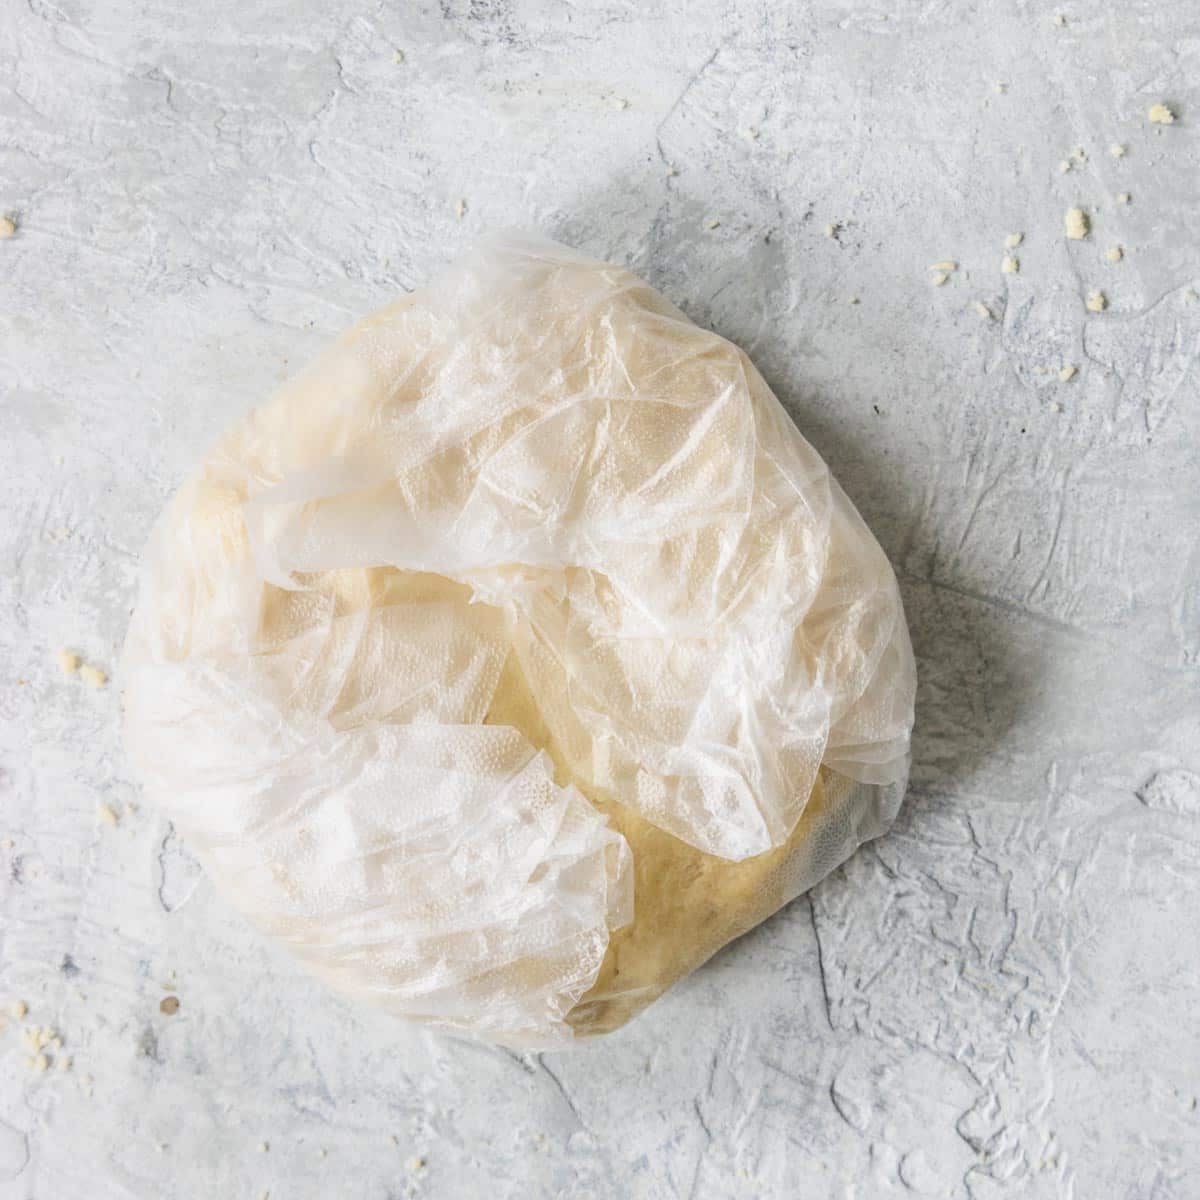
6. Wrap the disc in plastic wrap and refrigerate.
Storing
You can store the vodka pie crust, wrapped in plastic wrap, in the fridge for up to 2 days.
Freezing
You can absolutely freeze your dough! If you are making this recipe I recommend doubling it and just keeping one of the crusts in the freezer.
Wrap the prepared dough in plastic wrap, then in foil, and place it in a freezer safe baggie. Keep in the freezer for up to 6 months.
Thaw in the fridge overnight when you are ready to use.
Using the Pie Crust
You can use the dough directly after you make it. However, if you can chill it in the fridge for 20-30 minutes before using it will be easier to roll out.
Pro Tip: note that this dough will be a lot moister than a traditional pie dough. You may need to use more flour on the rolling surface than a normal (up to ¼ cup).
When you are ready to use the pie crust roll it out on a floured surface. You can use this crust in any recipe that calls for pie crust or pastry dough, sweet or savory.

This Apple Crostata recipe is an amazing way to use this crust recipe, or for a savory dish use this Turkey Pot Pie Recipe!
Doubling
This recipe is also easily doubled for two pies/recipes. Increase the ingredients to:
- 2 ½ cups all purpose flour
- 1 teaspoon kosher salt
- 2 tablespoon sugar
- 12 tablespoon cold butter (cut into ¼ inch cubes)
- ½ cup chilled solid vegetable shortening (cut into 8 pieces)
- ¼ cup cold water
- ¼ cup cold vodka
More Baking Recipes To Love

Did you make this recipe?
⭐⭐⭐⭐⭐
I would love to hear your review, especially if you have tips and tricks to add! Pop down to the comment section and connect with me

Flaky Vodka Pie Crust Recipe
Equipment
Ingredients
- 1 ¼ cups all purpose flour - divided, plus more for rolling
- ½ teaspoon kosher salt
- 1 tablespoon sugar
- 6 tablespoon cold butter - cut into ¼ inch chunks
- ¼ cup chilled solid vegetable shortening - (crisco) cut into 4 pieces
- 2 tablespoon very cold water
- 2 tablespoon very cold vodka
Instructions
- Add 1 cup all purpose flour, ½ teaspoon kosher salt, and 1 tablespoon sugar to the bowl of a food processor and pulse 4-5 times to mix.
- Add the cold butter cubes and shortening cubes, process for about 15 seconds. Clumps will start to form and it will look like cottage cheese, but will still be really loose and crumbly.6 tablespoon cold butter, ¼ cup chilled solid vegetable shortening
- Pour in the remaining ¼ cup of flour and pulse another 5 times. (it will still be crumbly)
- Pour the mixture into a large bowl. Sprinkle the cold water and cold vodka over the dough. Start to fold and mix JUST until it comes together. Note it will be stickier and wetter than traditional pie dough.2 tablespoon very cold water, 2 tablespoon very cold vodka
- Form into a disk, use right away or wrap in plastic wrap and refrigerate. Can be refrigerated up to 2 days.
Using the Dough
- The dough can be used right after being made, however it will be easier to roll out if you can refrigerate it for 20-30 minutes before using.
- Place on a floured surface. Using a rolling pin, roll out the dough to the size the recipe calls for. Since the dough is pretty moist you will want to use a good amount of flour on the surface you are rolling on (up to ¼ cup).
- Bake according to the pie/recipe you are using.
Freezing
- You can freeze your prepared pie dough! Simply wrap the dough disk in plastic wrap, then in foil, and place in a freezer safe baggie. It can be kept frozen for up to 6 months. When you are ready to use the dough, thaw in the fridge overnight.