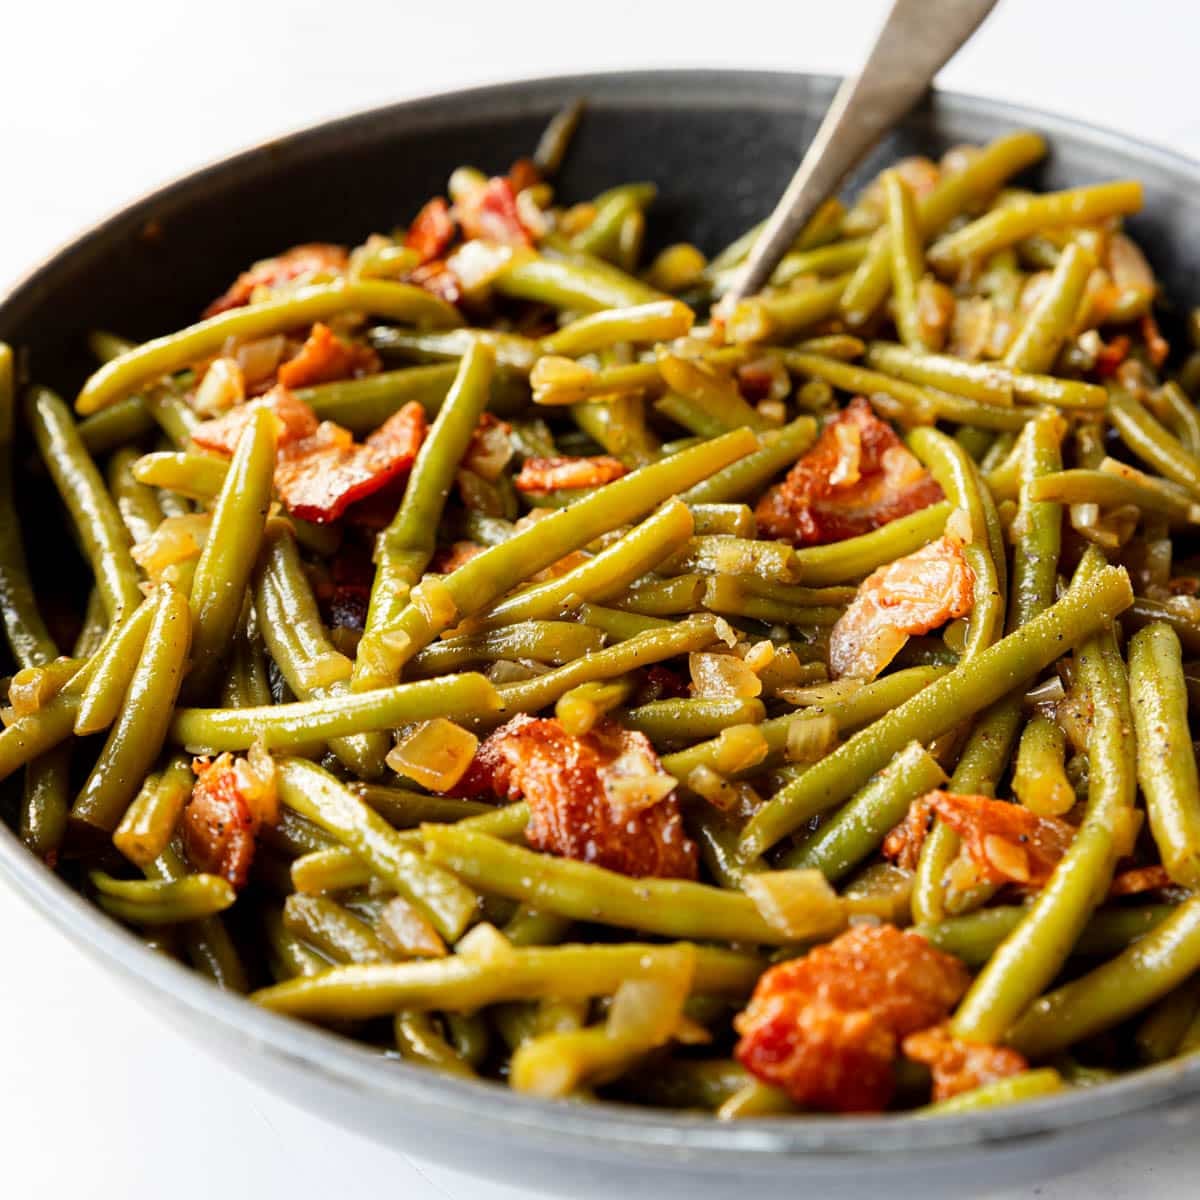
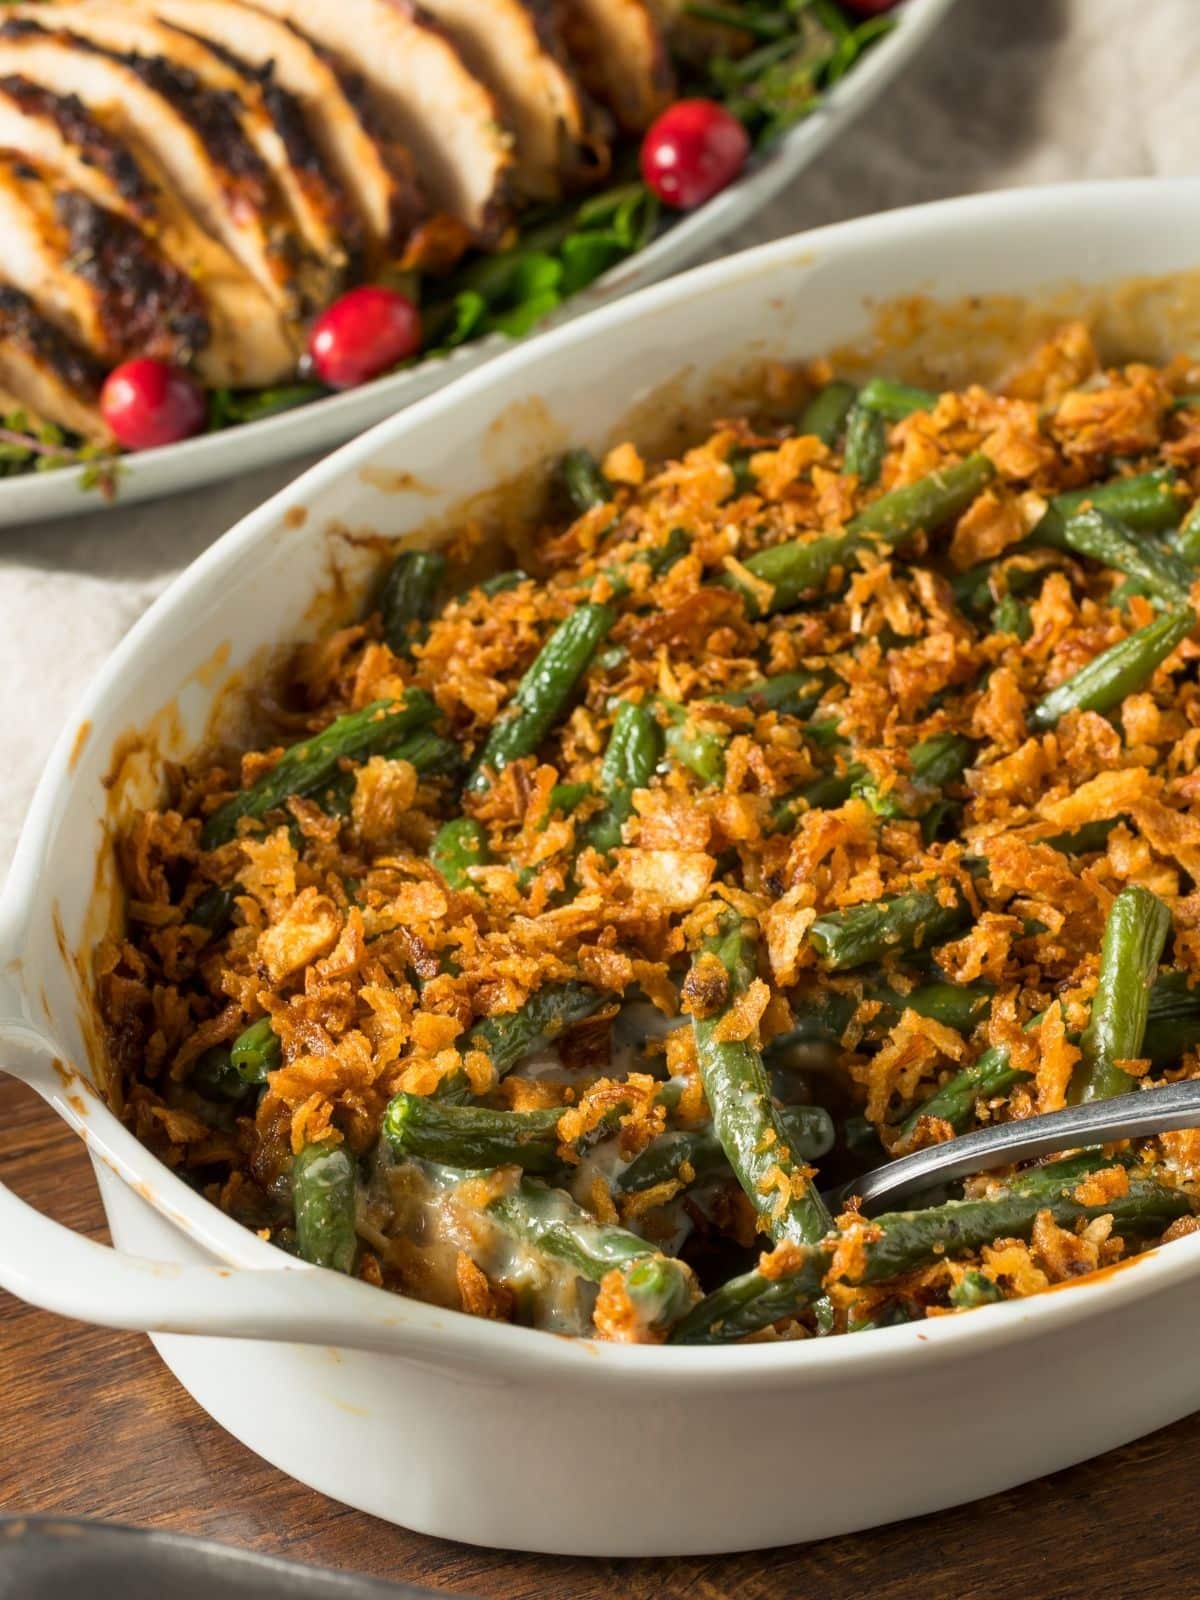
Probably the number one holiday side dish in America is the Green Bean Casserole! We look forward to it every year on our Thanksgiving and Christmas table right next to the Mashed Potatoes and Stuffing. The best part is that it couldn’t be easier to make. Open a can of mushroom soup, a couple cans of green beans and mix it up with some milk and seasonings. It gets baked up warm and topped with those delicious crispy French fried onions. YUM!
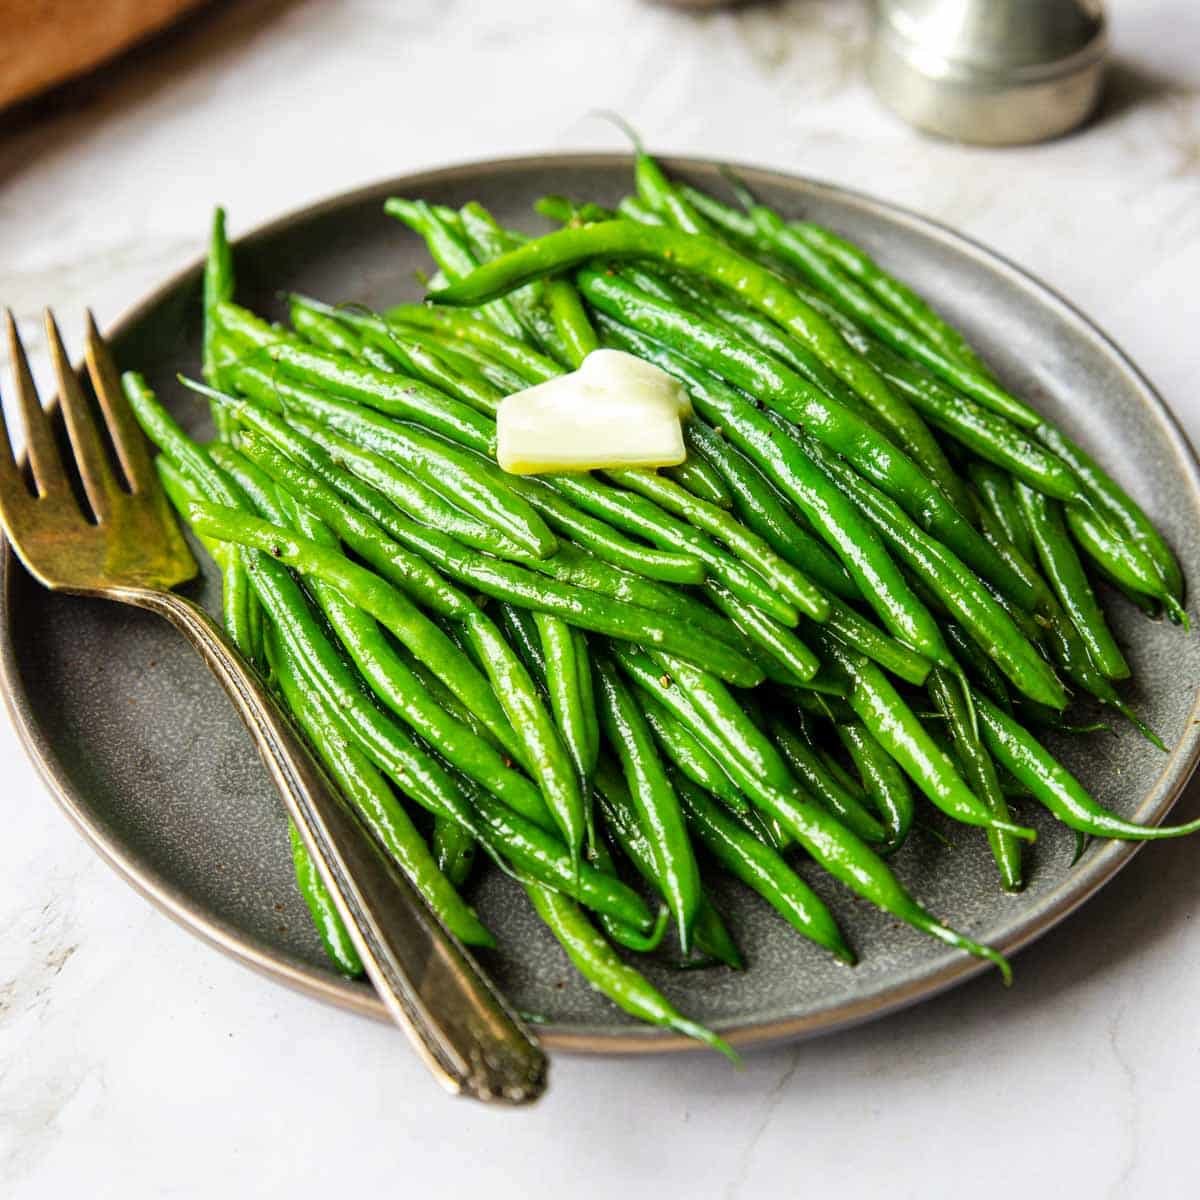
If you would rather have your green beans plain without all the fixings you can check out this recipe for 4 Ways to Cook Haricot Verts (Green Beans).
Serving Menu
Since this is a traditional holiday side dish here is a great menu for the holiday season!
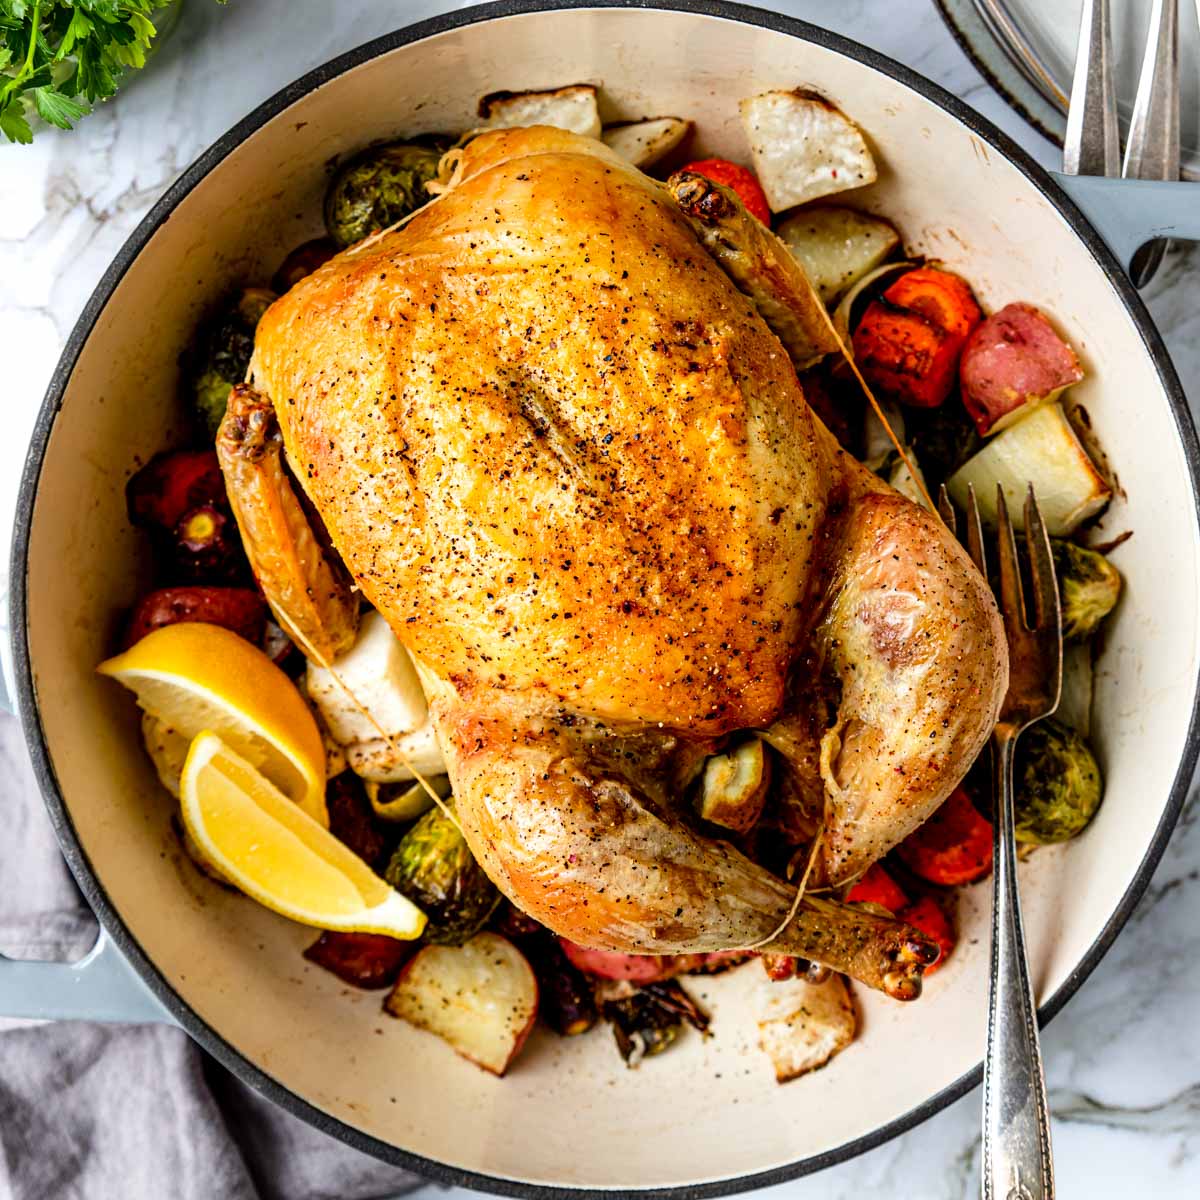
- Roasted Turkey Breast or Whole Roasted Chicken
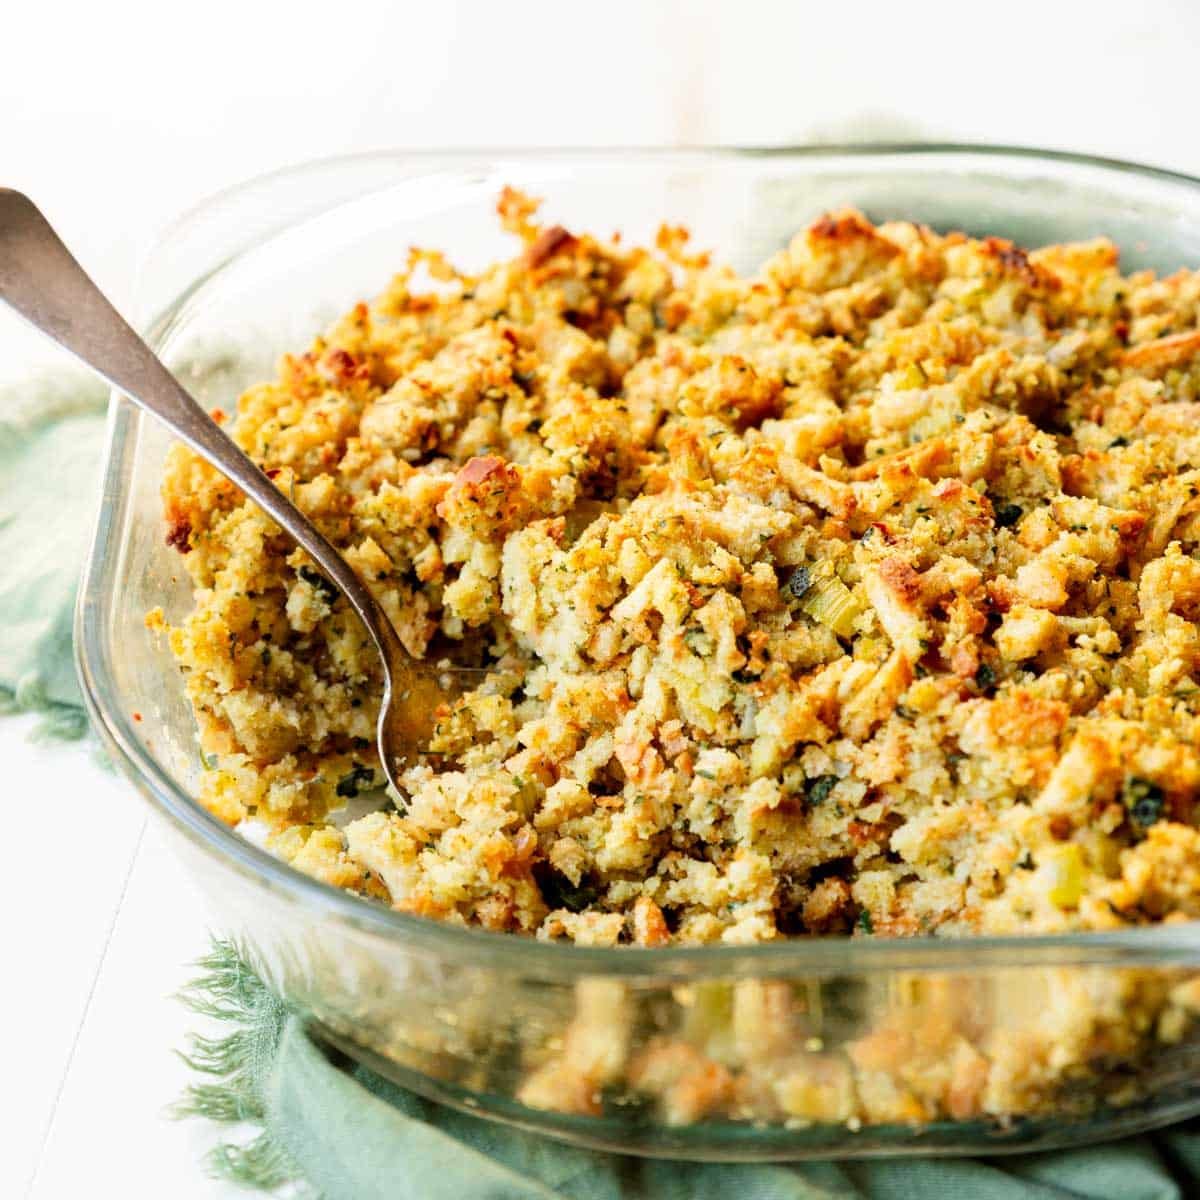
- Classic Stuffing or Sausage Stuffing
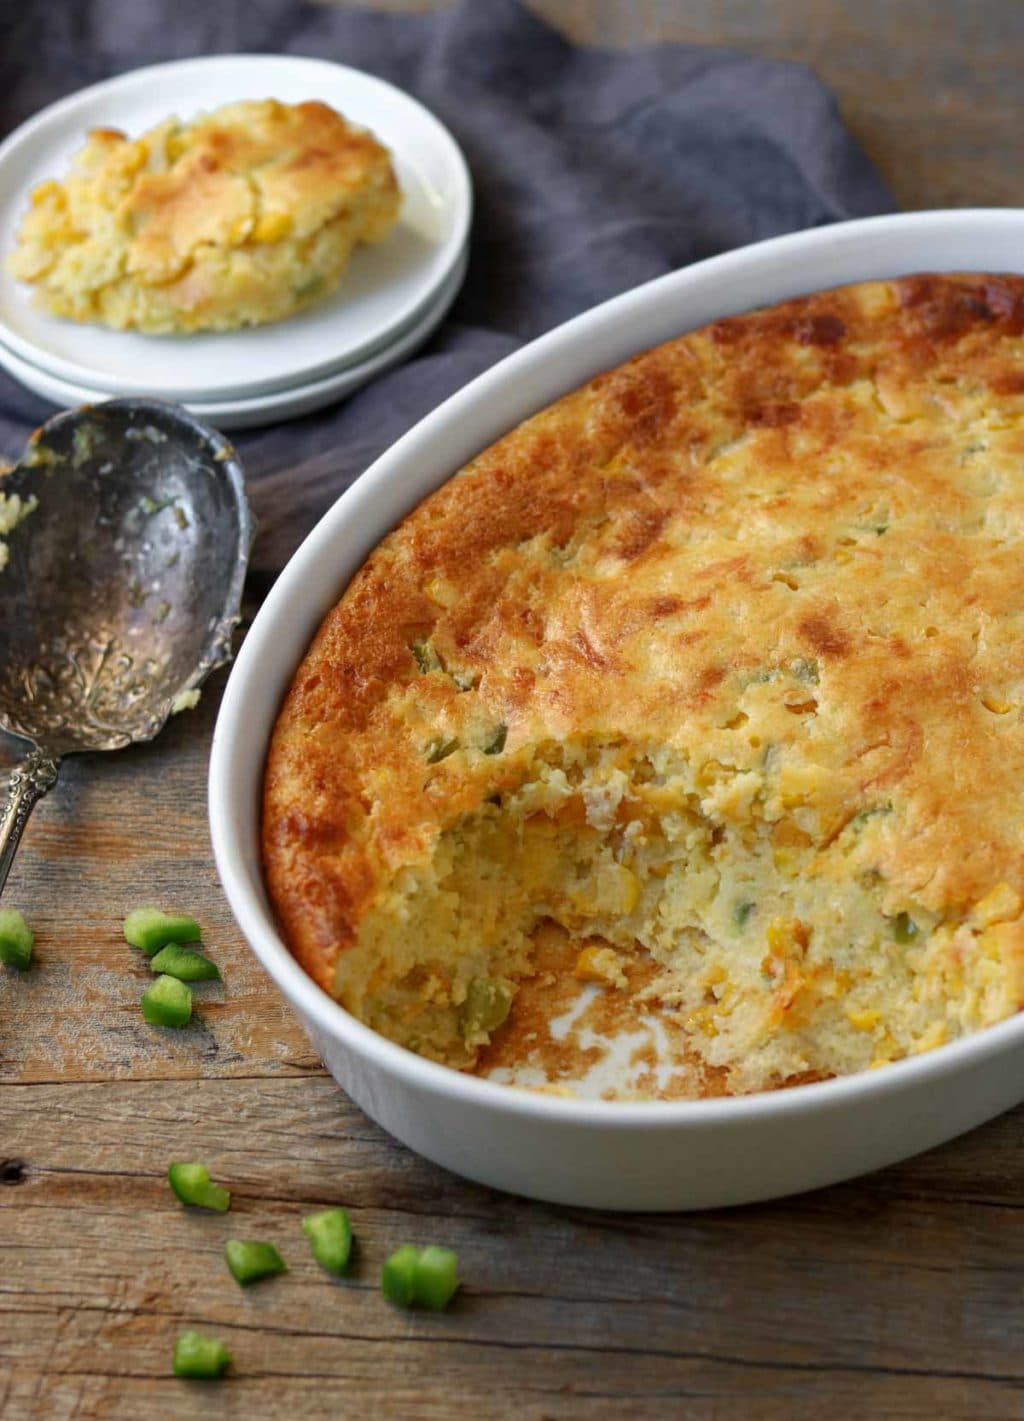
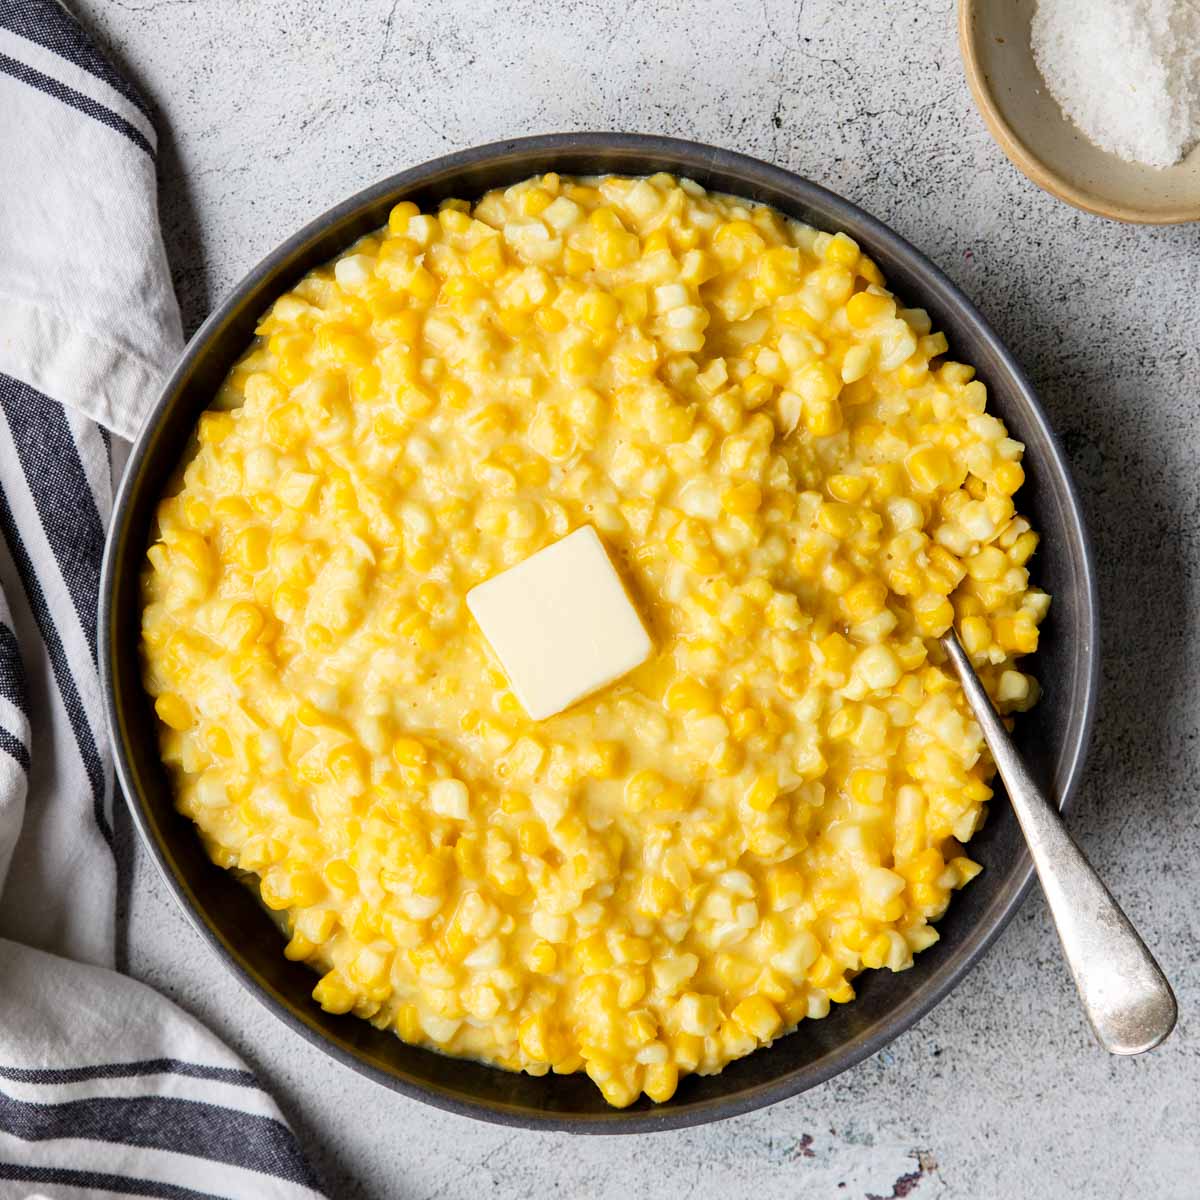
- Corn Casserole
- Green Bean Casserole
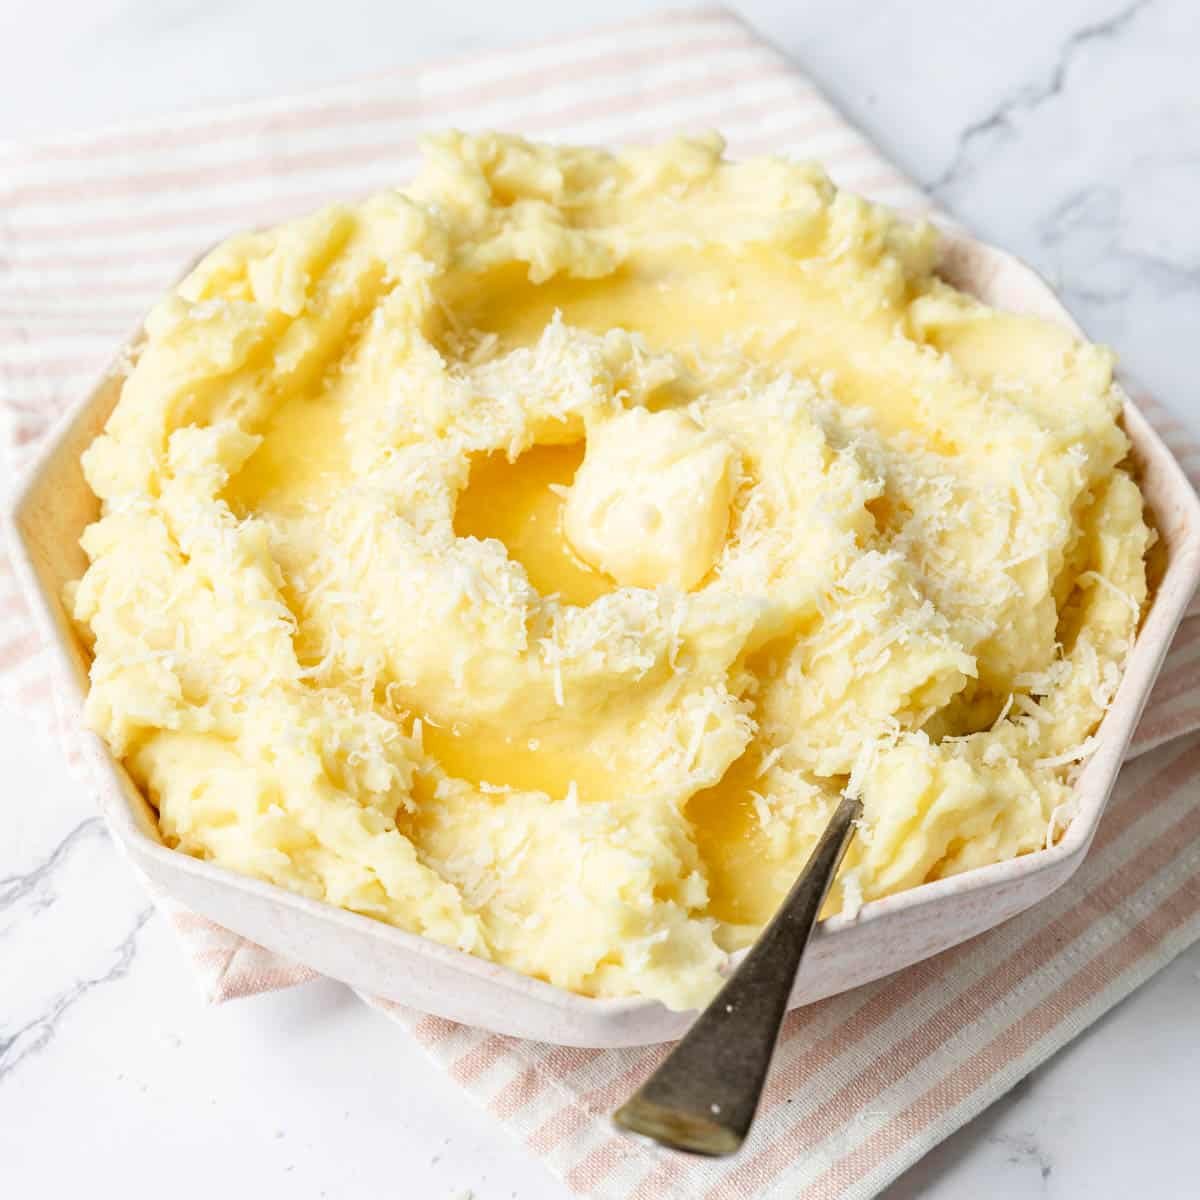
- Mashed Potatoes or Instant Pot Mashed Potatoes
- Gravy
- Cranberries
- Pumpkin Pie Trifle


Did you make this recipe?
⭐⭐⭐⭐⭐
I would love to hear your review, especially if you have tips and tricks to add! Pop down to the comment section and connect with me

Classic Green Bean Casserole Recipe
Equipment
- 2 quart casserole dish
Ingredients
- 10.5 oz can Condensed Cream of Mushroom Soup
- ¾ cup milk
- ½ teaspoon kosher salt
- ¼ teaspoon black pepper
- 2 cans (approx. 14.5 oz each) cut green beans - drained
- 2 cups French Fried Onions
Instructions
- Heat the oven to 350°F.
- In a large bowl whisk together the soup, milk, salt, pepper.10.5 oz can Condensed Cream of Mushroom Soup, ¾ cup milk, ½ teaspoon kosher salt, ¼ teaspoon black pepper
- Now fold or lightly stir in the drained beans and 1 cup French fried onions.2 cans (approx. 14.5 oz each) cut green beans
- Pour the mixture into a 1 ½-quart casserole baking dish.
- Bake for 25 minutes, uncovered.
- Remove from the oven and stir the beans. Then sprinkle with the remaining 1 cup of French fried onions.
- Bake for another 5 minutes, uncovered.