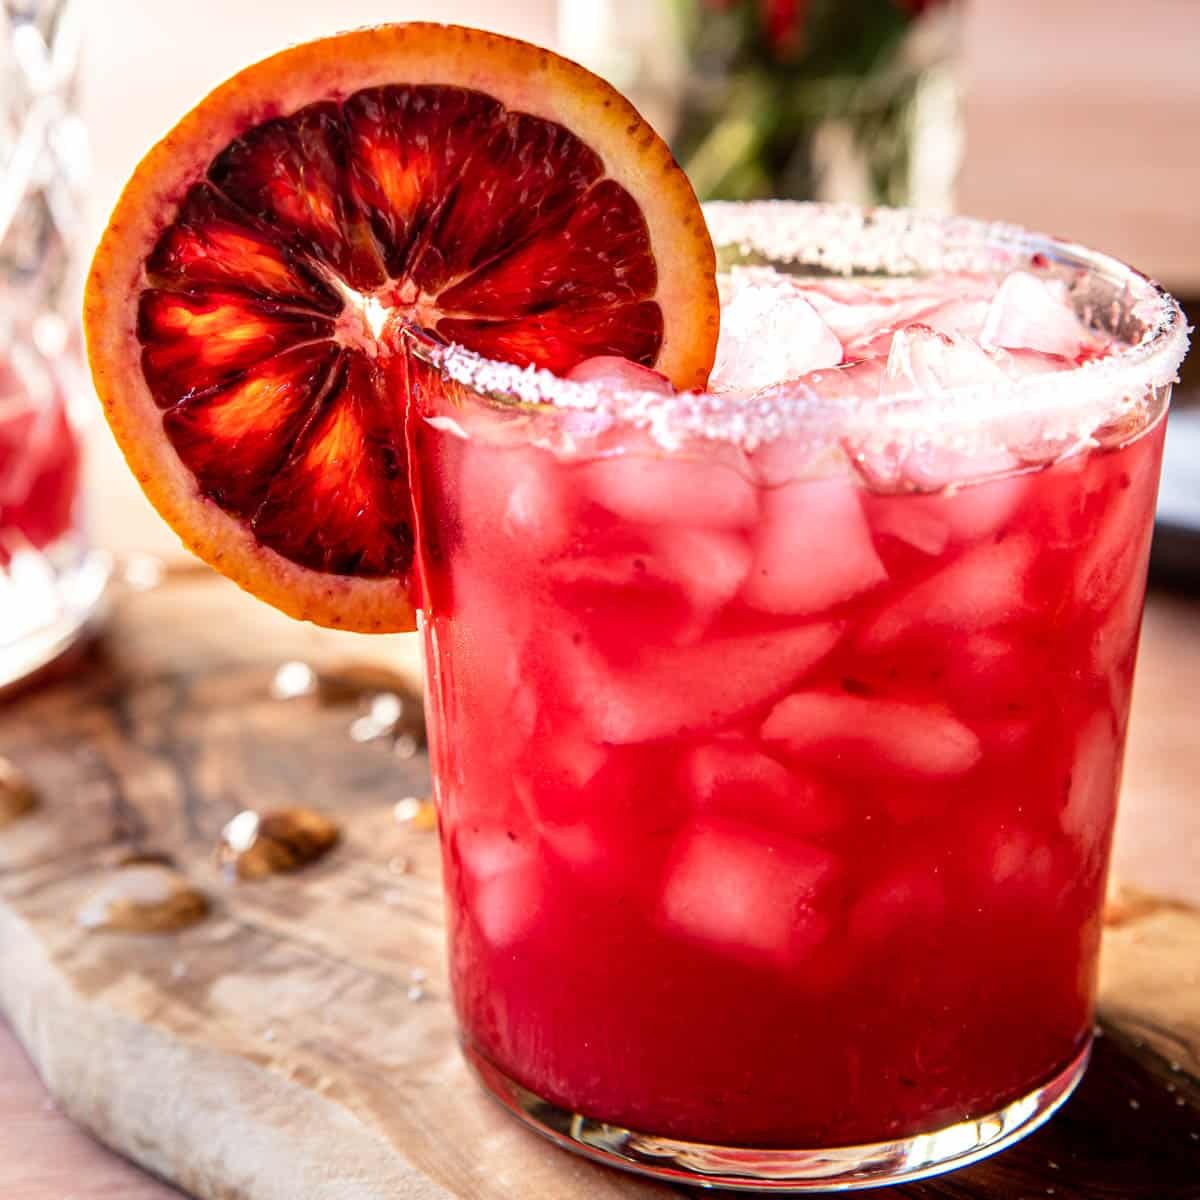
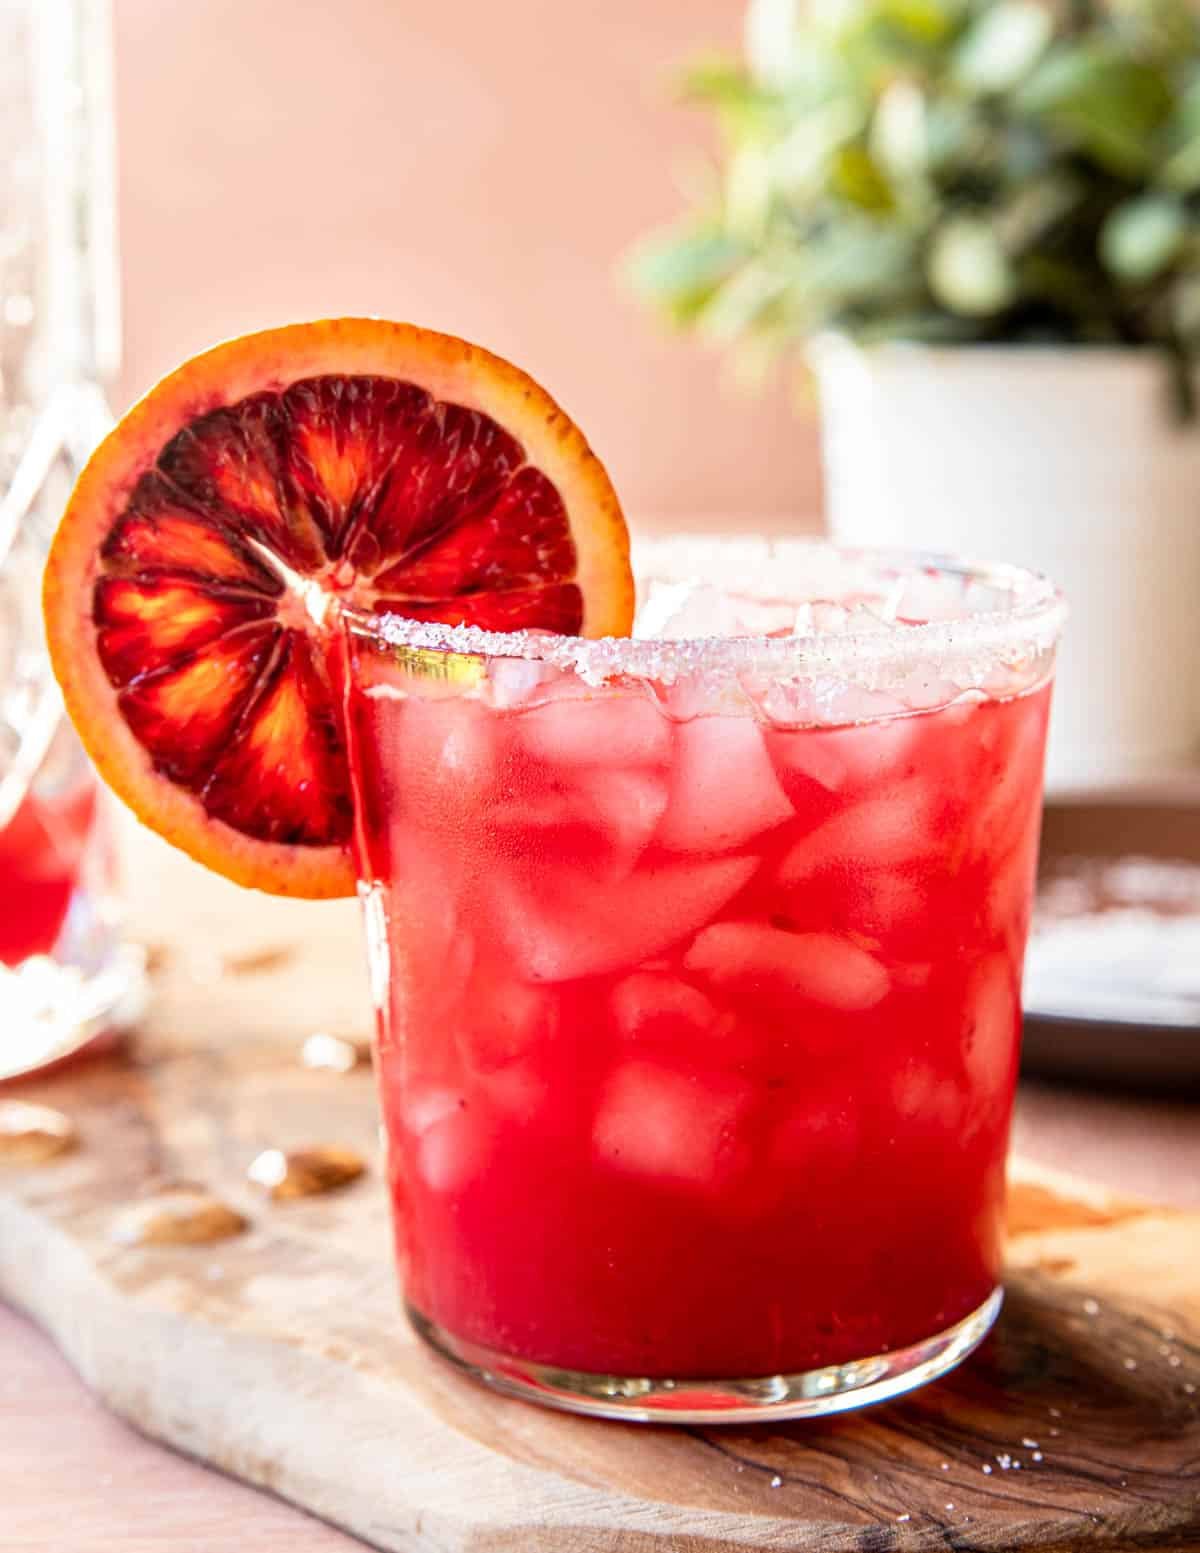
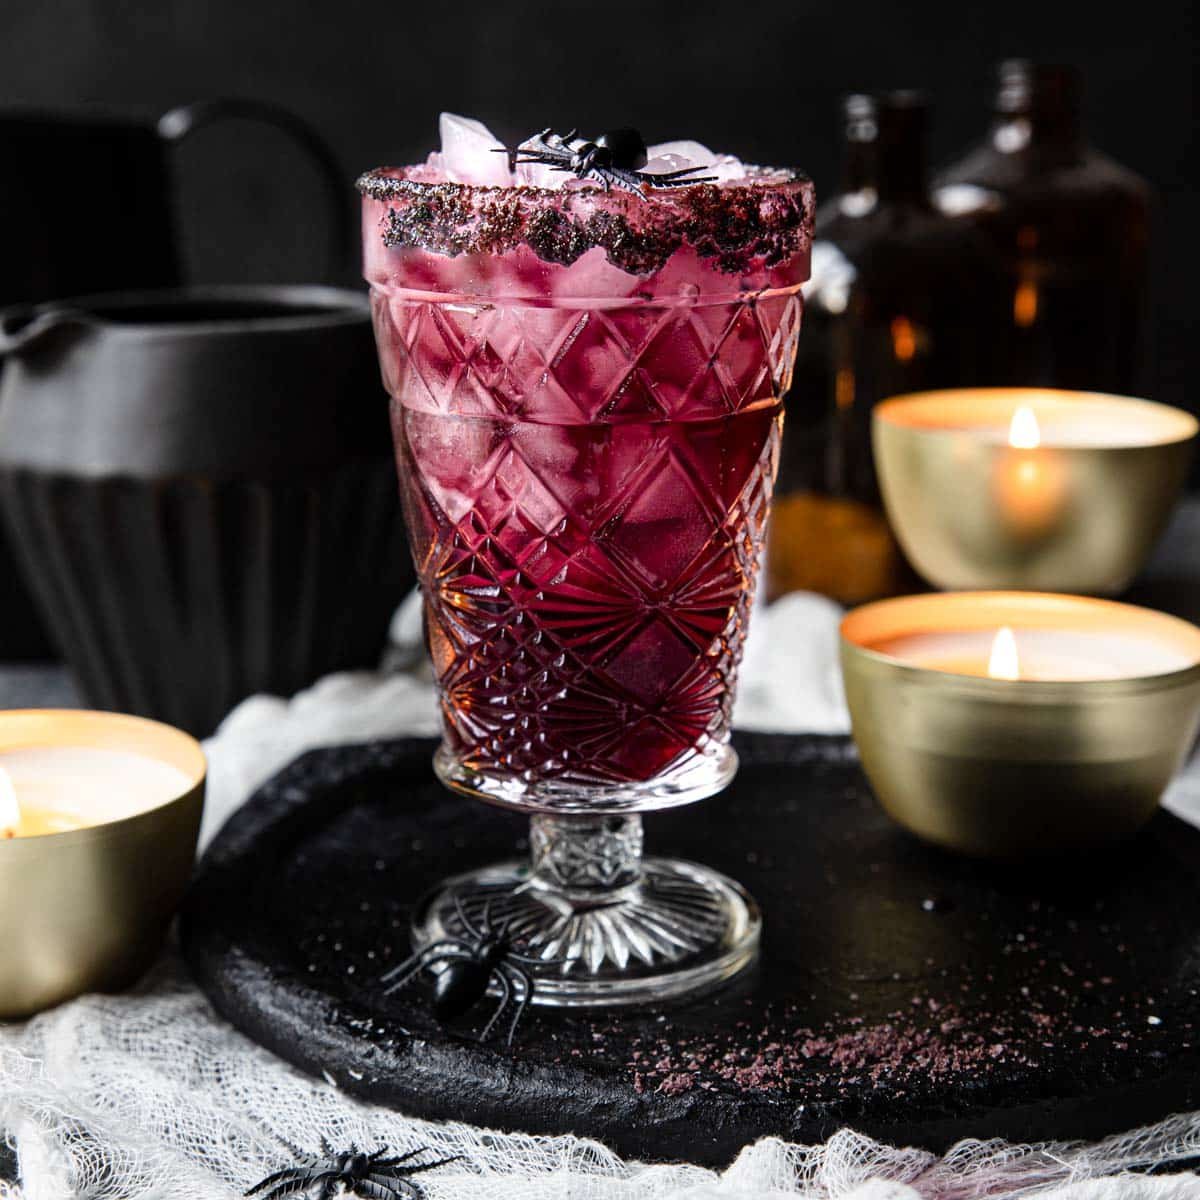
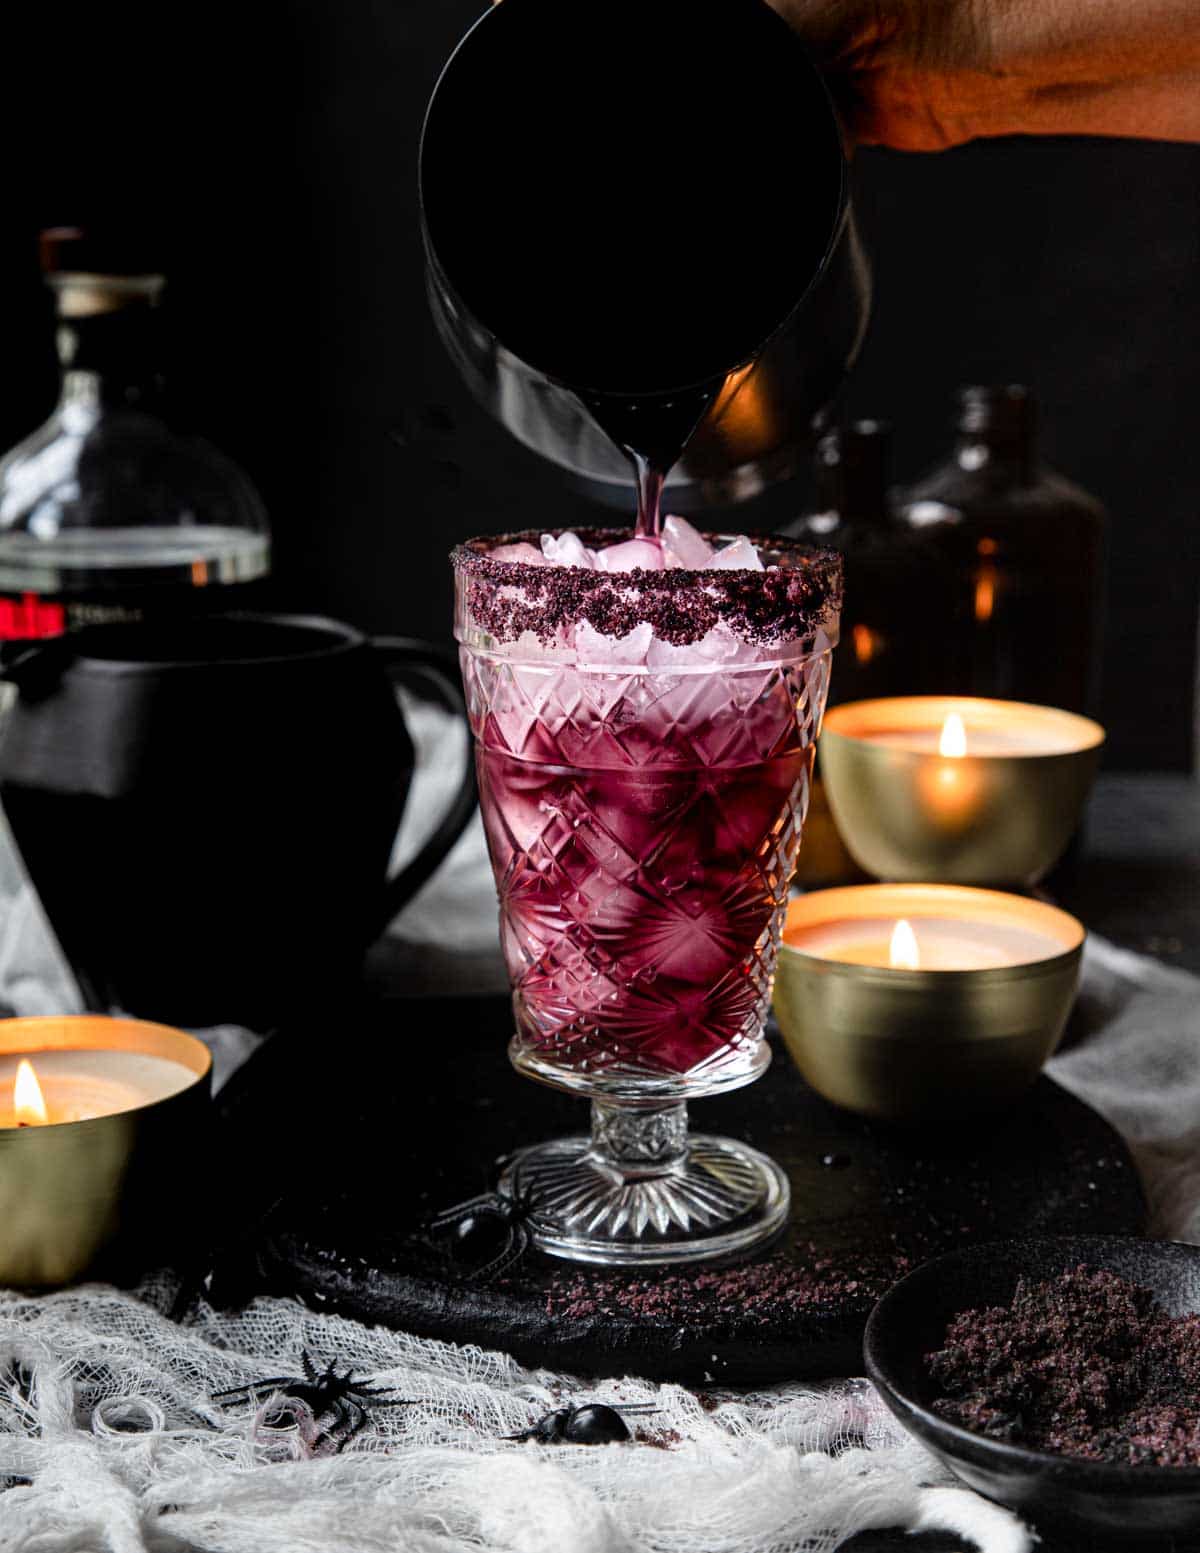
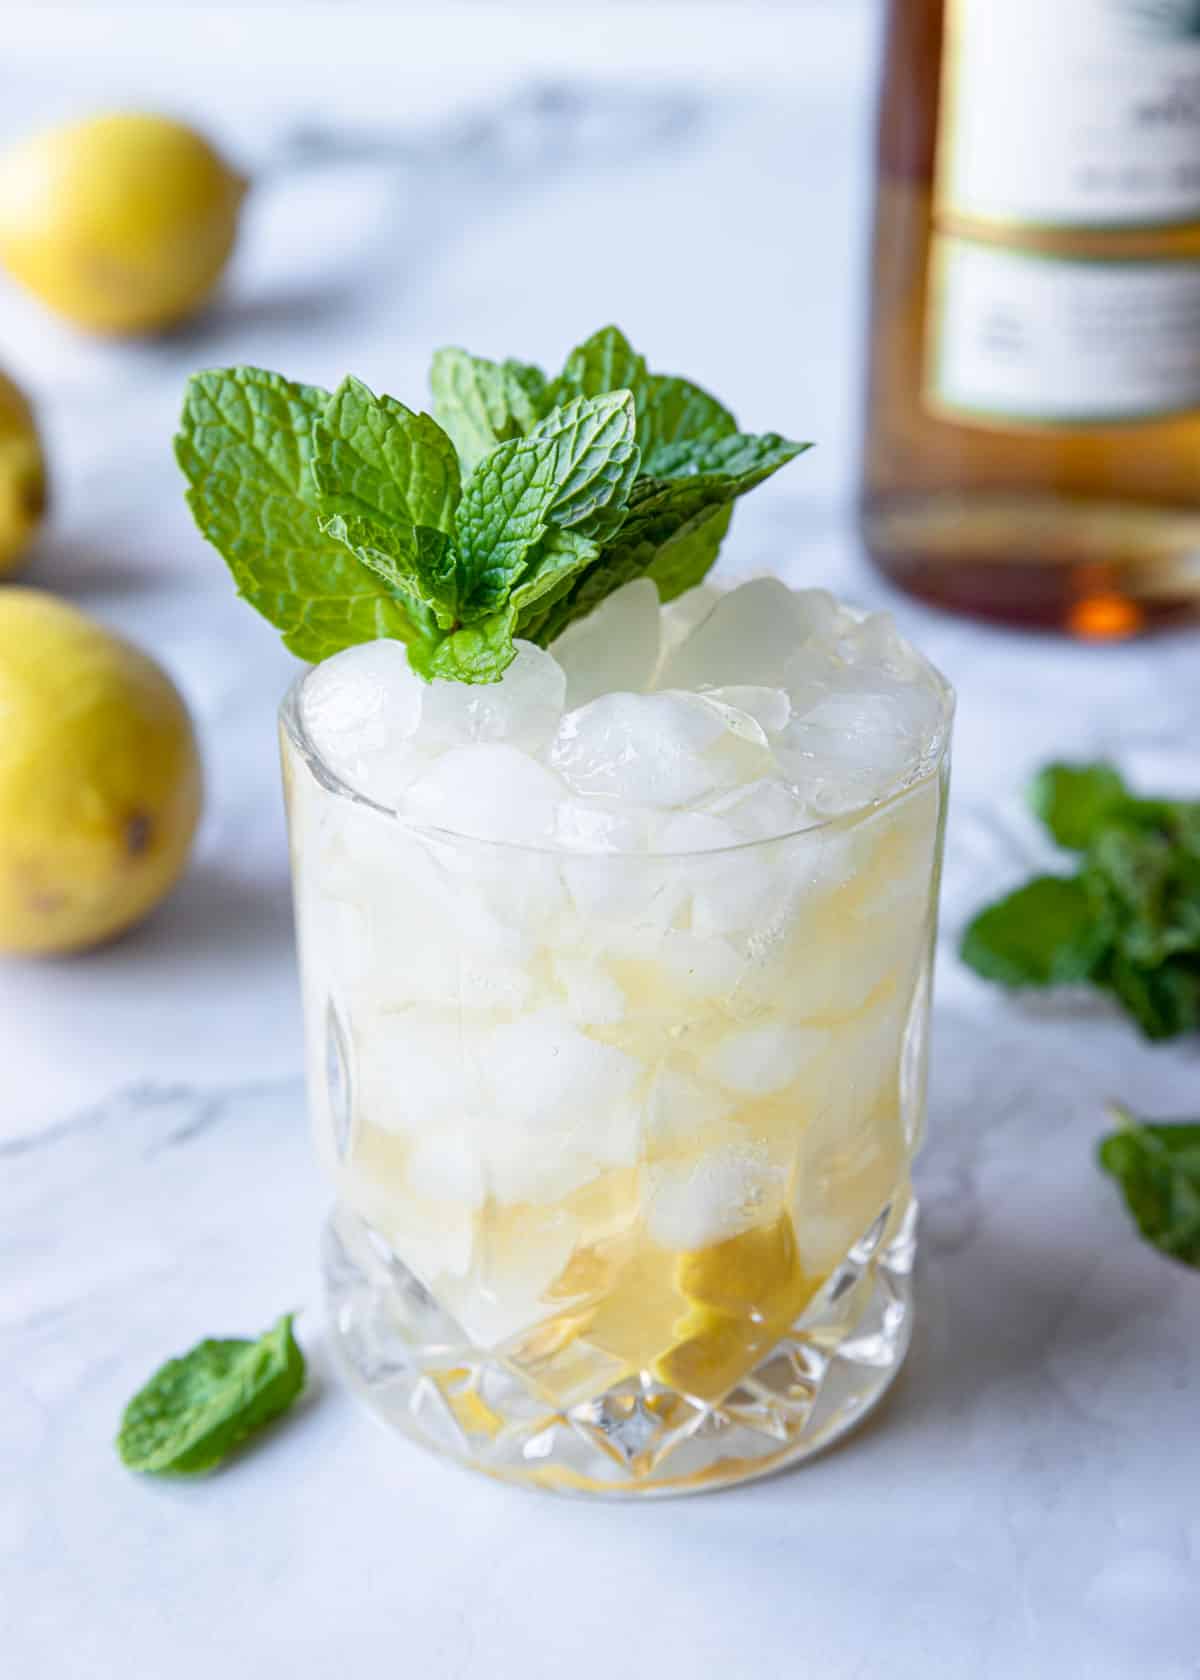
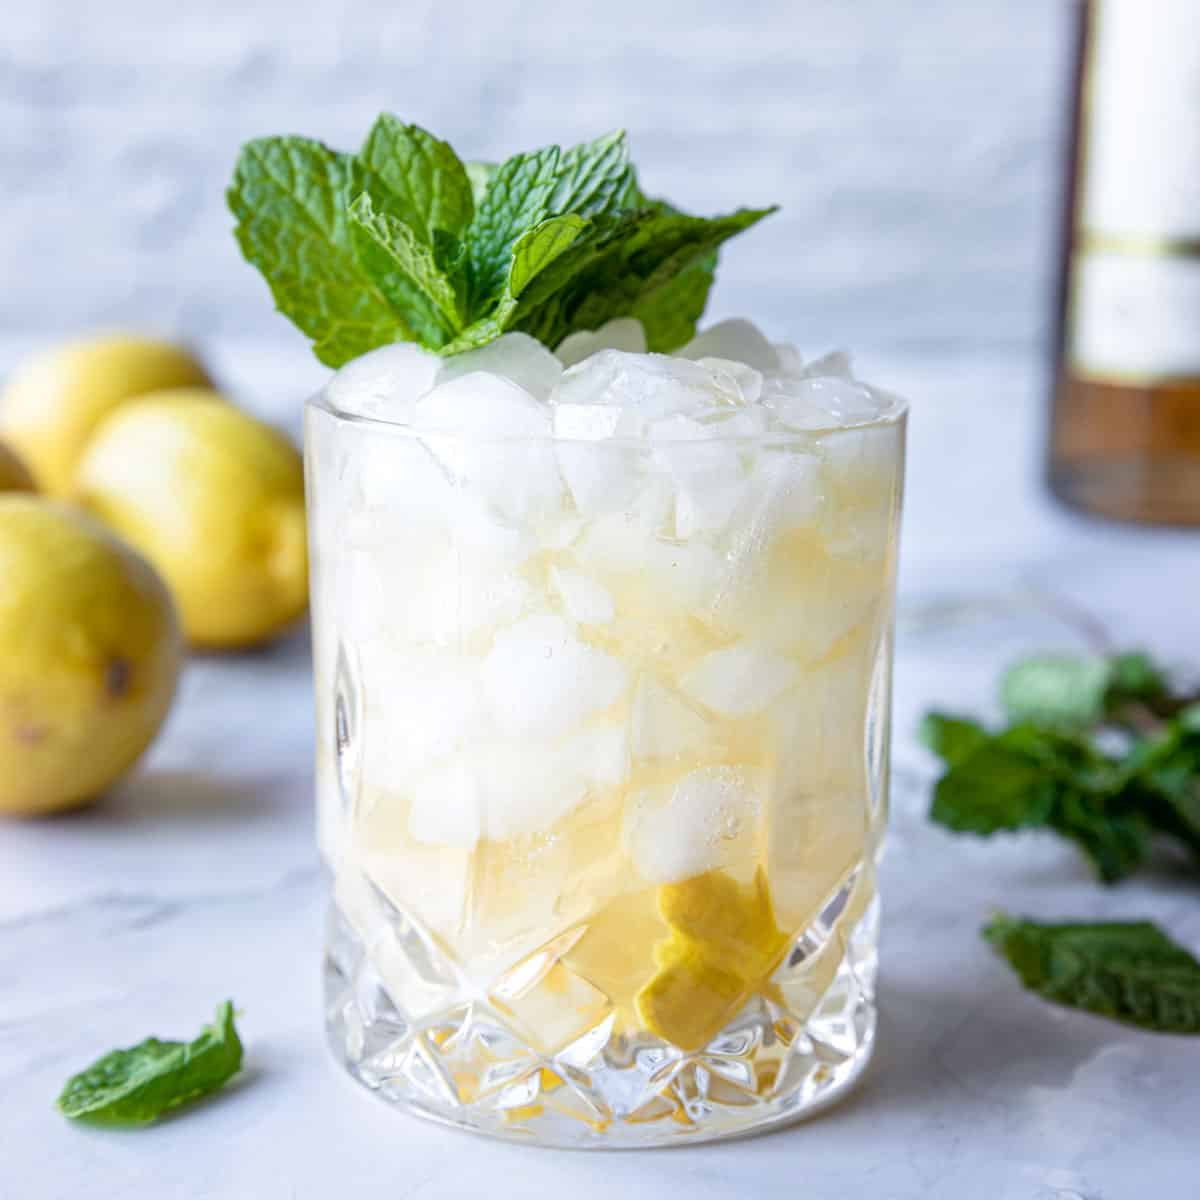
This Añejo Tequila Smash is one of the most balanced and sophisticated tequila drinks I have sipped! It is based on the classic Whiskey Smash, but made with the dark, aged Añejo Tequila. The flavors of muddled lemons and fresh mint pair perfectly with the deep vanilla flavors of Añejo tequila. Finish it off with some simple syrup for sweetness and you have yourself a proper craft cocktail!!
Añejo tequila or Extra Añejo is the most aged tequila you can purchase. That aging process gives it a beautiful flavor and aroma of caramel and vanilla. If you have a really expensive bottle you will want to drink Añejo on the rocks.
But some of the mid-priced Añejo tequilas makes a great Tequila Smash, Tequila Old Fashioned or Tequila Manhattan.
Cheers!
RELATED: Tequila and Blackberry Smash, Tequila and Orange Smash, Lime and Basil Smash
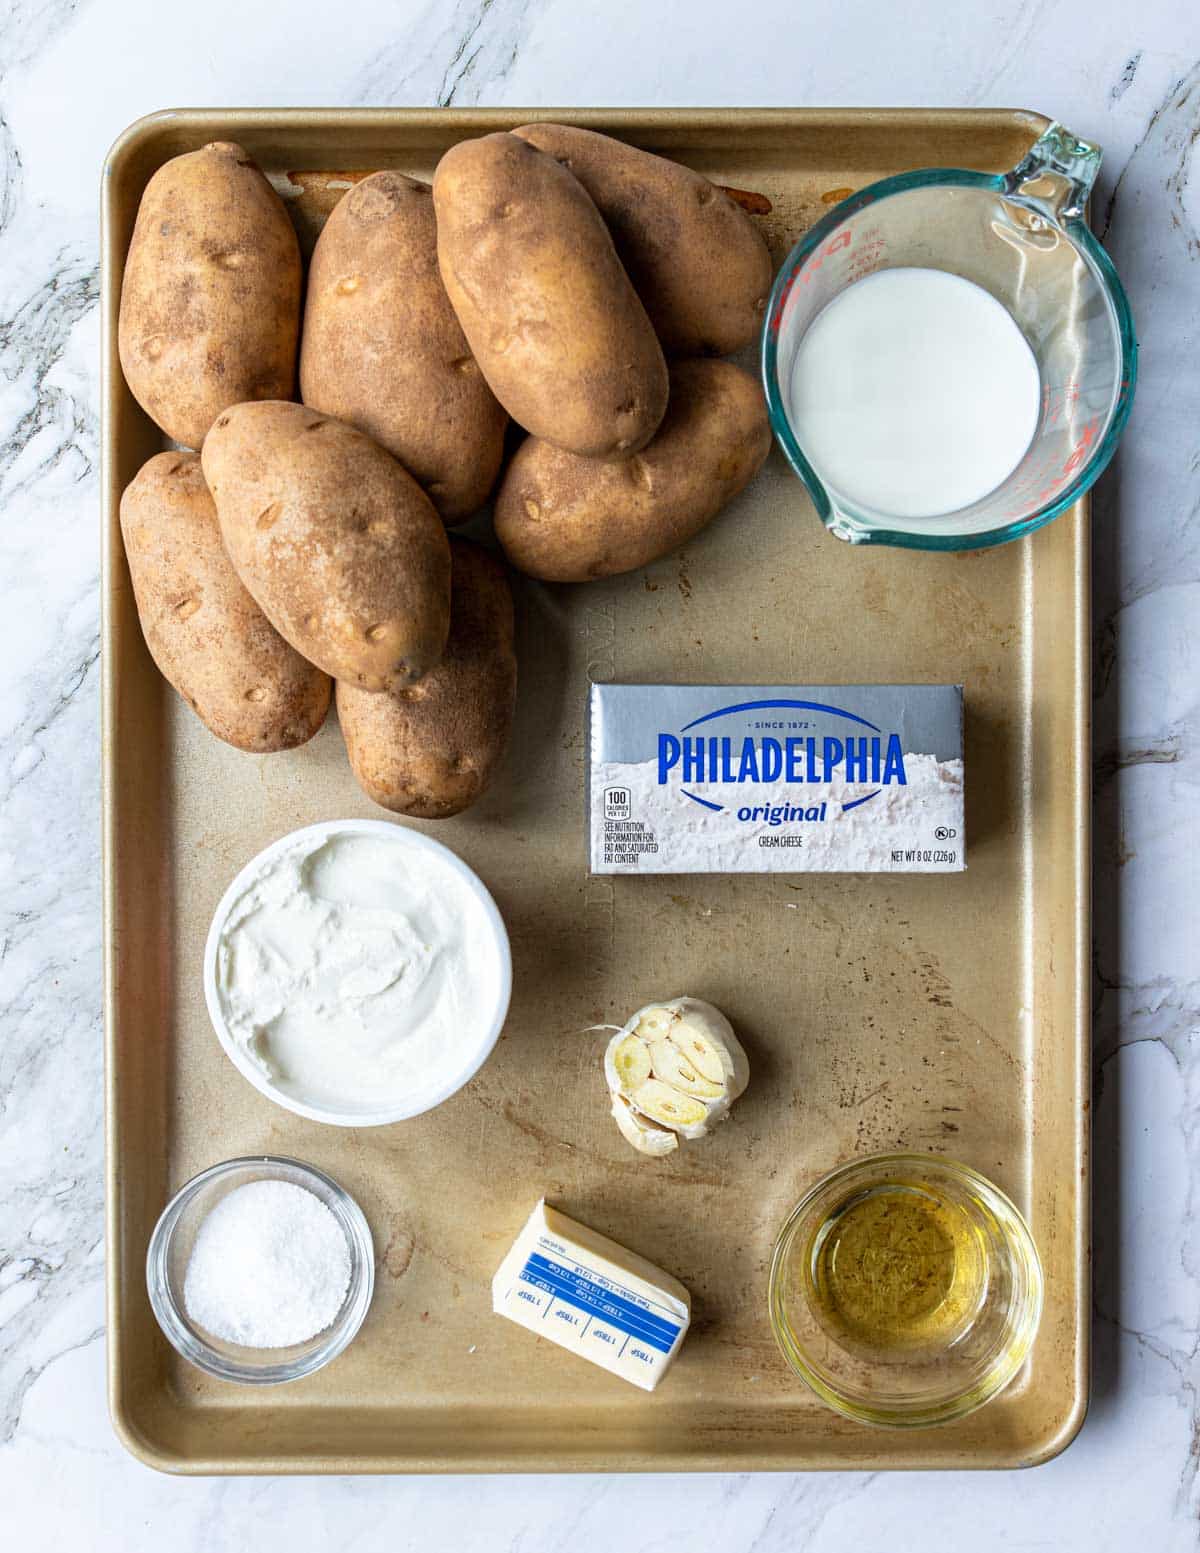
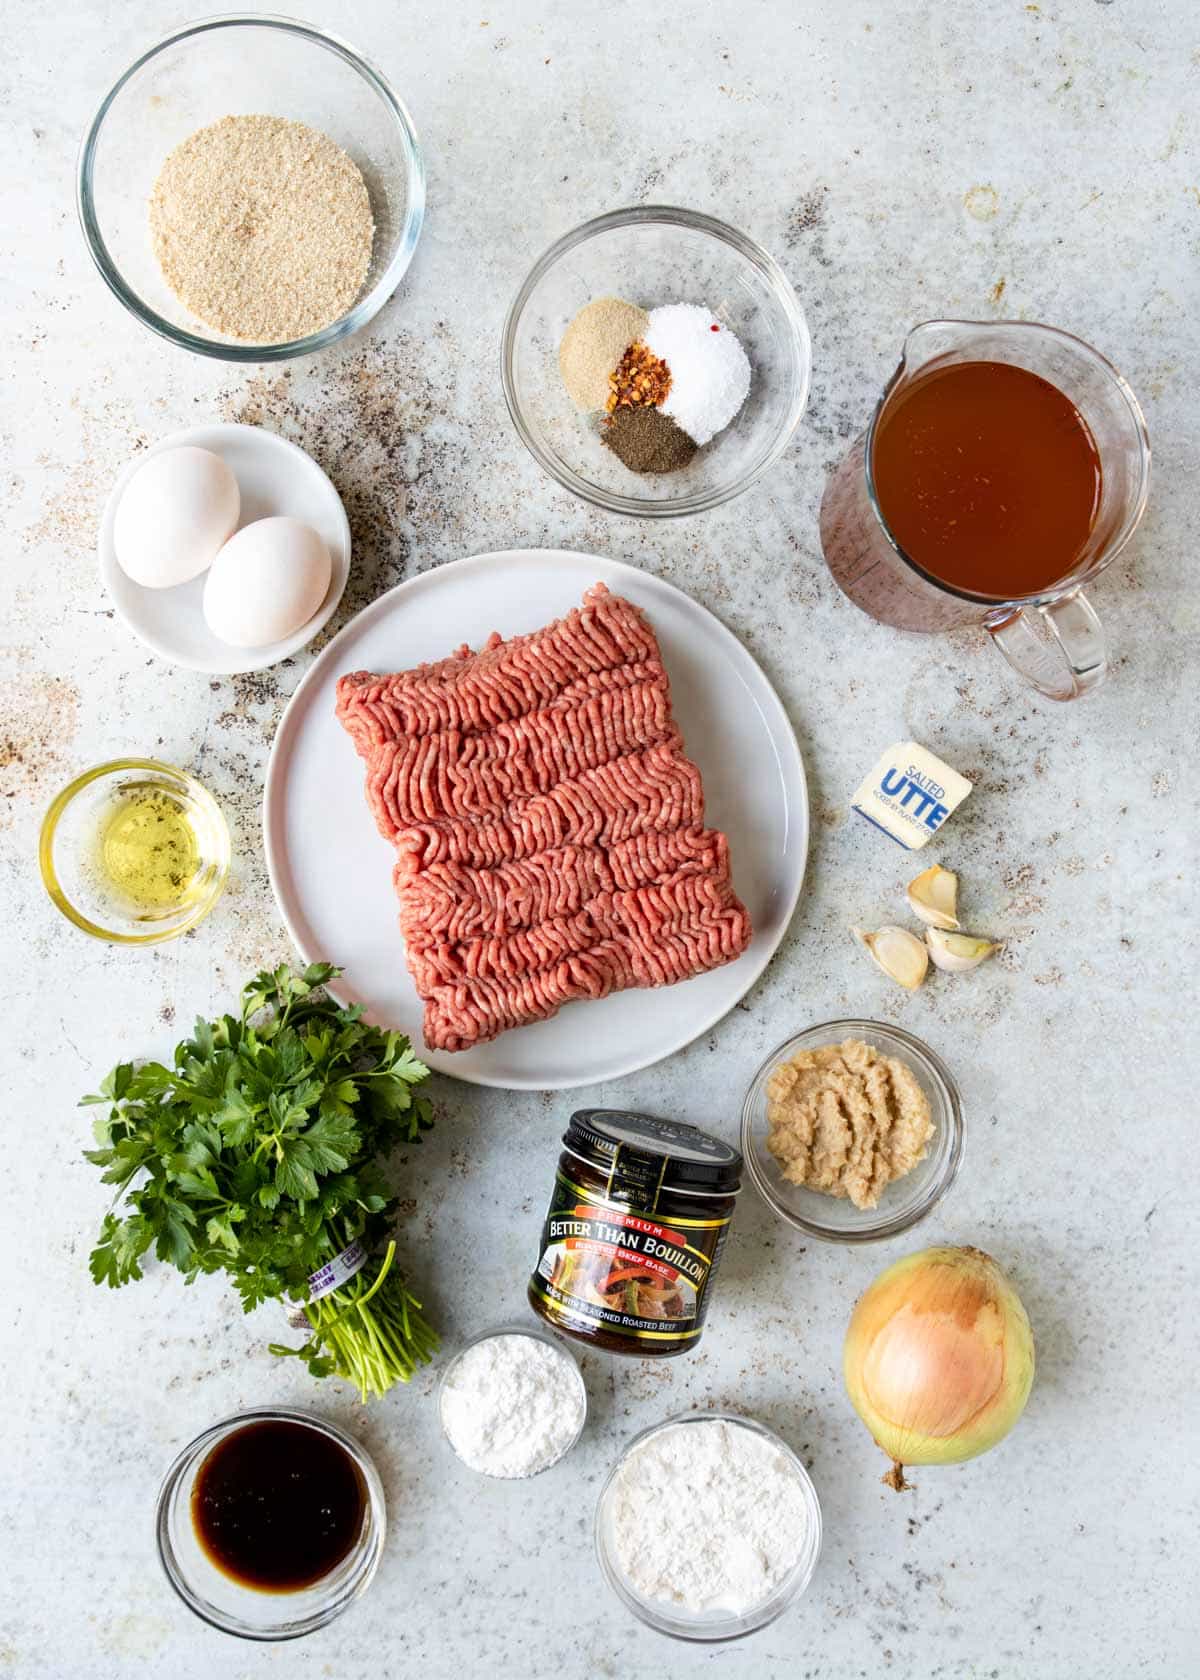
Ingredients and Bar Supplies
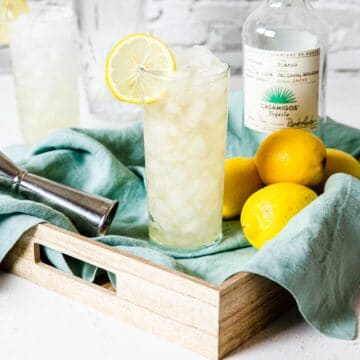
Añejo Tequila- this is the perfect type of tequila for a smash. It is an aged tequila that has really amazing flavor. It is caramel in color and will be labeled with the words Añejo or Extra Añejo.
Simple Syrup- a 1:1 ratio of sugar and water. See the section below on how to make simple syrup.
Mint- fresh mint lends really nice flavor to this cocktail. Instead of smashing/muddle it, like in a Tequila Mojito, in this drink you will shake it into the drink. That allows you to have a nice mild mint flavor.
Lemon- lemon juice and the essential oil of lemon makes half of the flavor base of this Tequila Smash. Use fresh sliced lemon!
Cocktail Jigger- we love this cocktail jigger that allows you to measure everything from .25 oz up to 2 oz.
Cocktail Shaker- there are a few different types of cocktail shakers from Boston Shakers to Glass Shakers. If you don’t have a shaker you can absolutely use a mason jar with a lid!
Muddle- you need a muddle to smash the lemon and have it release all it’s juice and essential oils. If you don’t have a muddle you can use the handle of a wooden spoon.
How To Make Simple Syrup
You need a little simple syrup to sweeten up the tart fresh lemon juice. You can buy simple syrup, but it is really easy to make. You can even make simple syrup in your microwave in about 1 minute!
Simple Syrup, as the name suggests, is super simple to make. You just need 2 ingredients; sugar and water. Place 1 cup water and 1 cup sugar over medium low heat and melt the sugar into the water. Let cool completely and then use in your cocktails.
Simple Syrup can be stored in the fridge in a glass container for up to 1 month.
More Tequila and Lemon Cocktails


Did you make this recipe?
⭐⭐⭐⭐⭐
I would love to hear your review, especially if you have tips and tricks to add! Pop down to the comment section and connect with me
Añejo Tequila Smash Recipe
Equipment
- Cocktail Shaker (optional…can use mason jar)
- Cocktail Muddler (optional…can use the handle of wooden spoon)
Ingredients
- 3 lemon wedges - -about ½ a medium lemon
- 2 oz Añejo Tequila
- .75 oz simple syrup
- 5 fresh mint leaves
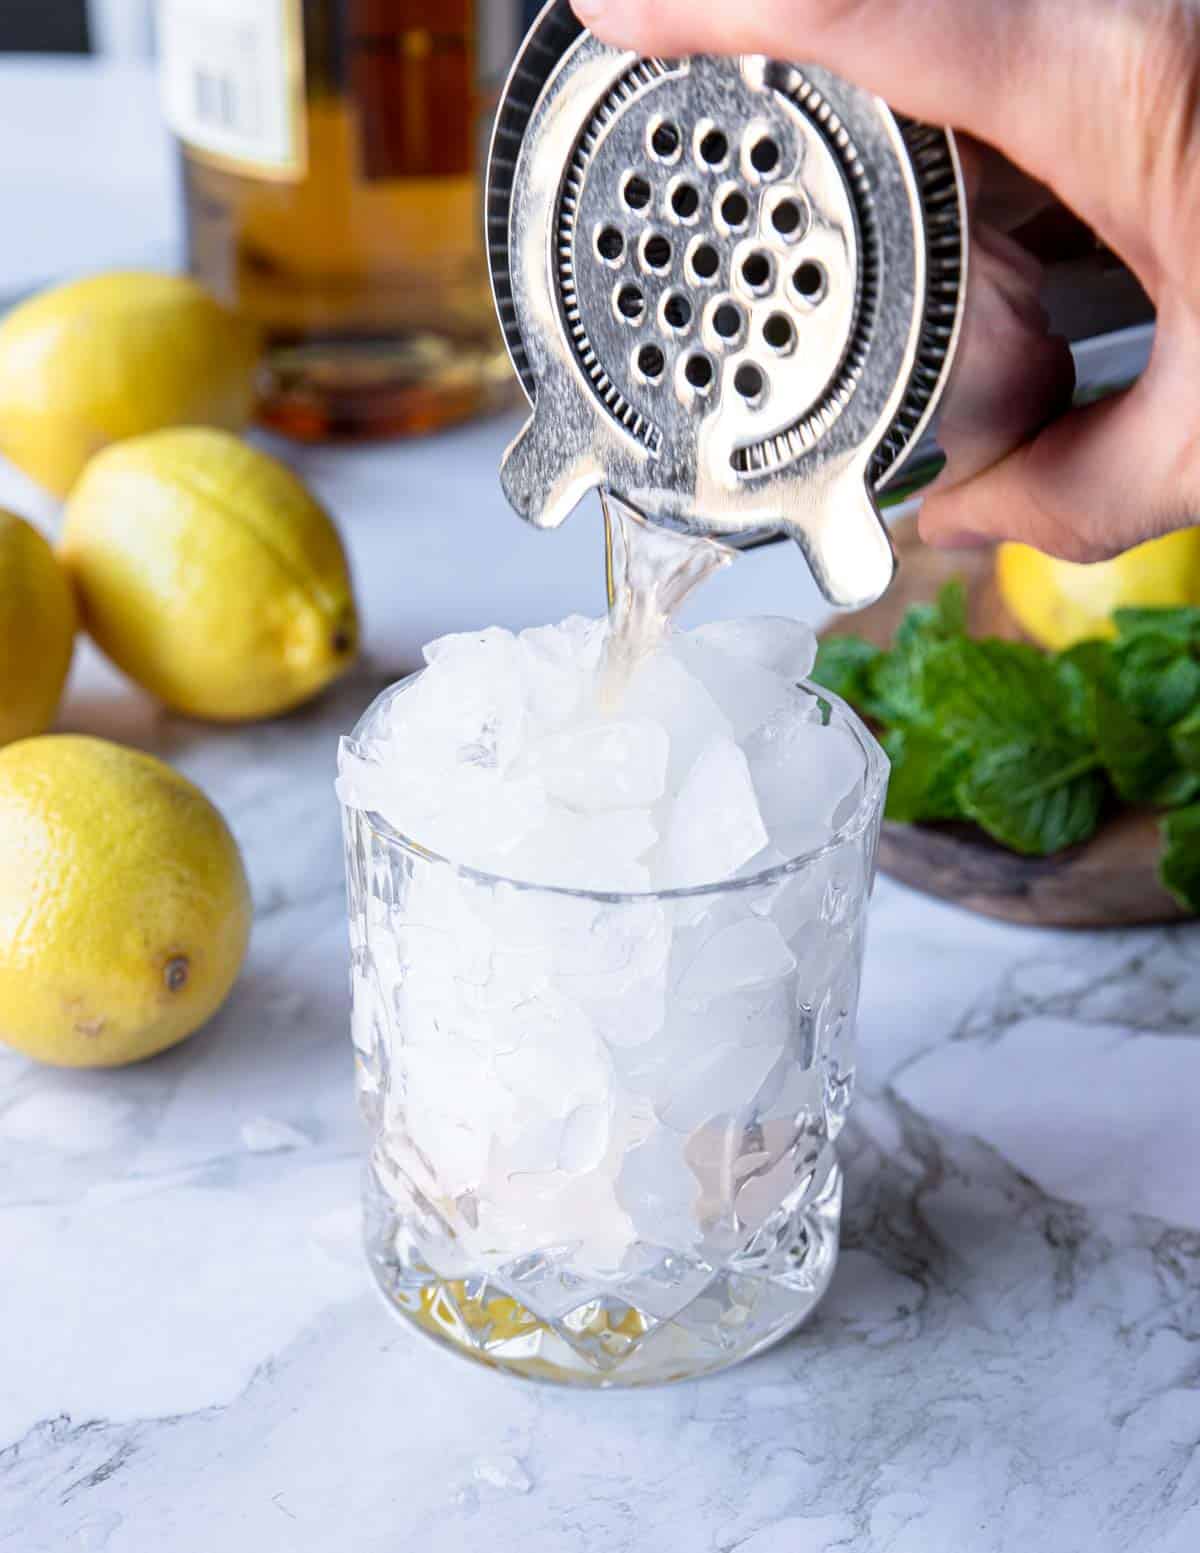
- ice - -we love crushed ice for this drink!
Instructions
- Add the lemon wedges to a cocktail shaker. Muddle the lemon completely so they release all the juice and essential oils.3 lemon wedges
- Add a few cubes of ice to the shaker, plus the tequila, mint and simple syrup.2 oz Añejo Tequila, .75 oz simple syrup, 5 fresh mint leaves
- Shake vigorously for about 20 seconds.
- Strain into a glass filled with ice (we love to use crushed ice for an extra frosty drink).
- Garnish with a lemon wedge or fresh mint sprigs.