I grew up in Iowa and in the summer heat the air smells like sweet corn. There is nothing better than a big bite of fresh sweet corn during the heart of a long hot summer. In my hometown you buy corn on the cob in July and August, usually out of the back of a farmers truck, on the corner of a highway and a country road.
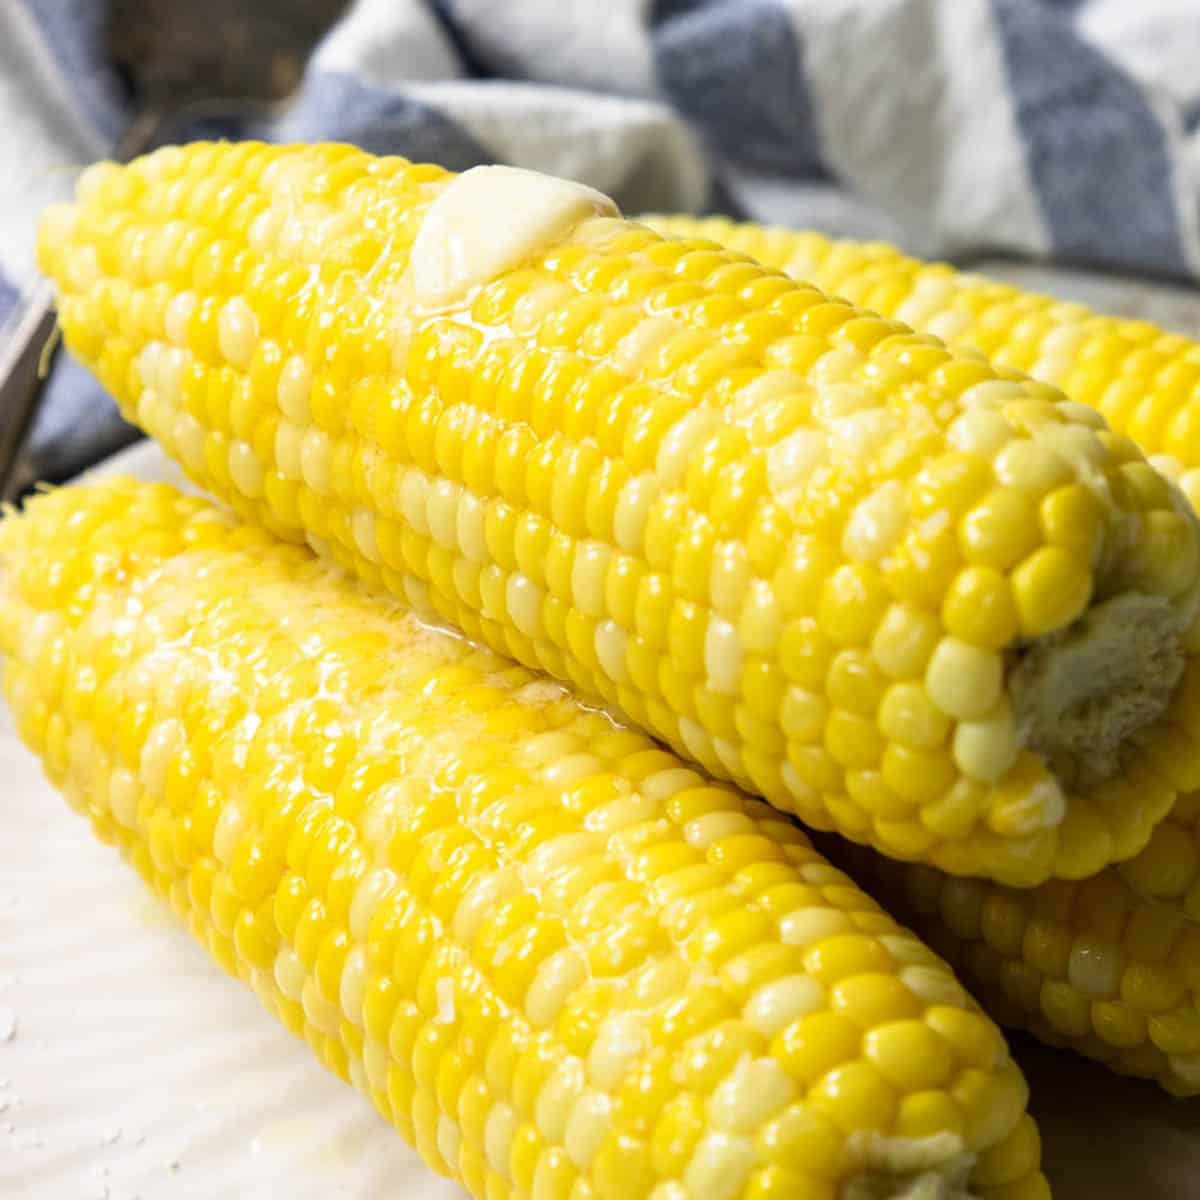
The taste of sweet corn truly captures summer in one bite. It is super simple to cook by boiling in salted water for just a few minutes.
If you love using an Electric Pressure Cooker, you can also pop over to this recipe for Instant Pot Corn on the Cob!
How To Choose Really Good Sweet Corn
If you are buying corn on the side of the road, or locally, chances are it is going to be absolutely amazing. But if that isn’t something people do where you are, here are some ways to check for amazing corn on the cob:
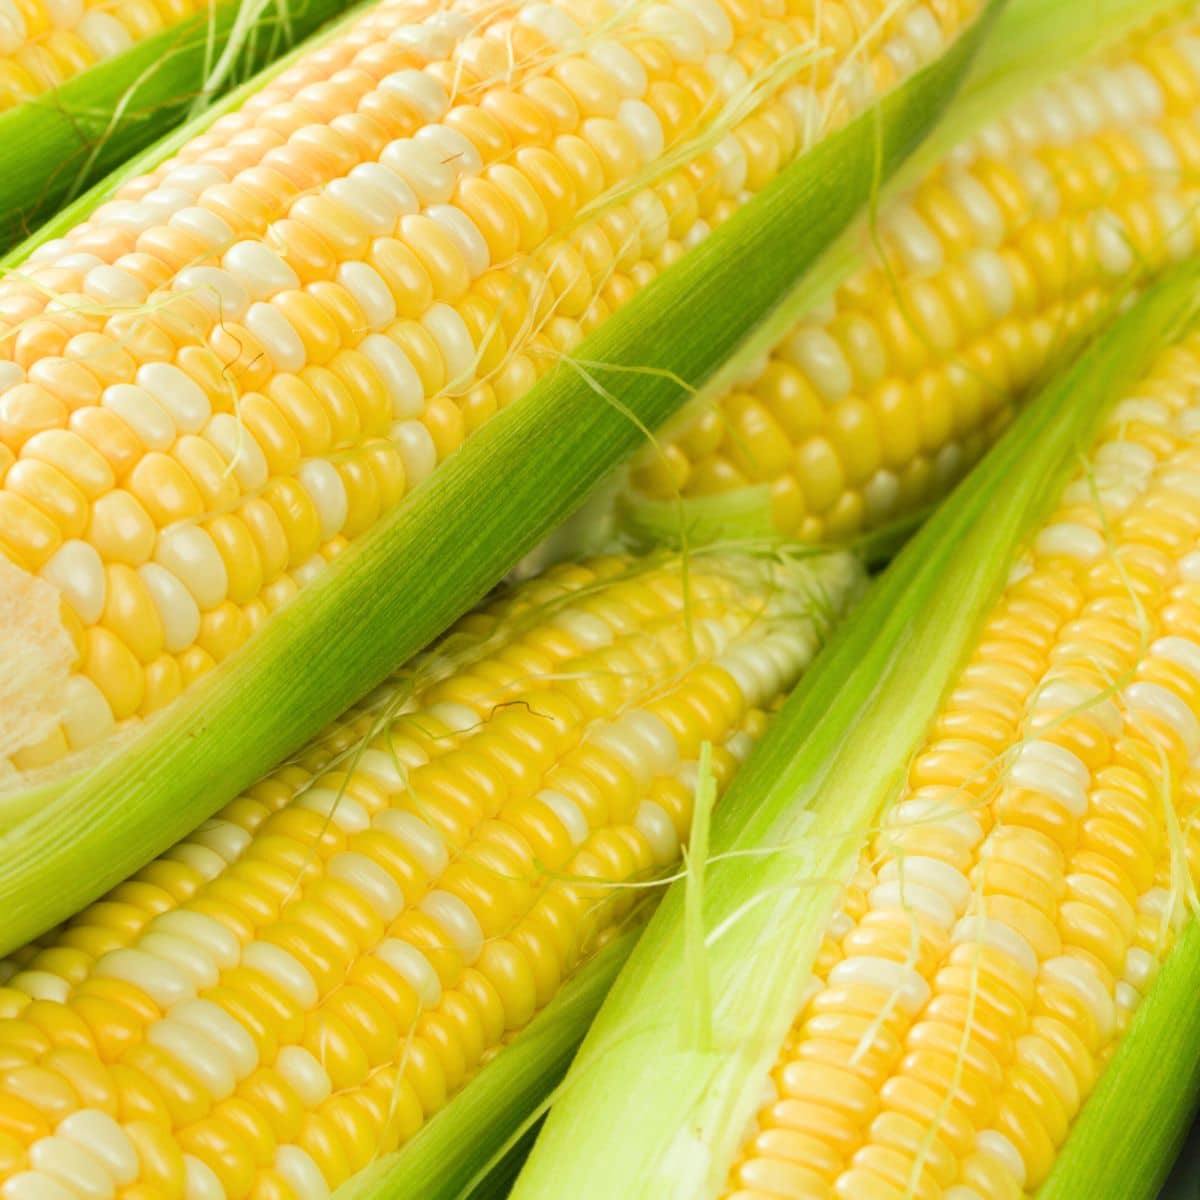
- My favorite way is to slightly peel back the husk and silk from the ear. If the corn kernels are plump and yellow/white ALL the way to the TOP then you have a good ear. If there is just husk with no corn, try again!
- Look for large ears of corn that have light green husk around the outside, not dried or shriveled.
- Another good sign is if the "silk" is slightly damp and yellowish in color. It can be dried at the very top but shouldn't be dead and dried all the way into the cob.
- Use your nose! If the corn smells like sweet corn, that's a good sign.
- And always (this is gross)… look for bugs or worms at the top of the corn cob when you pull the husk back.
Tip for adding Butter and Salt
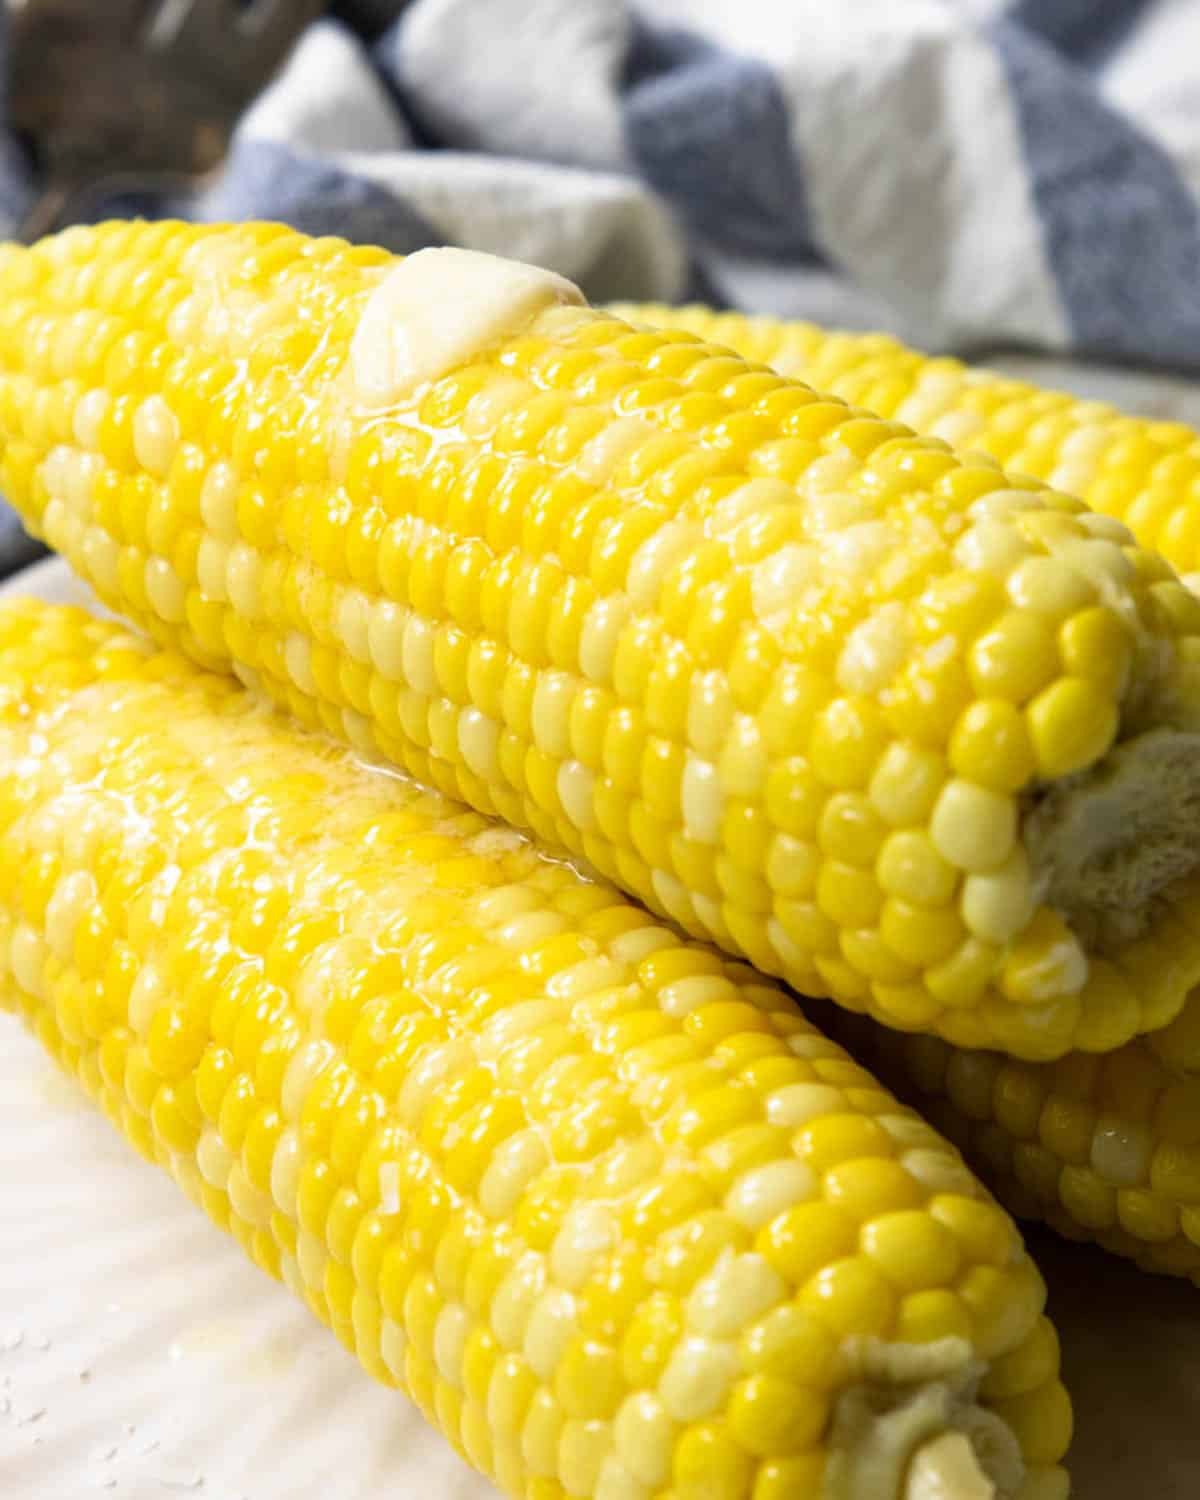
If you are making a lot of corn on the cob for a large group, add the butter and salt before serving to save a step. Drain the water from the pot add a few tablespoons of butter and a couple pinches of kosher salt.
Pop the lid on the pot and give the corn a light shake. It will butter and salt the corn and you can serve it right out of the pot with tongs.
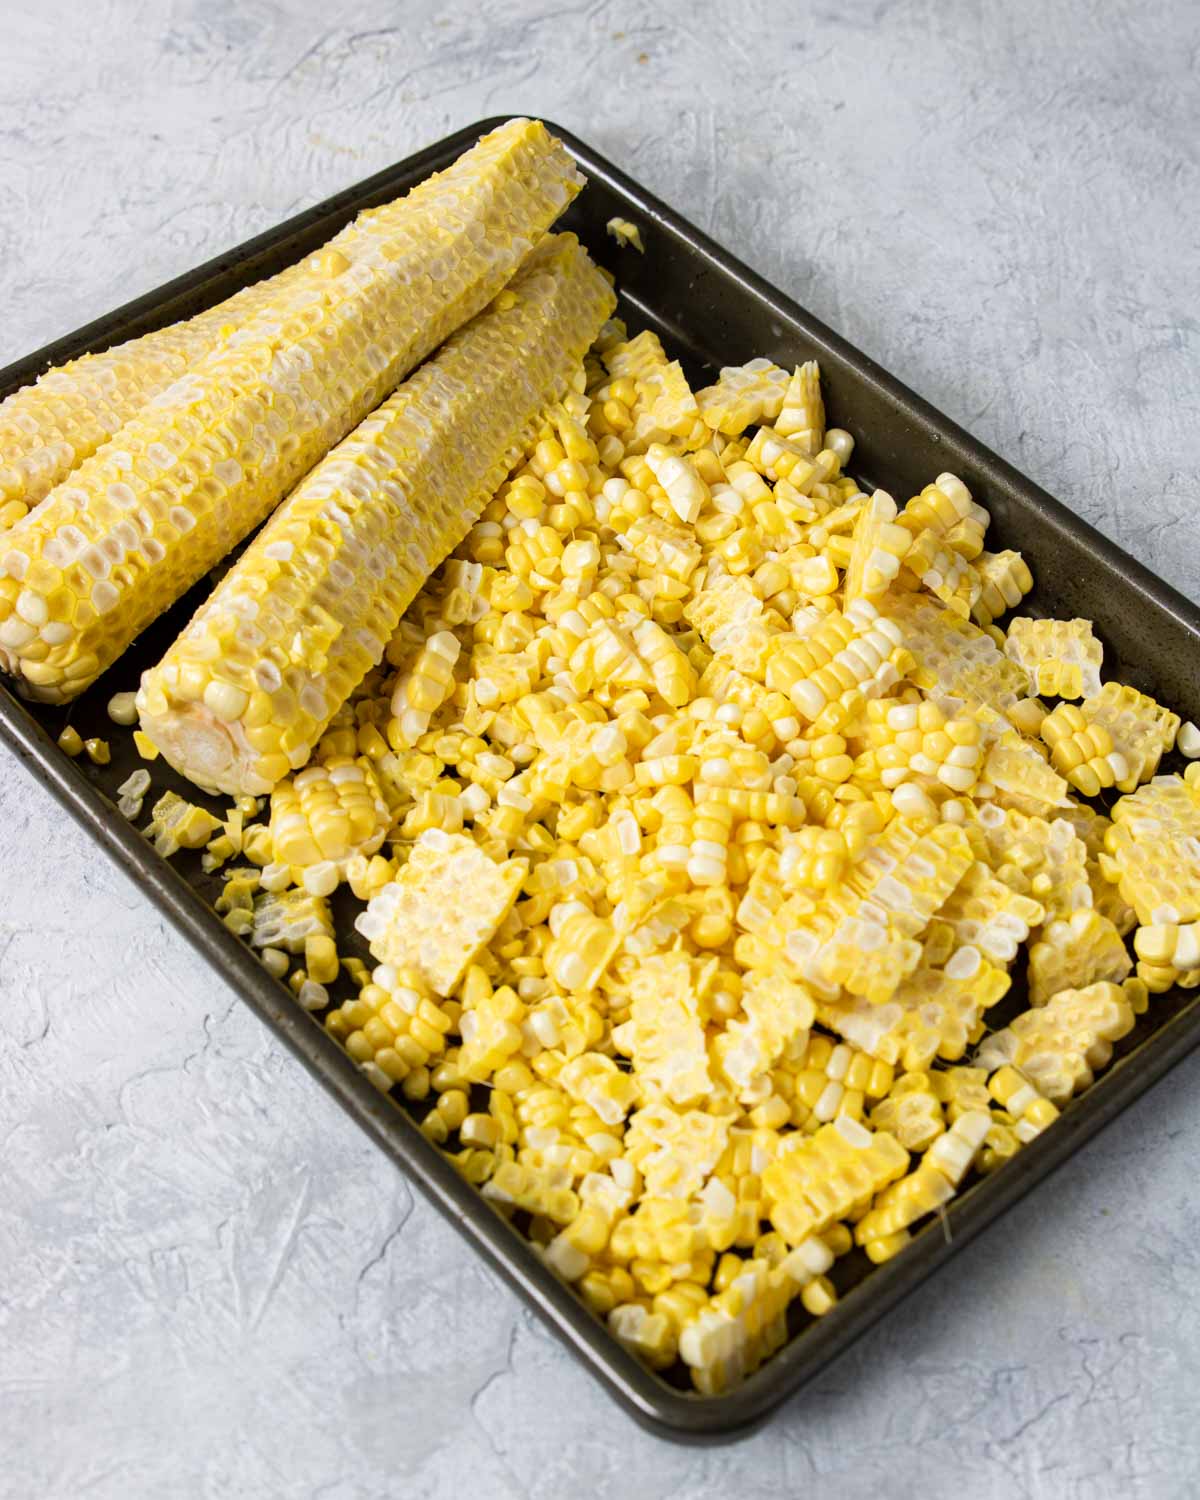
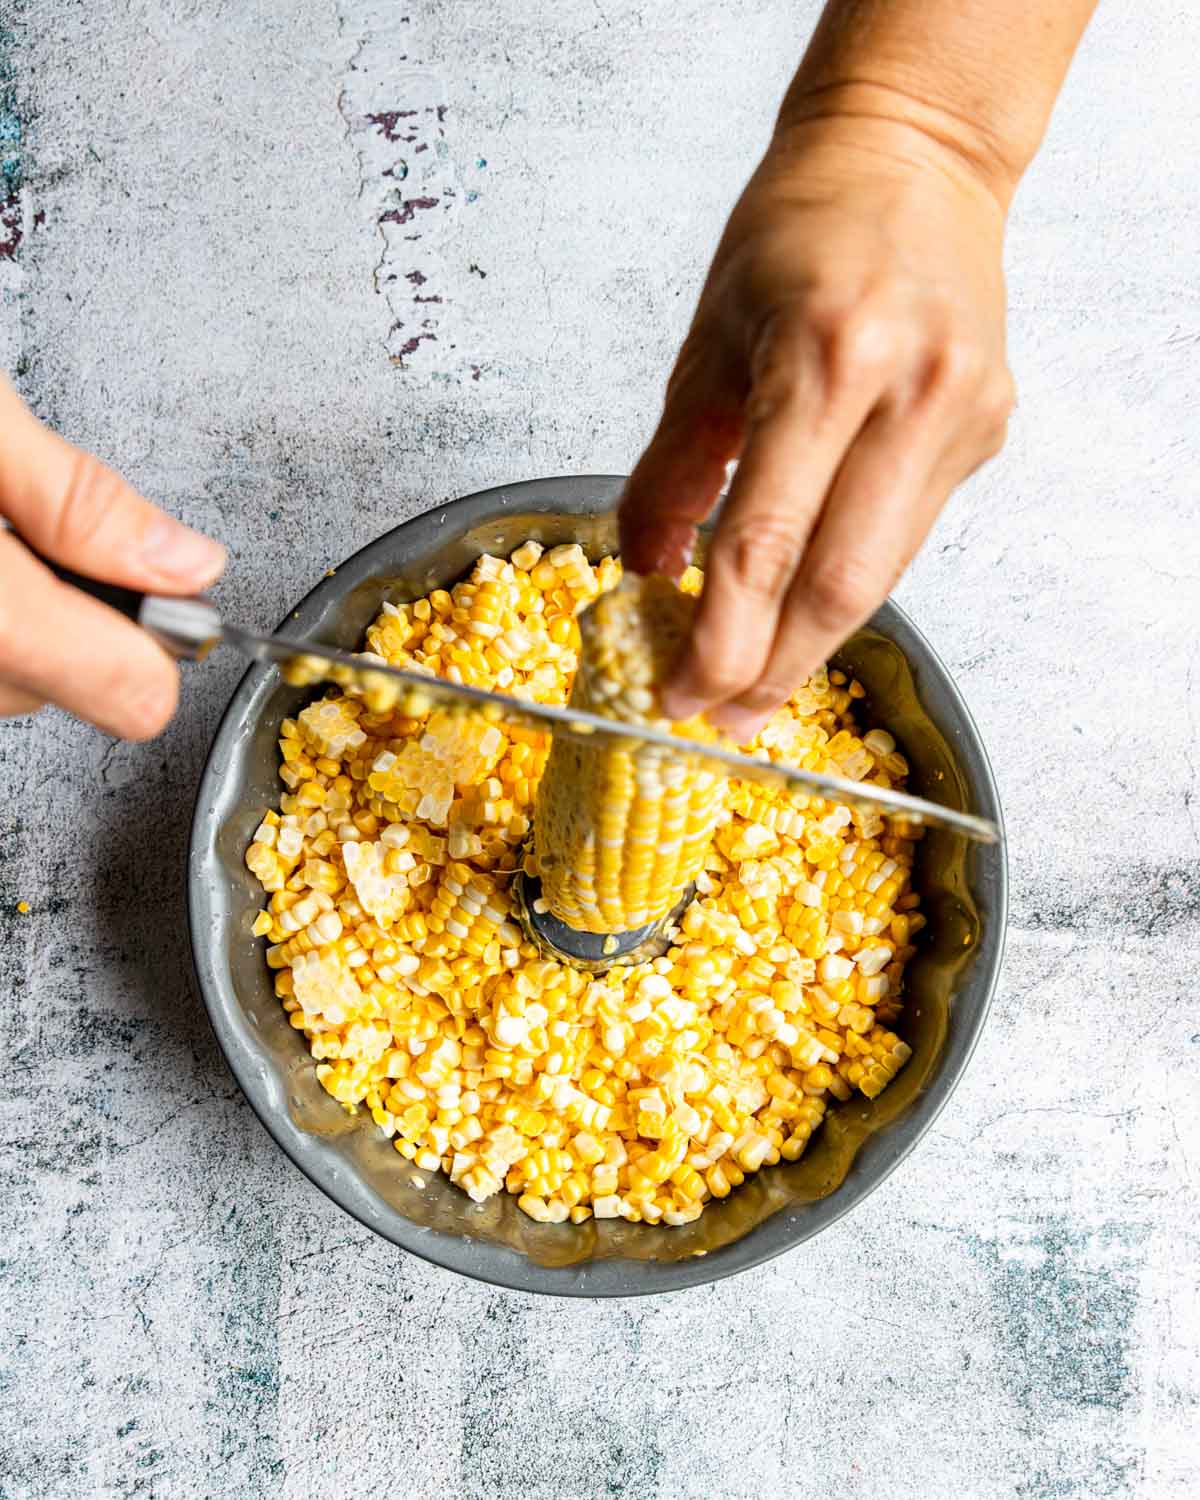
How To Cut Kernels from the Cob
Before of after you cook the corn on the cob, if you want to remove it from the cob there are two great ways to do this.
- On a rimmed baking sheet lay the corn on it’s side. Slice down, removing the kernels from the cob, then rotate around until all the corn is off the cob. The rimmed baking sheet will contain all the juices and corn.
- Place the tip of the cob in the hole of the Bundt pan and cut down around the cob, removing the kernels into the Bundt pan.
Freezing Corn
Every year my Mom gets ALL the fresh sweet corn in Iowa, removes the kernels from the cob and freezes it so we can have “fresh” sweet corn for the holidays. Keep the corn in freezer safe baggies for up to 6 months. Thaw in the fridge overnight then warm in a skillet with plenty of butter and salt.
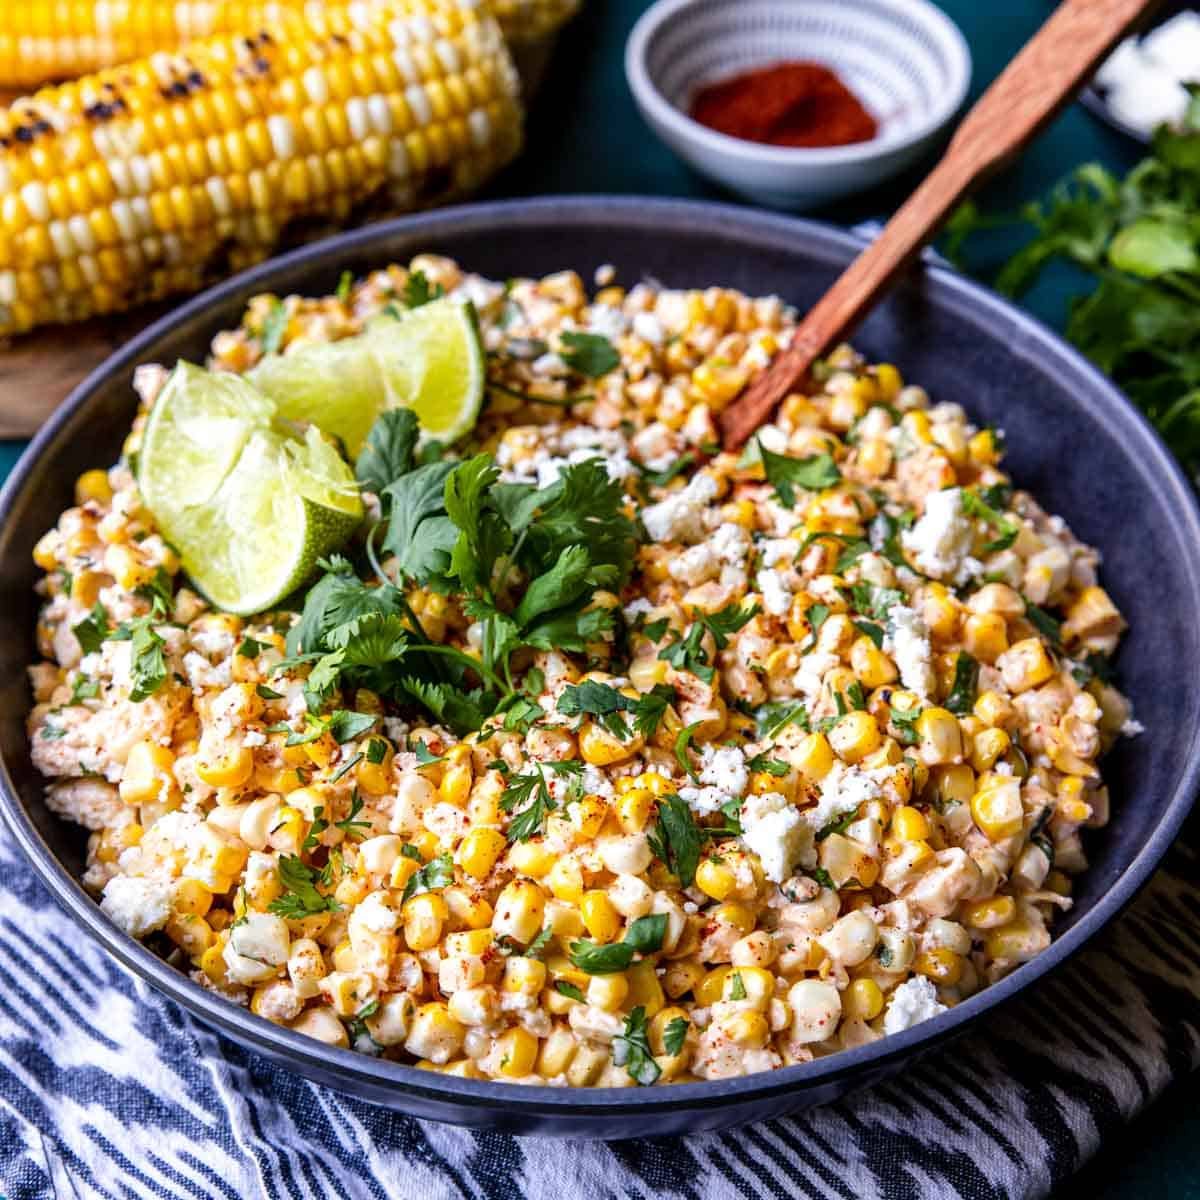
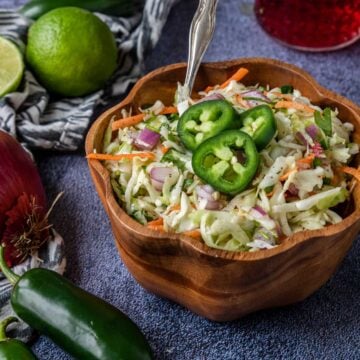
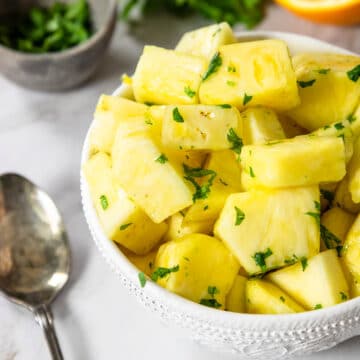
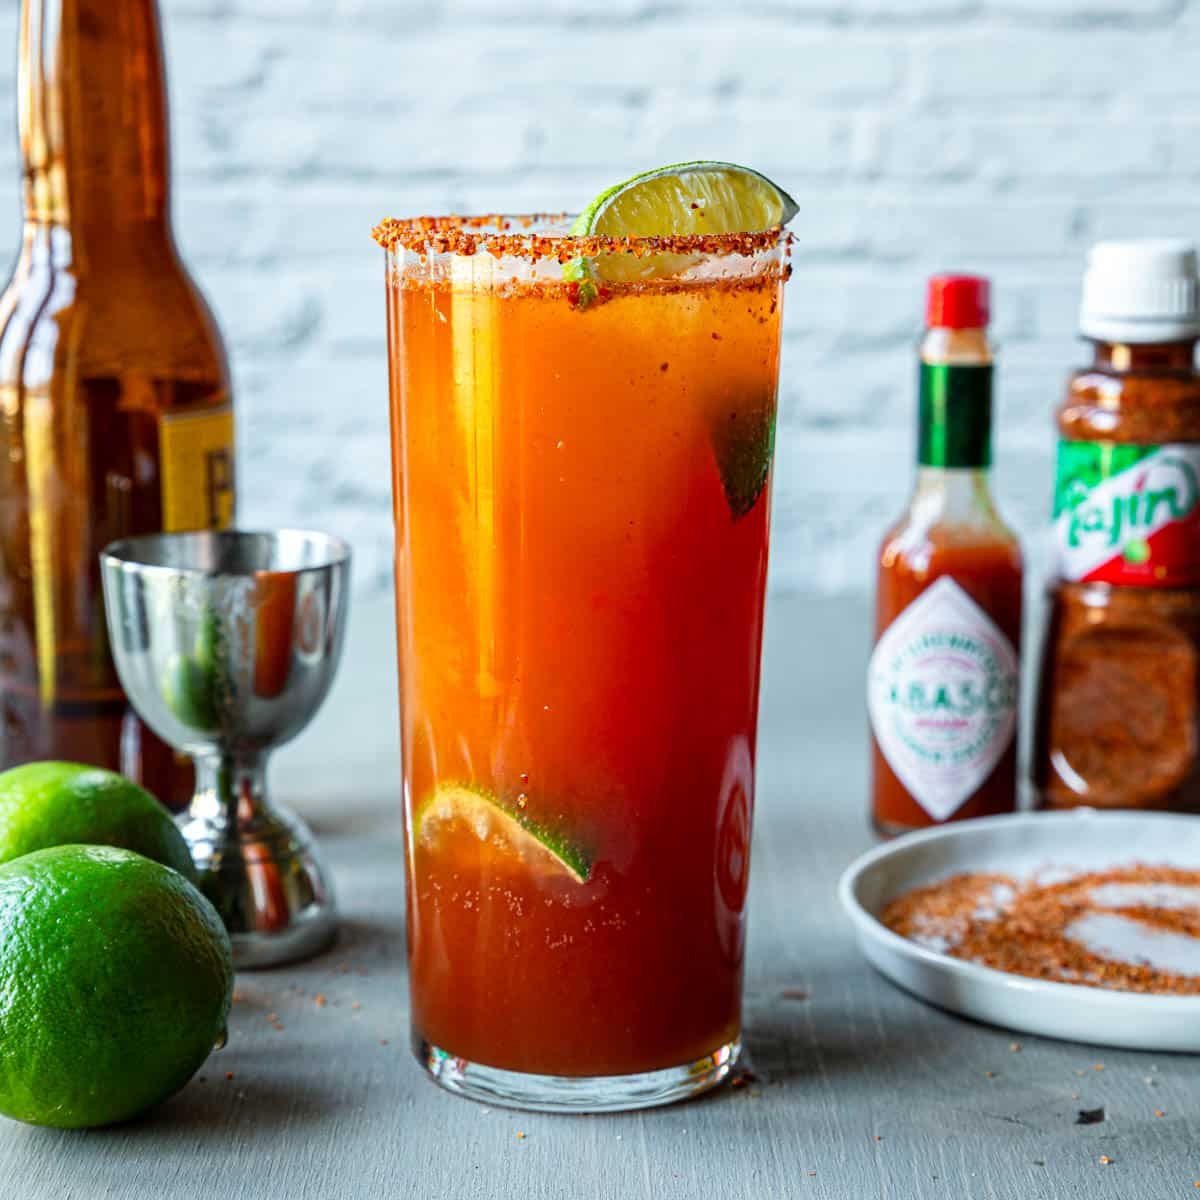
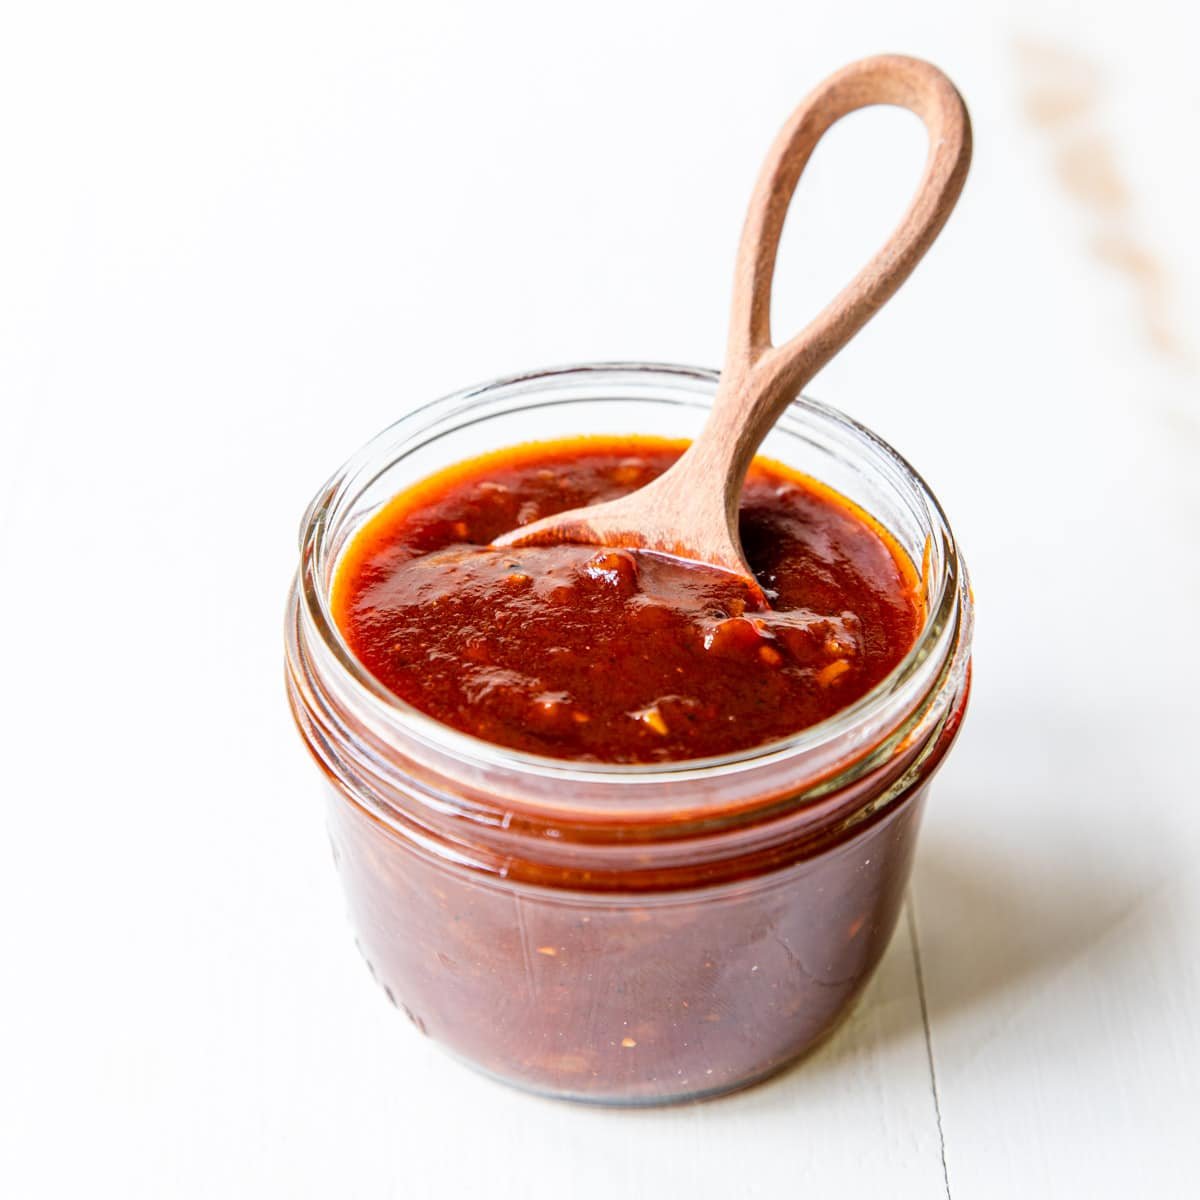
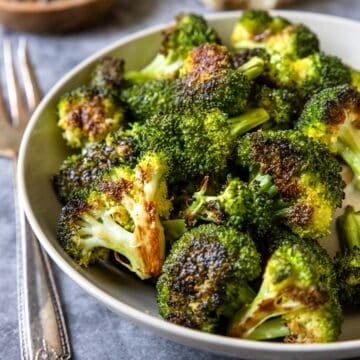
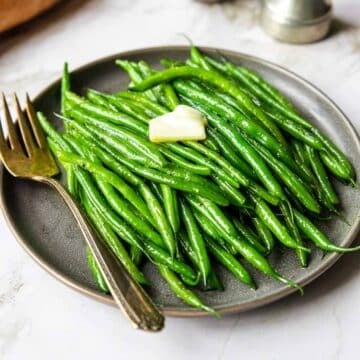
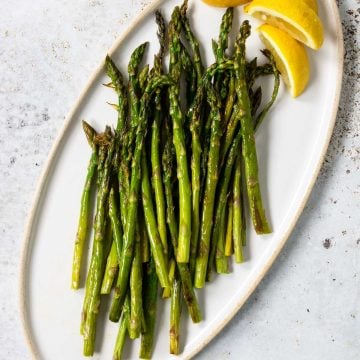
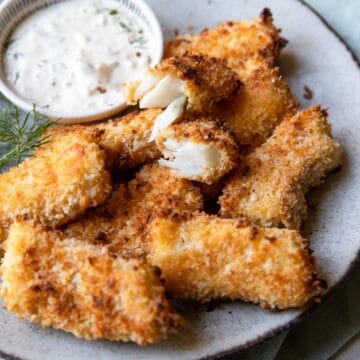
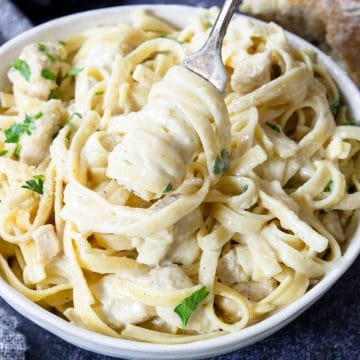
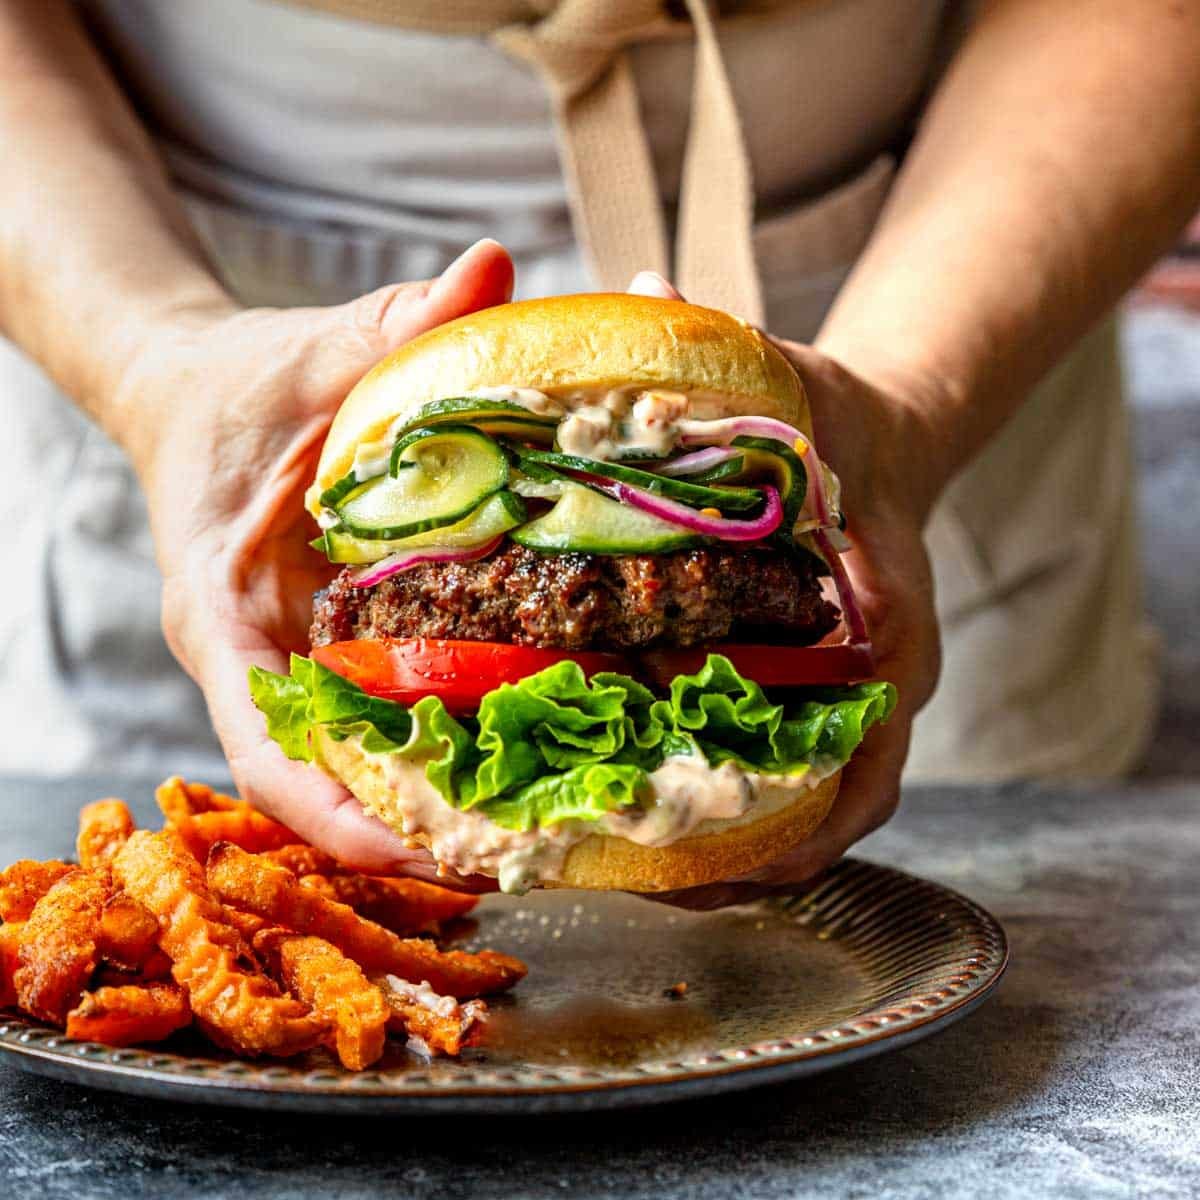
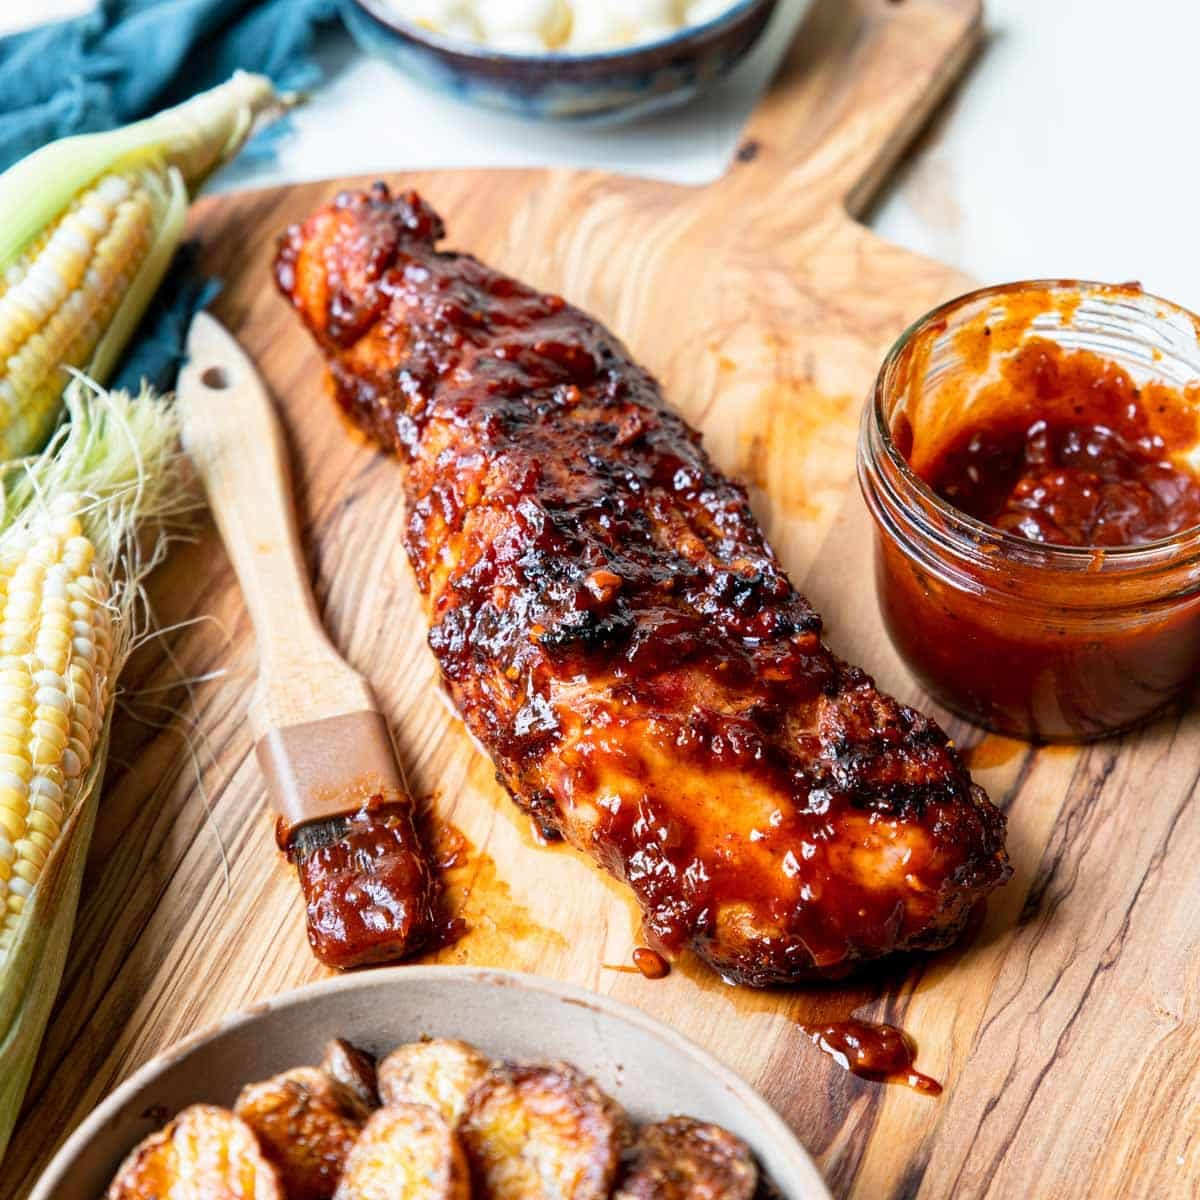
Things to Serve with Corn on the Cob

Did you make this recipe?
⭐⭐⭐⭐⭐
I would love to hear your review, especially if you have tips and tricks to add! Pop down to the comment section and connect with me
How To Cook Corn on the Cob
Equipment
Instructions
Prepping & Cleaning Corn on the Cob
- Starting at the top of the corn cob where the silk is peeking out of the husk, split the silk and husk into two sections and slightly peel open.
- Then pull the silk/husk from the corn in sections, ripping it at the bottom and removing it from the corn cob.Discard the silk and husk.
- Run the corn on the cob under water to give it a quick clean and remove excess silk.
Boiling Corn
- Place a large pot of salted water on the stove over medium high heat, bring to a boil.Pro Tip: salt the water generously, like you would with pasta.
- Add the cleaned corn, boil for about 6-8 minutes, stirring occasionally so all the corn is submerged in the water.
- The corn is done when the kernels are bright yellow, plump and juicy.
- Remove from the water and place on a plate for serving.
Serving
- Serve with butter and kosher salt on the side for seasoning.
- Optionally if you are serving a lot of corn on the cob, drain the pot, add the corn back to the hot pot, add a few tablespoons of butter and dashes of kosher salt. Pop the lid on and lightly shake the pot to butter/salt the corn.Serve straight out of the pot with tongs!
Recipe Tips and Notes:
TIPS FOR CHOOSING GREAT SWEET CORN:
-
- My favorite way is to slightly peel back the husk and silk from the ear. If the corn kernels are plump and yellow/white ALL the way to the TOP then you have a good ear. If there is just husk with no corn, try again!
-
- Look for large ears of corn that have light green husk around the outside, not dried or shriveled.
-
- Another good sign is if the "silk" is slightly damp and yellowish in color. It can be dried at the very top but shouldn't be dead and dried all the way into the cob.
-
- Use your nose! If the corn smells like sweet corn, that's a good sign.
-
- And always (this is gross)… look for bugs or worms at the top of the corn cob when you pull the husk back.