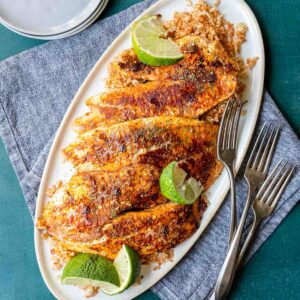
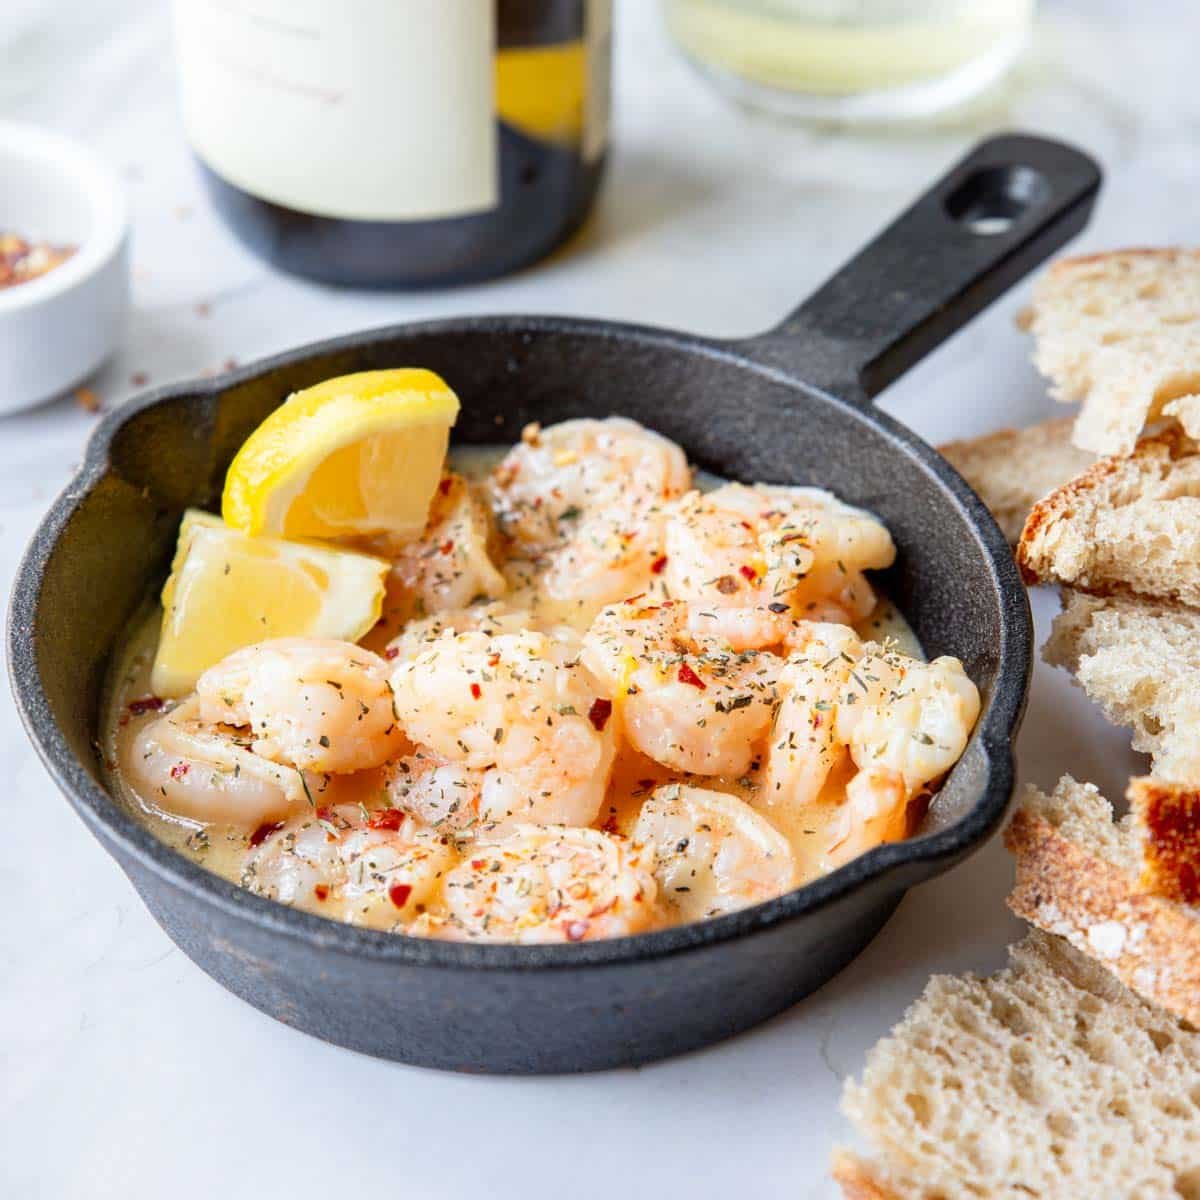
Garlic Butter Shrimp is an easy dinner or appetizer that is full of flavor. Large shrimp and plenty of garlic are added to warm butter in a skillet, they quickly cook for 1 minute, then white wine, butter and lemon zest are added. This Garlic Butter Shrimp comes together in about 15 minutes, including prep!
This recipe is like the shrimp version of this Garlic Butter Steak Bites Recipe…. make both and have a surf and turf appetizer!!! Best Idea Everrrrrrr.
Serve it up as an appetizer with some warm crusty bread or garlic bread on the side. Or it makes an easy dinner with a rice pilaf and roasted asparagus on the side.
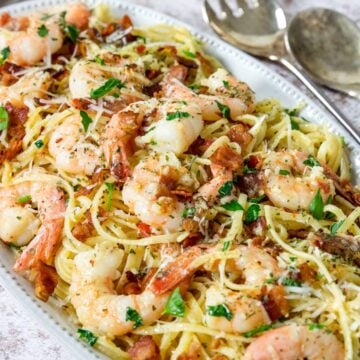
If you love this combo of shrimp, garlic and butter the next recipe you need to make is this Shrimp Carbonara!
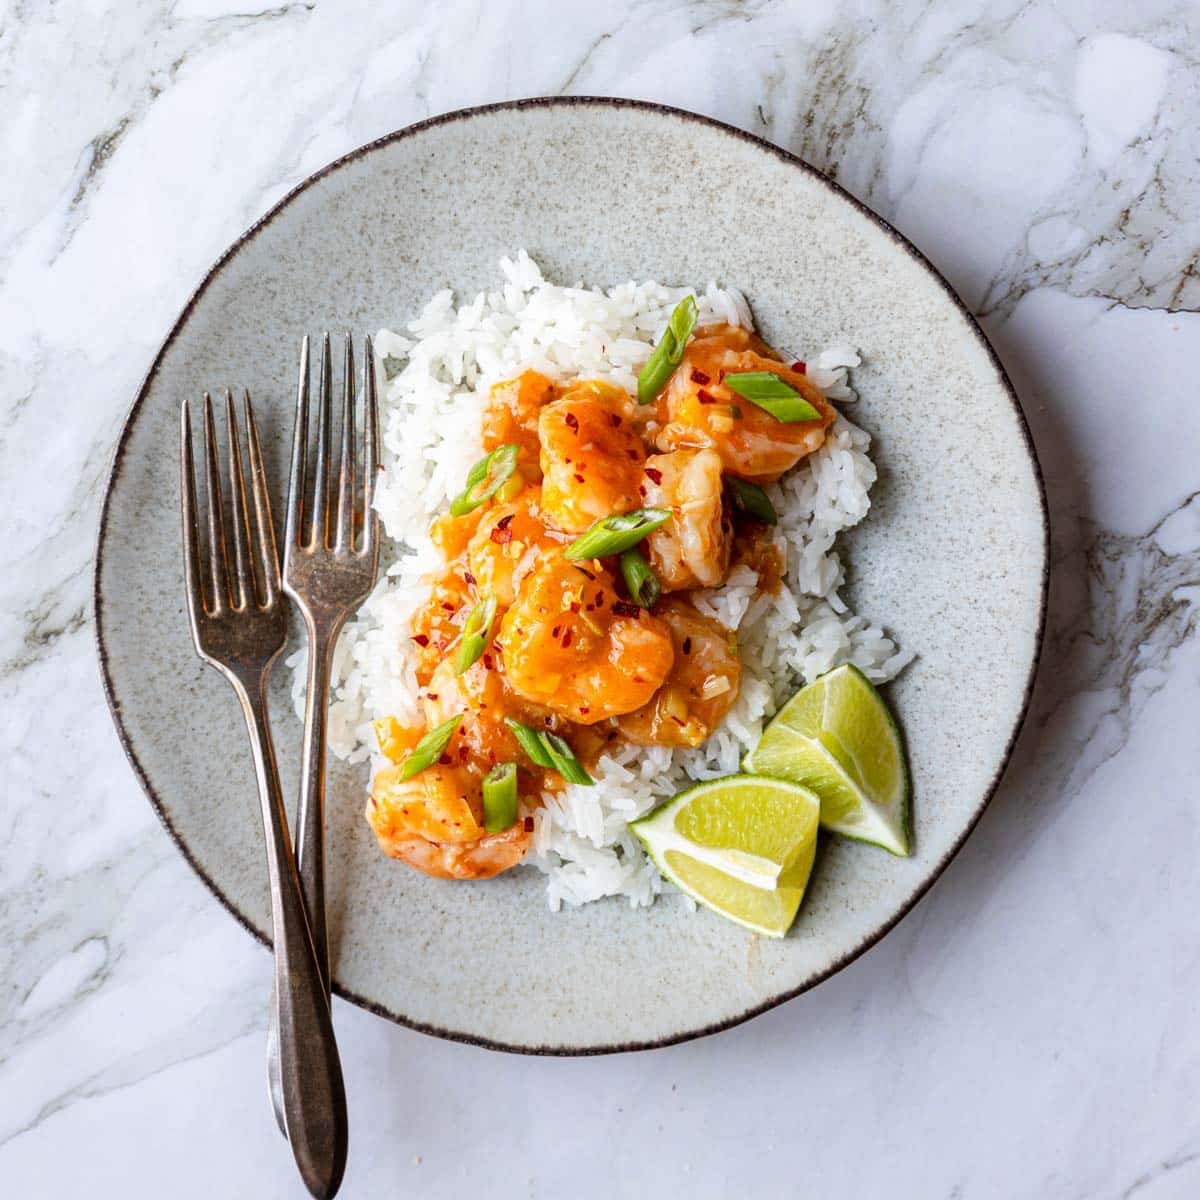
RELATED: This is the appetizer version of White Wine Shrimp Pasta Dinner!
Ingredient Details
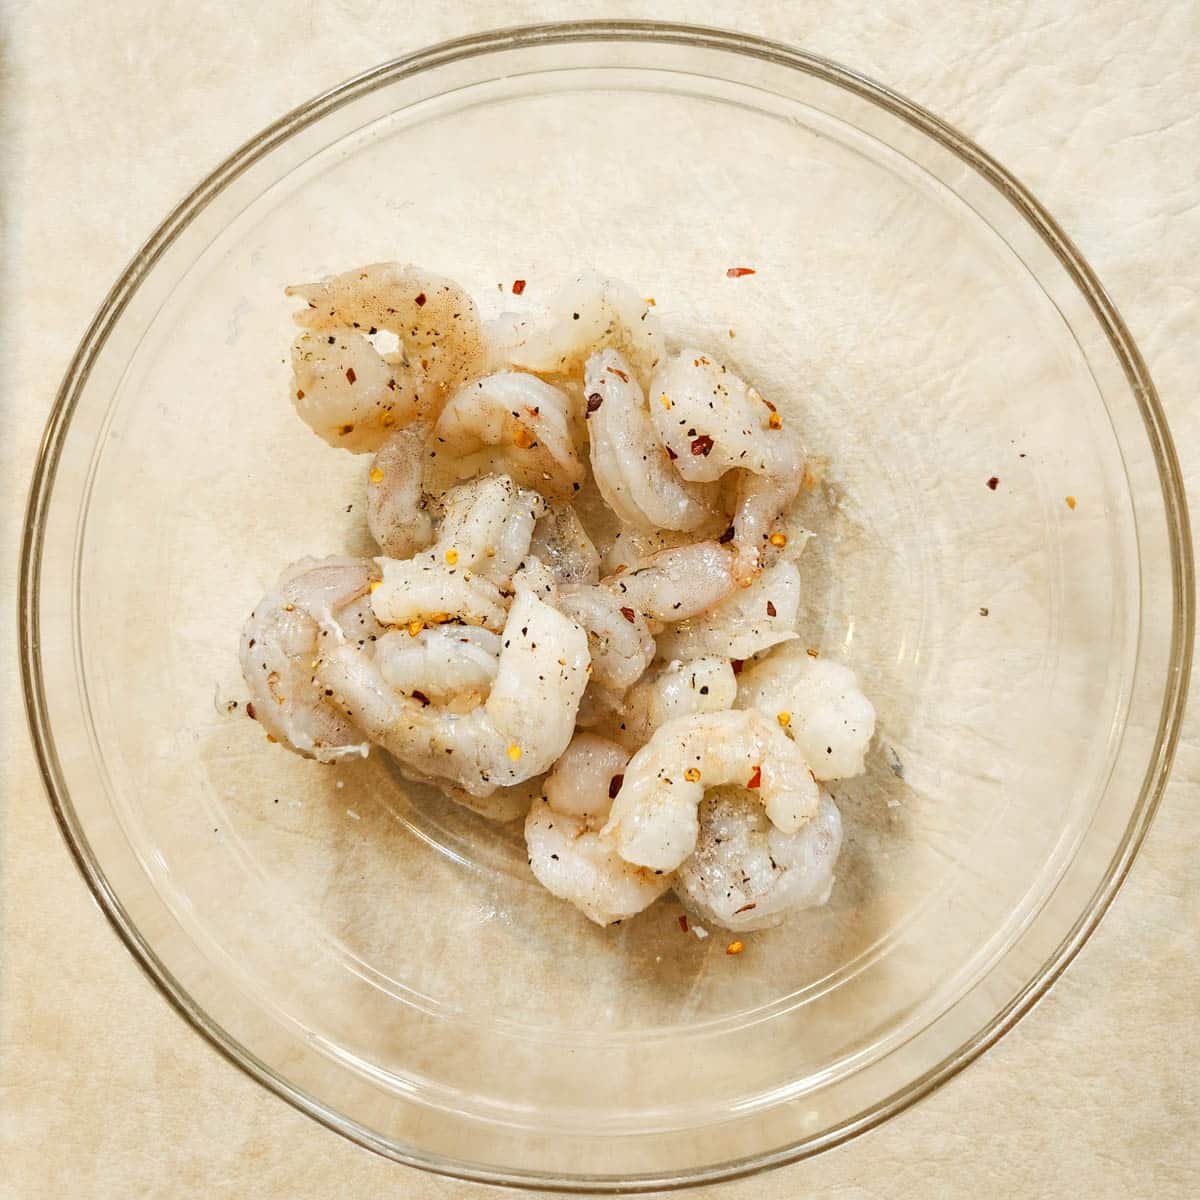
Shrimp: The recipe calls for medium or large size shrimp, which may also be called 21/30 or 31/35, which means there are somewhere between 21-35 shrimp per pound.
Thawing Frozen Shrimp
If you buy frozen shrimp, keep it in it’s original packaging and you can thaw it in the fridge overnight. Pop the package in a rimmed container in case it leaks.
Or for a quick thaw place the shrimp in the original sealed package in a bowl of cool water, changing the water every 10-15 minutes until thawed.
Kosher Salt, Black Pepper and Red Pepper Flakes: These three will season the shrimp perfectly. Add more red pepper flakes at the end for garnish and additional heat.
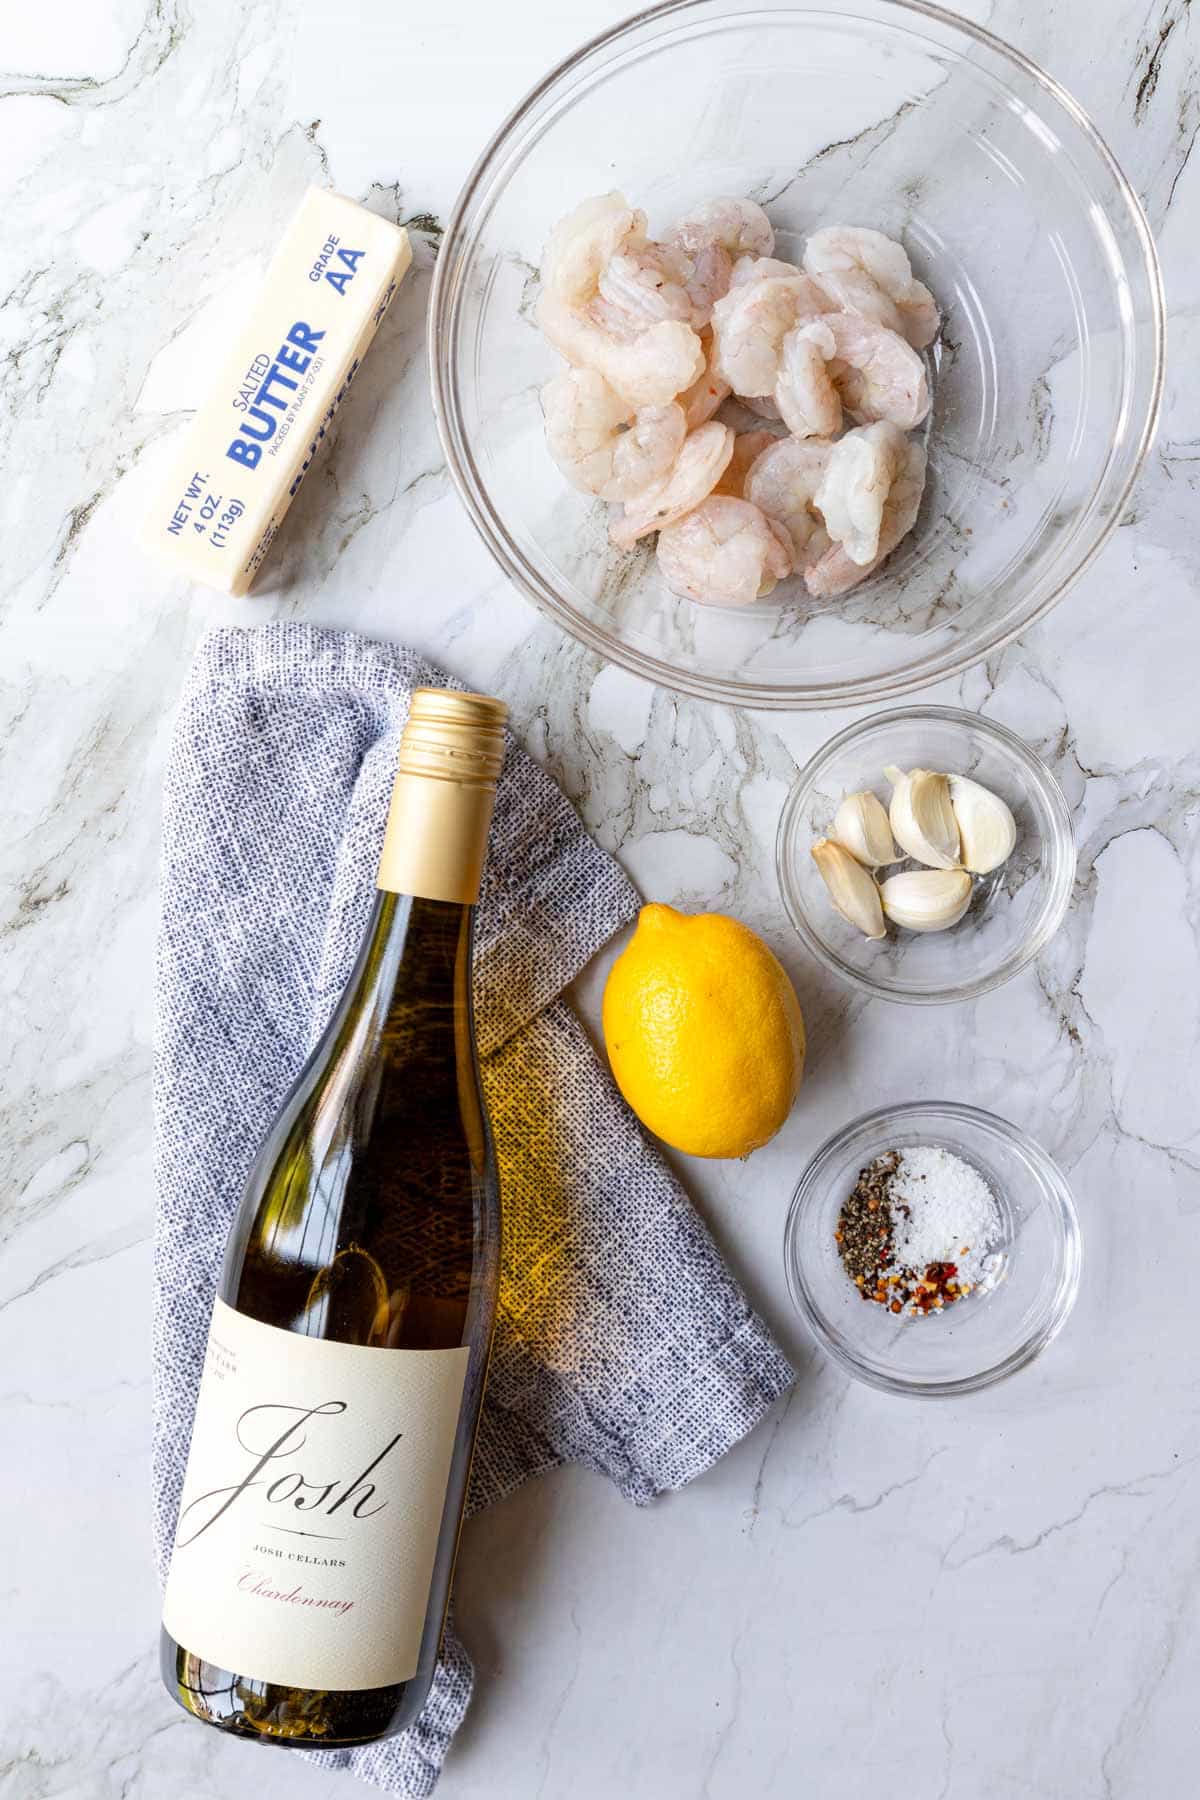
Garlic: Don’t skimp on the garlic. Choose 5 plump garlic cloves, if you think you want more garlic, go for it!!
White Wine: Opt for a Chardonnay or Pinot Grigio. You want an option that is not considered sweet white wine, like a Riesling.
Freezing White Wine
Did you know you can freeze white wine to use in cooking and baking!? I like to buy the aseptic containers (small boxes) of wine, like Bota Box. Use the portion you need, then pop the cap back on and put it in the freezer.
If you buy the wine in a glass bottle, transfer to a freezer safe container.
It will freeze into a slushy consistency. Just squeeze the box and pour out what you need. You can give it a quick zap in the microwave to bring it back to a liquid state.
Once you freeze white wine it should just be used for cooking and baking, not drinking. It will be good in the freezer for up to 6 months.
Butter: Use a salted butter for this recipe. Cut the butter into tablespoon portions so it will melt throughout the sauce.
Lemon: You will use the zest in this Garlic Butter Shrimp to give it a zing of lemon flavor. You will want to use a microplane or zester to zest the lemon. Then at the end you will squeeze just a hint of lemon juice over the shrimp.
How to Make Garlic Butter Shrimp
This recipes comes together really quickly so I recommend getting things ready (mise en place) before you get started:
- Measure the butter and cut into tablespoon portions.
- Get the zester out and rinse/dry your lemon.
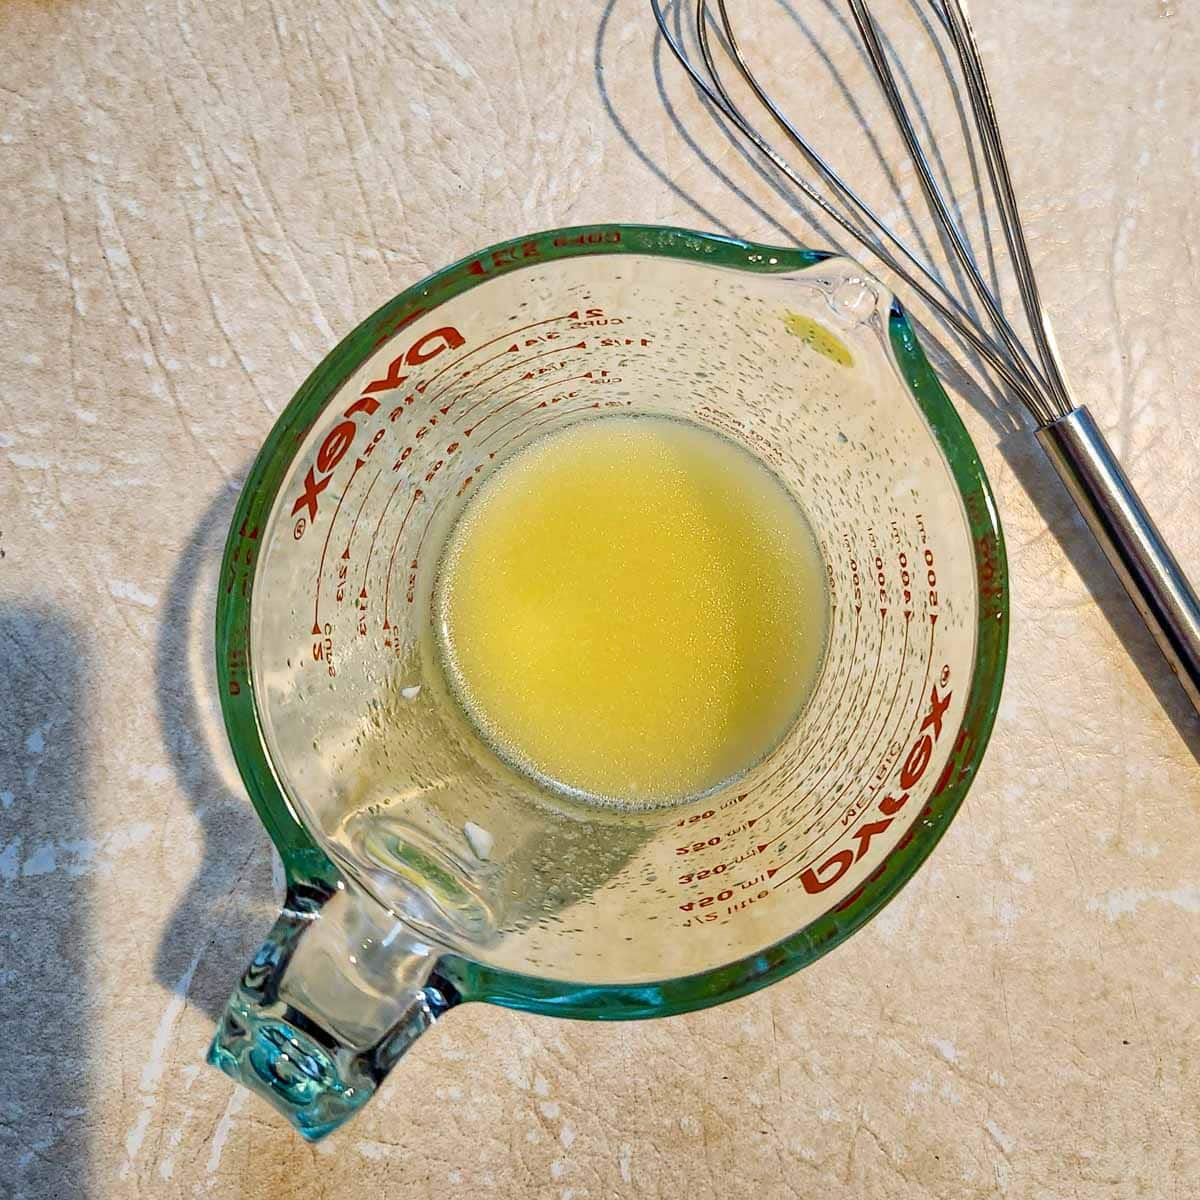
- Pour the wine into a measuring cup.
- Chop the garlic.
- Season the shrimp with kosher salt, pepper and red pepper flakes and toss.
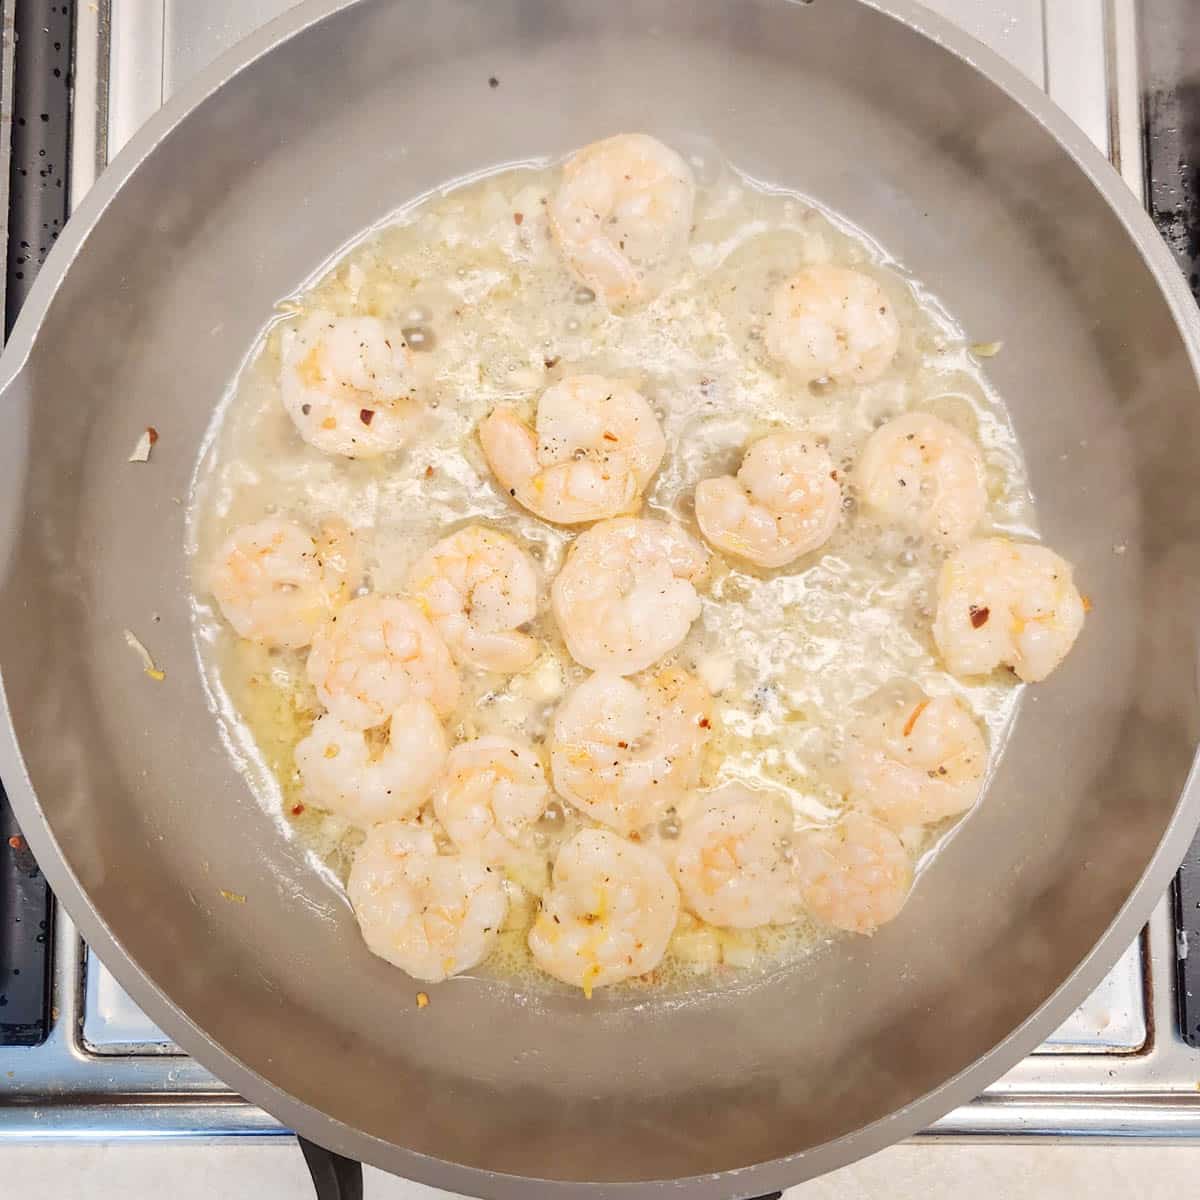
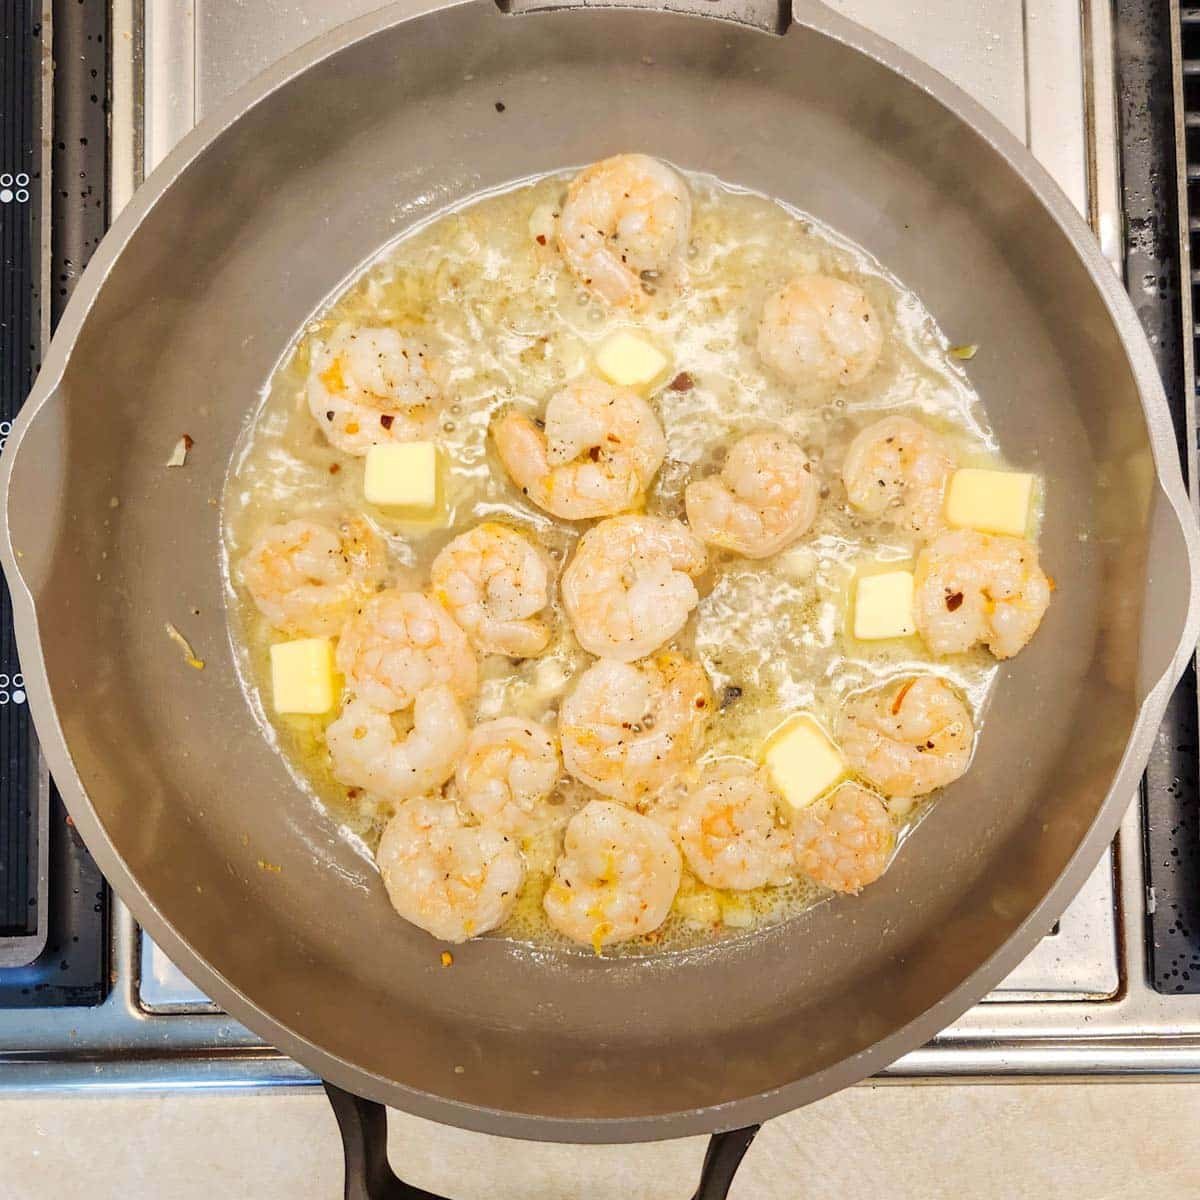
Now you are ready to get started! Place a large skillet over medium heat. Add 2 tablespoon of butter.

When the butter is just about completely melted add the garlic and shrimp, making sure the shrimp is in one layer. Sauté for 1 minute.
Turn the shrimp over, then pour in the white wine and zest half the lemon over the shrimp. Let it simmer for about 2 minutes!
Finally add in the remaining 3 tablespoon of butter and lightly stir it into the sauce. Let it simmer another 1 minute.
Remove from the heat and lightly squeeze in just a little lemon juice. Let it cool and thicken for another minute.
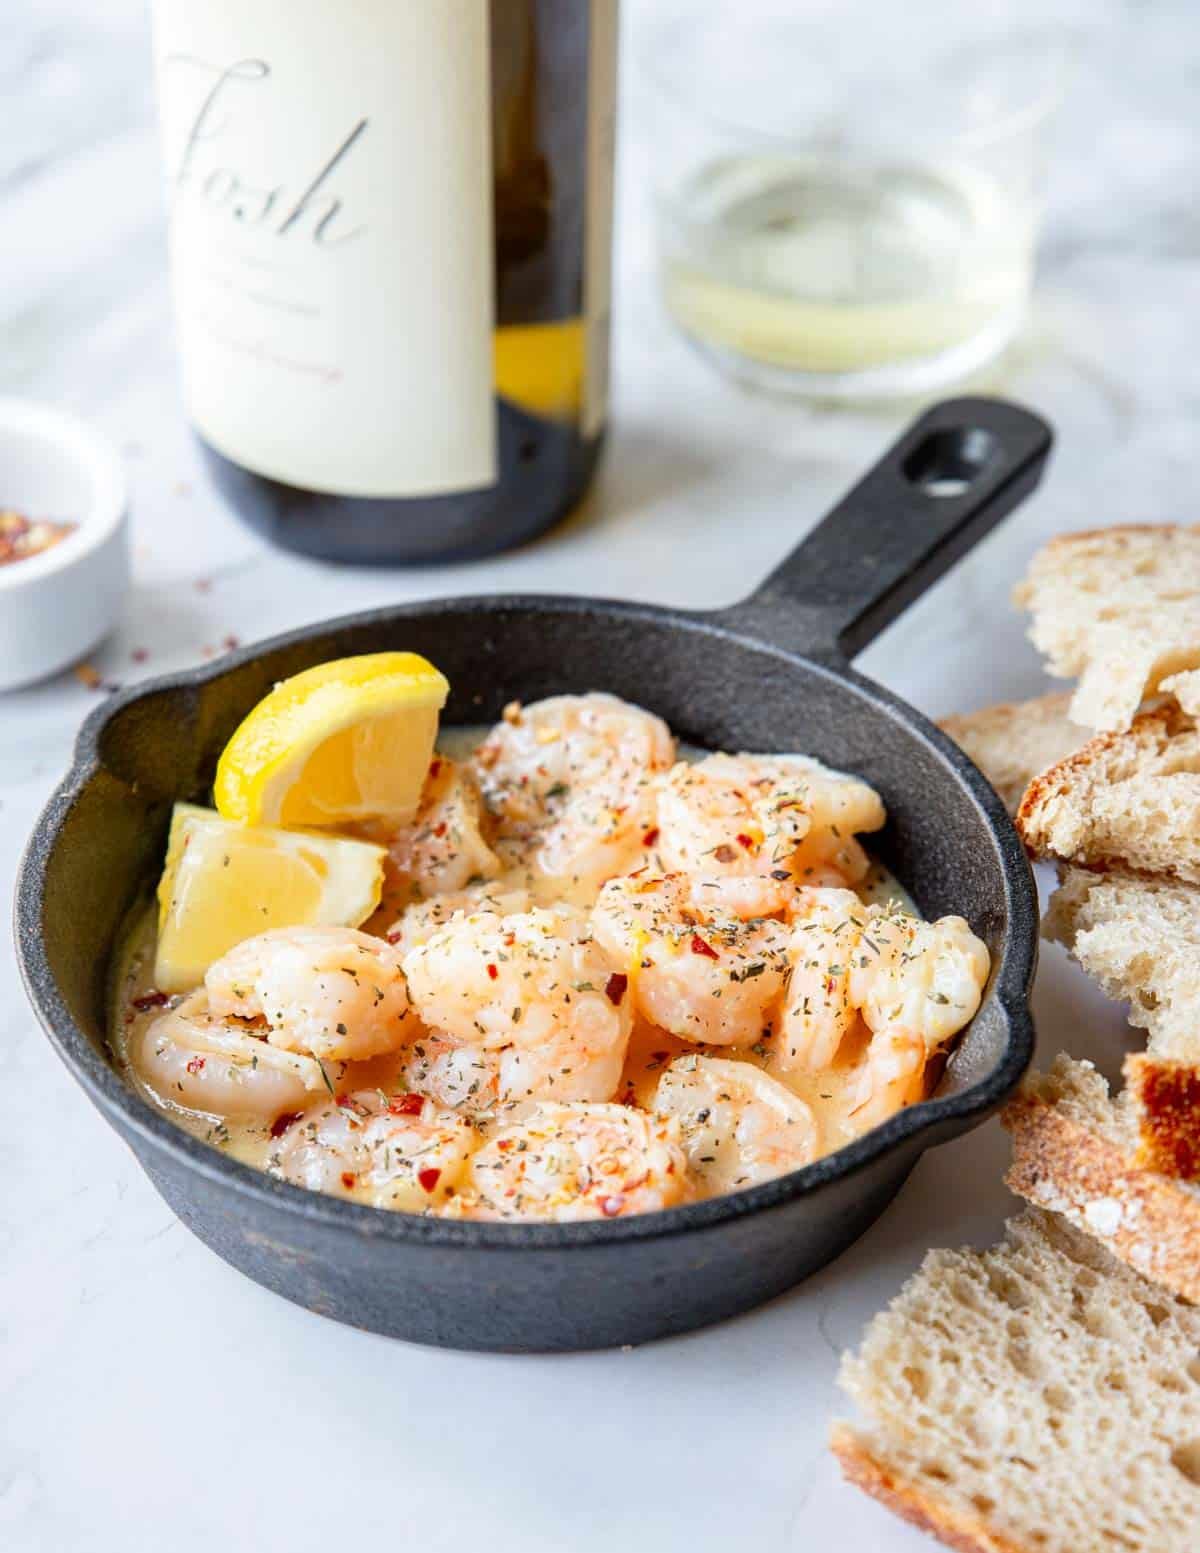
Serve hot with extra red pepper flakes over top or a sprinkle of fresh chopped parsley.
Serving
This shrimp recipe makes a great appetizer or dinner! Here are some serving ideas for both:
Appetizer
This Garlic Butter Shrimp is a huge crowd pleasing appetizer… who doesn’t love butter and garlic! Pair this with some crusty warm bread or garlic bread on the side to mop up all the white wine, butter and garlic.
APPETIZER TRIO: for an amazing surf and turf steakhouse appetizer combo, add these two recipes to your menu.
Dinner
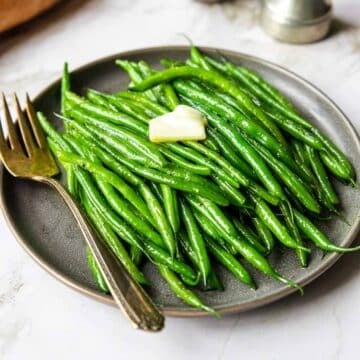
To serve this Garlic Butter Shrimp for dinner pair it with Risotto, Rice Pilaf, and a green veggie like oven roasted asparagus or roasted broccoli.
You can also toss the shrimp and sauce with a little cooked pasta, pop over to this recipe for White Wine Shrimp Pasta. Add a Caesar Salad and some garlic bread on the side.
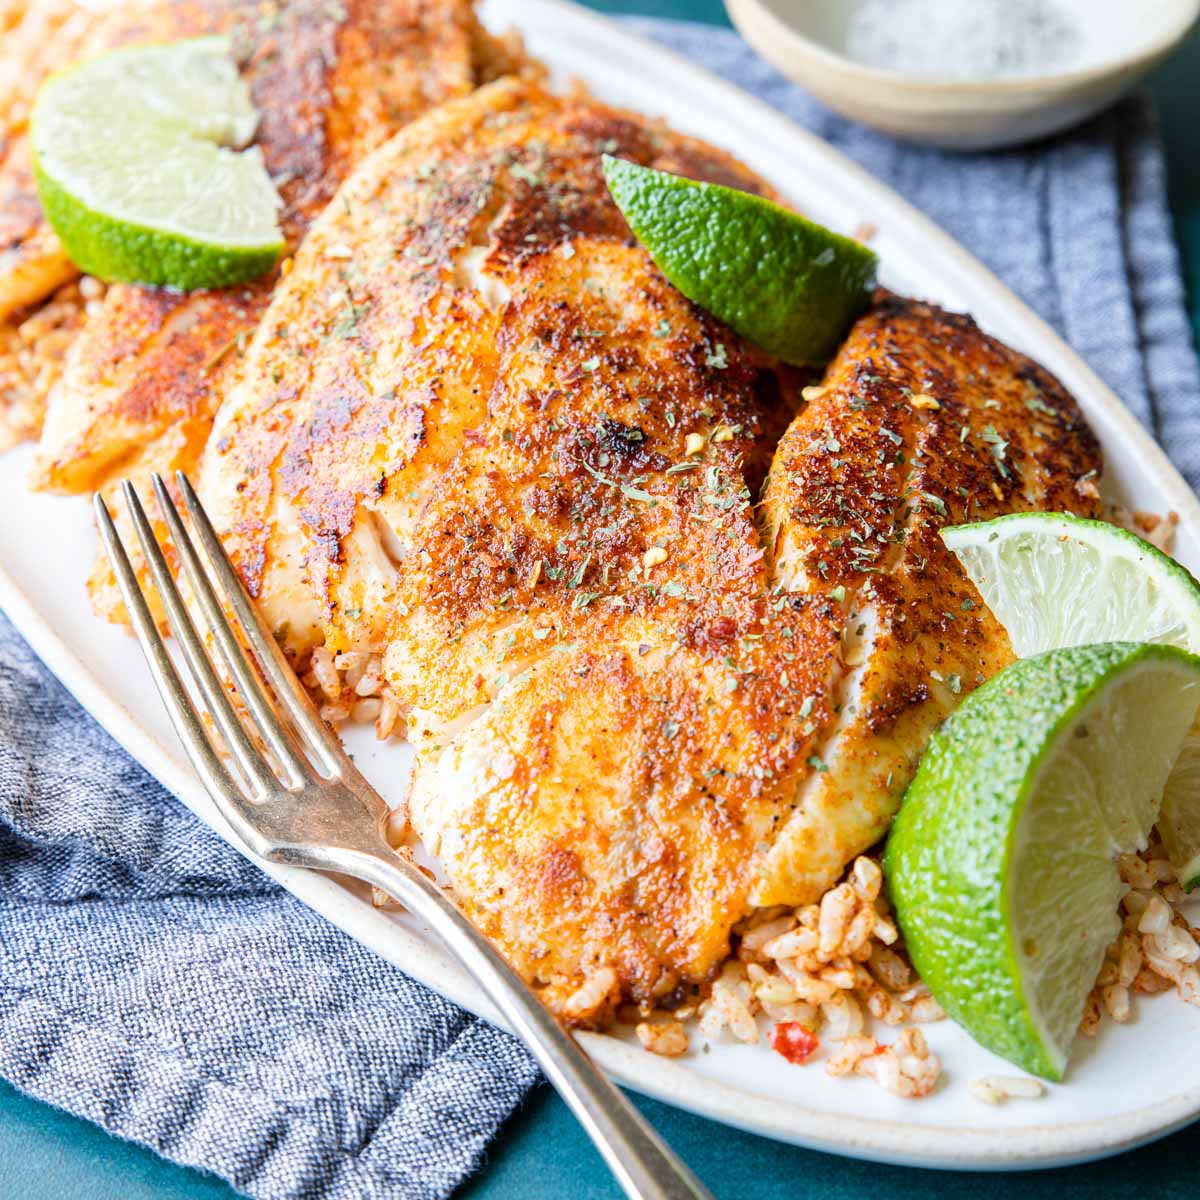
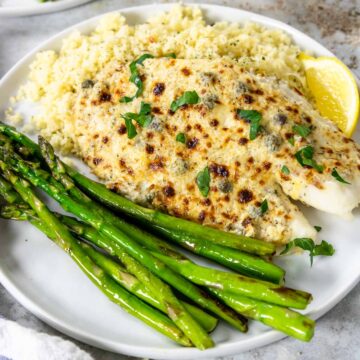
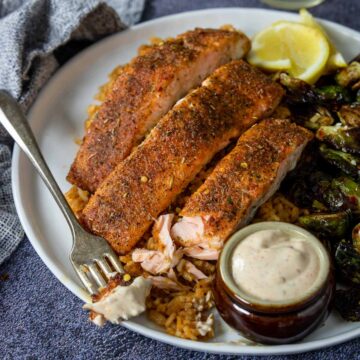
More Shrimp Recipes

Did you make this recipe?
⭐⭐⭐⭐⭐
I would love to hear your review, especially if you have tips and tricks to add! Pop down to the comment section and connect with me
15 Minute Garlic Butter Shrimp Recipe
Equipment
Ingredients
- 1 lb. large raw shrimp, peeled & deveined - 31-35 per pound
- ½ teaspoon kosher salt
- ½ teaspoon red pepper flakes
- ¼ teaspoon black pepper
- 4 garlic cloves - minced
- ½ cup white wine - chardonnay or pinot grigio (see notes for tips!)
- 5 Tbsp. salted butter - divided, cut into tablespoon portions
- 1 lemon
Optional Garnish
- chopped parsley
- pinch red pepper flakes
Instructions
Prep
- This recipes comes together really quickly so I recommend getting things ready (mise en place), and reading through the recipe before you get started.
- Measure the butter and cut into tablespoon portions.Get the zester out and rinse/dry your lemon.Open the wine and pour into a measuring cup.Chop the garlic.
Cook
- Pat the shrimp dry. Then in a bowl combine the shrimp, kosher salt, pepper and red pepper flakes.1 lb. large raw shrimp, peeled & deveined, ½ teaspoon kosher salt, ½ teaspoon red pepper flakes, ¼ teaspoon black pepper

- In a large skillet over medium heat add the 2 Tbsp. butter. Add the garlic and shrimp, sauté for 1 minute. (don't let the garlic brown)4 garlic cloves
- Flip the shrimp to the other side. Pour in the wine and zest the lemon over the shrimp. Simmer for 2 minutes.½ cup white wine, 1 lemon
- Add in the remaining 3 tablespoon butter and let melt into the sauce, stirring occasionally for 1 minute.
- Remove from the heat and very lightly squeeze a little lemon over top and sprinkle with optional garnishes (red pepper flakes or fresh chopped parsley).
Serving
- Let cool for a minute and then serve.
- APPETIZER: serve in the skillet with crusty warm bread on the side.
- DINNER: serve with a side of rice pilaf and roasted asparagus. Would also be great tossed with a little cooked pasta, with a Caesar salad and garlic bread on the side.
Recipe Tips and Notes:
APPETIZER TRIO: for an amazing surf and turf steakhouse appetizer combo, add these two recipes to your menu. DINNER VERSION: pop over to this recipe for White Wine Shrimp Pasta