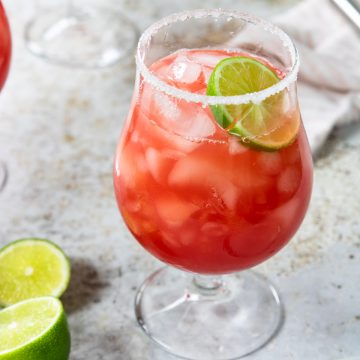
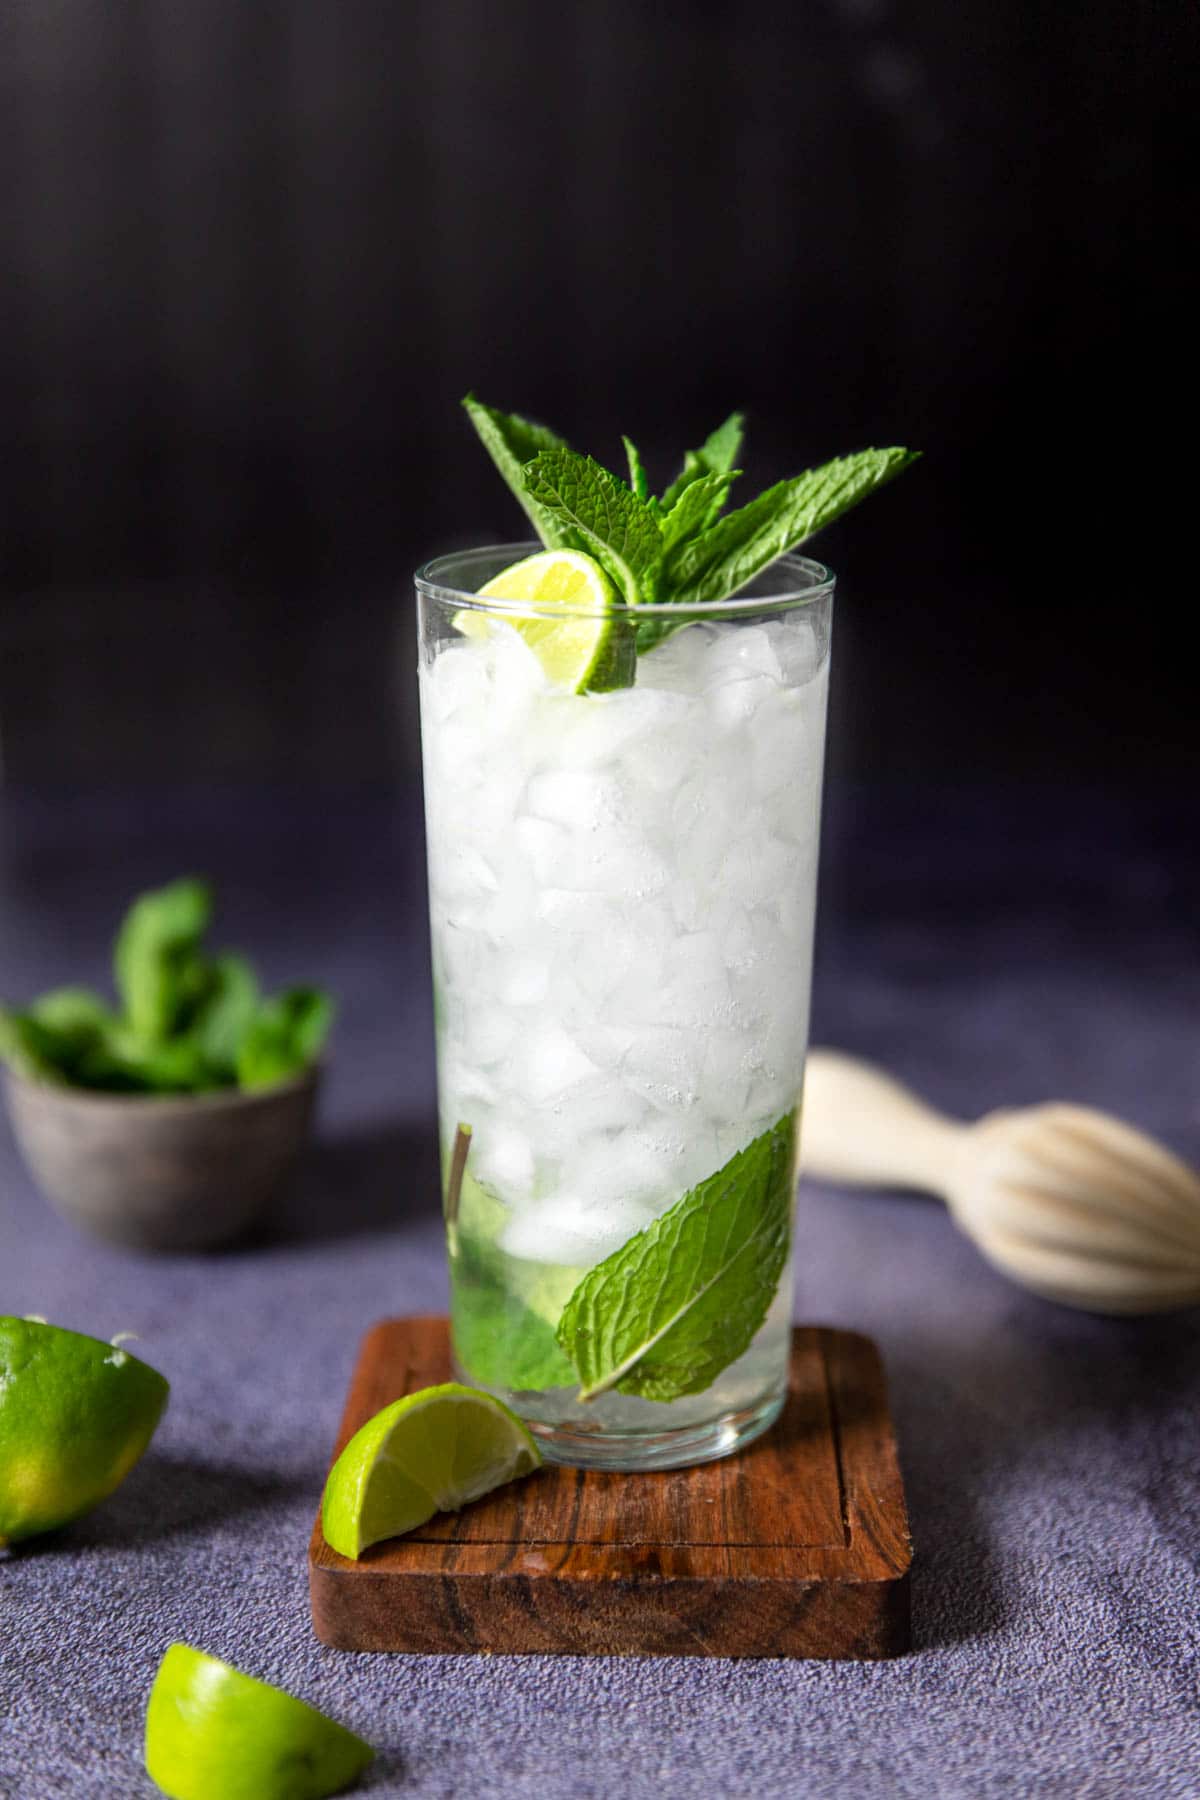
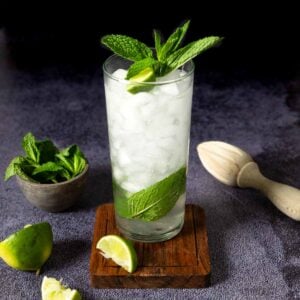
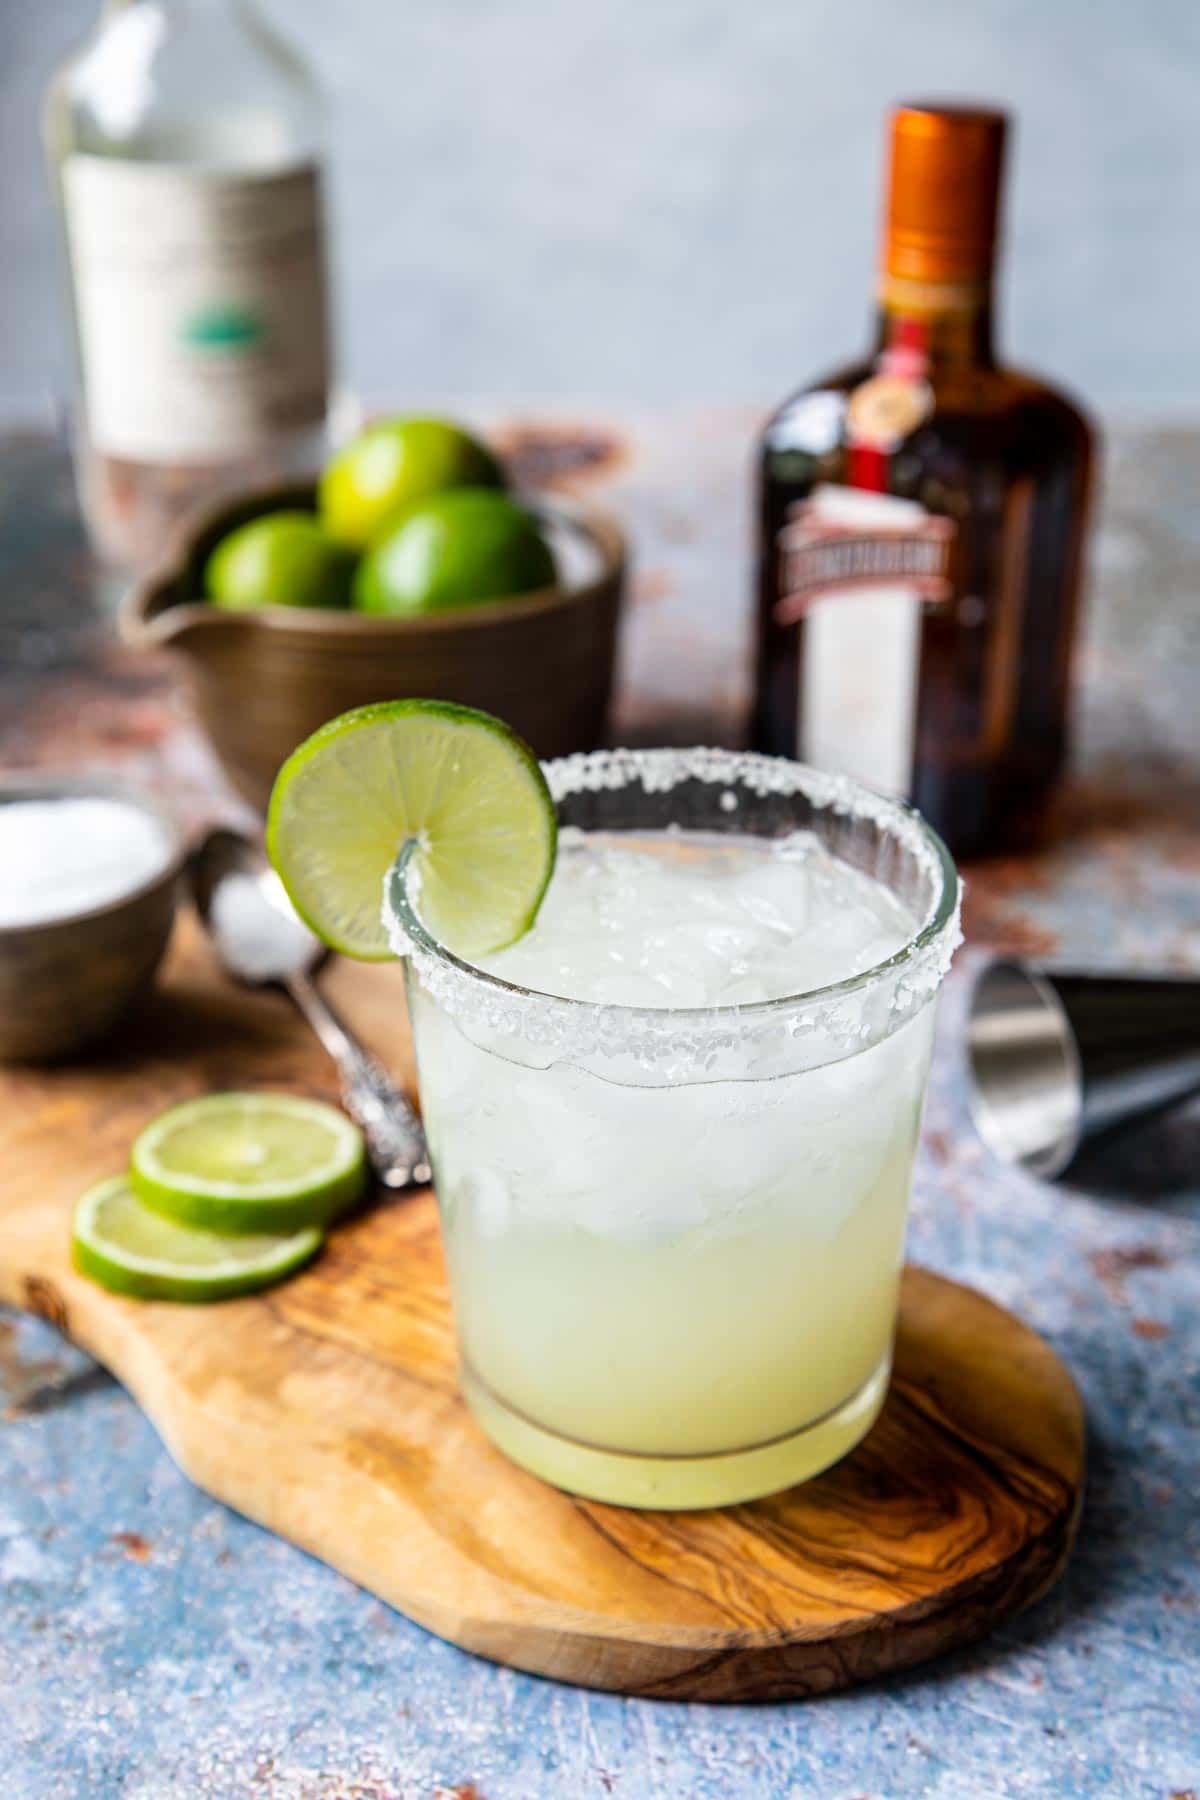
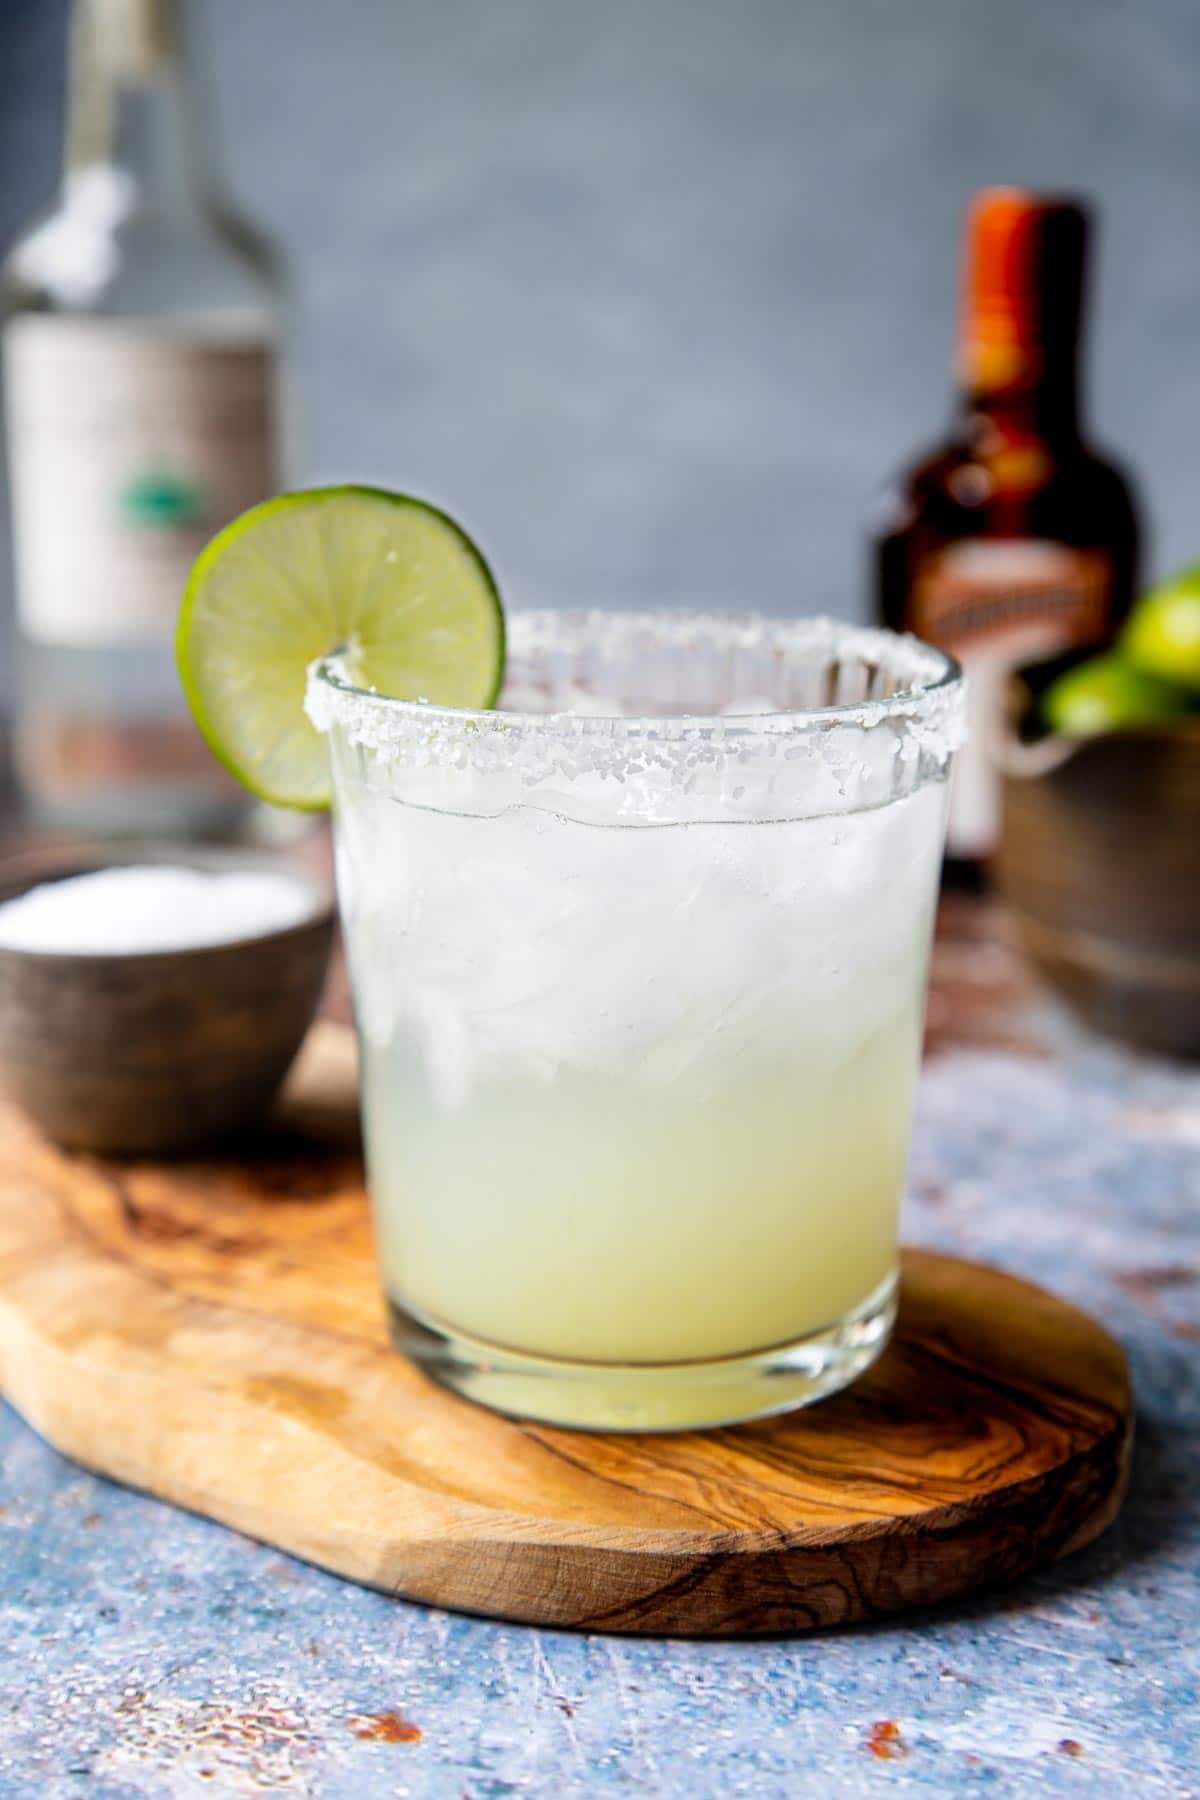
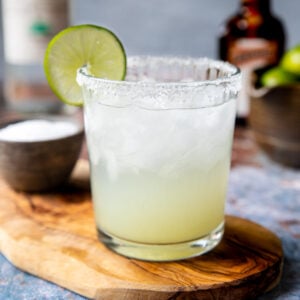
A Classic Margarita has a few crucial ingredients that make it oh so good! Fresh lime, good tequila, Cointreau, agave and kosher salt. Get the proportions right and you have a killer Margarita on the Rocks! Perfect for pairing with chips/salsa and good conversation.
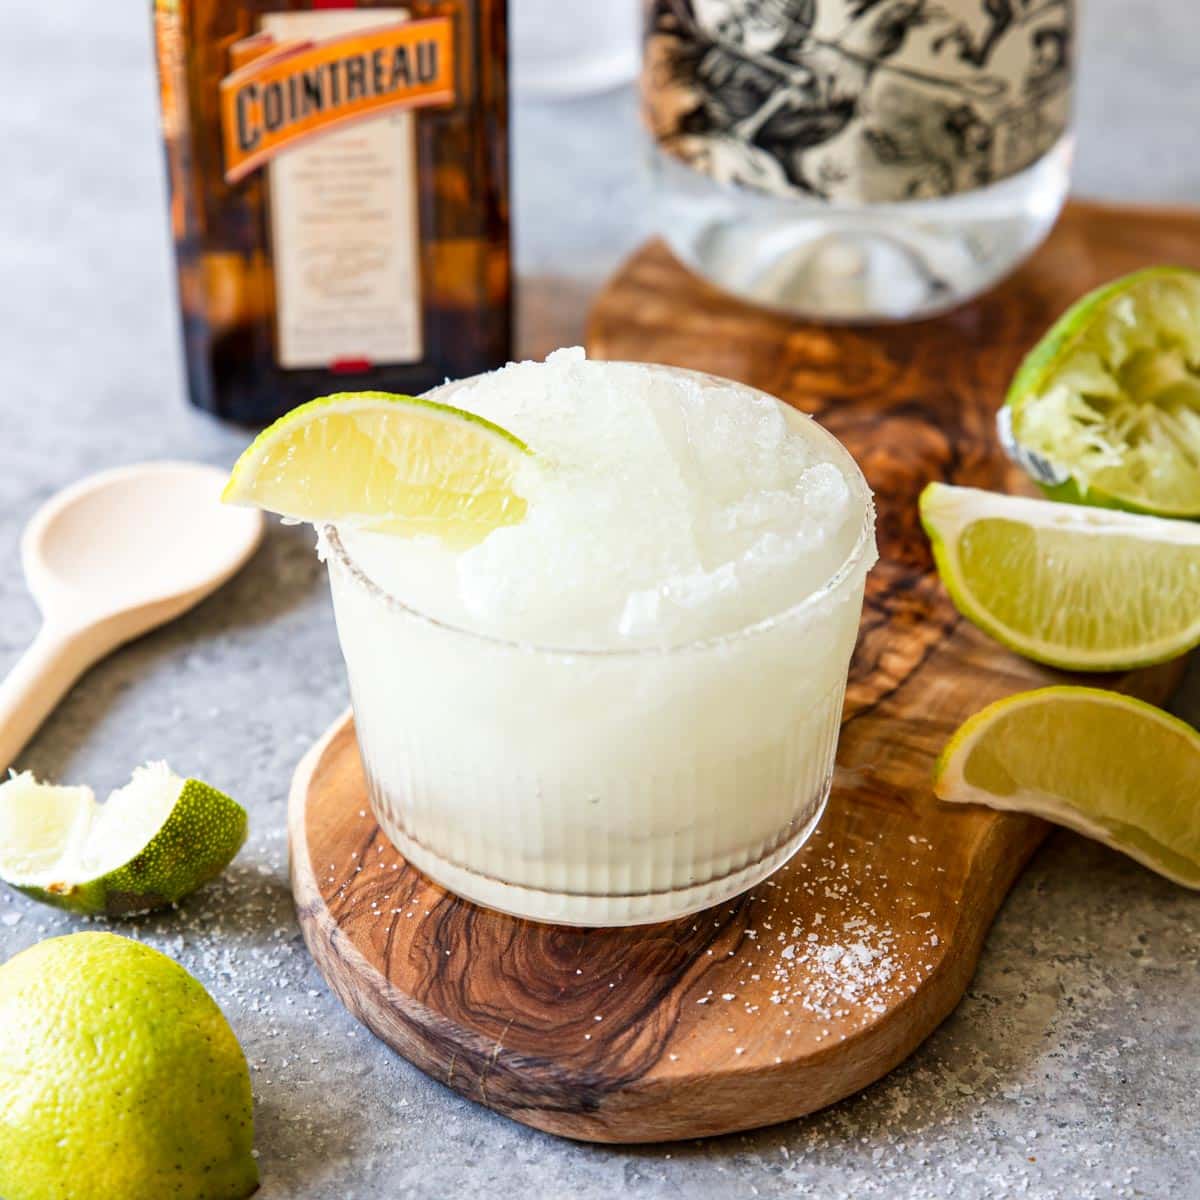
After you fall in love with this Margarita Recipe, you can give this Frozen Margarita a try, especially on a hot summer day or tropical vacation!
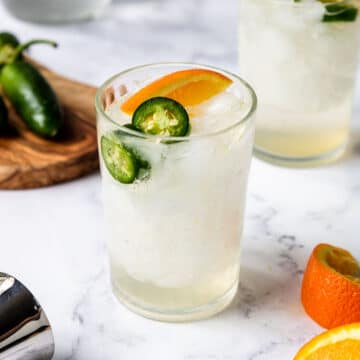
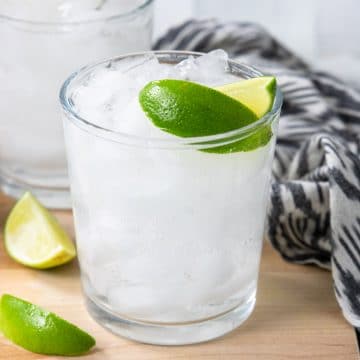
If you love all things Tequila Cocktails… then you are in the right spot. Tequila is our favorite spirits here at Mom’s Dinner. Some of our faves are the Pineapple Margarita, Tequila Soda, Orange Jalapeno Tequila Cooler, and Anejo on the Rocks.
If you are looking for a non-alcoholic version this Margarita Mocktail is amazing!!
Listen To The Recipe
You can also LISTEN to this Margarita recipe. I go over exactly how to make this yummy cocktail on my podcast, Let’s Make Dinner. I share all the tips and tricks to make it perfect! There is an audio player available in the recipe card below.
Why This is The BEST Margarita Recipe
- It is perfectly balanced in flavor, not too sweet, not too tangy, not too salty.
- Adding a little agave to the mix actually enhances the tequila and lime flavor and takes some of the bite out of a strong cocktail.
- Using quality ingredients like fresh lime juice, Cointreau and good Tequila makes it the BEST Margarita on the Rocks!
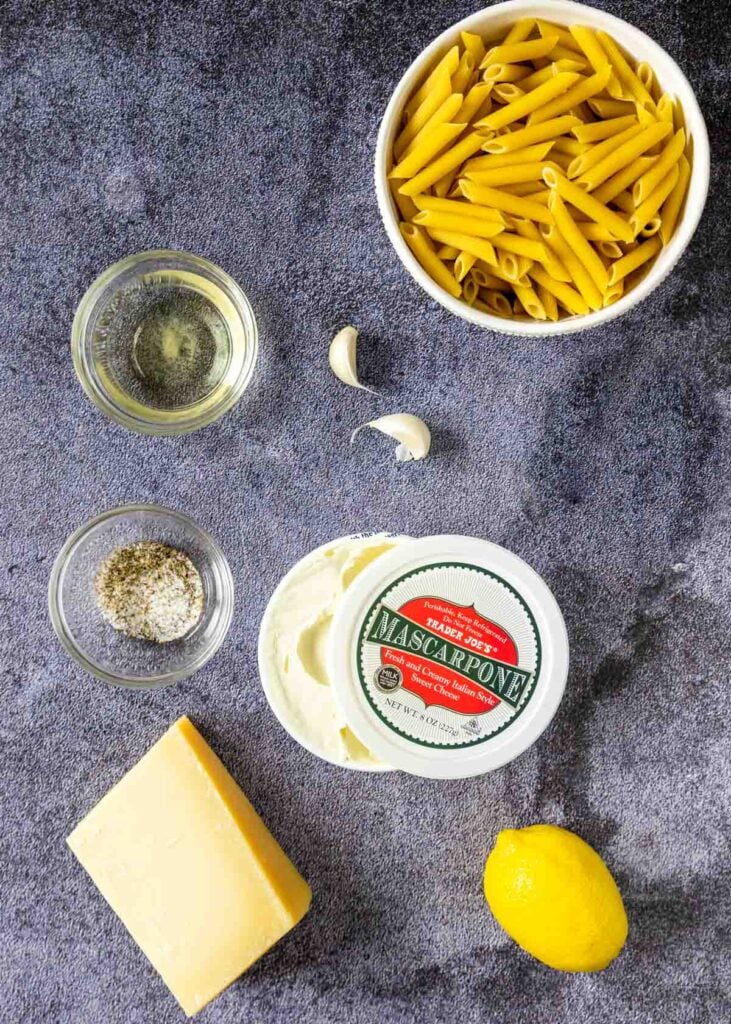
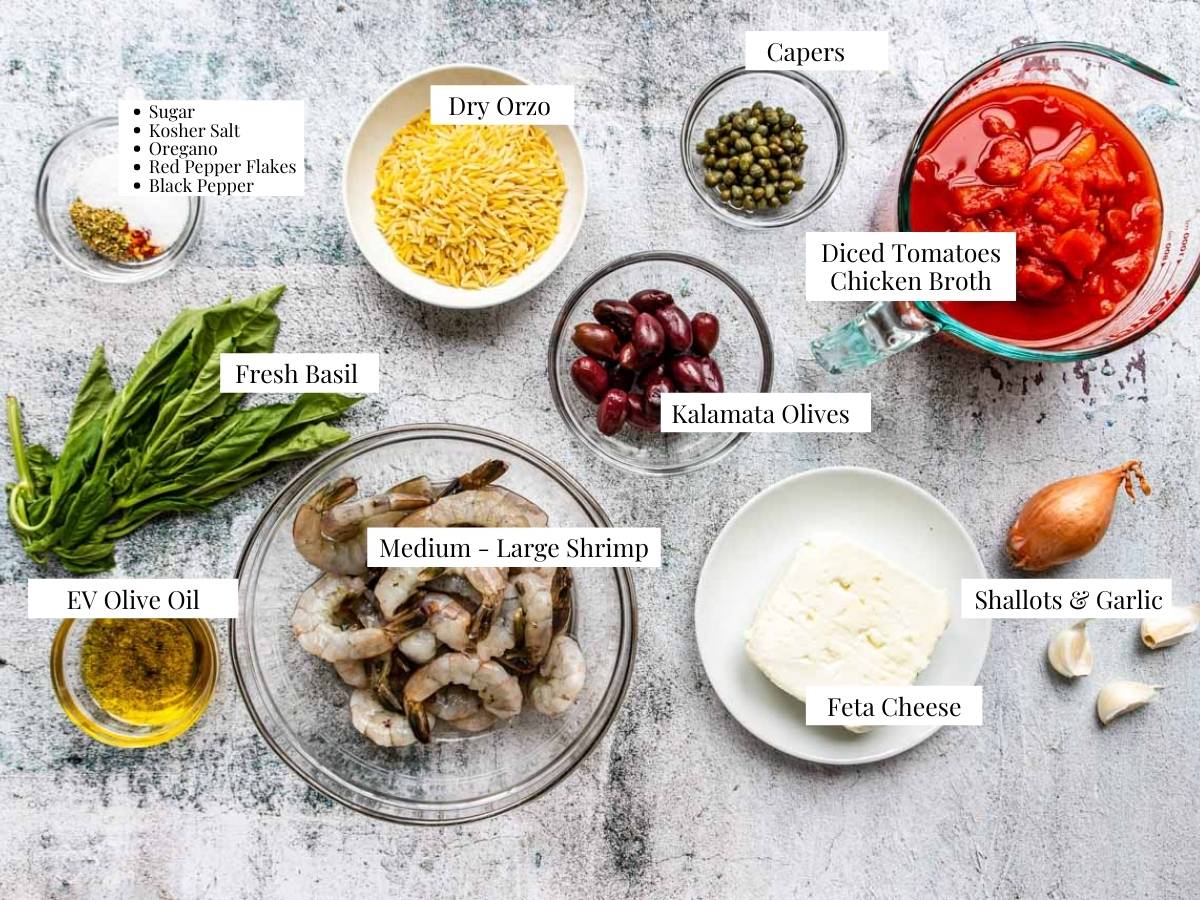
Ingredients
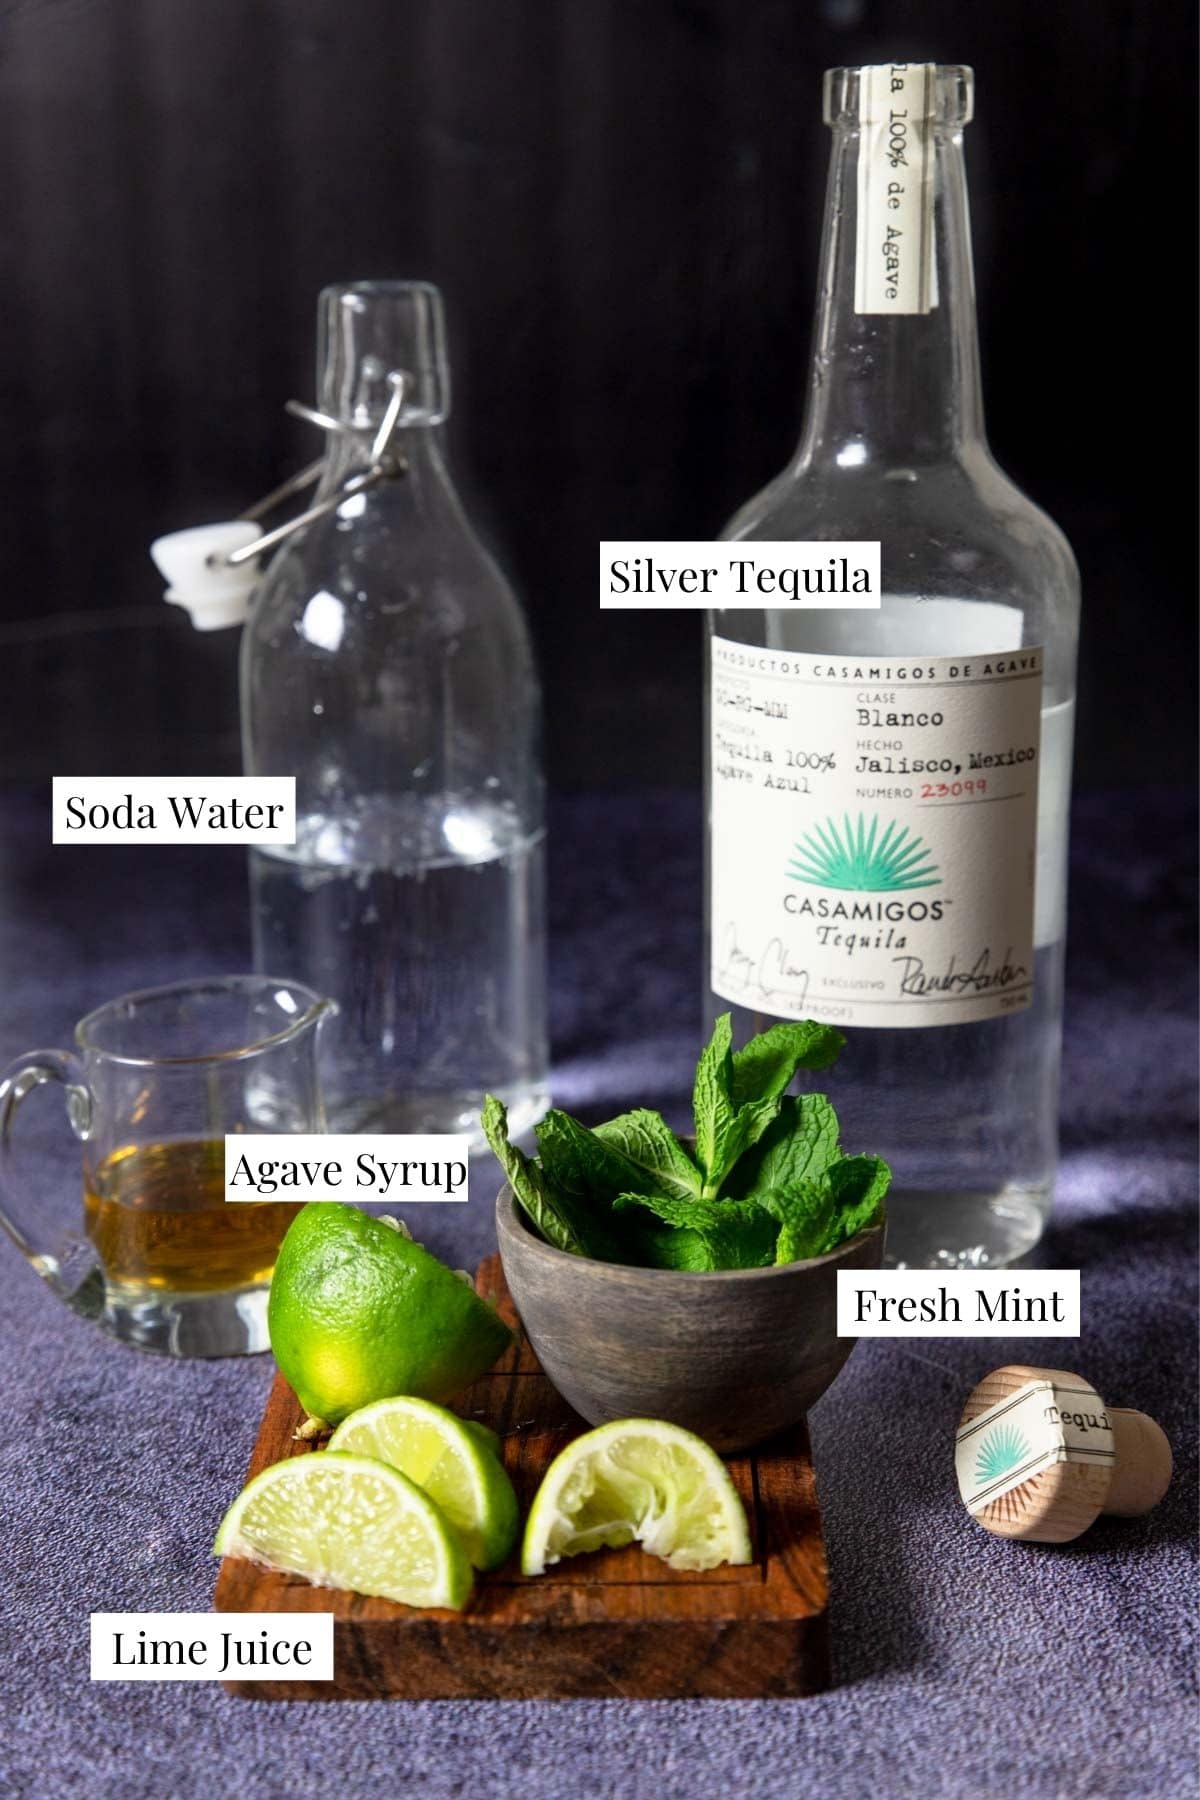
Just a handful of simple ingredients for this Classic Margarita Recipe.
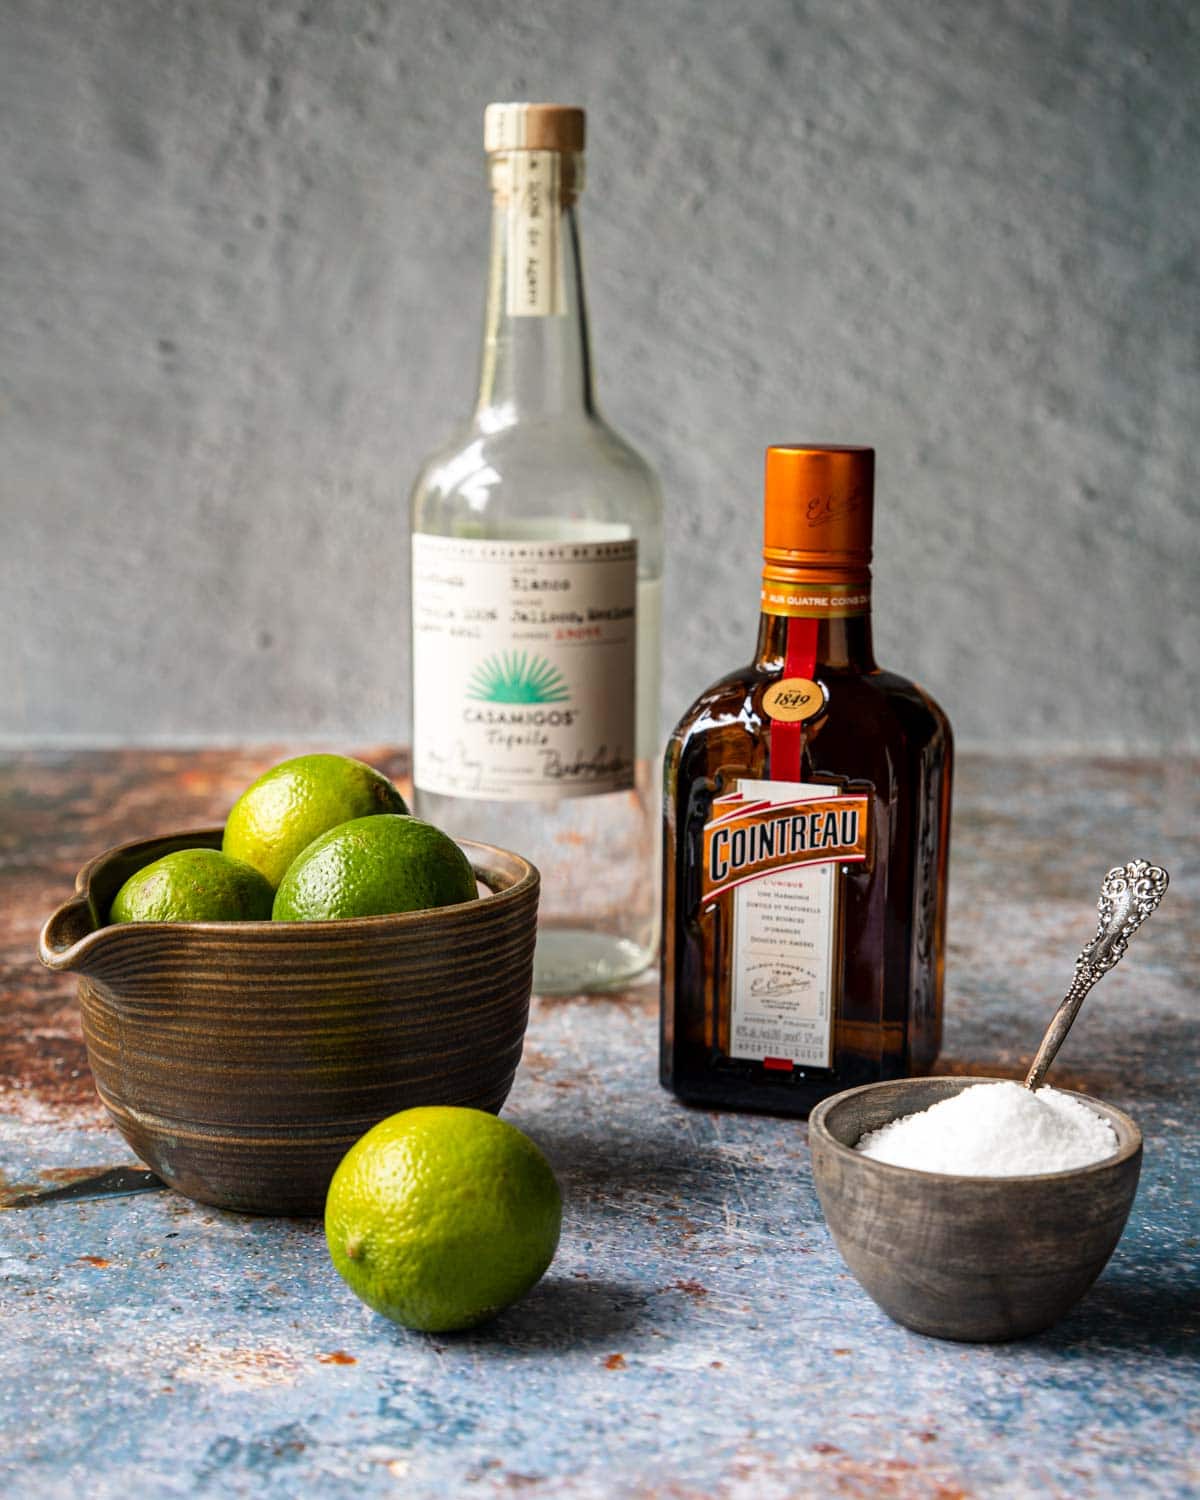
Tequila – To keep it totally classic I recommend using a quality mid-range silver tequila. We love Espolon, Cazadores, Jose Cuervo Tradicional, all are good at varying price points.
Cointreau – Although Cointreau is a type of triple sec, it is not the same as “Triple Sec” that you buy in the store. I recommend using Cointreau specifically for this Margarita Recipe because it is not nearly as sugary as triple sec.
Lime Juice – Make sure to use fresh squeezed lime juice here. It is not quite the same as the store bought bottled stuff. Depending on the size of your limes you will need 1-2 per cocktail.
Agave – Just a little agave goes a long way. By only using ¼ ounce it sweetens your Margarita just enough to enhance and balance the tequila and lime flavor without making it overly sweet.
Kosher Salt – It is key to use kosher salt here and not table or iodized salt. You want the rockier texture and smoother saltiness that you get with kosher salt!
Variations on the Classic
The basics of a Classic Margarita are 1 part citrus (lime), 1 part sweetener (Cointreau), and 1.5-2 parts tequila. With that combo you can create just about any Margarita combo you would like!
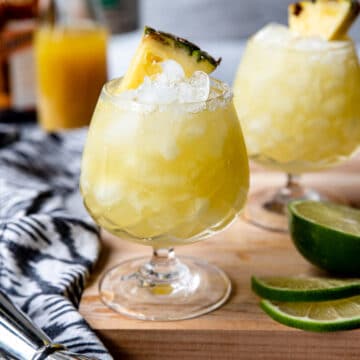
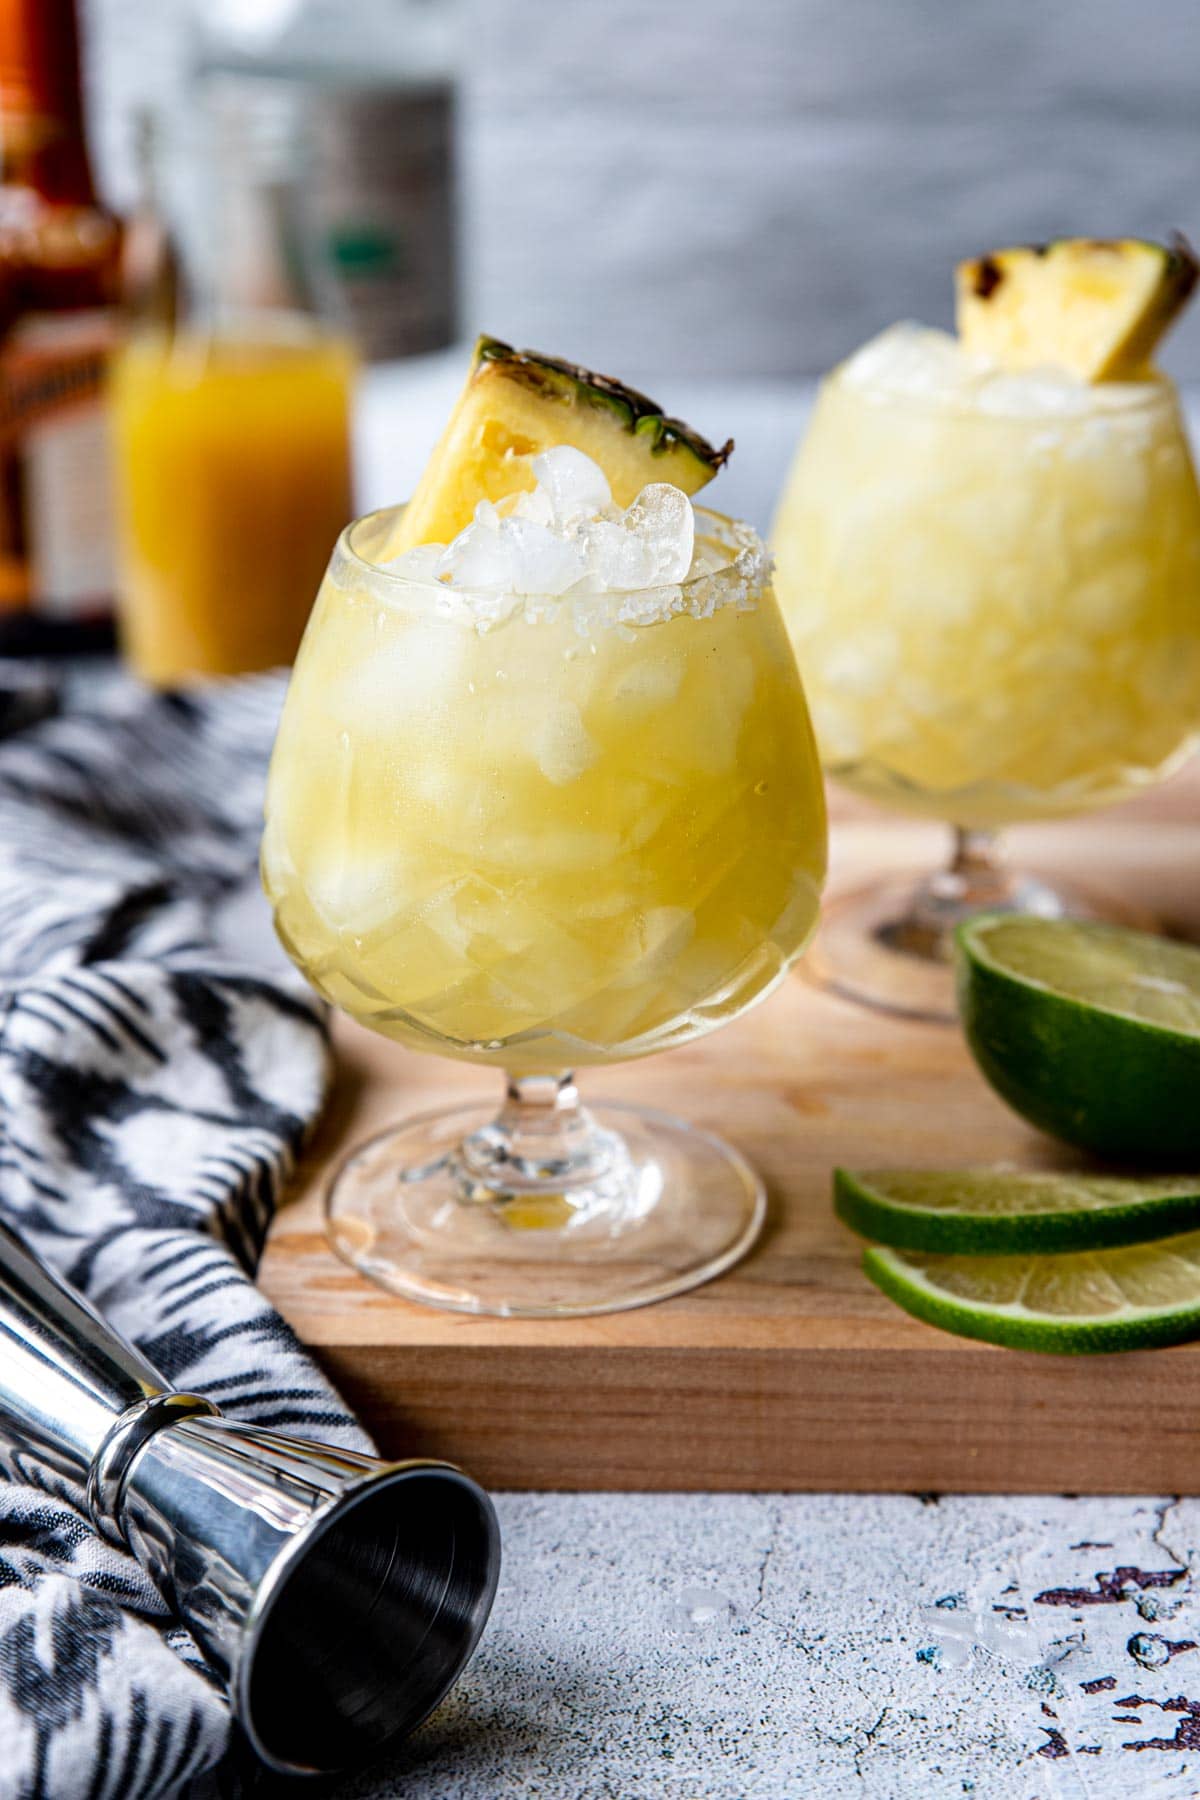
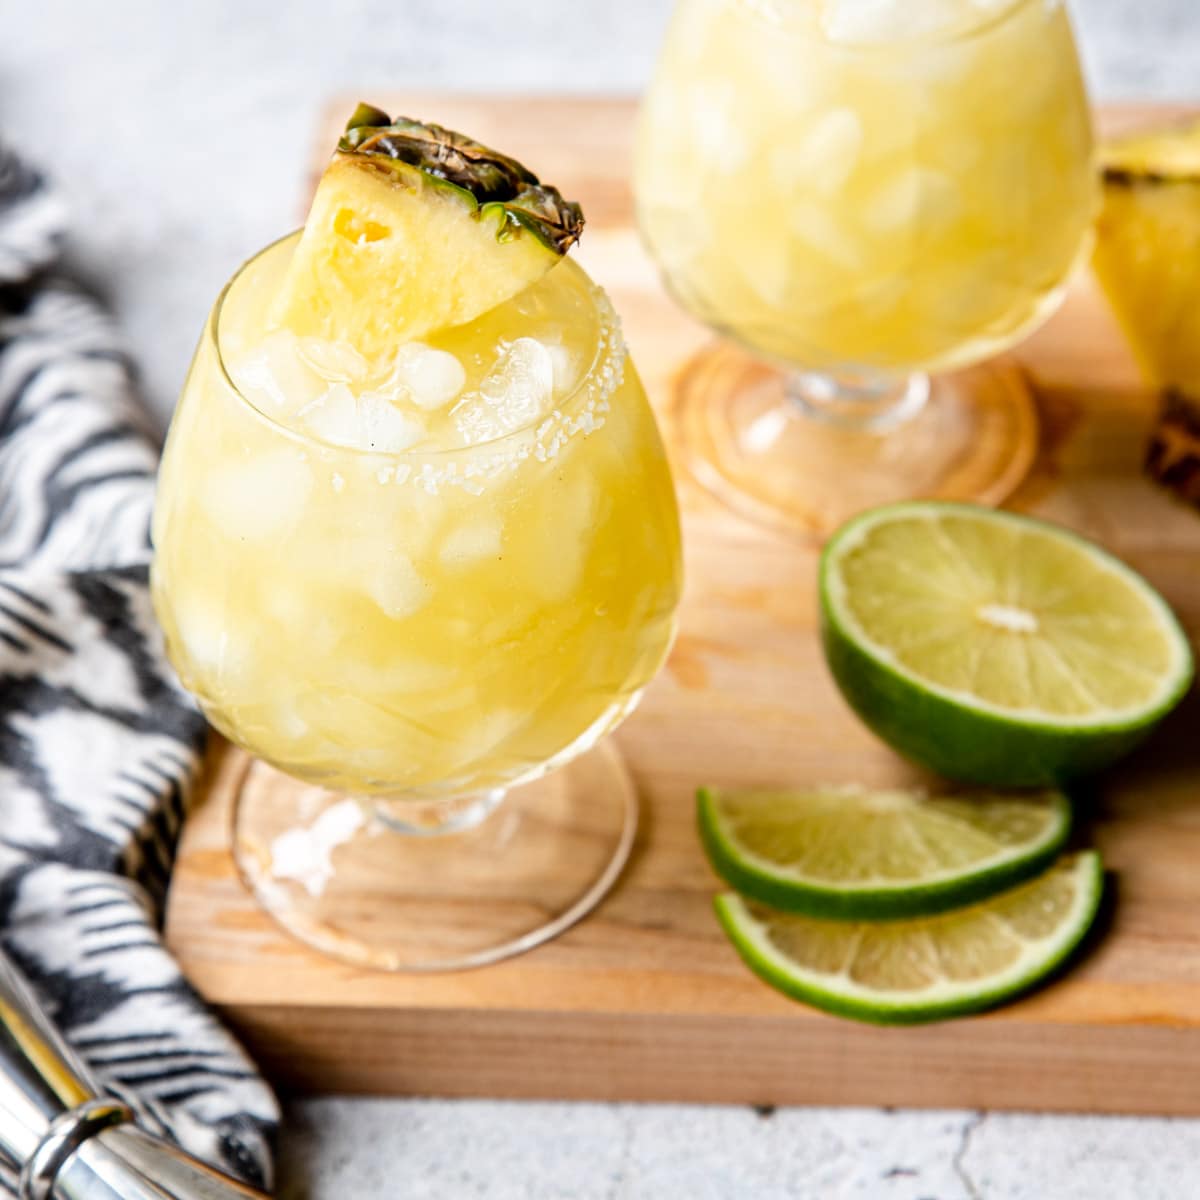
Pineapple Margarita: Pop over to this recipe for Pineapple Margarita for a truly yummy drink!
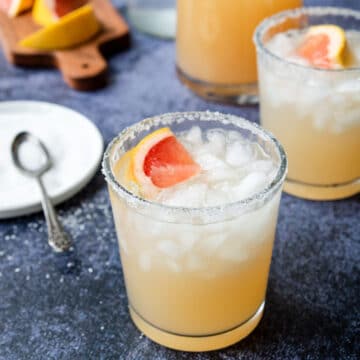
Grapefruit Margarita: 1 part lime juice, 1 part grapefruit juice, .25 part agave, 2 parts silver tequila.
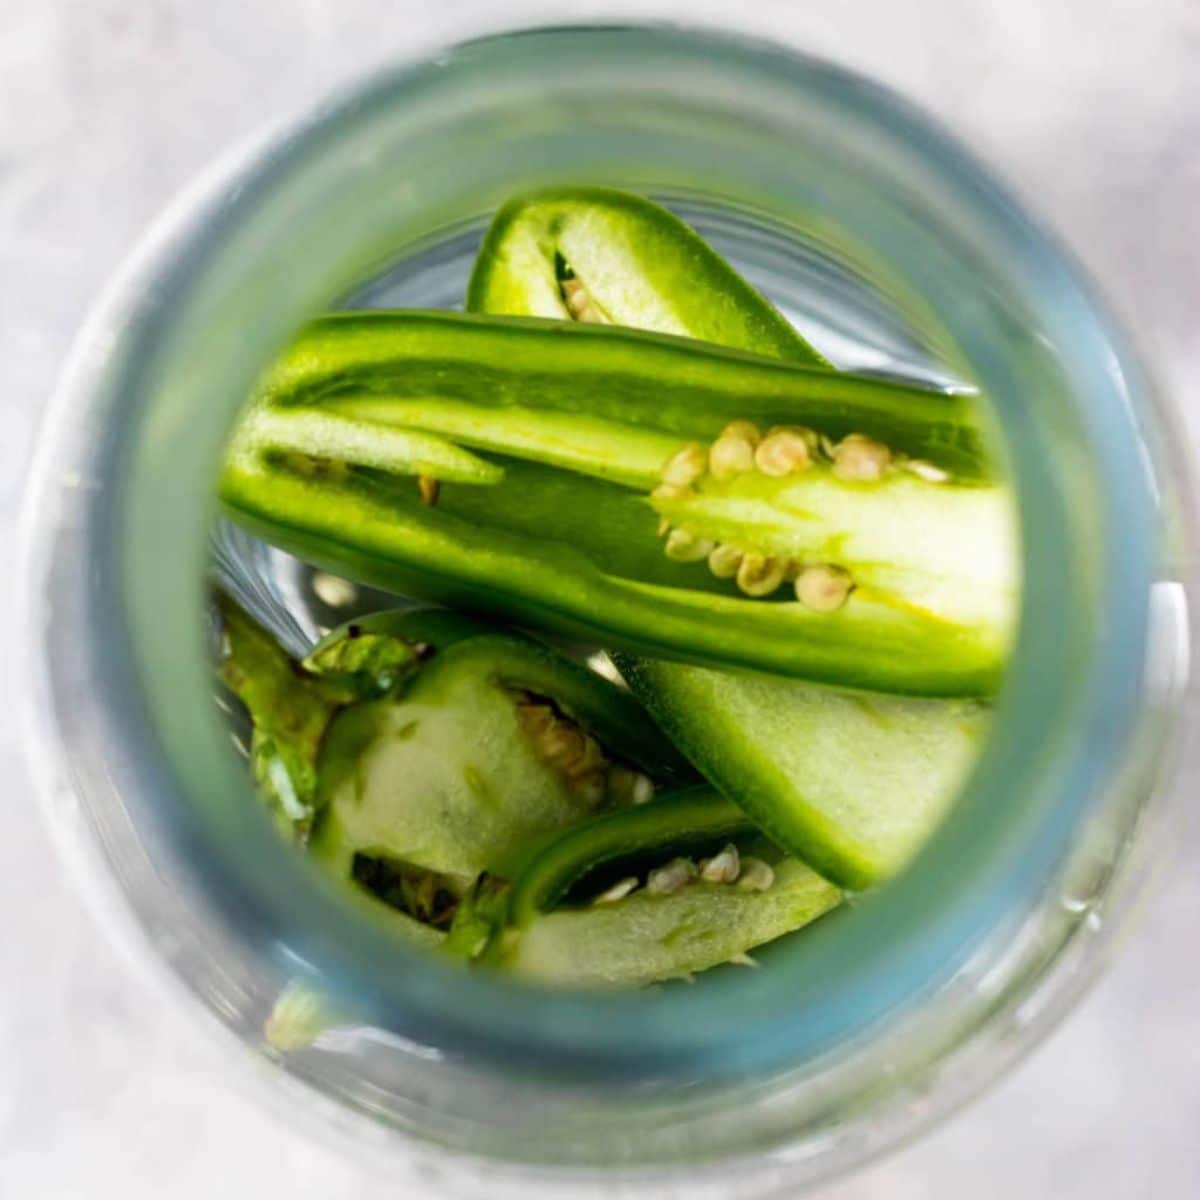
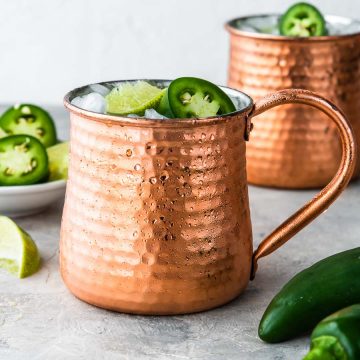
Spicy Margarita: Sub in a little jalapeno infused tequila for the silver tequila.
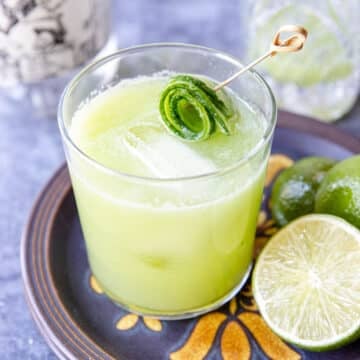
Jalapeno, but not super spicy – Drop a jalapeno slice in your margarita. Just stir it in, don’t muddle it. It will give you nice kiss of heat and verdant flavor.
Reposado: Use a Reposado tequila in place of the silver. It is mix of aged and silver tequila and will have a slightly stronger vanilla/caramel flavor.
More Margarita Recipes

Did you make this recipe?
⭐⭐⭐⭐⭐
I would love to hear your review, especially if you have tips and tricks to add! Pop down to the comment section and connect with me
Classic Margarita on the Rocks + Video
Equipment
Ingredients
- 1.5 ounces Silver Tequila
- 1 ounce fresh squeezed lime juice - one or two limes
- 1 ounce Cointreau
- .25 ounce agave
- ***Optional – soda water to top off
Serving
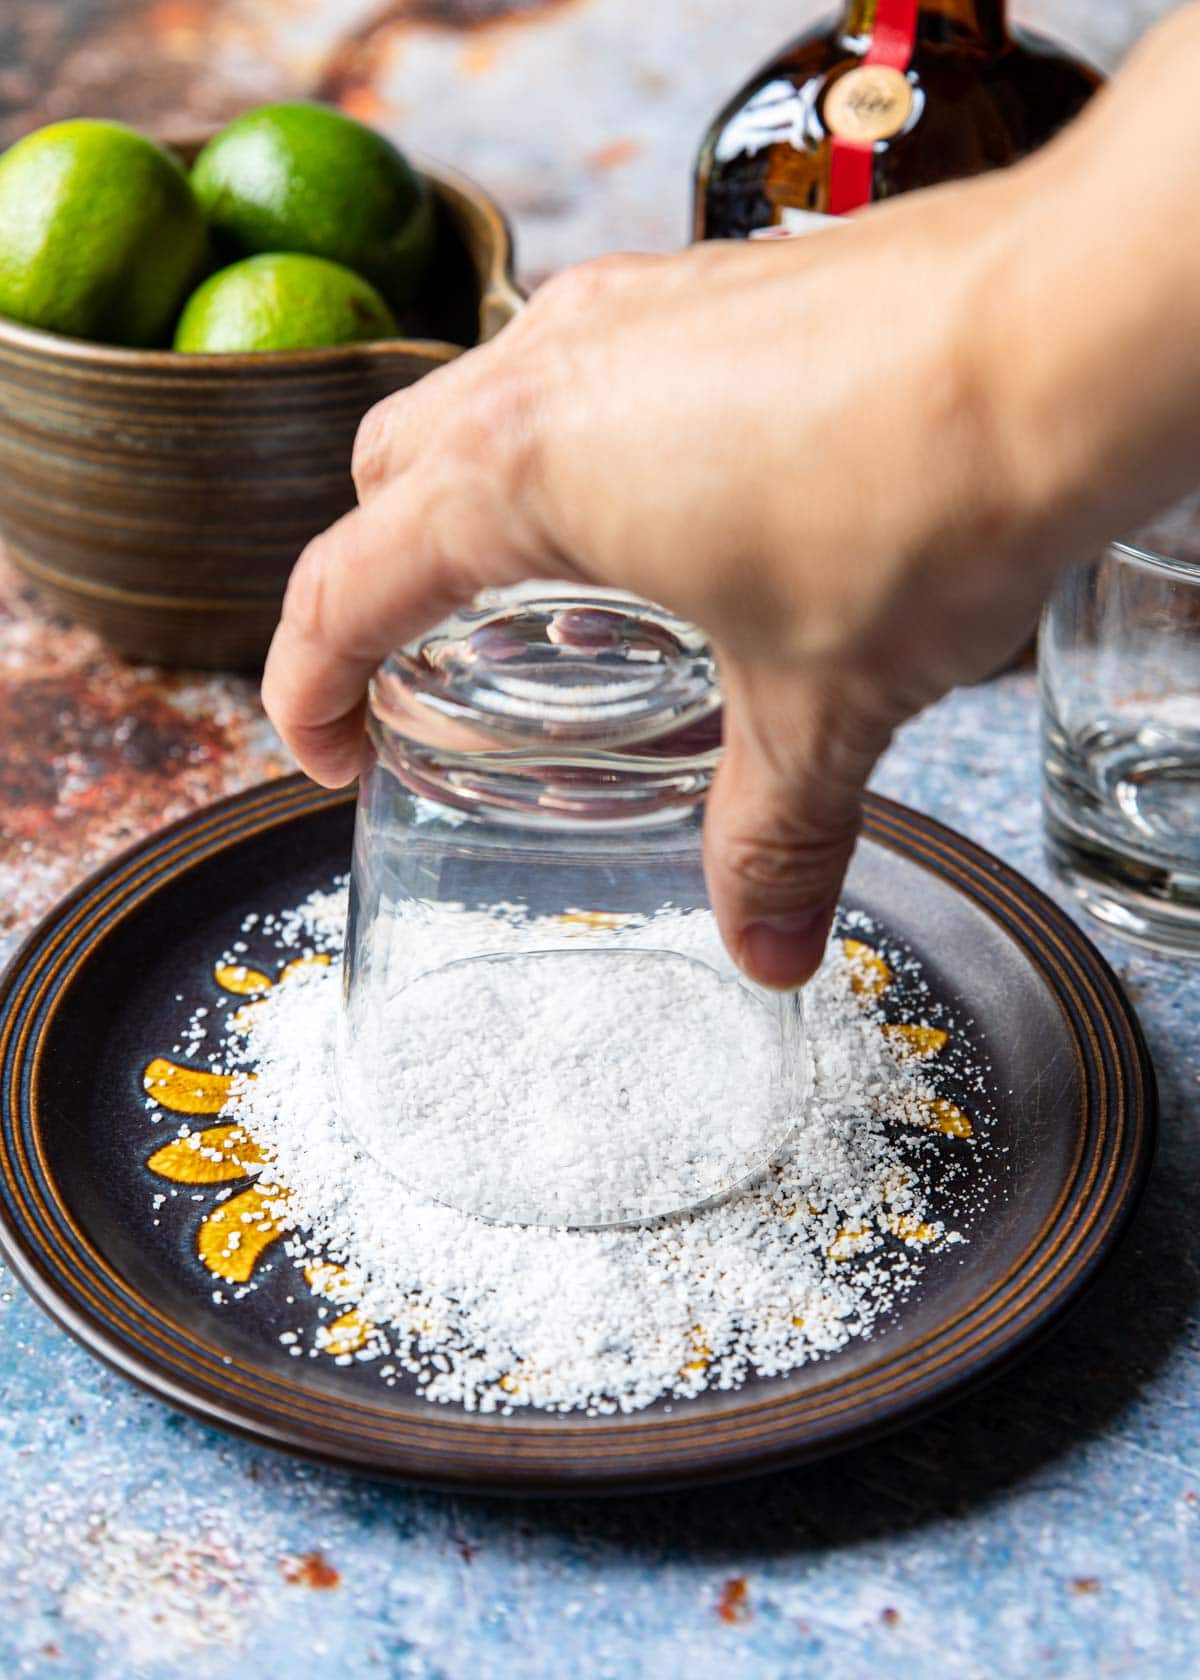
- kosher salt - place on a flat plate
- ice
- lime wedge or wheel
Instructions
- Rim The Glass – Rub a lime wedge around the rim of a 8-10 ounce glass. Dip the rim in the kosher salt on a flat plate. Fill the glass with ice. Set aside. Pro Tip: If you are having more than one margarita (duh!), instead of rimming the glass on the second or third drink simply sprinkle a pinch or two of salt straight into the drink!
- Make the Margarita – Place a few cubes of ice in a cocktail shaker. Add the fresh squeezed lime juice, Cointreau, agave, and tequila. You can also add just a pinch of kosher salt!1 ounce fresh squeezed lime juice, 1 ounce Cointreau, .25 ounce agave, 1.5 ounces Silver Tequila
- Shake vigorously for about 20-30 seconds. If you do not have a cocktail shaker use a mason jar with a lid, shaking your margarita makes ALL the difference in the taste!!!
- Serve – Strain into the prepared glass. Garnish with a lime wheel or wedge.lime wedge or wheel
- Optional, but recommended– if you like a few bubbles in your Margarita you can top it off with 1-2 ounces of soda water.***Optional – soda water to top off
Recipe Tips and Notes:
- Use a good mid range silver tequila. I find that Espolon, Cazadores or Jose Cuervo Tradicional are all great at varying price points.
- Don’t skip the agave, it adds just the right amount of sweet to balance the tart lime and salty tequila.
- Don’t skip shaking the margarita in a cocktail shaker (or mason jar!), it truly develops the flavors and blends all the ingredients.
- If you have a second or third margarita skip rimming the glass with salt to keep things simple. Just sprinkle a little pinch or two of kosher salt right into your Marg. So GOOD!!!