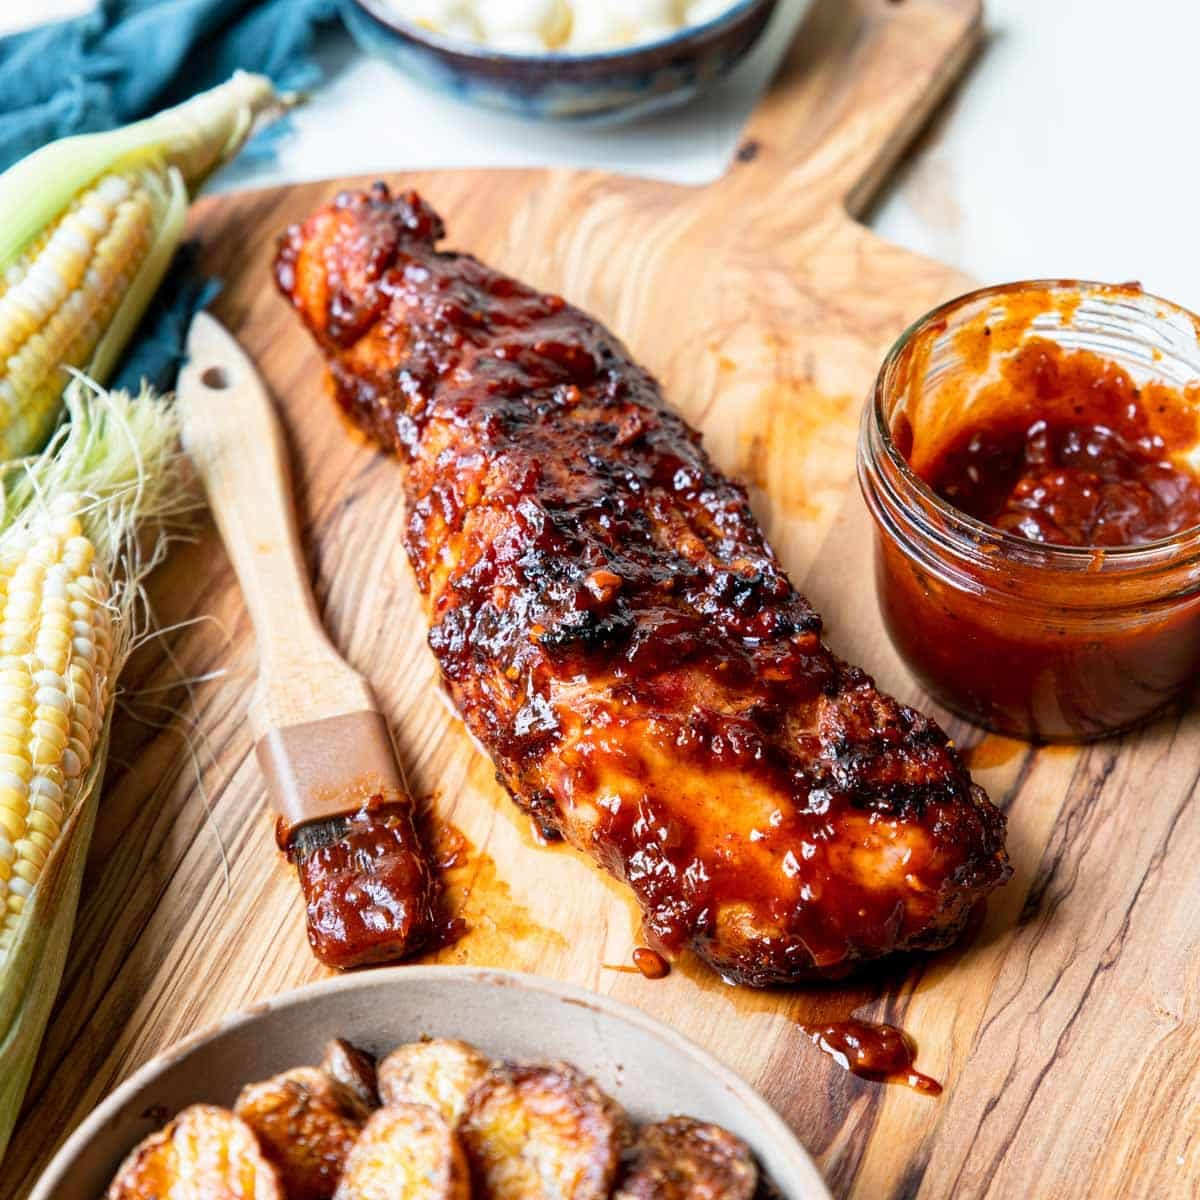
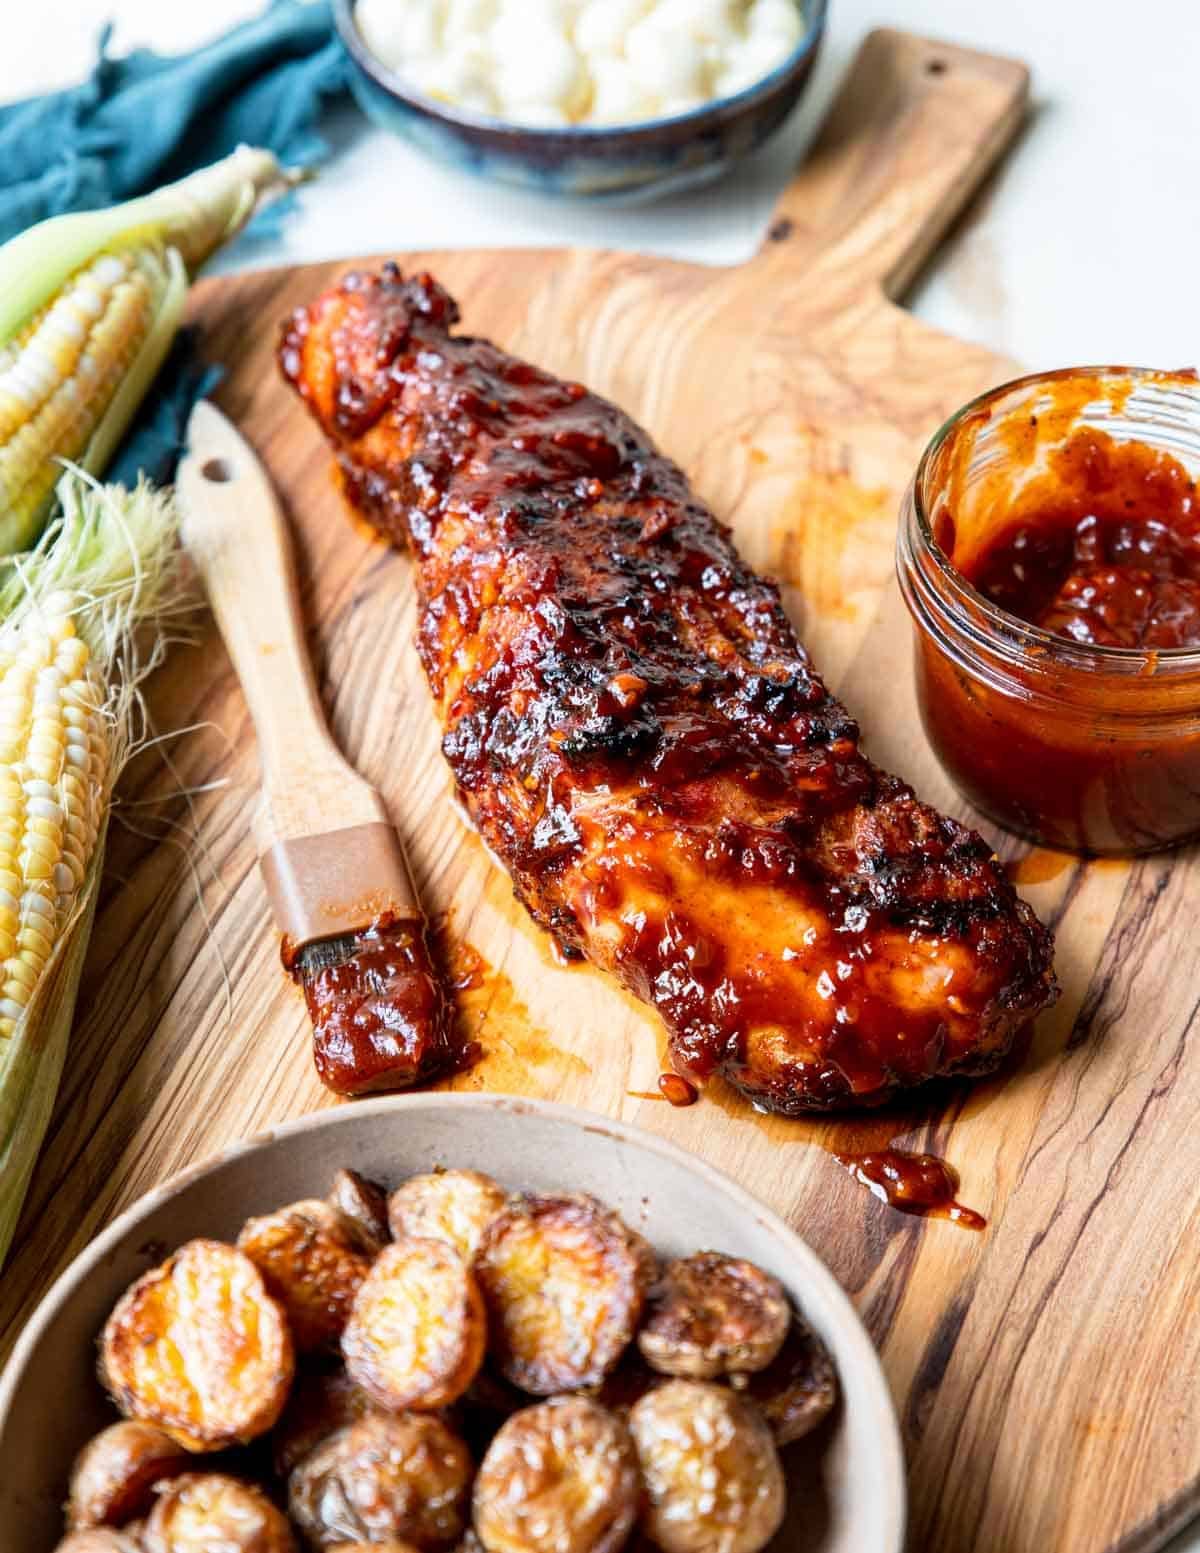
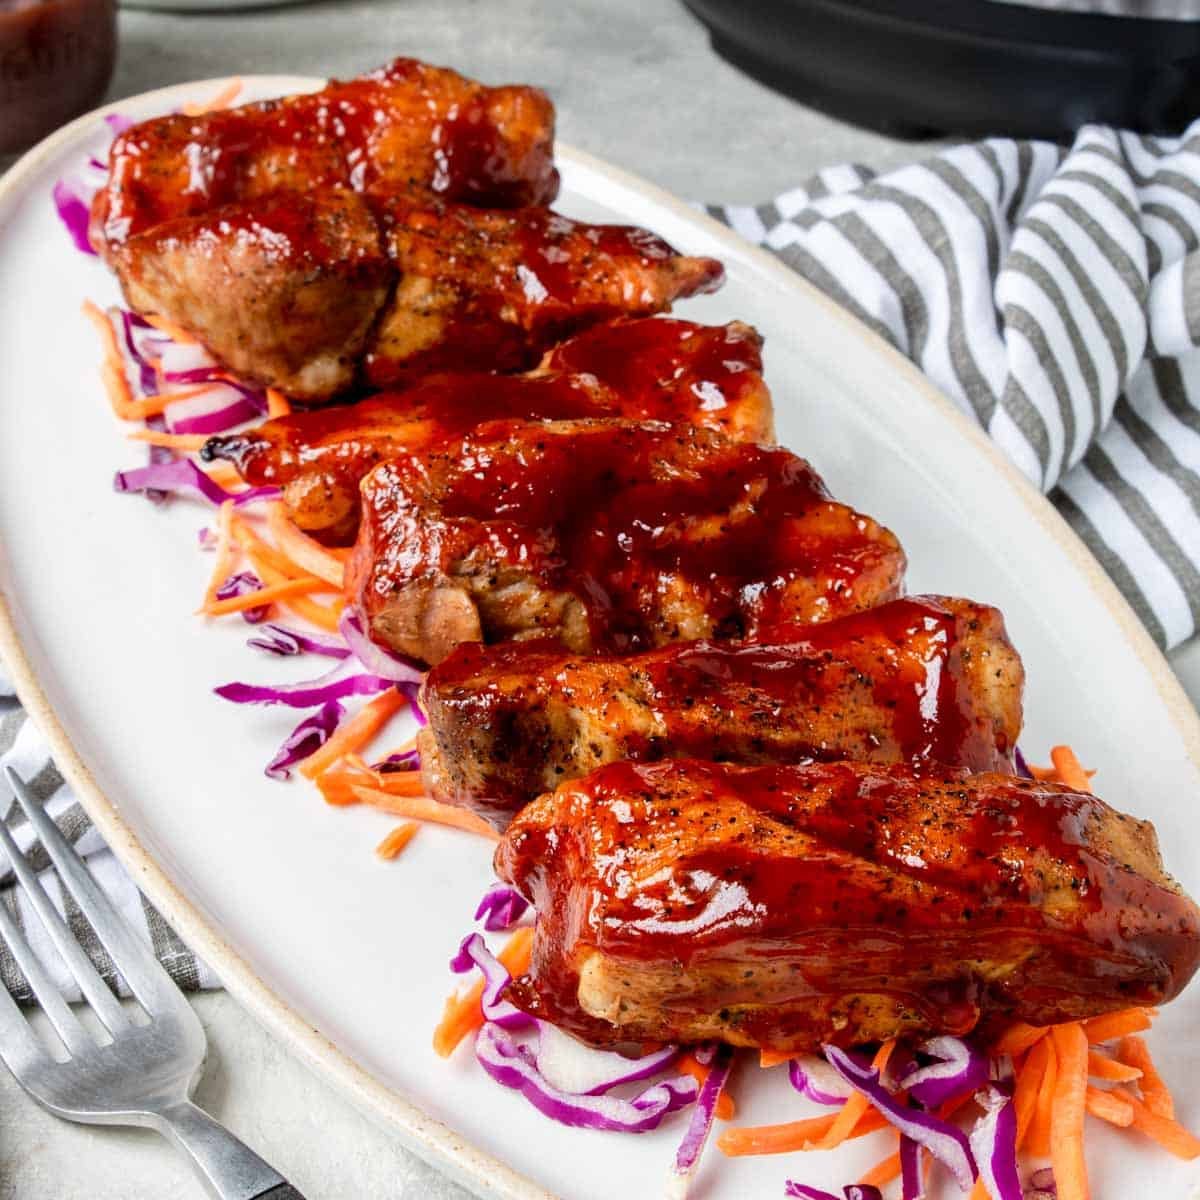
In episode 097 we are making BBQ Grilled Pork Tenderloin. This is a perfect summer dinner and excuse to get your grill out! The pork tenderloin has double BBQ flavor from a wet rub marinade and homemade BBQ sauce.
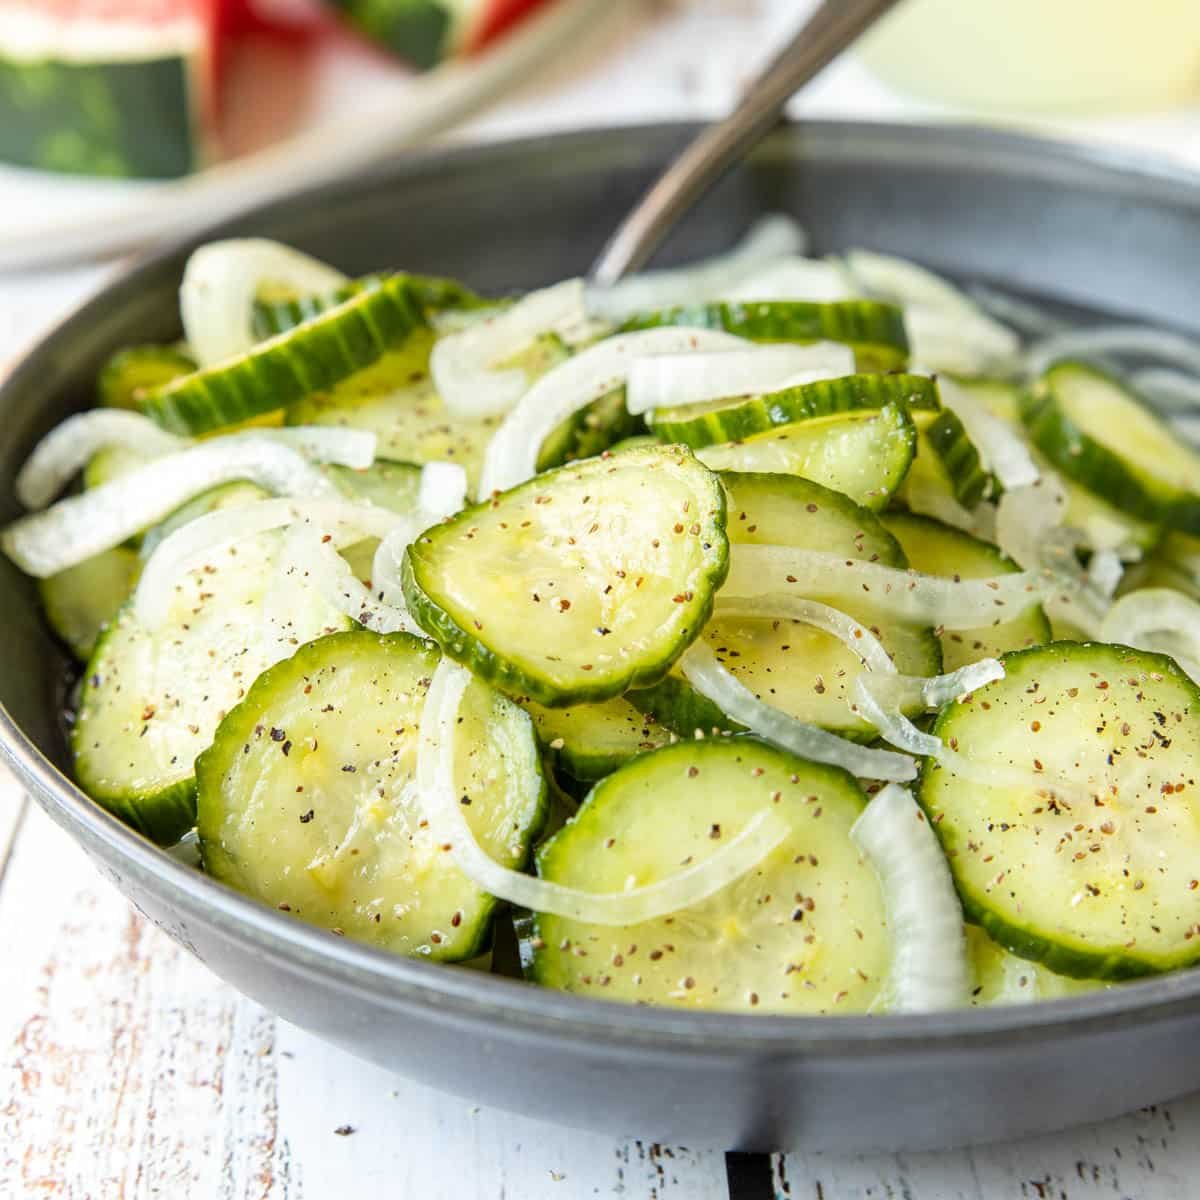
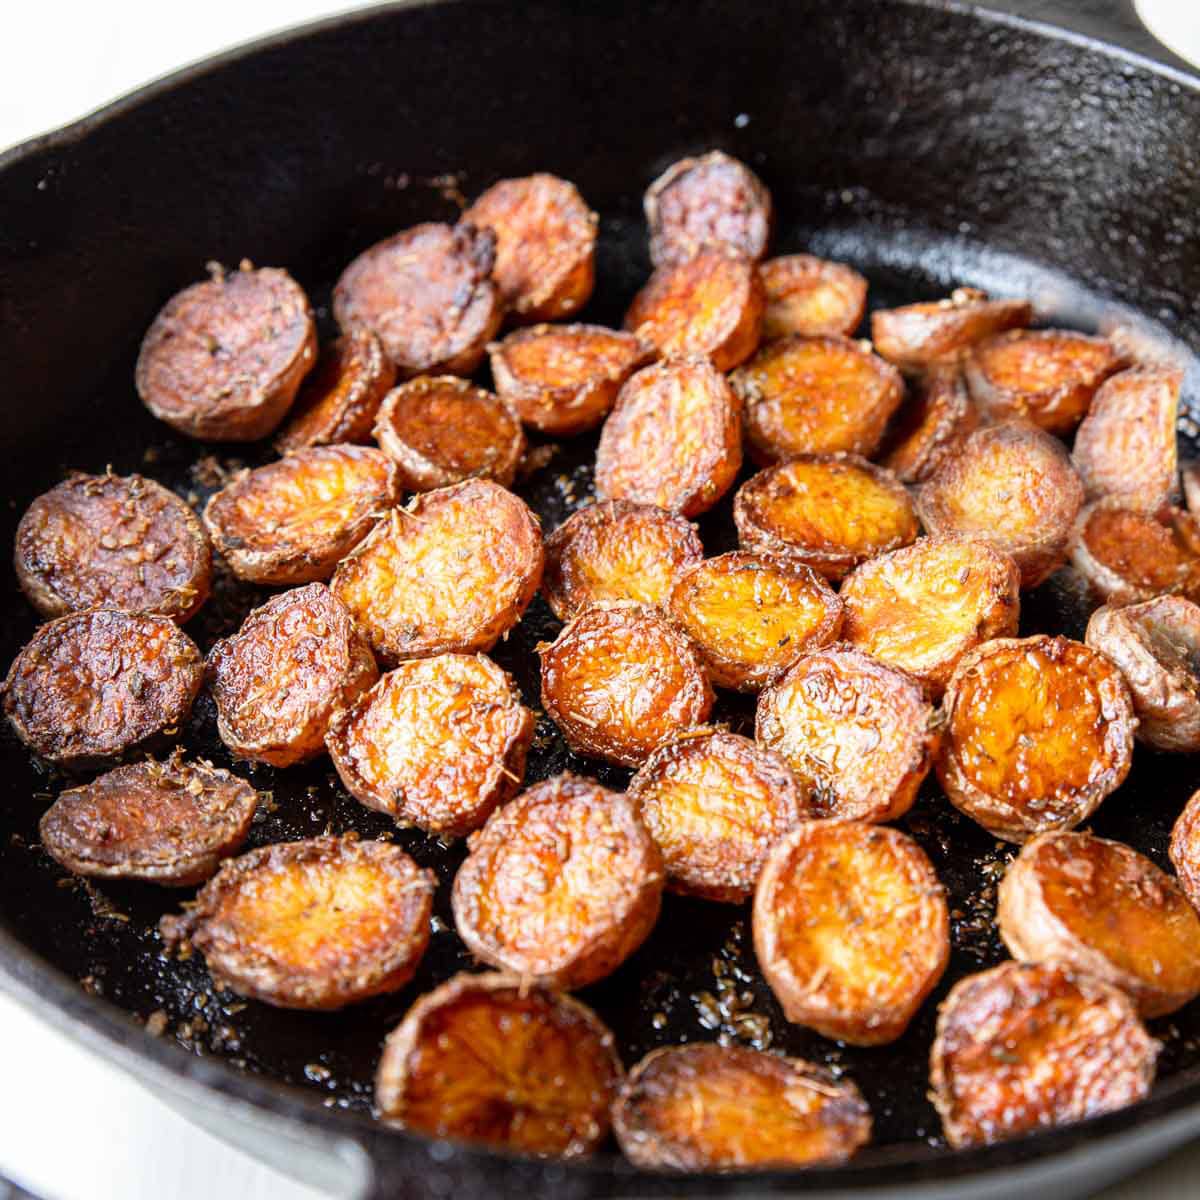
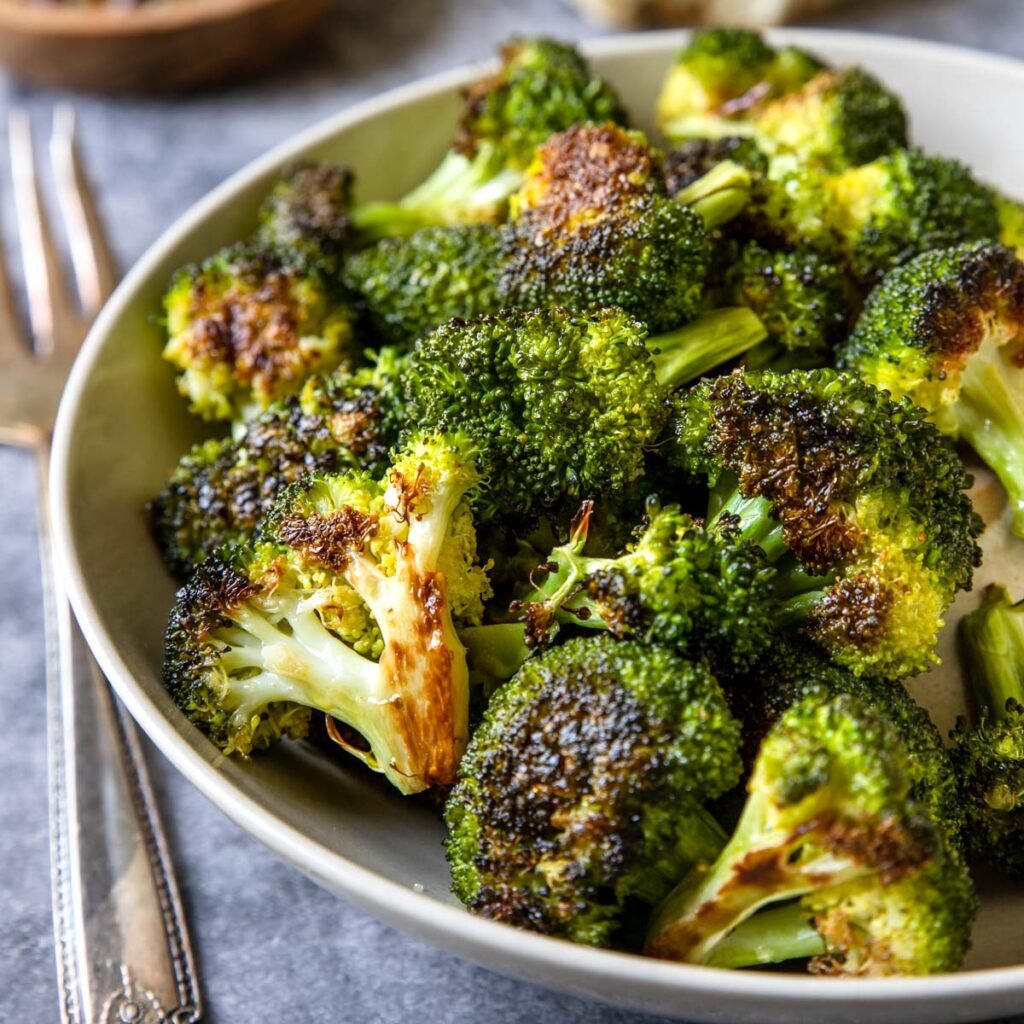
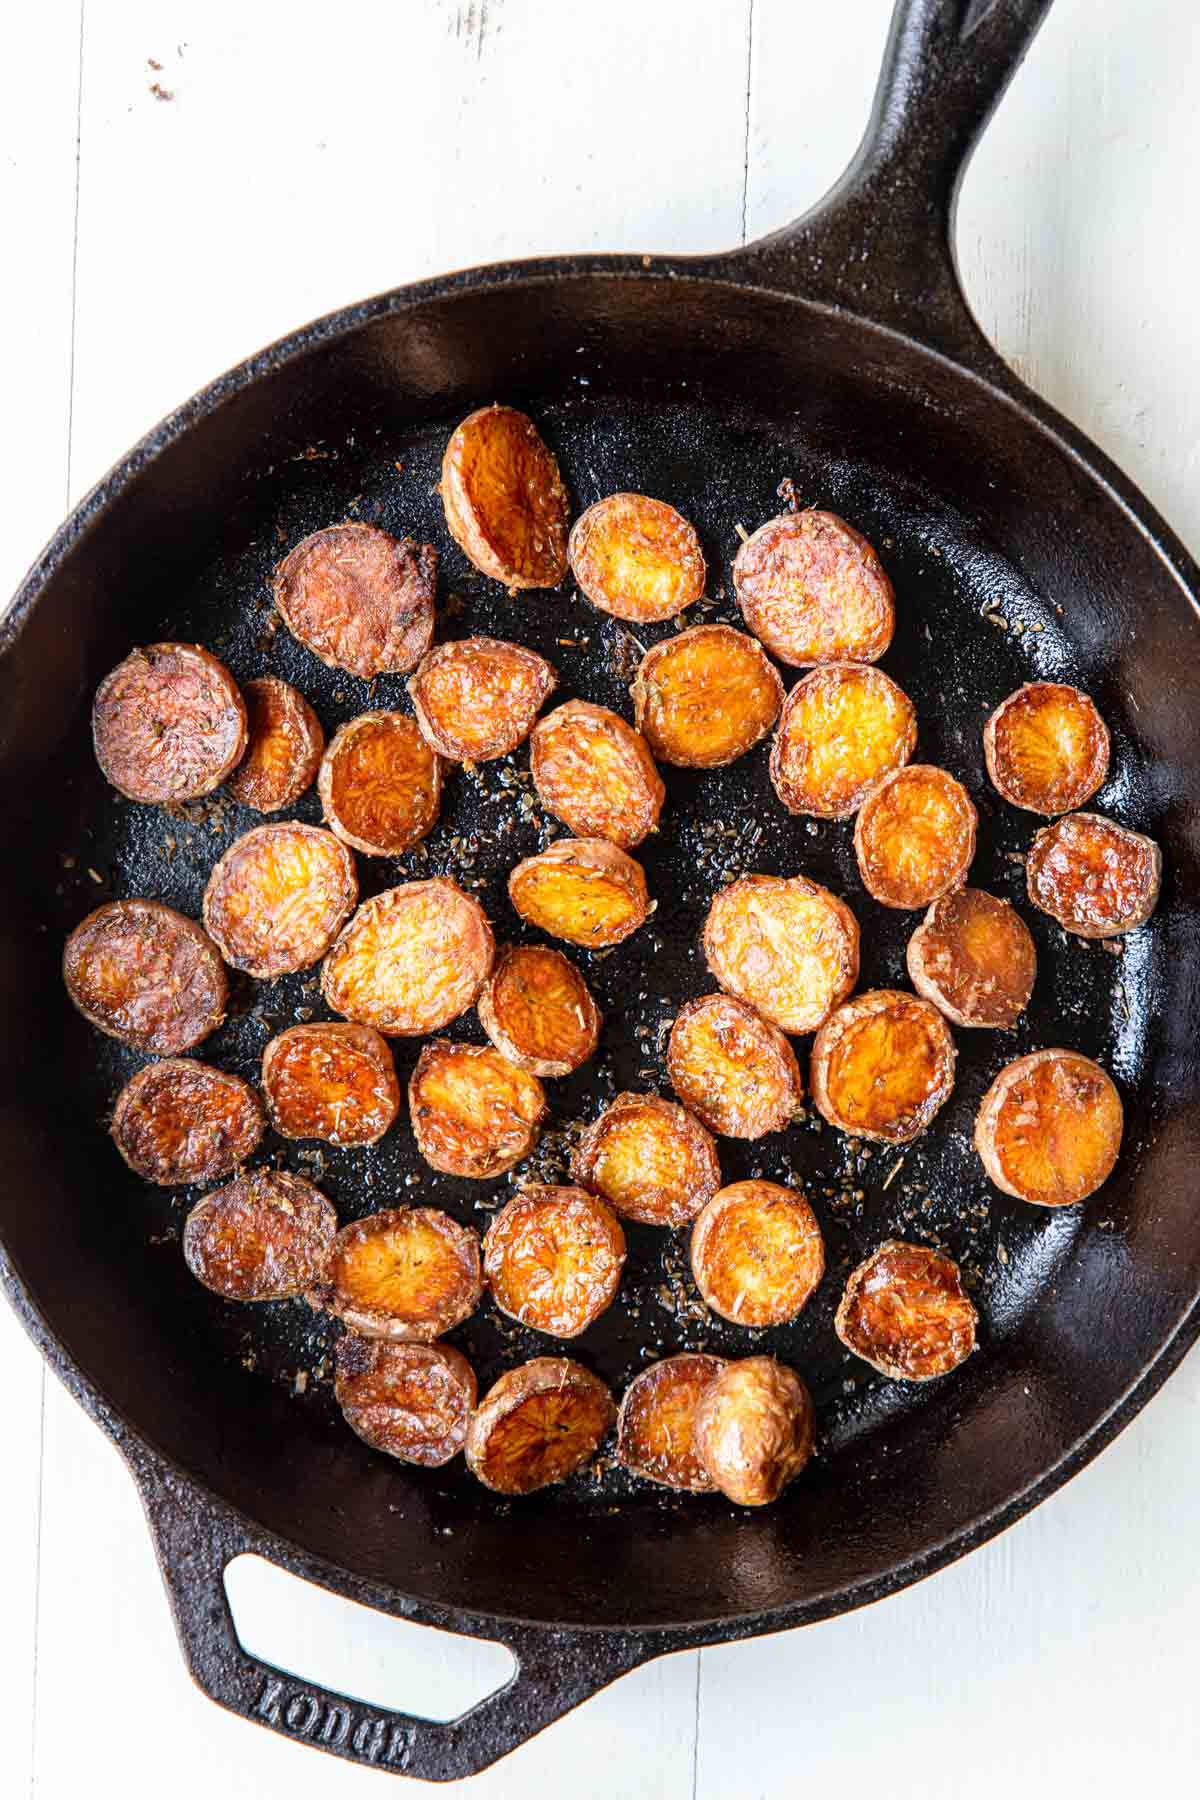
Pair this with some sweet summer corn and crispy potatoes.
Transcript
Click for the full transcript.
Intro: Welcome everybody to another episode of Let’s Make Dinner, your audio library of amazing dinner recipes you can always get on the table. I’m your host, Susie Weinrich.
Susie Weinrich: Happy Thursday everybody. I’m so glad you joined me to make a little bit of dinner or to get a new dinner idea. I love that too. I know I put out a poll the other week to see why you guys are tuning in and what you like about this show. A lot of people said that they like this show to get new dinner ideas. So I’m glad you’re joining me and I hope that you find this dinner recipe delicious.
Today we are making a Grilled Barbecue Pork Tenderloin If you’re listening to this in real-time. It is summertime. It’s the perfect time to get that grill out. You can crack open a beer and make this delicious, I’m telling you, so incredibly delicious Grilled Barbecue Pork Tenderloin. The last time I made this, we had a ton left over in the fridge and I ate it all week, with the homemade barbecue sauce, just dipping it. I would eat it cold right out of the fridge. Let me tell you this too, what I love about this pork tenderloin is you can actually reheat it in the microwave, you know, reheat slices and it doesn’t overcook. I found that even the tail end of the pork tenderloin can sometimes get overcooked, just even on the grill, I would reheat that in the microwave and it still was super tender.
So you’re going to love this. I think that it’s a great substitute for grilled steak because you still have a ton of flavor and it’s super tender, but it’s not as expensive. So this is a super economical cut of meat that you can pop on the grill and have for dinner.
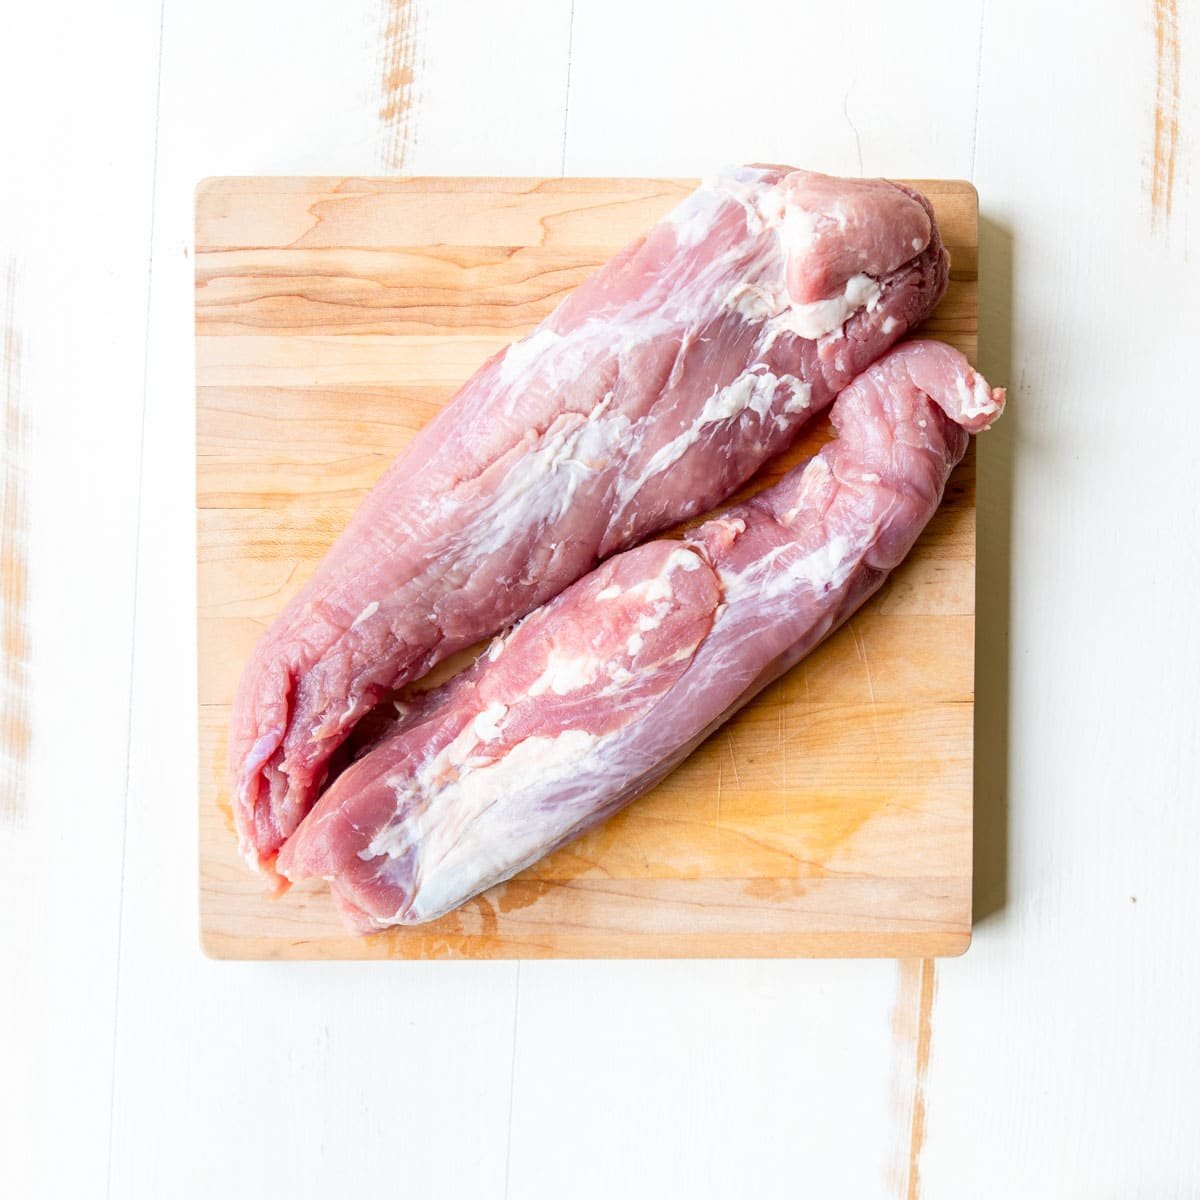
Tips and Tricks: So let’s get into a couple of tips and tricks for this recipe. First of all, let’s talk about pork tenderloin in general. You want to make sure that you’re buying pork tenderloin and not pork loin. I have been duped at the grocery store and I was so pissed off. So I went to Trader Joe’s and I was going to make pork tenderloin for dinner, and what they had in the package was small, like a pork tenderloin and it was called a pork tender. I’m pretty sure that’s what it was called. I got it home and as soon as I opened the package and I cooked that thing, I was like, this is a pork loin, and it was so dry. Pork tenderloin will always be called pork tenderloin. So make sure that you’re buying the right thing. Pork loin is not the same thing. Generally, pork loin is going to be much bigger around and look more like a roast than a long skinny pork tenderloin. So just be aware that they put weird names on pork loin at the grocery store. I feel like to make you think that you’re buying pork tenderloin. I don’t know if they’re really trying to dupe us, but that’s what I feel like. So just make sure that the package says, pork tenderloin. A lot of times your pork tenderloin will actually come in packages of two because they are quite small. So, a lot of times they’ll put two in a package just to give you more in there. I don’t know. I don’t know why they do it.
The other thing about pork tenderloin is that they usually have a thicker end and then a tail end. The end part kind of tapers off into a really skinny end. There are two ways you can avoid that overcooking. The first one is to actually double it over onto the pork tenderloin and tie it up so that it’s equal thickness from end to end.
That’s one option. What I usually do, is I don’t take the time to tie it up. I will usually position my pork tenderloin on the grill so that the thicker end is closer to the direct heat and that little tail end is further away so that it’s not cooking as quickly as that thicker end. Also, with this recipe, I have a homemade barbecue sauce recipe that you can make. It’s super easy to make and really you just need to have butter, onion, ketchup, and Worcestershire sauce. Brown sugar, and then a bunch of spices from your spice cabinet. So if you have those things, I highly recommend trying to make your own barbecue sauce. But if you’re like, yeah, I’m not doing that, just grab the barbecue sauce that you love at the grocery store or your favorite barbecue restaurant. I live here in Kansas City and we have some excellent barbecue restaurants that sell their sauce.
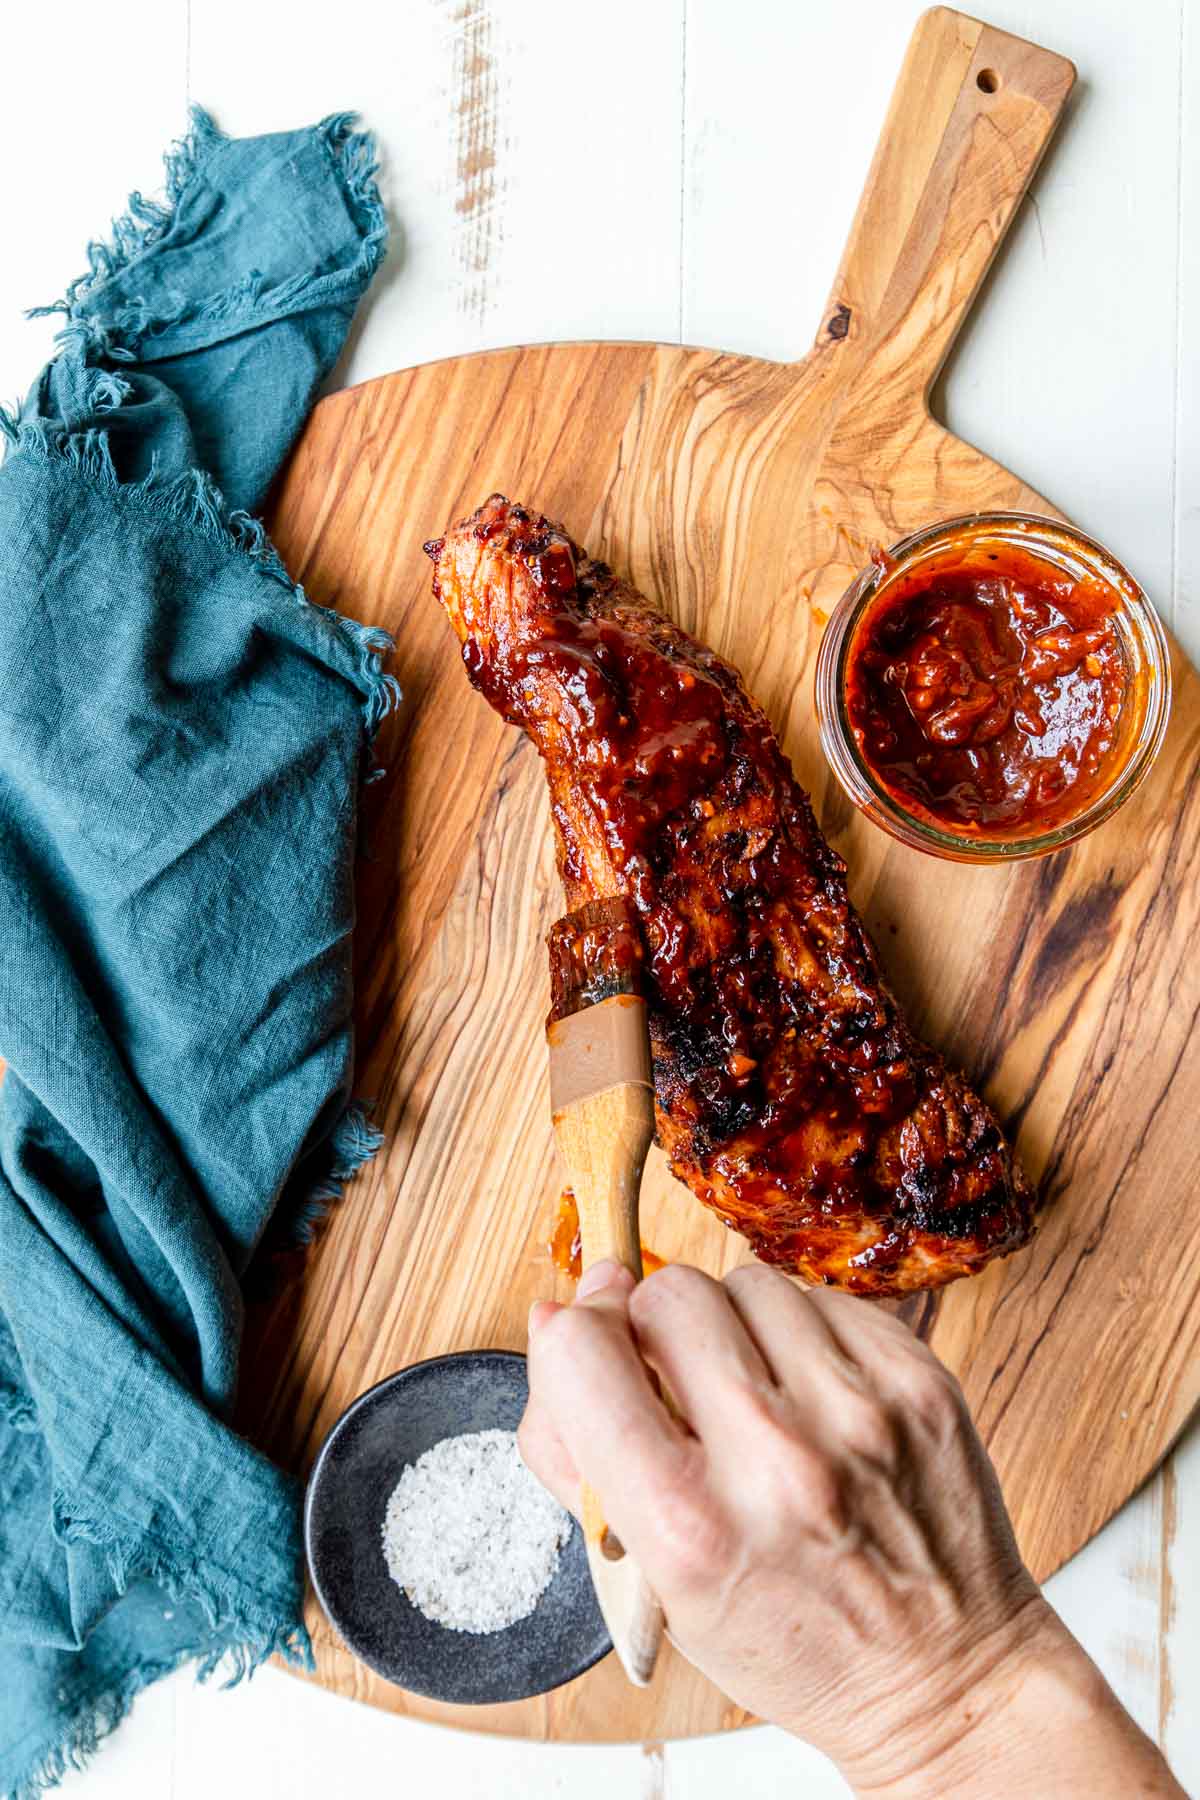
BBQ Pork Tenderloin Recipe: All right, so the rest of the tips and tricks that I have, I’m going to kind of go over in the recipe as we walk through making this grilled pork tenderloin. So let’s get right into it. So this recipe has two layers of barbecue flavor. We’re going to do a wet rub to marinate the pork tenderloin, and then we’re going to baste it with barbecue sauce.
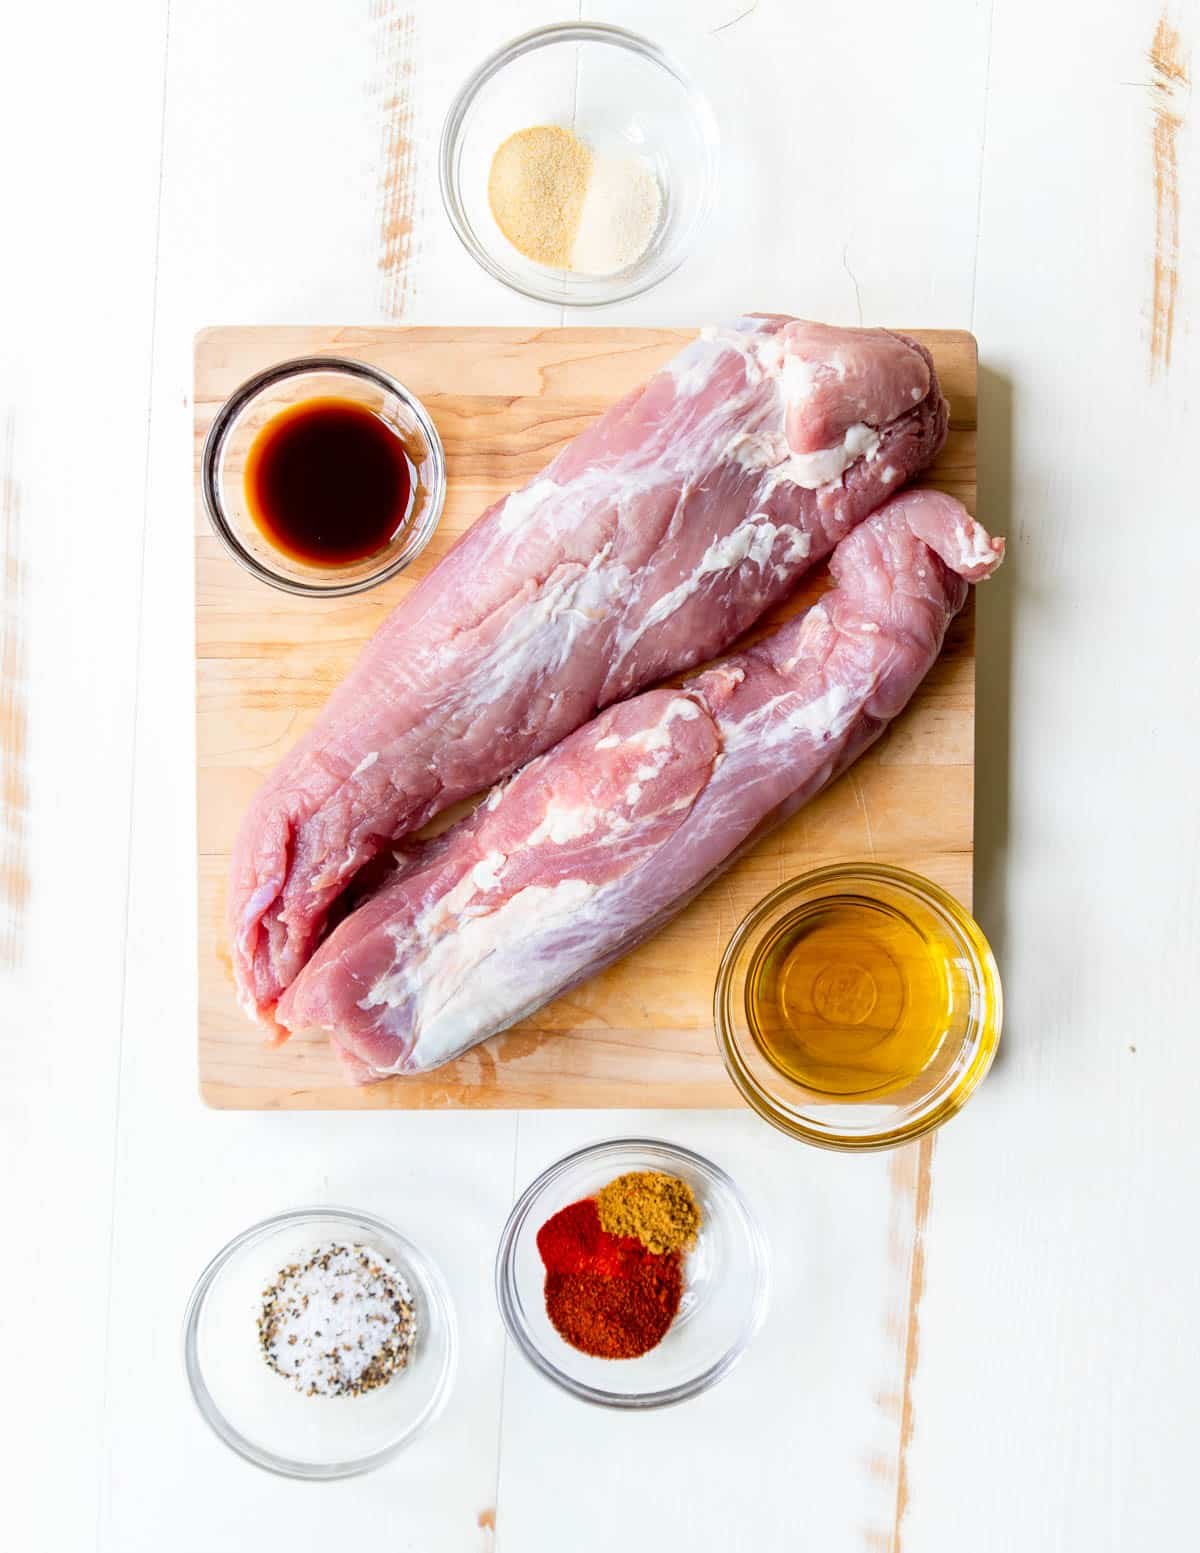
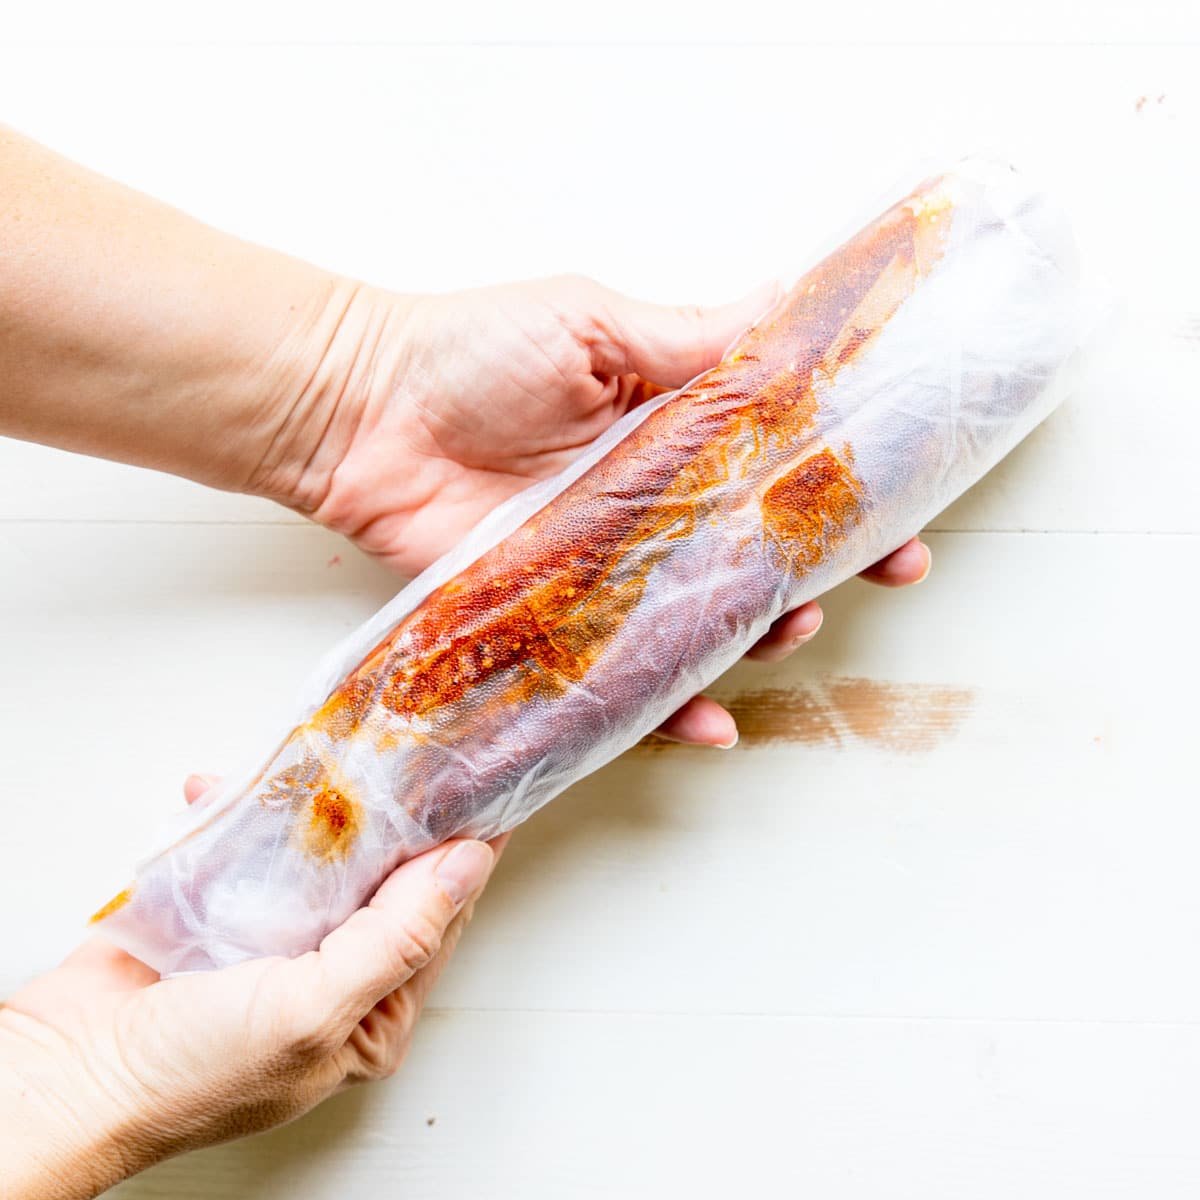
Let’s start with that wet barbecue rub. So in a small bowl, you’re going to mix together two tablespoons of extra virgin olive oil, two tablespoons of Worcestershire sauce, two teaspoons of coarse ground black pepper, and two teaspoons of chili powder. Two teaspoons of garlic powder, one teaspoon of onion powder, and two teaspoons of kosher salt. One teaspoon of ground cumin and half a teaspoon of smoked paprika. Give that a really good stir, and that is your wet rub. So then, here is a great tip. You’re going to end up wrapping these pork tenderloins in plastic wrap. So what I recommend is laying out big sheets, two big sheets of plastic wrap on your countertop. Now take your two pork tenderloins and place one on each one of those plastic wrap sheets. Now is the time that you can slather those pork tenderloins with that wet rub and you’re not making a mess anywhere. You’re going to then wrap those pork tenderloins up right in that plastic wrap, and all the mess is contained right in that plastic wrap.
Now what you want to do is you can either pop those into a Ziploc bag or you can pop them into just a rimmed baking pan and pop them in the fridge. You’re going to marinate these for anywhere from four hours to 48 hours. So basically, if you’re short on time, do those four hours. If you want to work ahead, do it in two days. But a great time to aim for is about that 24-hour mark. So if you can do it the day before and have it ready for the next day for dinner, that’s perfect.
All right, so say your 24 hours have gone by and now it’s time to grill these pork tenderloins. So what you want to do is remove them from the fridge and we’re going to let them sit at room temperature for about 30 minutes before we get them on the grill. This is actually called tempering, and you’re just letting the meat rest at room temperature to warm up. I don’t mean warm-up like we’re going to start growing bacteria. I mean, you’re just going to take that chill off so that when you do put it on the grill, it’s going to cook more evenly.
So set those out to come to room temp and then you’re going to set your grill up for direct high-heat cooking and indirect-heat cooking. So if you have a charcoal grill, which is what I grill on, I set all of those charcoals up, the hot charcoal, on one side of the grill, that’s the direct side. We’re actually not going to use that side. We’re only going to cook on the indirect side.
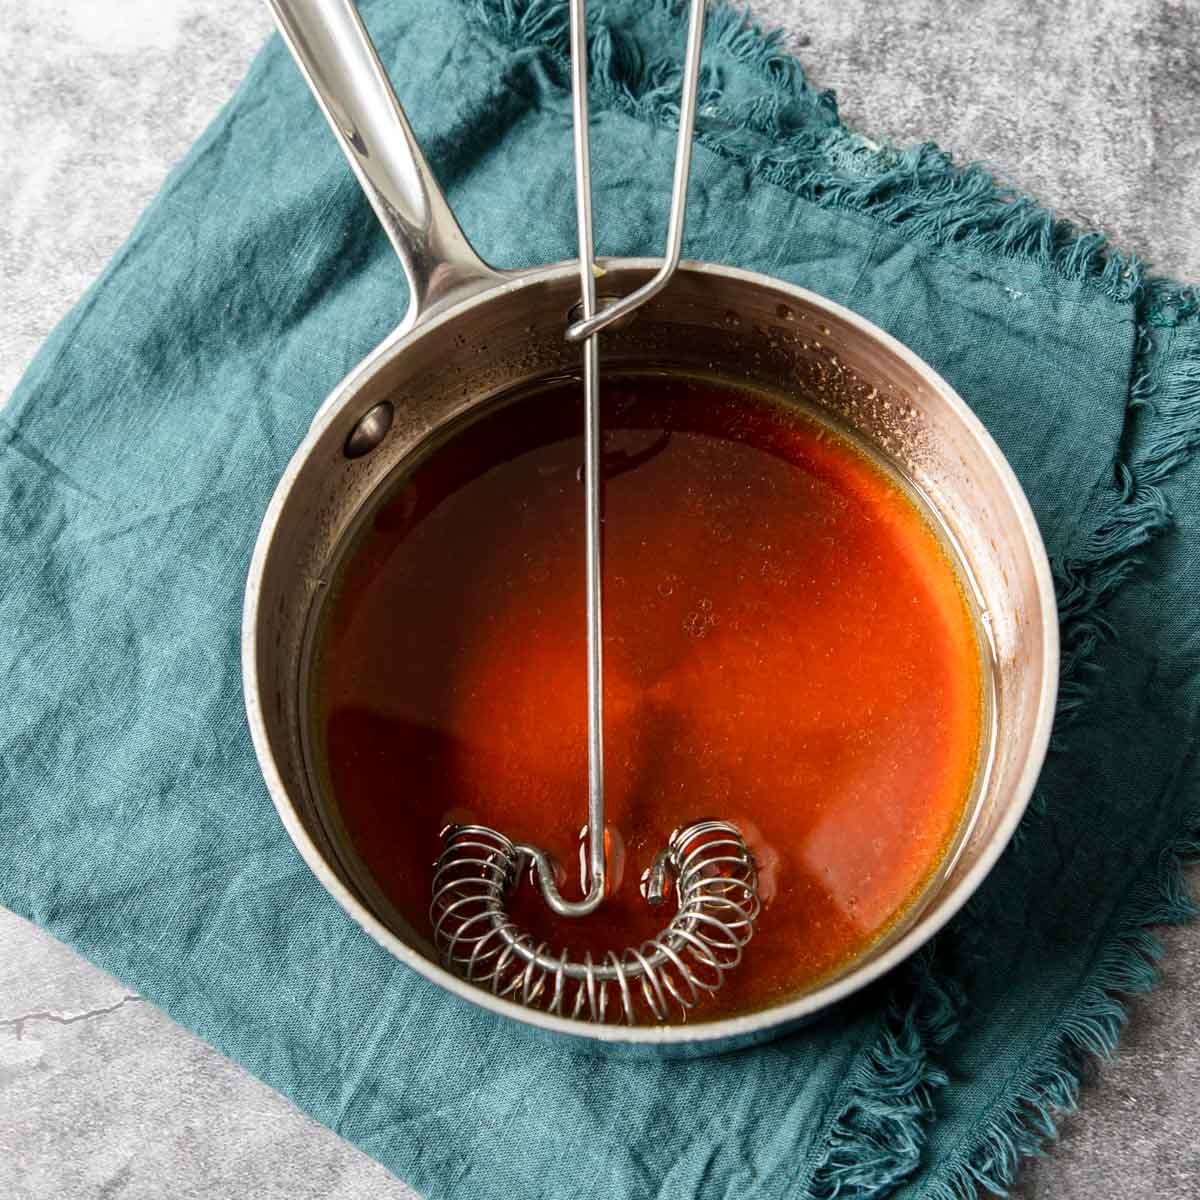
Also, while my grill is heating up, what I like to do is make that barbecue sauce. So if you are also going to make the barbecue sauce, let me run over that really quick. It’s so, so simple. In a medium-sized saucepan, you’re going to melt four tablespoons of butter. Then you’re going to add a quarter cup of very finely diced onion, and I like to use either a white or a yellow onion here. You’re going to saute that until it’s pretty translucent and soft. Then you’re going to add in one minced garlic clove, three-quarters cup of ketchup, a quarter cup of brown sugar, and three teaspoons of Worcestershire sauce. Then we’re going to add some spices. So one teaspoon of chili powder, half a teaspoon of smoked paprika, and a quarter teaspoon of black pepper. A couple of dashes of Tabasco or Frank’s Red Hot, and then a pinch of kosher salt. You’re just going to stir that all together. Let it simmer for five minutes tops, and remove it from the heat. That’s it. Your barbecue sauce is ready and you are going to want to dunk all of the pork tenderloin right into that.
Now, what I recommend when you’re using either your homemade barbecue sauce or store-bought barbecue sauce, is to pour out one cup of sauce and divide it in half. So when you grill the pork tenderloin, you’re going to take half a cup out to the grill and then you’re going to reserve half a cup for serving. This prevents any cross-contamination with raw pork and barbecue sauce.
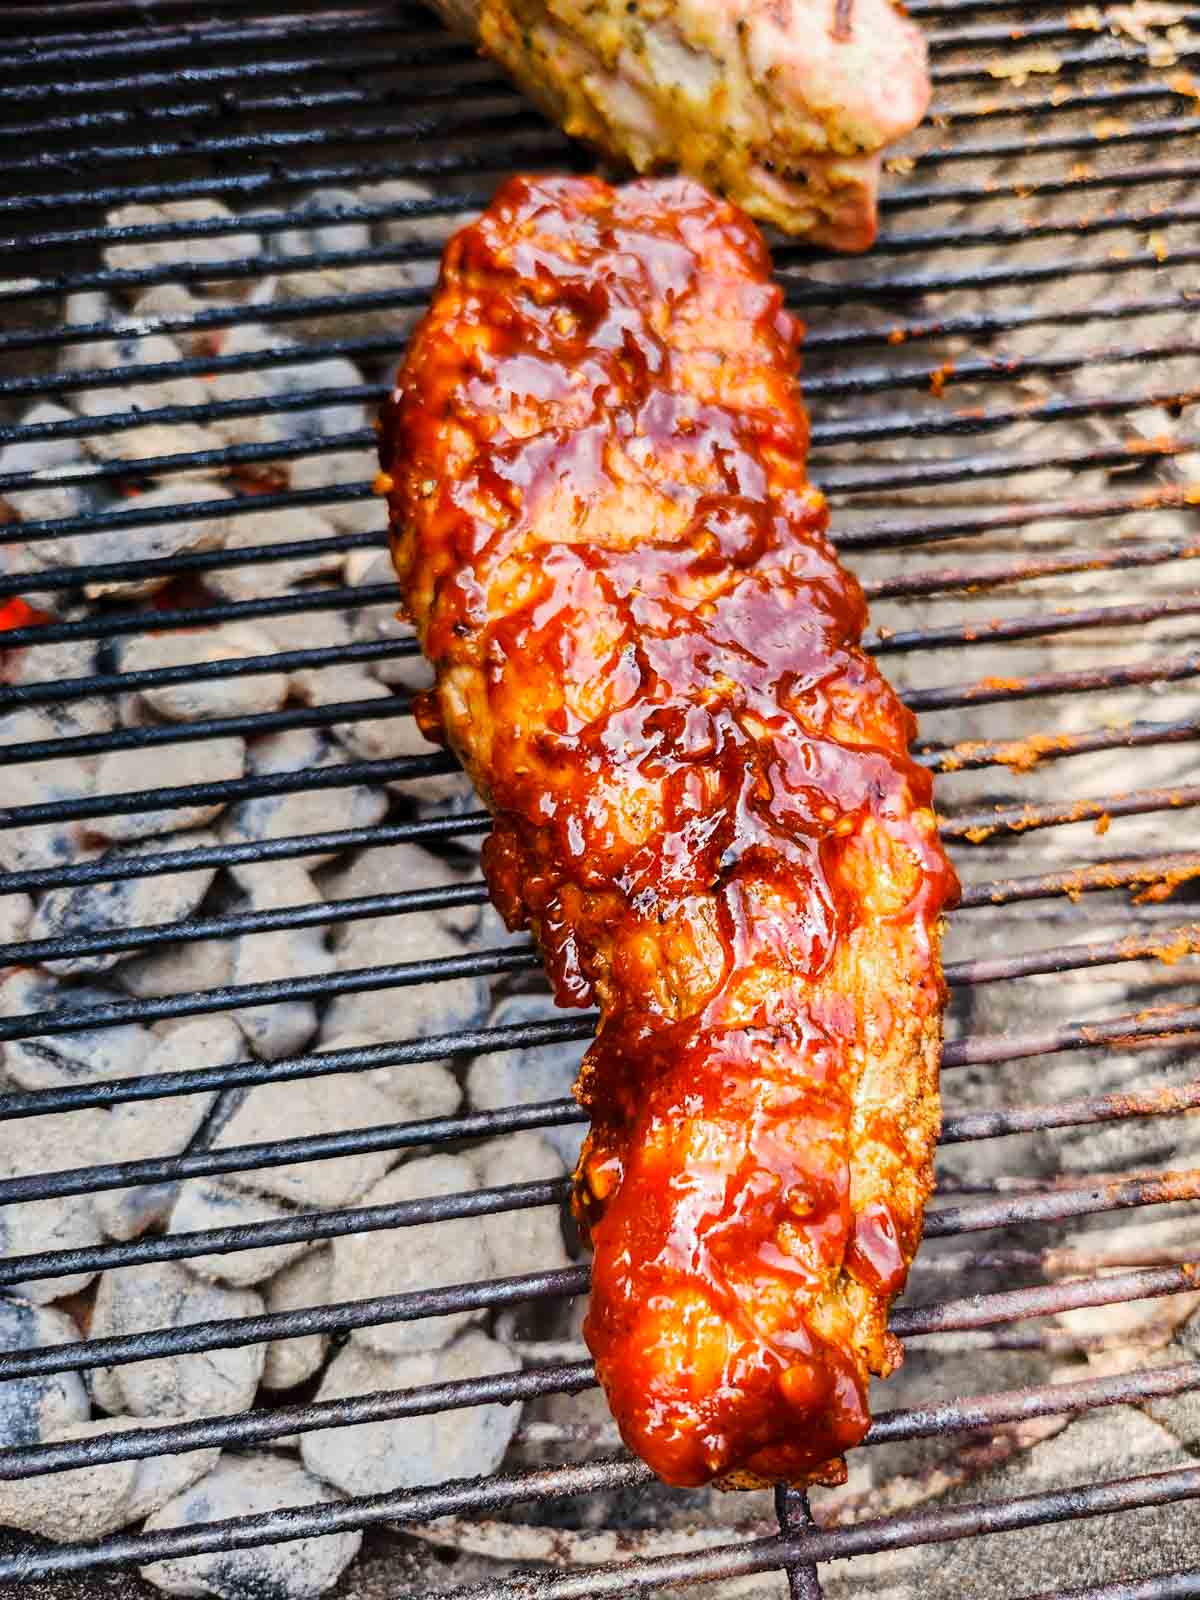
Now that you’ve got all the bits and parts ready and, and the grills all fired up, let’s go over grilling your pork tenderloin. So, as I said before, we’re actually going to grill your pork tenderloin over indirect heat. What I recommend is laying the two pork tenderloins over indirect heat with the thicker end towards the direct heat. So that’s going to cook a little bit faster. We’re going to cover the grill and cook it for about 12 minutes. Then you’re going to open up the grill, flip over the pork tenderloins, and this is where you’re going to baste the cooked side with barbecue sauce. Really generously slather that barbecue sauce onto the pork tenderloins.
So after you flip it over, you’re going to continue to cook for another about 12 to 13 minutes on your covered grill until it reaches about 140 to 145 internal temperature. Now let me tell you about grilling pork tenderloins. We want to use this cooking time. This is about 12 minutes per side as a guide only. You want to actually grill your pork tenderloin to temperature, not time. So that 140 to 1 45 is that sweet spot where your pork tenderloins are cooked to about a medium, and they’re still super tender and juicy and delicious.
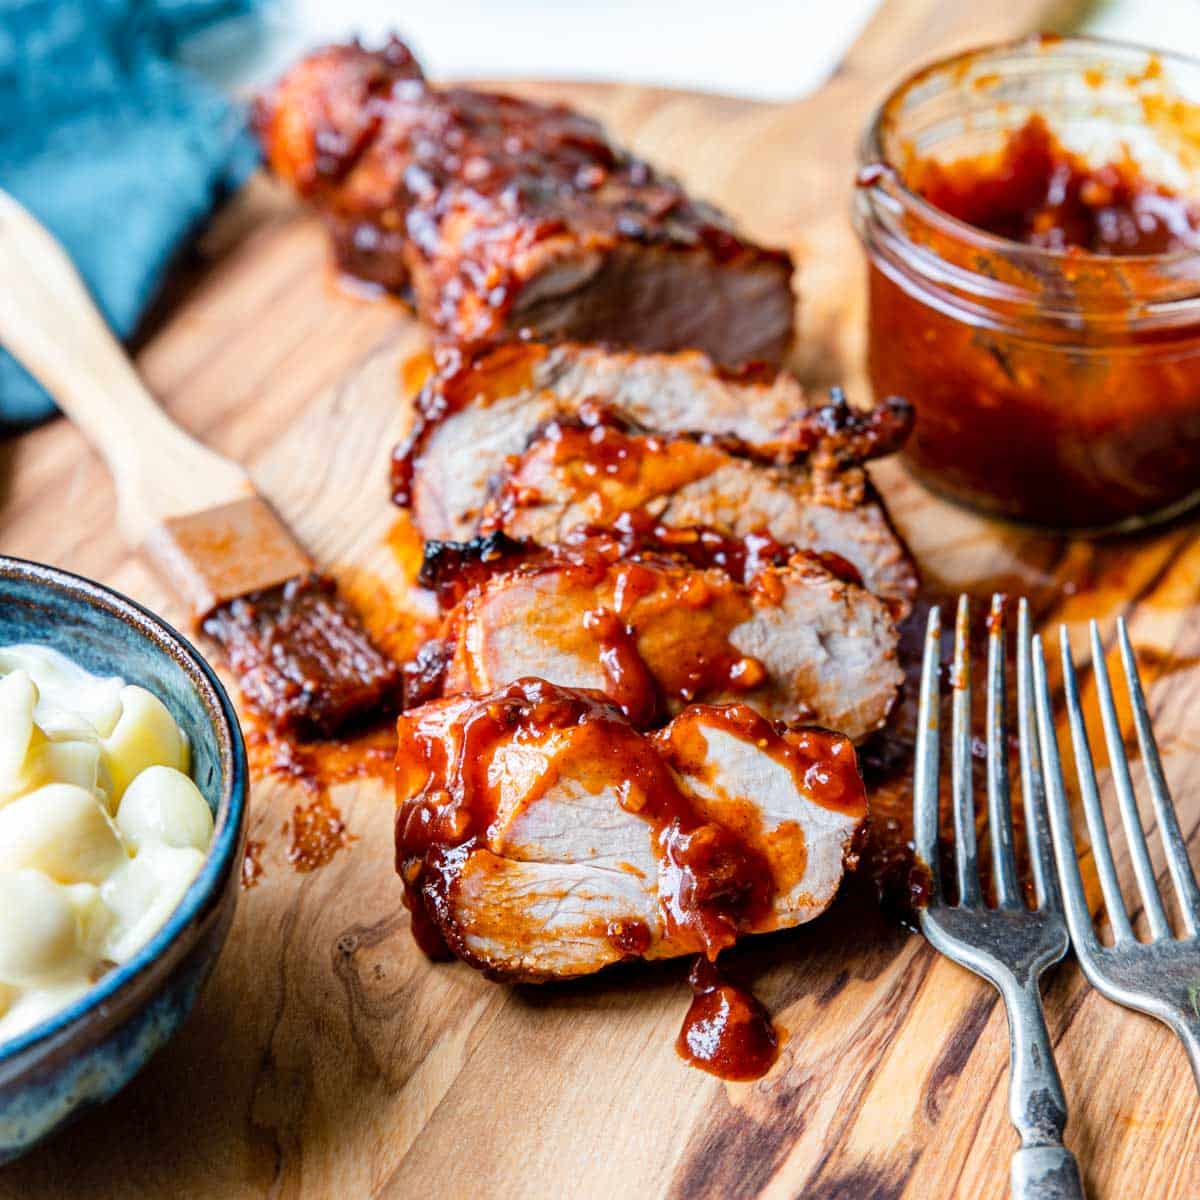
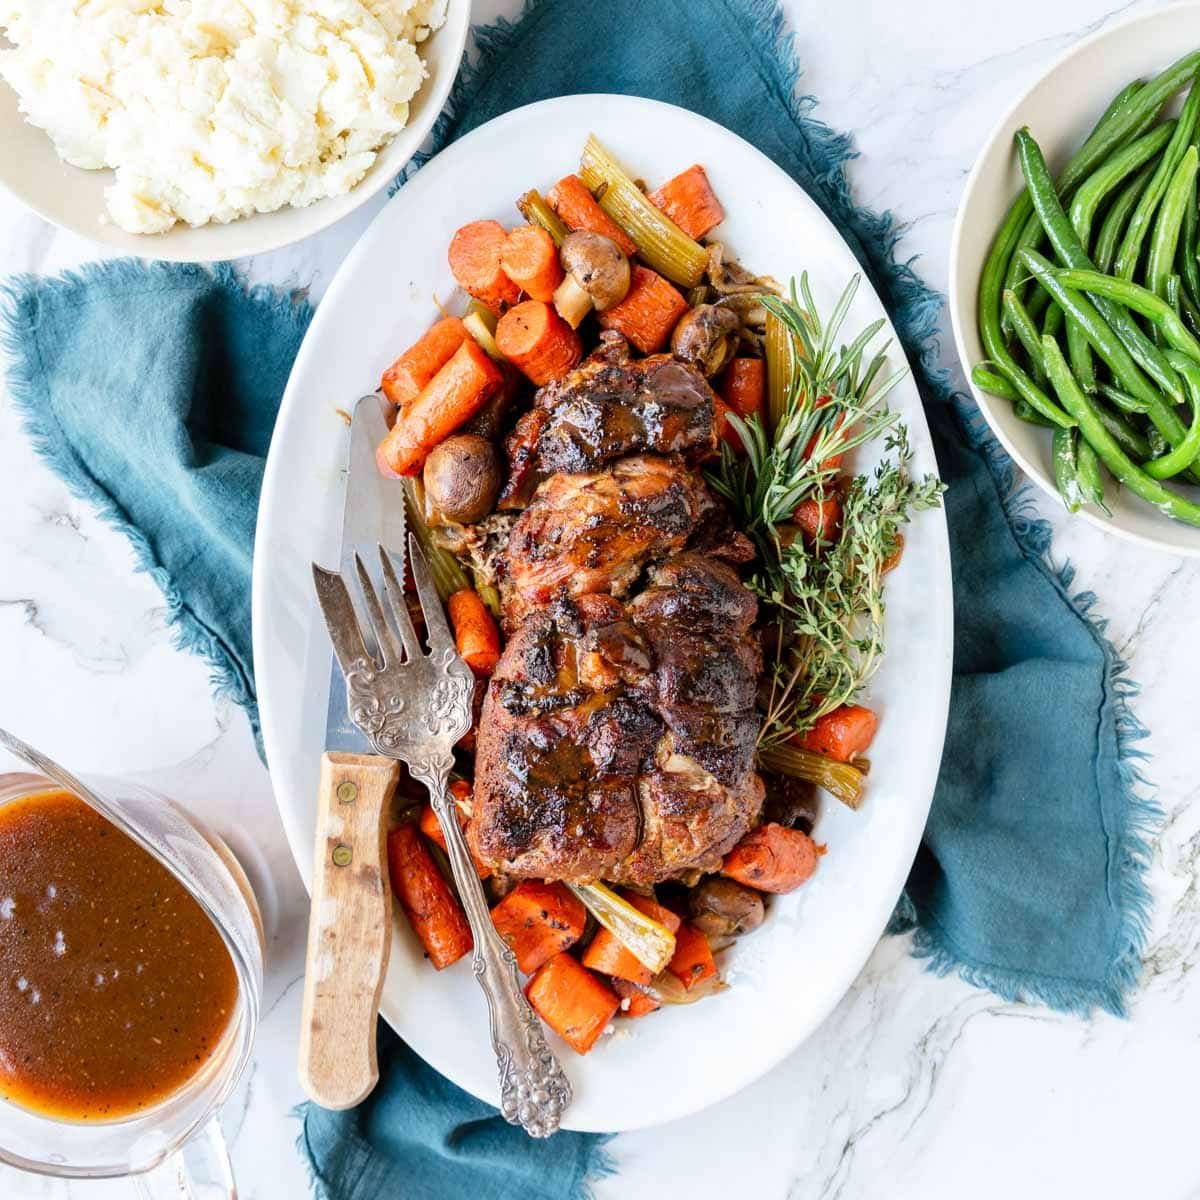
So once your pork tenderloin is at the right temp, you’re going to remove them from the grill and baste that other side with the barbecue sauce. Bring that grilled barbecue pork tenderloin inside, and you’re going to let it rest for about five to 10 minutes before you cut it. You just want the pork tenderloin to relax and stay nice and tender and redistribute all the juices. Then what I recommend is cutting the pork tenderloin into about one-and-a-half-inch slices for serving. Serve the extra barbecue sauce on the side for everybody to dip into. Really, really good.
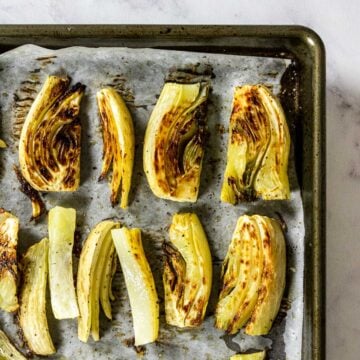
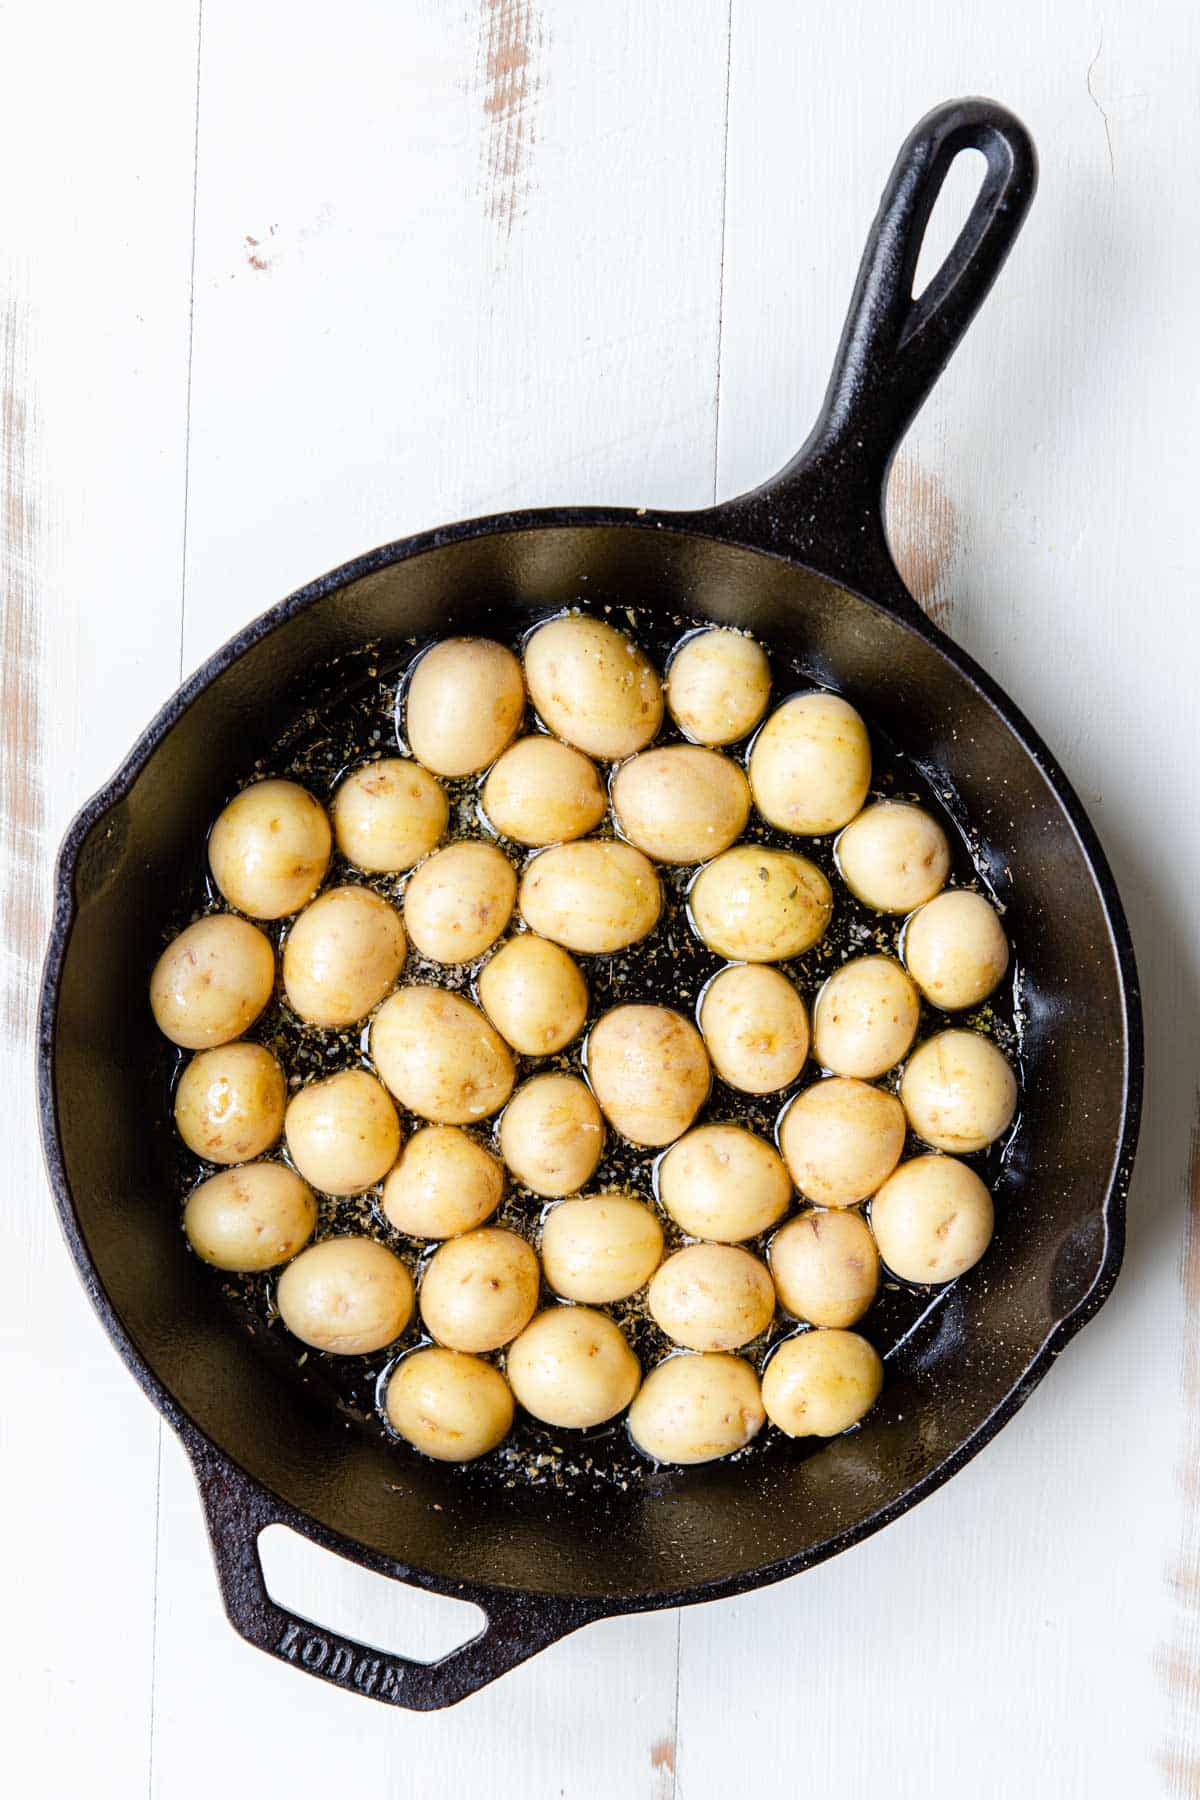
Here are our very, very favorite side dishes. I have a Cast Iron Skillet Crispy Oven Potatoes and Roasted Broccoli that makes such a delicious dinner.
Outro: So that does it for this full recipe today, on this Thursday. I hope you enjoyed the entire thing, and until next week, I hope this episode of Let’s Make Dinner makes your dinner time a little easier. See ya.
Double Dip: All right, now it’s time for your double dip. But this week I don’t really have a huge double dip for you. Next week we are again if you’re listening to this in real-time, we’re getting very close to the 4th of July, so I’m going to take a little bit of time off and I’m going to republish my 4th of July menu podcast episode that I did last year. You can look for that one next week and plan out your 4th of July menu. Actually, there are some delicious recipes that I talk about on there that you can make any night of the week. See you all in a couple of weeks. Have a wonderful 4th of July.
Recipes Mentioned
- Homemade BBQ Sauce
- Grilled BBQ Pork Tenderloin
- Crispy Cast Iron Skillet Potatoes
- Oven Roasted Broccoli
Next Week
I hope you will join us every Thursday for a new recipe idea. Next week we are republishing an episode from last year where we shared a list of delicious recipes to make on the 4th of July!

Subscribe To Stay Connected!
Sign up for the Mom's Dinner Newsletter and get dinner help delivered straight to your inbox. From new recipes and videos to weekly dinner ideas and kitchen tips, it's your go-to resource for feeling confident at dinnertime.