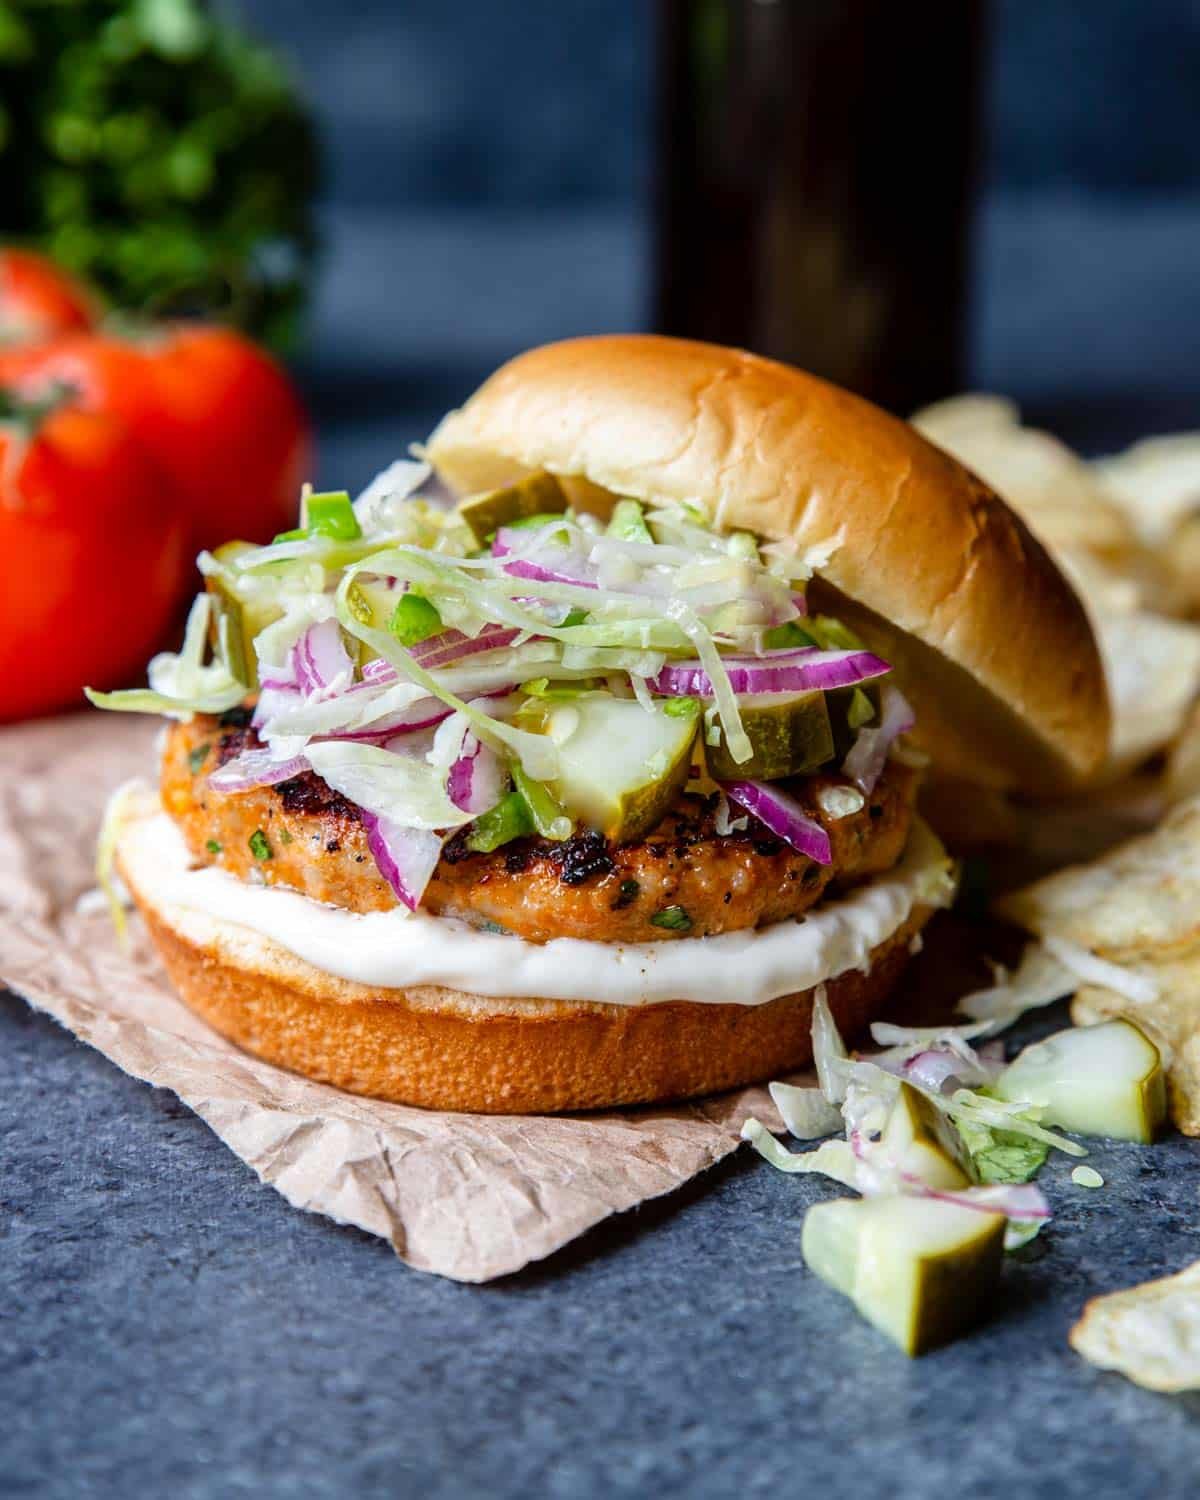
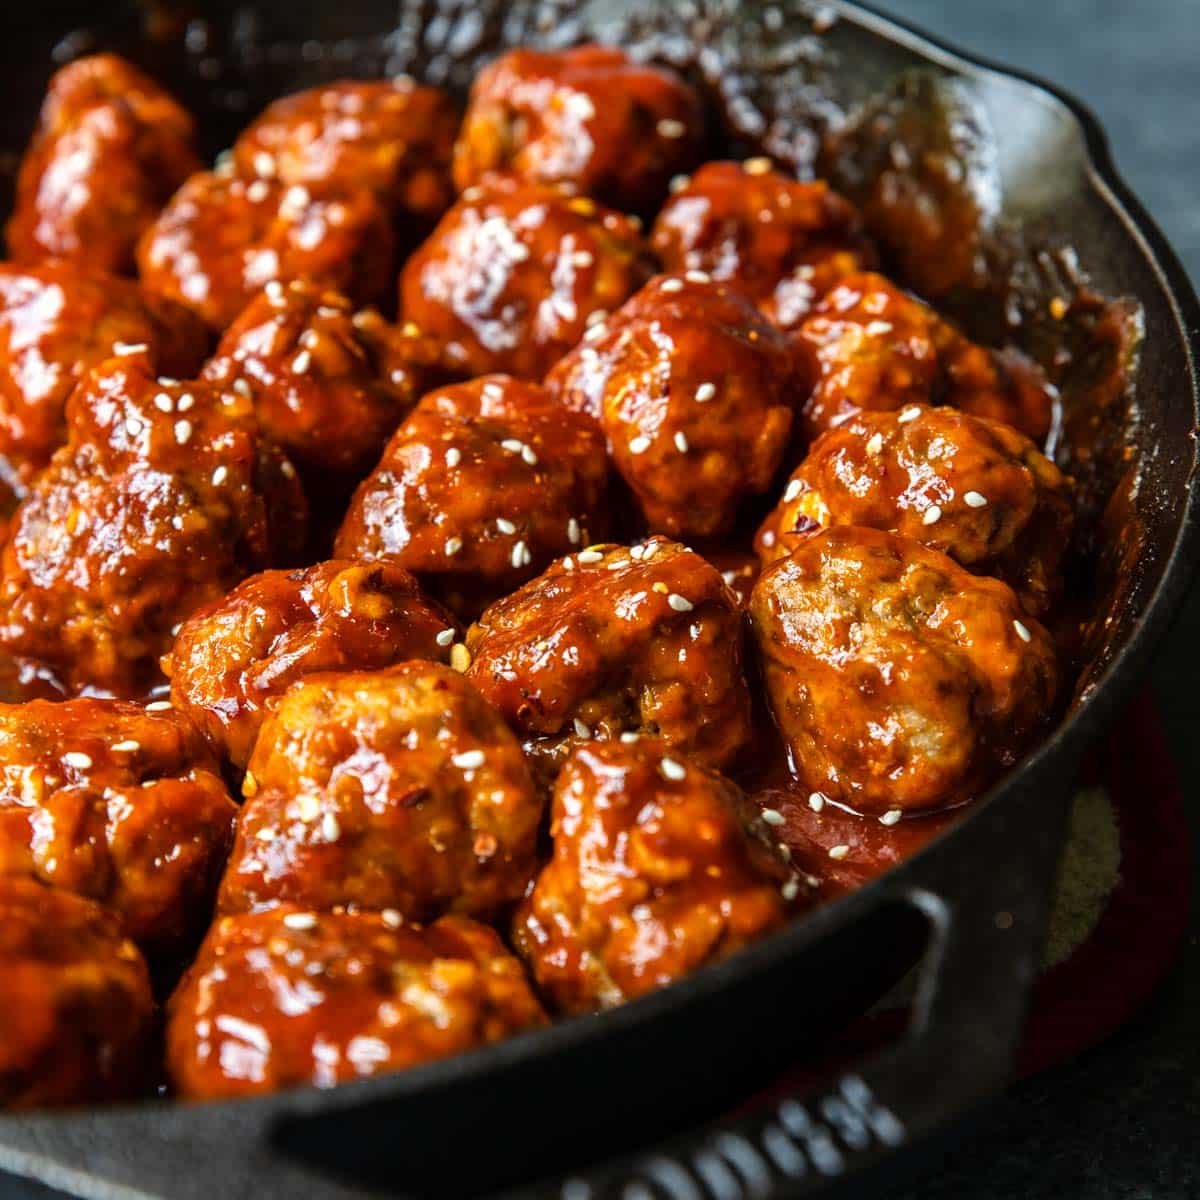
This is a super simple recipe for Gochujang Meatballs. Start by making a flavorful meatball with green onions, garlic and ginger, then finish them off with a kick of flavor from Gochujang – a sweet, spicy, and deeply flavorful Korean fermented chili sauce. In this recipe we are taking a little help from the store by purchasing Gochujang BBQ Sauce!
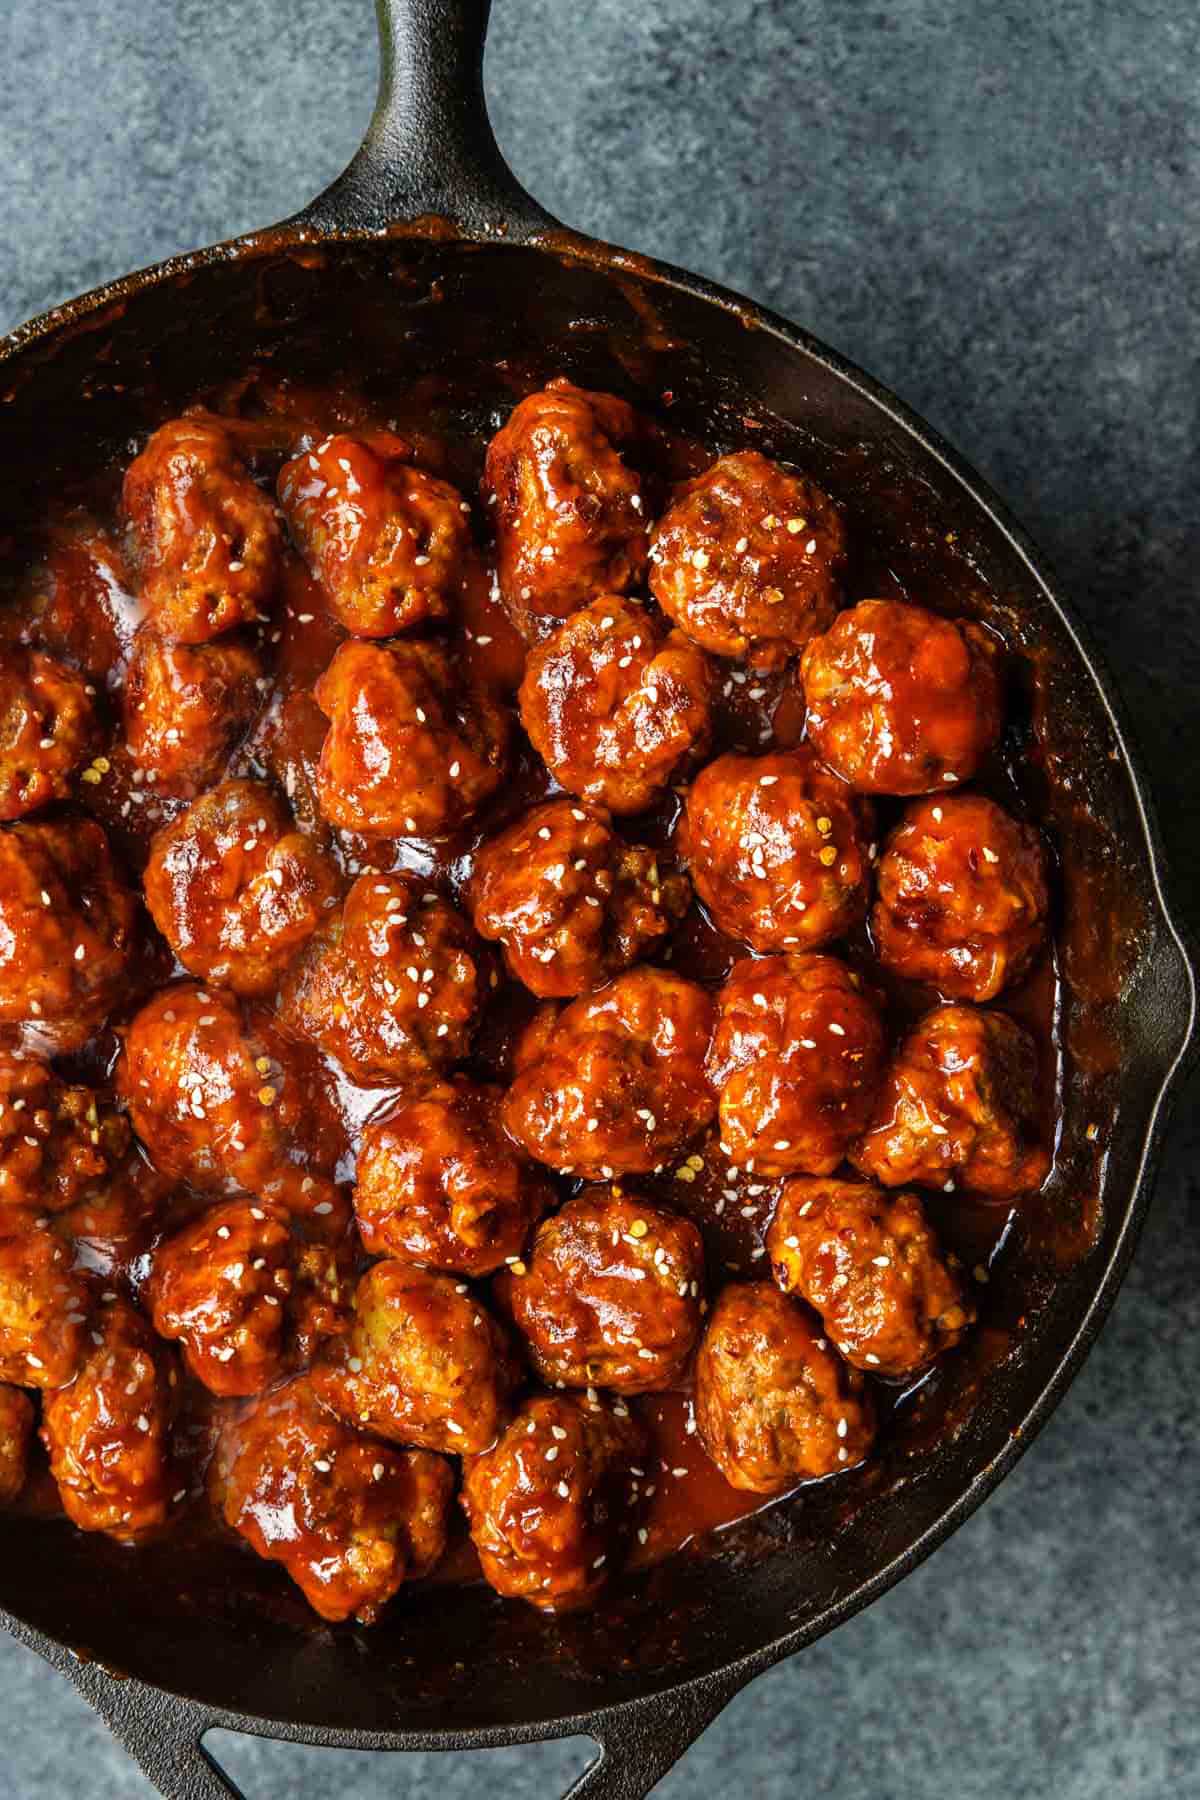
The Gochujang Meatballs are perfect served with rice, noodles, or even as an appetizer on their own!
RELATED: Glazed Asian Meatballs and Saucy Hoisin Meatballs
What is Gochujang & What To Buy
Gochujang is a savory, sweet, and spicy condiment that’s central to Korean cuisine. It is a red chili paste that’s been fermented, giving it a unique depth of flavor that is both complex and versatile. The key ingredients in gochujang include red chili pepper flakes, glutinous rice, fermented soybeans, and salt.
It can be found in the grocery store in many forms; as a concentrated paste or made into a sauce. In this recipe for Gochujang Meatballs we are using the already made sauce version, so make sure you buy a “sauce”, not a paste or concentrated paste!
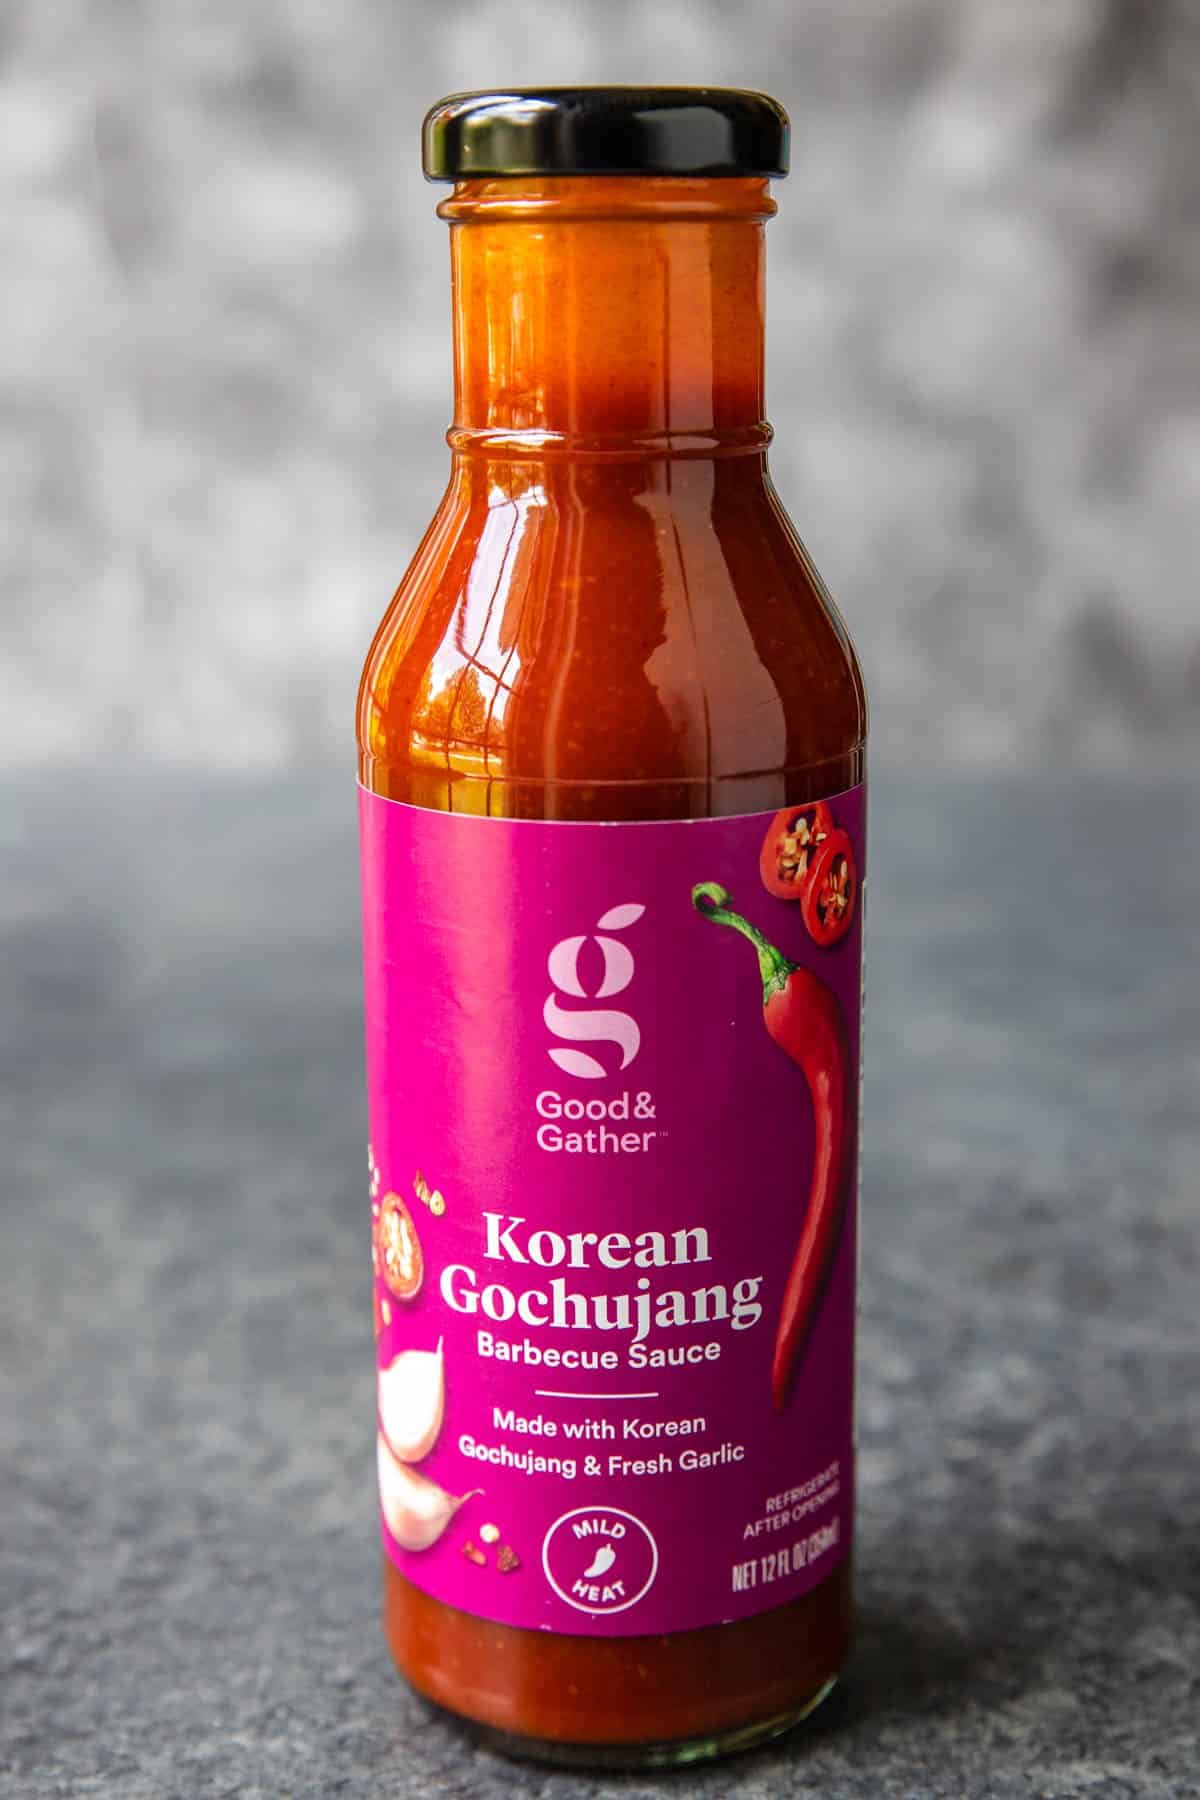
The photo above is the Good and Gather Gochujang Sauce that we purchased at Target. It is very good! Highly recommend.
Oops, I Bought The Wrong Sauce
I’ve been there… I have purchased the Gochujang paste too! You can mix a Tablespoon of the paste with about a cup of your favorite BBQ sauce, taste, and then adjust with more Gochujang or BBQ Sauce.
Ingredients
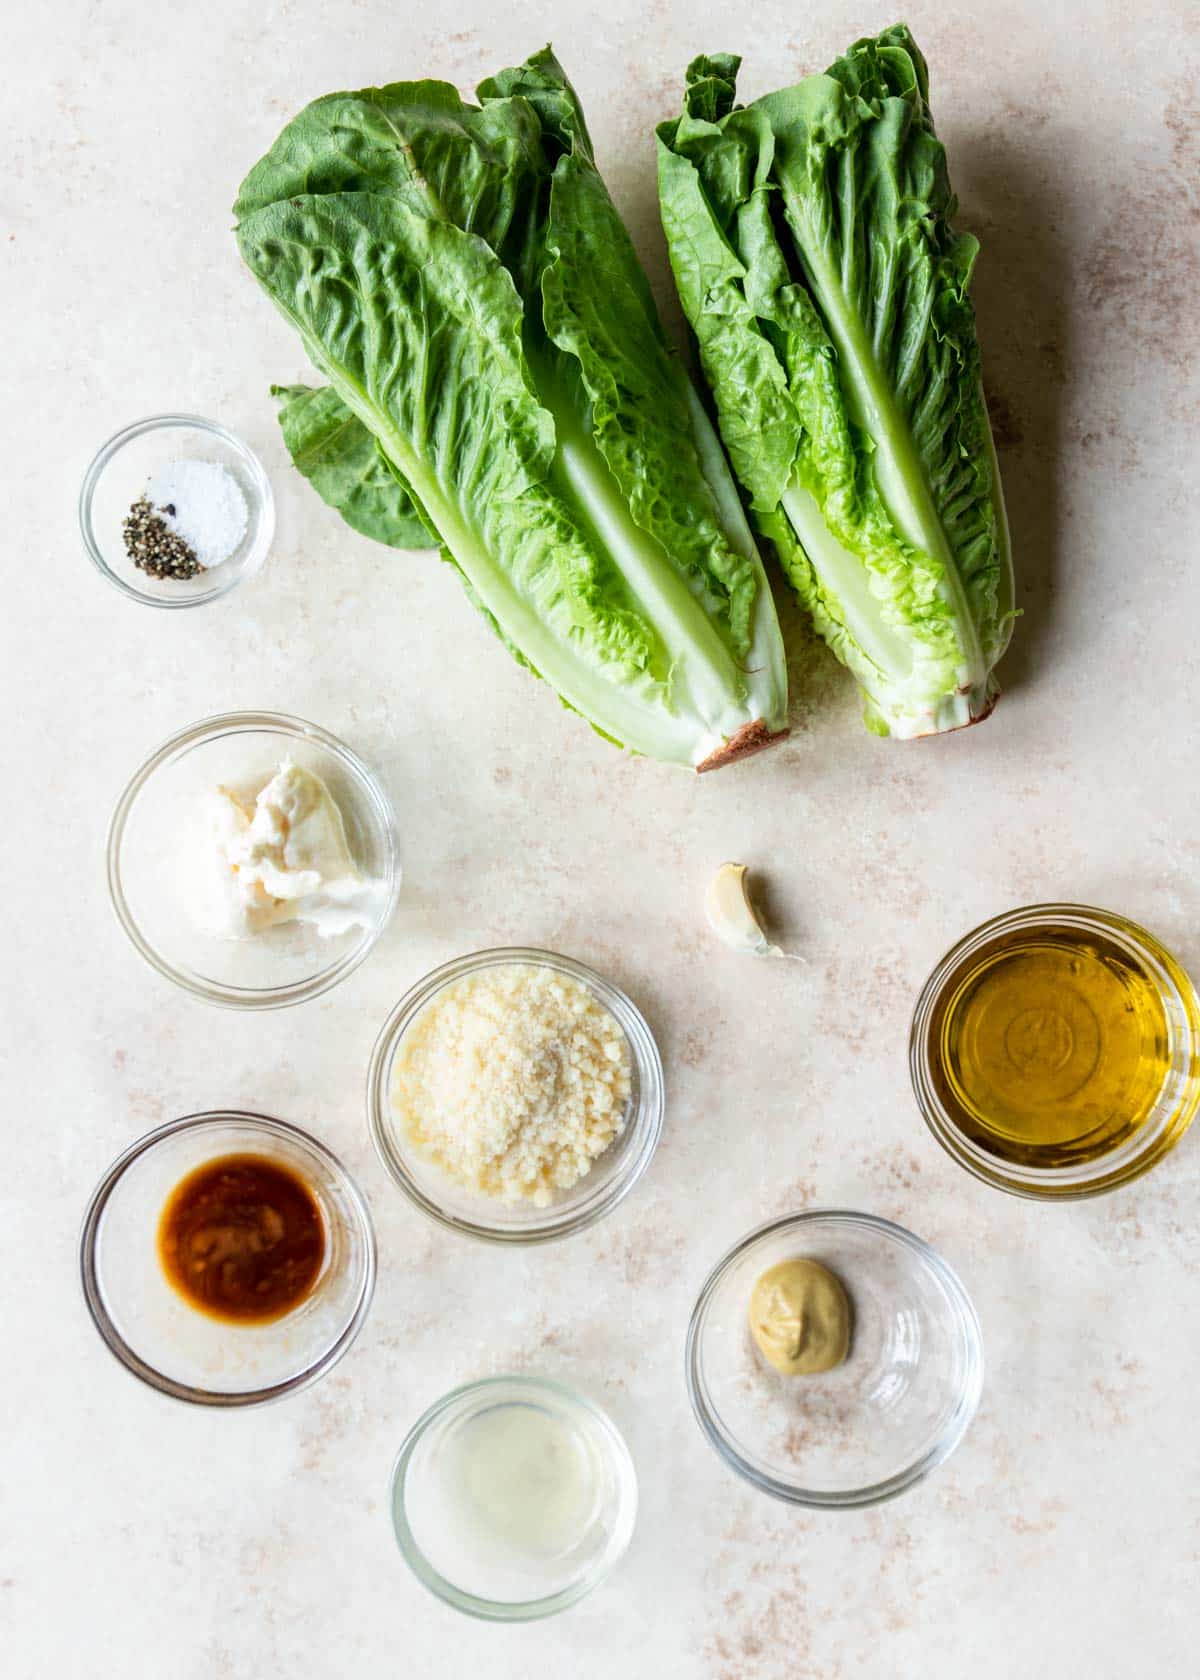
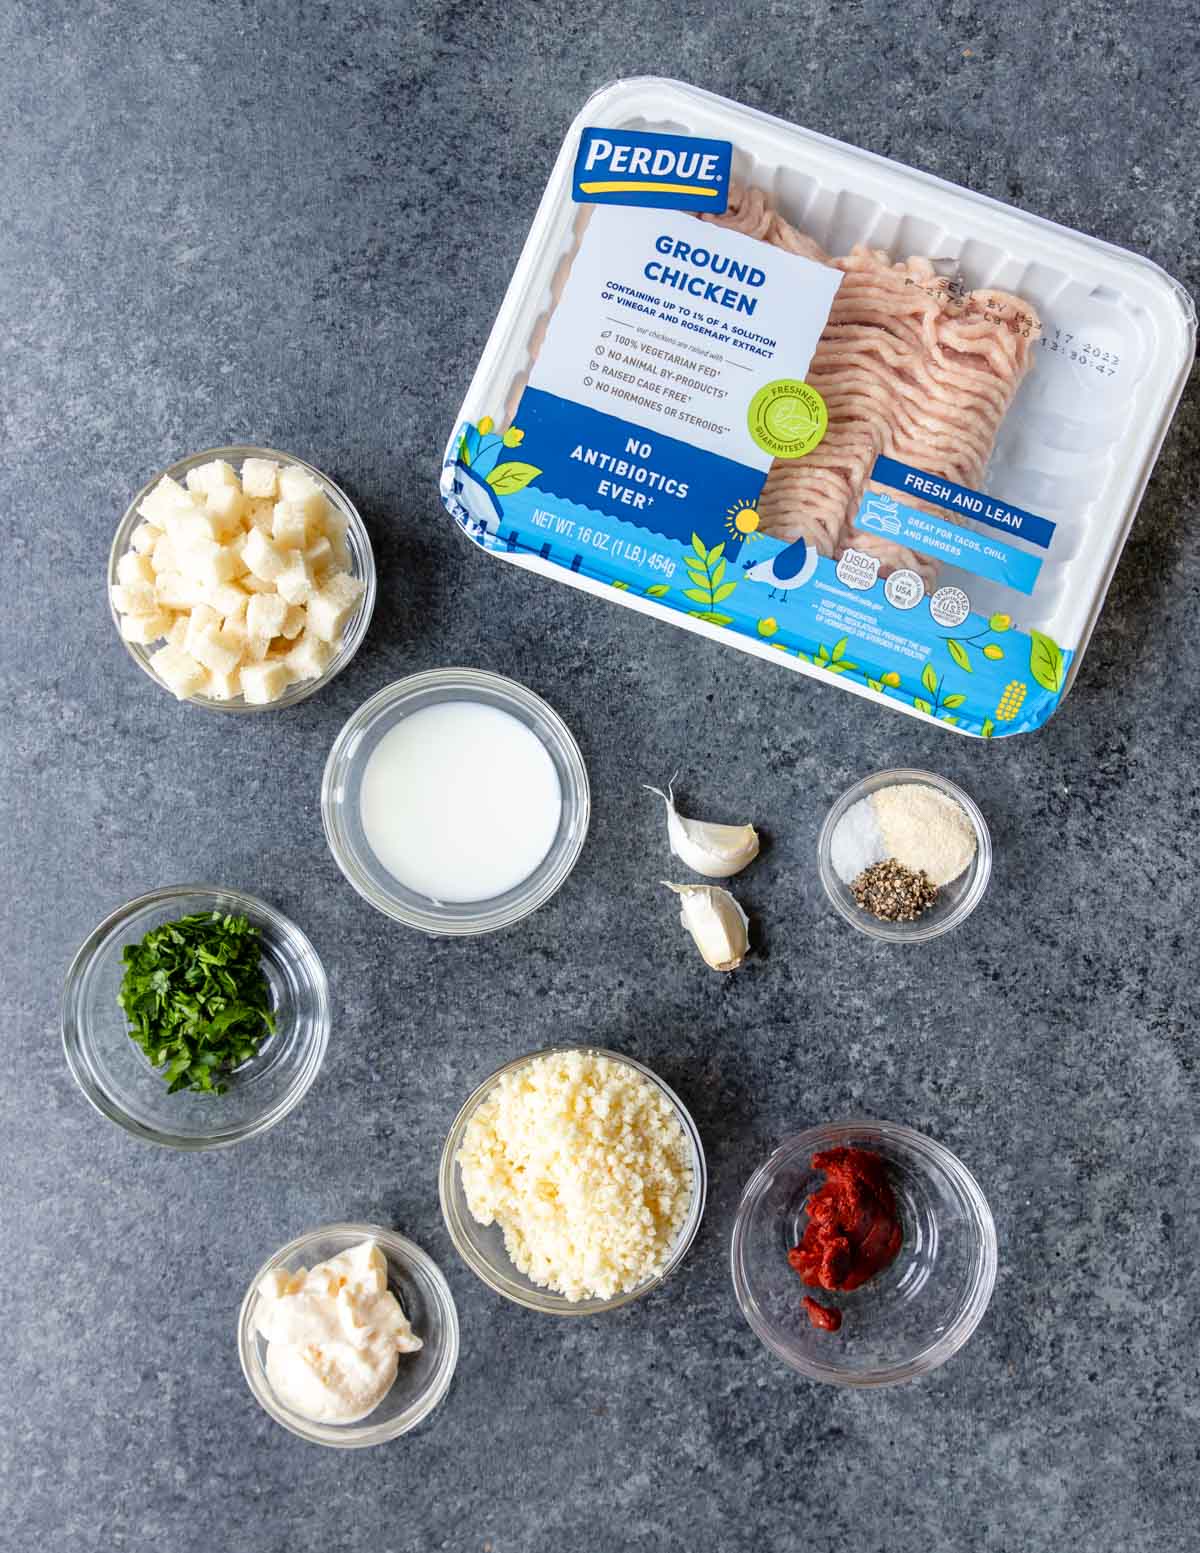
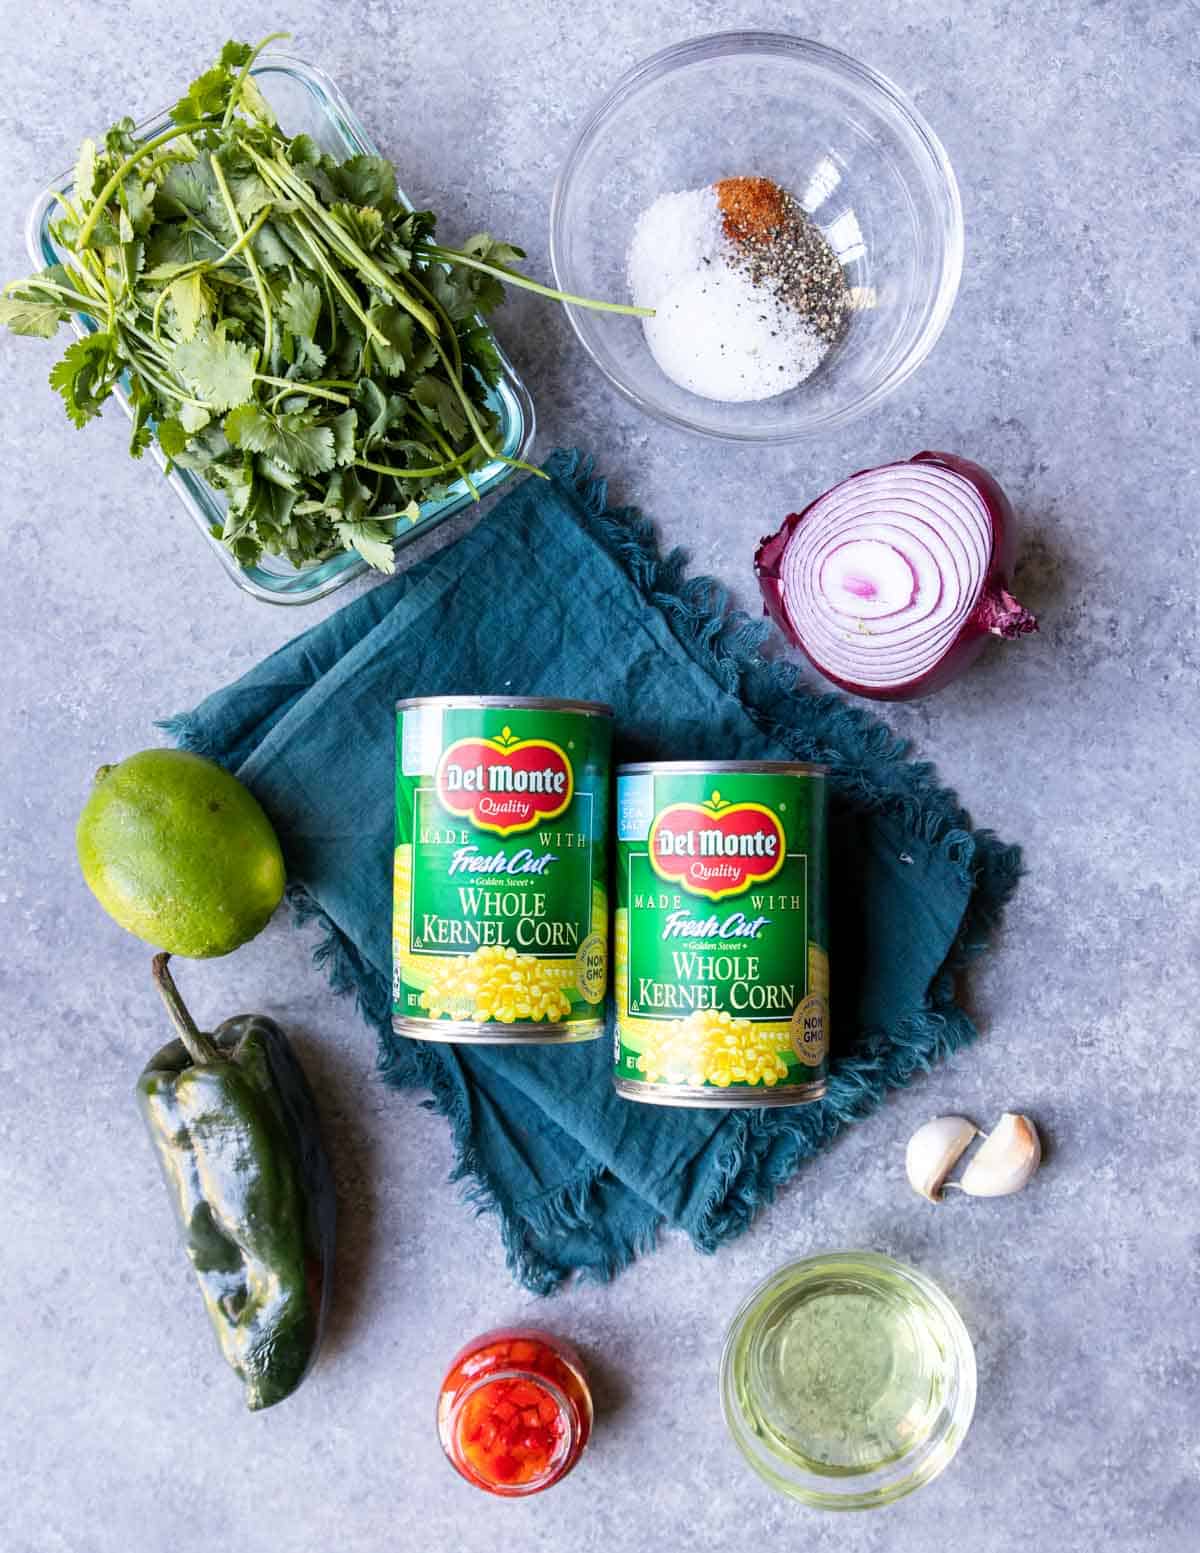
To make the meatballs you will need a combo of ground pork and ground beef, plus spices. See all the ingredients pictured below:
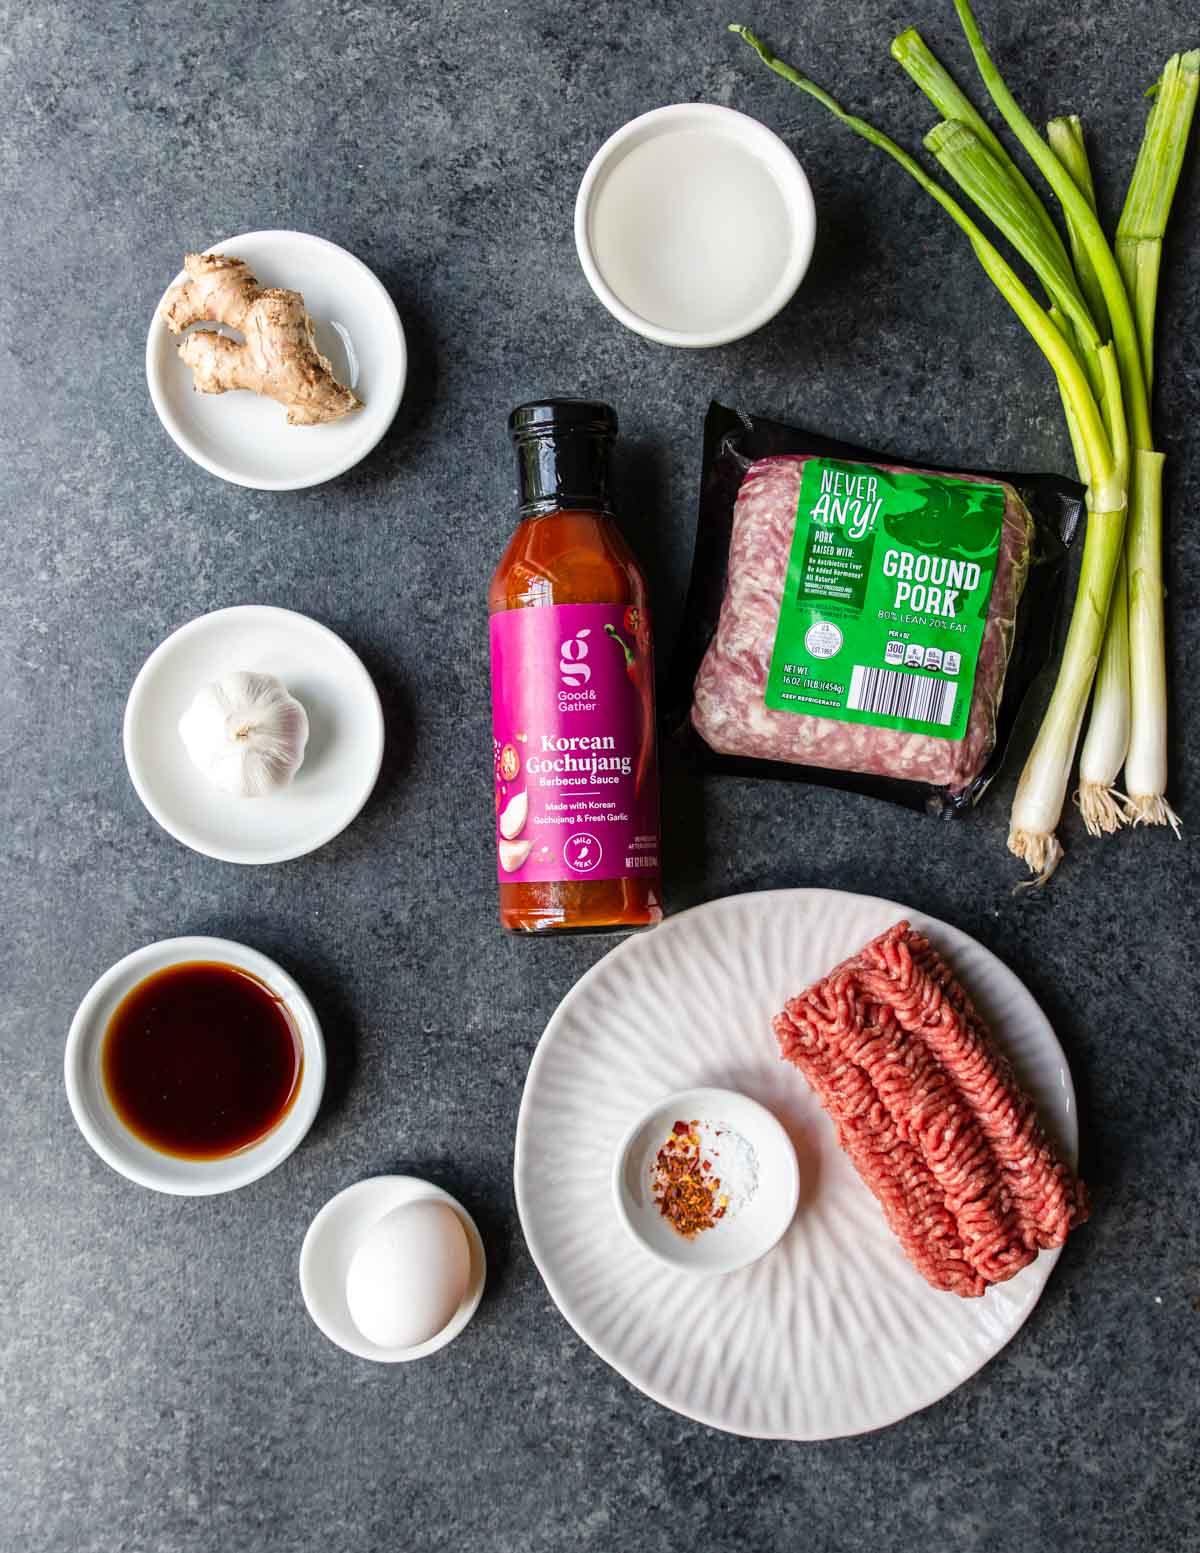
Breadcrumbs: for this recipe I used traditional breadcrumbs. However, panko breadcrumbs will work too if that is what you have on hand.
The breadcrumbs mixed with the liquid makes a panade, this is what keeps your meatballs tender and juicy when they are baked. We use this technique in all our meatballs, burgers, and meatloaf.
Ginger: The meatballs call for grated ginger. You can absolutely buy fresh ginger at the store. Peel it and then grate it or mince it.
However, I like to purchase the frozen cubes of minced/crushed ginger. They are so easy to use and keep for a very long time in the freezer. My grocery store carries Dorot Gardens.
Ground Pork: for the meatballs we are using a combo of ground pork and ground beef, which is a great combo for just about any meatball (especially these Italian Meatballs). Make sure you are purchasing ground pork and not ground sausage.
Ground Beef: anytime you are making meatballs or meatloaf I recommend that you purchase an 85% OR 90% lean ground beef. It will have enough fat to stay juicy and flavorful, but not so much fat that things get greasy.
Save the 80/20 ground beef for grilled burgers!
Step by Step and Recipe Tips
Once you form the meatballs and pop them in the oven, this recipe is pretty simple!
- Make a Panade
- Add the Beef and Pork
- Form Meatballs
- Bake
- Gochujang Sauce
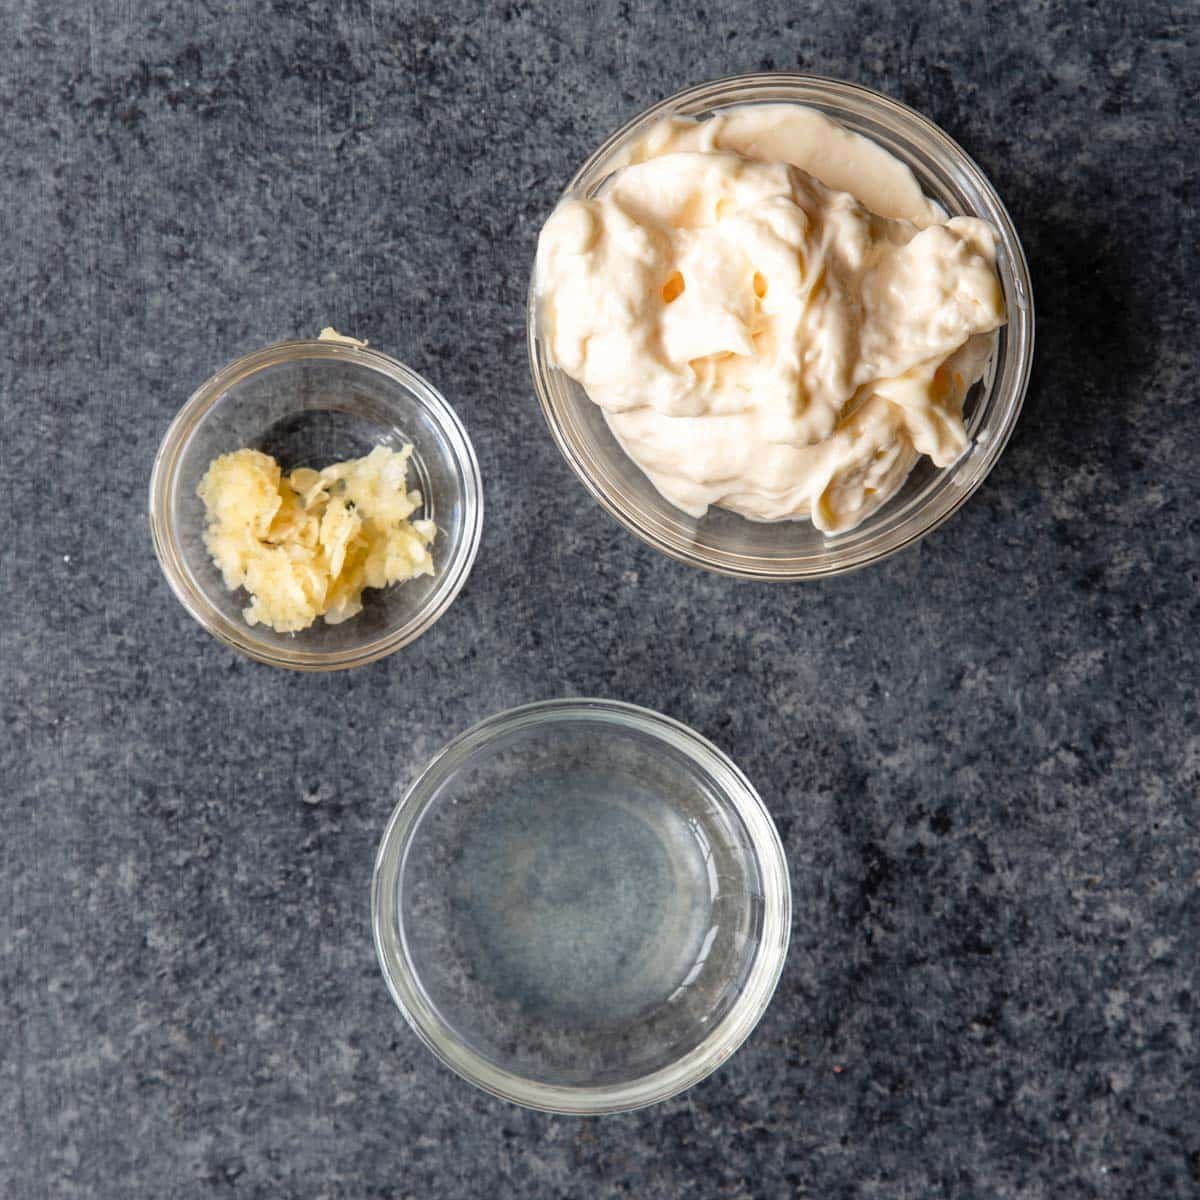
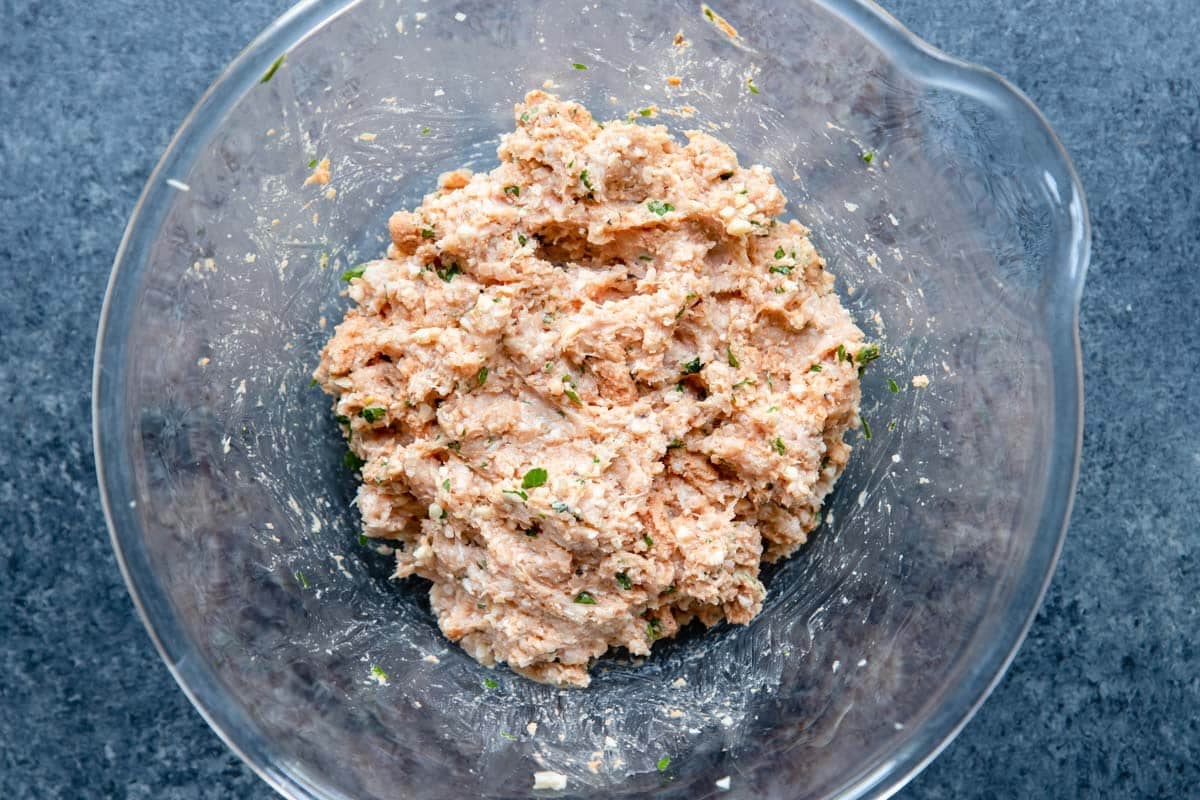
In a large bowl combine the breadcrumbs, egg, water, soy sauce, green onions, garlic, ginger, red pepper flakes and salt. Whisk together until fully combined.
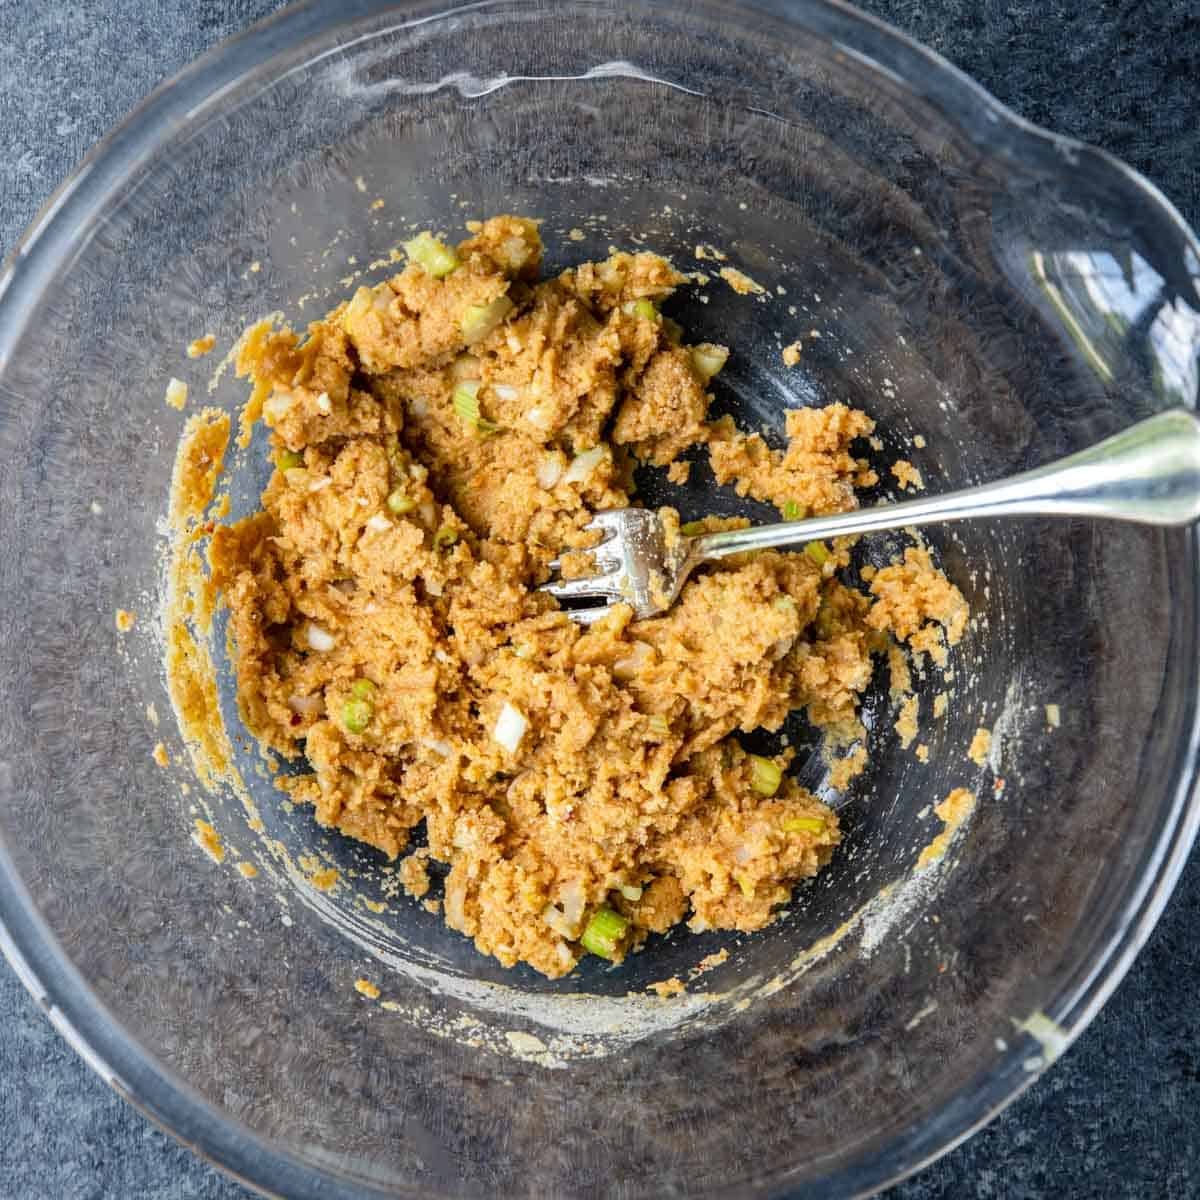
To that mixture add the ground pork and the ground beef. With clean hands or a fork stir the meatball mixture together. Do not over mix or your meatballs will be compact.
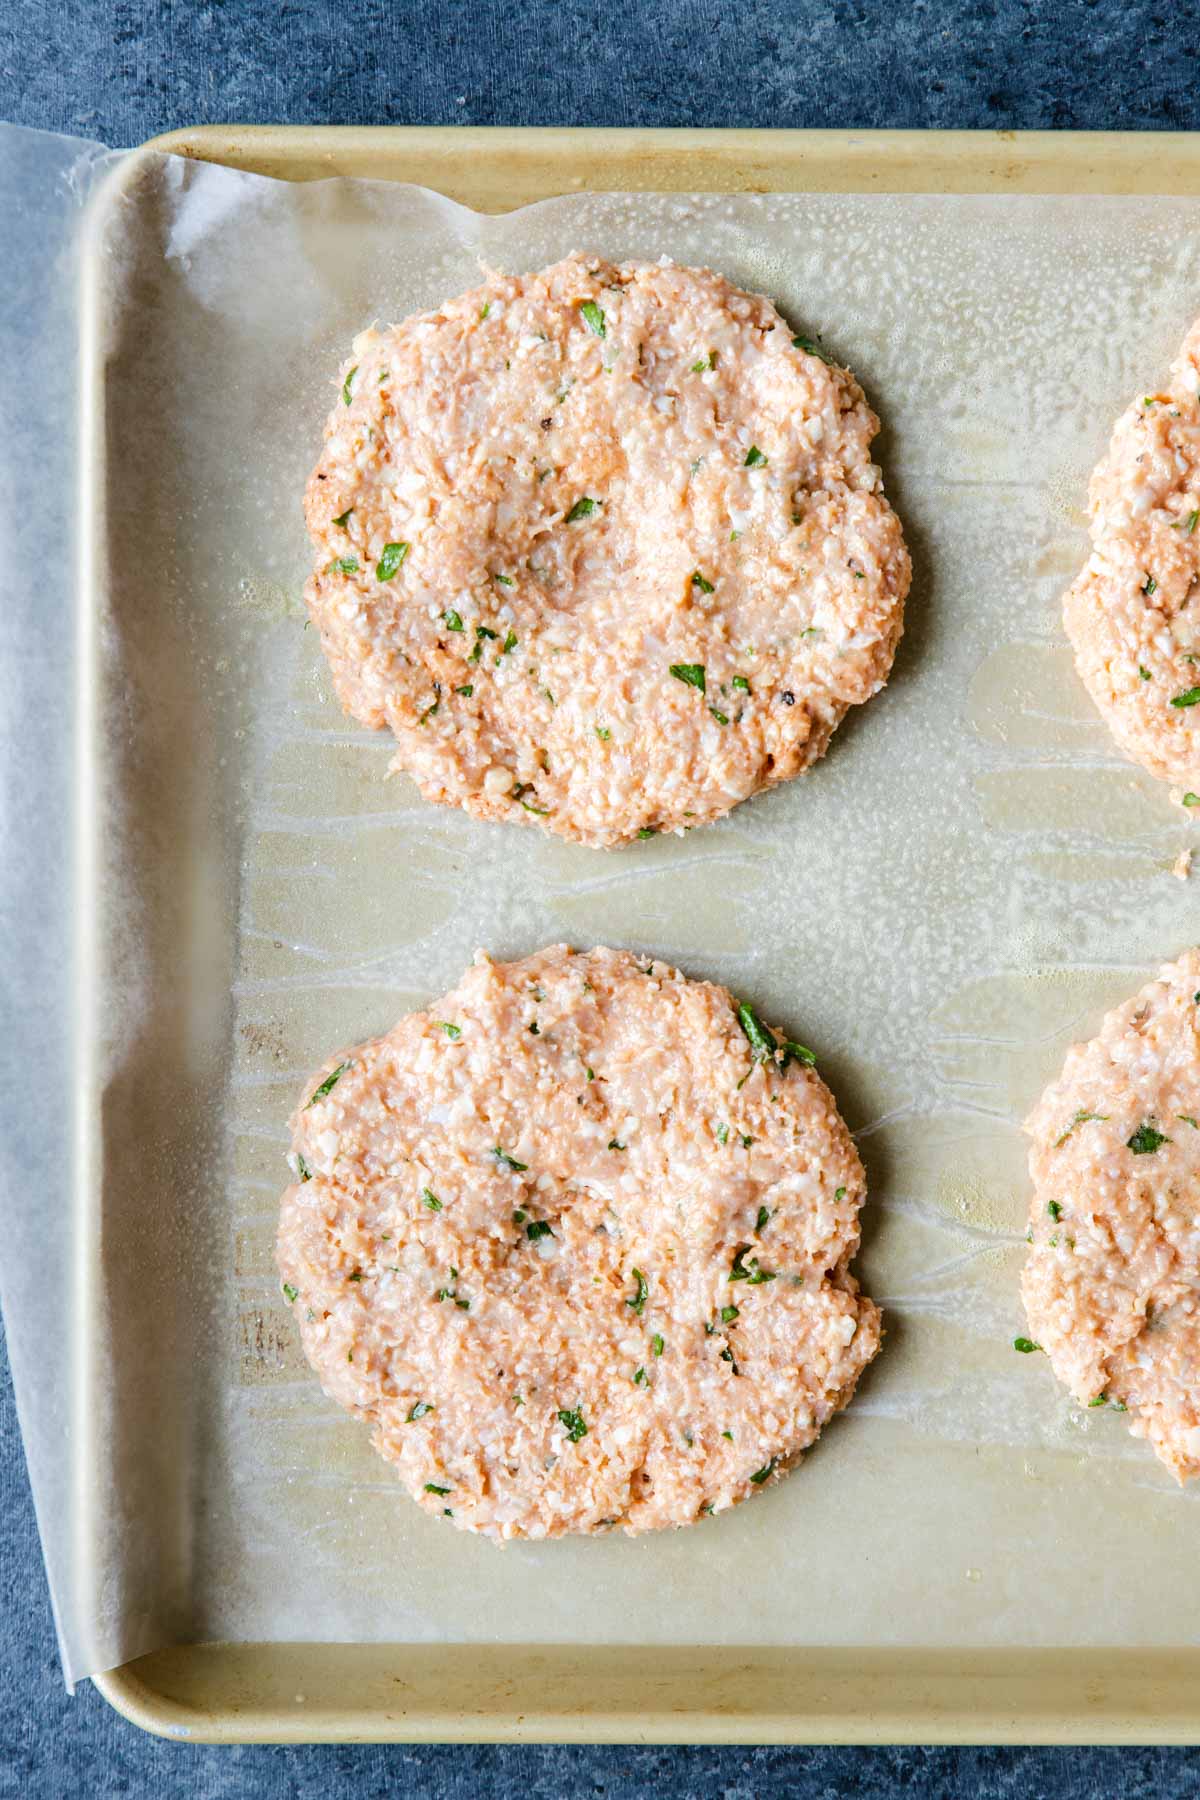
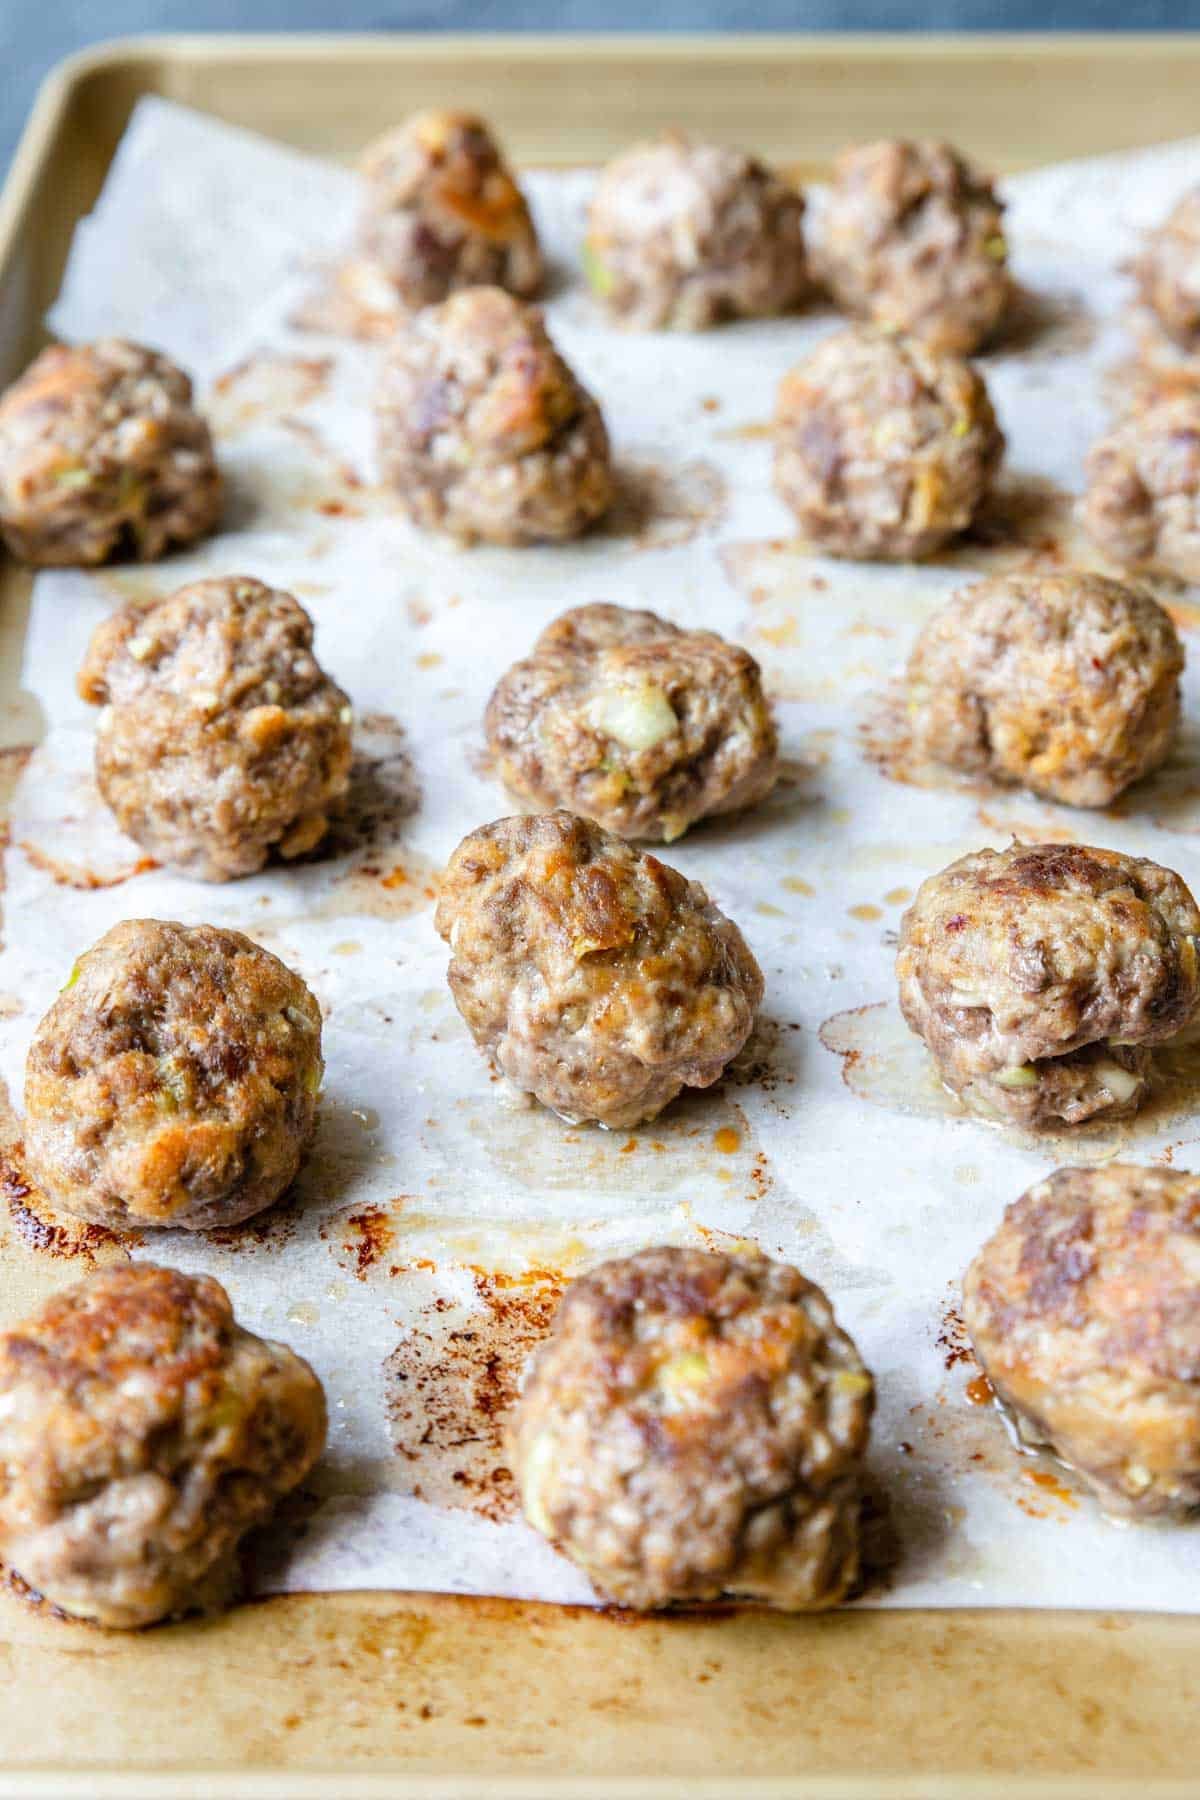
Line a rimmed baking sheet with foil and spray it generously with non-stick spray.
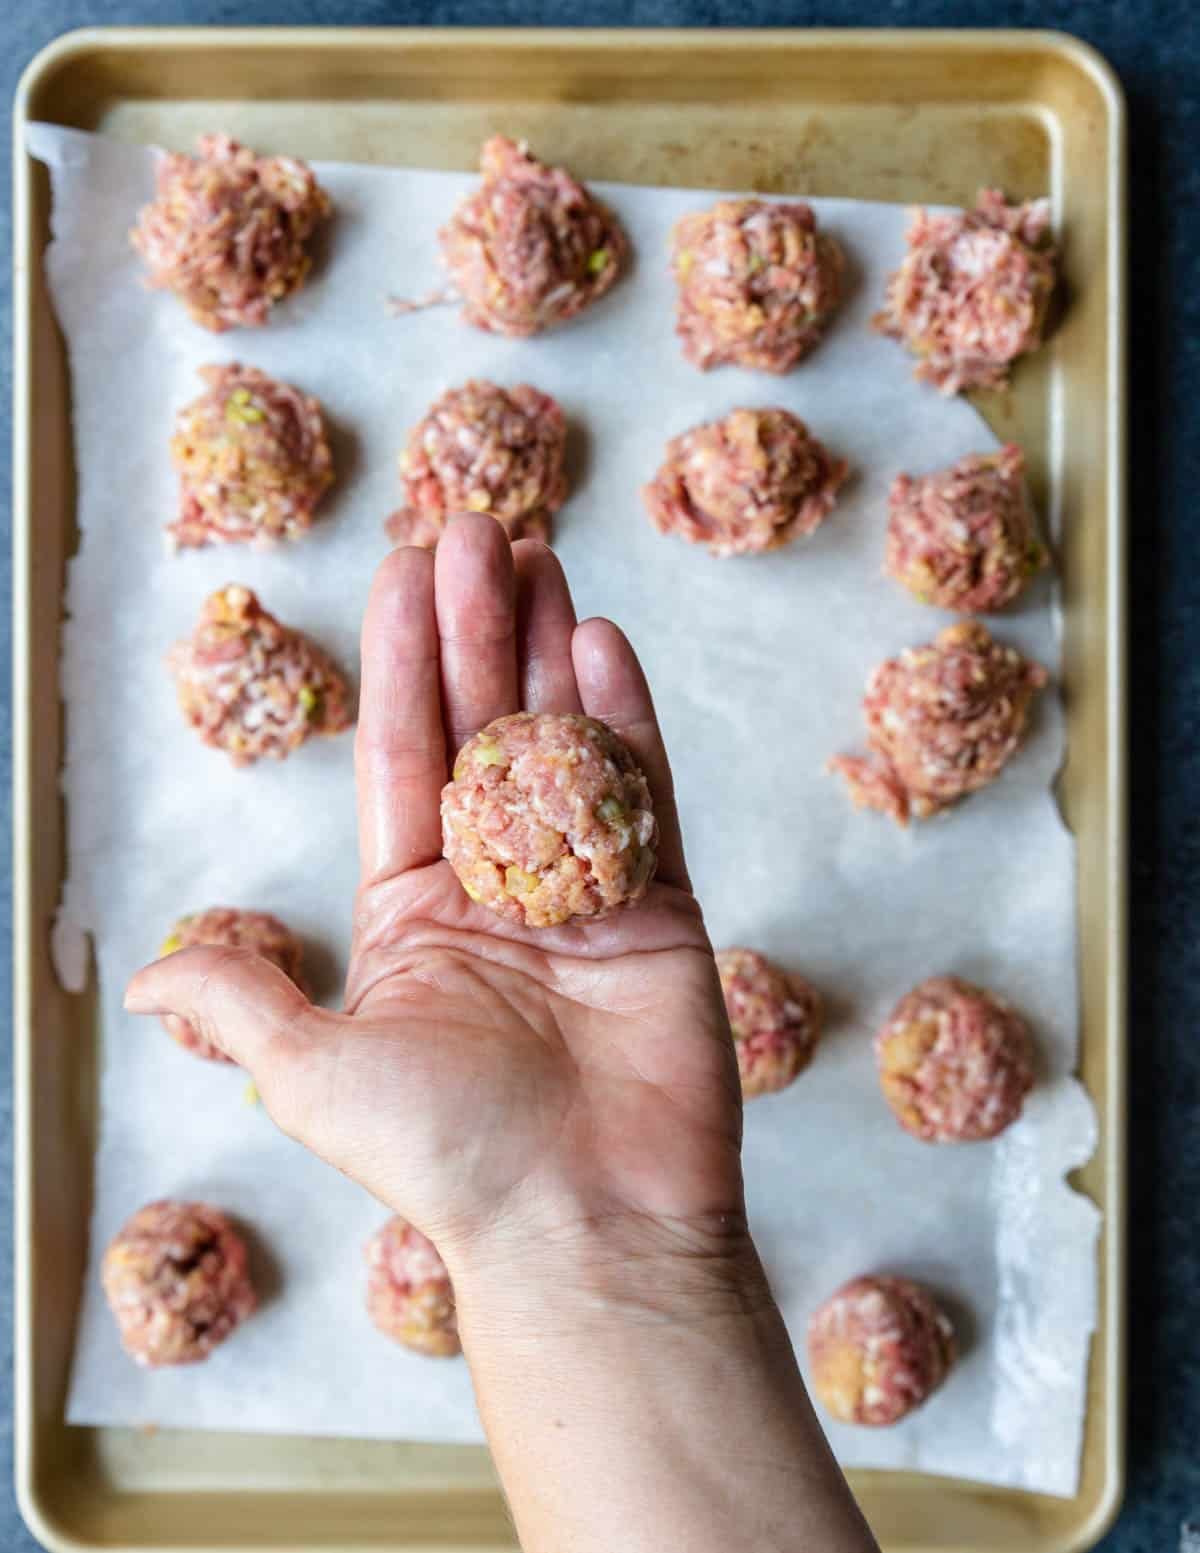
Form the meatballs to be about the size of a golf ball. I like to do this using a medium sized cookie scoop. That ensures that they all cook through at the same time.
Then give the tops of the meatballs a spray with non-stick spray.
Bake at 400 degrees for about 20 minutes, flipping them half way through. Make sure your meatballs reach around 160 degrees F. with an instant read thermometer.
While the meatballs bake place the Gochujang Sauce in a large skillet over low heat. Once the meatballs come out of the oven, toss them in the skillet with the sauce and stir them to coat.
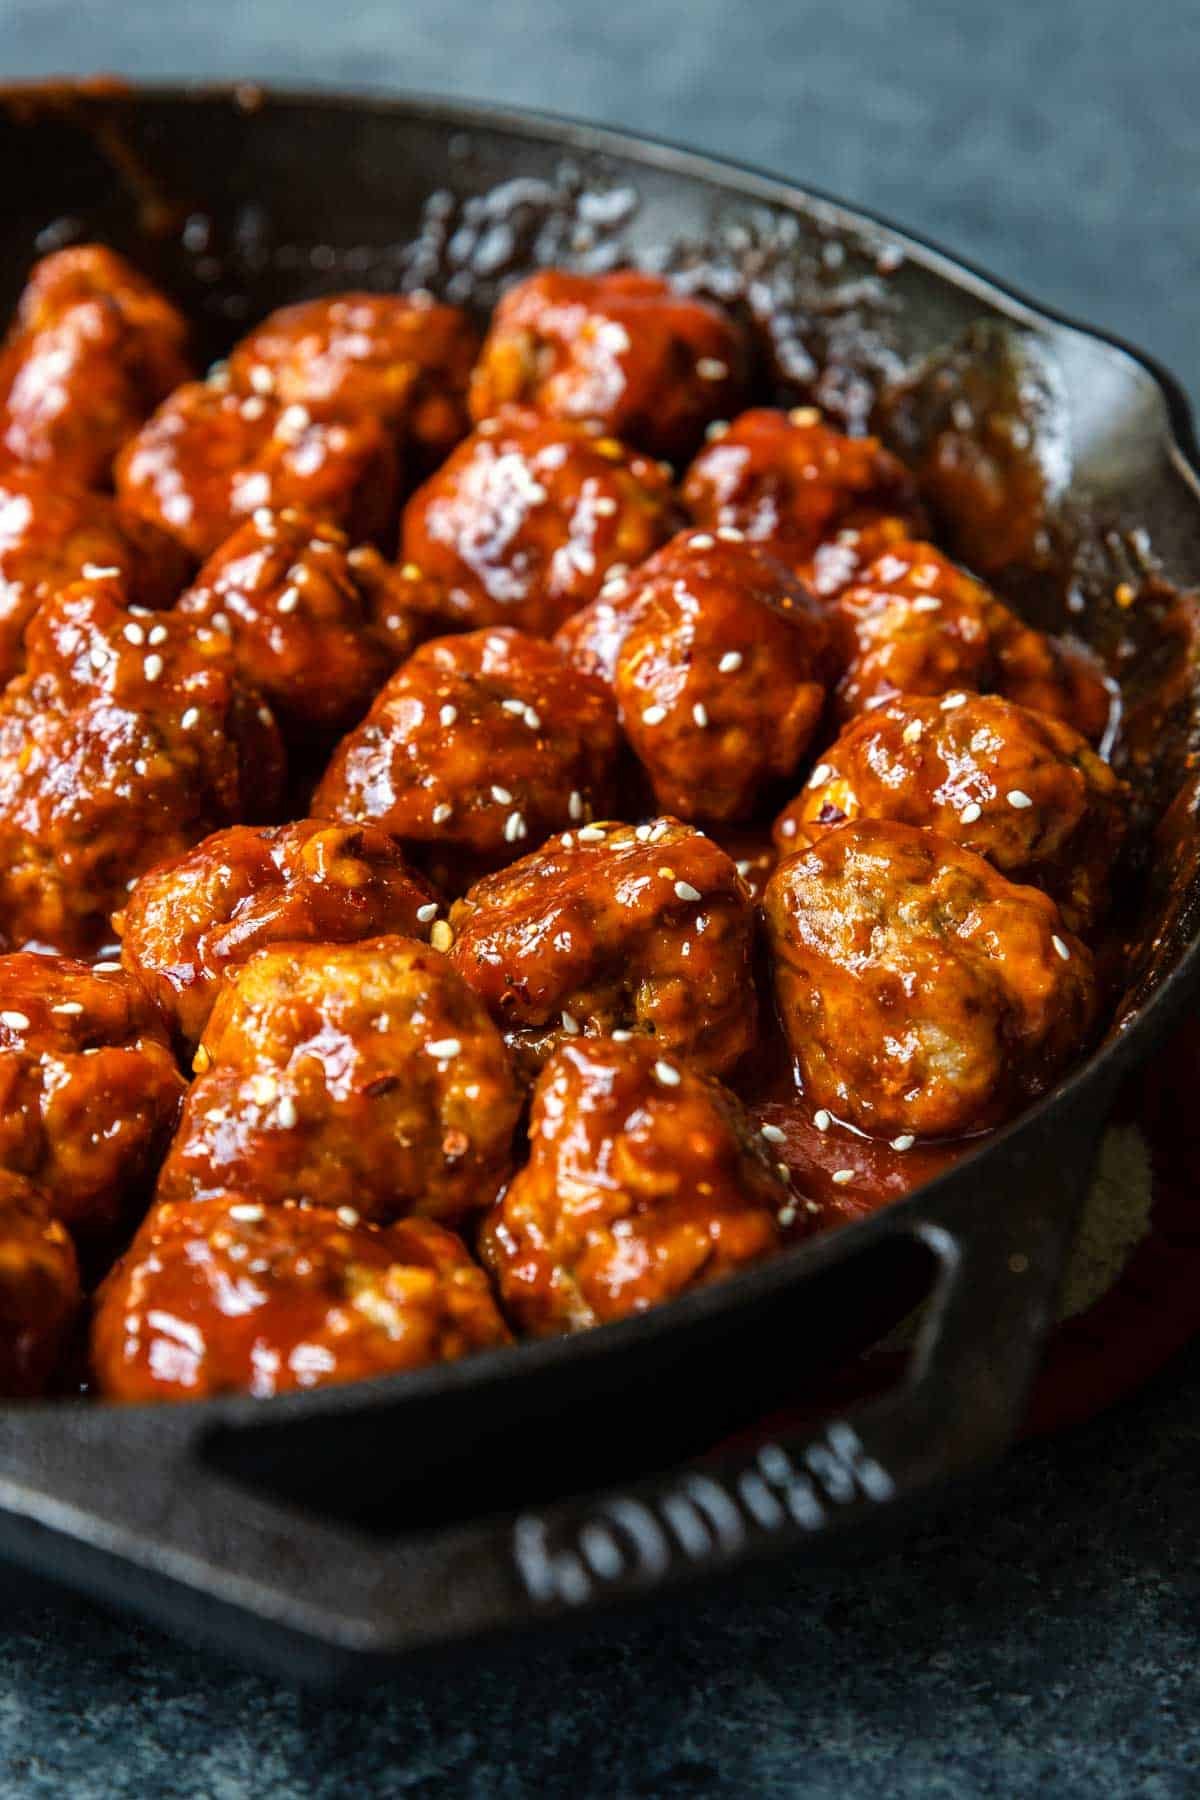
Let them simmer in the sauce for a few minutes and then serve!
Serving & Sides
Serve about 4 meatballs per adult and 2-3 per kid.
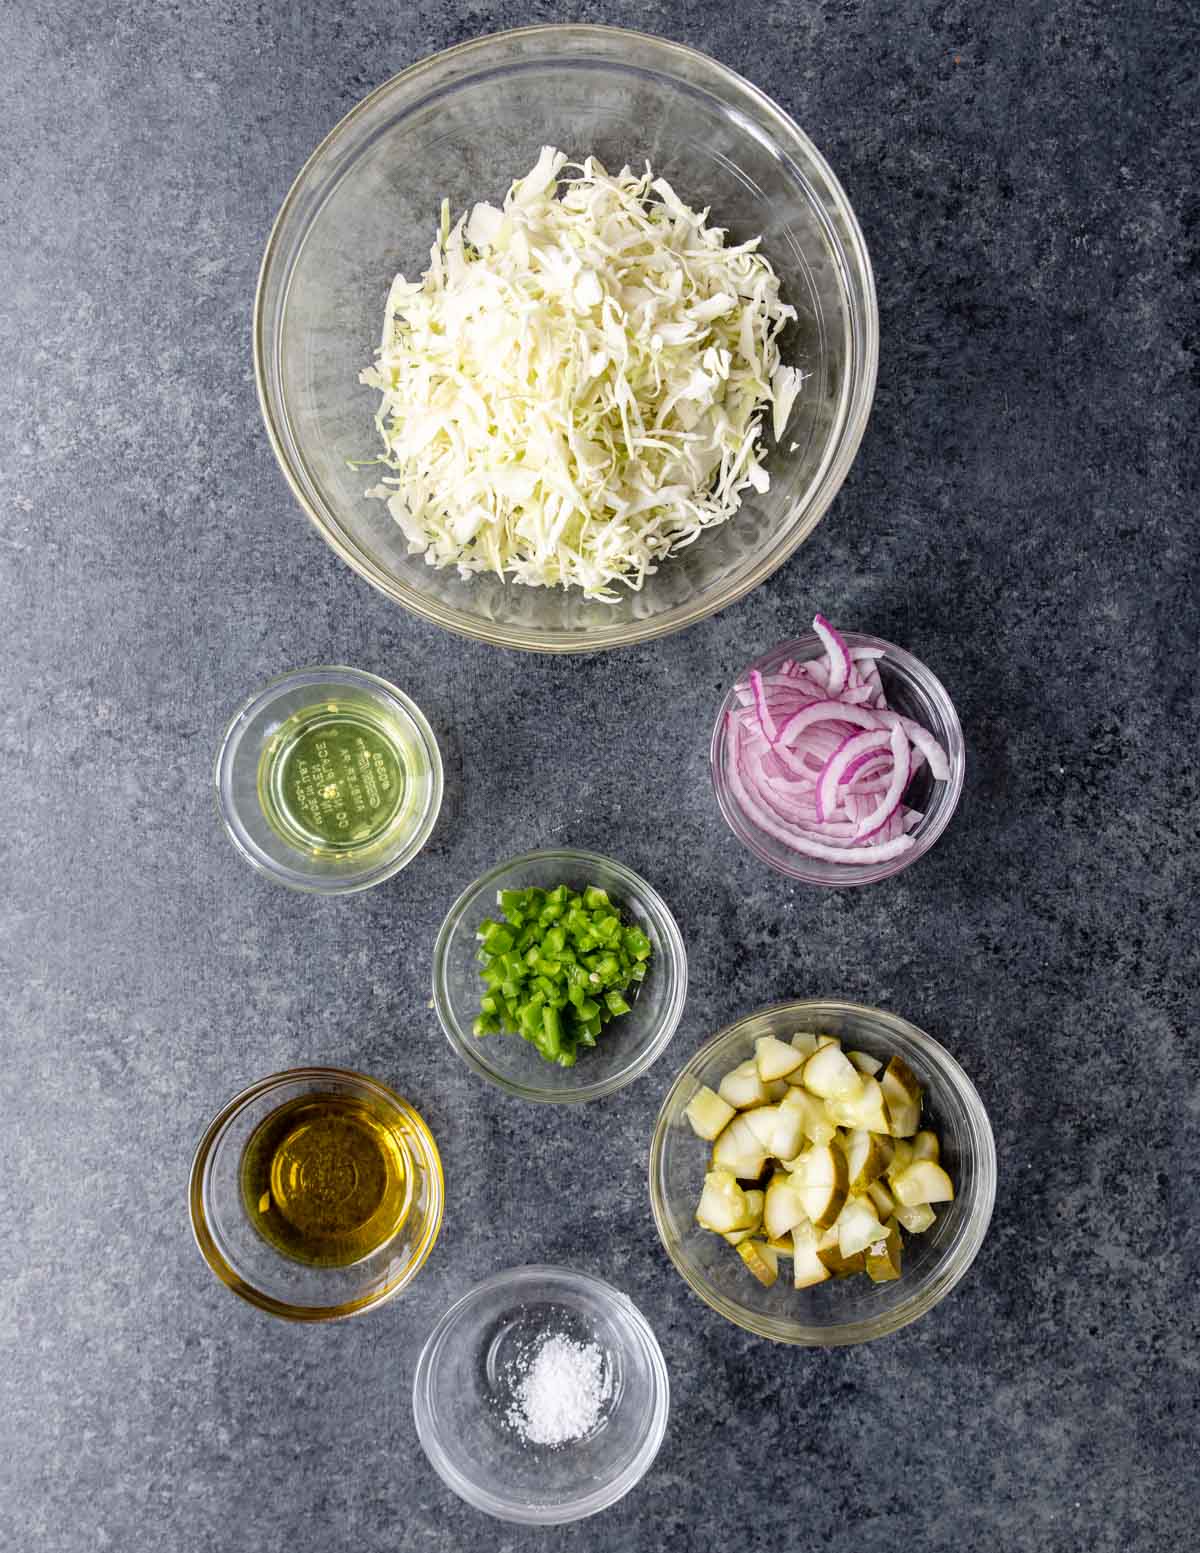
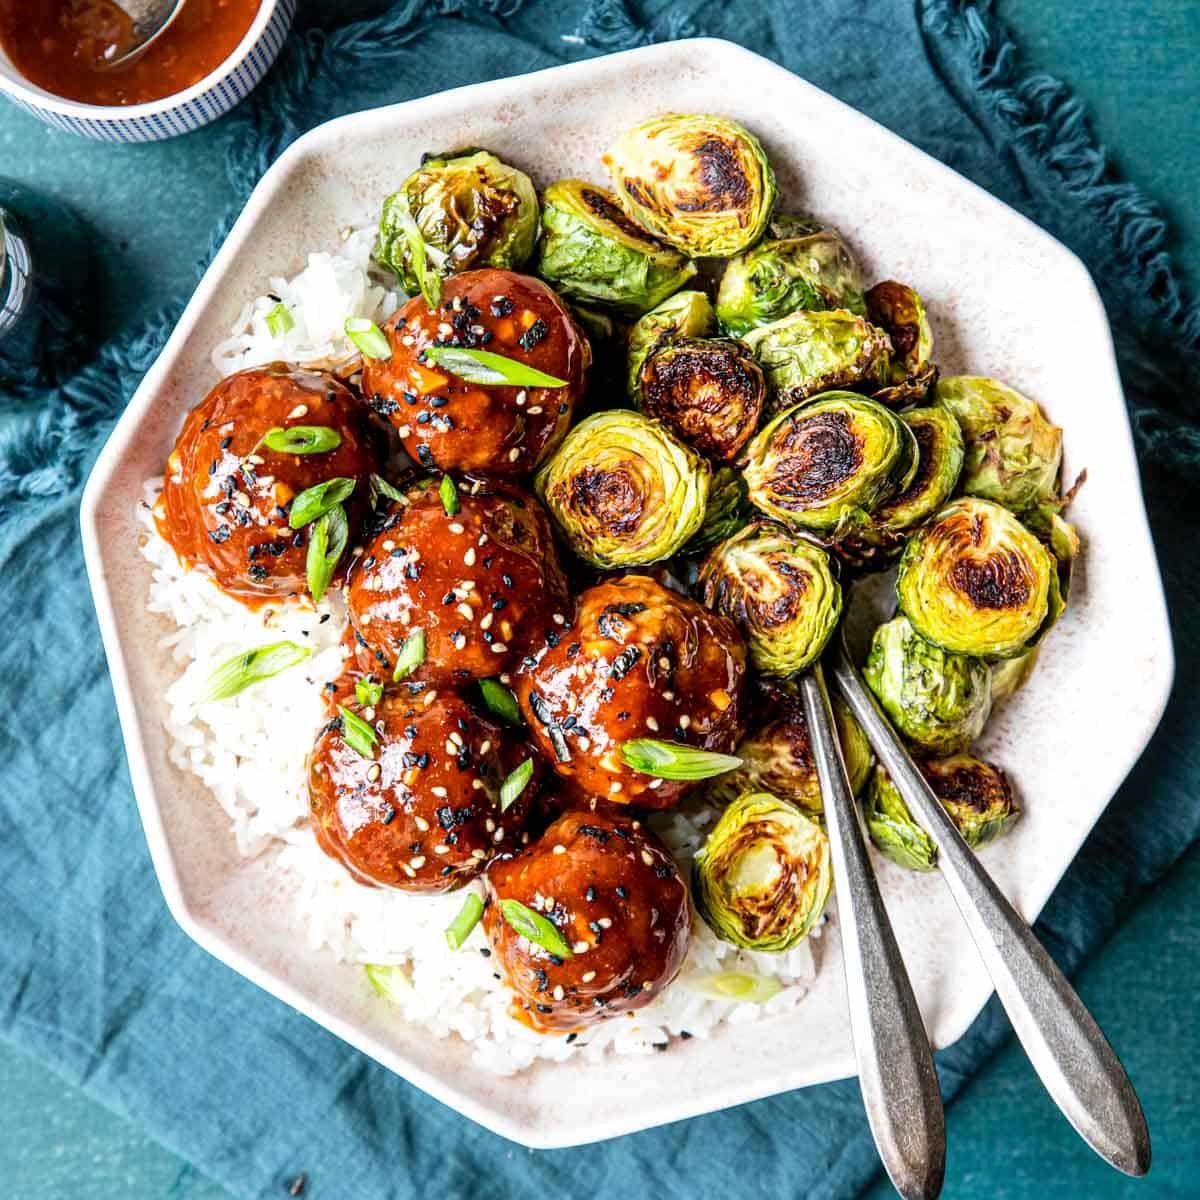
These are great over steamed rice, fried rice, rice noodles or noodles. Add a veggie on the side too like Asian Slaw or Roasted Broccoli.
Kick Butt Appetizer Duo
You can also serve these as an appetizer. Just form them a little smaller and bake for closer to 15 minutes.
Serve them with these Asian Brussels Sprouts with Dipping Sauce for a GREAT appetizer combo!!
Storing
Store any leftover Gochujang Meatballs in the fridge in an airtight container for up to 4 days.
Reheat in the microwave. I like to split the meatballs in half for more even reheating in the microwave.
More Awesome Meatball Recipes To Check Out


Did you make this recipe?
⭐⭐⭐⭐⭐
I would love to hear your review, especially if you have tips and tricks to add! Pop down to the comment section and connect with me
Simple Gochujang Meatball Recipe
Equipment
Ingredients
- ¾ pound ground pork
- ¾ pound ground beef - 85% lean
- ⅔ cup plain breadcrumbs
- 1 egg
- 1 Tbsp. soy sauce
- 2 Tbsp. water
- ¼ cup thinly sliced green onions - plus more for serving
- 2 large garlic cloves - minced
- 3 tsp. fresh ginger - finely minced
- ¼ tsp. red pepper flakes
- ¼ teaspoon kosher salt
- 12 oz Korean Gochujang Sauce - (store bought) – make sure you buy Gochujang SAUCE, not the concentrated paste. See notes!
- non stick spray
Instructions
- Preheat the oven to 400 degrees. Line a large baking sheet with aluminum foil and spray with nonstick cooking spray.
- In a large bowl combine the bread crumbs, egg, soy sauce, water, green onions, garlic, ginger, red pepper flakes and salt. Whisk together until fully combined.1 egg, 1 Tbsp. soy sauce, 2 Tbsp. water, ¼ cup thinly sliced green onions, 2 large garlic cloves, 3 tsp. fresh ginger, ¼ tsp. red pepper flakes, ¼ teaspoon kosher salt, ⅔ cup plain breadcrumbs
- Add in the ground pork, ground beef.¾ pound ground pork, ¾ pound ground beef
- With clean hands or a fork lightly mix the ingredients together until evenly combined.
- Form the mixture into golf ball sized meatballs. I like to use a cookie scoop for this so they all come out the same size (you will have about 20 meatballs).
- Place the meatballs on the prepared baking sheet and coat the tops of them with cooking spray.
- Bake for 20 minutes, flipping them halfway through the baking time for even browning.
- While the meatballs are baking, pour the Gochujang sauce into a large skillet and warm over low heat.12 oz Korean Gochujang Sauce
- When the meatballs are done baking add them into the skillet with the sauce and toss to coat. Lightly simmer for about 5 minutes.
- Serve meatballs and sauce over hot cooked rice topped with sliced green onions and sesame seeds.Asian Slaw is also a great side dish for these meatballs!
Recipe Tips and Notes:
Oops, I bought the paste, not the sauce….
You can mix a Tablespoon of the Gochujang paste with about a cup of your favorite BBQ sauce, taste, and then adjust with more Gochujang or BBQ Sauce.