Summer…sweet, sweet summer! I love the long days at the pool, bronzed sun kissed skin, warm nights, dinner on the grill, lazy schedules, and lots of time with friends.
I’m looking forward to a fun-filled summer!
Here are a few moments of gratitude from the past week:
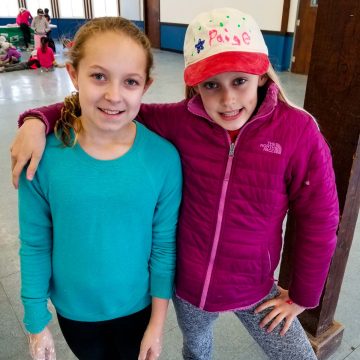
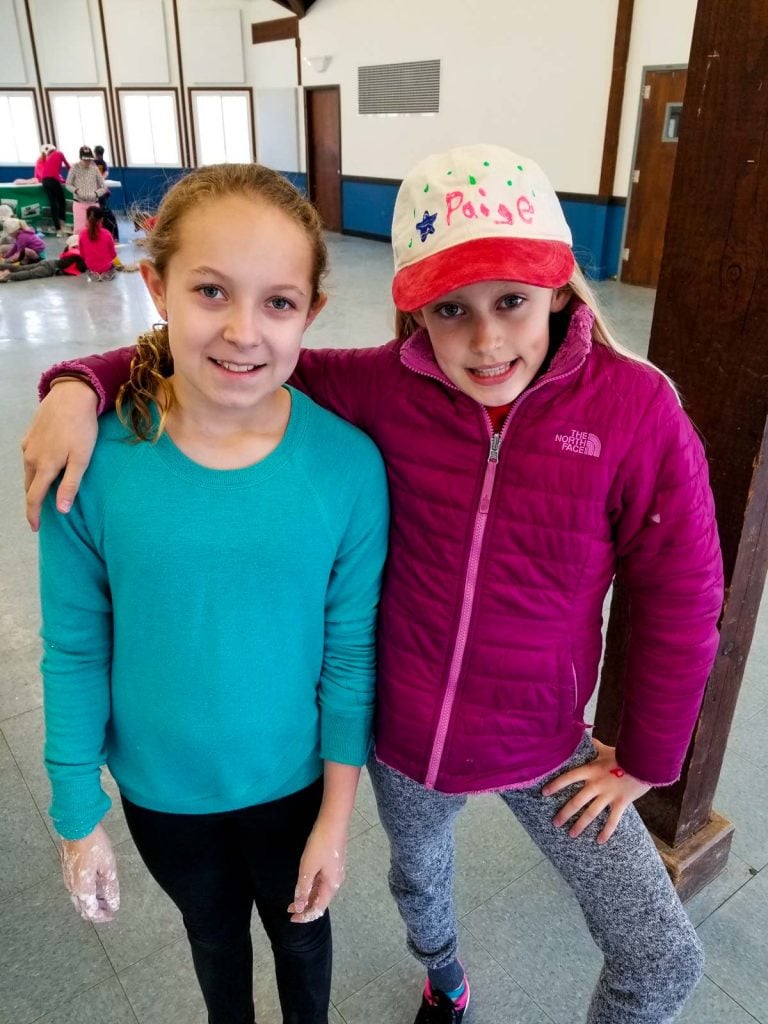
End of the Year Party
I have written in other gratitude posts about how lucky and fortunate I feel to have found an amazing group of friends in my community. Most of which are other Moms in my daughters grade. One of those friends is an amazing woman who can bring together a community and plan an event like you have never seen before.
[Read more…]