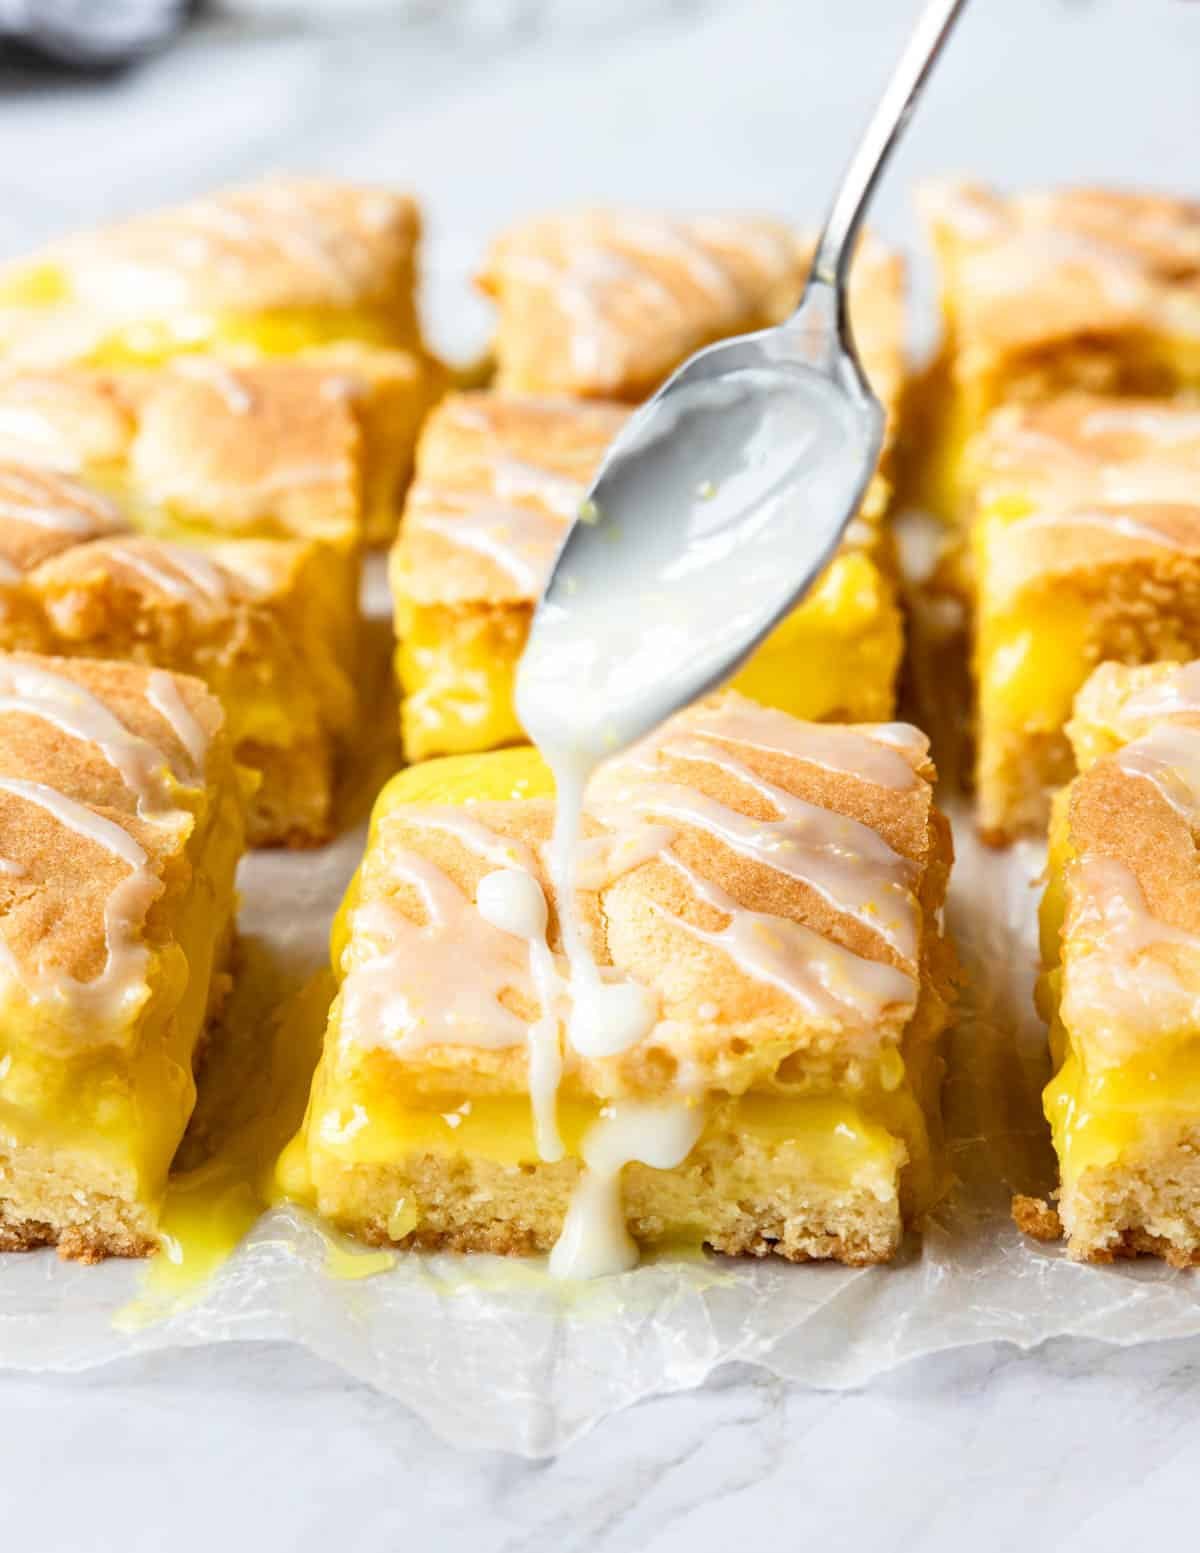
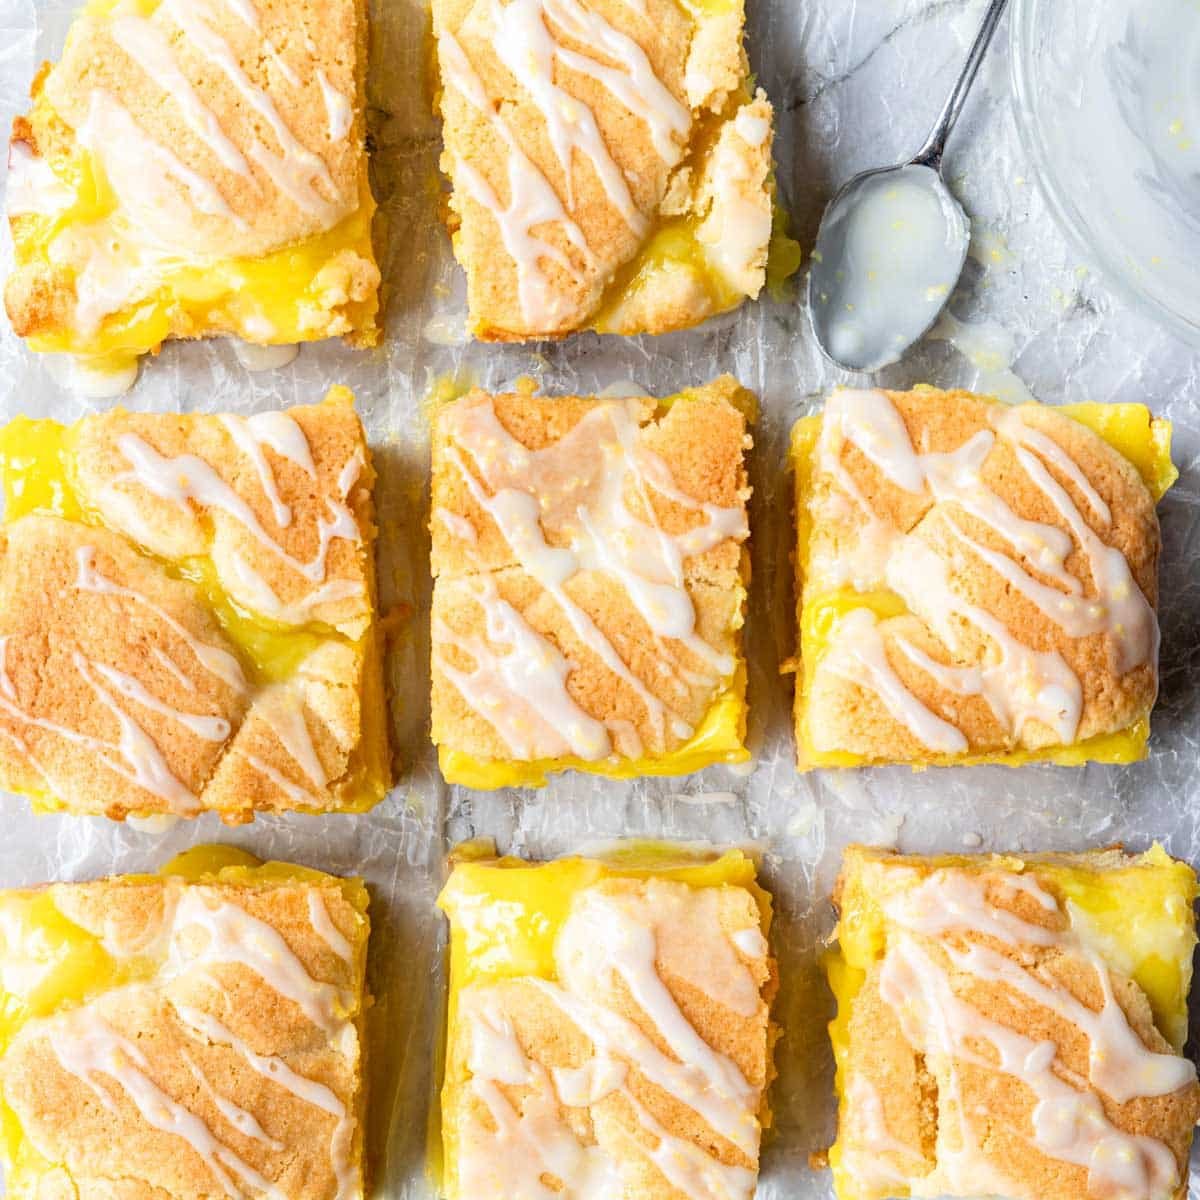
Lemon Pie Bars are a really delicious, lemony, old fashioned dessert. If you love lemon desserts, this is going to be amazing for you! They are not a traditional “lemon bar”. They are made with an almond flavored cake base, topped with a tart lemon pie filling. Then the top is dotted with more cake and it is baked to golden perfection. When it is served you drizzle on a homemade lemon glaze.
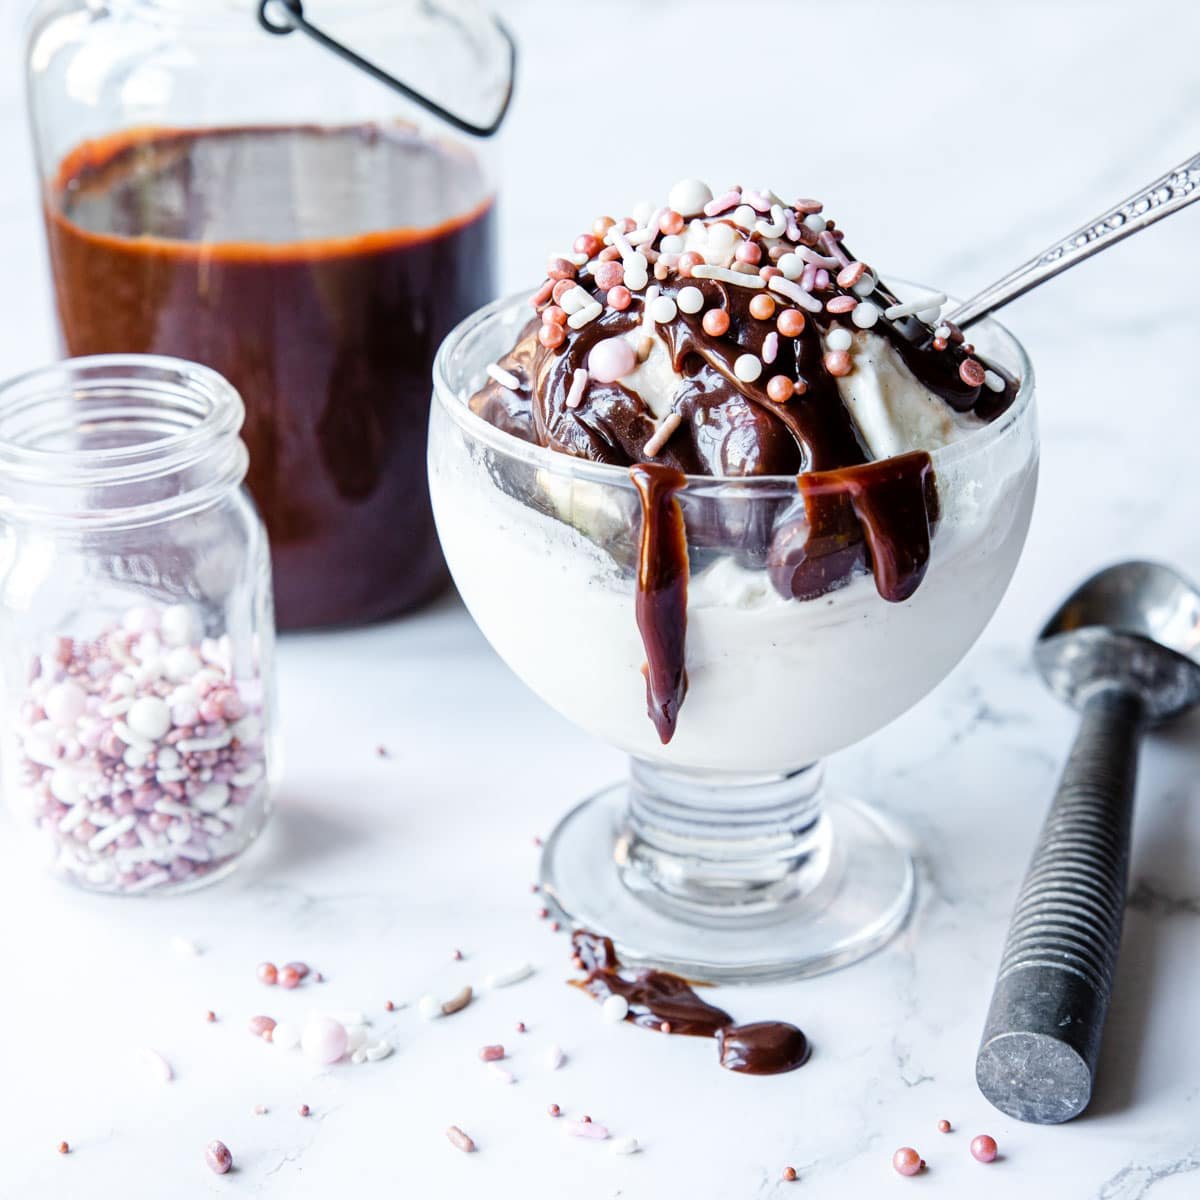
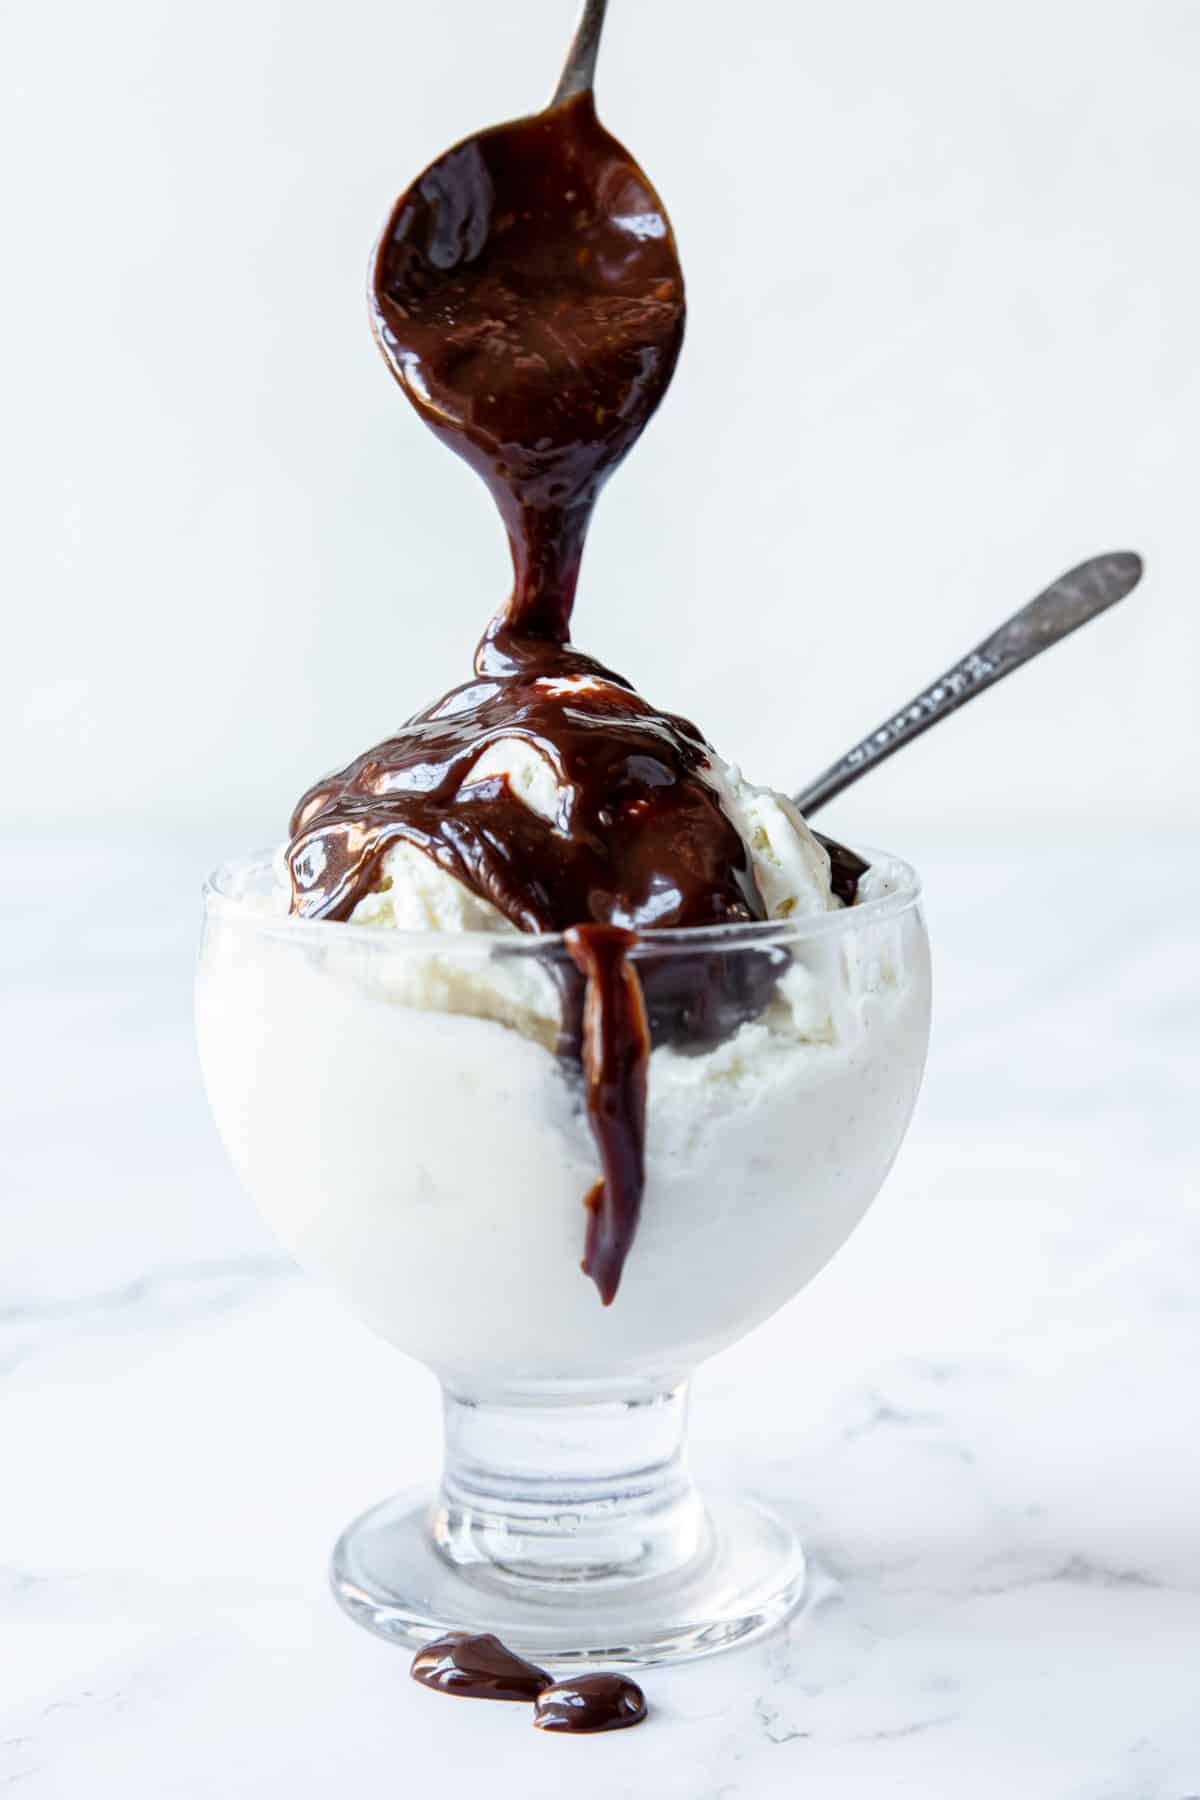
Slices of Lemon Pie Bars are perfect served with vanilla beans ice cream or homemade whipped cream.
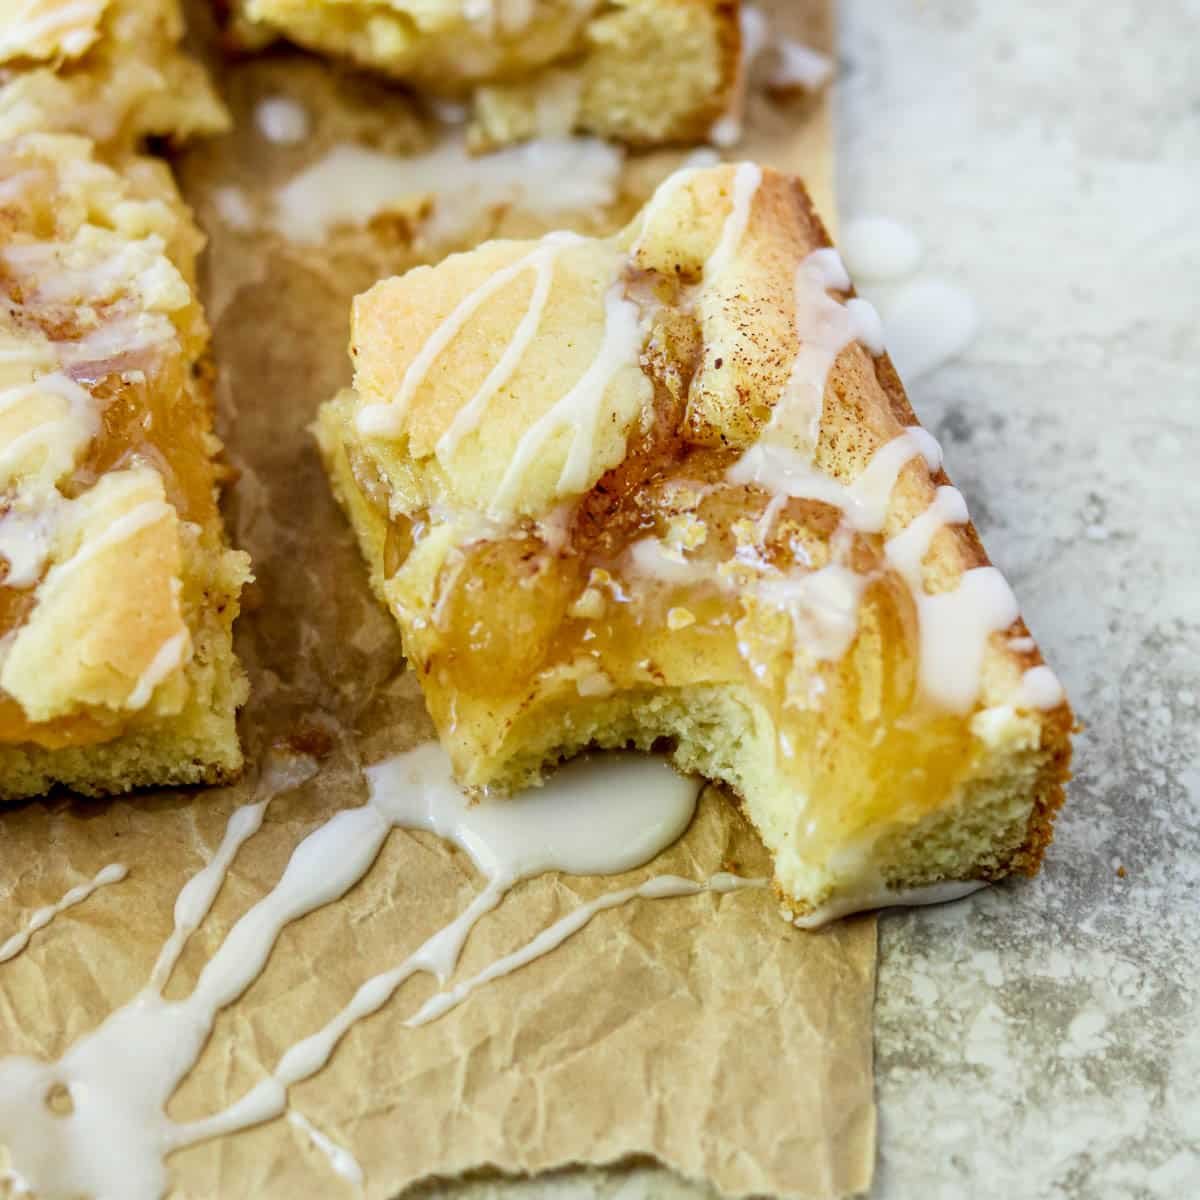
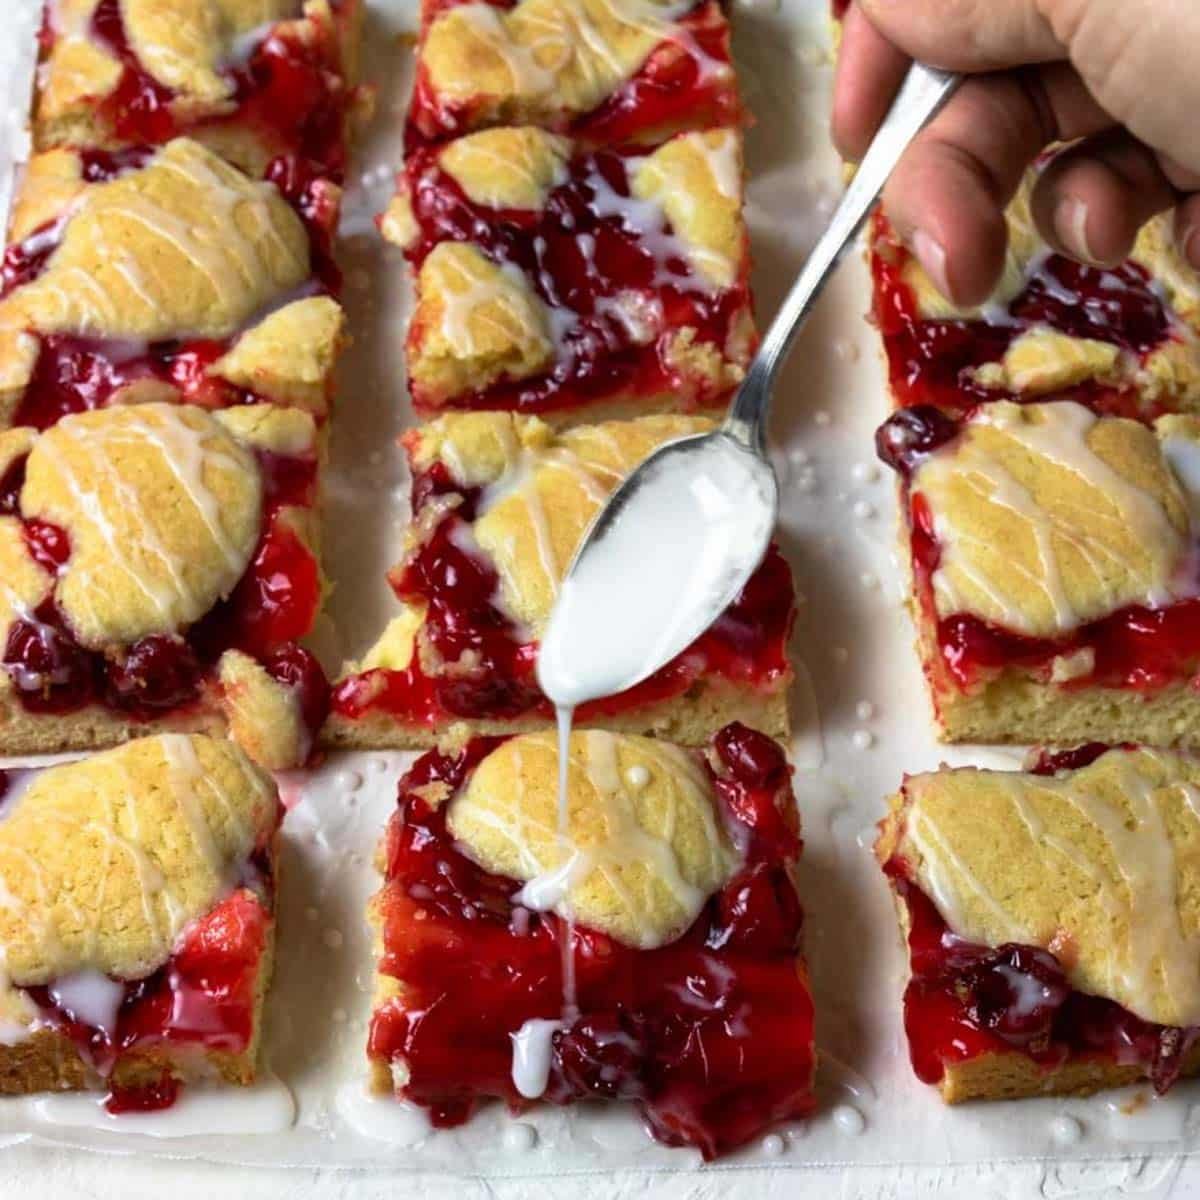
RELATED: Apple Pie Bars & Cherry Pie Bars
Ingredients
Grab a can of your favorite lemon pie filling, and I bet you have the rest of the ingredients in your baking cabinet and fridge!
Lemon Pie Filling: If you have a recipe for lemon pie filling by all means use that!! Last time I made this I used store-bough lemon pie filling and it was still amazing. I had a 22 oz can of Lucky Leaf lemon pie filling.
I have not tested the recipe with lemon curd, but I would think that could work as well!
Butter, Sugar, Flour, Baking Powder: the usual suspects when you make a cake. If you have a well stocked baking cabinet, you will have most of these things.
Eggs: Yes, you need 4 eggs. That is not a misprint. LOL!
Almond Extract: you could put almond extract on just about any dessert and I will love it. The almond extract flavors the cake and pairs perfectly with the lemon pie filling.
If almond extract flavor is not your jam, simply sub vanilla extract.

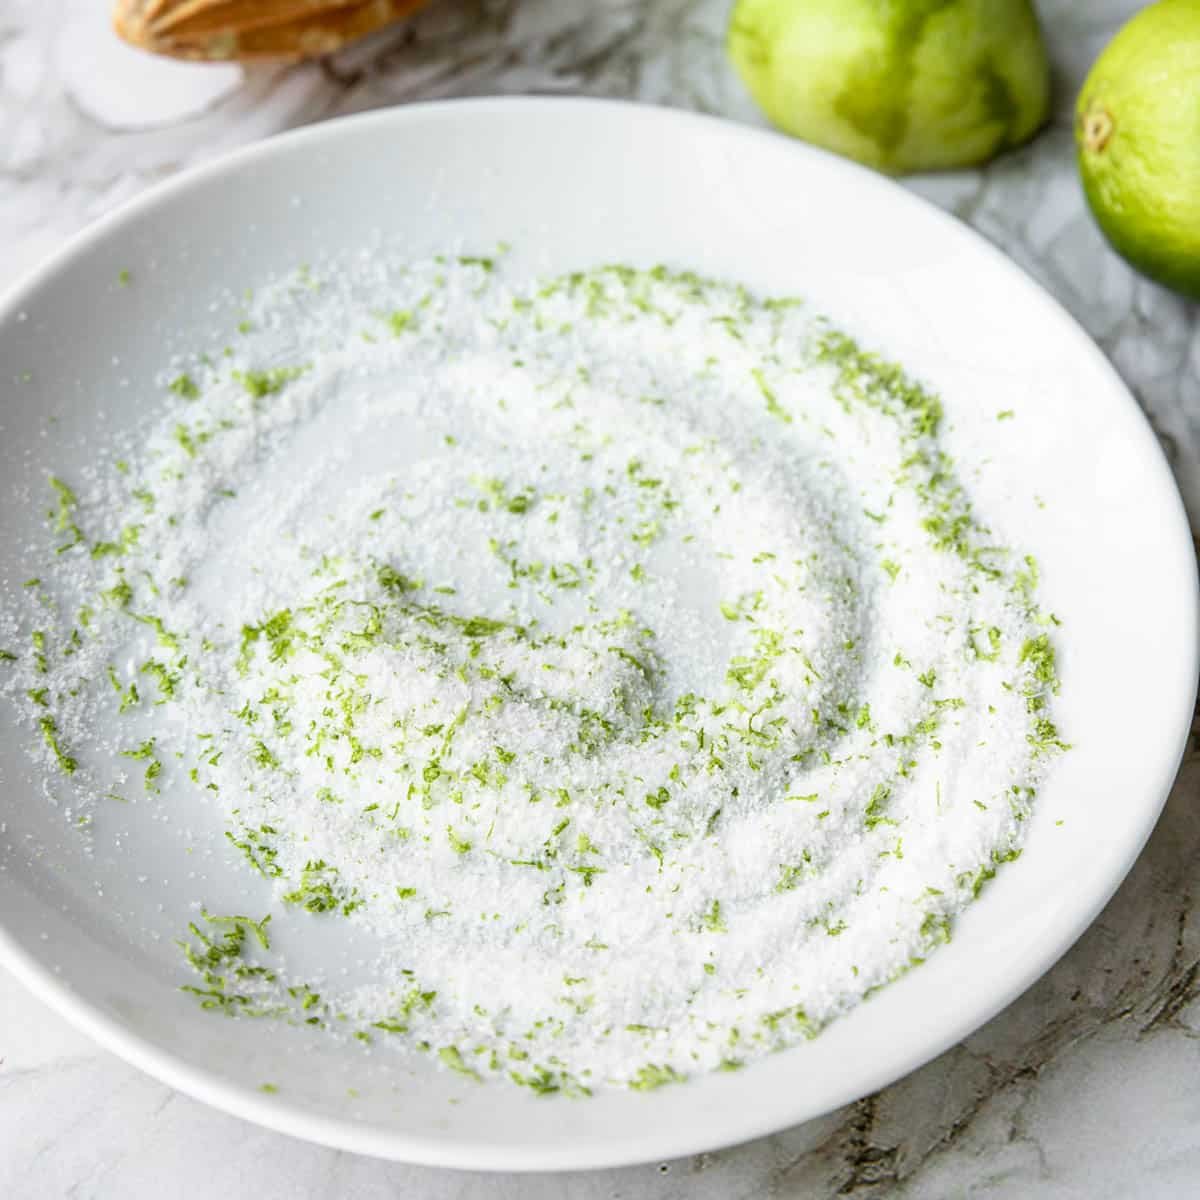
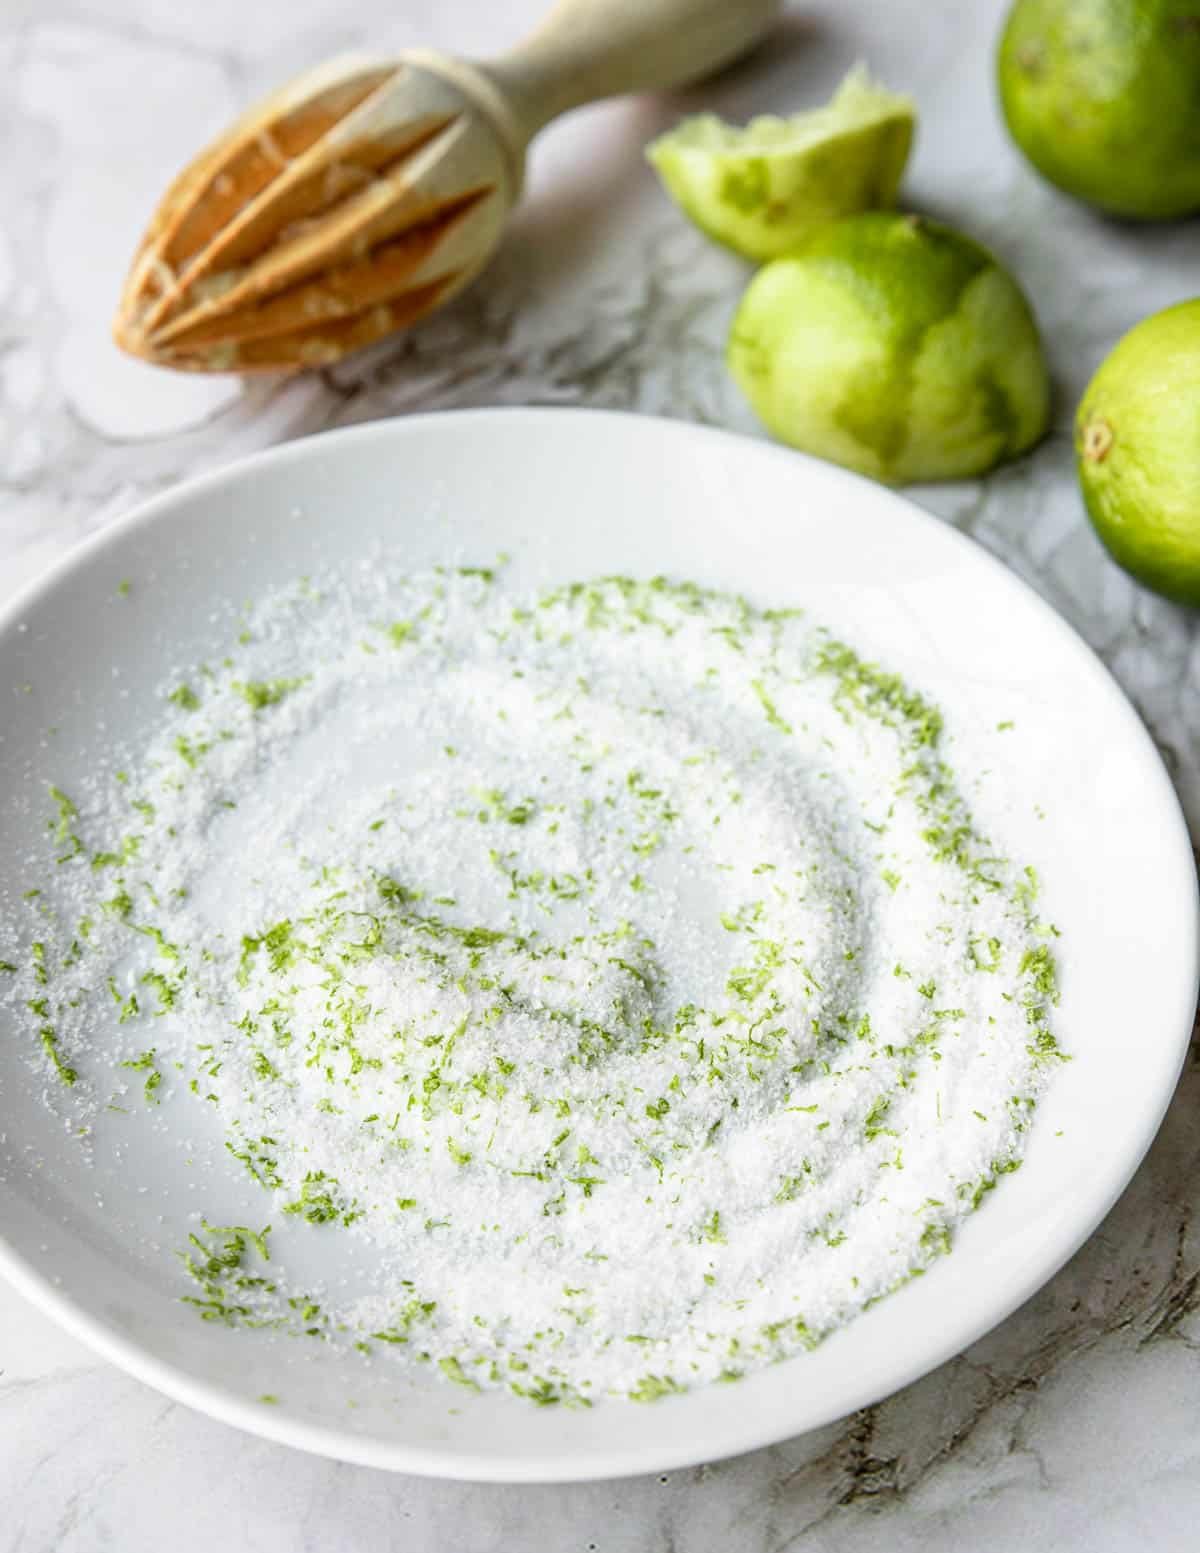
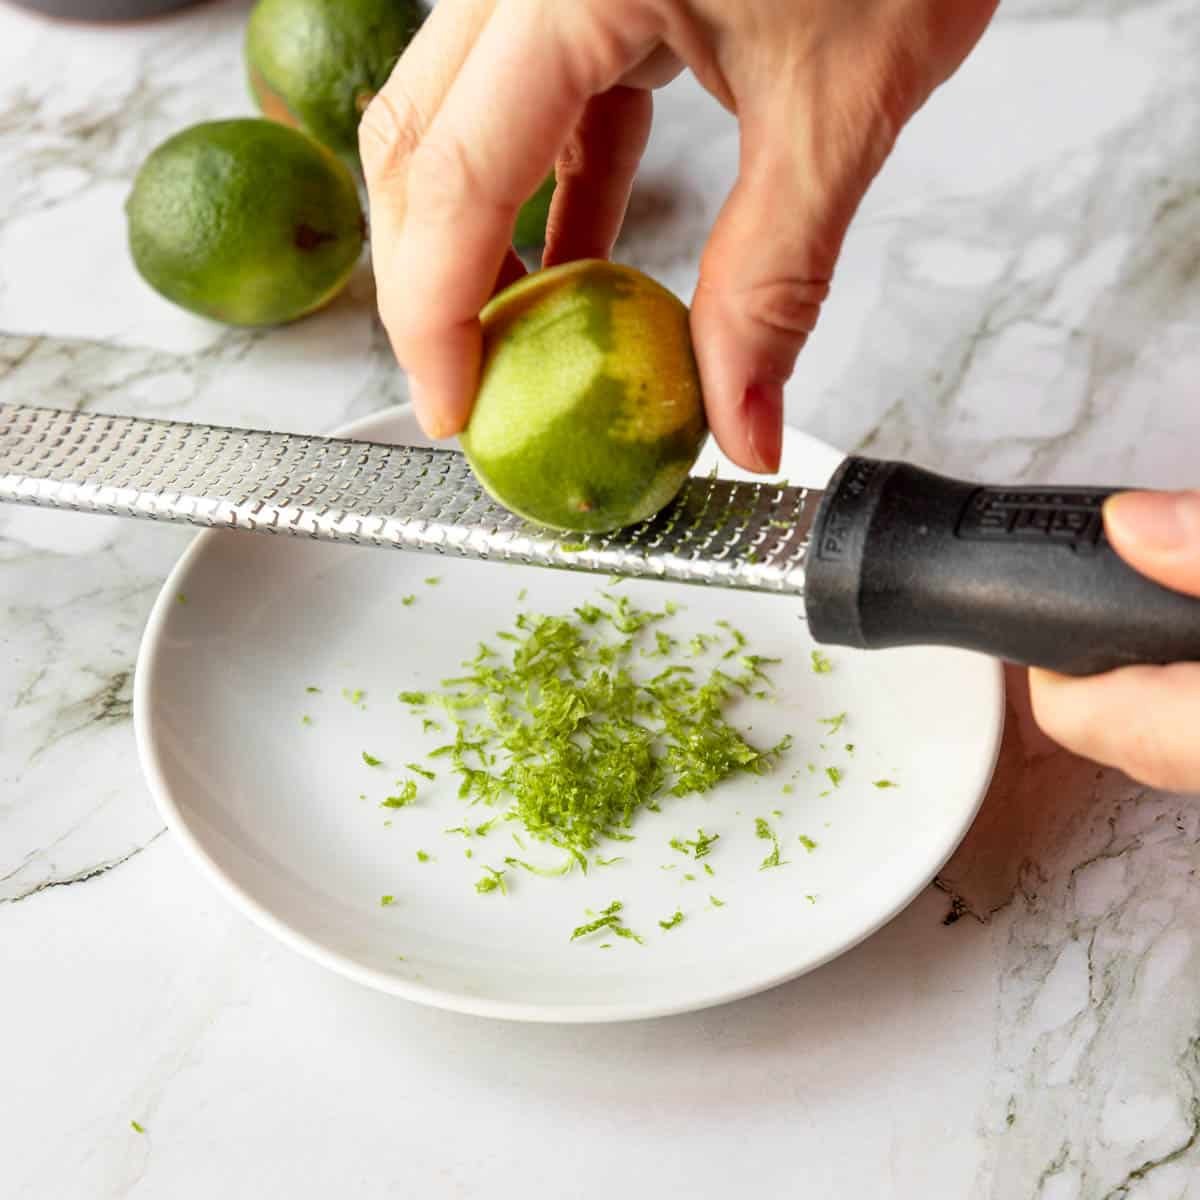
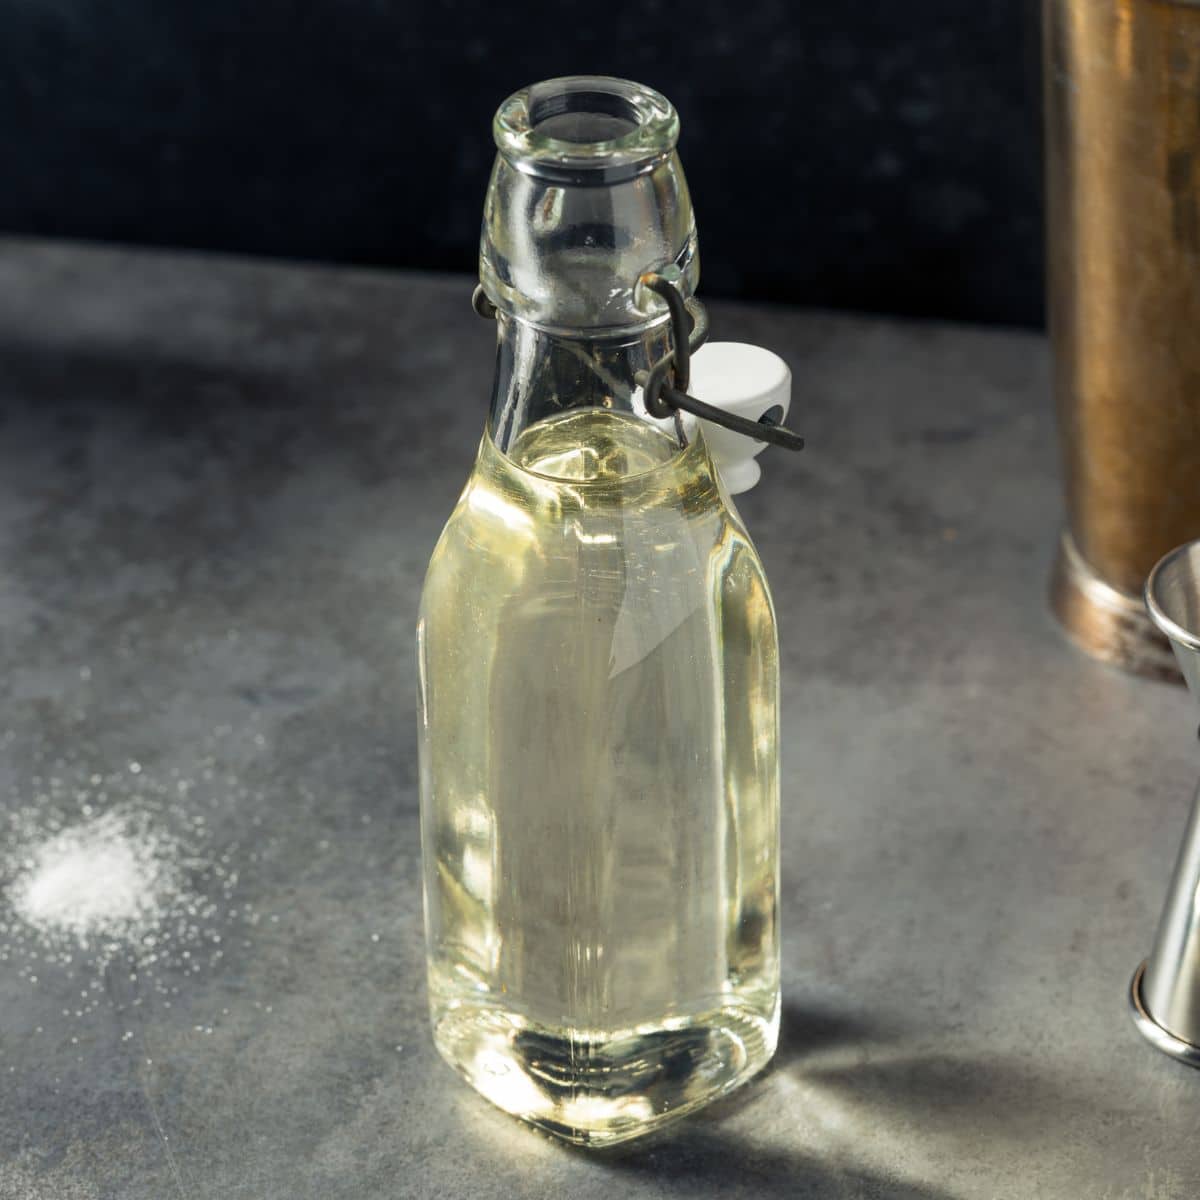
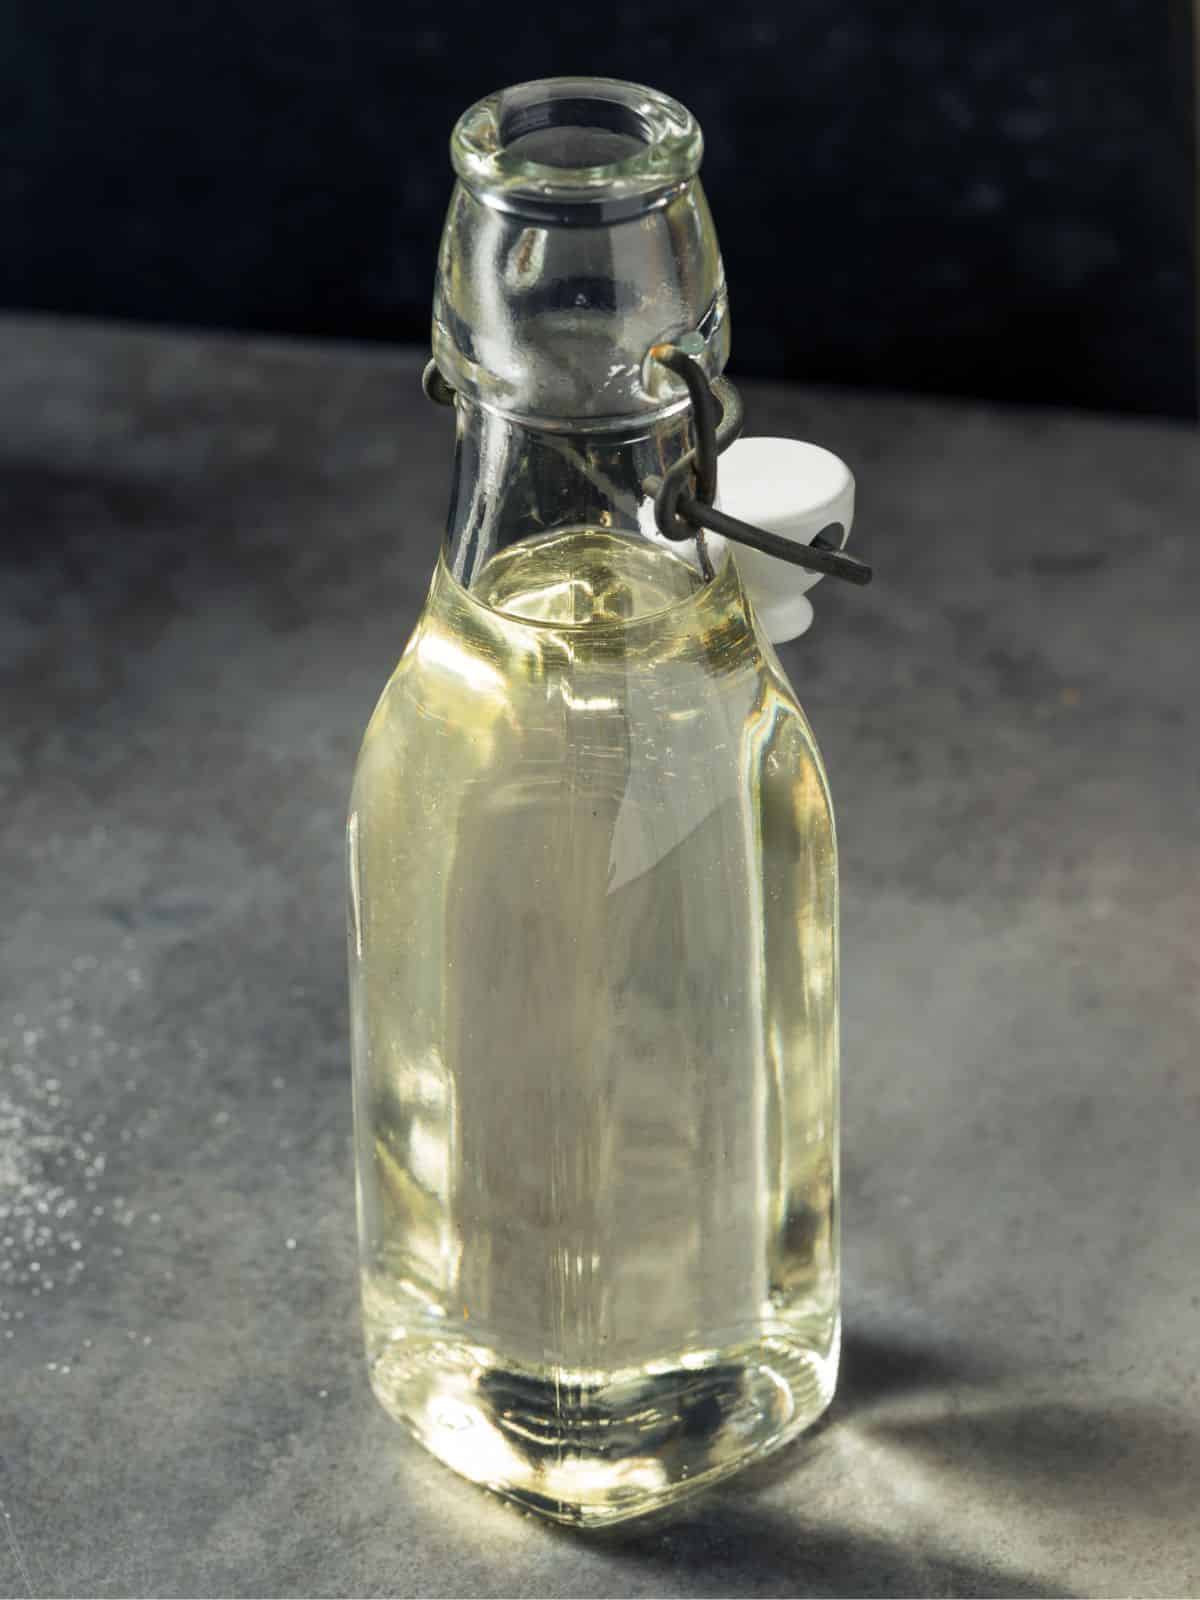
For the glaze you just need powdered sugar and a lemon. You will use both the lemon zest and the juice. Make sure you zest the lemon before you juice it.
More Fruit Pie Bar Recipes
Lemon Pie Bar Recipe
Equipment
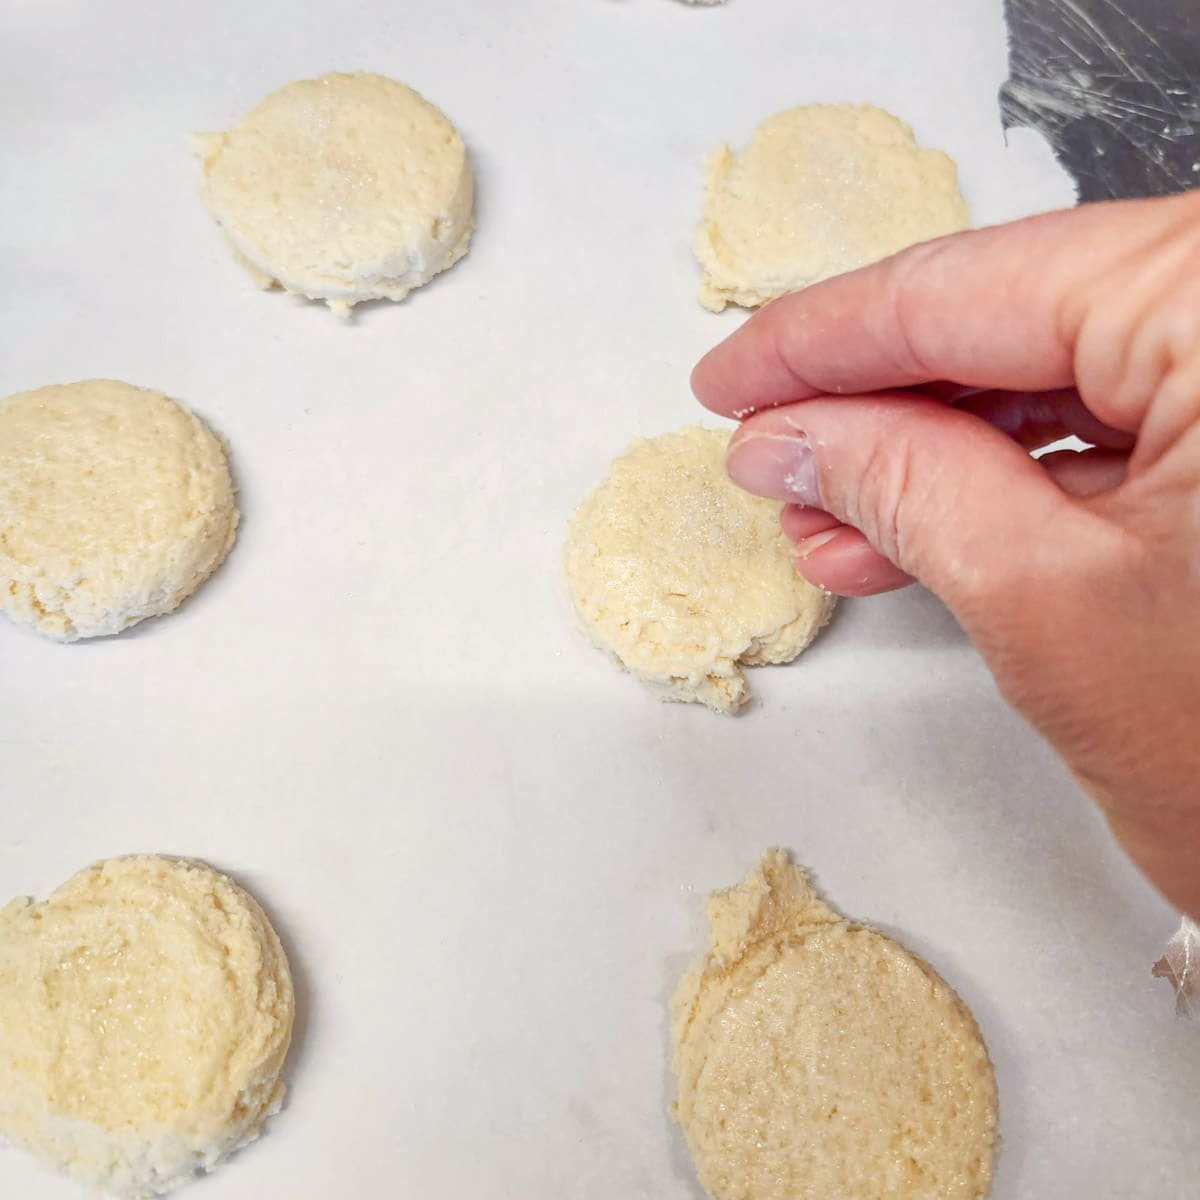
- off-set spatula -optional, but makes it easier to work with the sticky dough.
Ingredients
Lemon Pie Bars
- 1 cup butter - softened
- 1½ cups white sugar
- 1 teaspoon almond extract
- 4 eggs
- 3 cups all purpose flour
- 1 ½ teaspoon baking powder
- 21 oz can lemon pie filling - (you may find 22 oz cans at the grocery store, that will work!)
- non-stick spray
Lemon Glaze
- ½ cup powdered sugar
- zest from ½ a lemon
- 1 tablespoon fresh squeezed lemon juice
Instructions
Lemon Pie Bars
- Preheat the oven to 350 degrees and grease or spray a 9×13 baking pan.non-stick spray
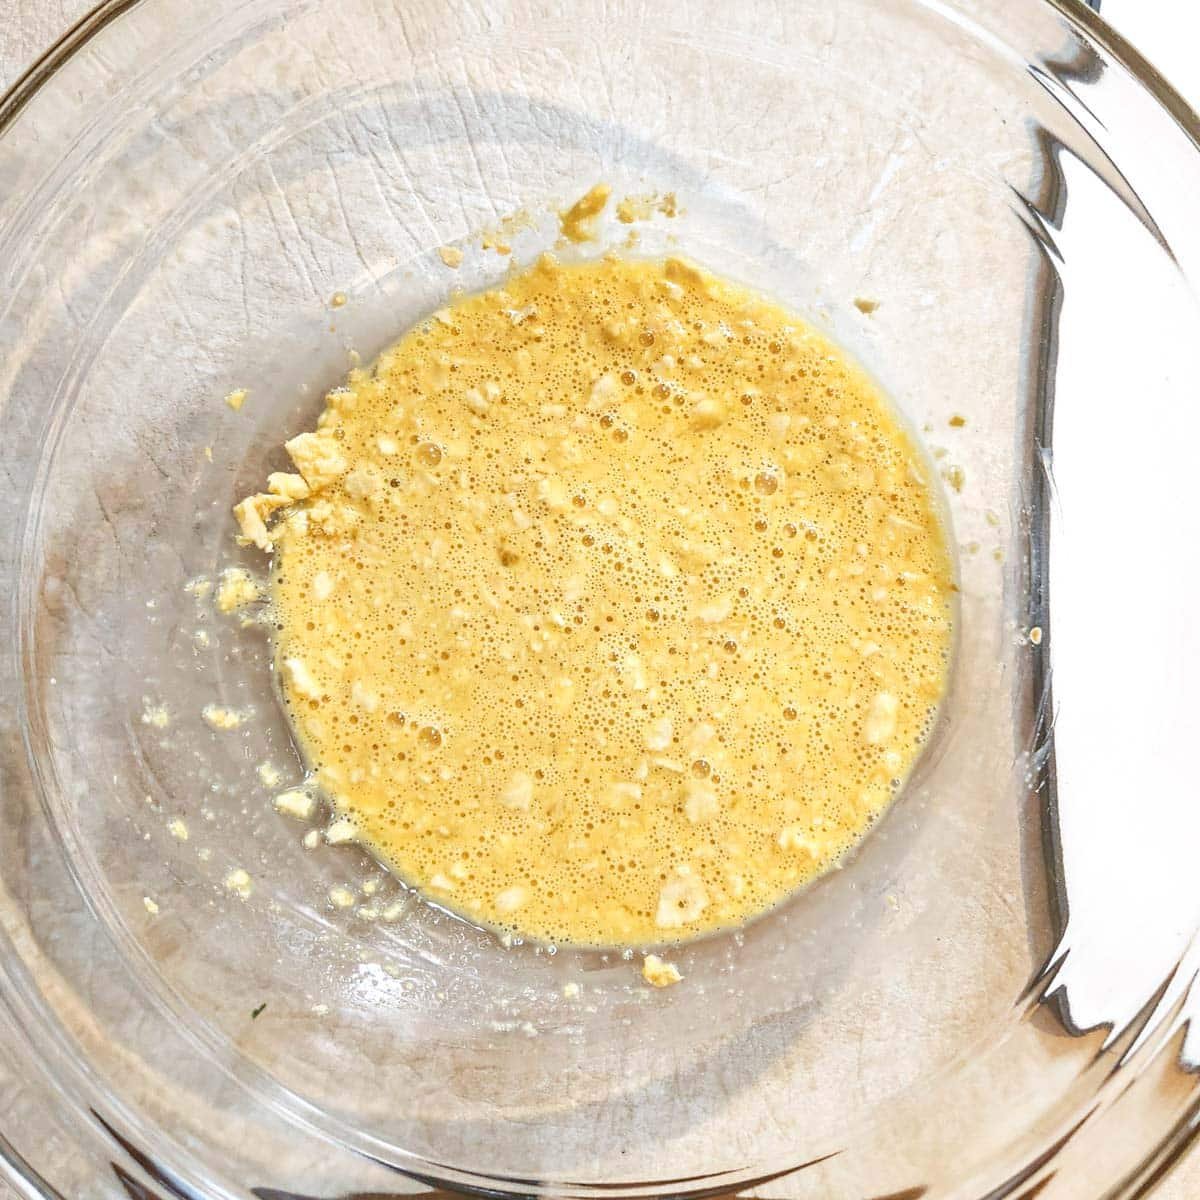
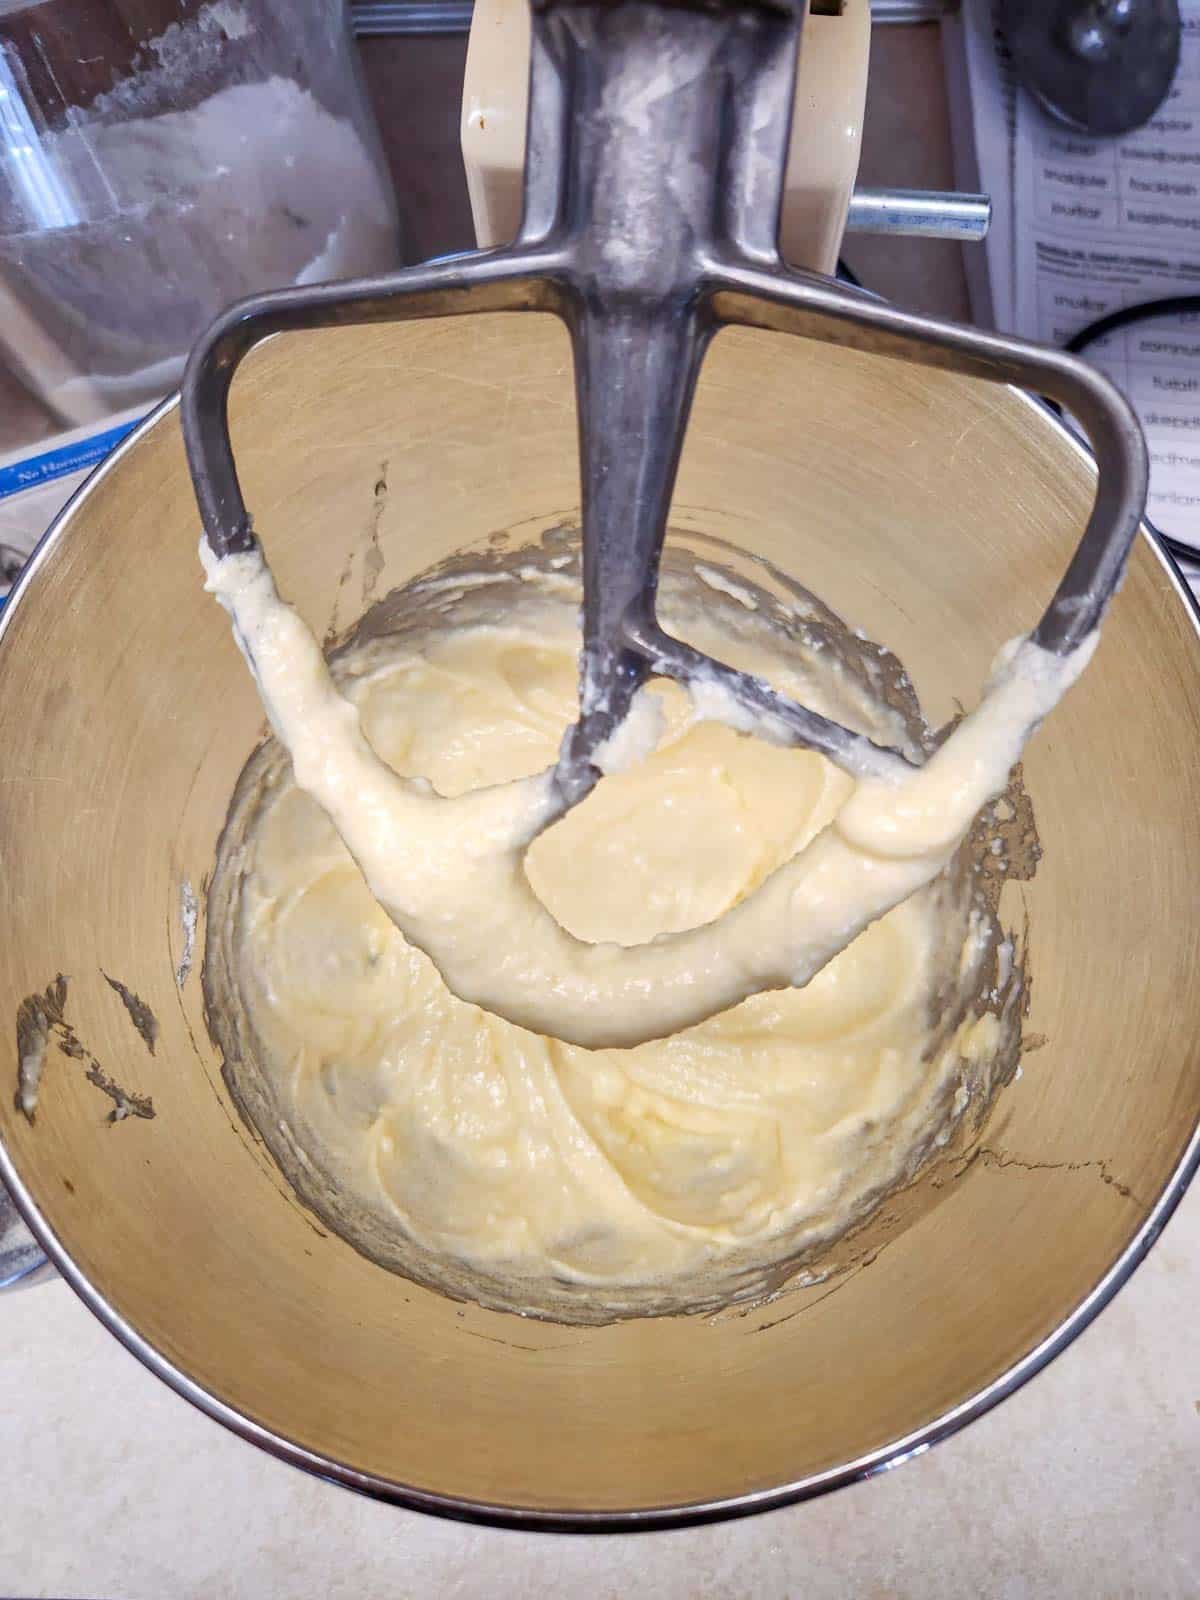
- In a large mixing bowl with a hand mixer or a stand mixer, cream the butter, 1 tsp. almond extract, and sugar for about 2 minutes.If you don't like almond extract flavor you can sub vanilla.1 cup butter, 1½ cups white sugar, 1 teaspoon almond extract
- Mix in the eggs, one at a time.4 eggs
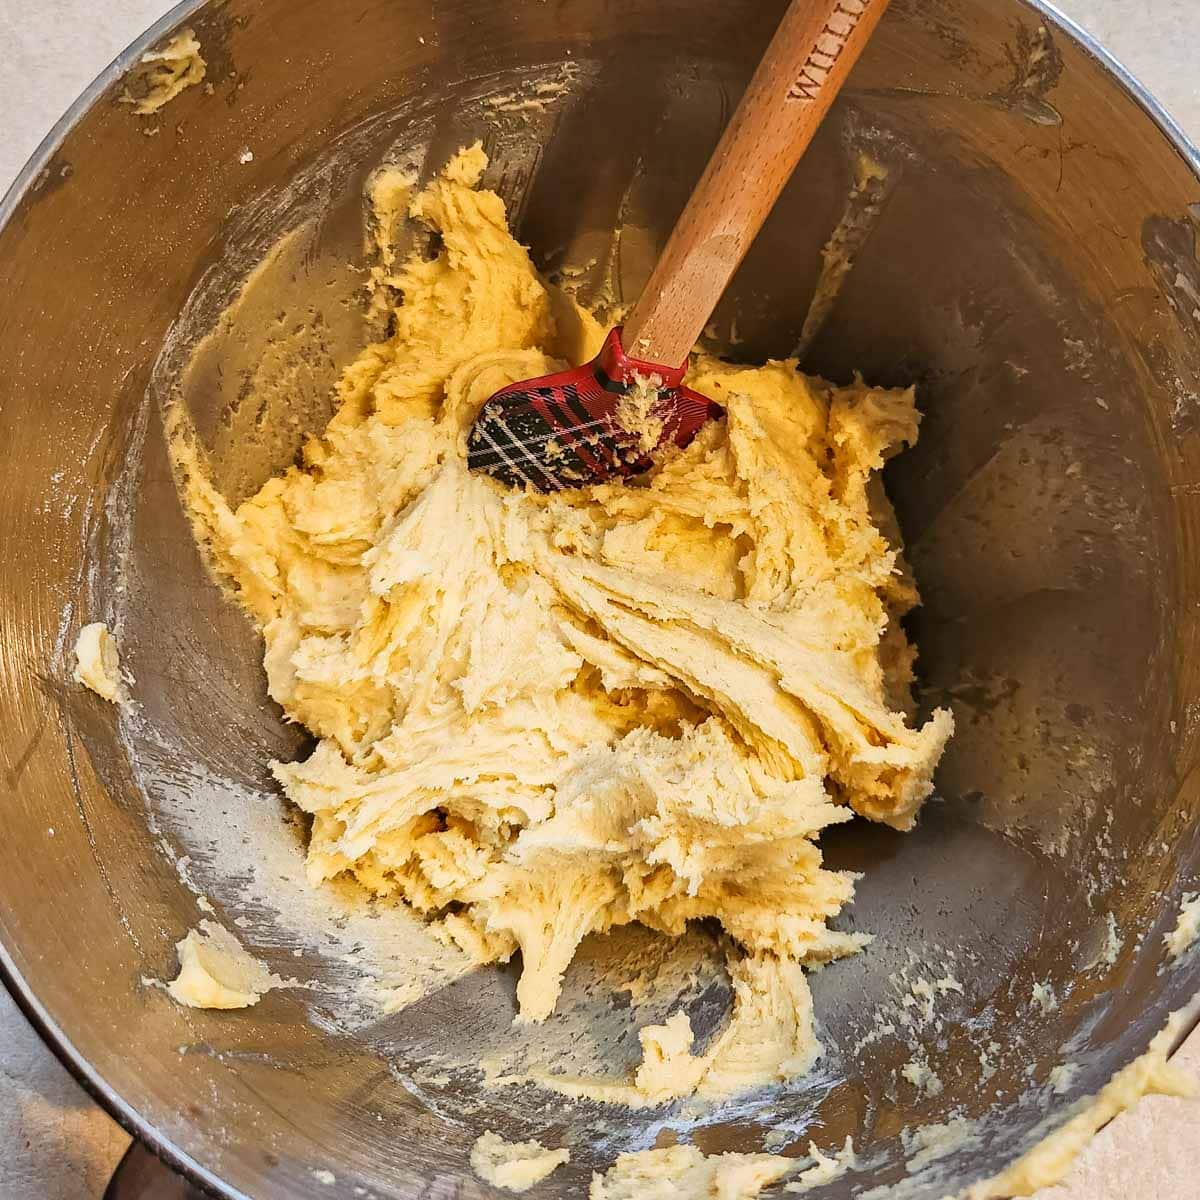
- Add the flour and baking powder into the batter, mix until it is completely incorporated.Pro Tip: I like to measure the dry ingredients onto a piece of parchment paper and then pick it up like a funnel, makes easy work of getting the dry ingredients into the bowl.3 cups all purpose flour, 1 ½ teaspoon baking powder

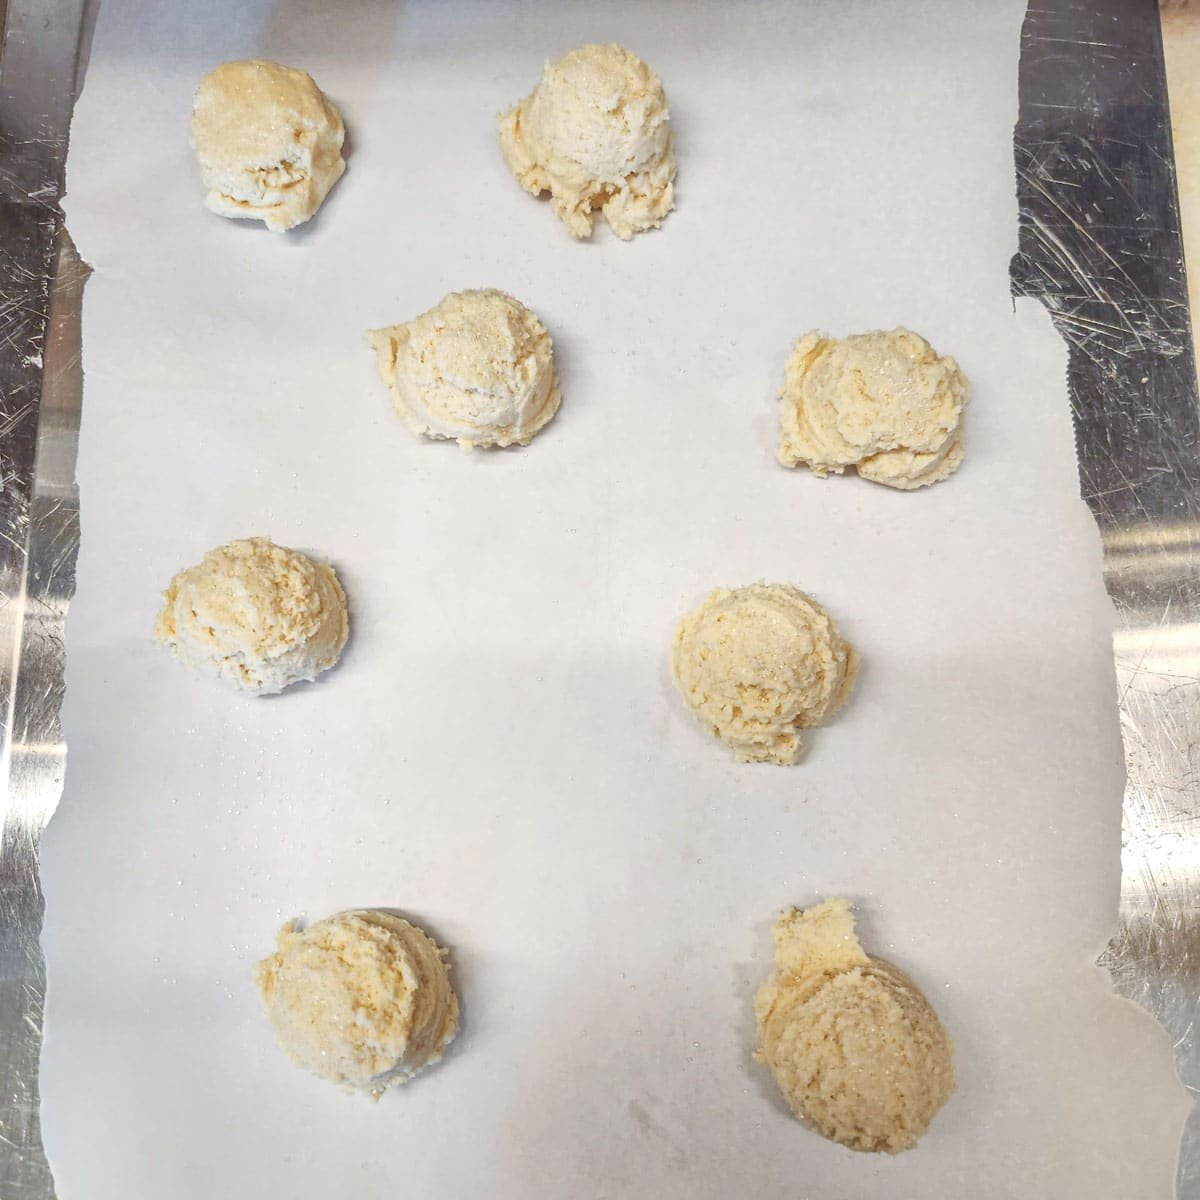
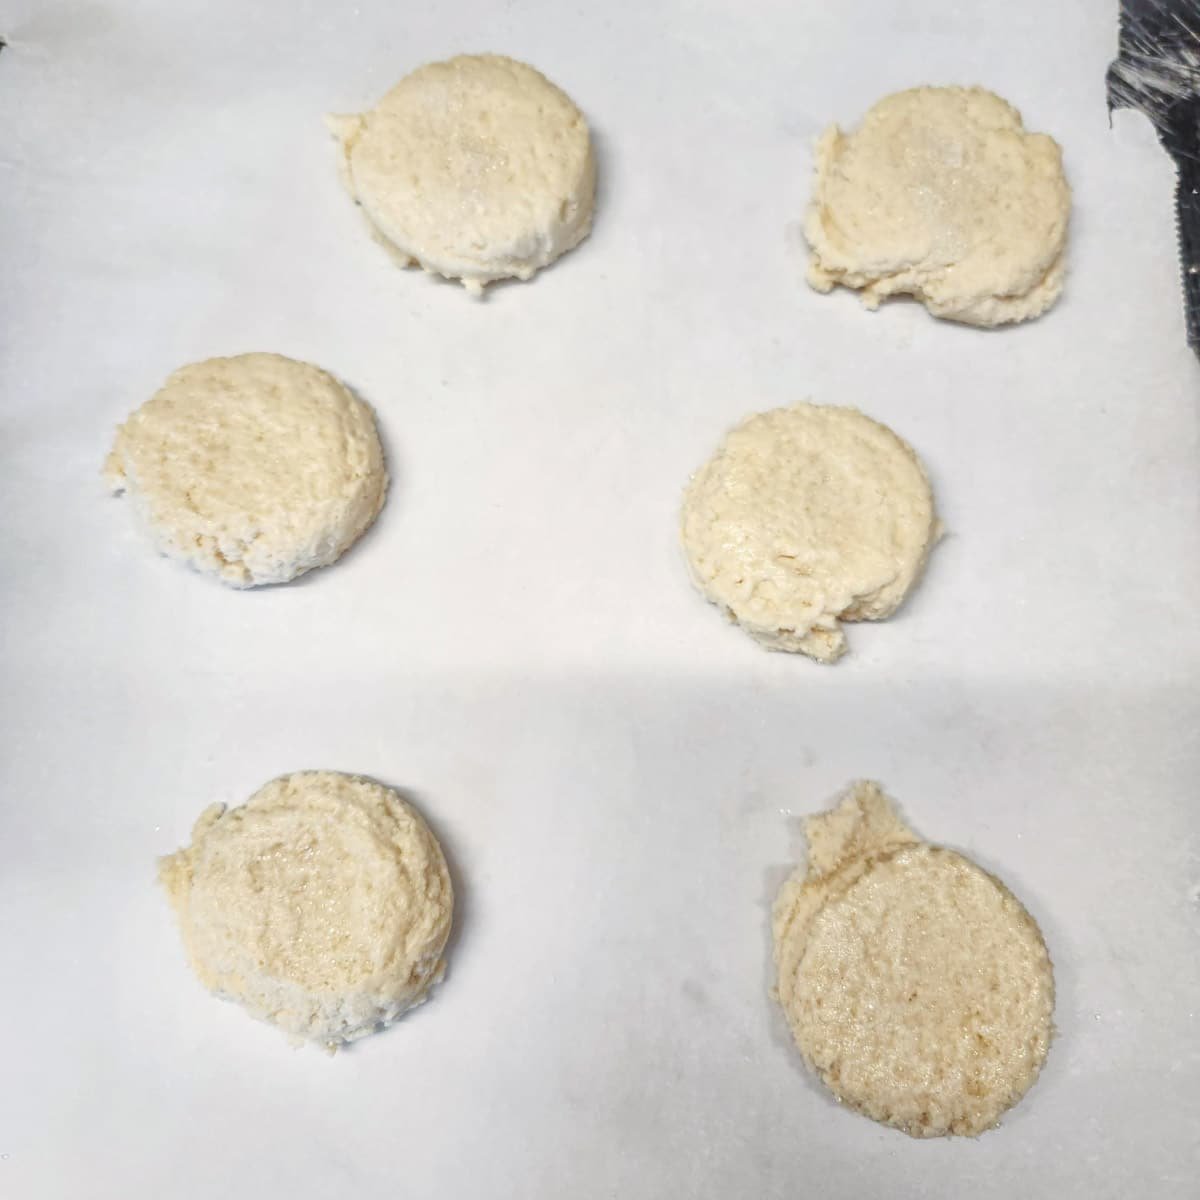
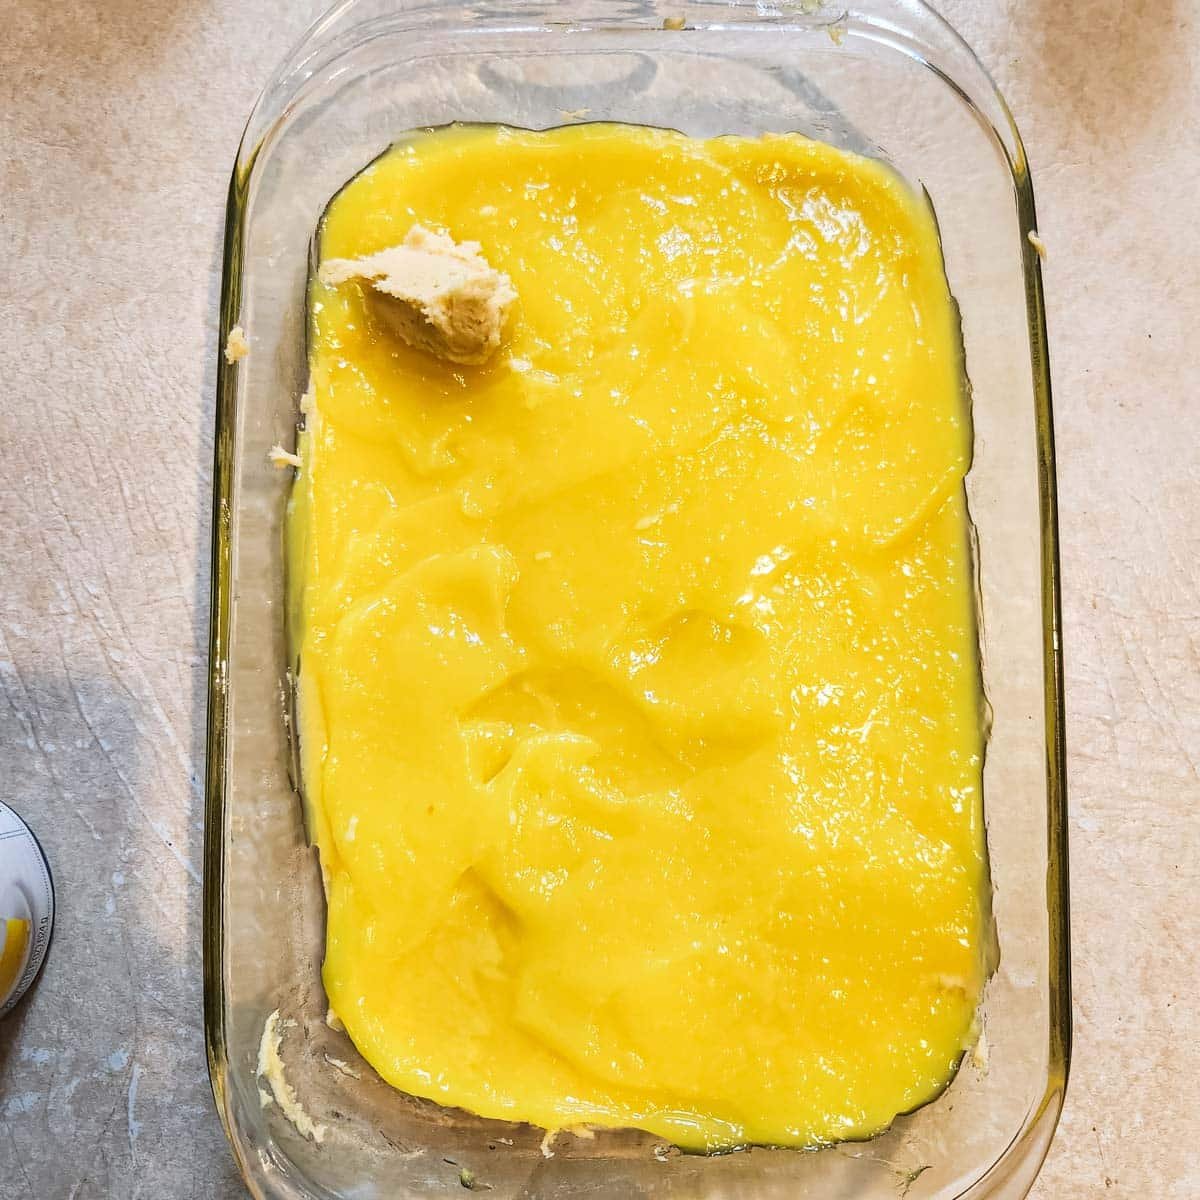
- Spread ⅔ of the batter evenly into the prepared baking pan. It will be very sticky!! An offset spatula sprayed with non-stick spray can make this task easier.
- Now top the cake batter with the lemon pie filling, spreading it edge to edge.21 oz can lemon pie filling
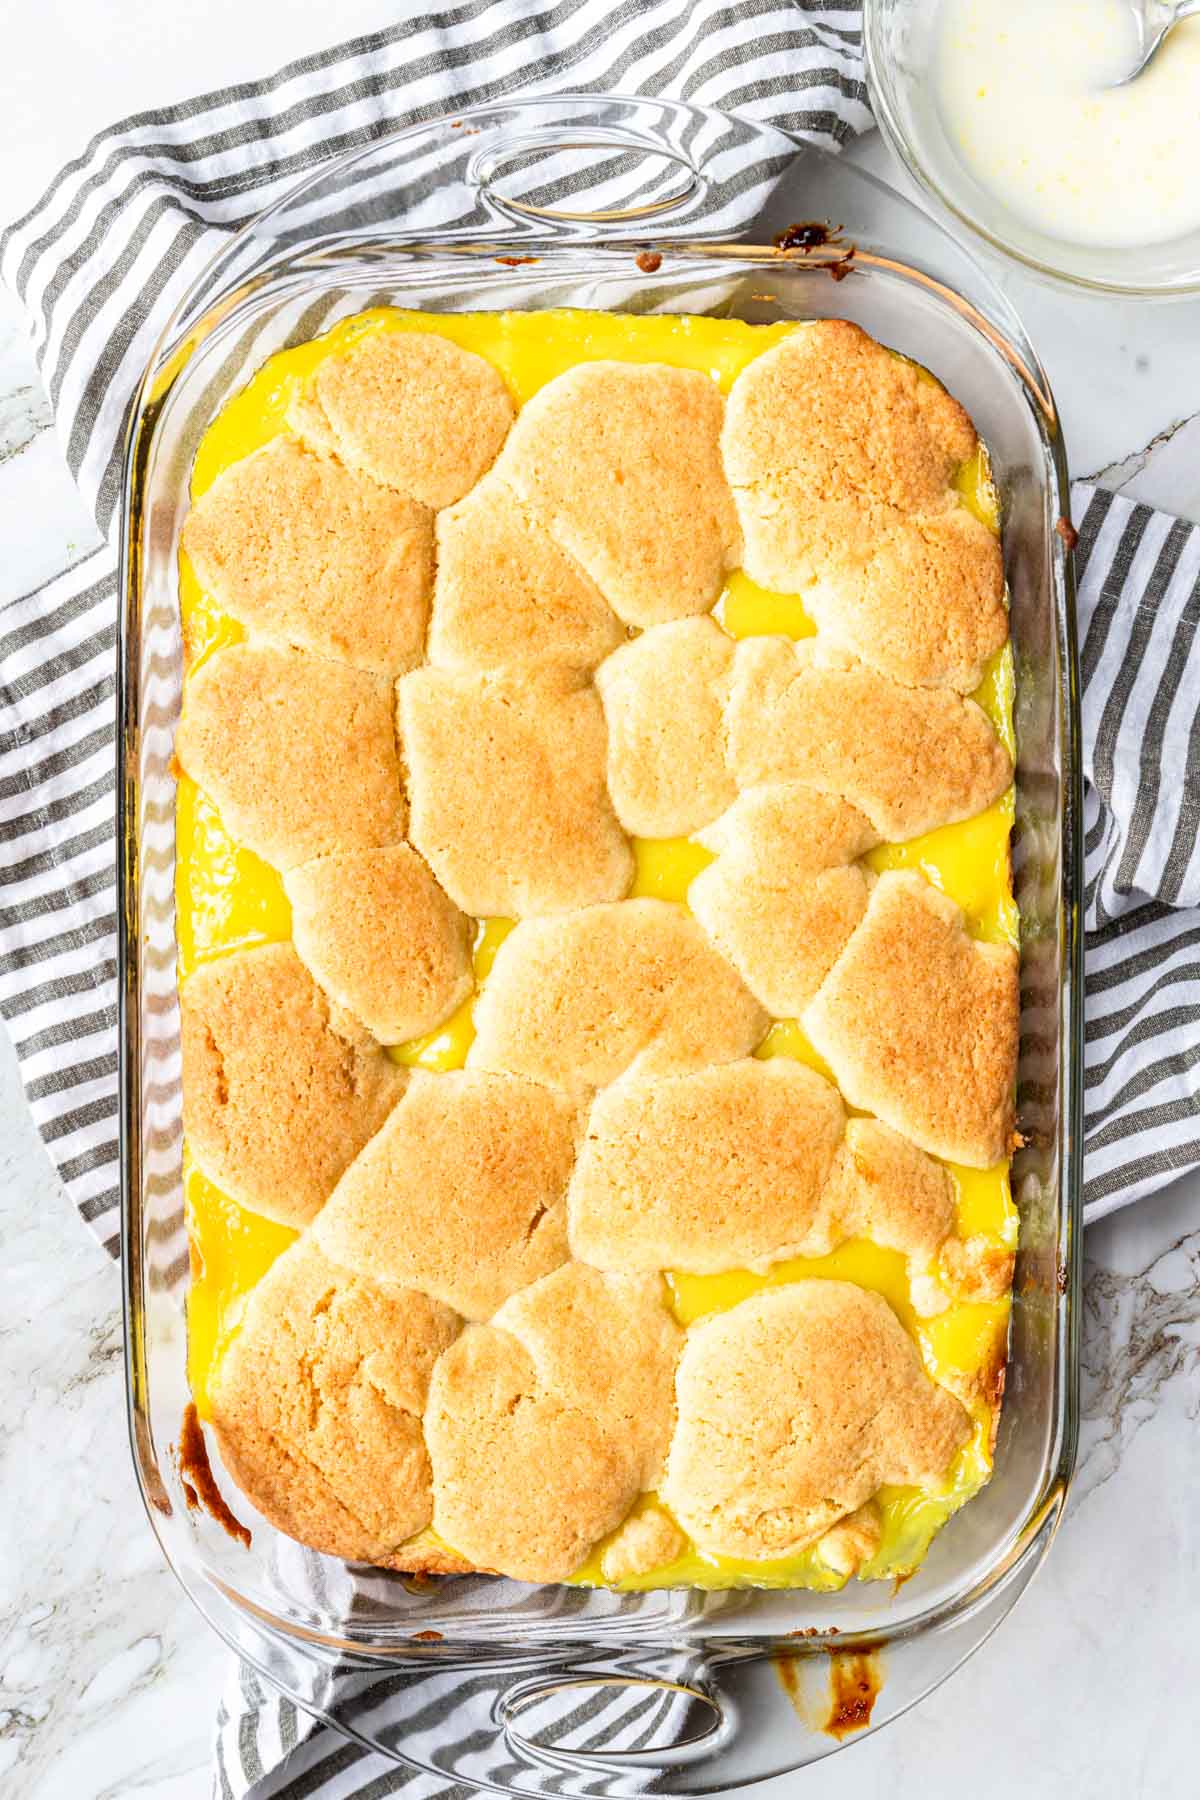
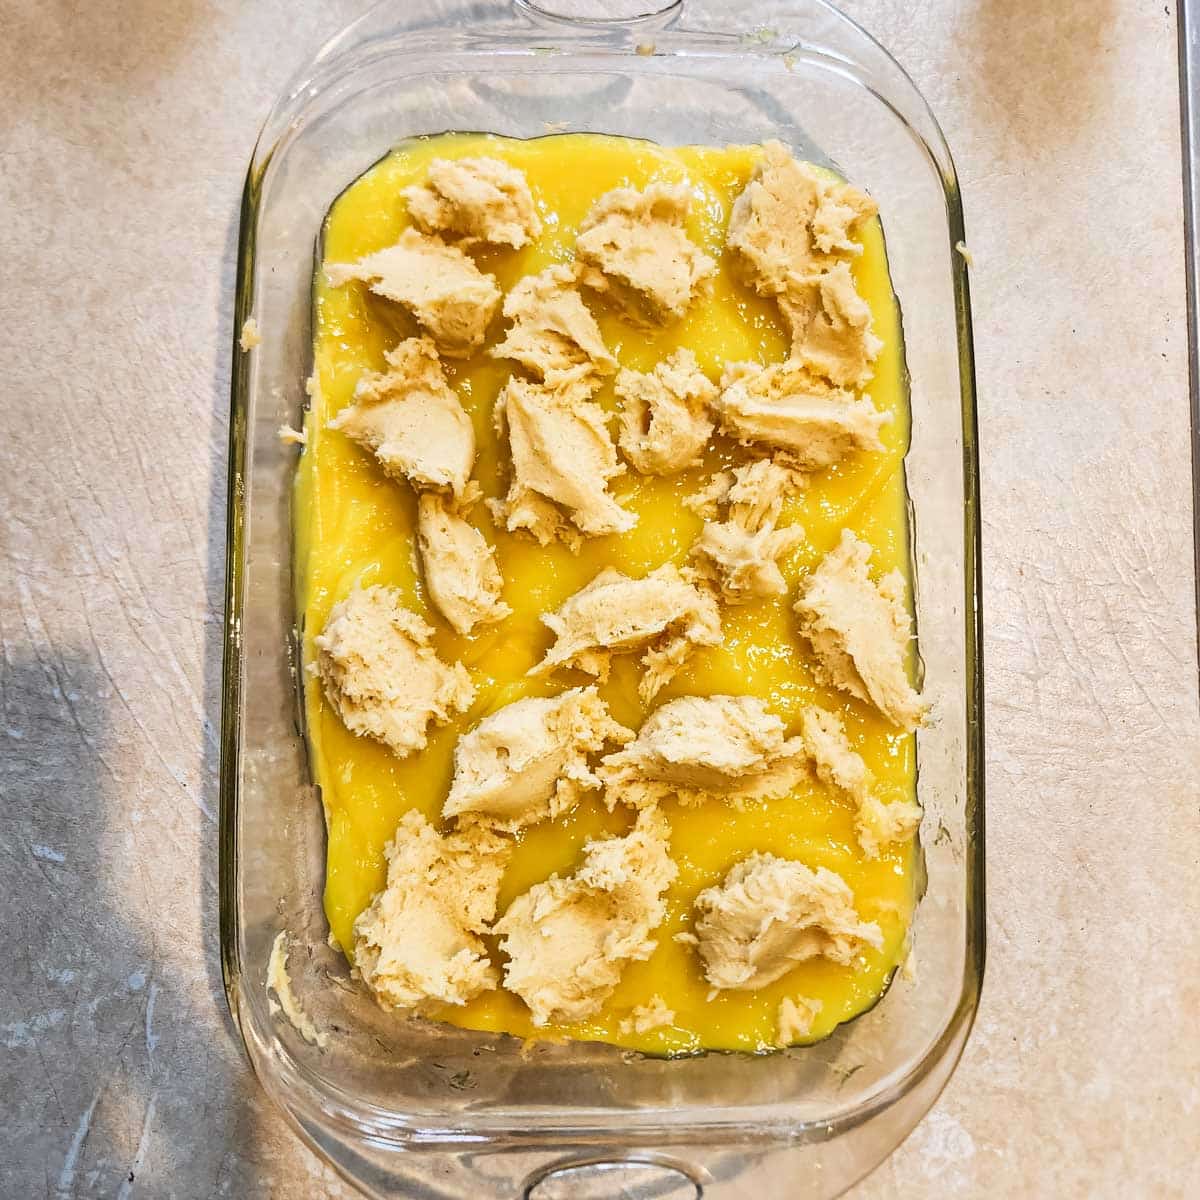
- With the remaining cake batter, dot the top of the pie filling.
- Bake for 45-50 minutes.
- Let the bars cool for at least 20 minutes for the pie filling to cool and set.


Lemon Glaze
- While the Lemon Pie Bars bake make the lemon glaze for serving.
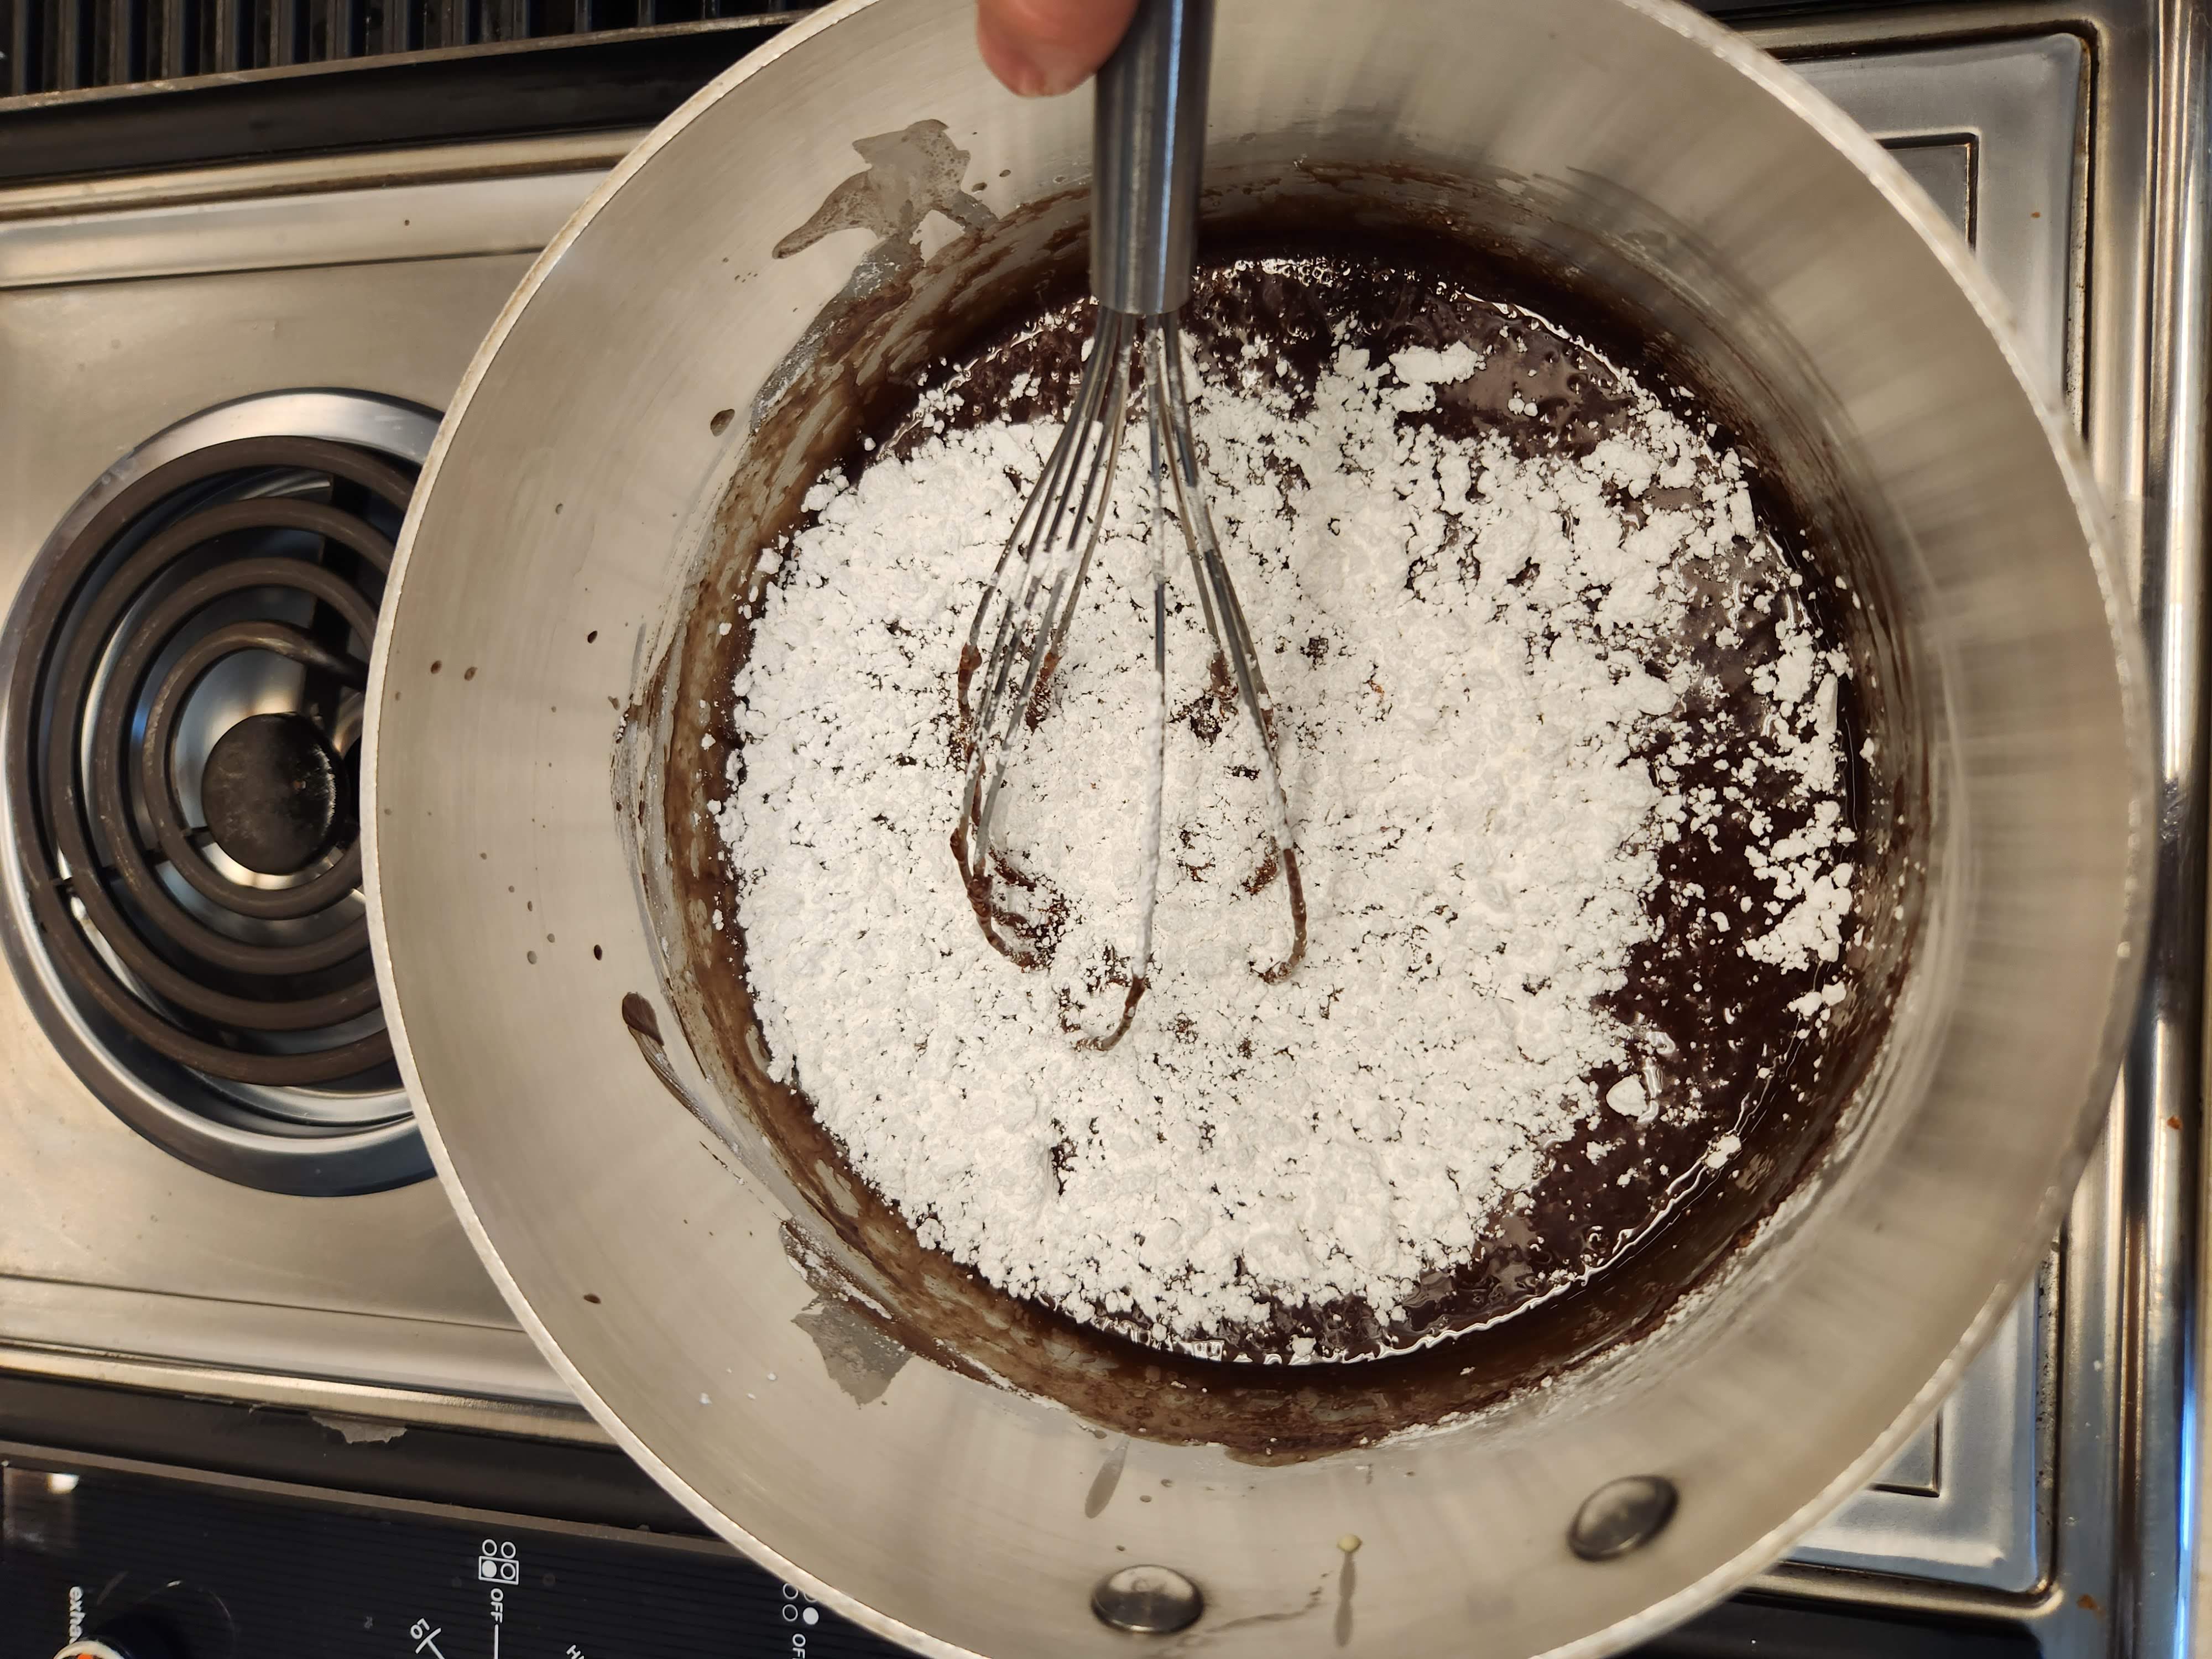
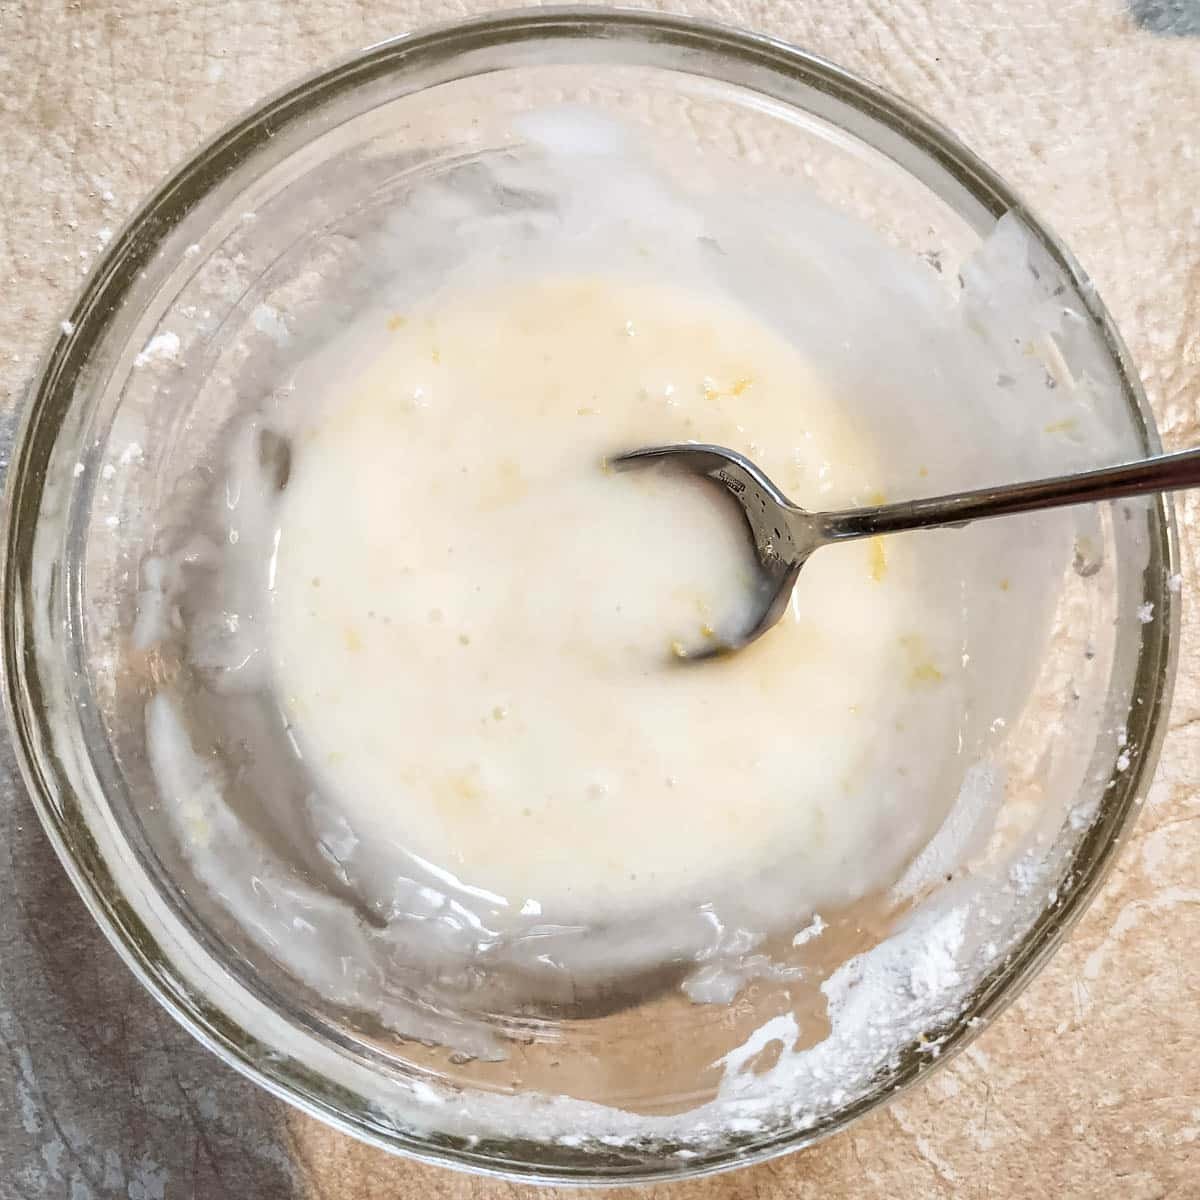
- In a small bowl add the powdered sugar. Zest ½ the lemon into the bowl½ cup powdered sugar, zest from ½ a lemon
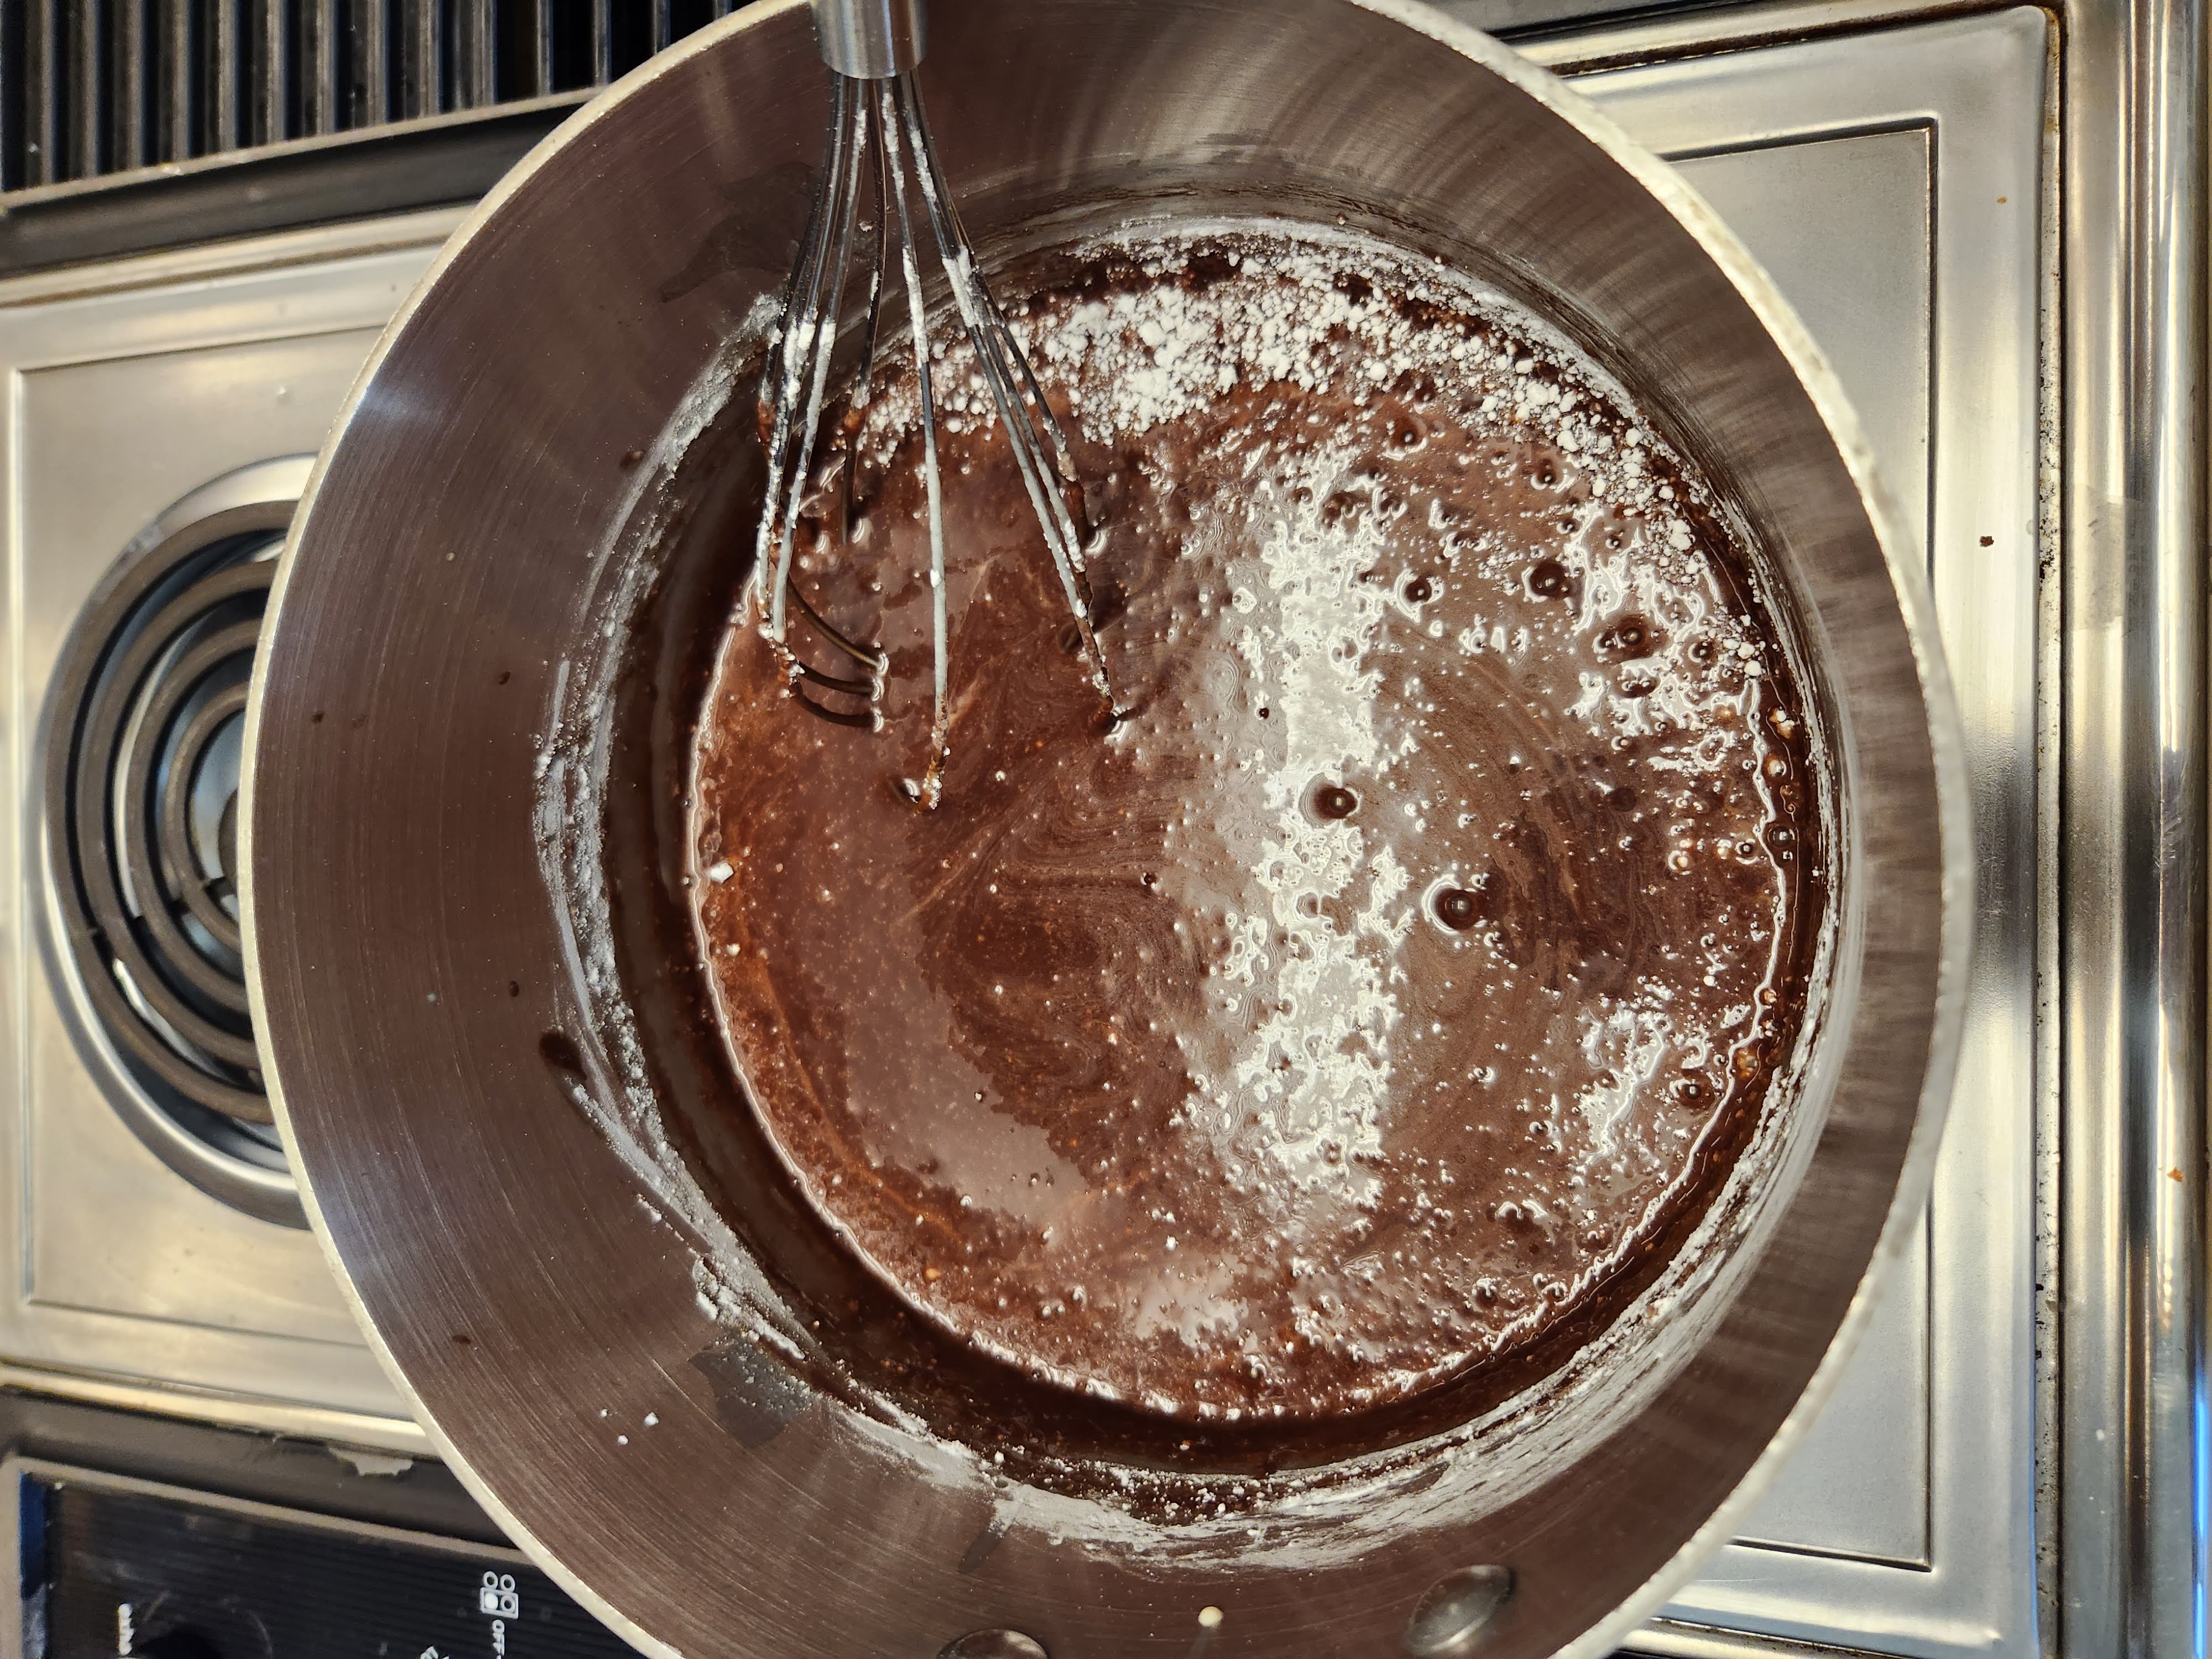
- Juice the lemon and add 1 tablespoon to the powder sugar.1 tablespoon fresh squeezed lemon juice
- Stir or whisk together. It should be a drizzle consistency. Add more lemon juice as needed.
Serving
- Cut the cooled bars into 12 or 16 squares.
- Drizzle each square with the lemon glaze.
- Serve with vanilla bean ice cream or whipped cream.