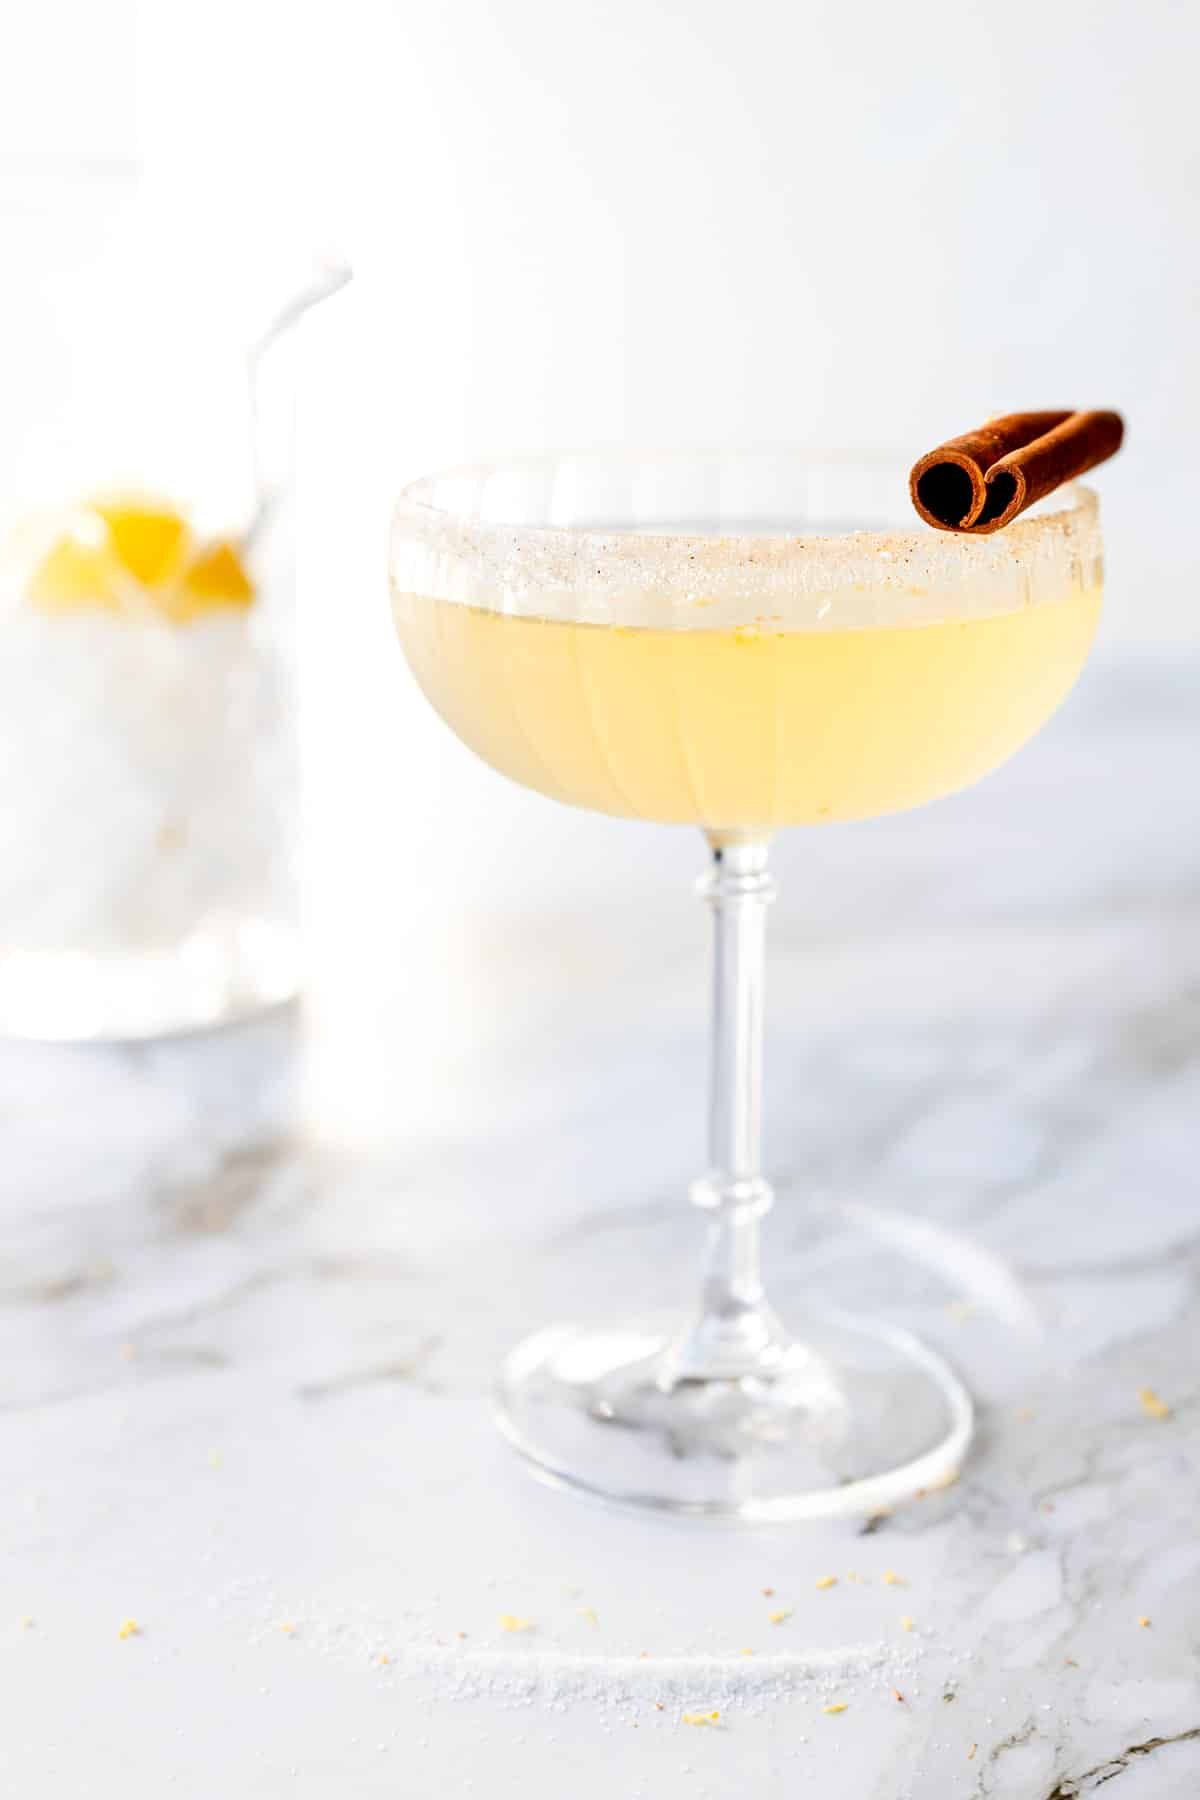
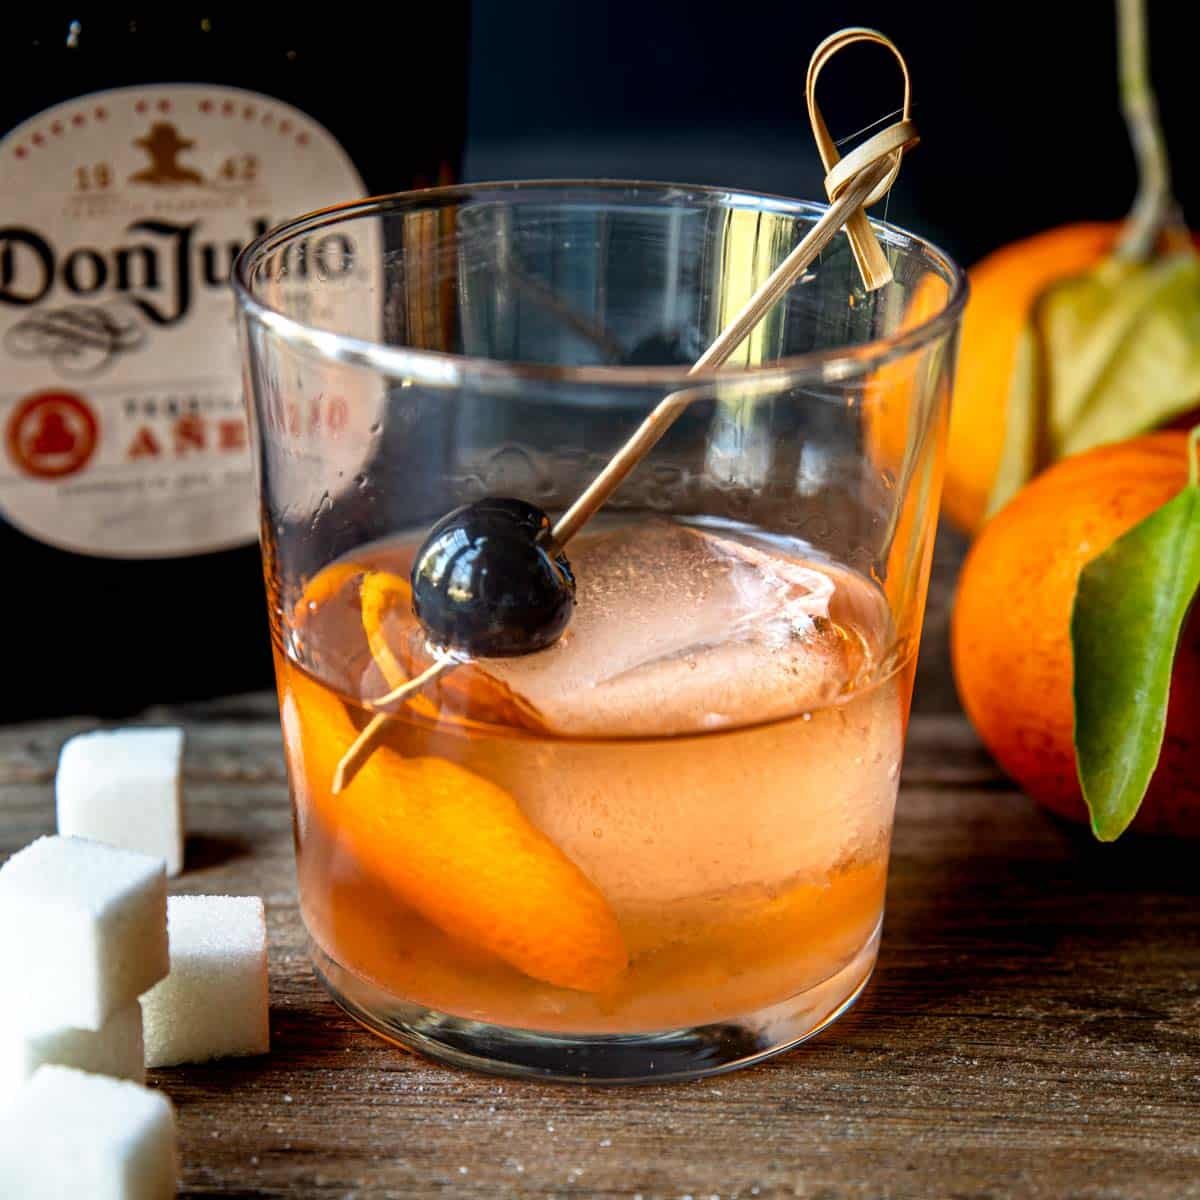
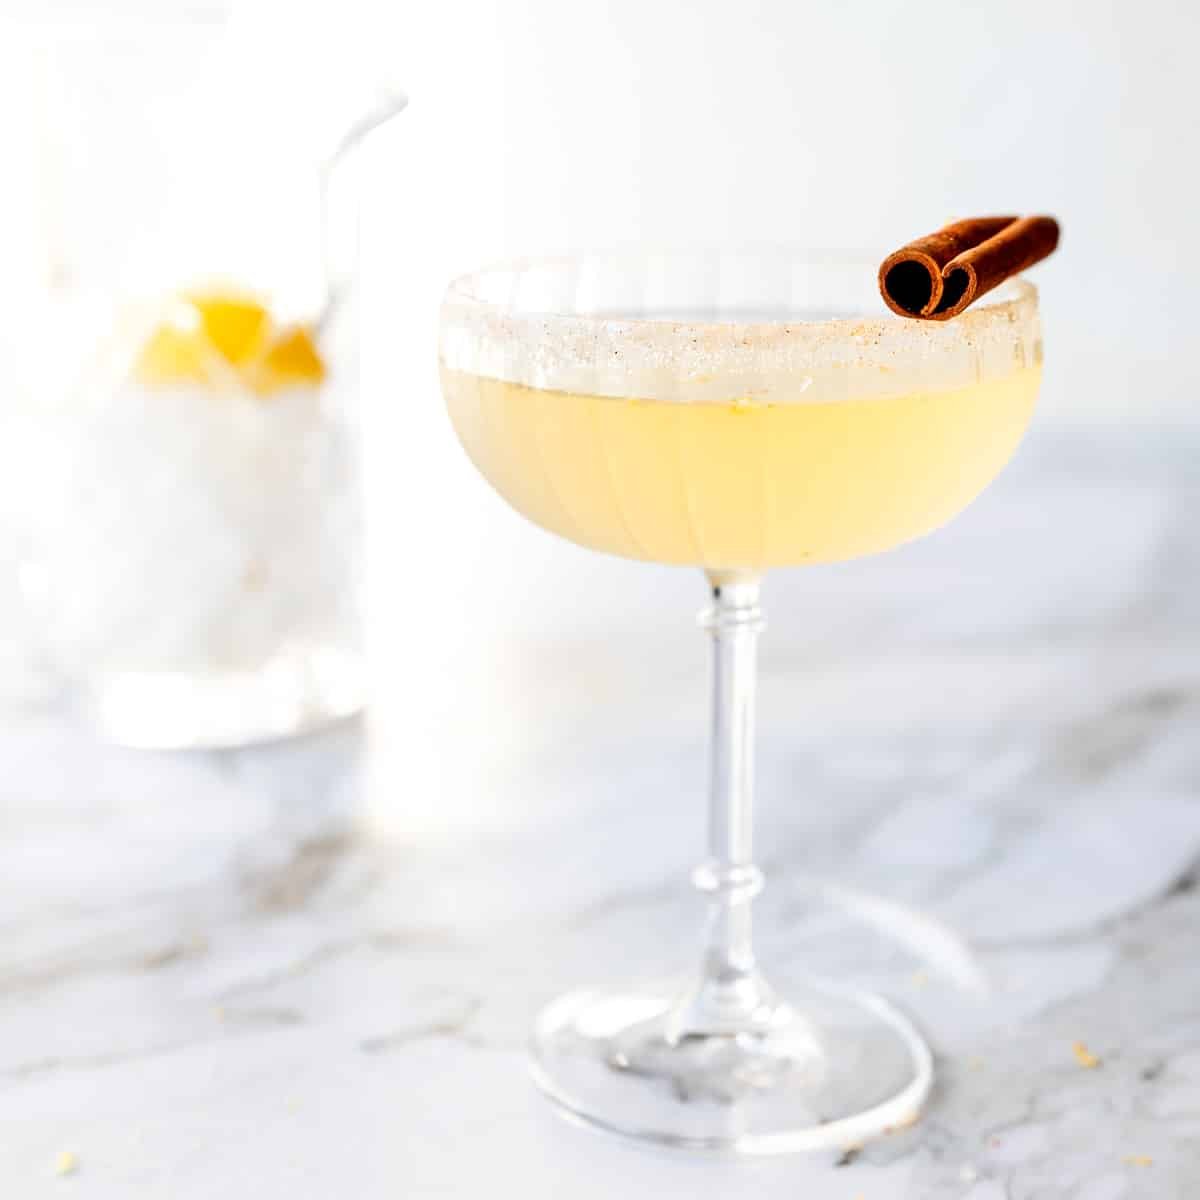
If you love tequila and are looking for a super sophisticated and unbelievably delicious cocktail, this Tequila Cinnamon Lemon Drop is what you need! It is a take on a Vodka Lemon Drop… but this one is made with Añejo Tequila mixed with cinnamon simple syrup and lemon juice. Served in a stemmed glass with a cinnamon sugar rim.
The flavors of cinnamon and lemon go together SO WELL, just like in this Grilled Lemon and Reposado Tequila .
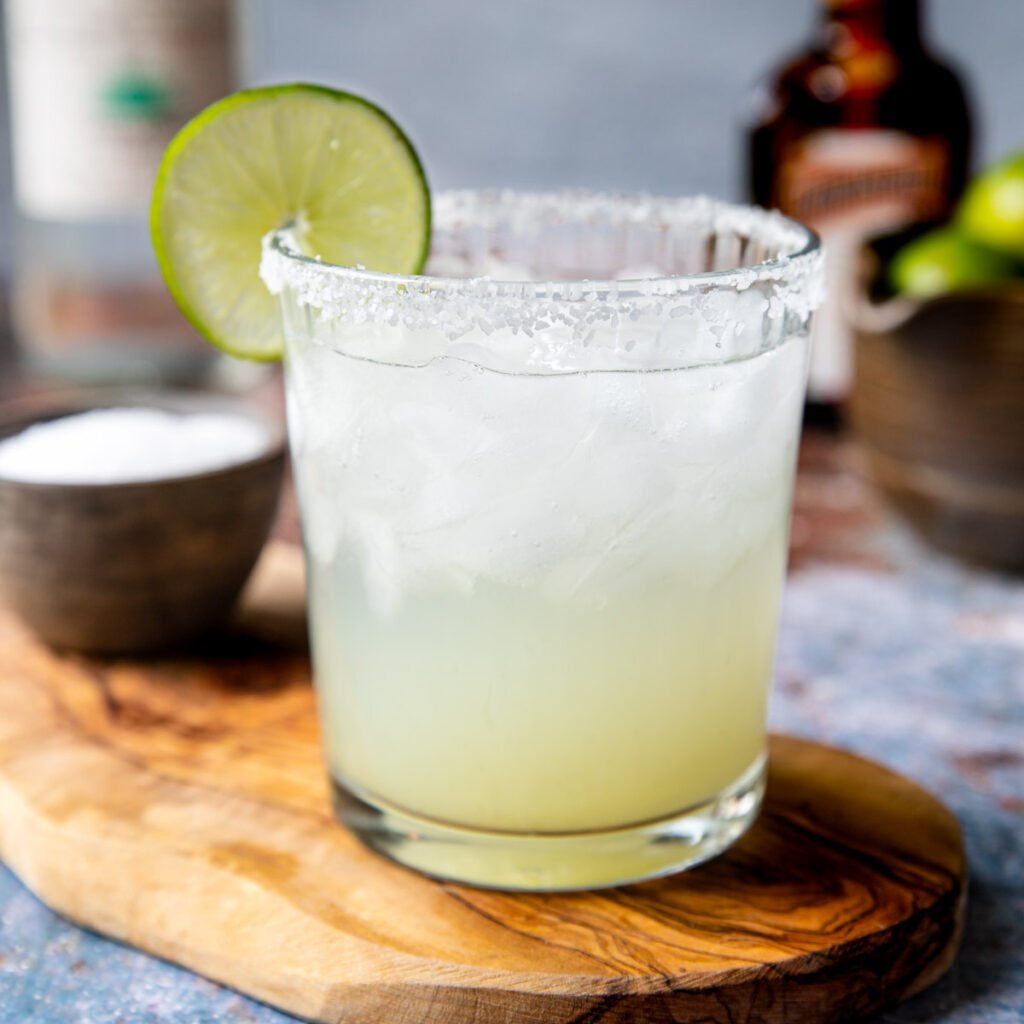
We also love a straight forward Tequila Lemon Drop with just silver tequila, lemon and simple syrup. So clean and crisp!
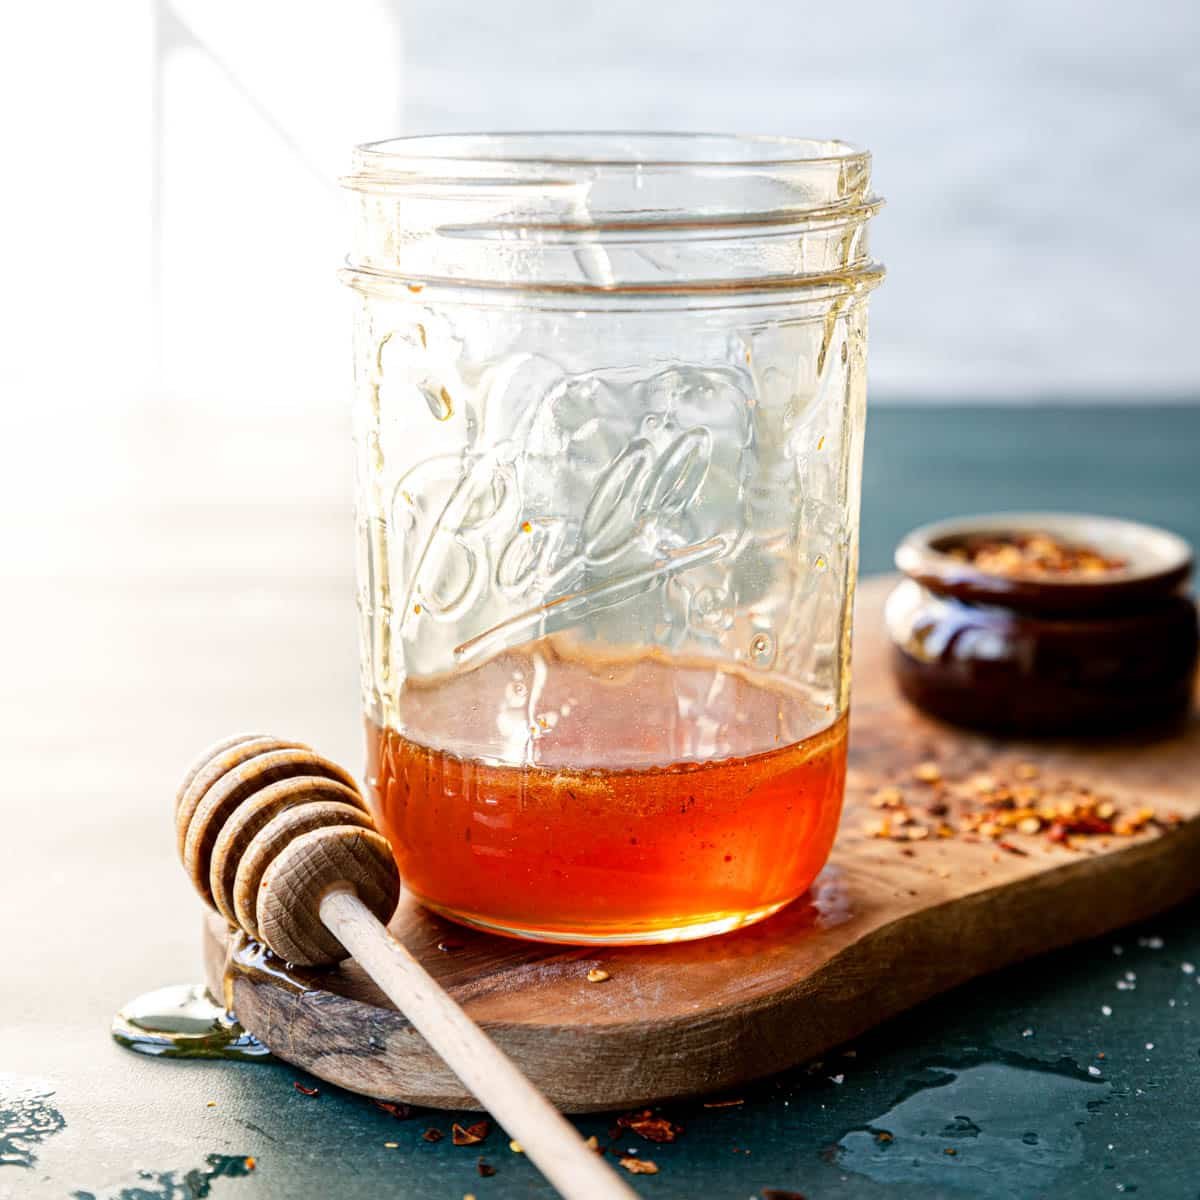
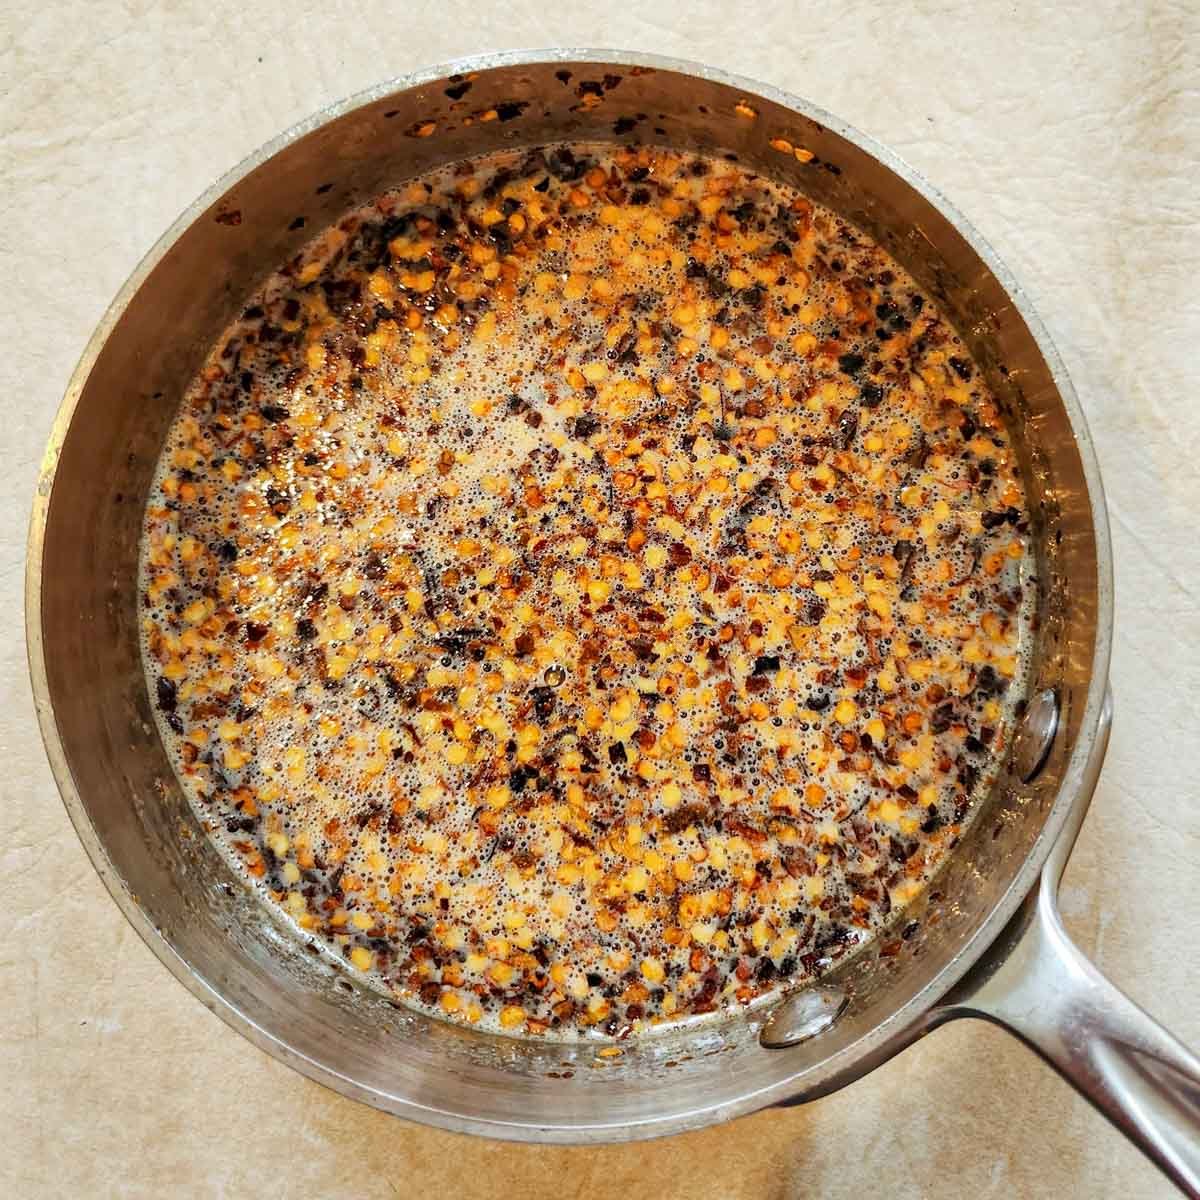
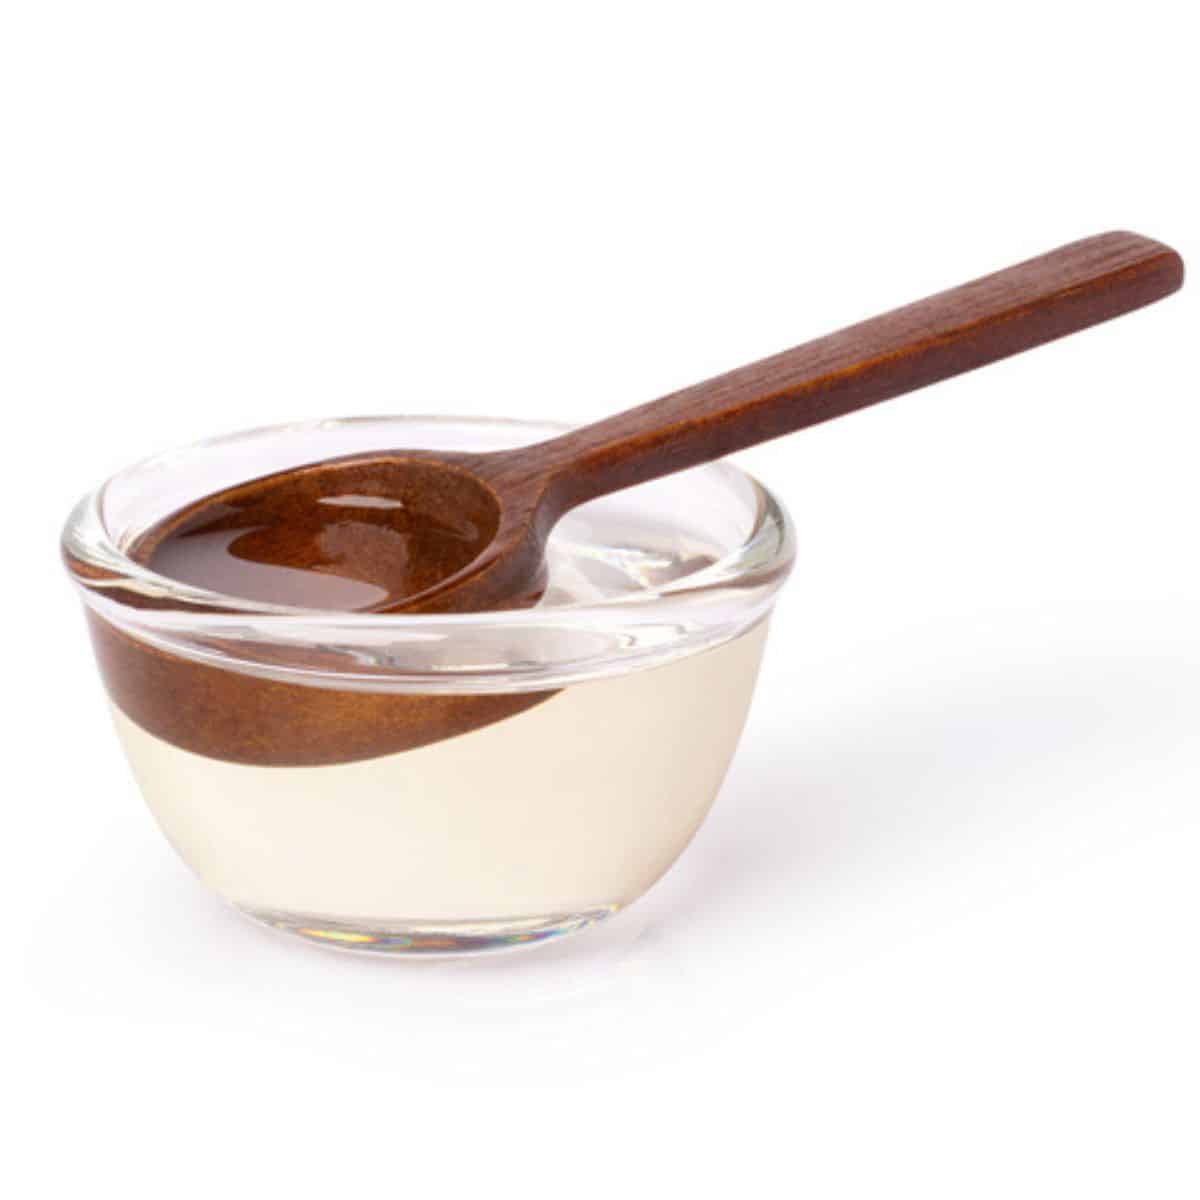
Cinnamon Simple Syrup
Cinnamon Simple Syrup imparts the most delicious warm flavor in this Lemon Drop. The sweet cinnamon is the perfect balance to the bright, tart lemon flavor.
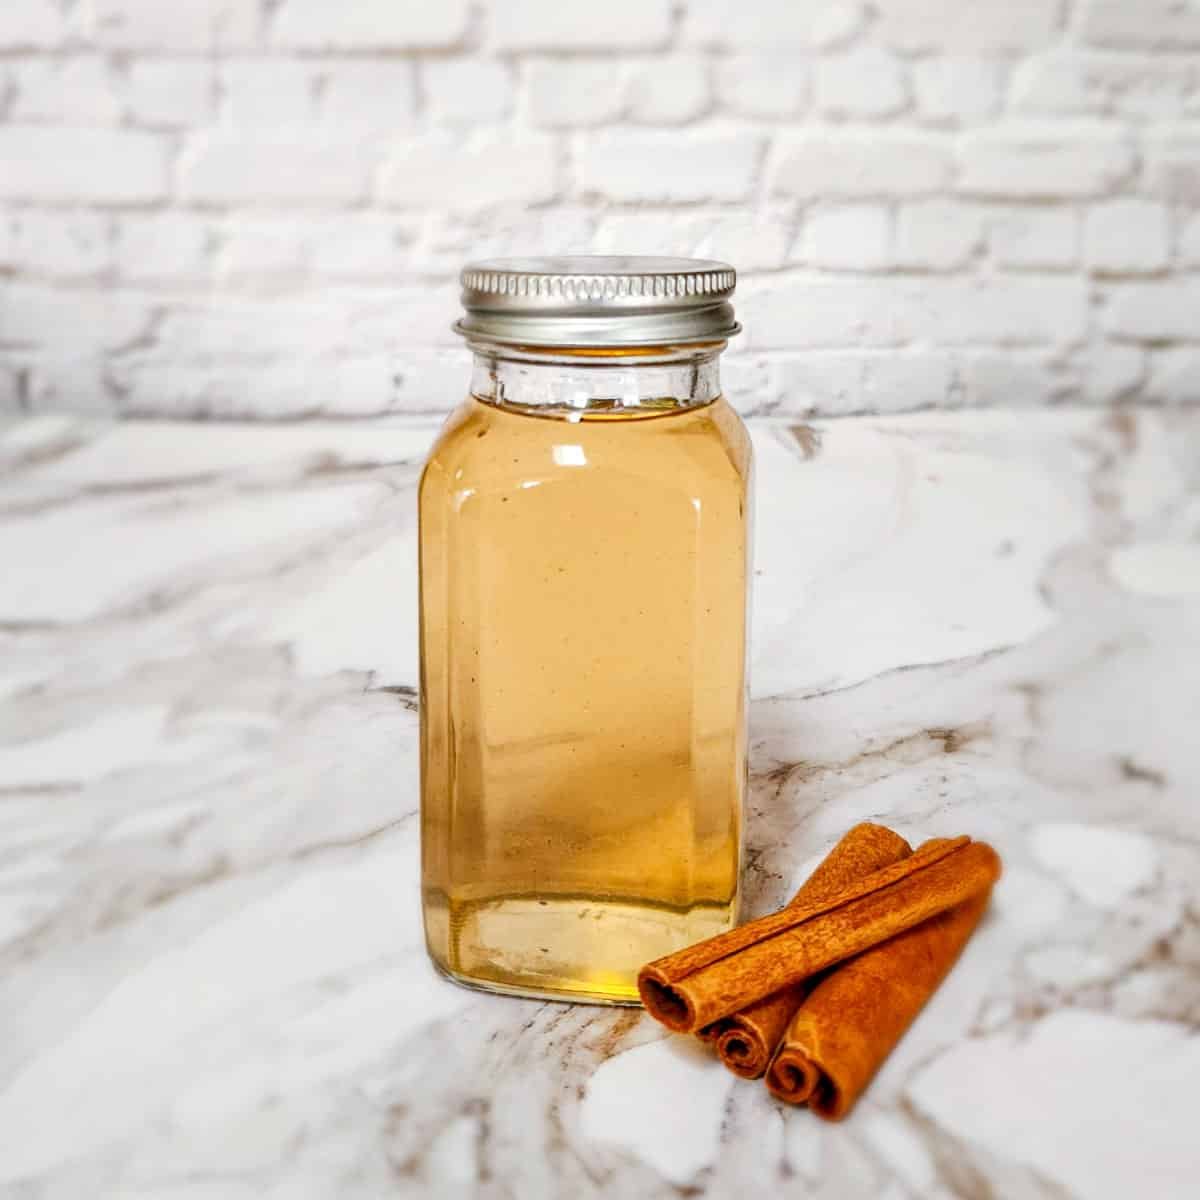
Cinnamon Simple Syrup
A 3 ingredient sugar syrup that is flavored with cinnamon sticks. Goes great in this Lemon Drop Cocktail!
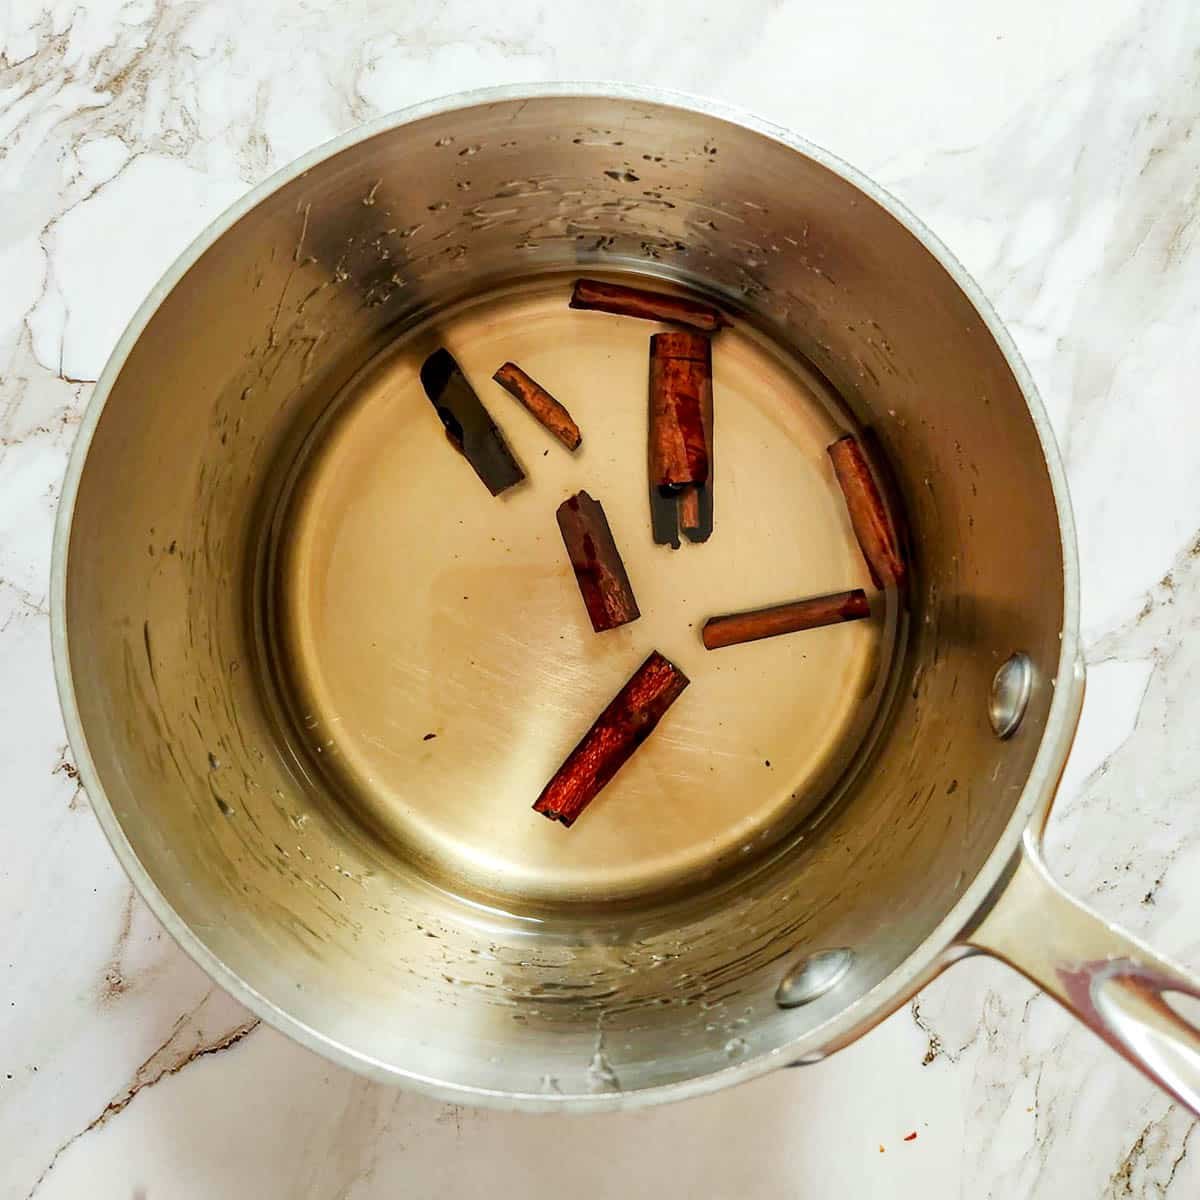
It is super easy to make Cinnamon Simple Syrup. It is equal parts sugar and water mixed with cinnamon sticks.
- 1 cup sugar
- 1 cup water
- 3 cinnamon sticks, broken
Simmer together for a few minutes and let steep off the heat for about 2-4 hours. Strain out the cinnamon sticks and store in the fridge for 3 months.
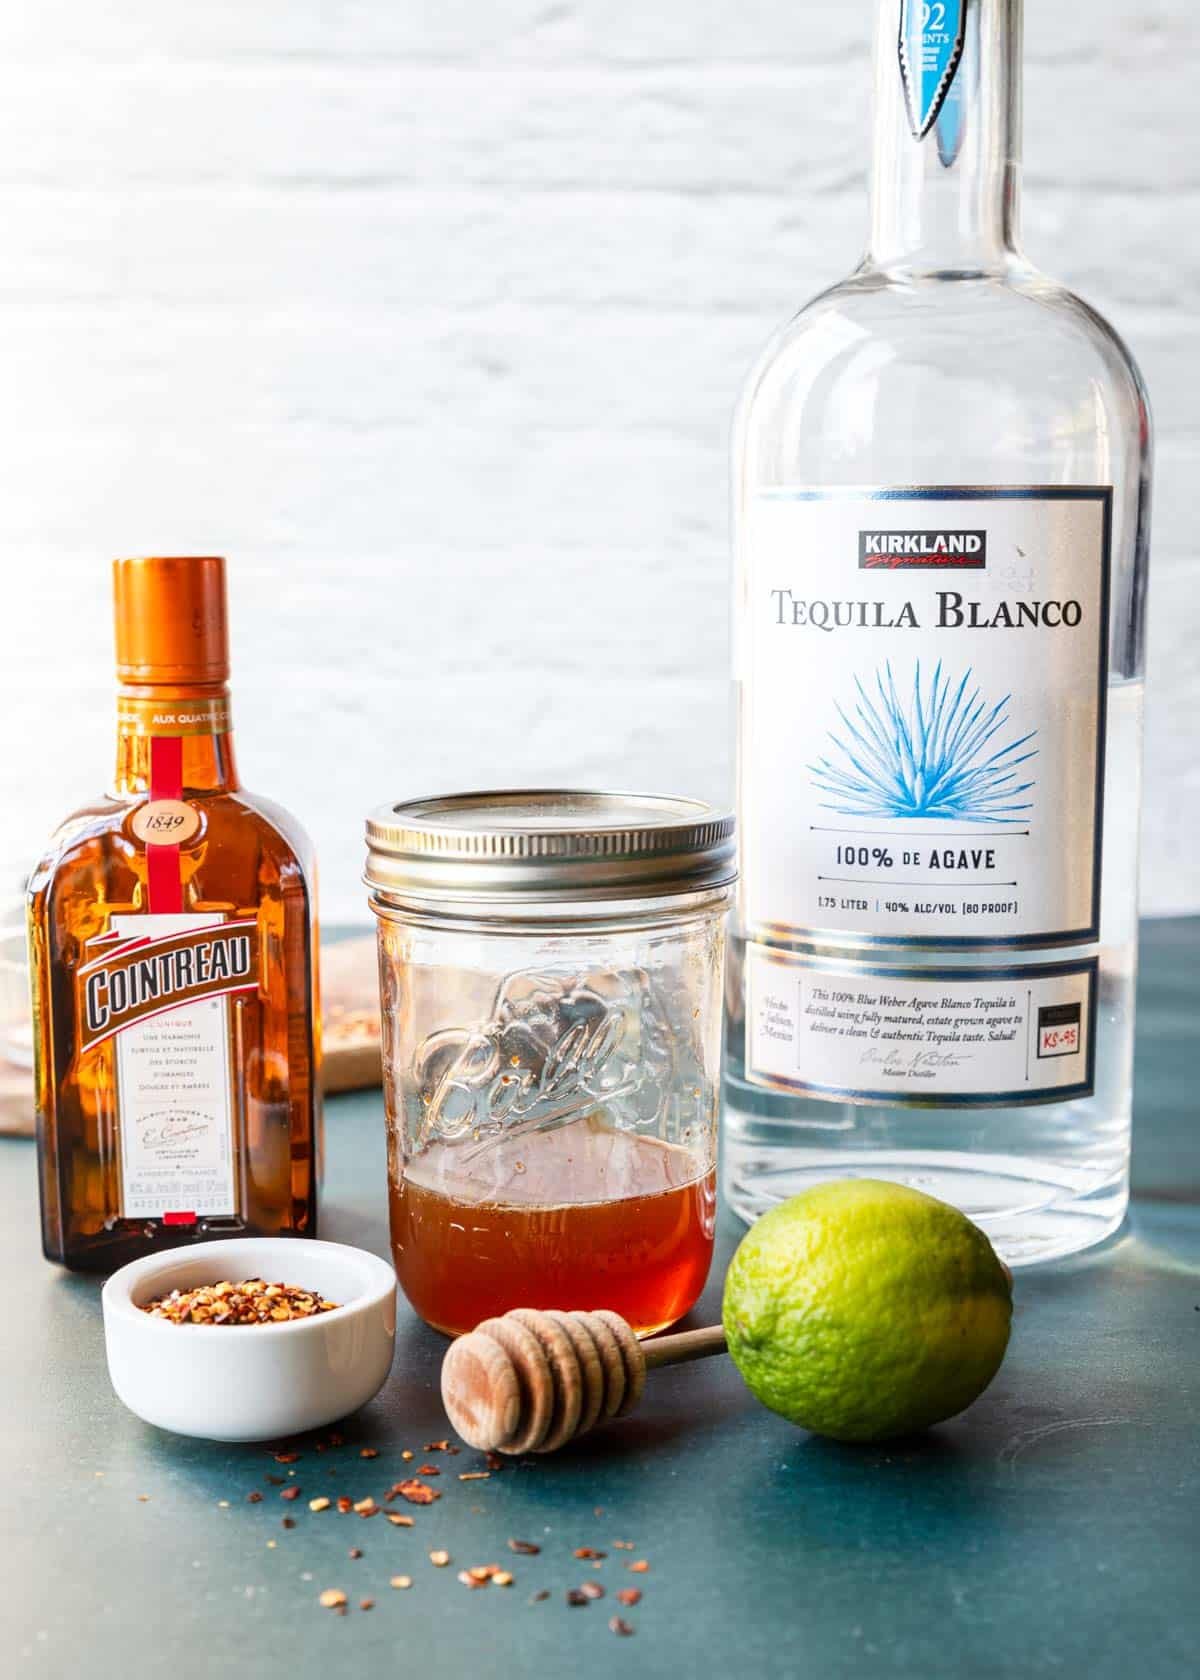
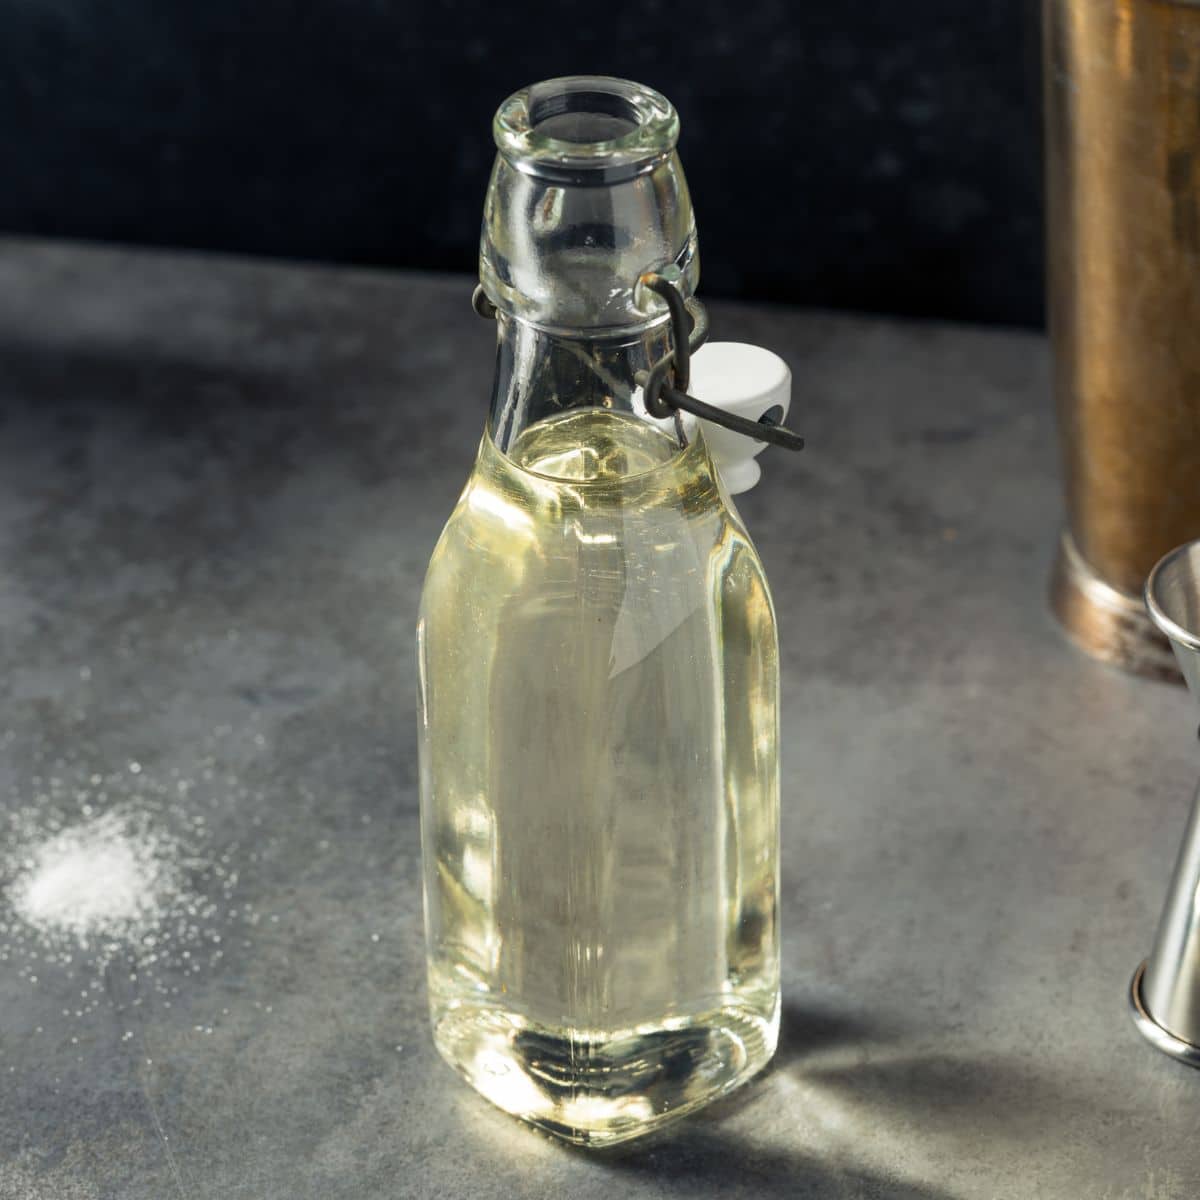
Añejo Tequila
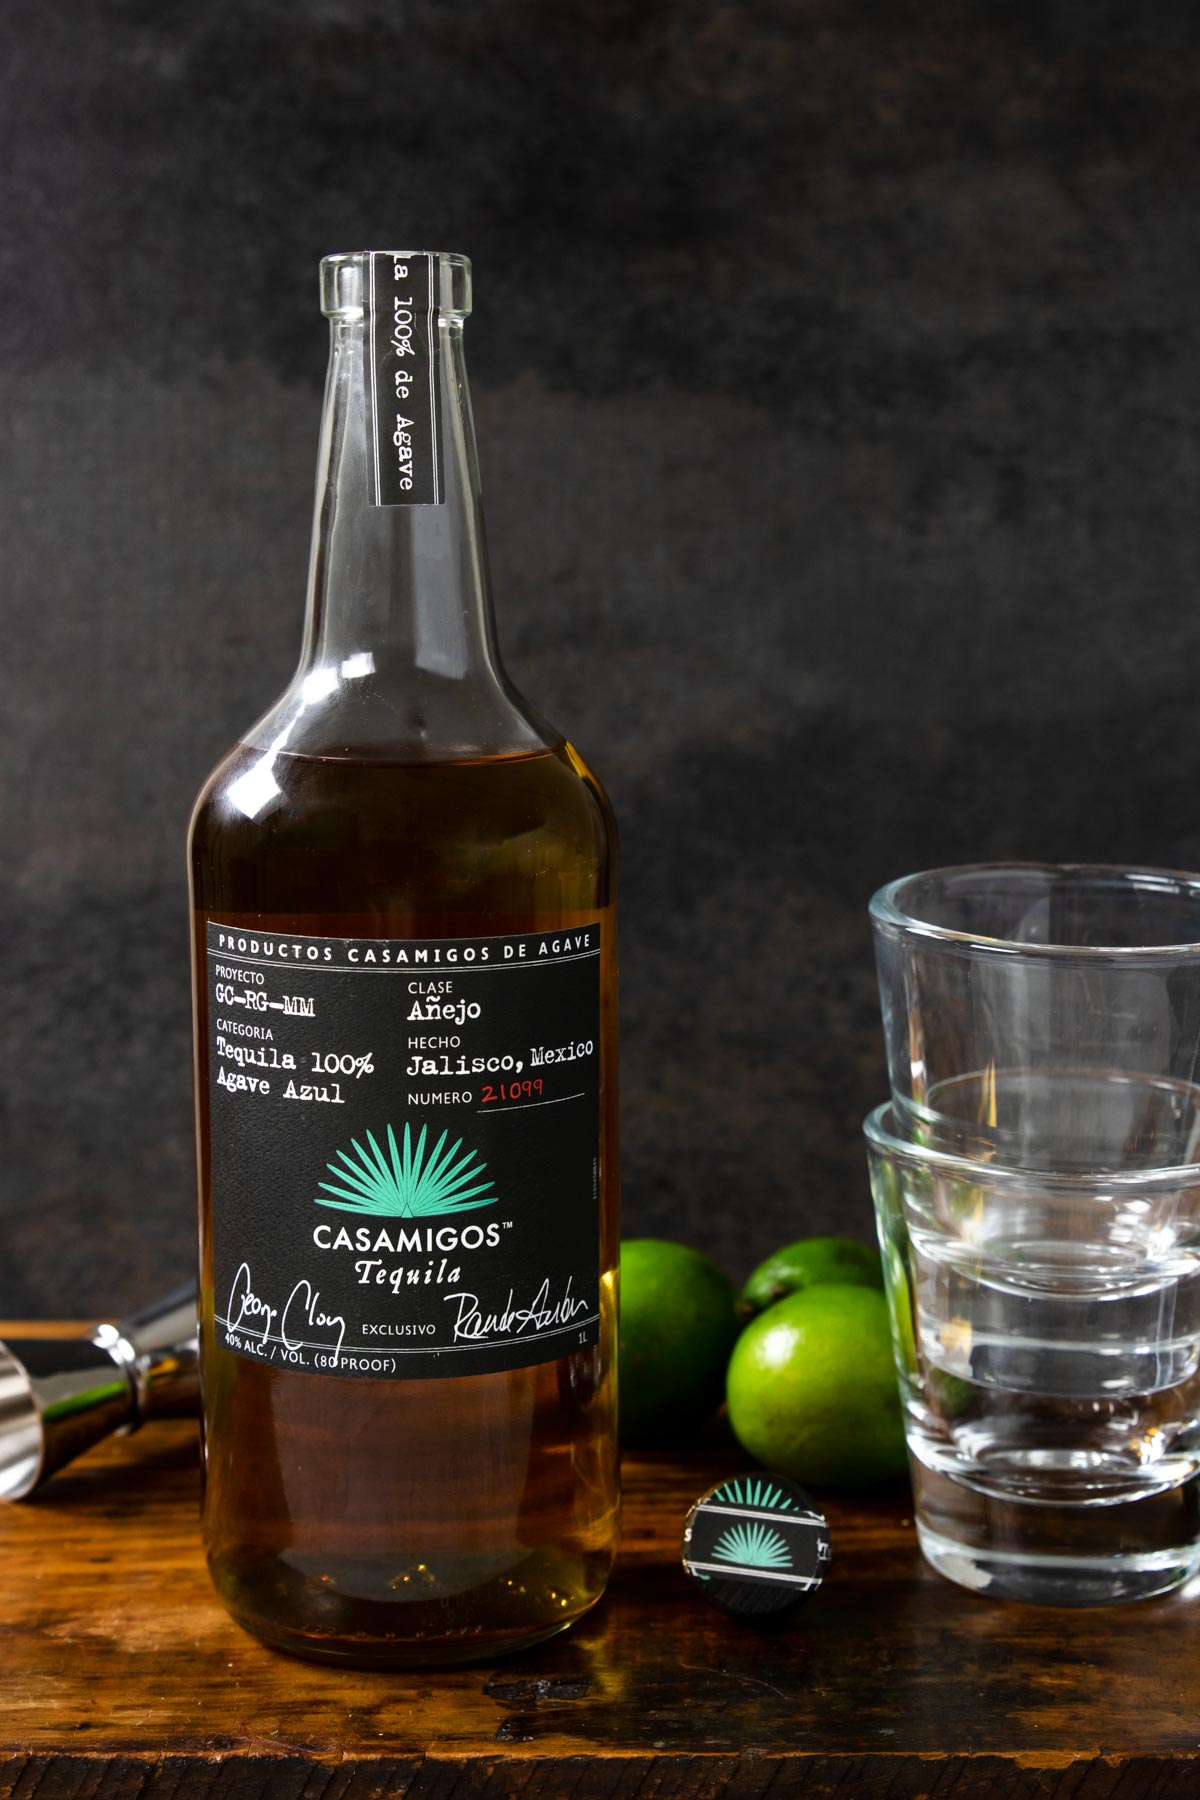
Añejo tequila is the aged version of tequila. It is caramel in color and has flavors of vanilla and caramel, is is the tequila version of a really good whiskey.
Some brands that we love are:
- Believe it or not the Costco Kirkland Añejo Tequila is AMAZING!!! Some call it Costco-migas because it is speculated that it is actually Casamigos.
- Casamigos
- Patron
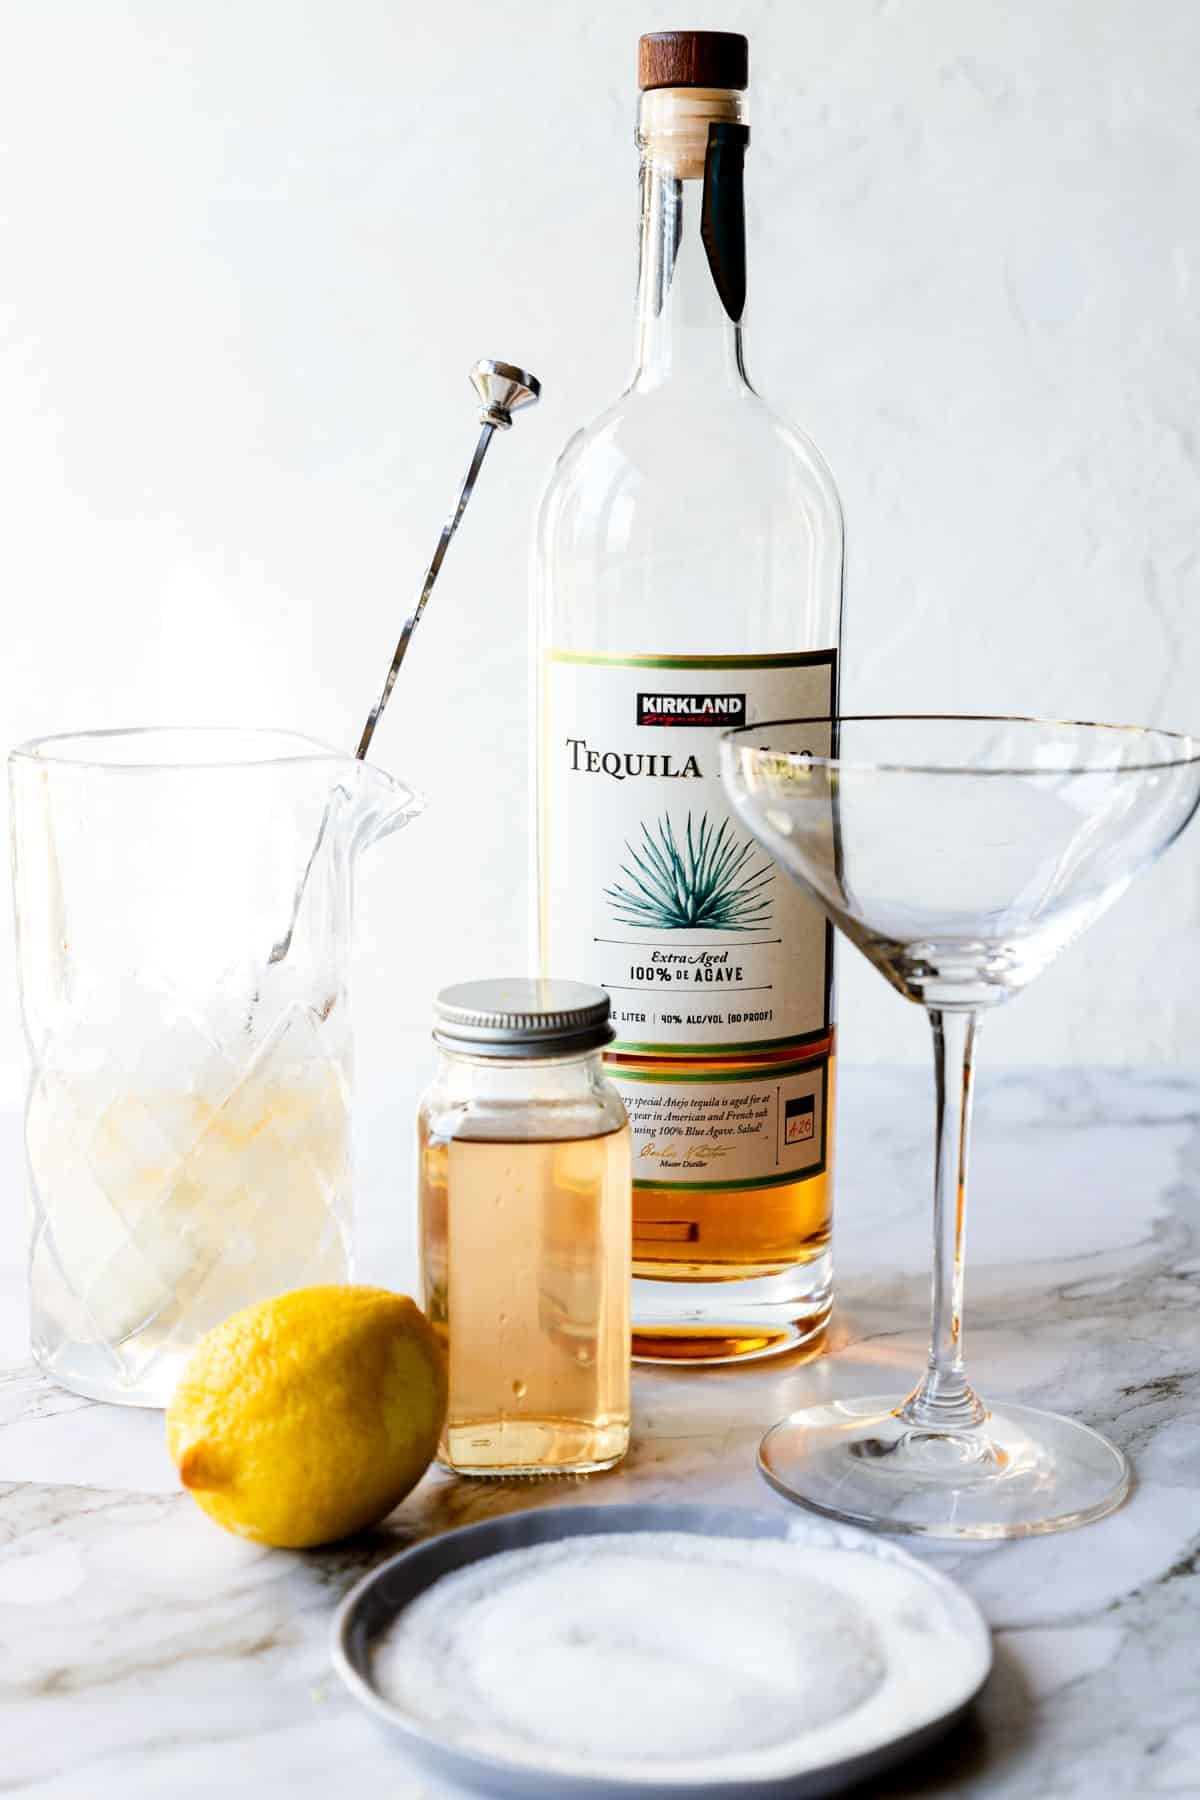
Añejo is not a tequila you want to mix with too many ingredients. You still want to be able to taste the complex flavors. That is why it works so well in this Cinnamon Lemon Drop.
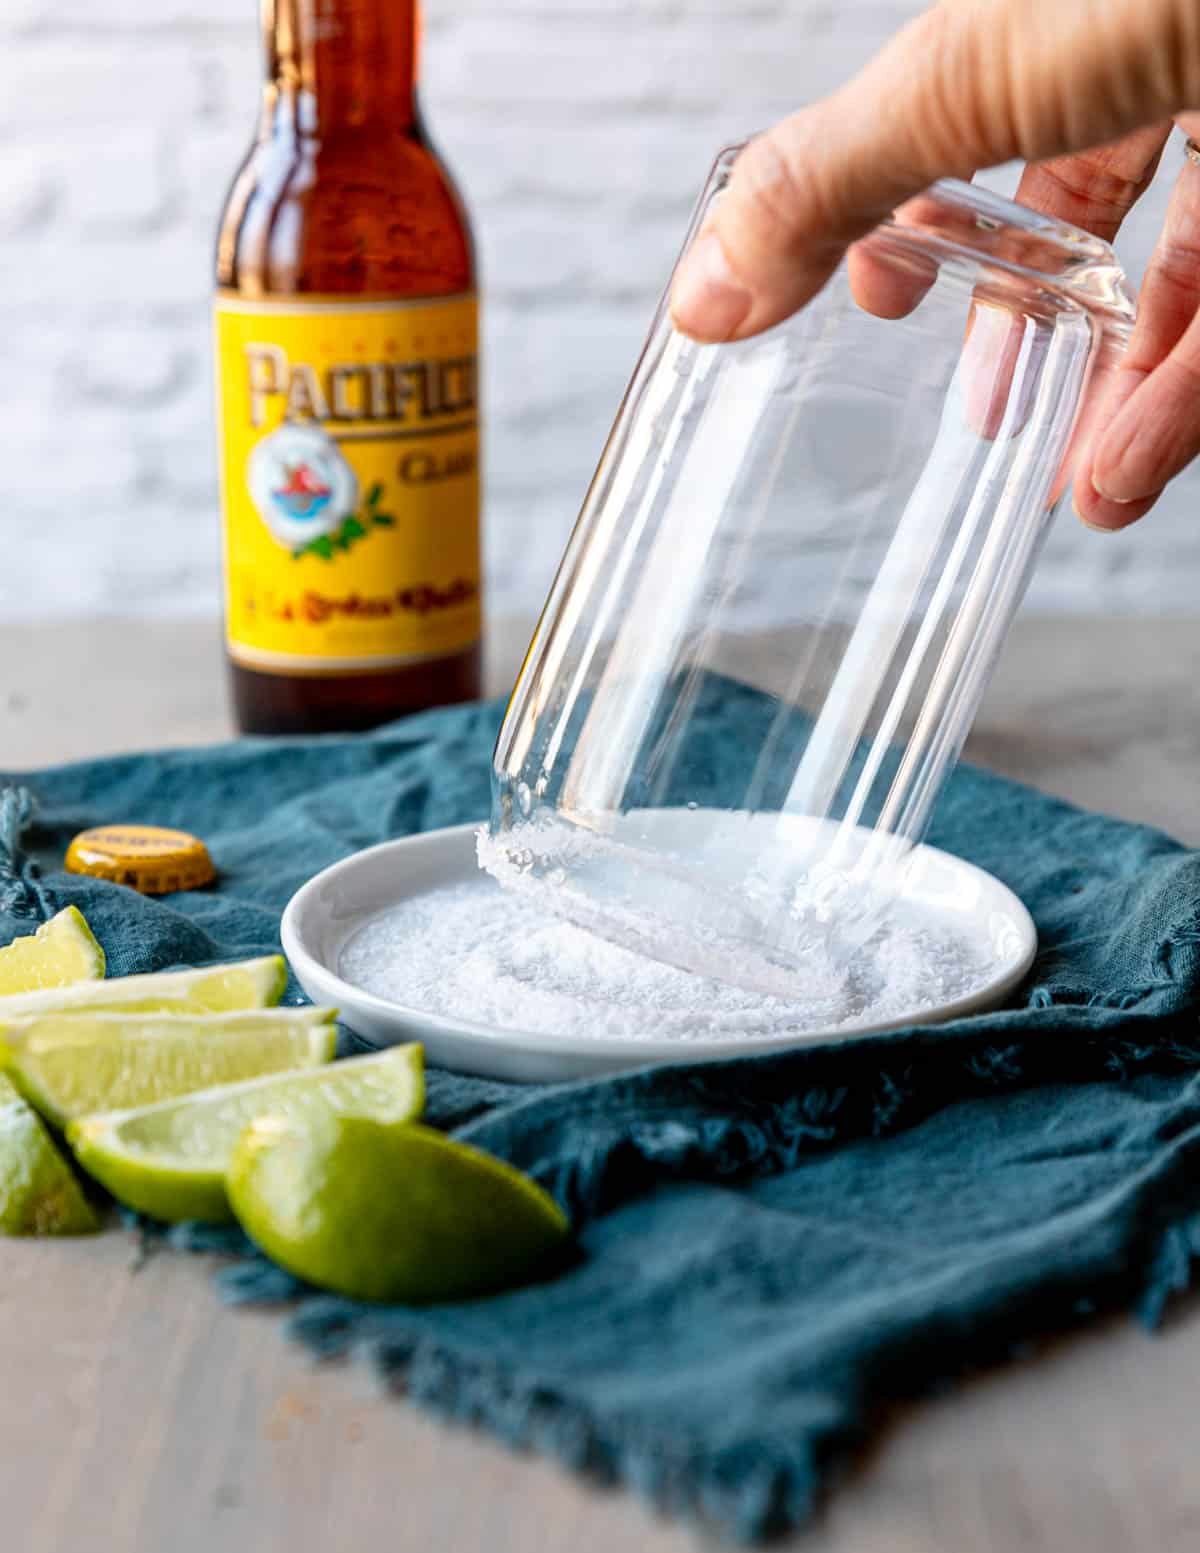
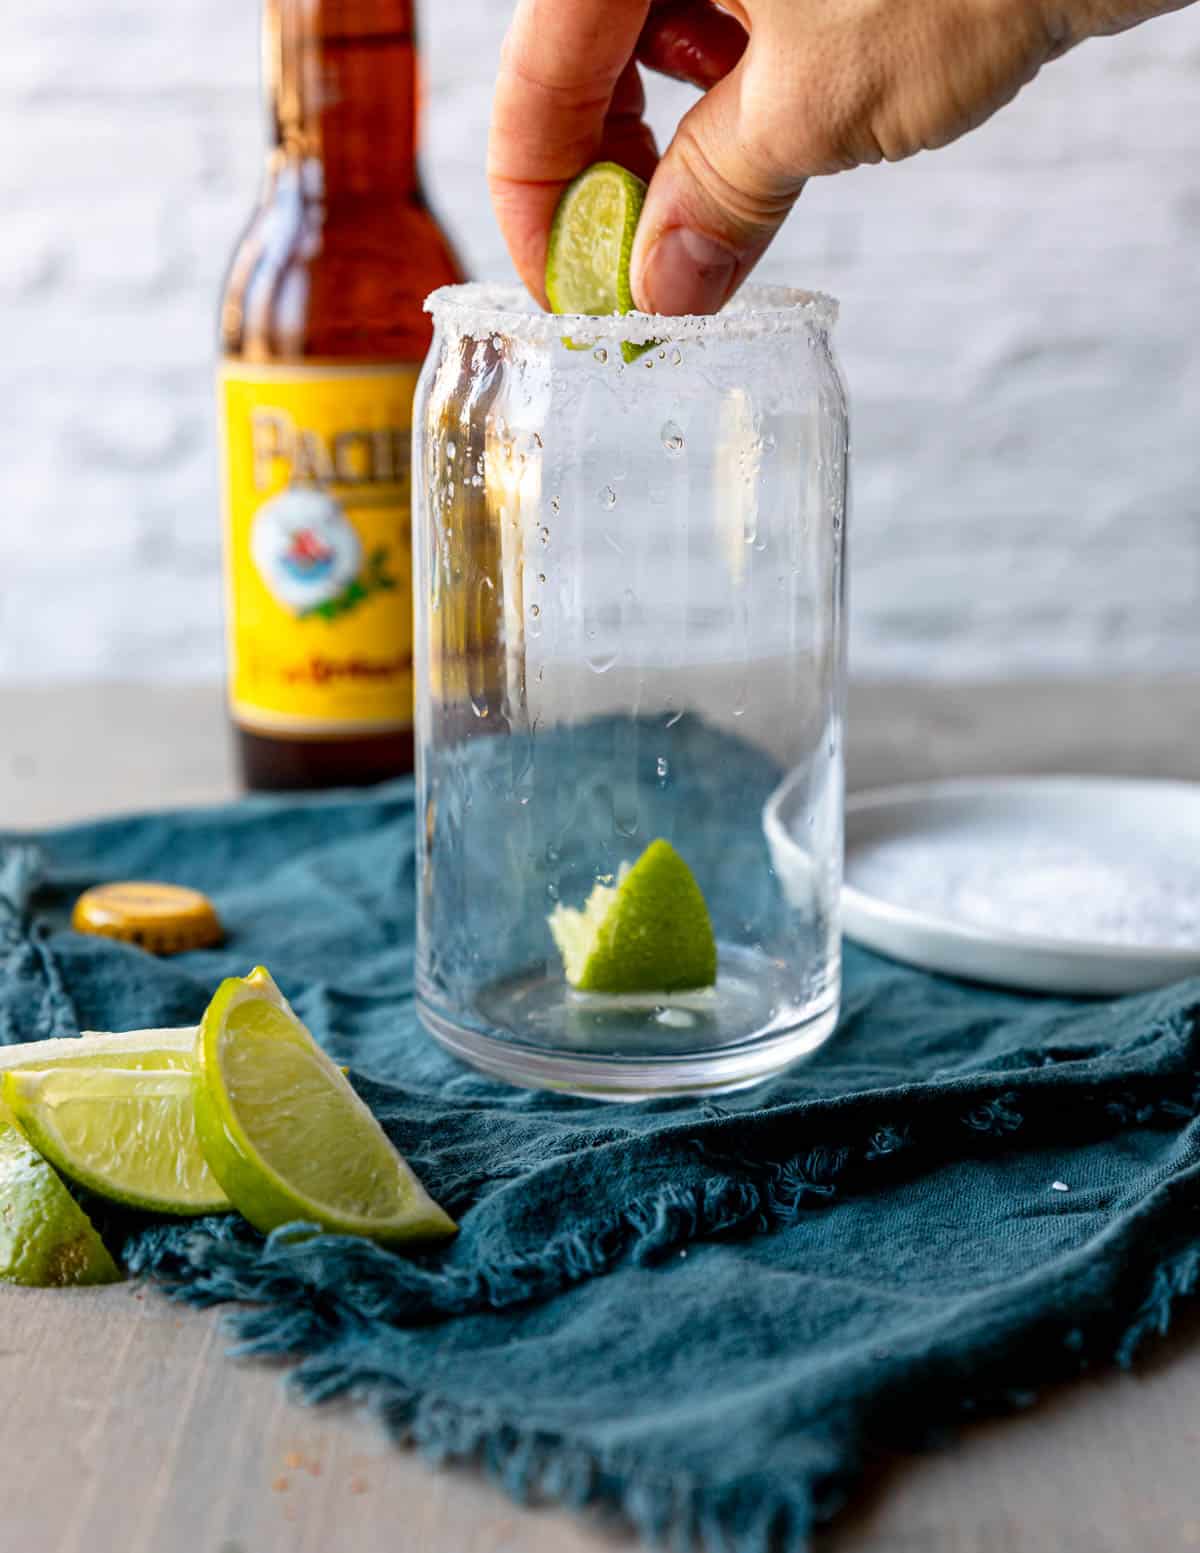
Glassware
A lemon drop is traditionally served in a stemmed glass like a coupe or martini glass. We LOVE a good coupe glass so that is usually what we choose.
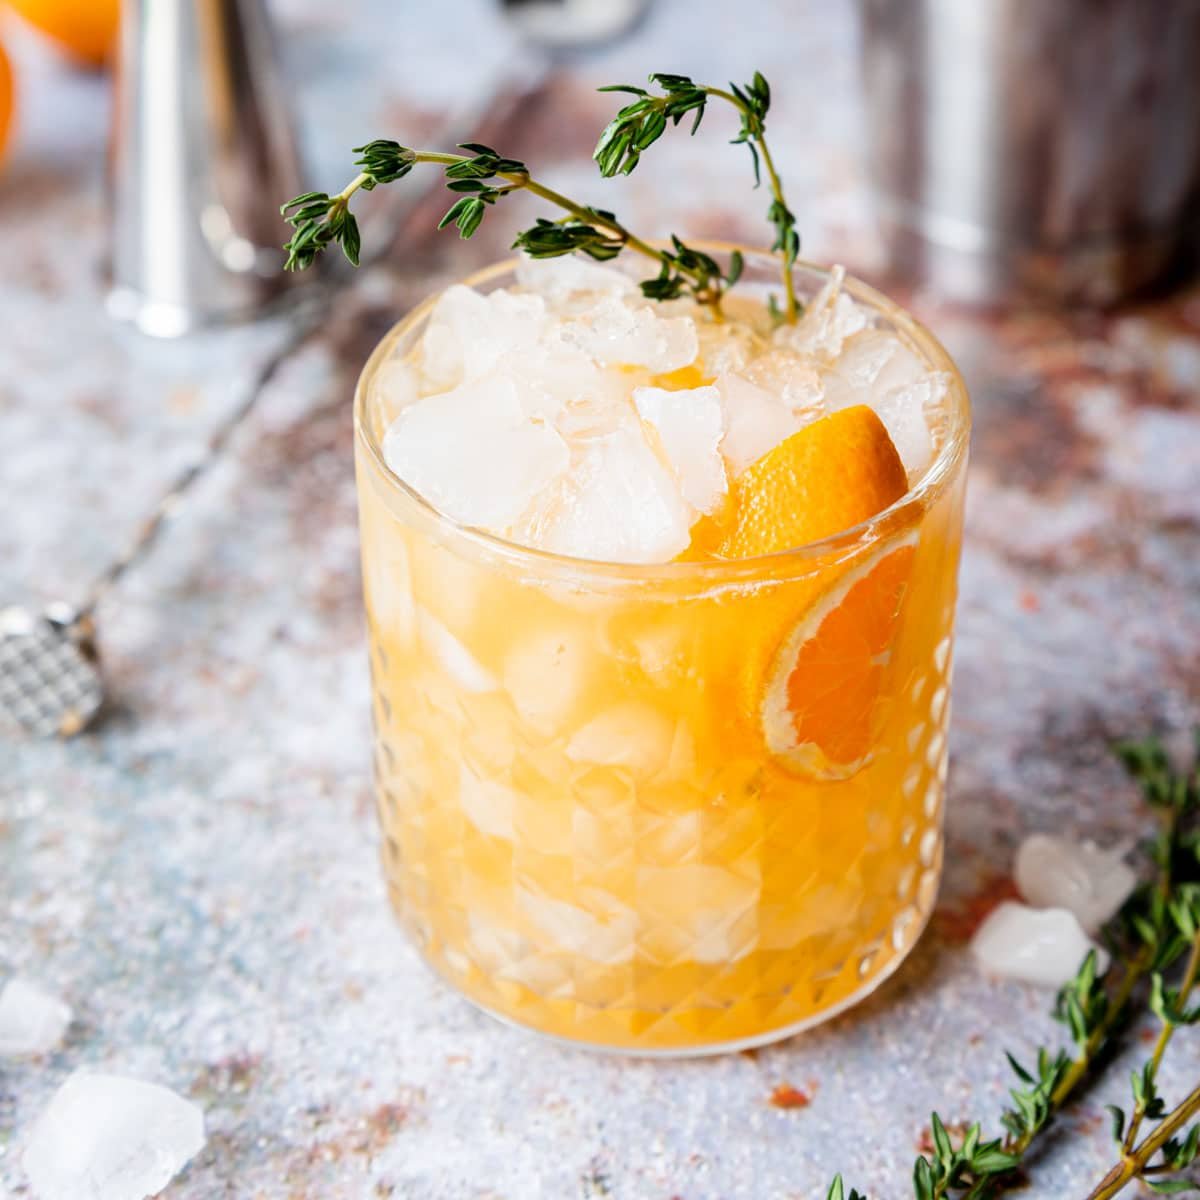
More Añejo Tequila Cocktails

Tequila Cinnamon Lemon Drop
Equipment
- Stemmed Glass
Ingredients
- 2 oz Añejo tequila
- 1 oz cinnamon simple syrup
- 1 oz lemon juice
- 1 tablespoon sugar
- 1 teaspoon ground cinnamon
Garnish – all optional
- lemon twist
- lemon zest
- cinnamon stick
Instructions
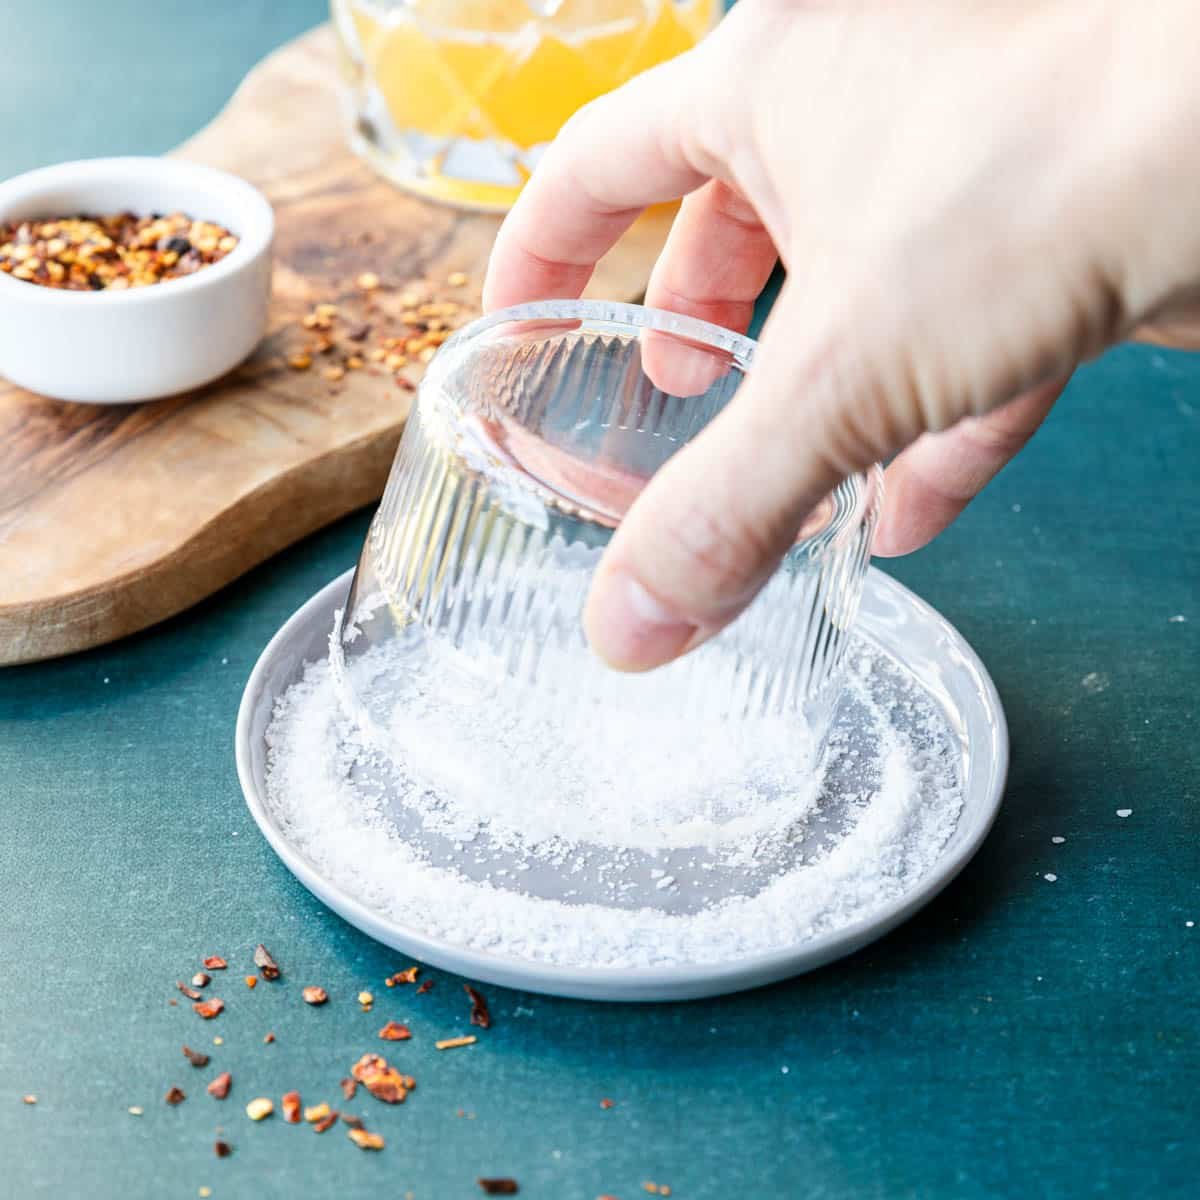
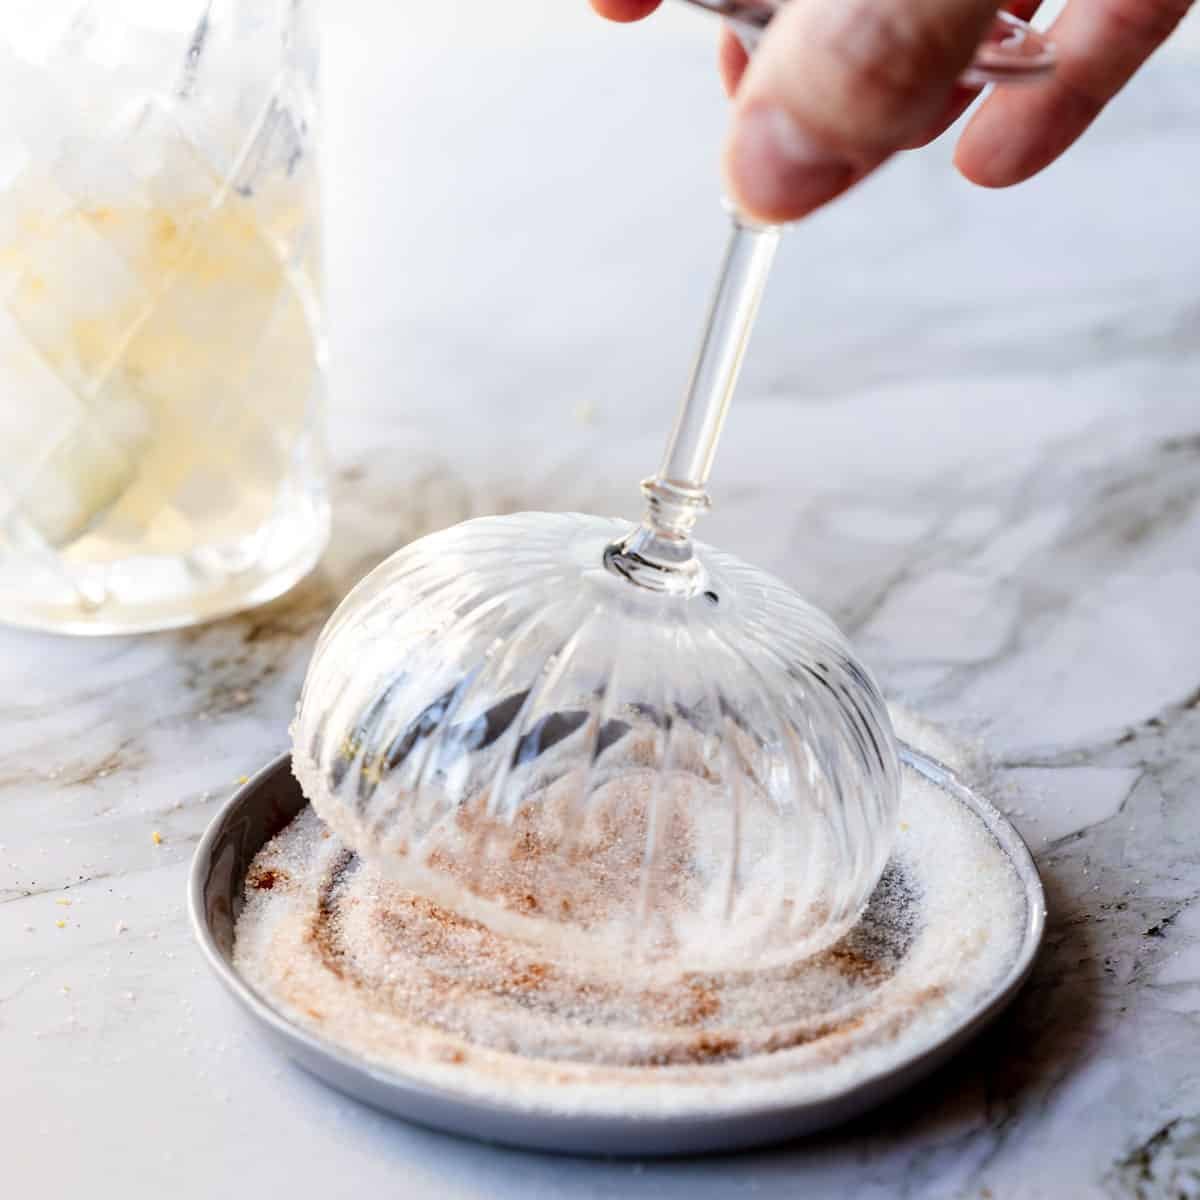
Glass Prep
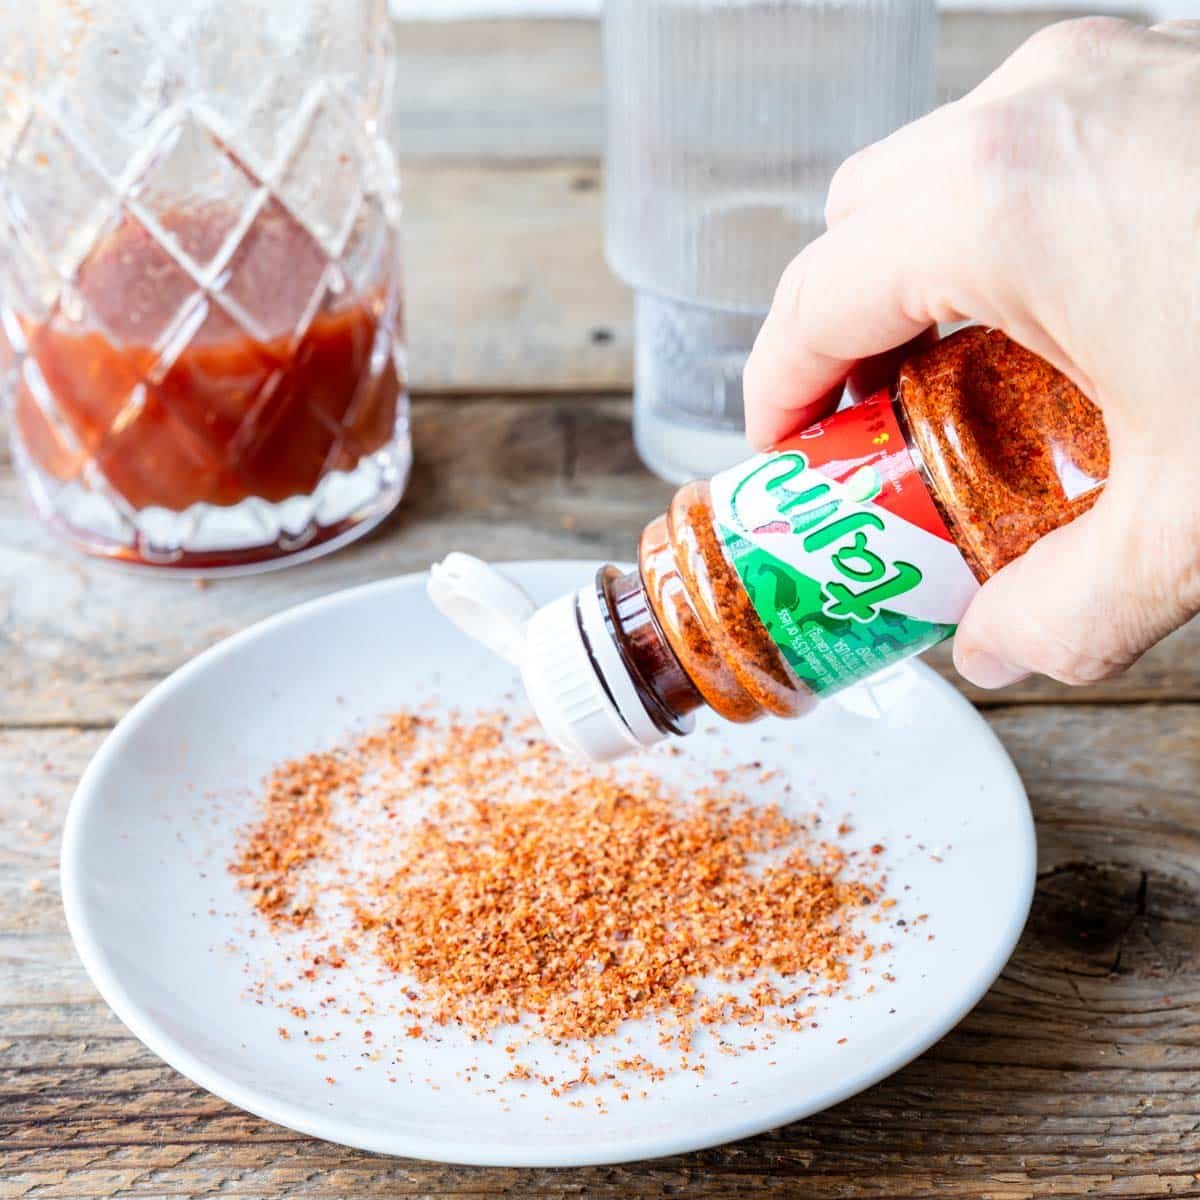
- Pour sugar and cinnamon on a flat plate or surface. Shimmy or stir to combine.1 tablespoon sugar, 1 teaspoon ground cinnamon
- Run a lemon wedge around the rim of your stemmed glass. Dip the rim of the glass in the cinnamon sugar.

- Set aside.
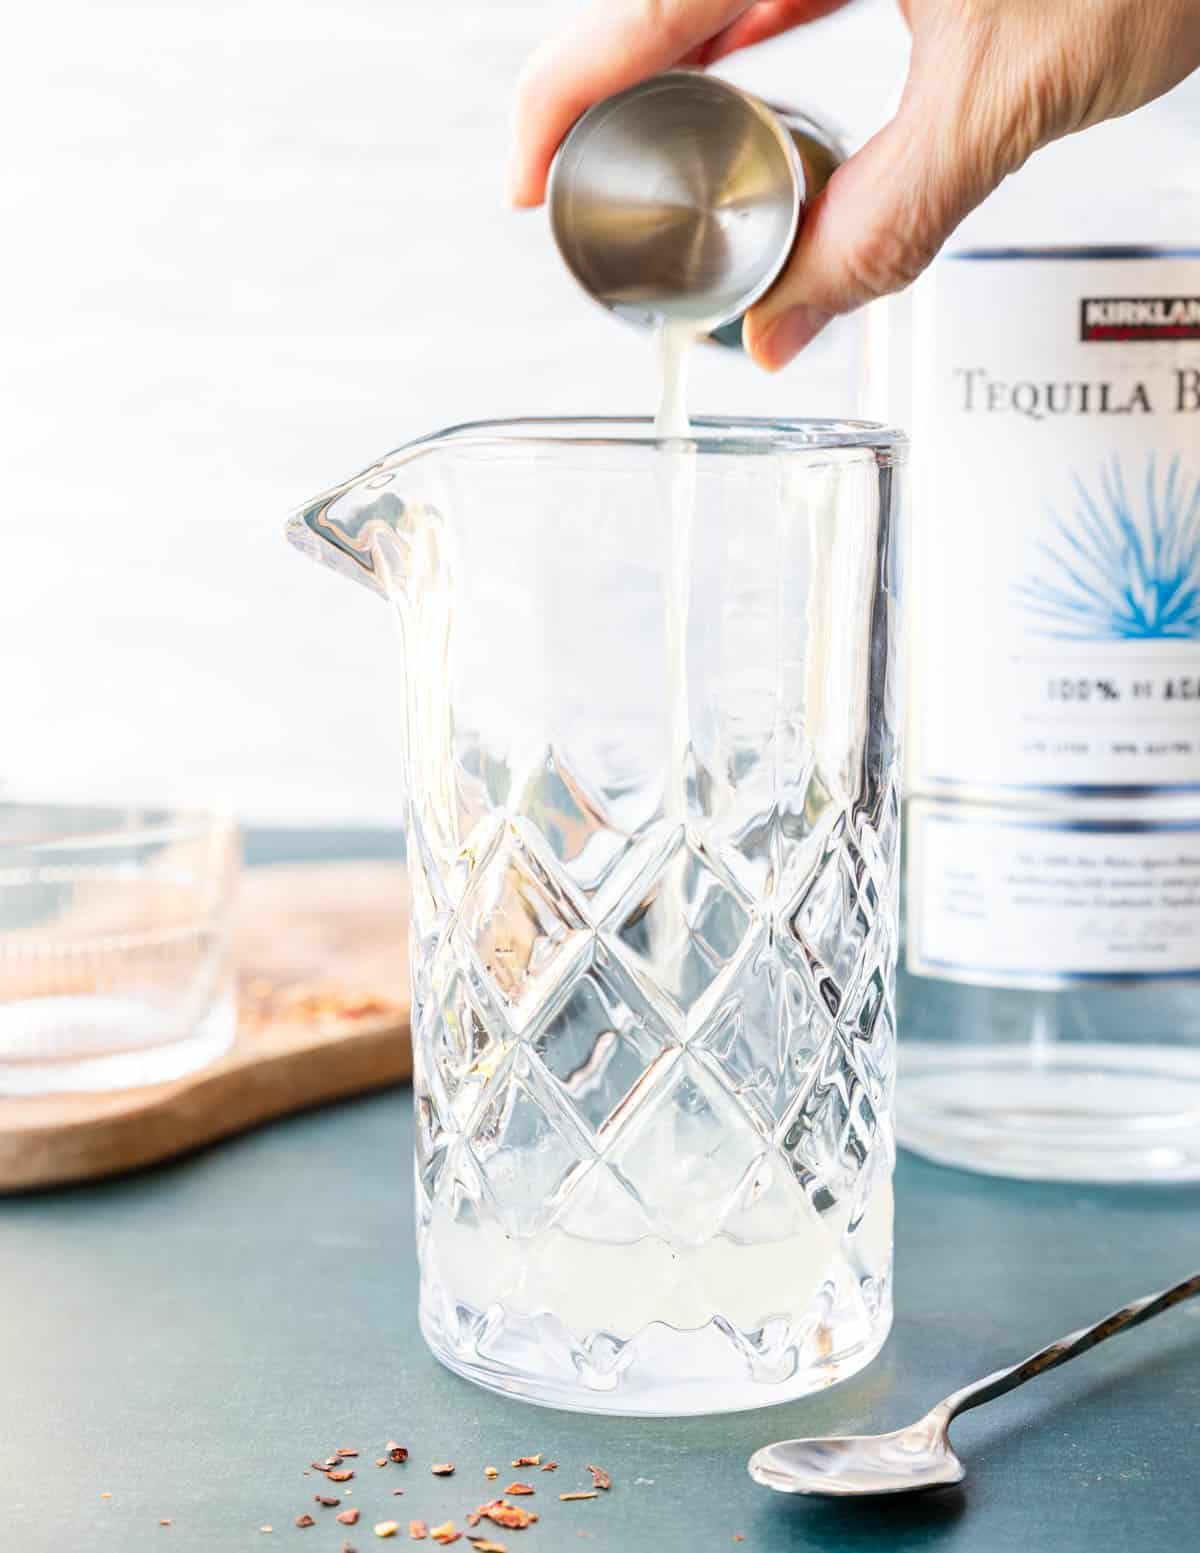
Cinnamon Tequila Lemon Drop
- In a cocktail shaker add a few cubes of ice.
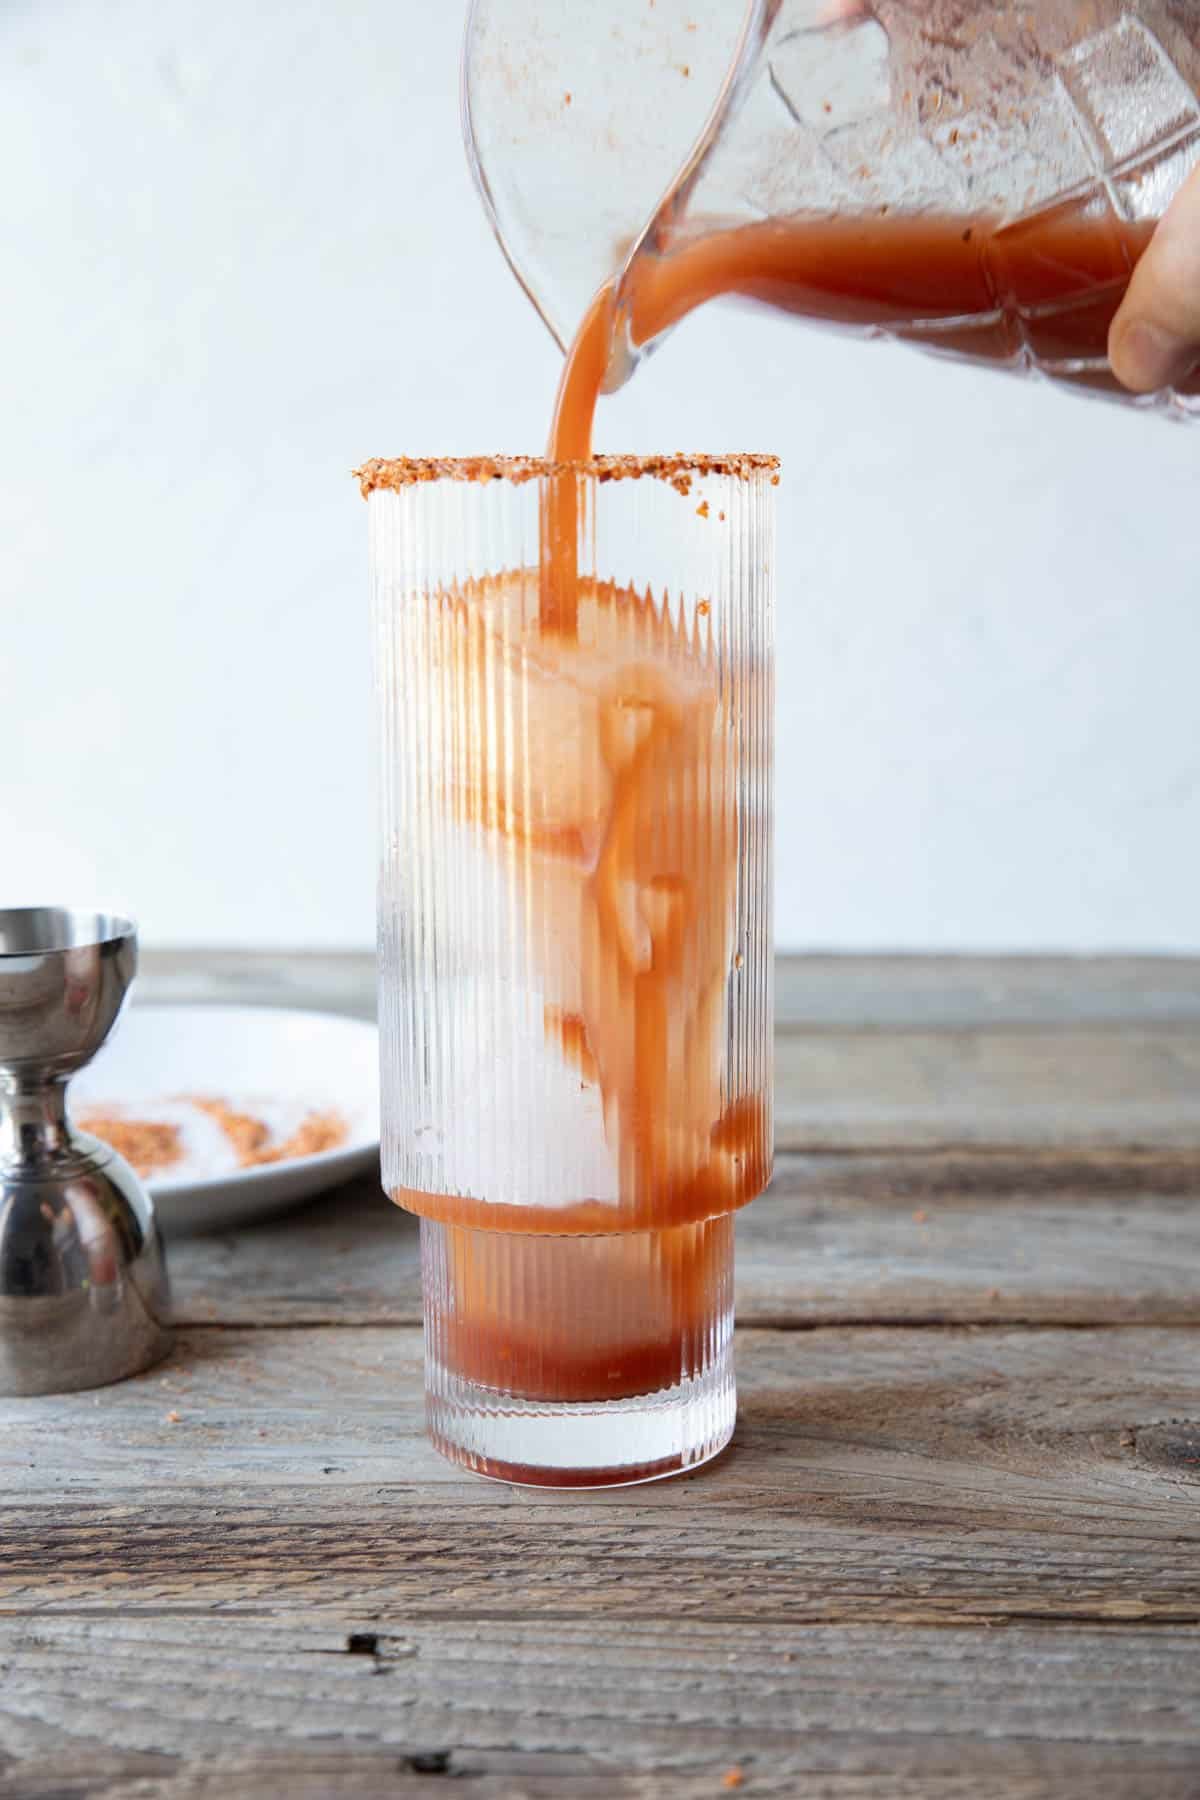
- Measure in the tequila, cinnamon simple syrup, and lemon juice. Shake vigorously for 20-30 seconds.2 oz Añejo tequila, 1 oz cinnamon simple syrup, 1 oz lemon juice
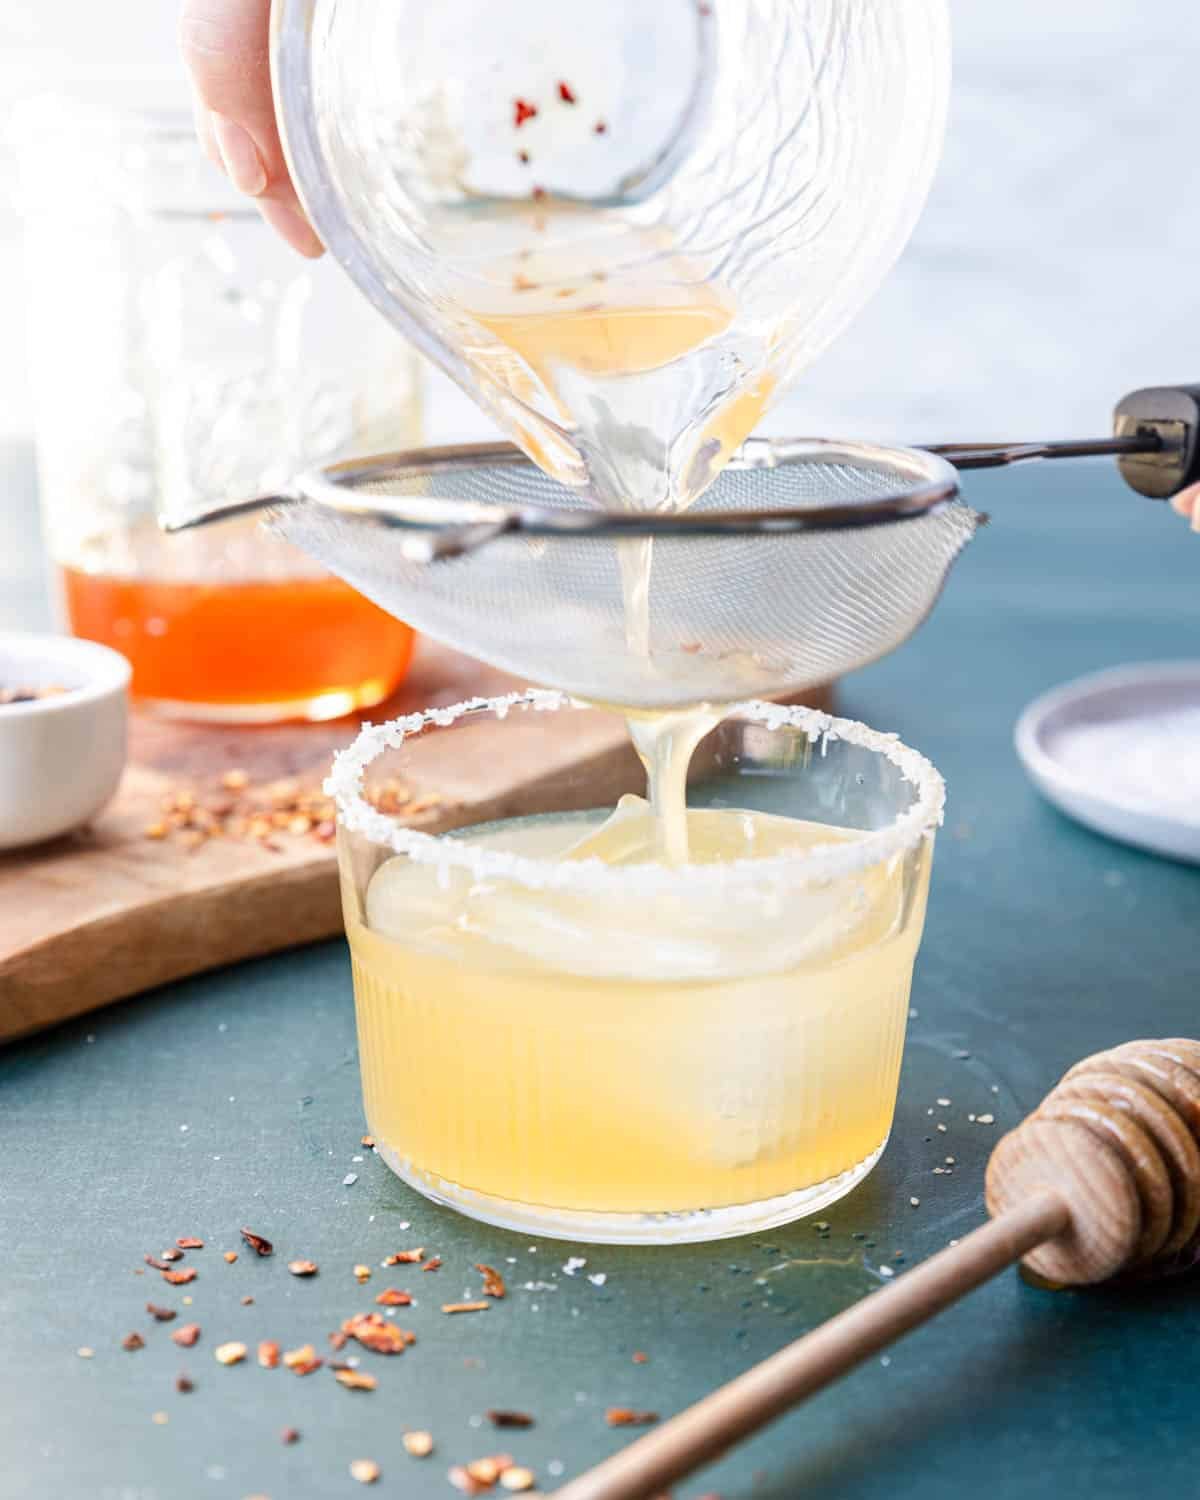
- Strain into the prepared glass.
- Optionally zest a lemon over the glass and garnish with a lemon twist or cinnamon stick.