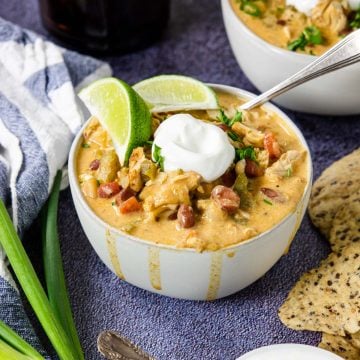
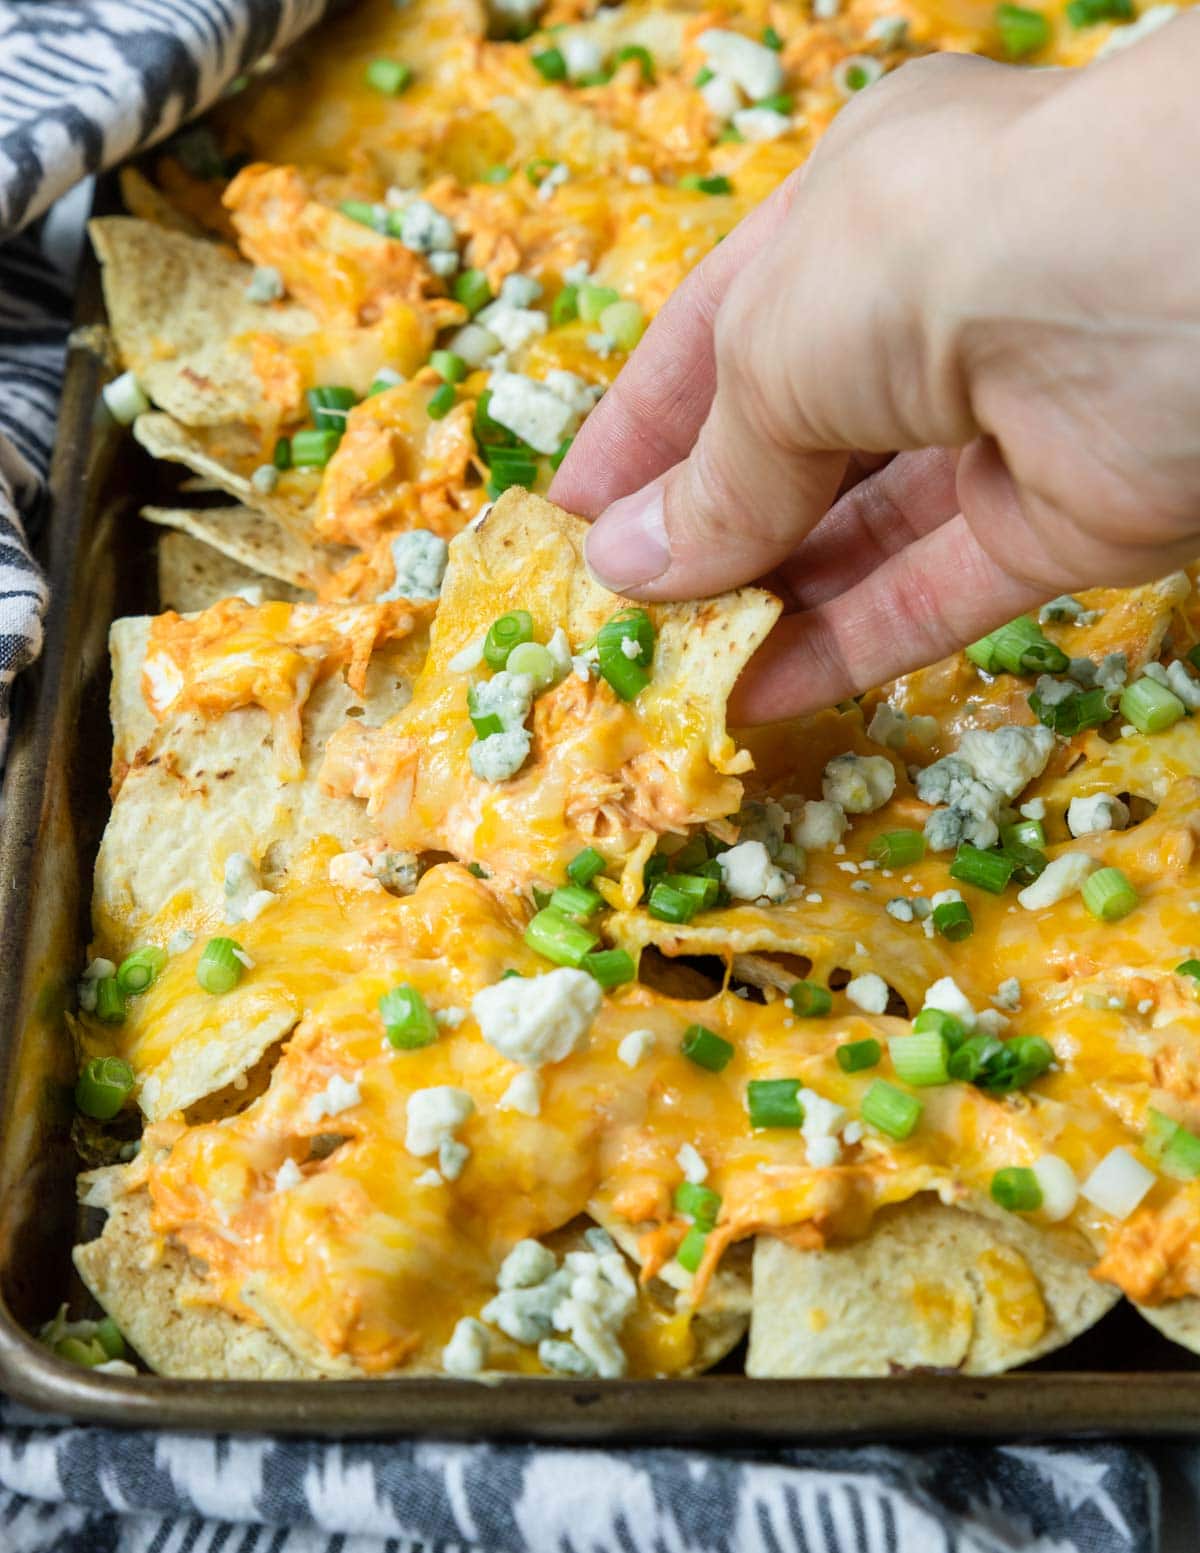
If there’s one thing I am going to do in the winter, it’s watch football (Go Chiefs!) with a big plate of nachos. These Buffalo Chicken Nachos are consistently the most requested recipe for our game day parties. They're the perfect flavor mash up of buffalo chicken wings and nachos – two game day MUST HAVES! Tortilla chips are loaded with a homemade creamy buffalo chicken sauce and then topped with melted cheese, a little blue cheese crumble and some green onions. Just add a cold drink and a pile of napkins on the side.

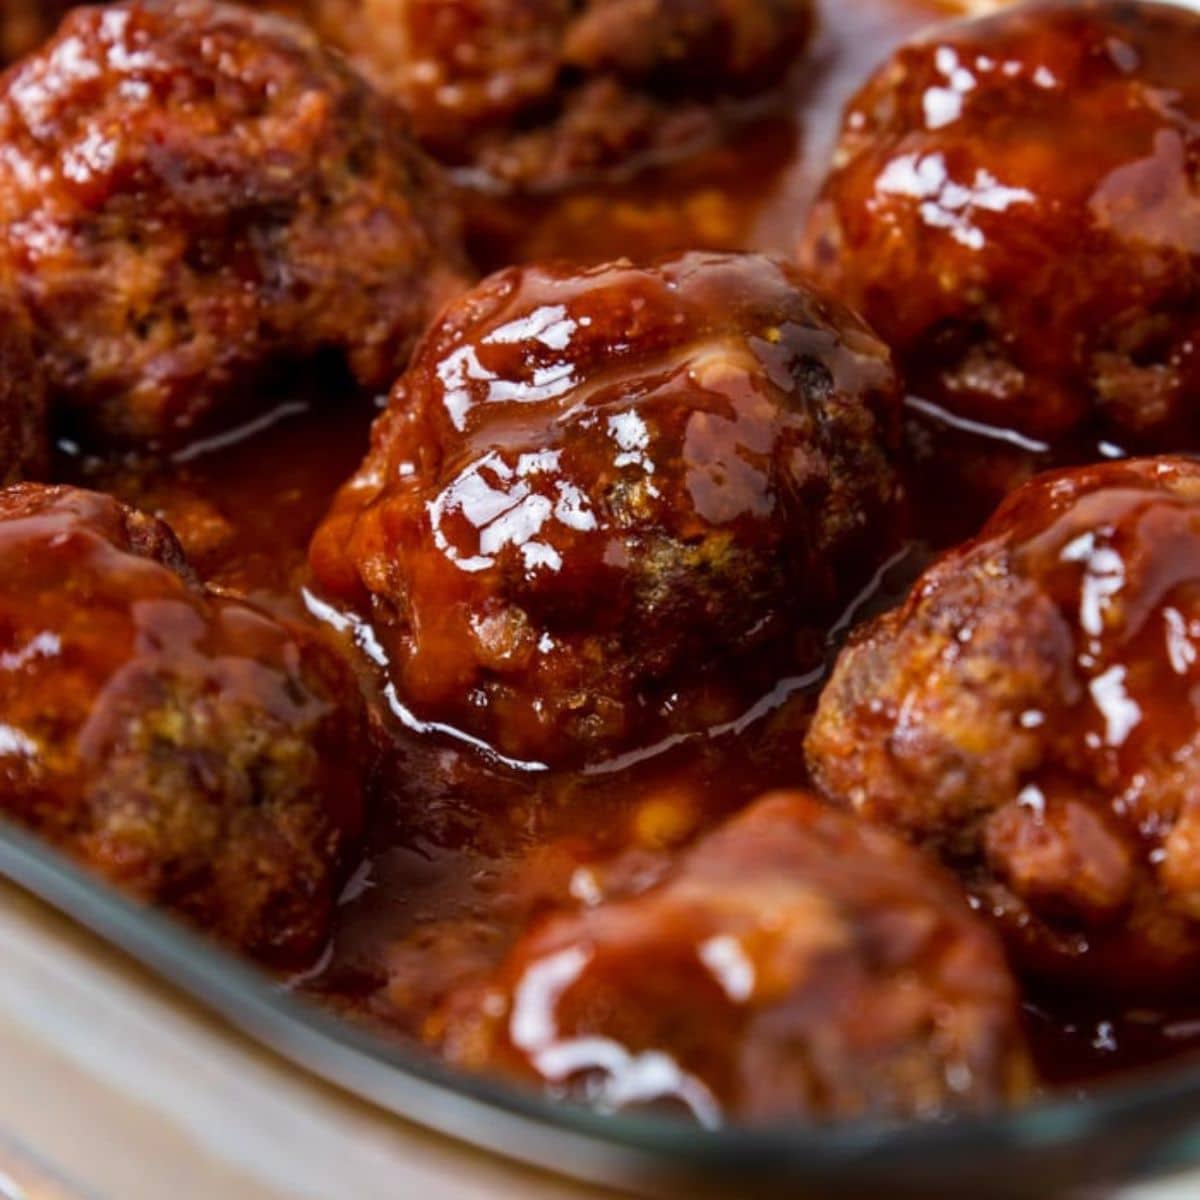
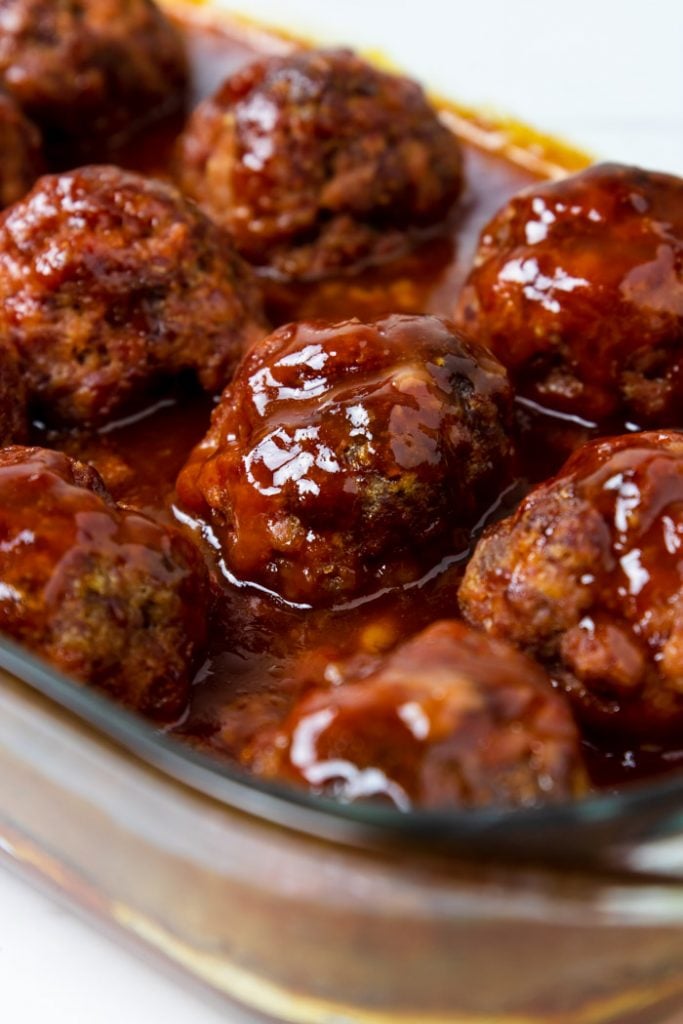
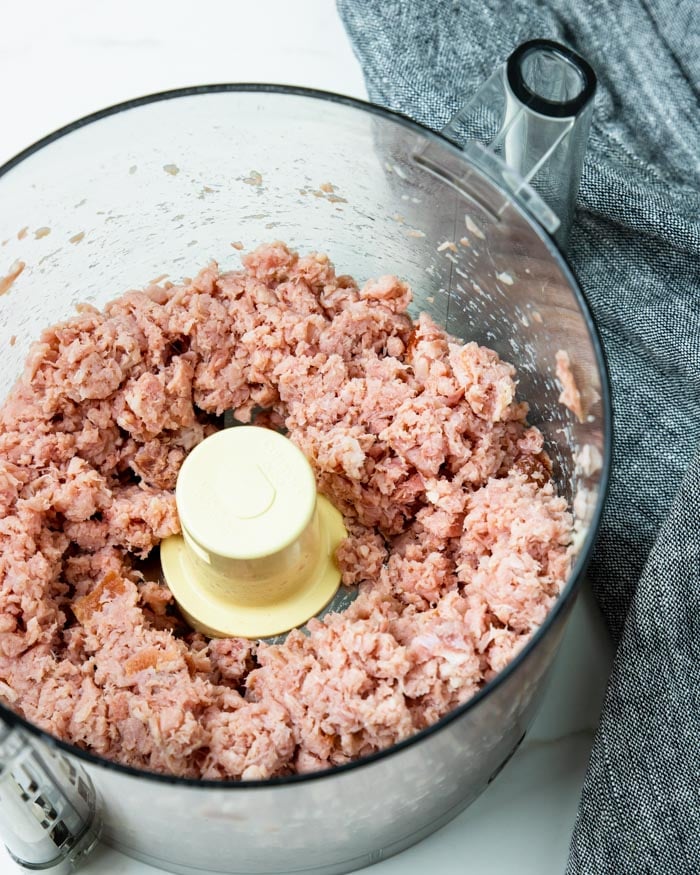
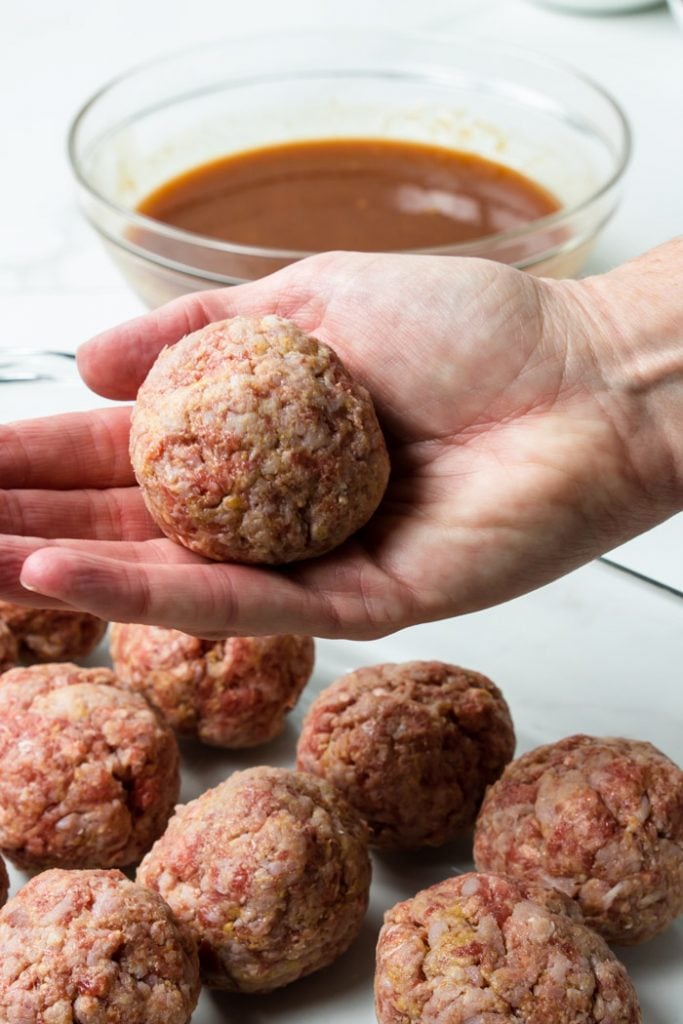
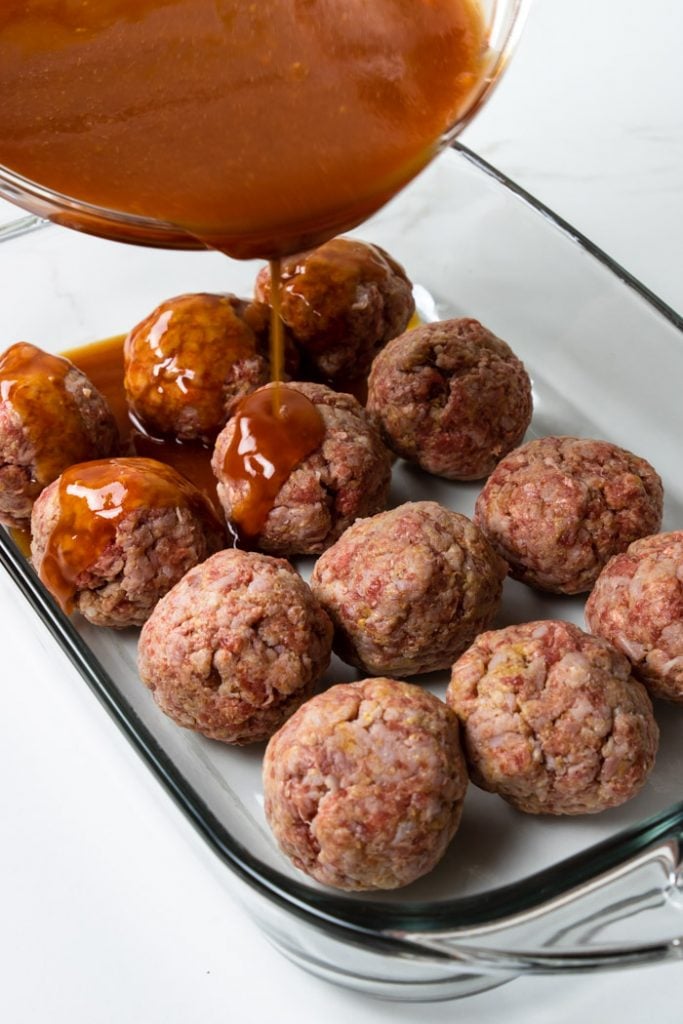
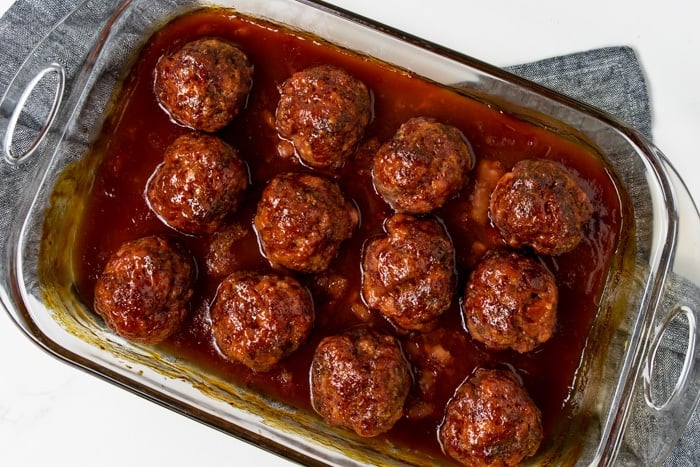
Some other great appetizer recipes to check out are Buffalo Chicken Meatballs, baked spinach artichoke dip, skillet Cajun shrimp, and BBQ chicken sliders.
[feast_advanced_jump_to]Why You Want THIS Game Day Nachos Recipe
- Like I said, this one is MOST REQUESTED! Once you start making these Buffalo Chicken Nachos, they will be most requested at your house too.
- Buffalo without the bone… trust me, people LOVE buffalo flavor, but some find eating buffalo wings a chore rather than a treat. These nachos solve that problem in the best way possible. Buffalo flavor without the hassle.
- Easier than frying chicken wings. This is a great way to have buffalo chicken at home without the work of frying and dipping chicken wings.
- Perfect classic buffalo flavors. You get the familiar buffalo chicken wing flavors here… tender chicken, spicy buffalo sauce and simple toppings like blue cheese and green onions. Nothing is over-thought or overly trendy here.
What You’ll Need to Make Loaded Buffalo Chicken Nachos
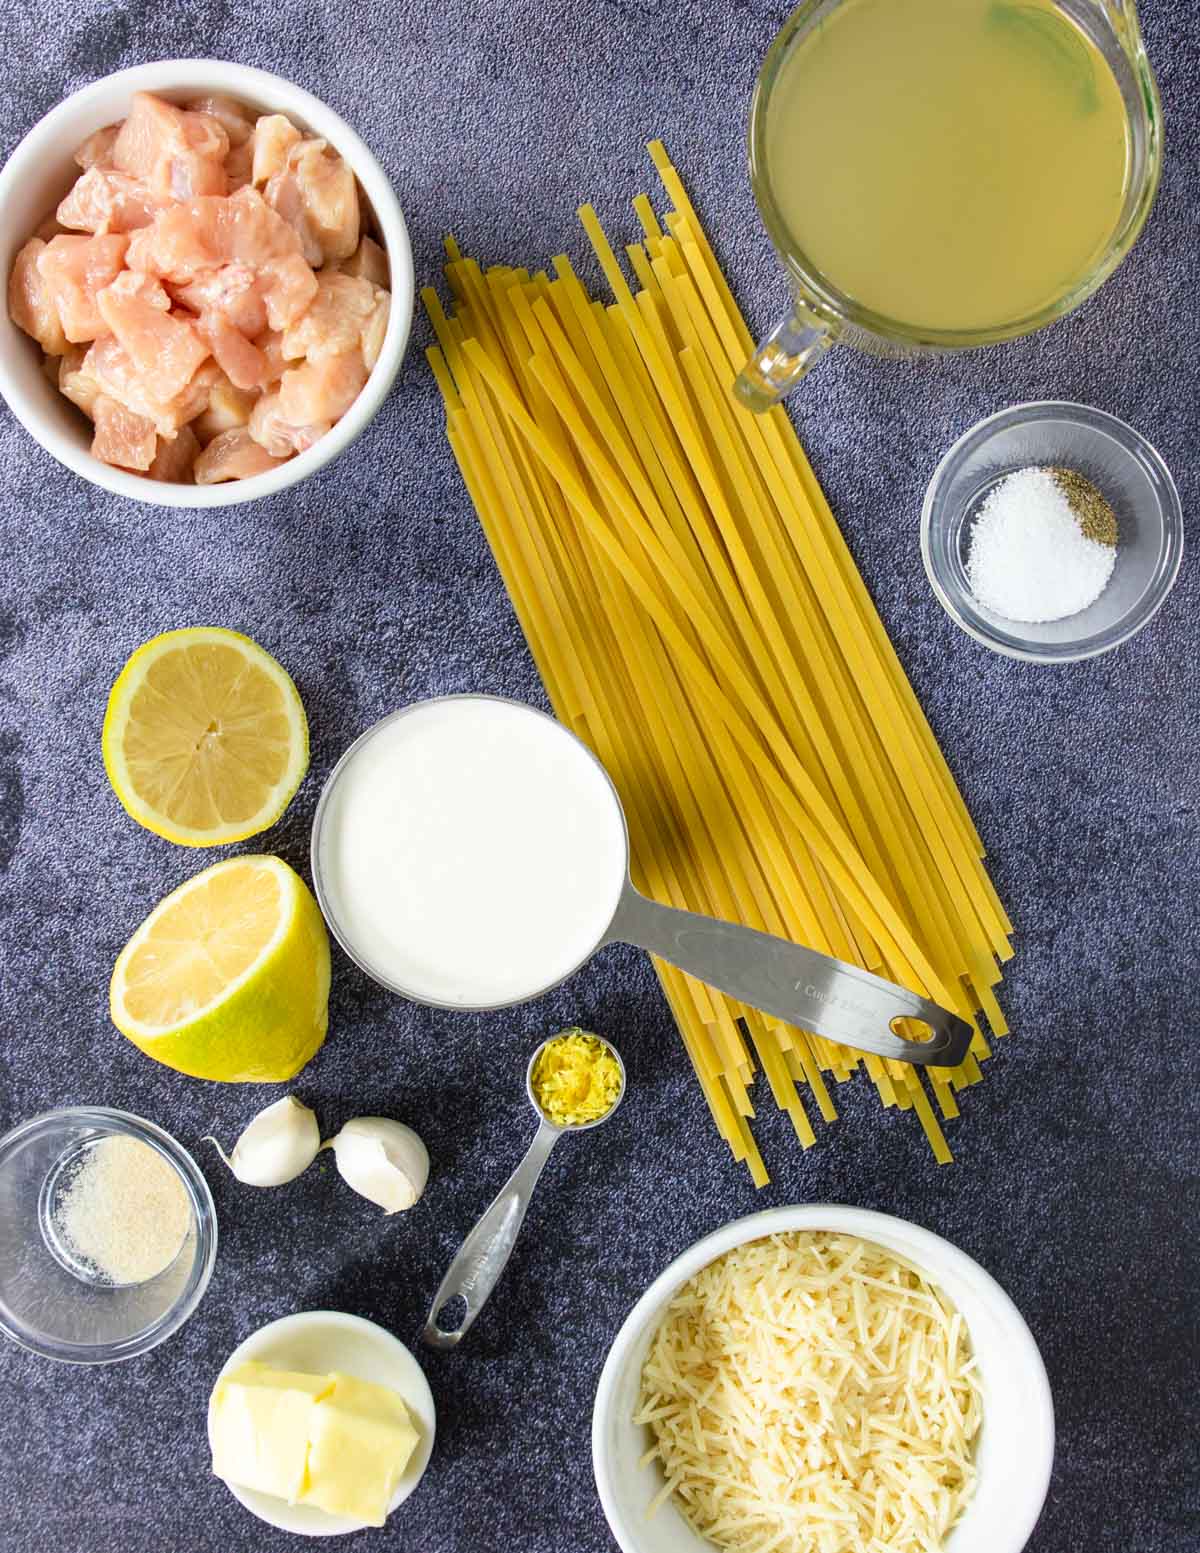
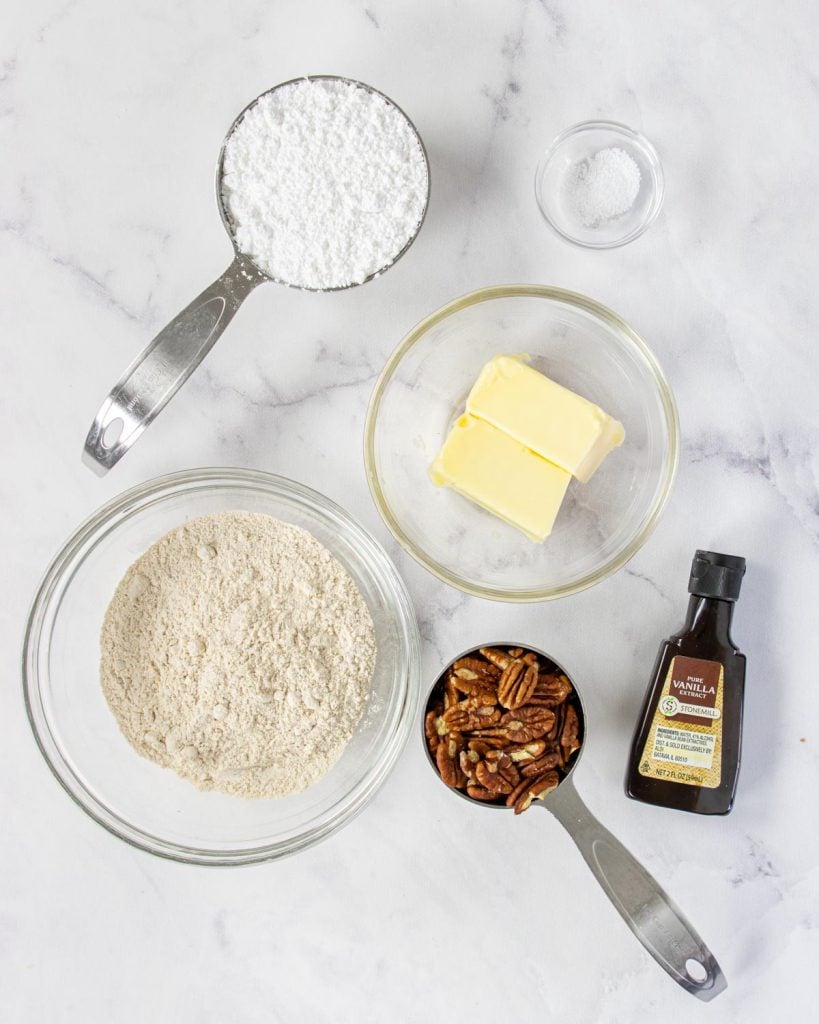
Here are the things you will need to make this Buffalo Chicken Nacho recipe:
- Large rimmed baking sheet
- Tortilla chips – use a sturdy tortilla chip to handle all the yummy buffalo chicken topping!
- 8 oz. cream cheese, softened – make sure your cream cheese is softened so it will mix into the topping well.
- 2 cups cooked shredded chicken – great time to use a rotisserie chicken! But if you want to cook your own this rotisserie chicken or poached chicken works great here. If you have an Instant Pot you can make this Instant Pot Shredded Chicken. Or for another layer of flavor you could use Smoked Chicken!
- Franks Red Hot Wing Sauce (Buffalo Sauce) – this is what we use in the Buffalo Chicken Meatballs too, grab the one that say “WING” on it, it is a prepared sauce that works perfectly in this recipe.
- ½ cup sour cream
- 1-2 fresh garlic cloves
- 3 cups shredded cheese – cheddar, Monterey jack, Colby jack, or pepper jack will all work! Shred the cheese instead of buying pre-shredded, it melts creamier!
- blue cheese crumbles – optional but so good!
- green onions – makes a great garnish!
How to Make Buffalo Chicken Nachos
You may have heard of Buffalo Chicken Dip, this nacho recipe is like taking that dip to the next level! Let’s get started…

Step 1
Preheat the oven to 350°F. Mix the chicken, buffalo wing sauce, sour cream, cream cheese, and garlic.

Step 2
Lay a pile of tortilla chips on the rimmed baking sheet, dot the top with the buffalo chicken dip.
Pop in the oven for 5 minutes.

Step 3
Spread the warm dip over the chips, top with cheese and pop back in the oven for 5-8 mins.

Step 4
Garnish the top with blue cheese crumbles, ranch, green onions, etc…
How to Store Leftover Buffalo Nachos
Generally, nachos do not store well… they are an eat or toss situation. So for this recipe I would recommend storing the buffalo chicken mixture by itself in a covered container, in the fridge for up to 4 days. Then when you are ready to have Buffalo Chicken Nachos you can pull it out and assemble!
More Buffalo Recipes


More Game Day Recipes

The BEST Game Day Nachos Recipe (Buffalo Chicken Nachos)
Equipment
Ingredients
- tortilla chips
- 8 oz. cream cheese softened
- 2 cups cooked chicken shredded or cubed - see notes for cooked chicken options
- ½ cup Buffalo sauce like Frank's Red Hot Sauce
- ½ cup sour cream
- 1-2 fresh garlic cloves minced
- 3 cups shredded cheese cheddar - monterey jack, colby jack, or pepper jack
- ½ cup blue cheese crumbles
- ½ cup green onions chopped
Instructions
- Preheat the oven to 350°. Lay a generous amount of tortilla chips over the rimmed baking sheet and set aside.tortilla chips
- In a bowl mix together the softened cream cheese, chicken, hot sauce, sour cream and garlic together. Stir really well so the cream cheese is distributed evenly.8 oz. cream cheese softened, 2 cups cooked chicken shredded or cubed, ½ cup Buffalo sauce like Frank's Red Hot Sauce, ½ cup sour cream, 1-2 fresh garlic cloves minced
- Spoon the chicken mixture over the tortilla chips in dollops.

- Pop in the oven and warm for 5 minutes.
- Remove the nachos from the oven and with a wooden spoon or spatula spread the buffalo chicken mixture across the chips.
- Sprinkle the shredded cheese over the top and place back in the oven for 5-8 minutes until the cheese is melted and bubbly.3 cups shredded cheese cheddar
- Remove from the oven and sprinkle on the crumbled blue cheese and green onions.½ cup blue cheese crumbles, ½ cup green onions chopped
- Serve hot!