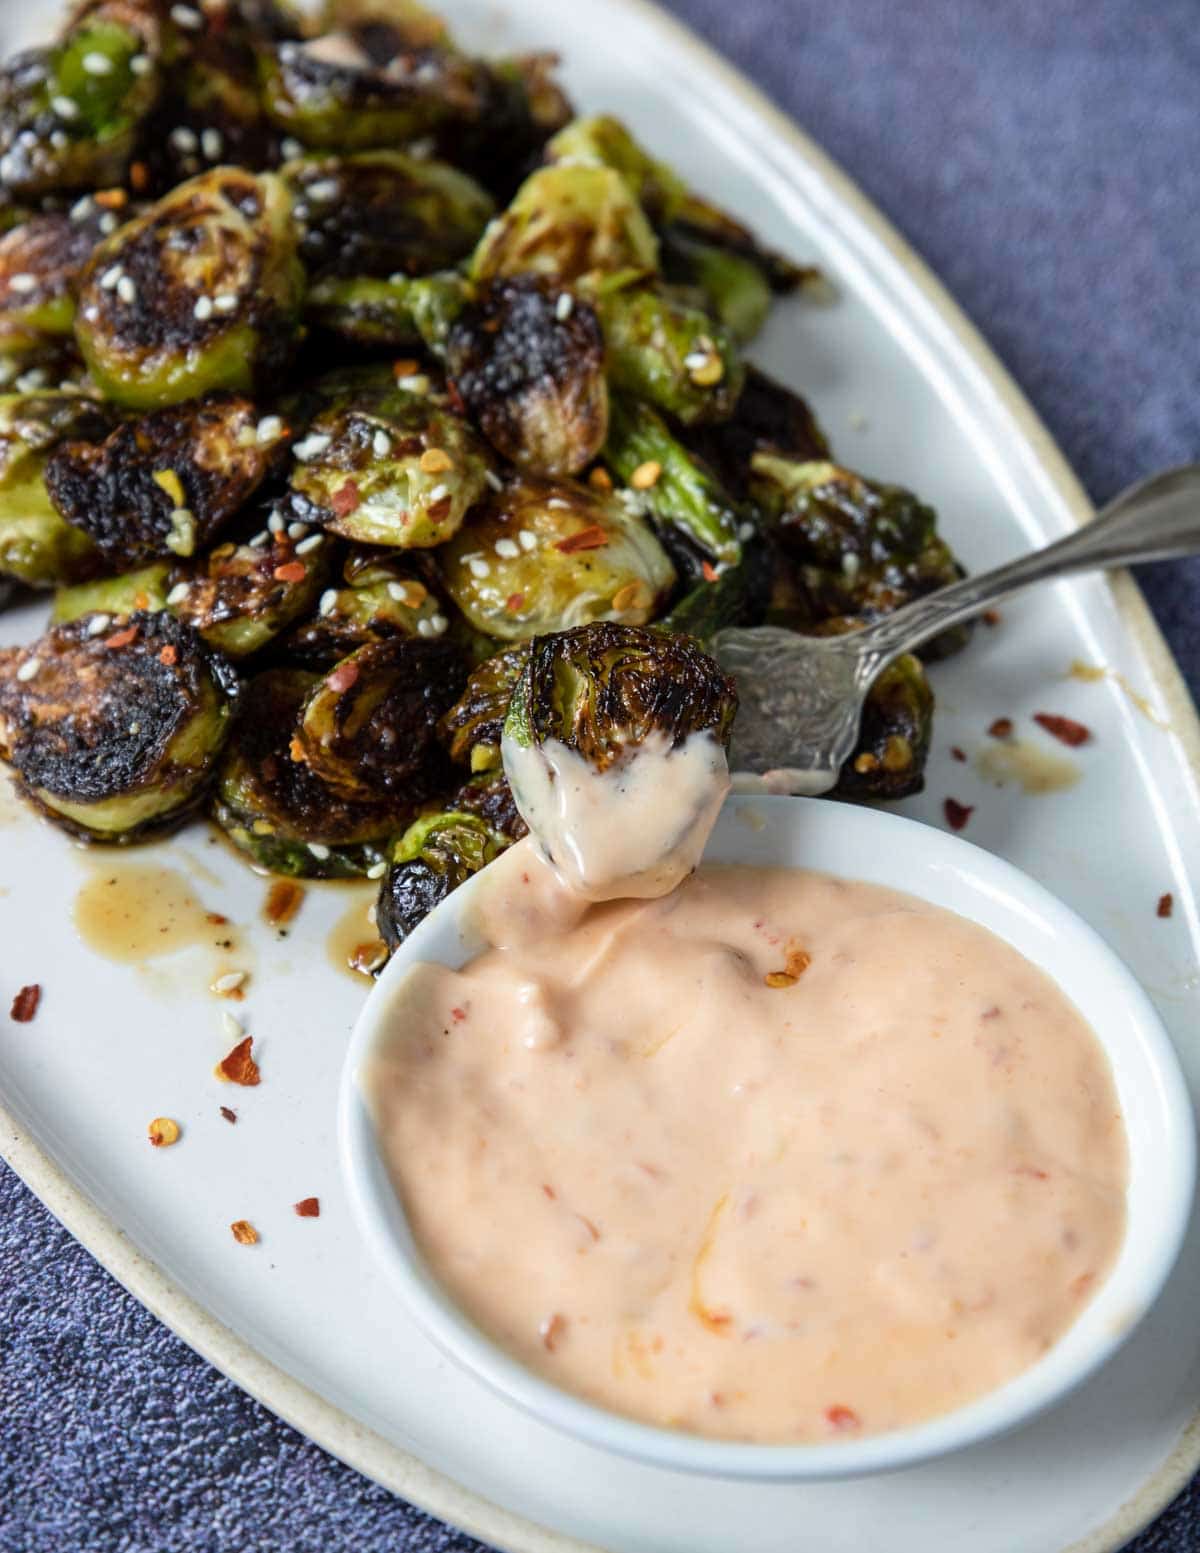
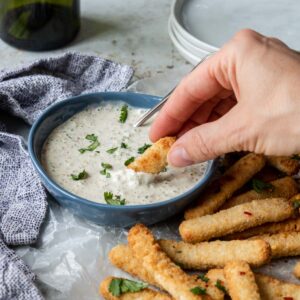
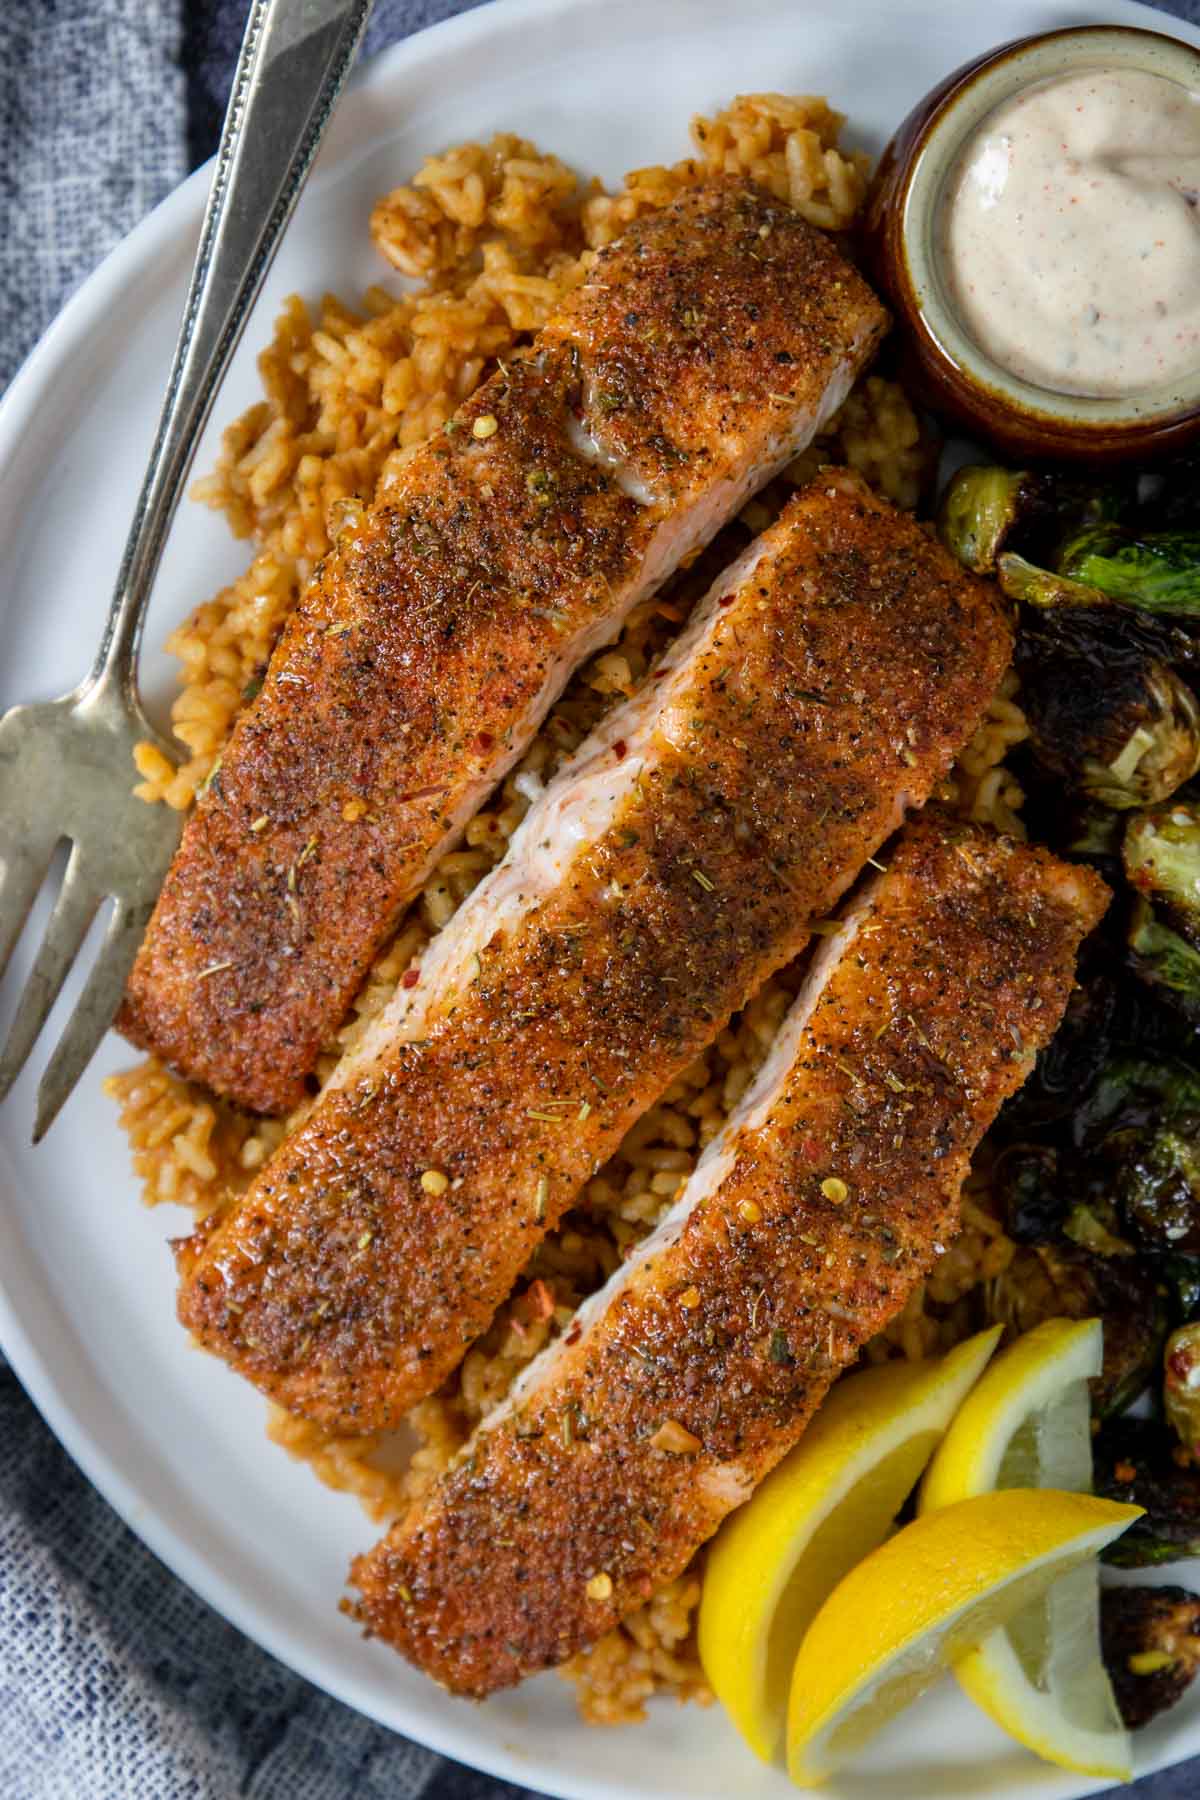
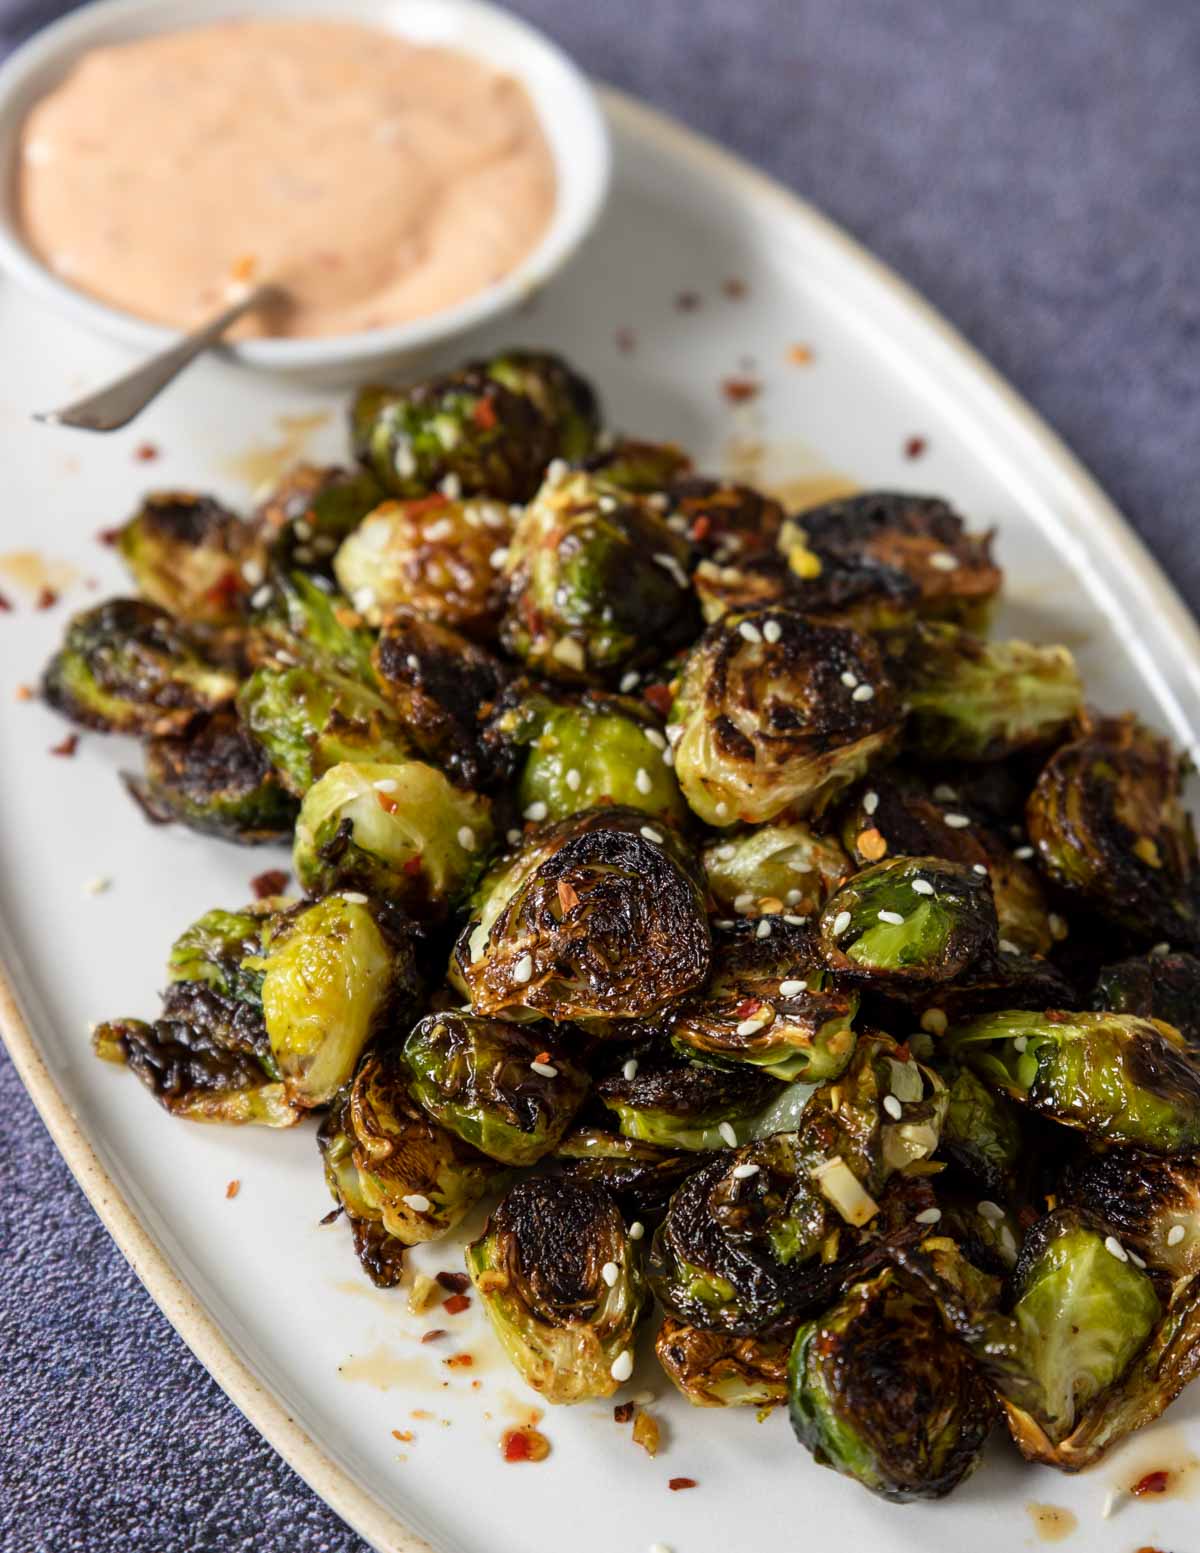
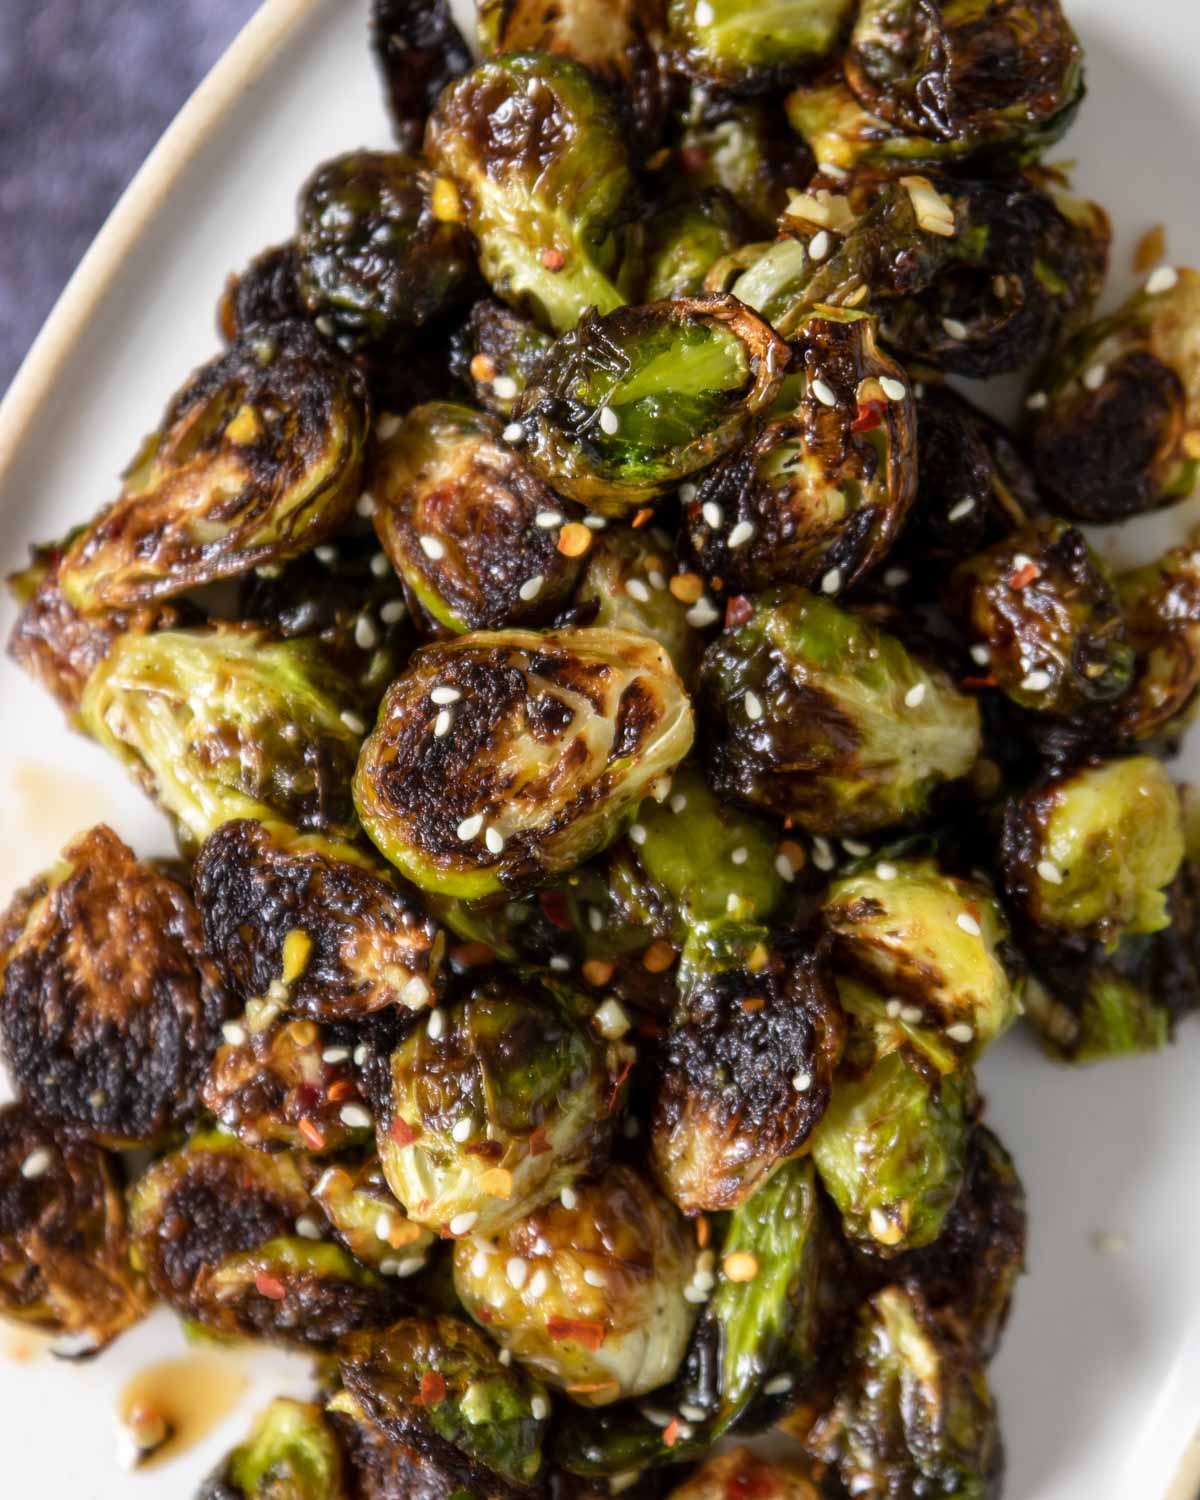
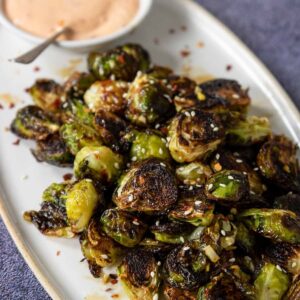
These Asian Brussels Sprouts make an amazing appetizer or side dish! Brussels sprouts are roasted crispy in the oven and then coated in a sweet and spicy ginger soy glaze. The addition of Sambal Dipping Sauce takes them over the top!
Why This Recipe Works
- The brussels are roasted to a caramelized crisp in the oven, which helps them hold up to the sauce.
- The sauce is just enough to add flavor, but not too much to make the brussels soggy.
- The sauce also has plenty of honey to help it stick to the sprouts.
- These Asian Brussels are great on their own, but the Sambal Aioli takes them to a whole other level.
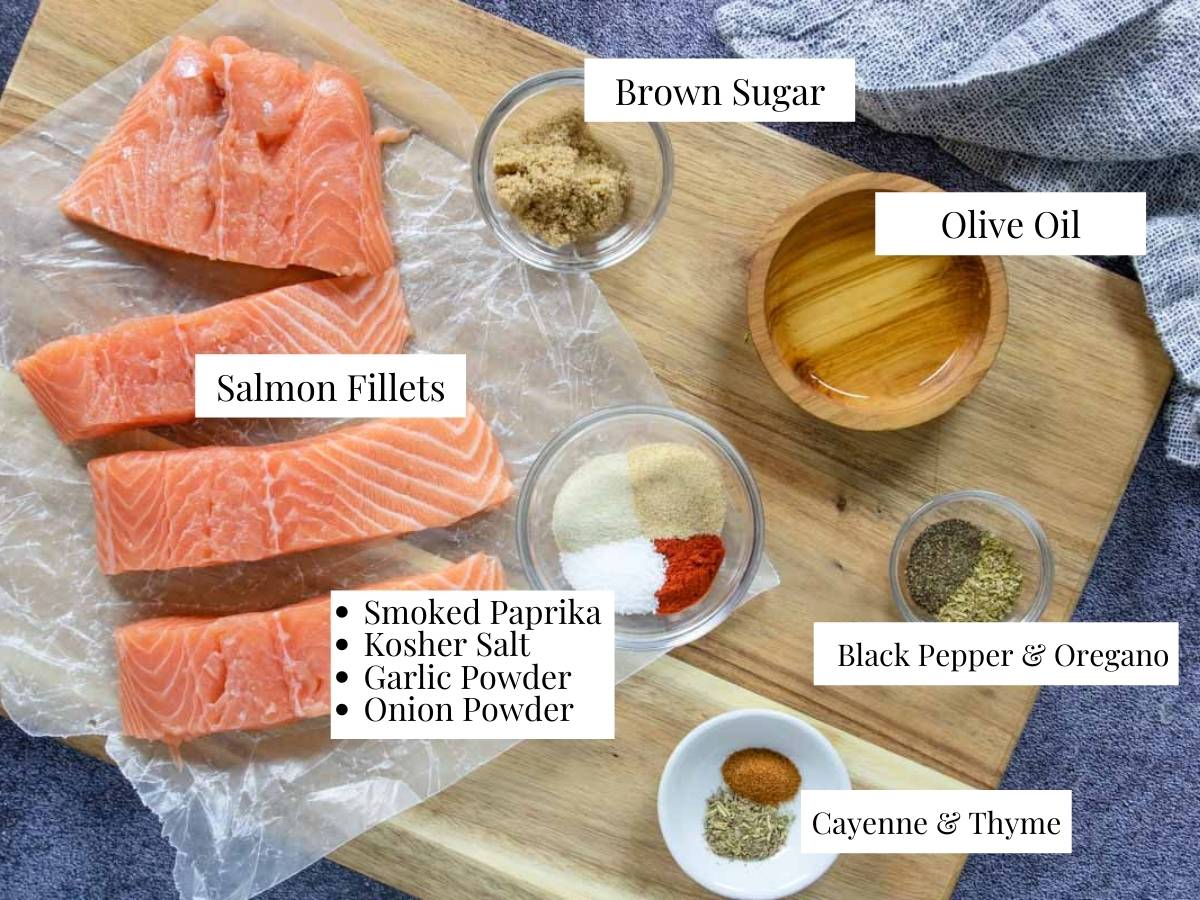
Ingredients
There are three groups of ingredients you need for this Asian Brussels Sprouts recipe: Brussels Sprouts, the sauce that the brussels get tossed in, and the Sambal dipping sauce ingredients.
Brussels Sprouts
Shown below are the ingredients for the brussels sprouts:

Ginger Soy Glaze
After the Brussels Sprouts are roasted they are tossed in a sweet and savory glaze. Shown below are the ingredients you need:
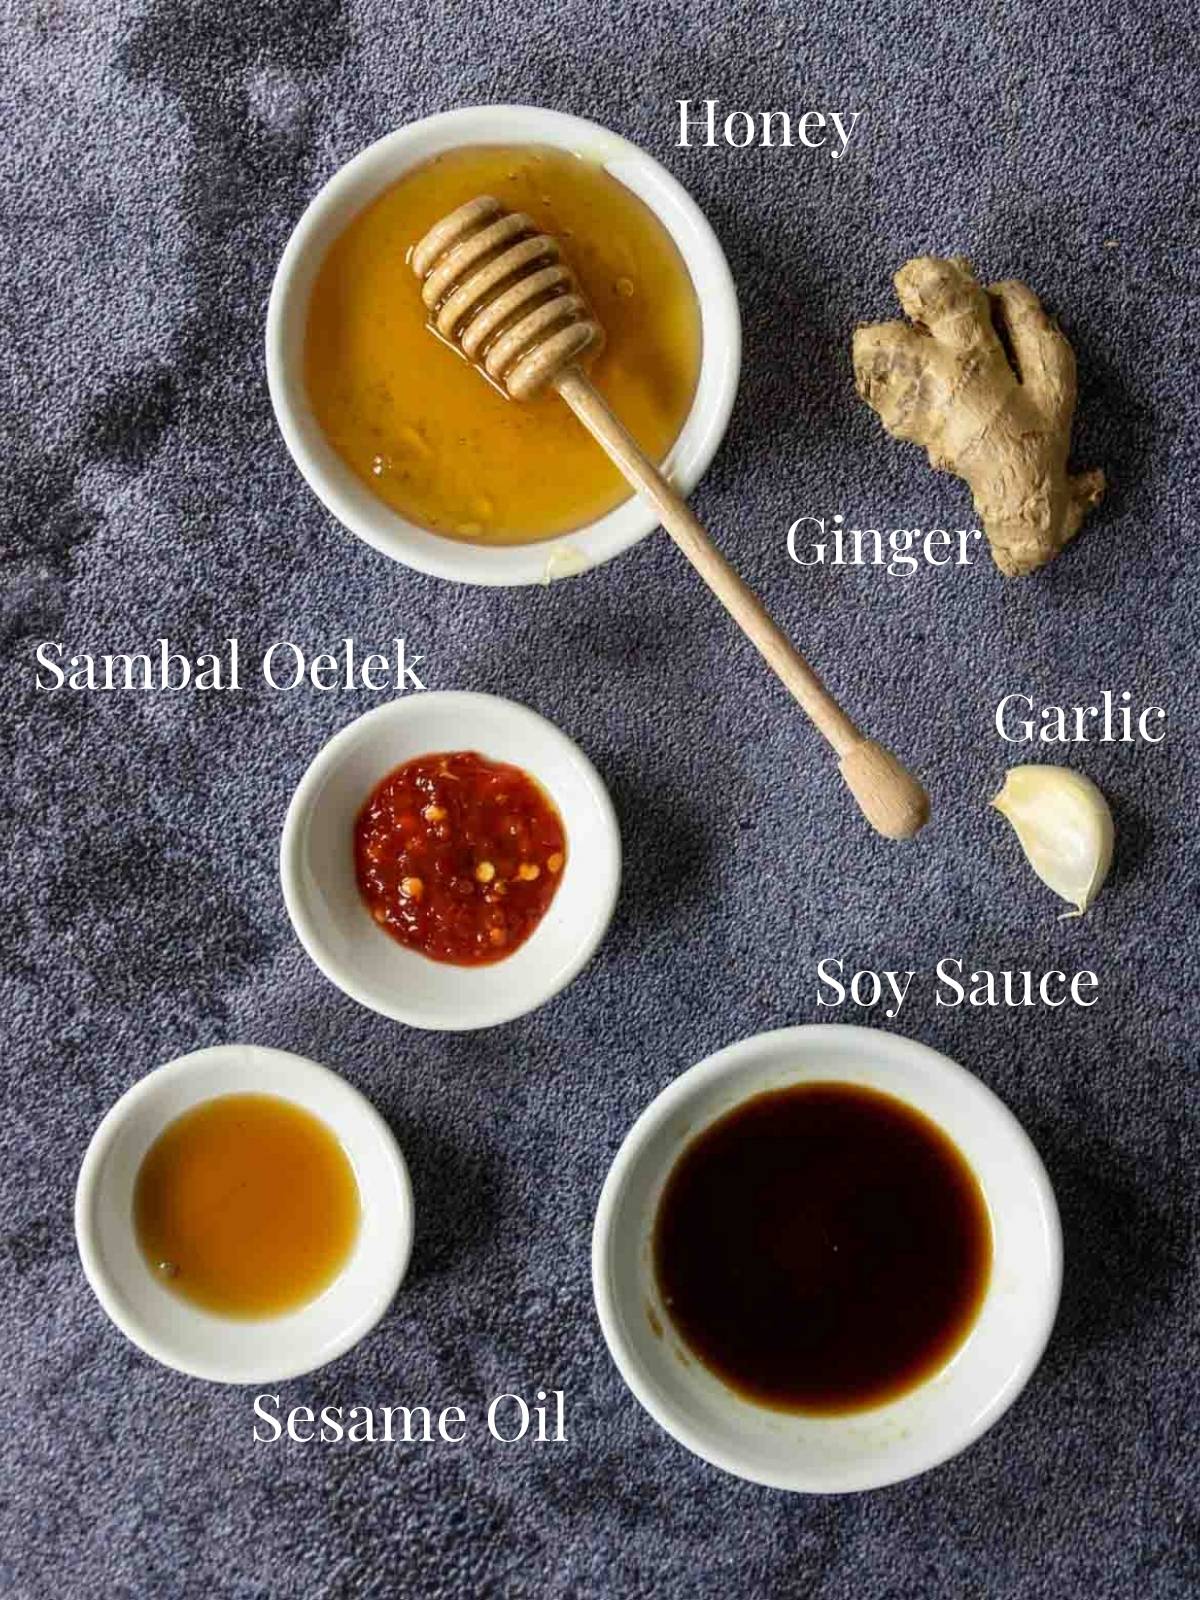
Ginger – There are two options for adding fresh ginger to this glaze.
- Fresh Ginger Nobs - pictured above. My tip here is to use the edge of a spoon to scrap the brown peel from the ginger and then mince or grate the fragrant yellow flesh.
- ** Our Preferred Method - Dorot Gardens Frozen Ginger Cubes. There is this AMAZING product at the grocery store in the freezer section. They are little cubes of frozen minced ginger. You literally pop the cubes out of the tray and use them as needed. So easy and so convenient!
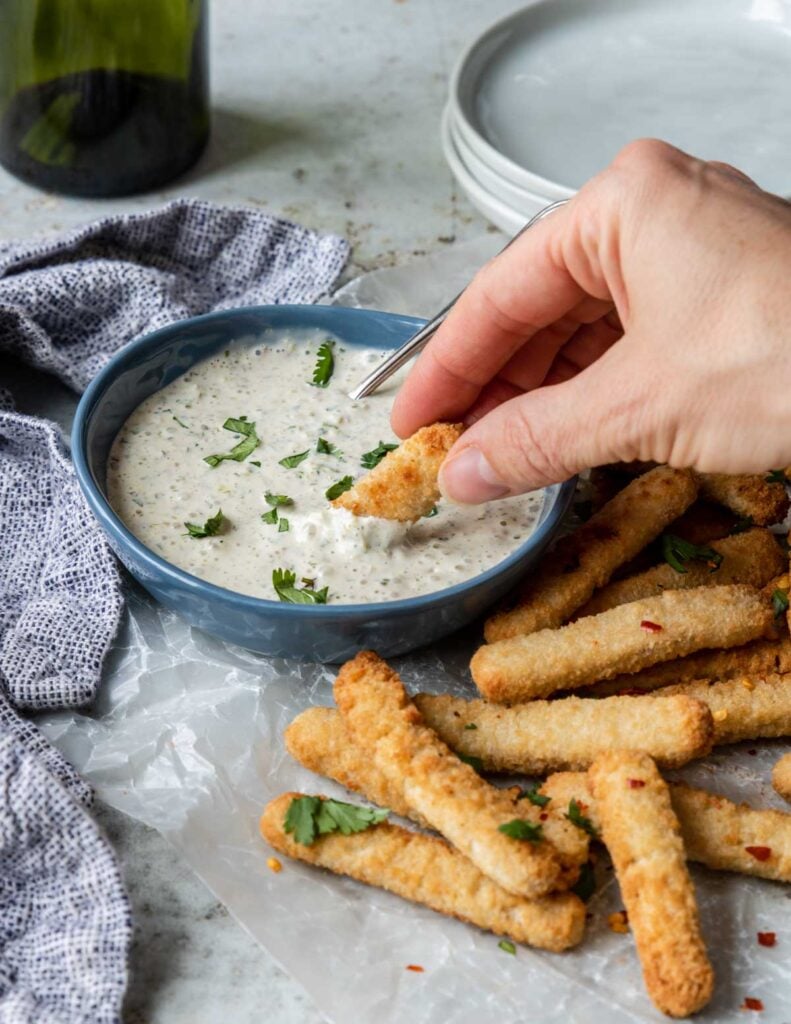
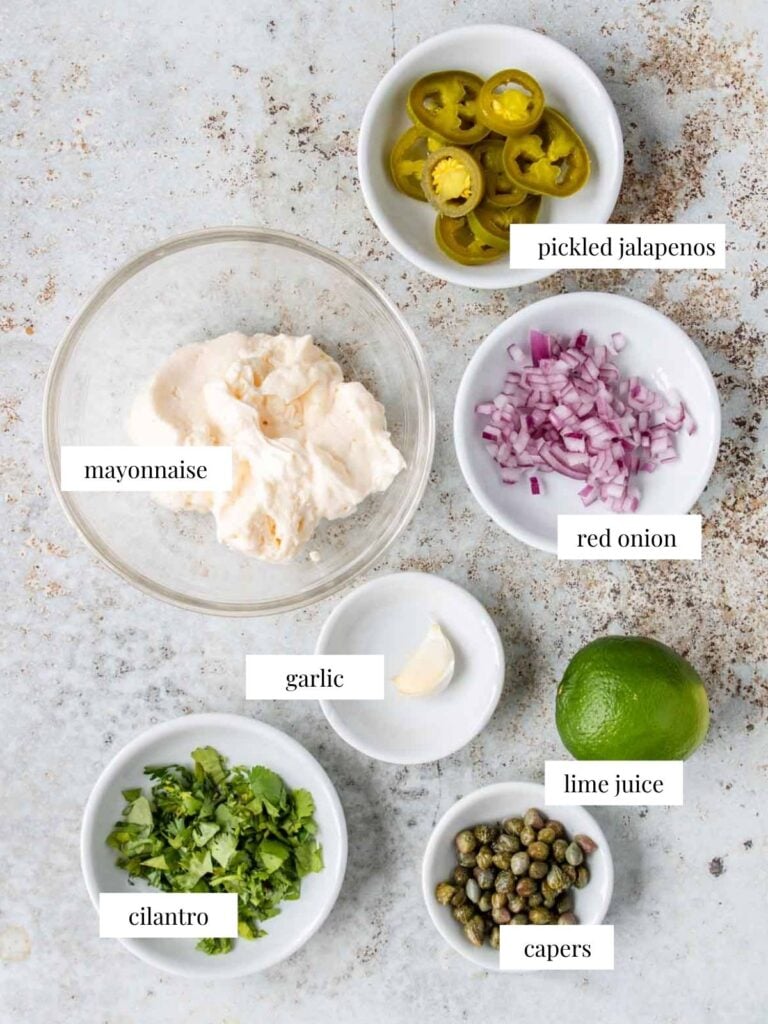
Sambal Aioli
The final step in this Asian Brussels Sprouts recipe is making an amazing dipping sauce called Sambal Aioli. See the photo below for the ingredients you will need:
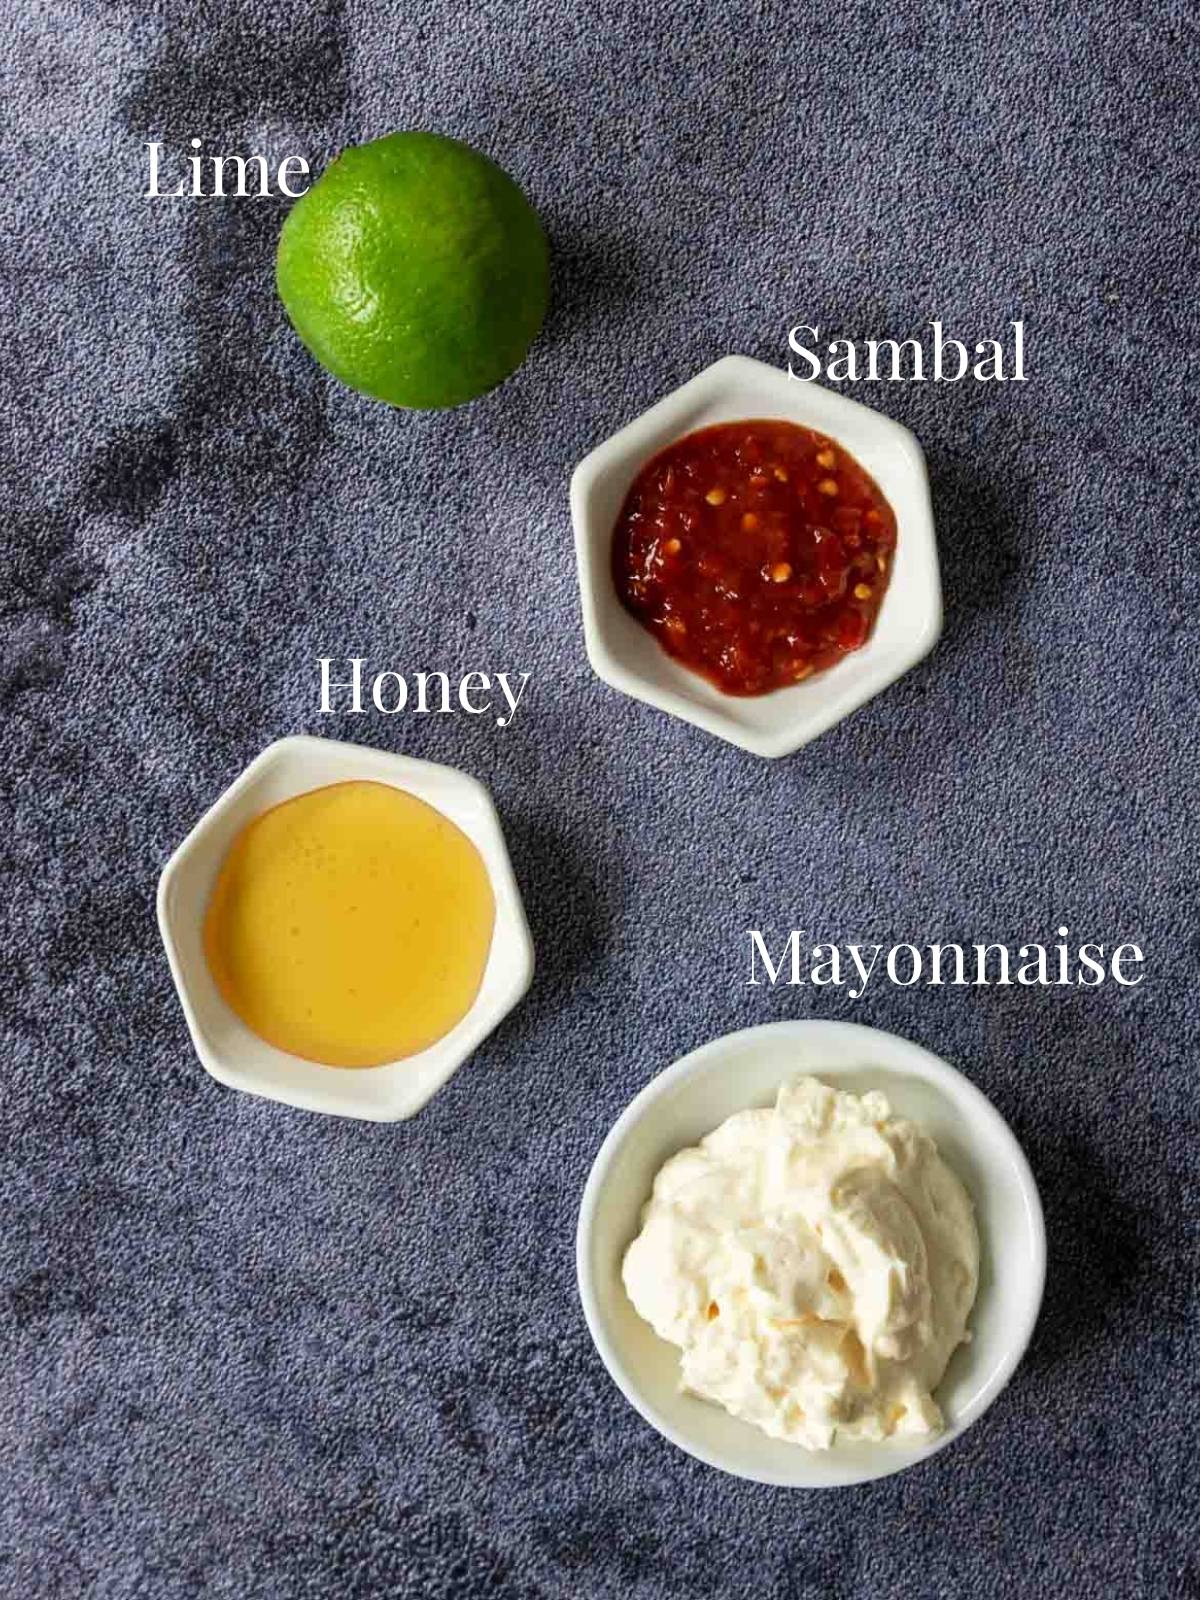
Sambal Oelek – this is an Asian Chili Paste that can be found in the Asian food aisle of the grocery store. It has a similar flavor to Sriracha without being overly garlicky. It will have a slight kick of heat and a tang of vinegar.
If you buy a bottle you can also use it to make:
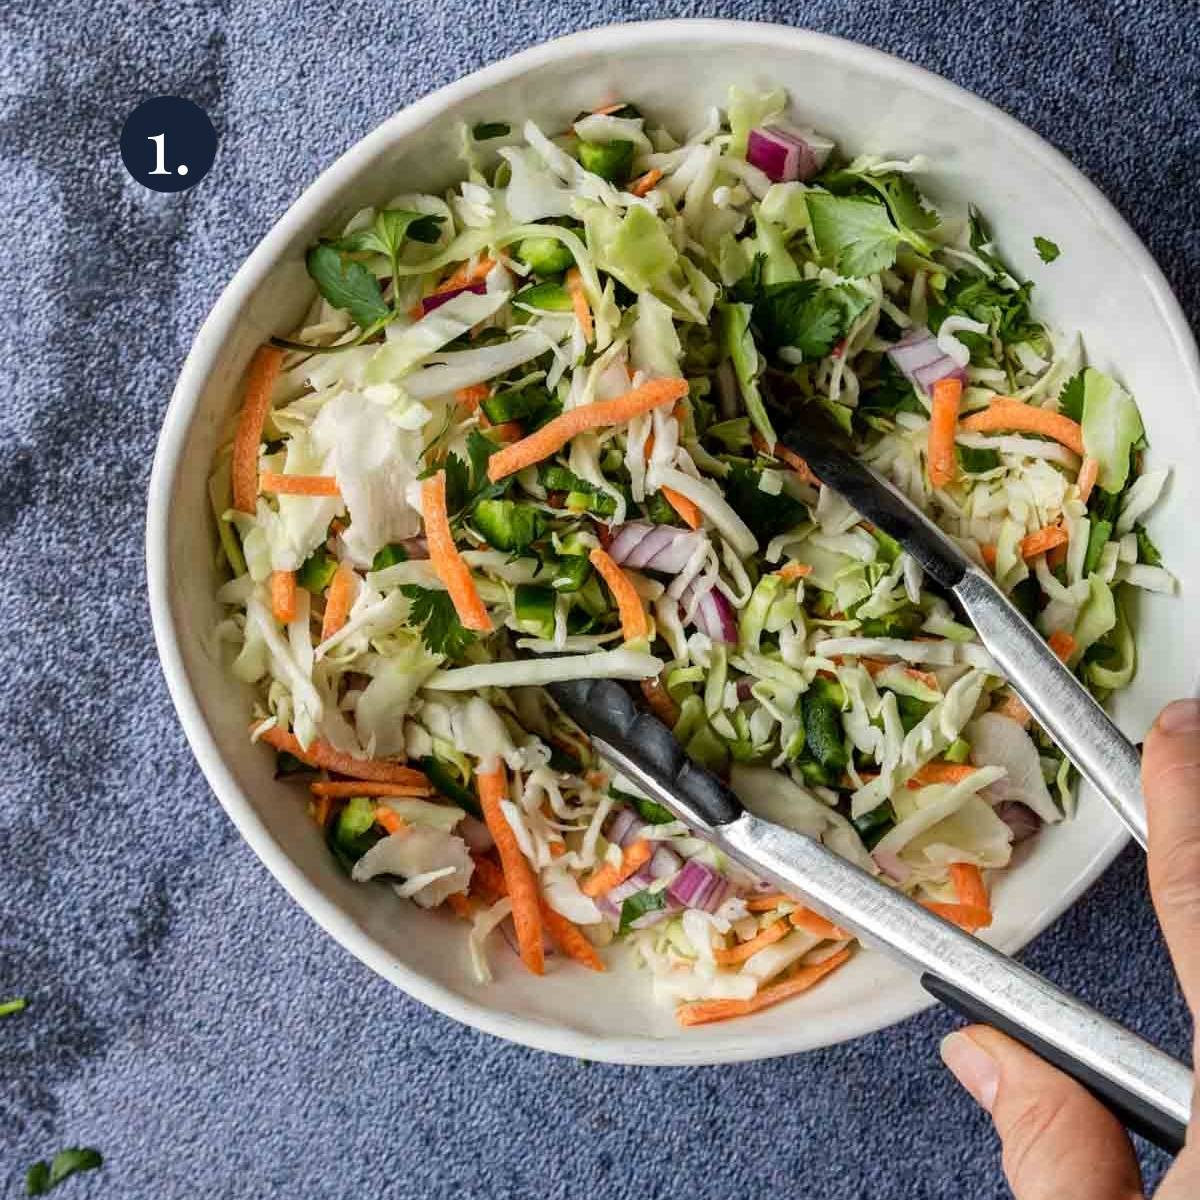
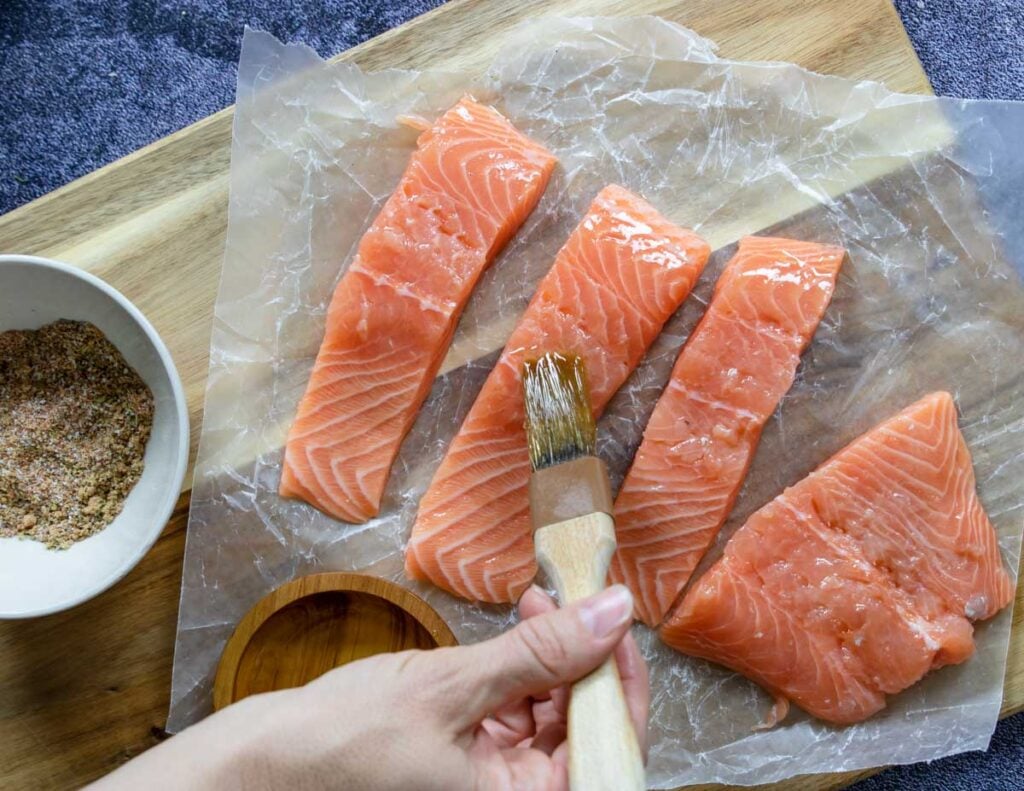
Step-by-Step Picture Instructions
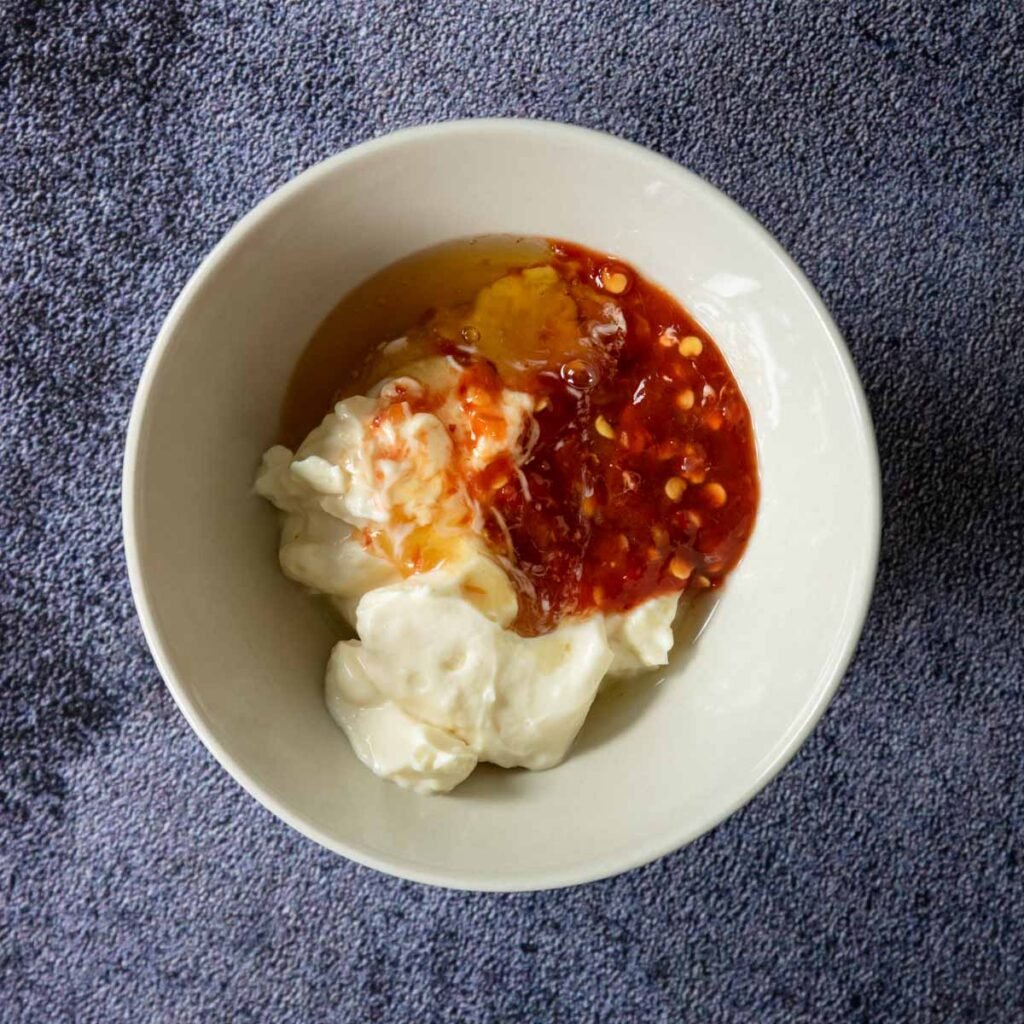
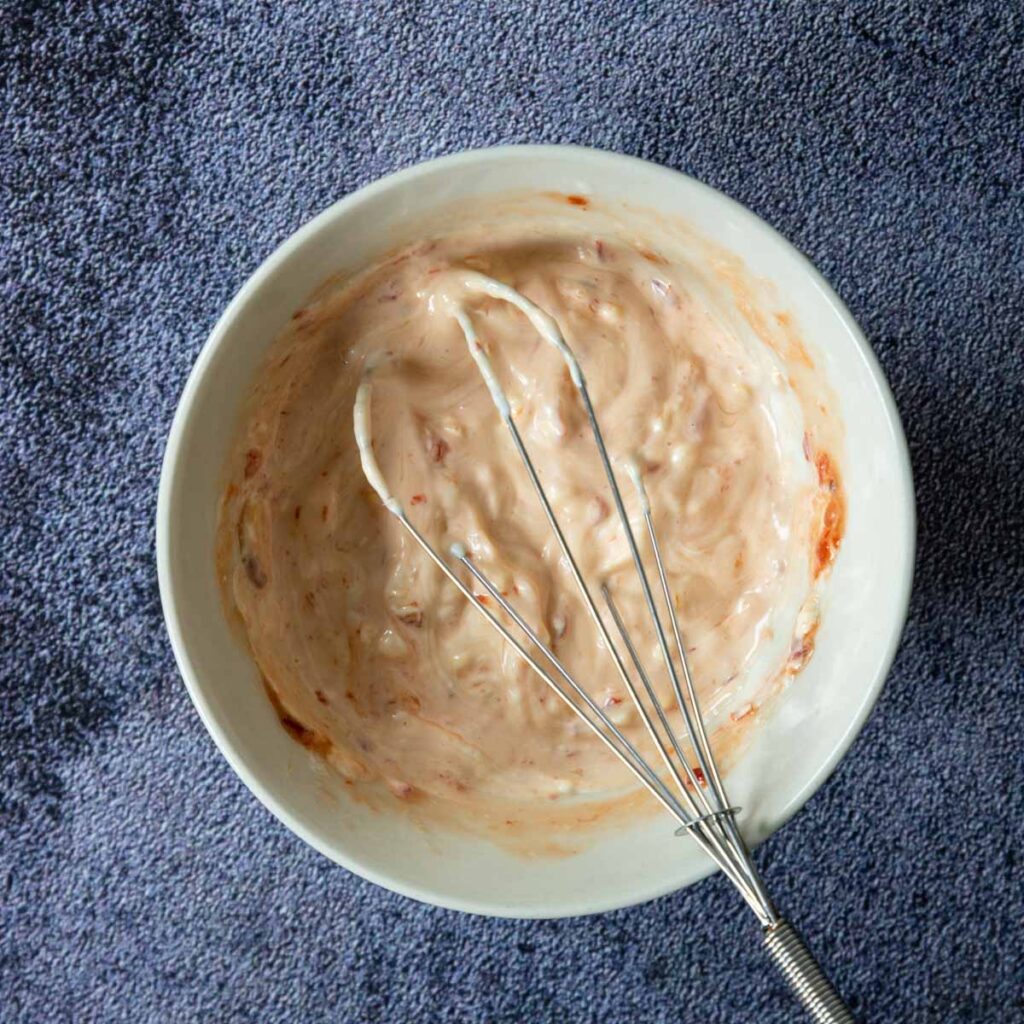
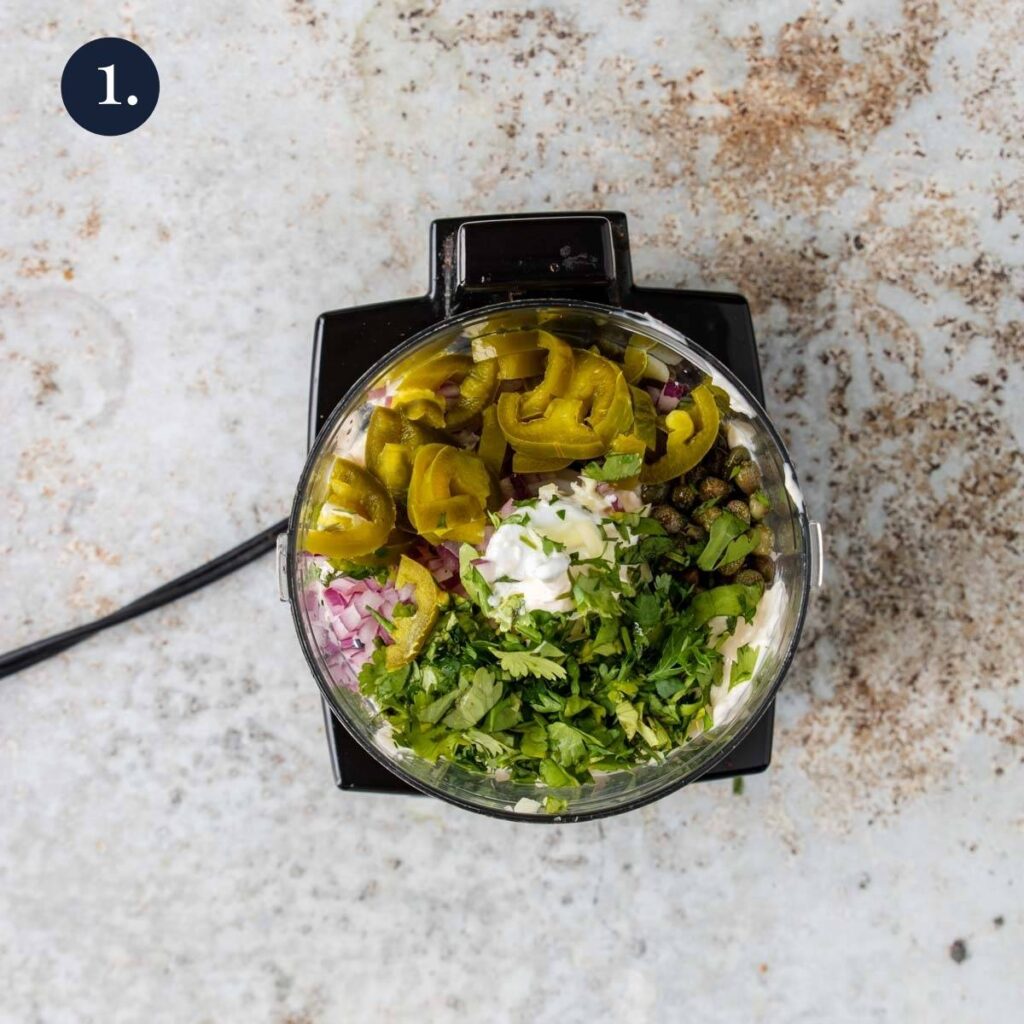
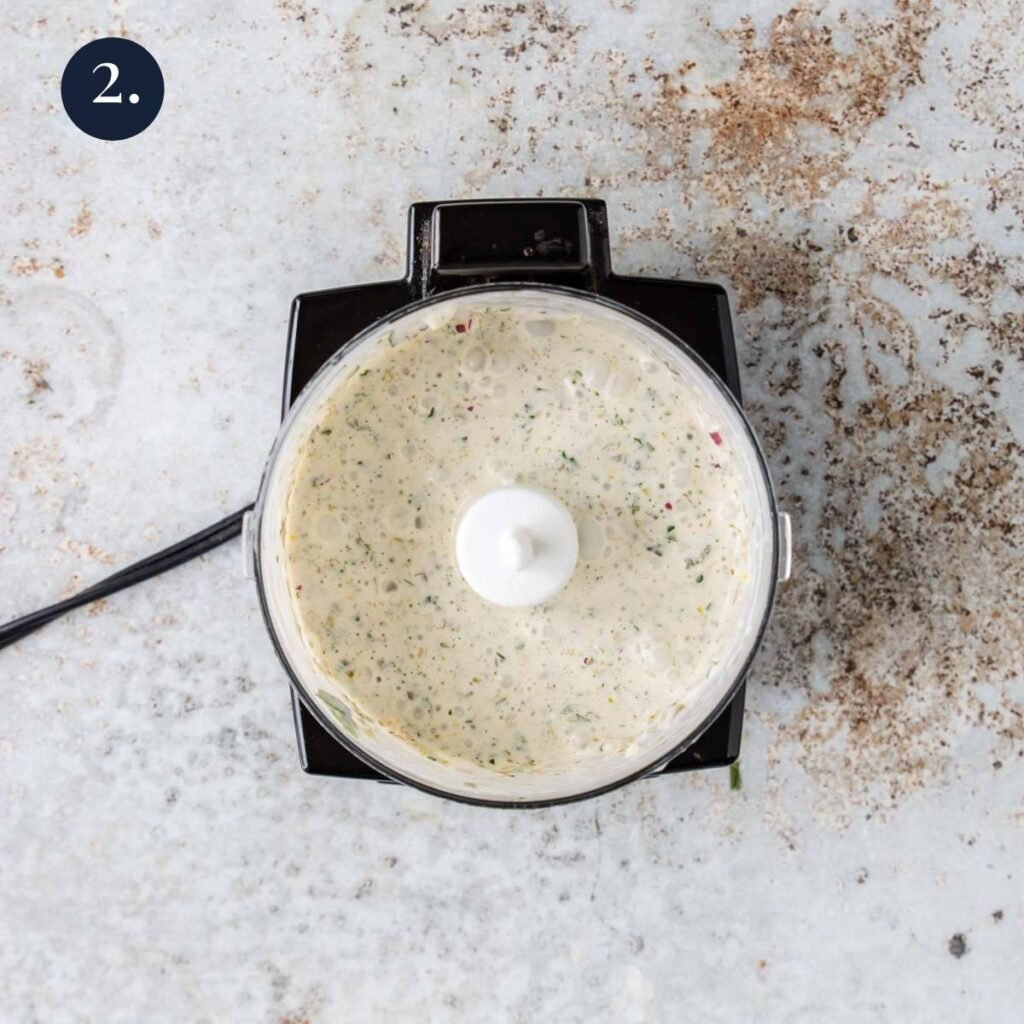
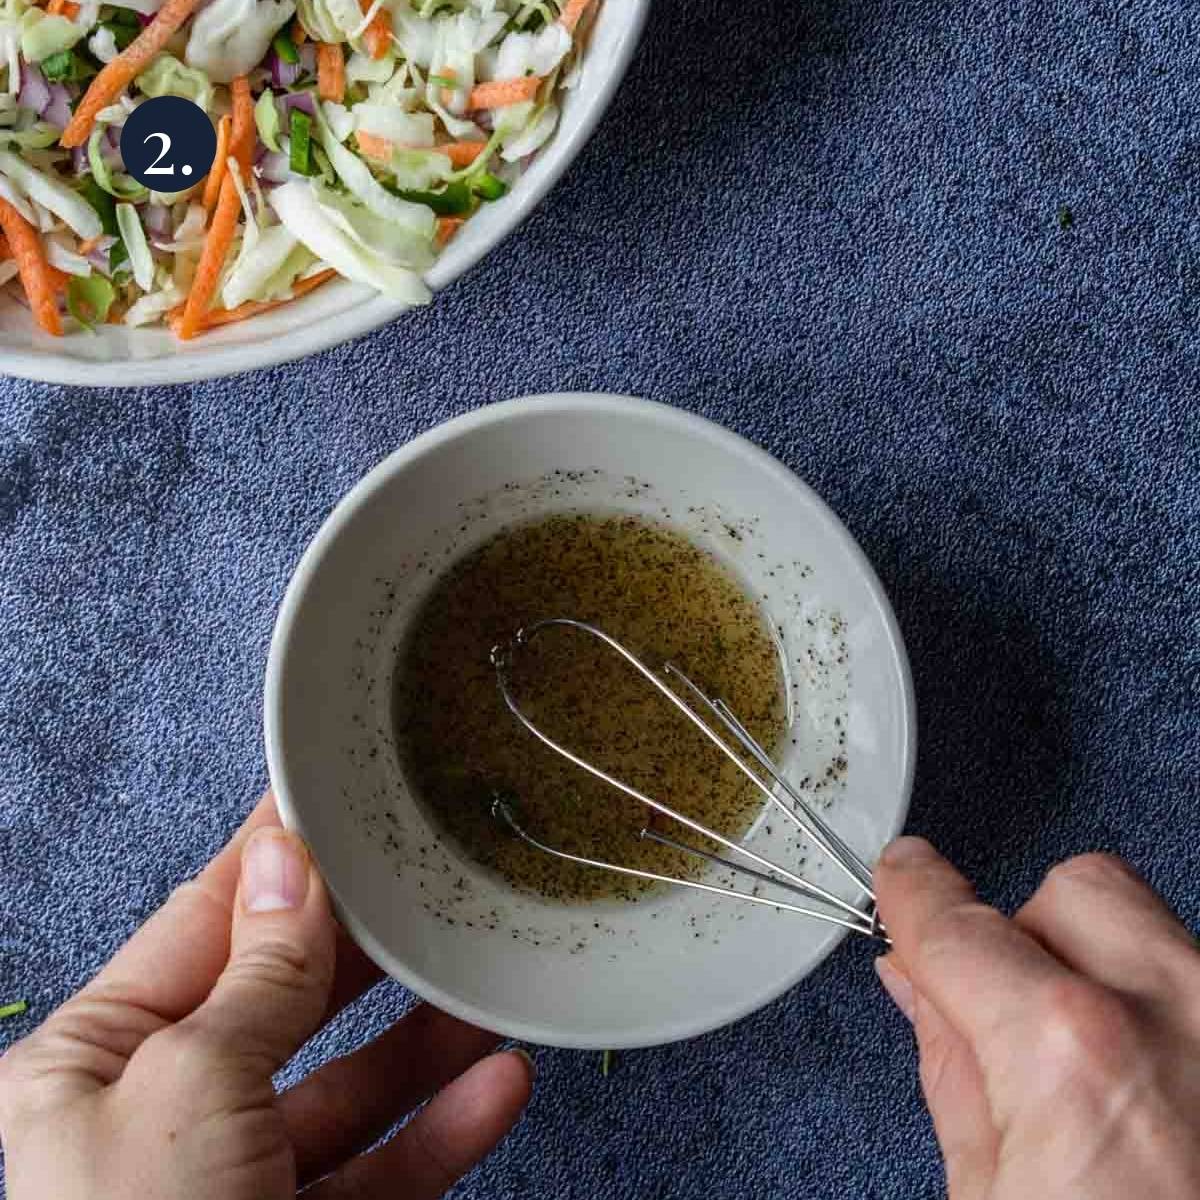
Whisk together the ingredients for the Sambal Aioli. Set aside.
In your oven, move the rack to the lowest level, closest to the heating element.
Pro Tip: By moving your oven rack to the lowest point your brussels will crisp and caramelize better.
Preheat the oven to 450 degrees. Prep a large rimmed baking sheet with parchment paper.
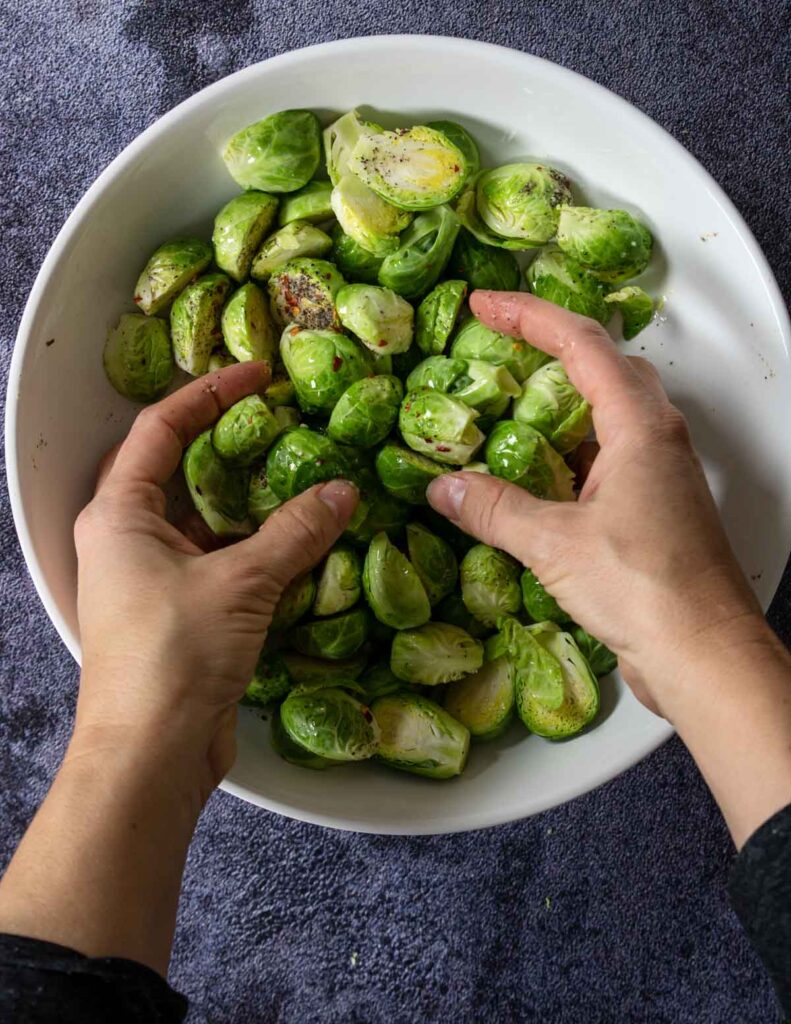
Trim the small stem end of each brussels sprouts and then halve each one. In a large bowl toss the prepped brussels sprouts, olive oil, salt, pepper and red pepper flakes together.
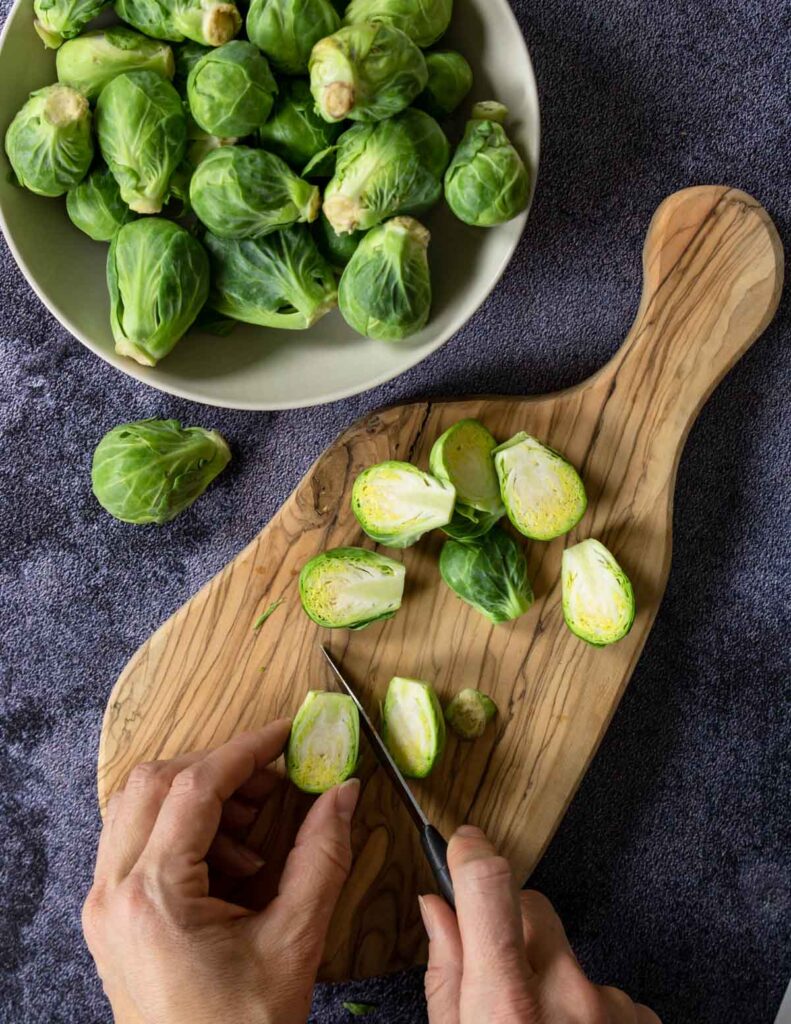
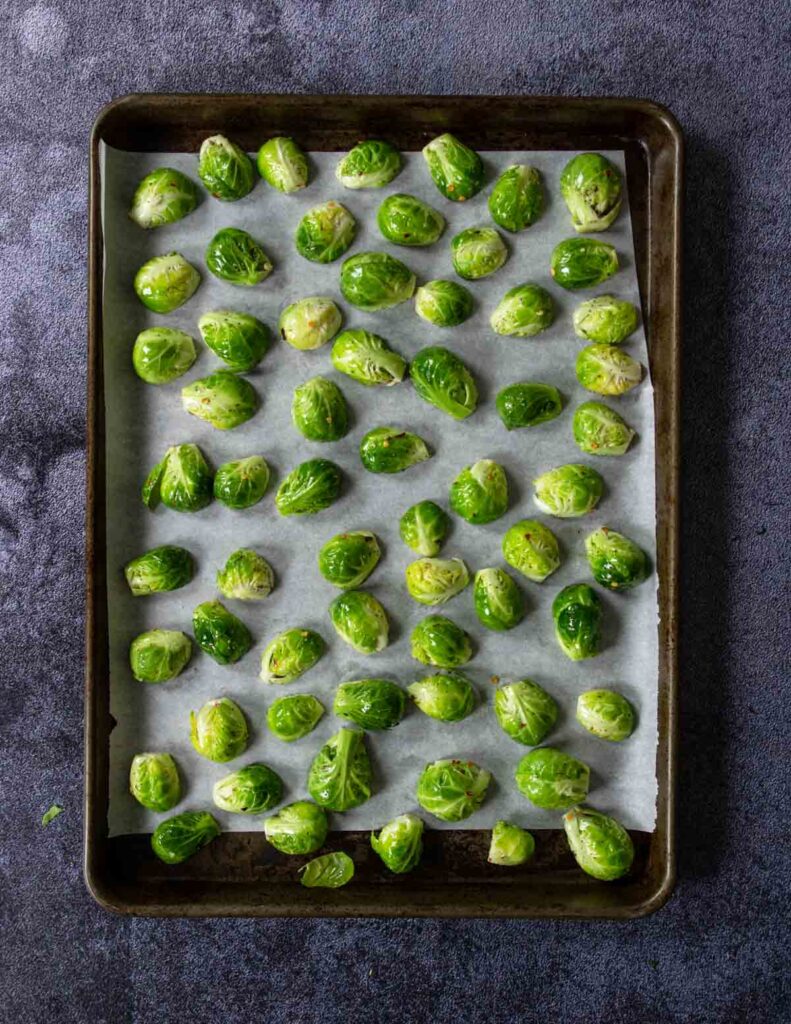
Place the brussels on the baking sheet CUT SIDE DOWN.
Pro Tip: Do not crowd the brussels on the pan or they will steam instead of roast. Also by placing the brussels cut side down the edges of each layers of leaves will caramelize and crisp.

Roast in the oven for 12-15 minutes. You want them to be browned and crisp but not mushy on the inside.
While the brussels are roasting make the ginger soy glaze.
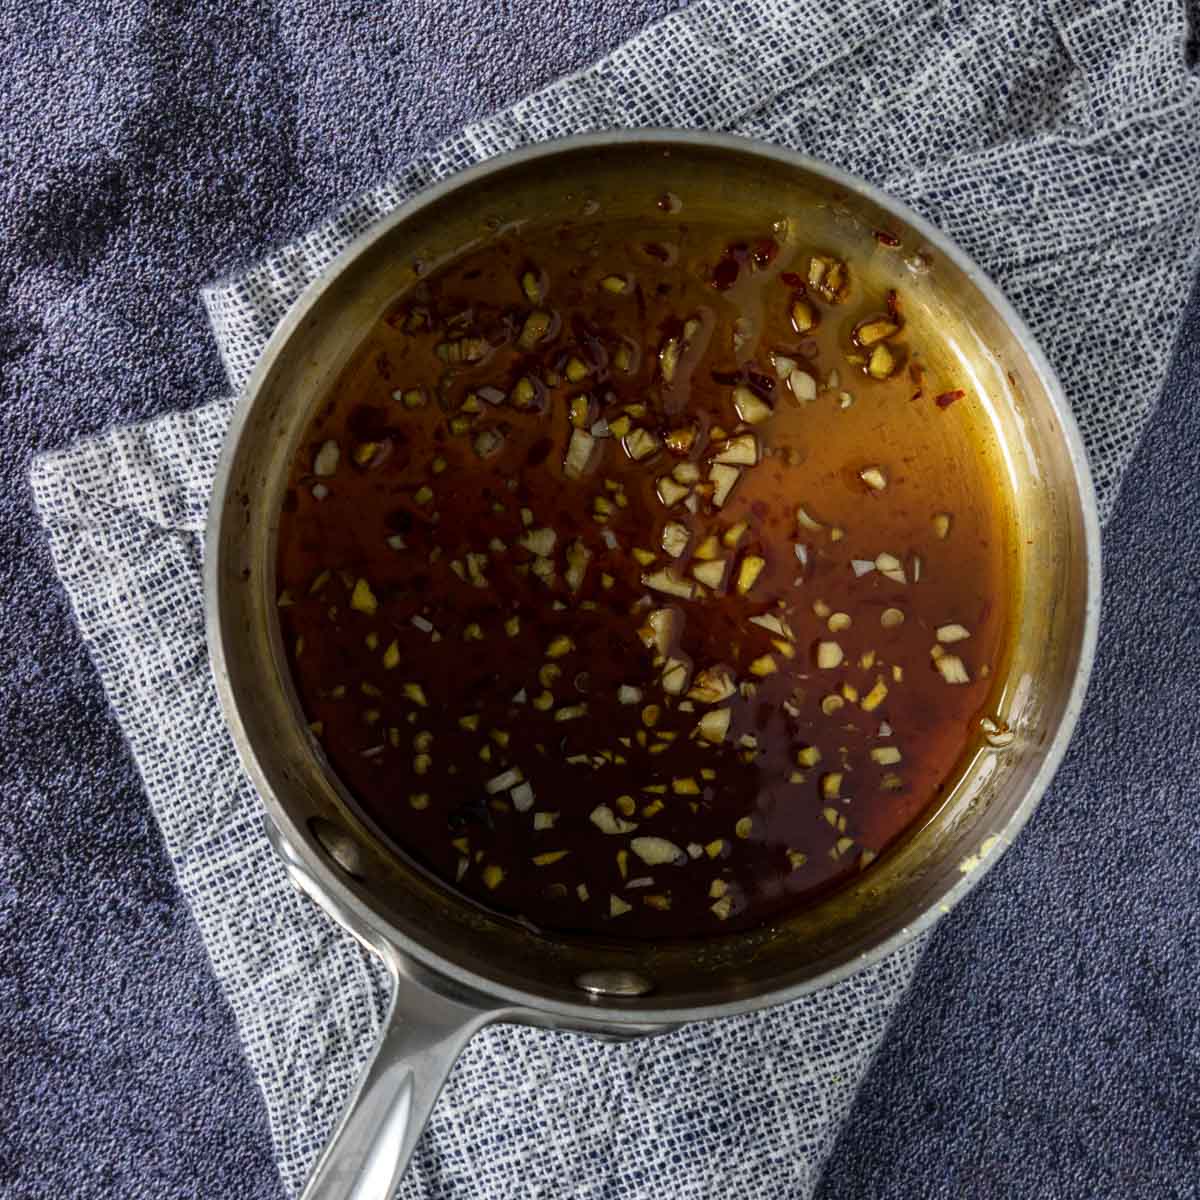
In a small saucepan over medium-low heat add the honey, soy sauce, sesame oil and sambal. Simmer for about 1 minute.
Remove from the heat and stir in the fresh ginger and minced garlic.
Pro Tip: adding the garlic and ginger after the sauce simmers ensures the garlic won’t burn and allows the flavors to be bright and fresh!
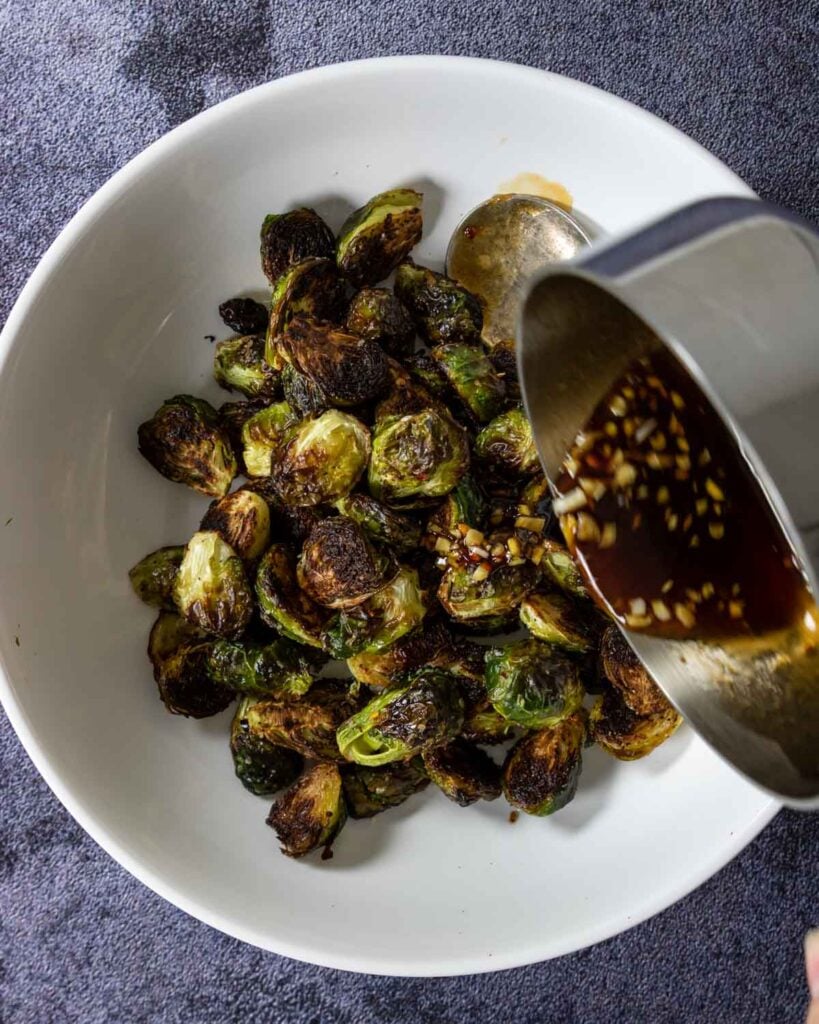
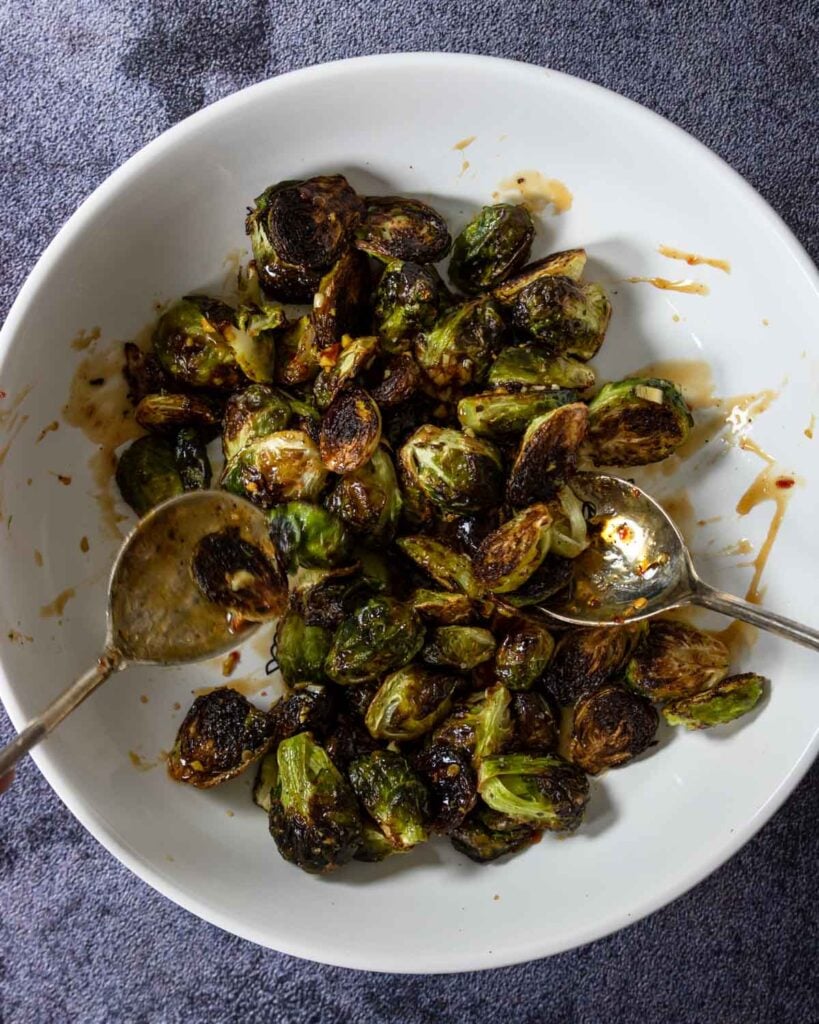
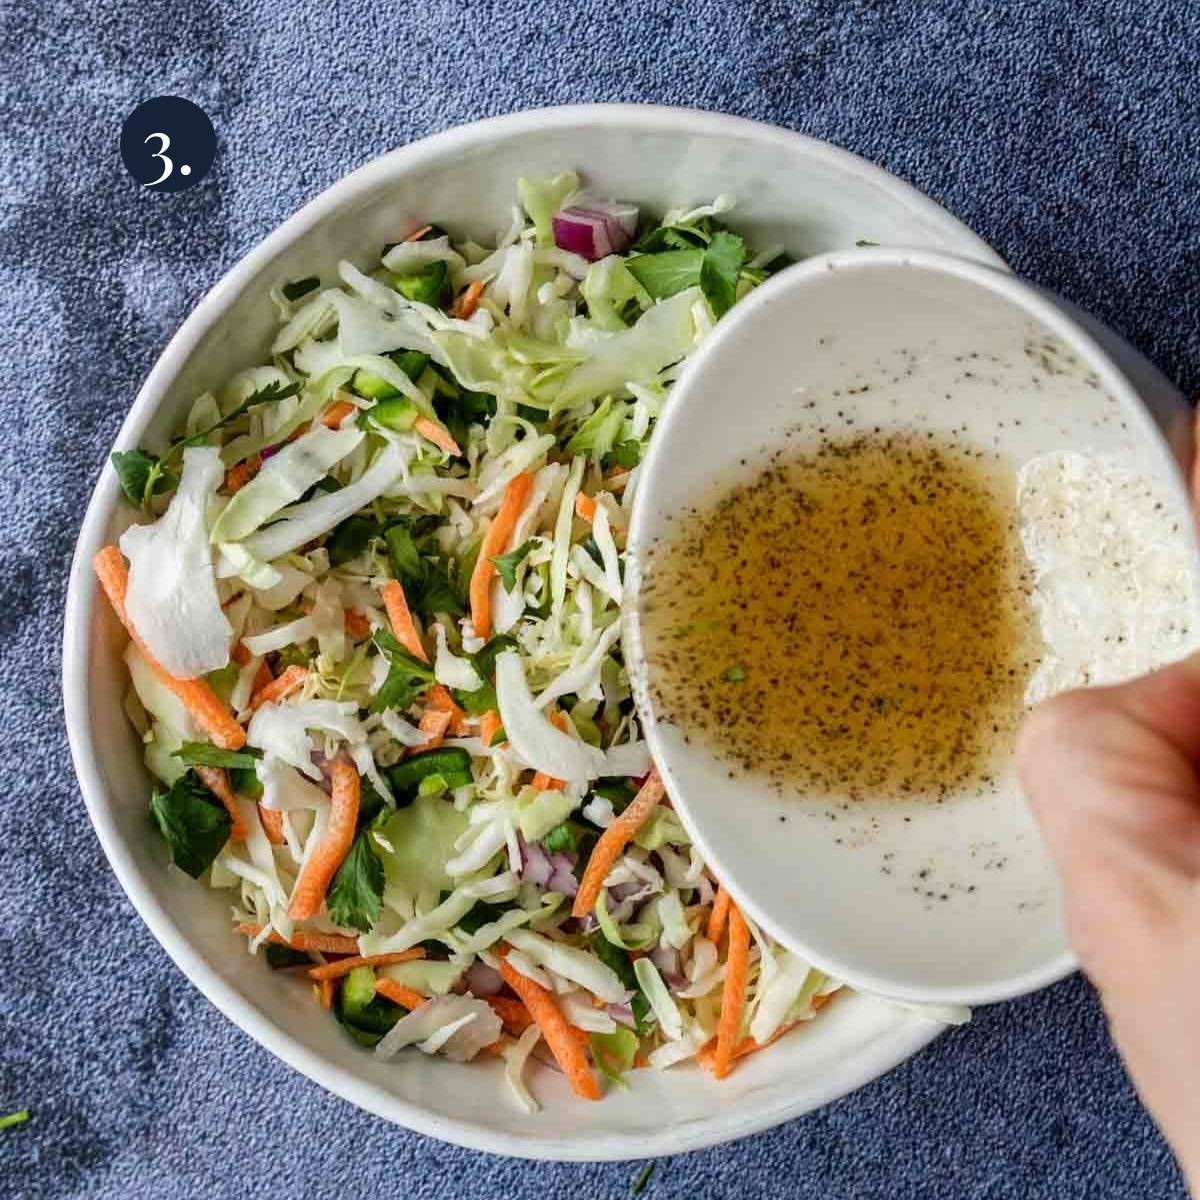
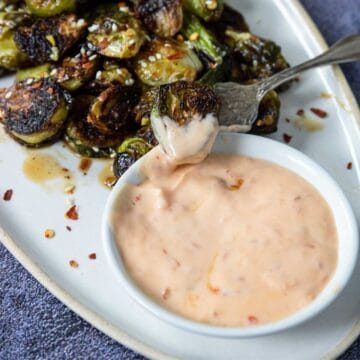
Toss the cooked brussels in the ginger soy glaze, serve immediately with a side of the Sambal Aioli.
Recipe Tips
- Take the extra step to make sure the brussels are cut side down on the baking pan.
- Use the parchment paper to roast the brussels, it helps them crisp without sticking to the pan.
- Move the baking rack to the lowest position in the oven. It helps make your brussels nice and caramelized.
- Don’t overcook your brussels or they will be mushy.
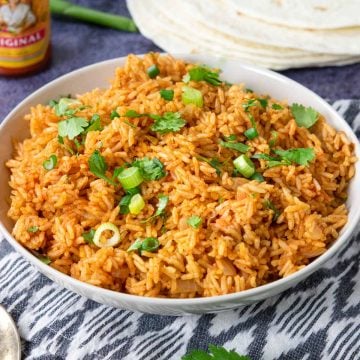
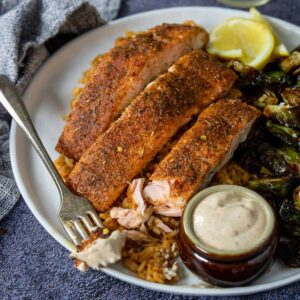
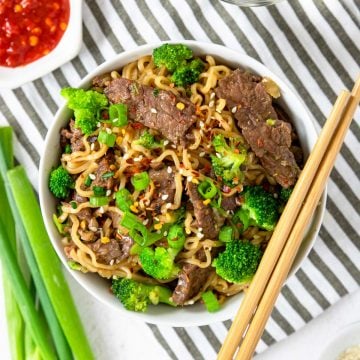
Related Recipe

Did you make this recipe?
⭐⭐⭐⭐⭐
I would love to hear your review, especially if you have tips and tricks to add! Pop down to the comment section and connect with me
Asian Brussels Sprouts with Dipping Sauce
Ingredients
Brussels Sprouts
- 1 lb (up to 1 ¼ lb) fresh brussels sprouts - trimmed and halved
- 3 tablespoon olive oil
- ½ teaspoon kosher salt
- ¼ teaspoon each : black pepper and red pepper flakes
Ginger Soy Glaze
Instructions
- Whisk together the ingredients for the Sambal Aioli. Set aside.¼ cup mayonnaise,1 tablespoon Sambal Oelek, 2 teaspoon honey, ½ teaspoon fresh lime juice
- Move your oven rack to the lowest level, closest to the heating element.Pro Tip: By moving your oven rack to the lowest point your brussels will crisp and caramelize better.Preheat the oven to 450 degrees. Prep a large rimmed baking sheet with parchment paper.
- Trim the small stem end of each brussels sprouts and then halve each one. In a large bowl toss the prepped brussels sprouts, olive oil, salt, pepper and red pepper flakes together.1 lb (up to 1 ¼ lb) fresh brussels sprouts, 3 tablespoon olive oil, ½ teaspoon kosher salt, ¼ teaspoon each : black pepper and red pepper flakes
- Place the brussels on the baking sheet CUT SIDE DOWN. Pro Tip: Do not crowd the brussels on the pan or they will steam instead of roast.
- Roast in the oven for 12-15 minutes. You want them to be browned and crisp but not mushy on the inside.
- While the brussels are roasting make the ginger soy glaze:In a small saucepan over medium-low heat simmer together the honey, soy sauce, sesame oil and sambal for 1 minute.2 tablespoon honey, 2 teaspoon soy sauce, 1 teaspoon toasted sesame oil, 1 teaspoon Sambal
- Remove from the heat and add the garlic and ginger.1 teaspoon fresh ginger, 1 fresh garlic clove
- Toss the roasted brussels with the ginger soy glaze.
- Serve immediately with a side of Sambal Aioli!
Recipe Tips and Notes:
- Take the extra step to make sure the brussels are cut side down on the baking pan.
- Use the parchment paper to roast the brussels, it helps them crisp without sticking to the pan.
- Move the baking rack to the lowest position in the oven. It helps make your brussels nice and caramelized.
- Don’t overcook your brussels or they will be mushy.