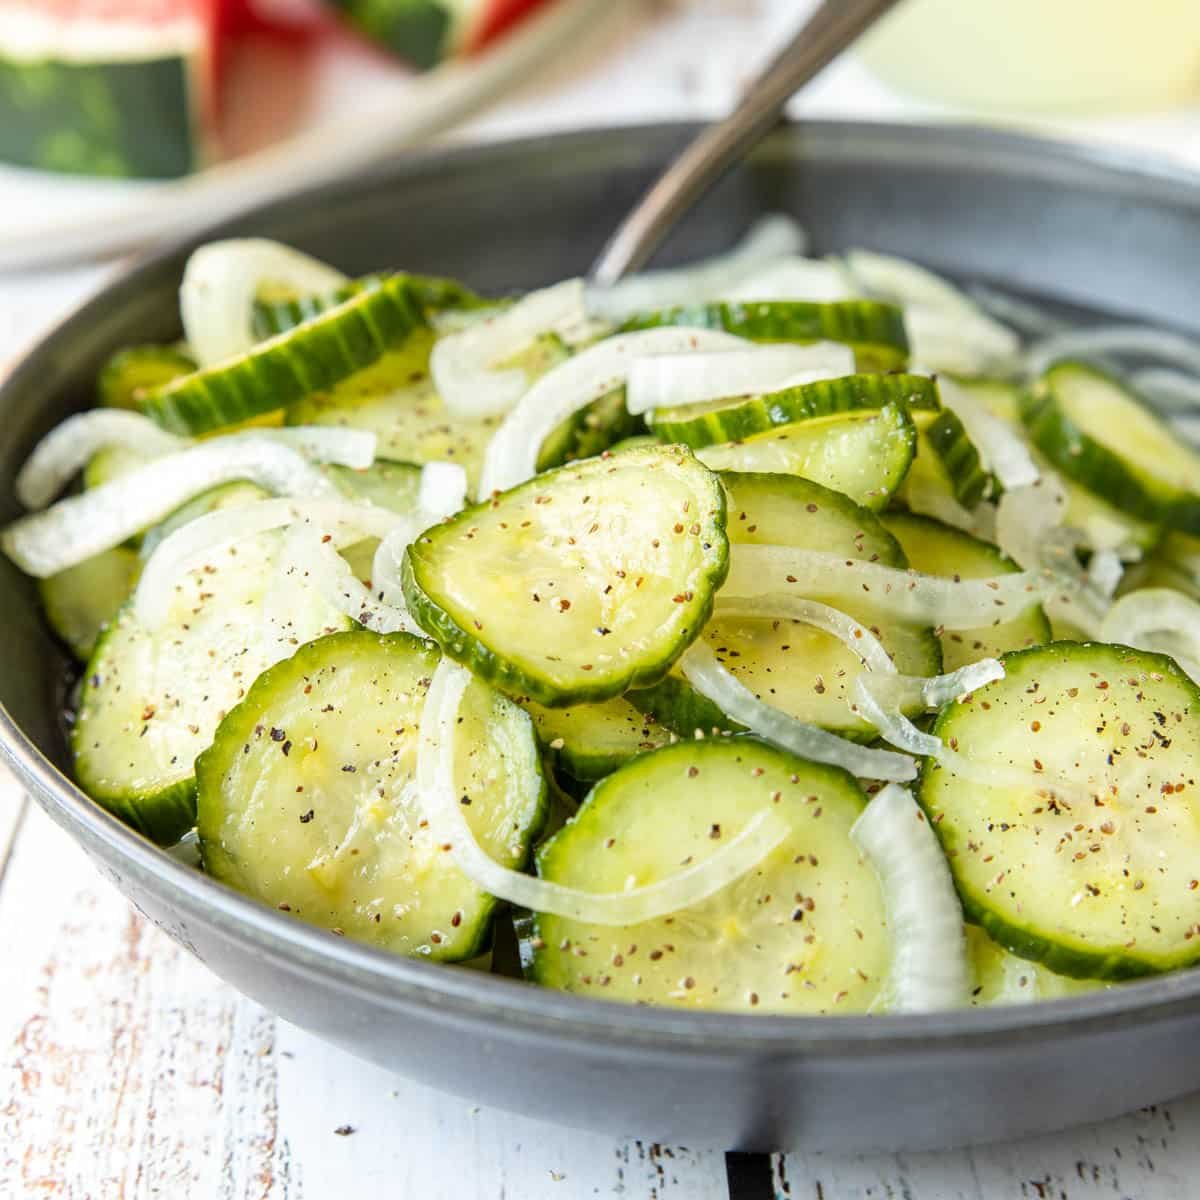
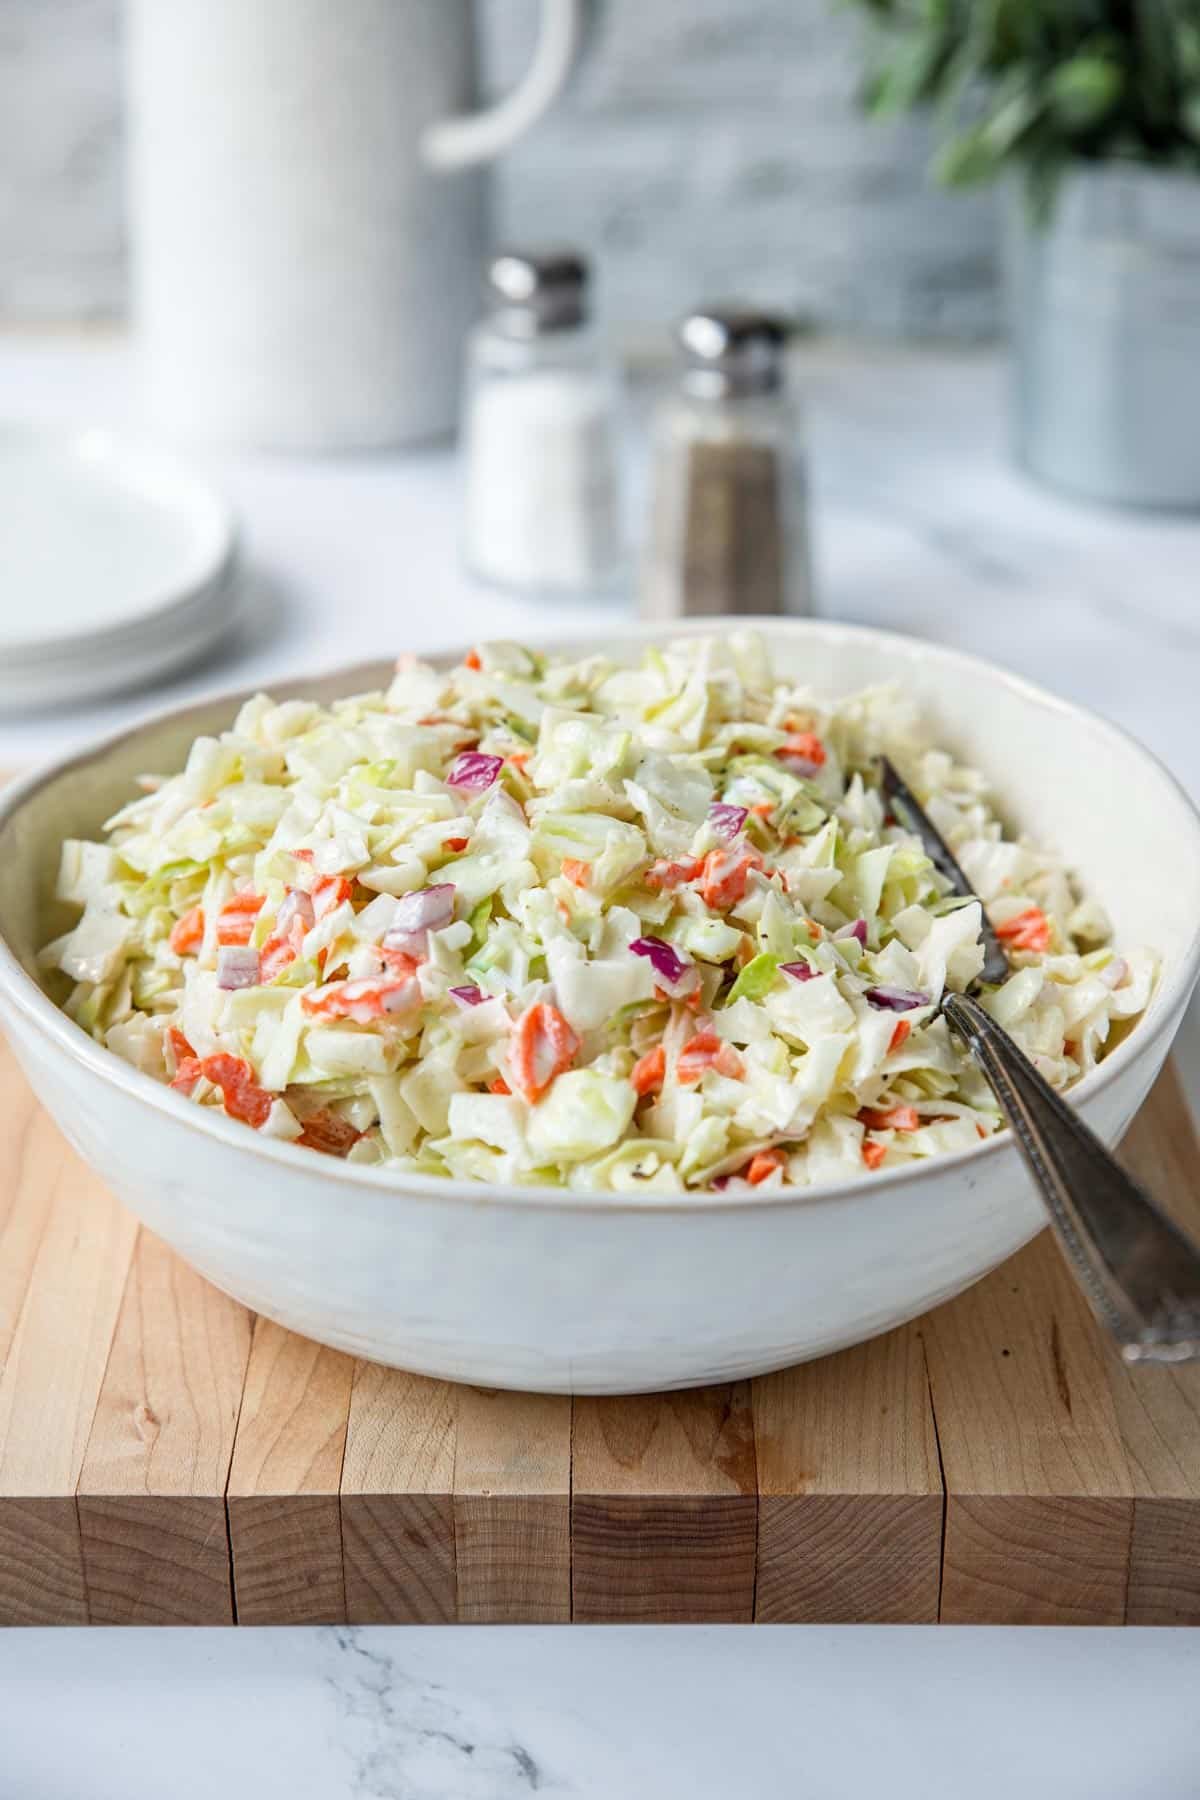
If you need a classic creamy coleslaw recipe, keep reading… I've got you covered. After years of backyard cookouts and summer BBQs here in the Midwest, I've learned that hand-chopped cabbage makes the best coleslaw, not stringy shredded cabbage, CHOPPED. It creates the perfect texture, stays crisp longer, and doesn't turn watery like bagged mixes. This is a true Midwest side dish that we've nailed when it comes to both flavor and texture, and I know you're going to love it.
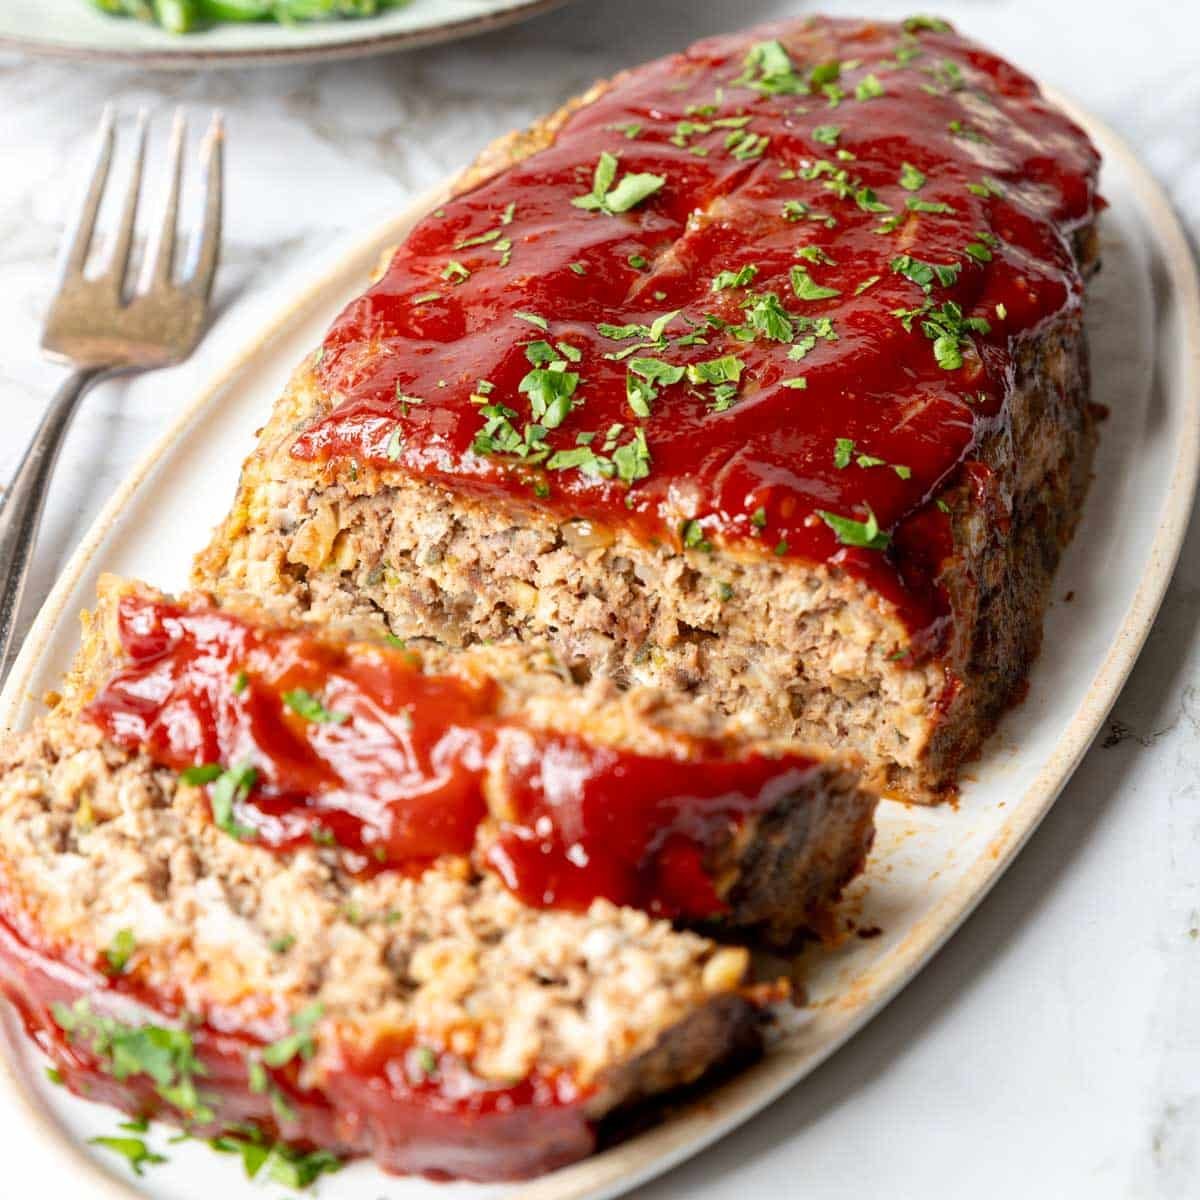
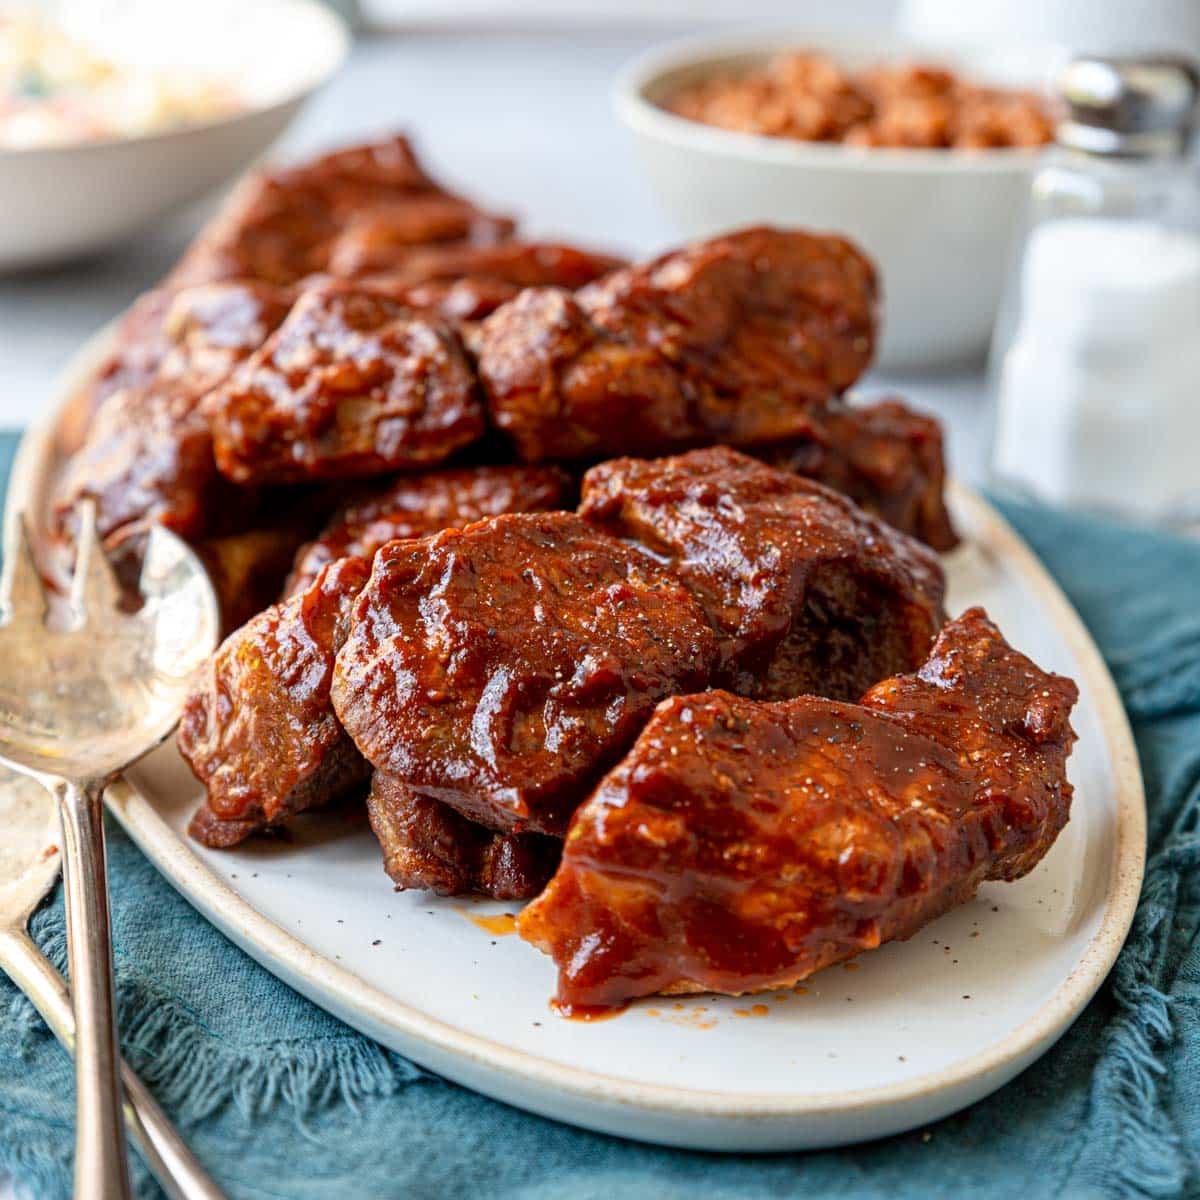
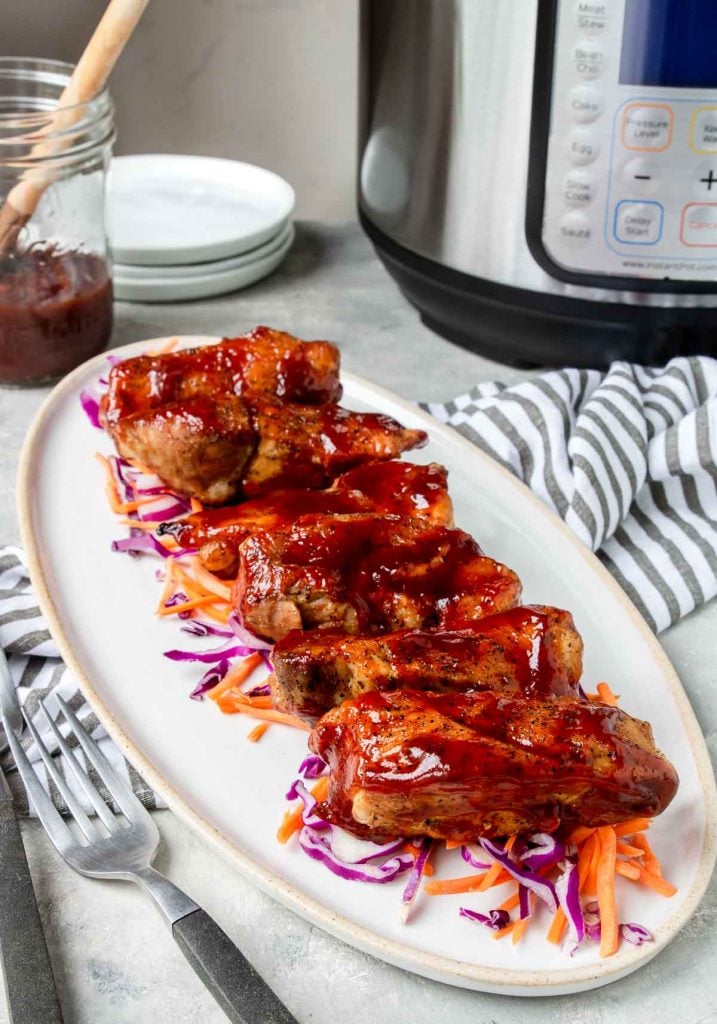
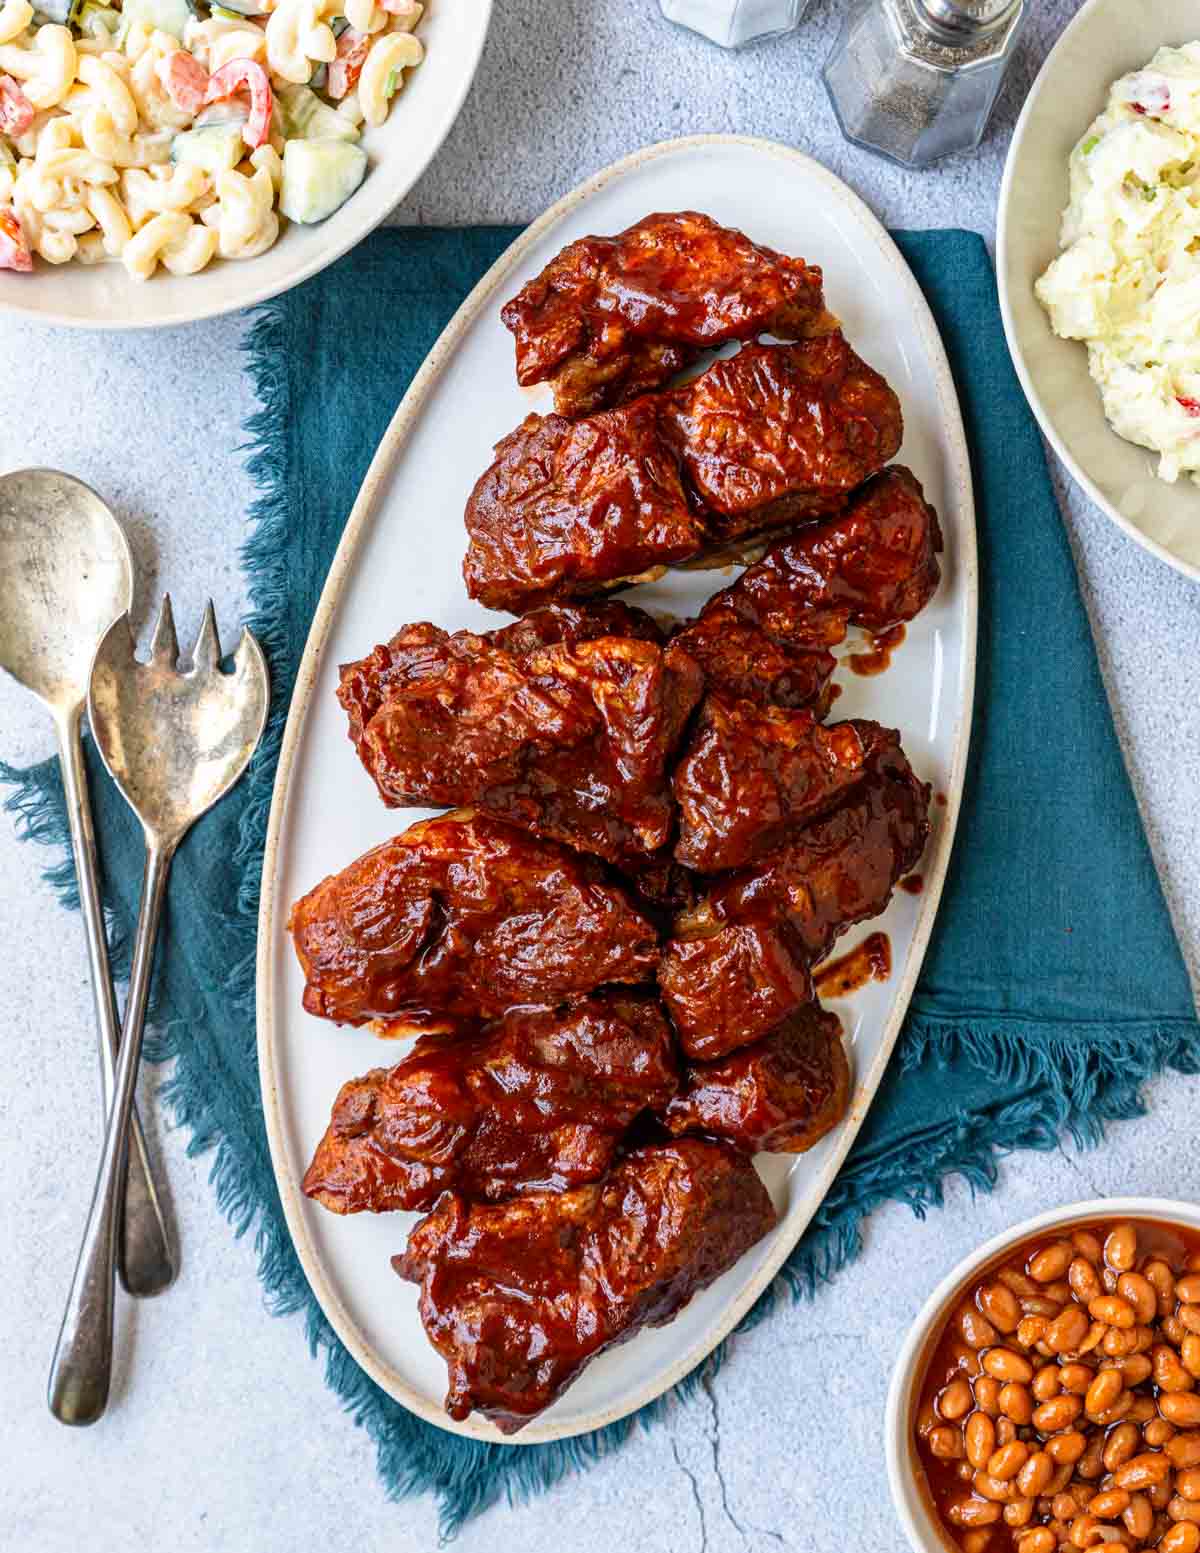
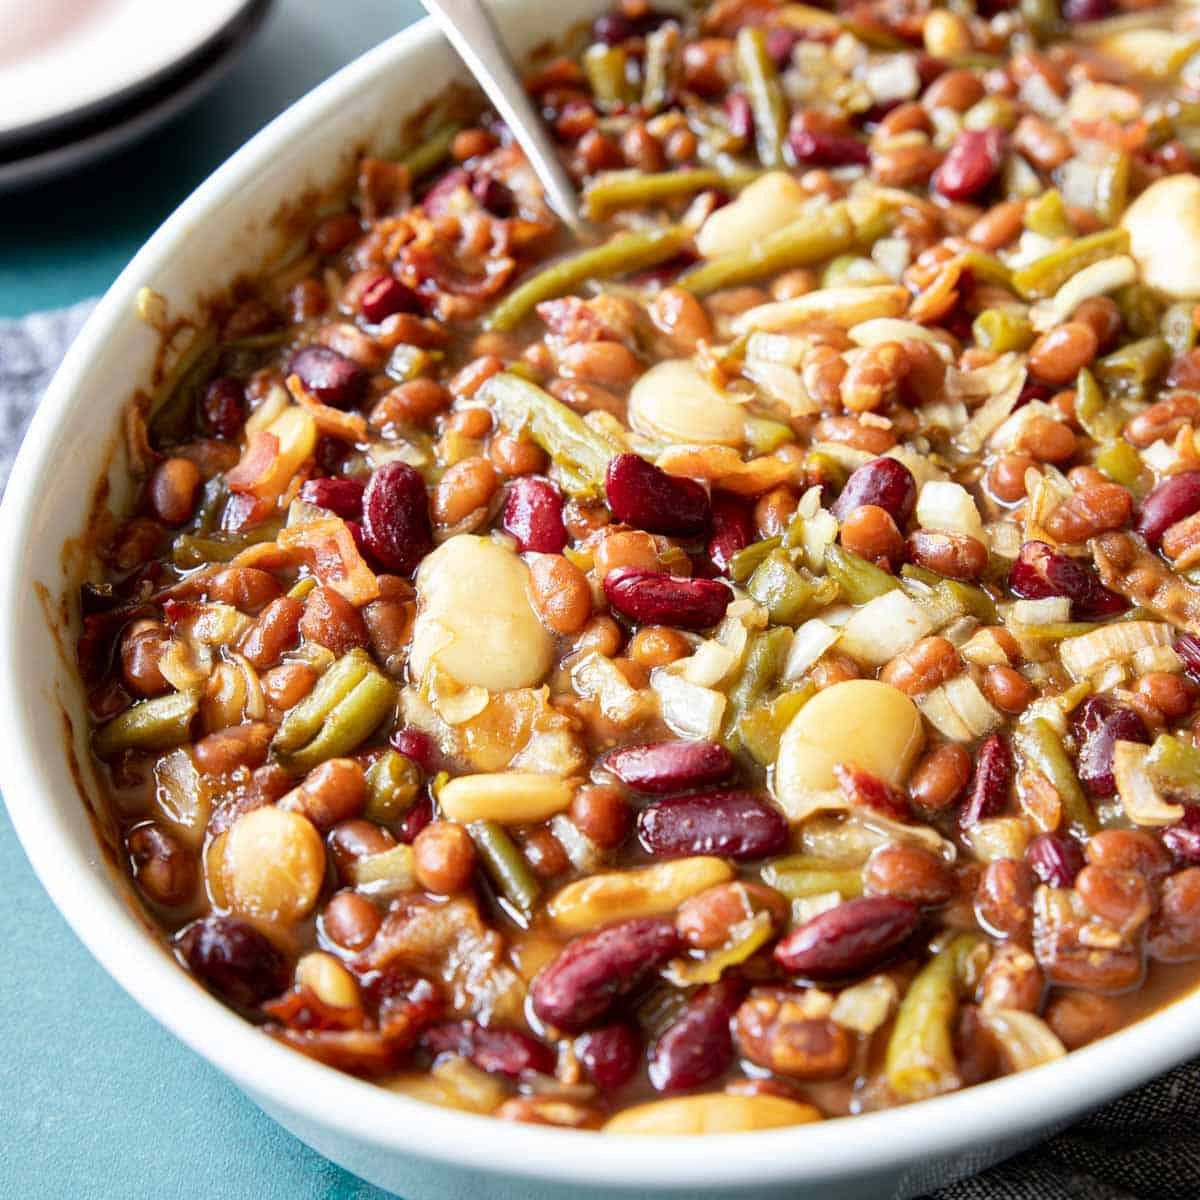
This Coleslaw pairs perfectly with these Old Fashioned Baked Beans and Classic Potato Salad Recipe! It also makes a killer topping for Pulled Pork and BBQ Beef sandwiches!
This is a delicious recipe!! Our whole family loves it, and I love that it's easy to make this from scratch. My husband is super picky when it comes to coleslaw and he approves. 🙂 – Amelia
Homemade Coleslaw Ingredients
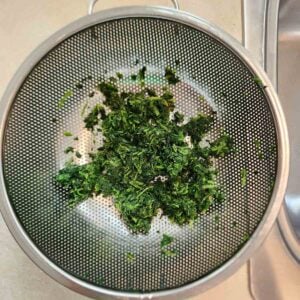
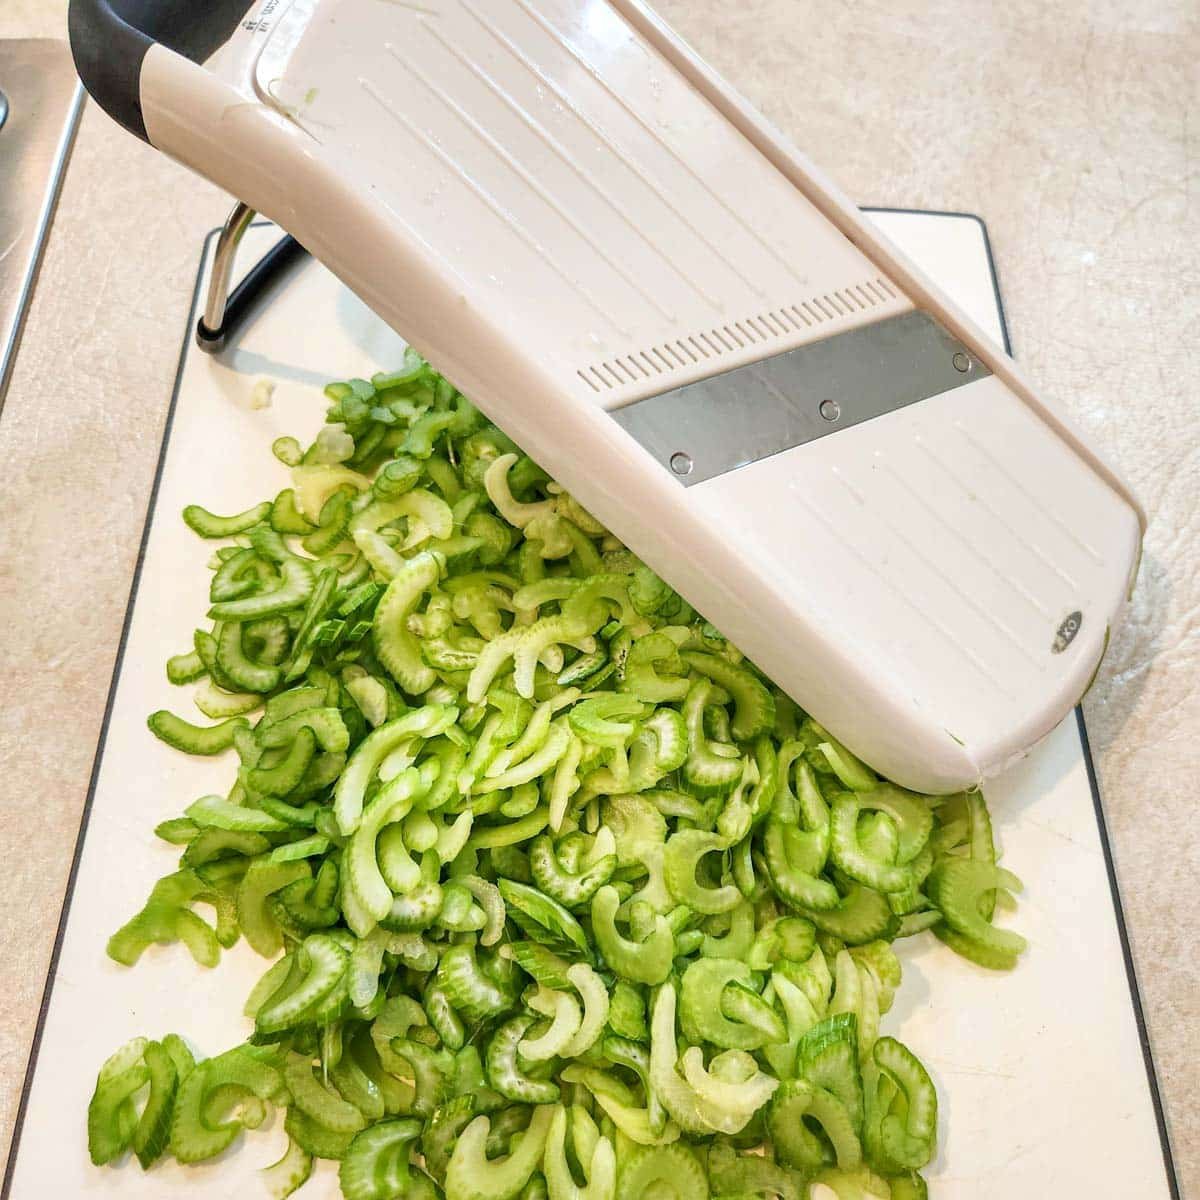
- Green Cabbage – cutting your own cabbage as opposed to buying slaw mix creates a crispier and fresher coleslaw. It also tends to be less watery and holds it’s crisp after a day in the fridge.
- Carrot – I like buying carrot chips and then rough chopping them for this recipe. You can also buy pre-shredded carrots and then give them a rough chop.
- Red Onion – A little red onion goes a long way in your coleslaw. You just need ¼ cup. If your red onion is extra strong cut a chunk off the onion and then rinse it under cool water, lightly separating the layers. This rinses away to enzyme that will have the red onion taking over your dish.
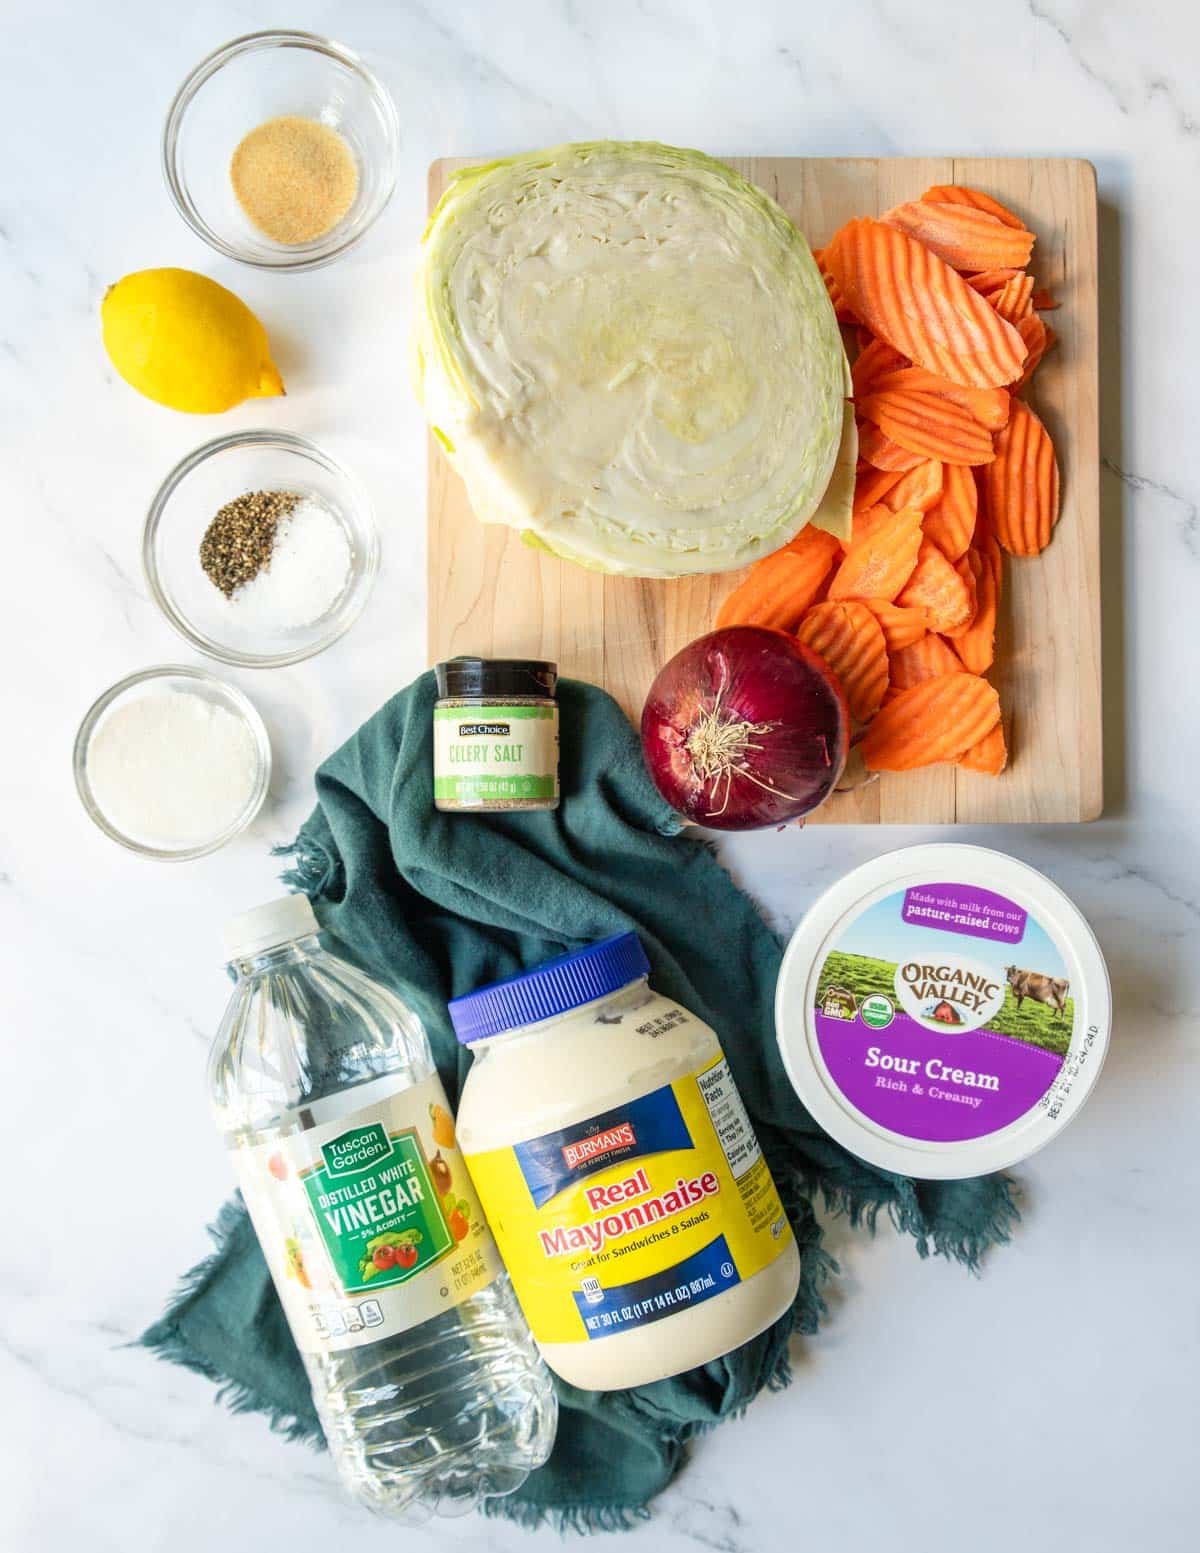
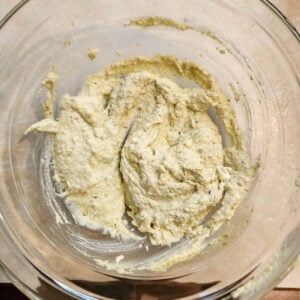
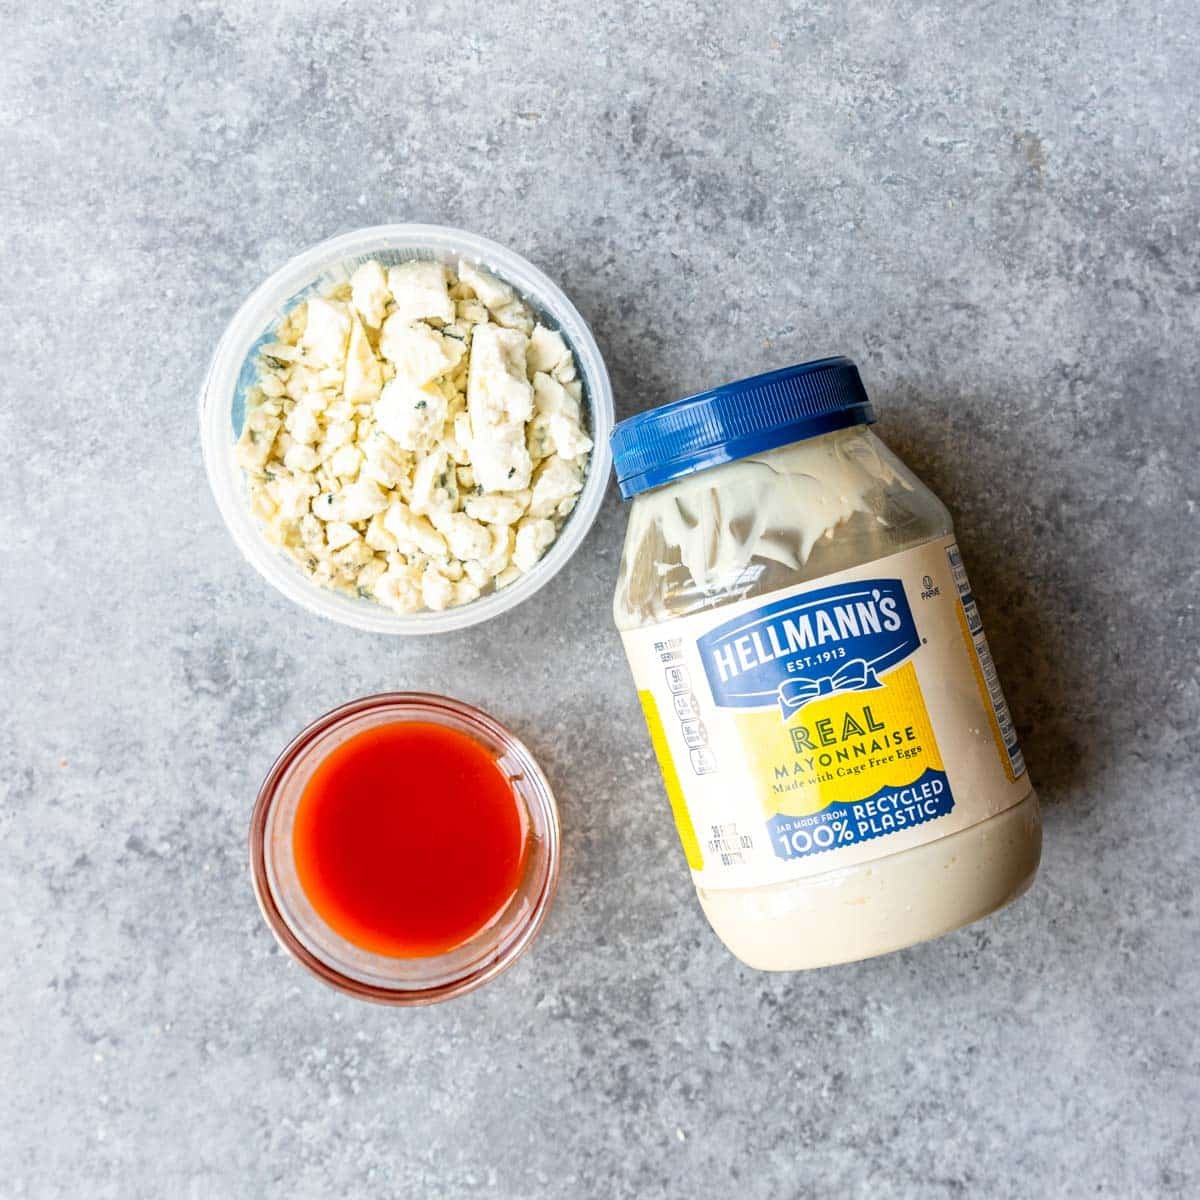
- Mayonnaise – This is the base ingredient for your homemade coleslaw dressing. Use a good mayo! We like any of these brands:
- Hellmann’s
- Dukes
- Burman’s – Aldi Store Brand
- Kensington
- Kewpie (although I have not tried this one, people really like it)
- Sour Cream – Will mellow the flavor of the mayonnaise without diluting the dressing.
- Celery Salt – Classic ingredient in coleslaw dressing. Make sure you are using celery salt and not celery seed.
- White Vinegar and Lemon Juice – Adds just the right amount of “tang” and freshness to your coleslaw dressing.
- Sugar – Balances the tang of the vinegar, mayo and sour cream.
- Garlic Powder – Just a dash will do ‘ya.
Watch: The Best Coleslaw Recipe
How to Make Creamy Coleslaw
This is a quick overview of how to make the Homemade Coleslaw recipe. For more detailed steps and ingredients, pop down to the printable recipe card.

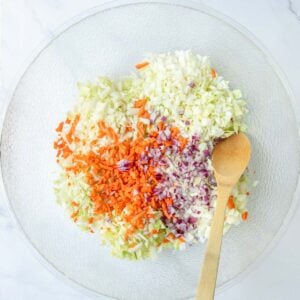
Step 1
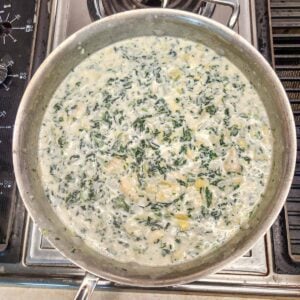
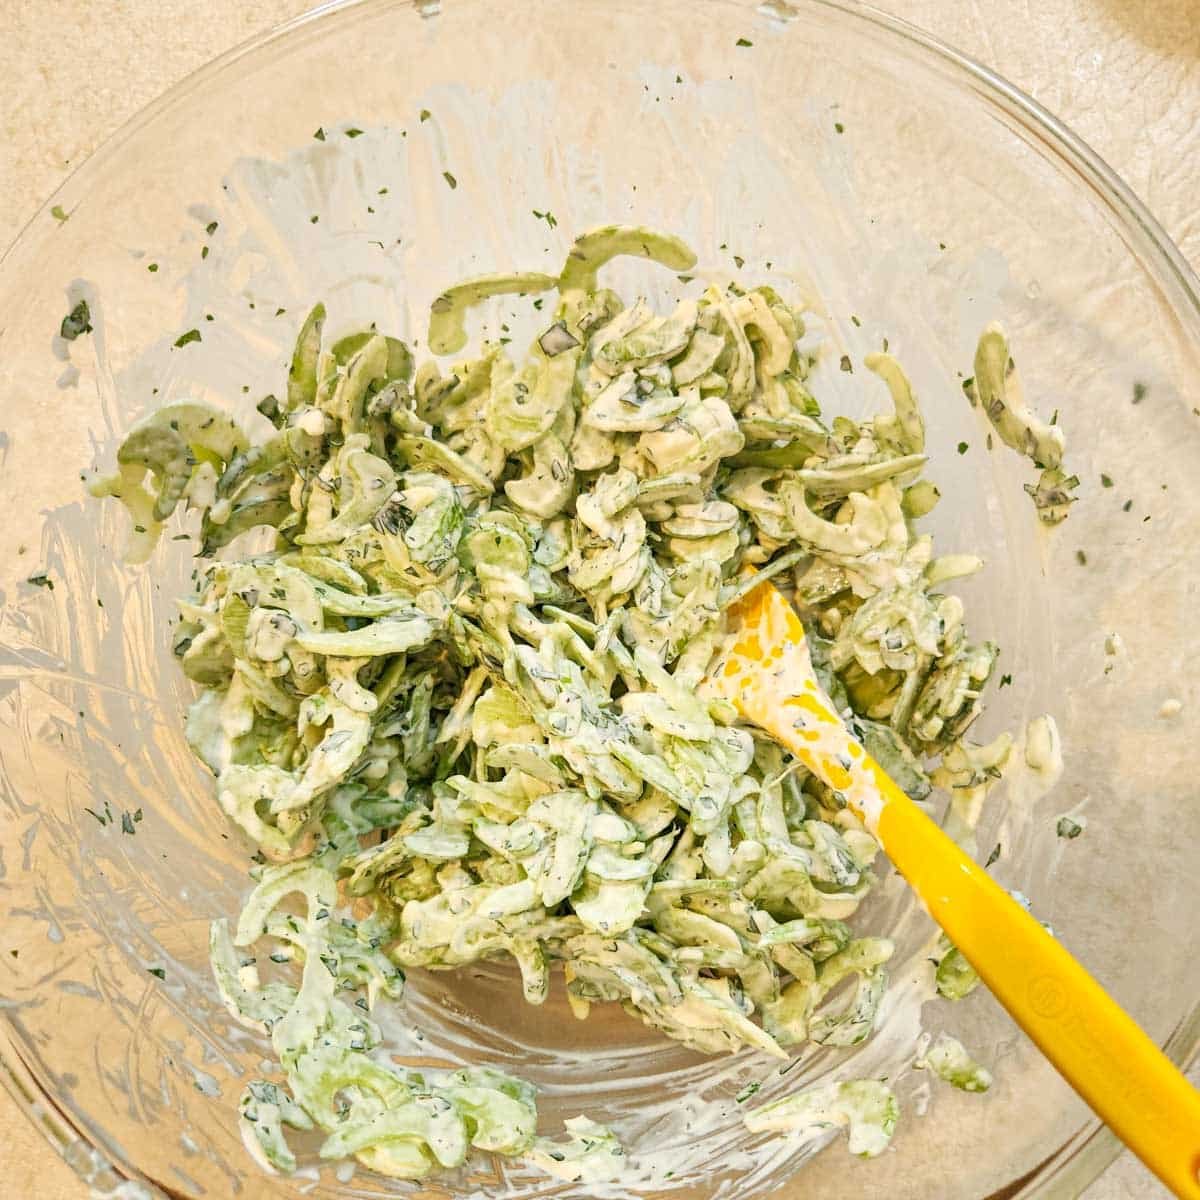
Cut all the veggies and add to a large mixing bowl.
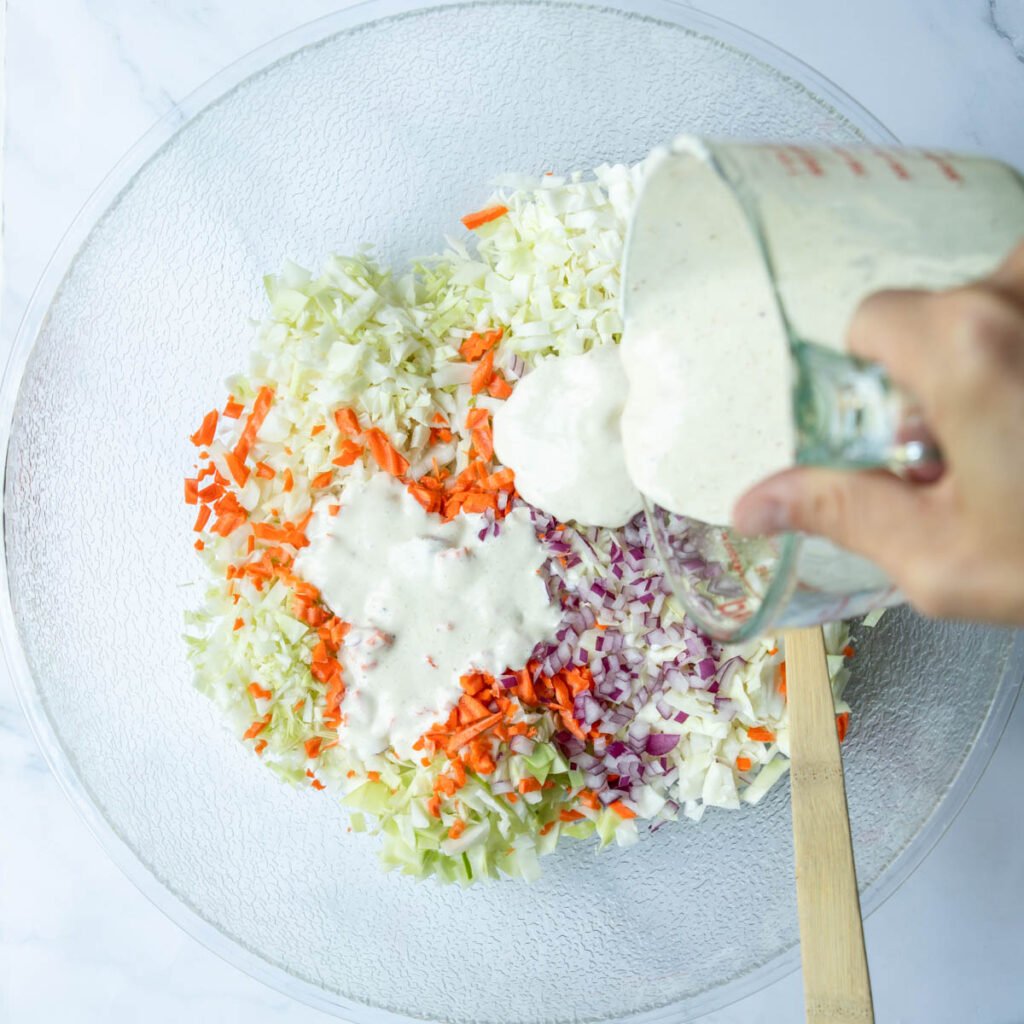
Step 2
Make the dressing and pour over the veggies.
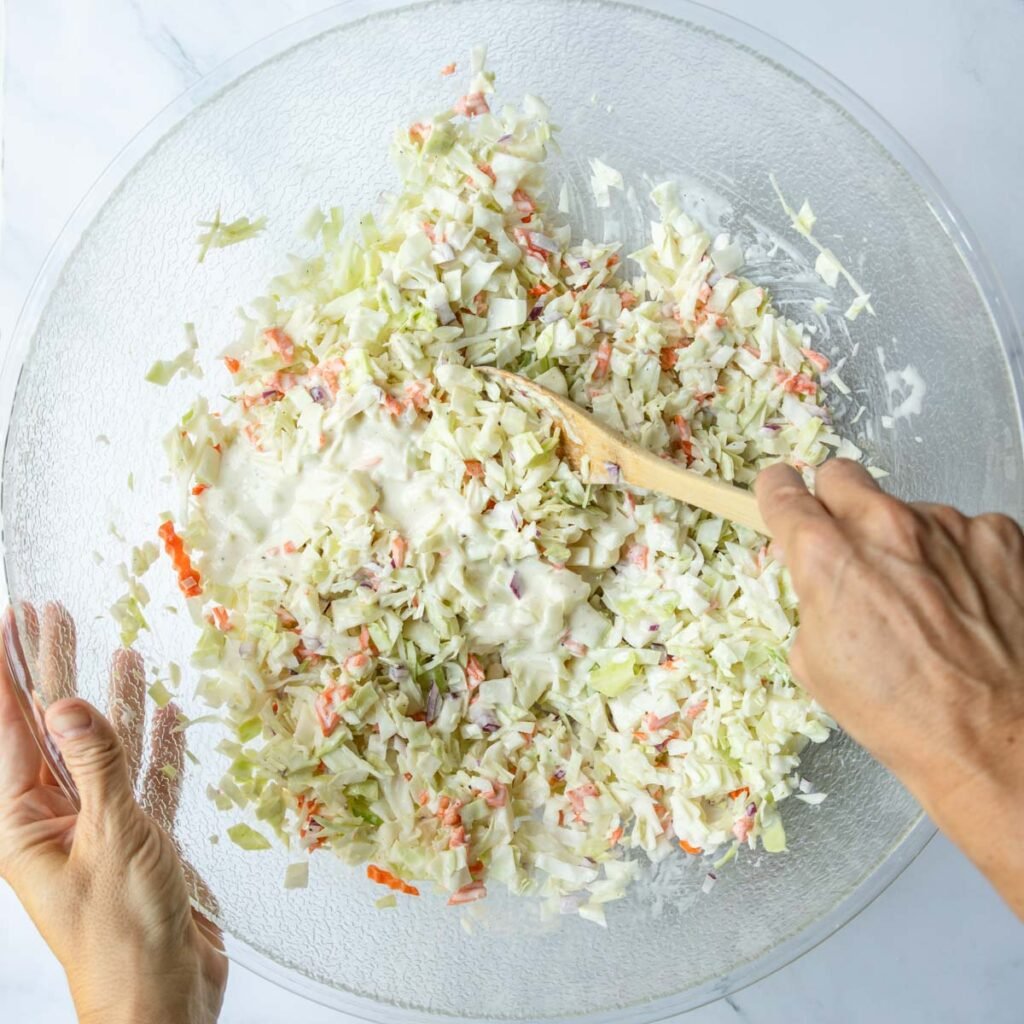
Step 3
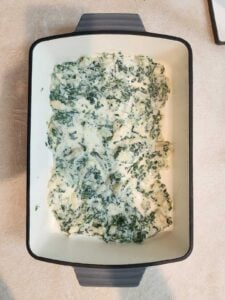
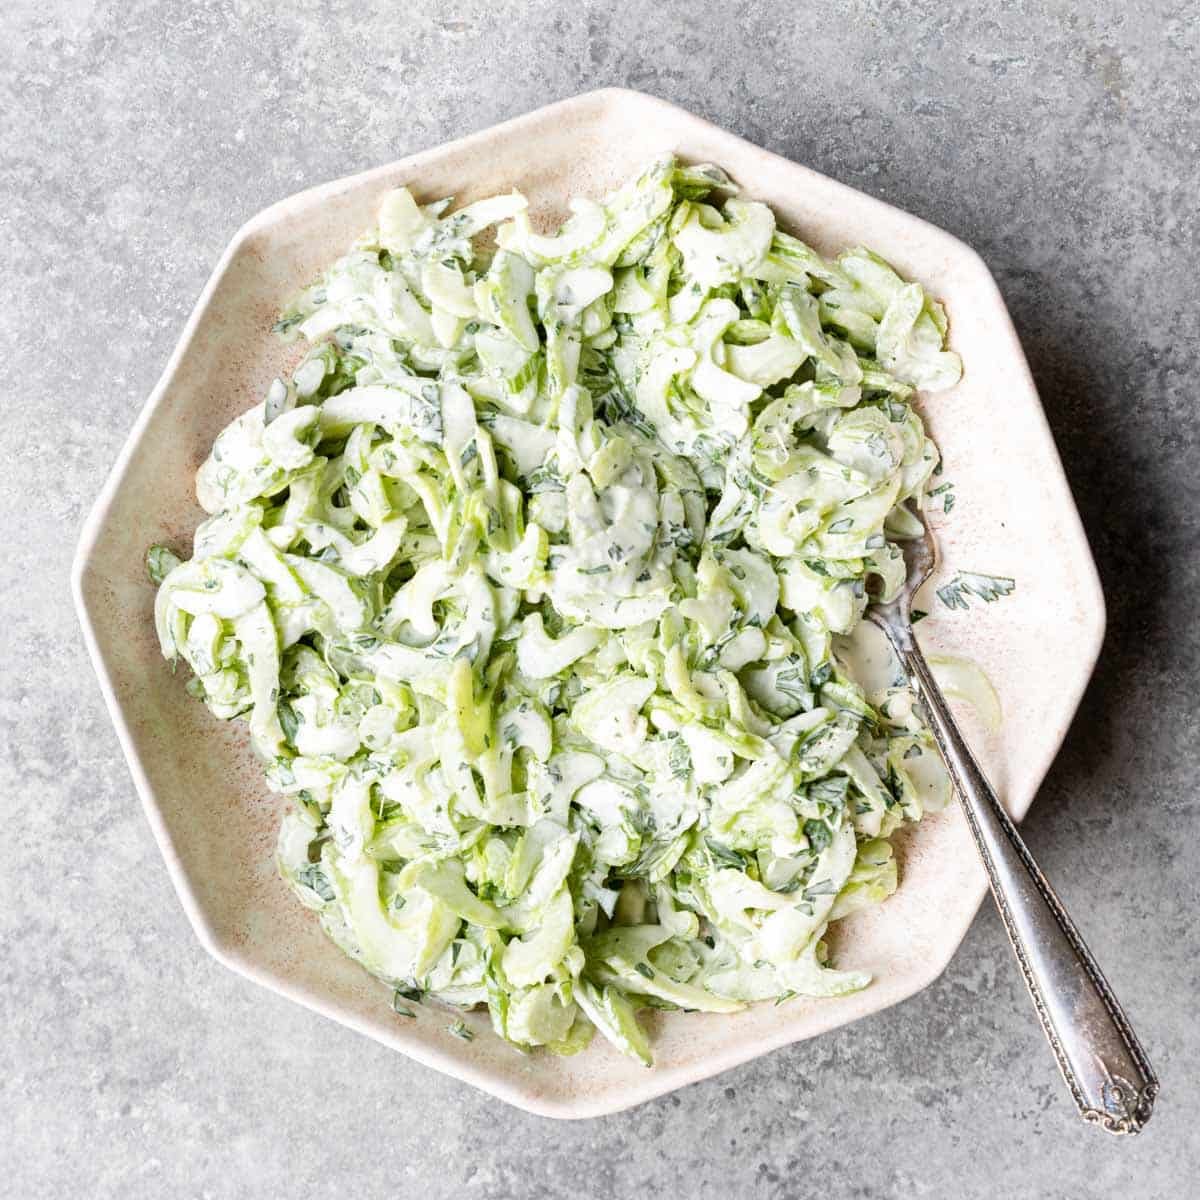
Stir everything to combine. Refrigerate for 2 hours-24 hours.

Step 4
Serve chilled!
Recipe Tips
- Cut your own cabbage instead of buying pre-shredded slaw mix.
- Rough chop the cabbage, red onion, and carrots for a classic coleslaw texture.
- After you cut your onion open, if it is super strong give it a little rinse under cool water before chopping.
- Let the coleslaw sit in the fridge for 2 hours up to 24 hours to cool and meld before serving.
- Use this coleslaw as a side dish but ALSO serve it piled on top of BBQ sandwiches!
Variations
Asian Style Creamy Slaw
- Use rice vinegar and a splash of soy sauce
- Add sesame oil and grated ginger
- Finish with sesame seeds
Southwest / BBQ Slaw
- Add corn and black beans
- Mix in cumin and smoked paprika
- Squeeze of lime, optional chipotle
Hawaiian / Tropical Slaw
- Add pineapple or mandarin oranges
- Finish with lime zest
What to Serve with Homemade Coleslaw
If you need a menu to pair with this Creamy Coleslaw here is the perfect menu of recipes from Mom’s Dinner:
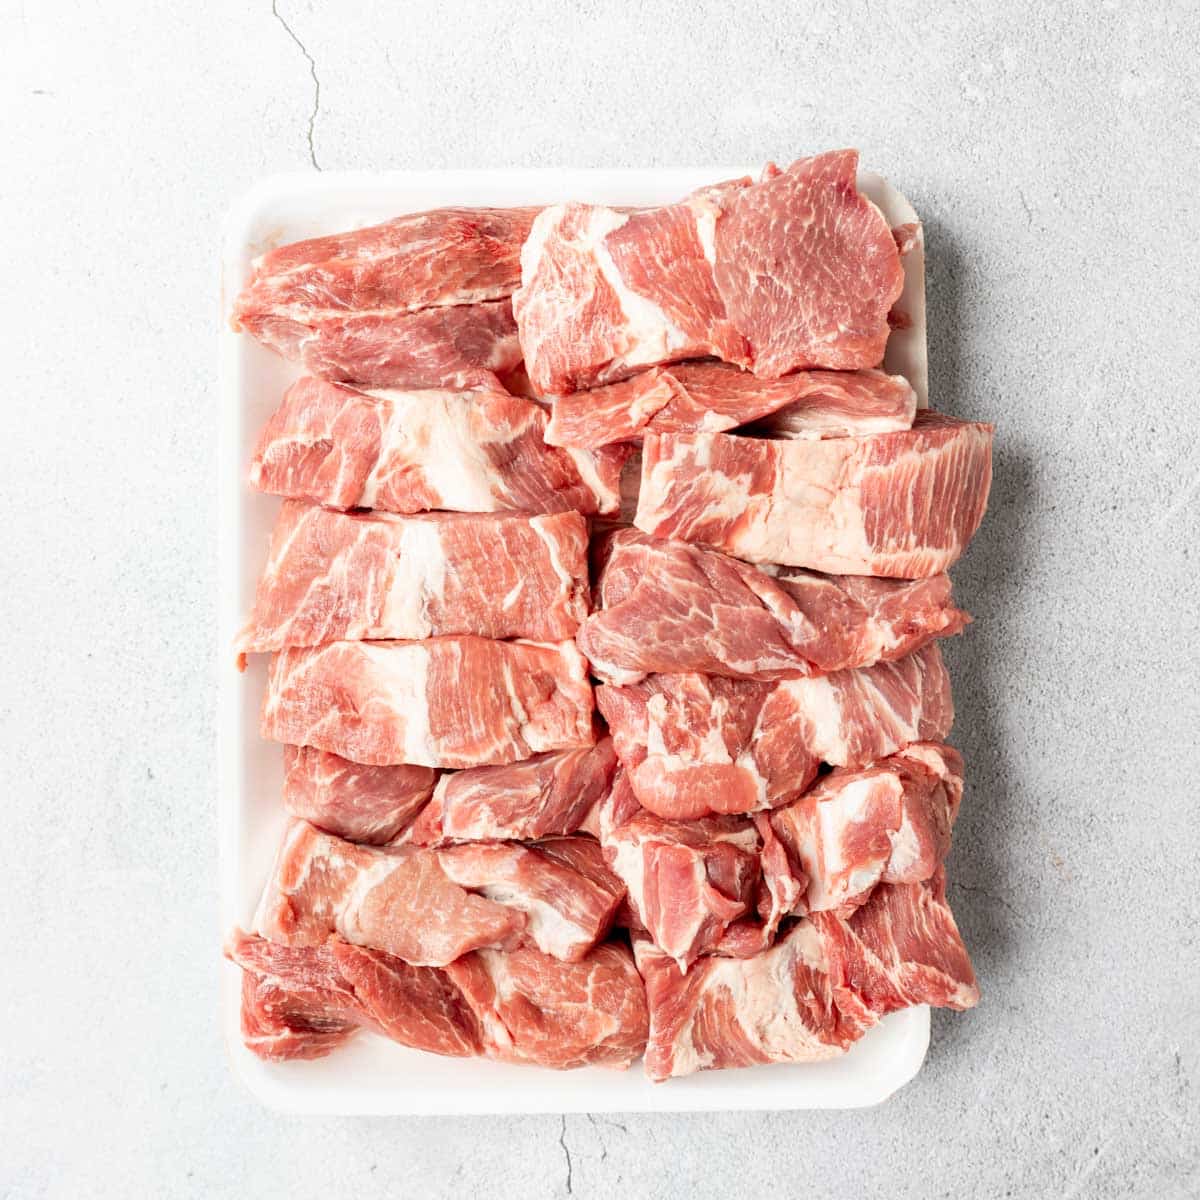
- Grilled Burgers or BBQ Pork Tenderloin
- Old Fashioned Baked Beans
- Potato Salad
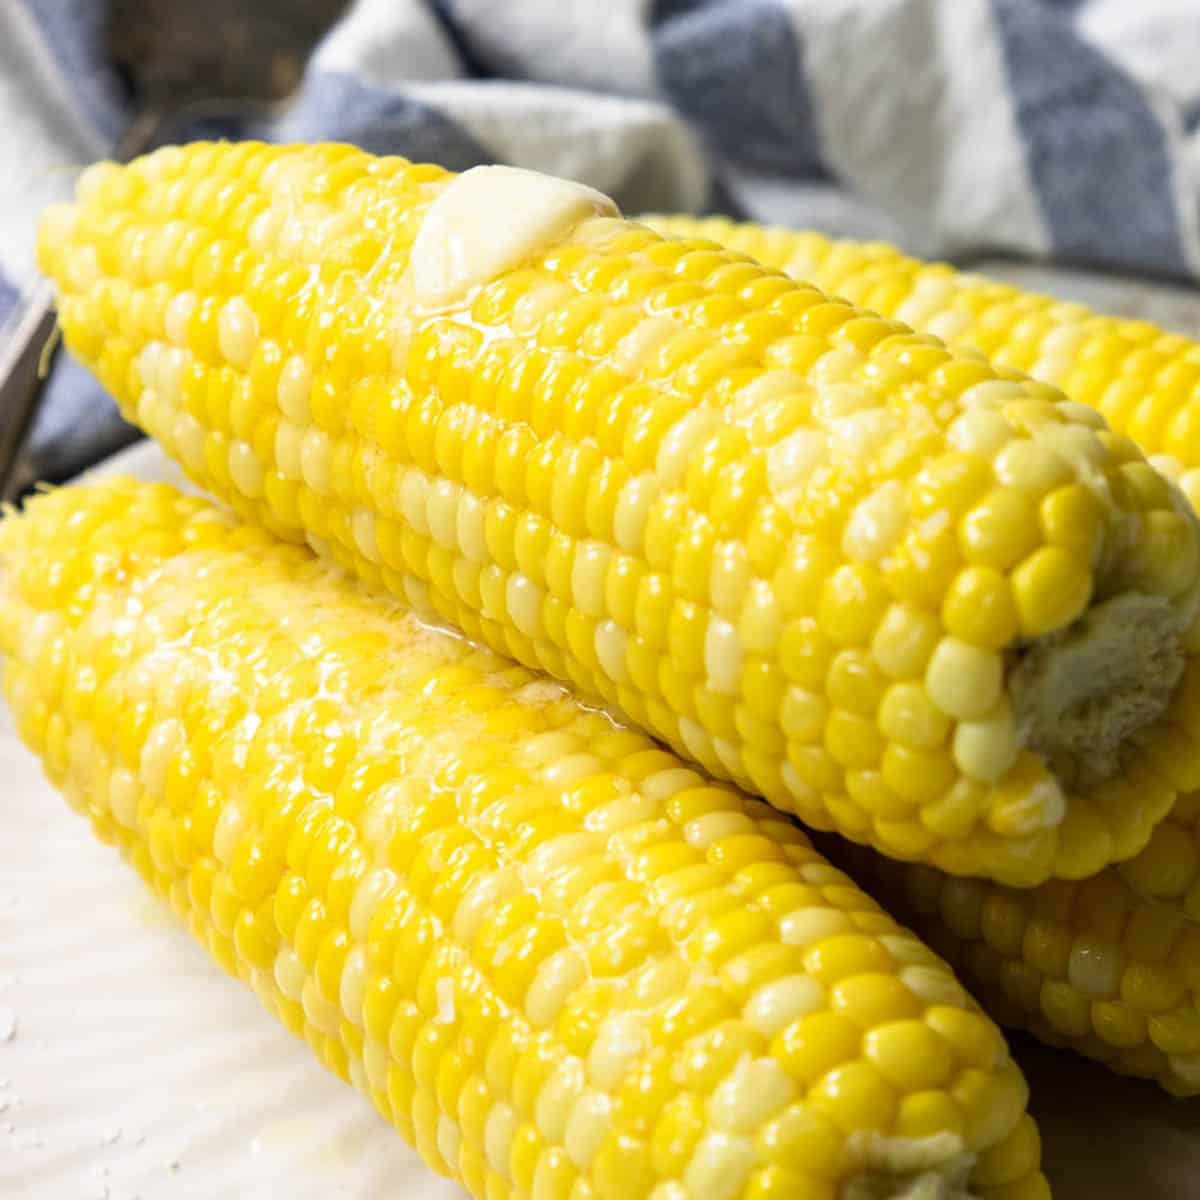
- Buttermilk Cornbread
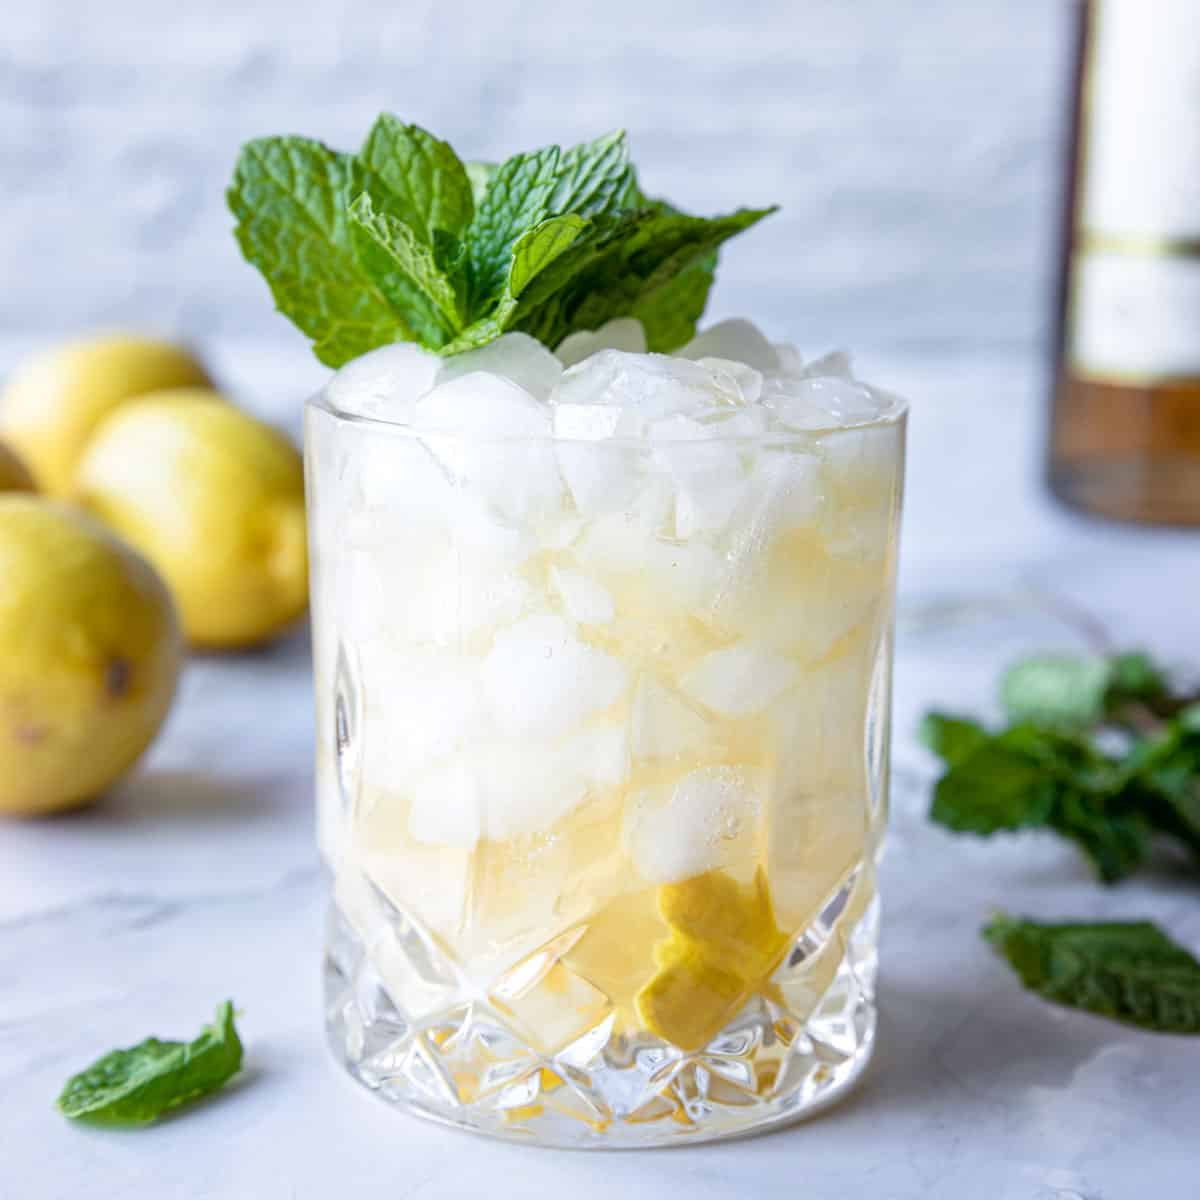
- Fresh Lemonade
- Blueberry Crumble
How to Store
Store leftover creamy coleslaw in an airtight container in the refrigerator for up to 4 days.
If your coleslaw becomes watery after sitting, simply give it a good stir before serving. The cabbage will naturally release moisture over time, especially after it has been mixed with salt and dressing.
Make Ahead
If you are prepping coleslaw in advance for a party or cookout, you can shred the cabbage and mix the dressing separately up to 2 days ahead. Store them in separate airtight containers and toss together a few hours before serving for the freshest crunch.
Can you Freeze Coleslaw
Creamy coleslaw does not freeze well. The mayonnaise-based dressing will separate and become grainy once thawed, and the cabbage will lose its crisp texture.
More Side dishes


30+ BBQ Side Dishes
If you are in need of some additional side dish ideas to pair with this coleslaw, this is the perfect resource:

Did you make this recipe?
⭐⭐⭐⭐⭐
I would love to hear your review, especially if you have tips and tricks to add! Pop down to the comment section and connect with me

Classic Creamy Coleslaw Recipe
Ingredients
Slaw Mix
- 7 Cups green cabbage - thinly sliced and then roughly chopped ; equals about 1 small head of cabbage
- ½ cup carrot - finely chopped
- ¼ cup red onion - finely diced
Coleslaw Dressing
- ½ cup mayonnaise
- ¼ cup sour cream
- 1 ½ Tbsp. white vinegar
- 2 Tbsp. lemon juice - fresh squeezed
- ¾ tsp. celery salt
- 3 Tbsp. sugar
- ¼ tsp. kosher salt
- ¼ tsp. black pepper
- ⅛ teaspoon garlic powder
Instructions
- In a large bowl add the chopped cabbage, chopped carrot and diced red onion.7 Cups green cabbage, ½ cup carrot, ¼ cup red onion

- In a small mixing bowl or large liquid measuring cup whisk together the dressing ingredients until combined and creamy.½ cup mayonnaise, ¼ cup sour cream, 1 ½ Tbsp. white vinegar, 2 Tbsp. lemon juice, ¾ tsp. celery salt, 3 Tbsp. sugar, ¼ tsp. kosher salt, ¼ tsp. black pepper, ⅛ teaspoon garlic powder
- Pour the dressing over the cabbage mixture and toss gently to combine all ingredients.
- Put the coleslaw in a sealed container and refrigerate for at least 2 hours and up to 24 hours until ready to serve.
- When ready to serve, toss the mixture together again.
- This keeps well for up to 5 days in the refrigerator.


Recipe Tips and Notes:
- Cut your own cabbage instead of buying pre-shredded slaw mix.
- Rough chop the cabbage, red onion, and carrots for a classic coleslaw texture.
- After you cut your onion open, if it is super strong give it a little rinse under cool water before chopping.
- Let the coleslaw sit in the fridge for 2 hours up to 24 hours to cool and meld before serving.
- Use this coleslaw as a side dish but ALSO serve it piled on top of BBQ sandwiches!