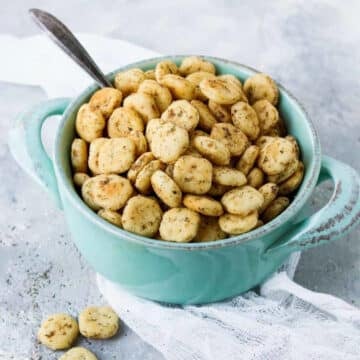
If you want the TRUE and CLASSIC recipe for Seasoned Oyster Crackers this is it. It is the same recipe you will find in your Mother's recipe book or that old tattered church cookbook. No need to update a classic like Ranch Oyster Crackers, they are perfect as is. Simply made with oyster crackers, ranch dressing packet, oil, seasonings and dried dill. They only take about 5 minutes to throw together, and 15 minutes to bake. They are tangy, herby, crunchy and addictive!
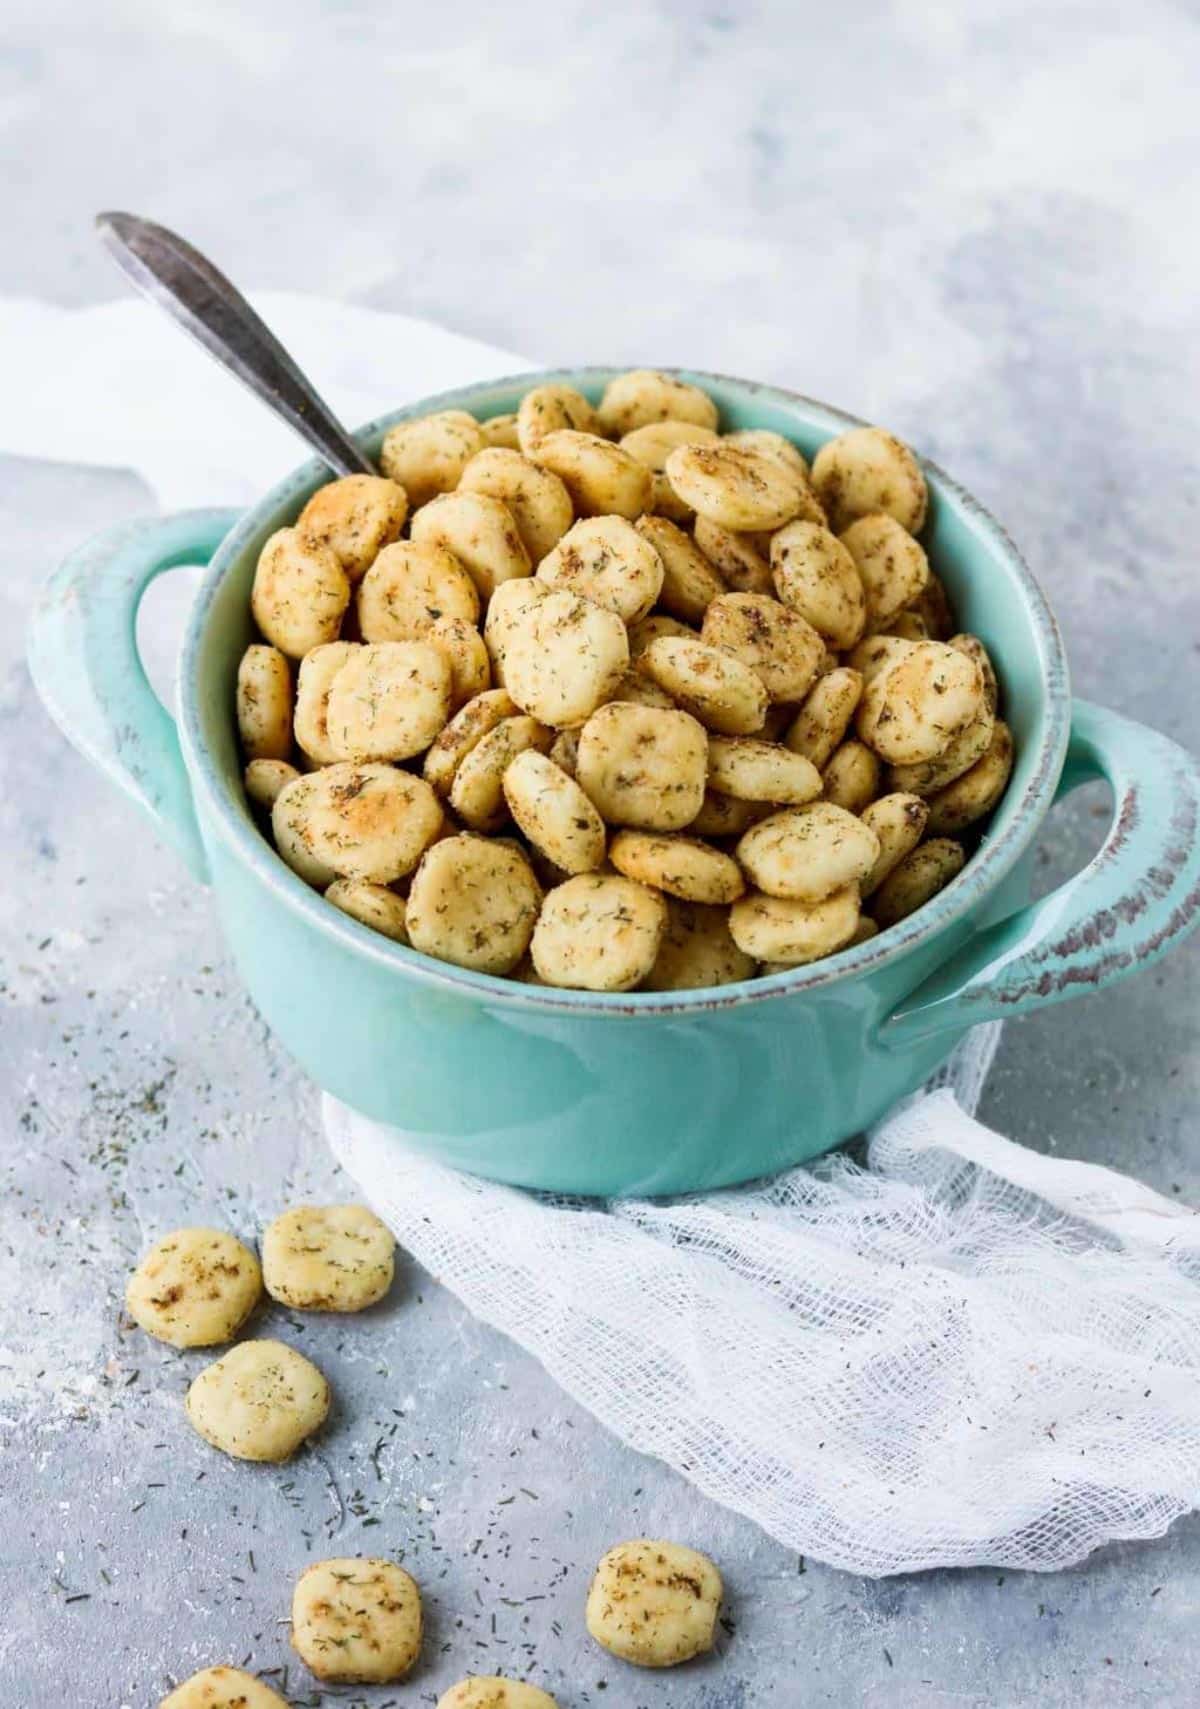
They are also known as Ranch Oyster Crackers, Garlic Oyster Crackers, or Dill Oyster Crackers.
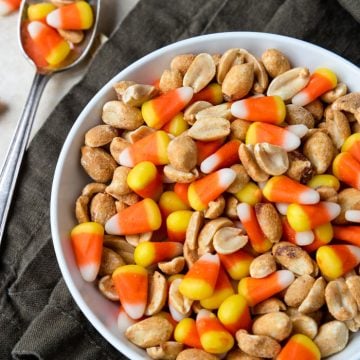
Just like candy corn mix, this seasoned cracker recipe is a great homemade snack that your kids will love. Don’t all kids LOVE ranch dressing!?
Some compare these seasoned crackers to Gardetto’s or Chex Mix.
Why You’ll Love These Seasoned Oyster Crackers
This is the CLASSIC recipe for Ranch Oyster Crackers – no tinkering with the recipe on this one.
They are an irresistible crunchy snack that is great to have around, especially at the Holidays.
The combo of Ranch flavor and extra dill is so delicious.
They are a pretty easy "homemade" snack to make.
What are Oyster Crackers
The origin of the name Oyster Cracker is still unclear. But, it could be because they were used in oyster stew or clam chowder, or that they are a similar shape to an oyster or clam shell (kind of).
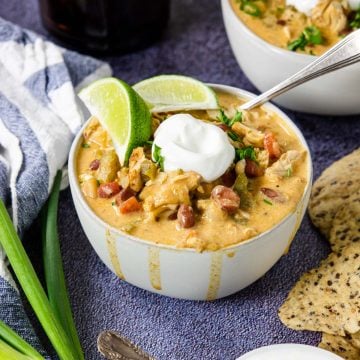
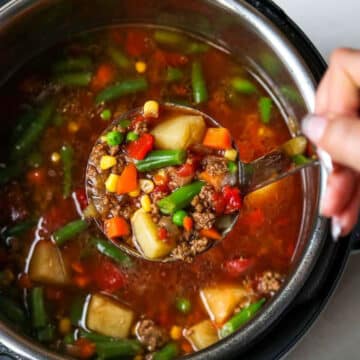
Traditionally Oyster Crackers are used as a soup cracker. We love to eat them in Chicken Noodle Soup or Chili.
You can find them near the saltine crackers in your local grocery store. They are usually sold in 9 oz. bags.
Seasoned Oyster Crackers Ingredients
Oyster Crackers – little round shaped saltine crackers that are perfect for snacking. Read more about them in the above section. You can find them near the saltine crackers in the grocery store.
Oil – we use a vegetable oil, canola oil, or olive oil here. These are neutral oils that won’t change the flavor of your Ranch Oyster Crackers. I would avoid extra virgin olive oil as it has a little too strong of flavor for this recipe.
The oil also helps the seasoning stick to the crackers and encourages browning on the crackers, making them nice and crispy!
Ranch Seasonings Packet – You will want to buy the Seasonings packet… there may be a few options at the store. We have also found that Hidden Valley has the most preferred flavor.
Dried Dill, Garlic Powder, and Celery Salt – all herbs and seasonings you will find in your spice cabinet. These pack a punch of flavor for your Seasoned Oyster Crackers.
How To Make Seasoned Oyster Crackers
This is a super simple seasoned cracker recipe! These are just an overview of the steps, for further instruction head to the recipe card below.

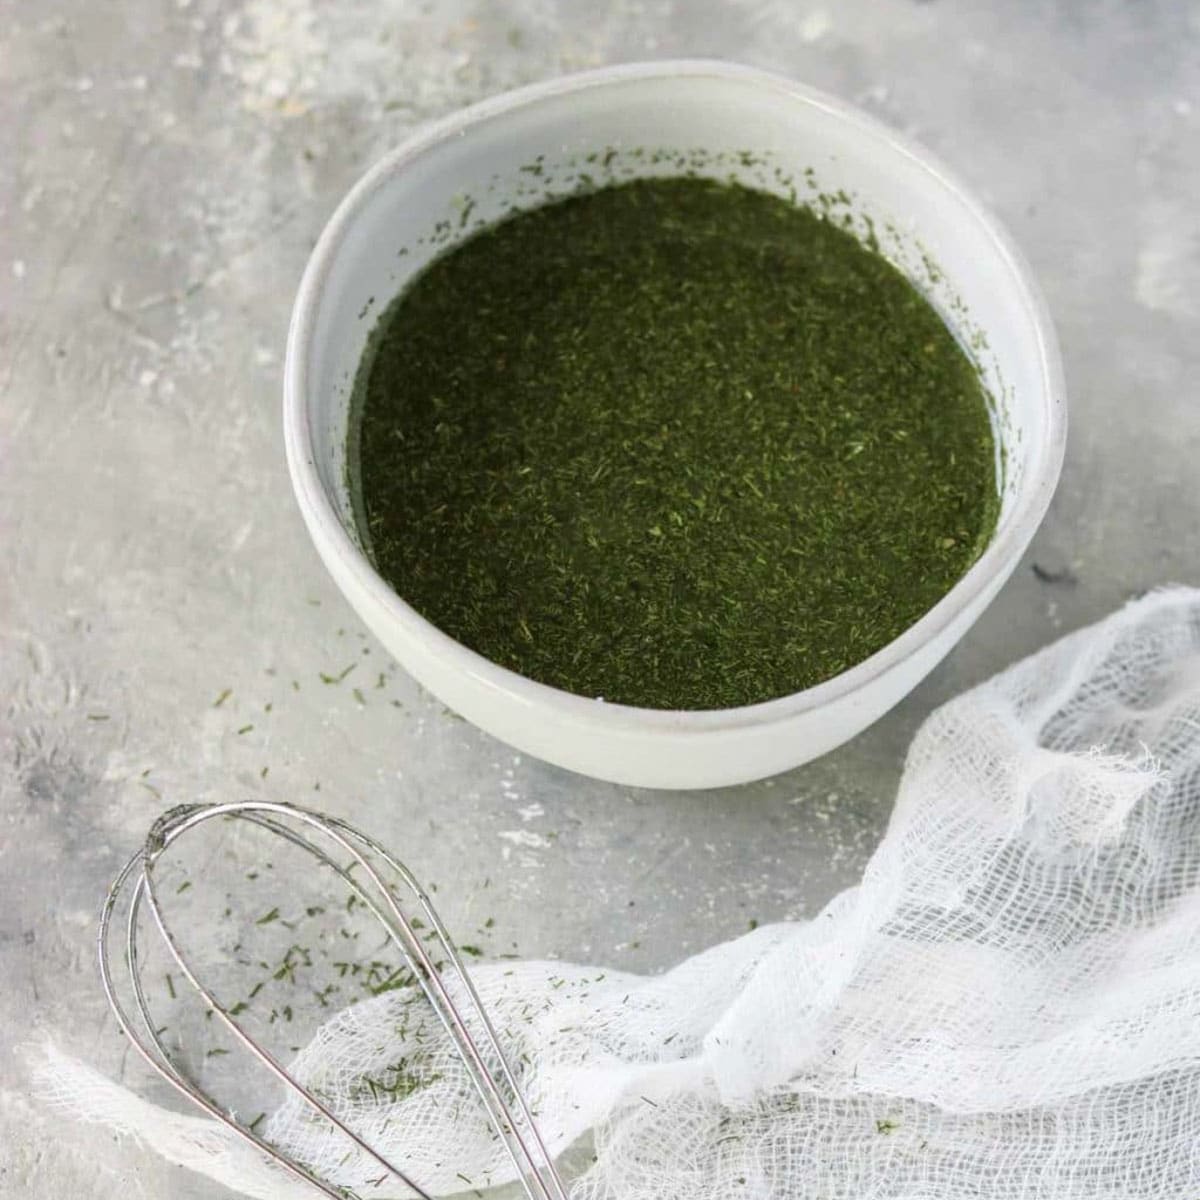
Make Seasoning Mixture
In a large bowl combine the oil, Ranch seasoning and herbs/seasonings.
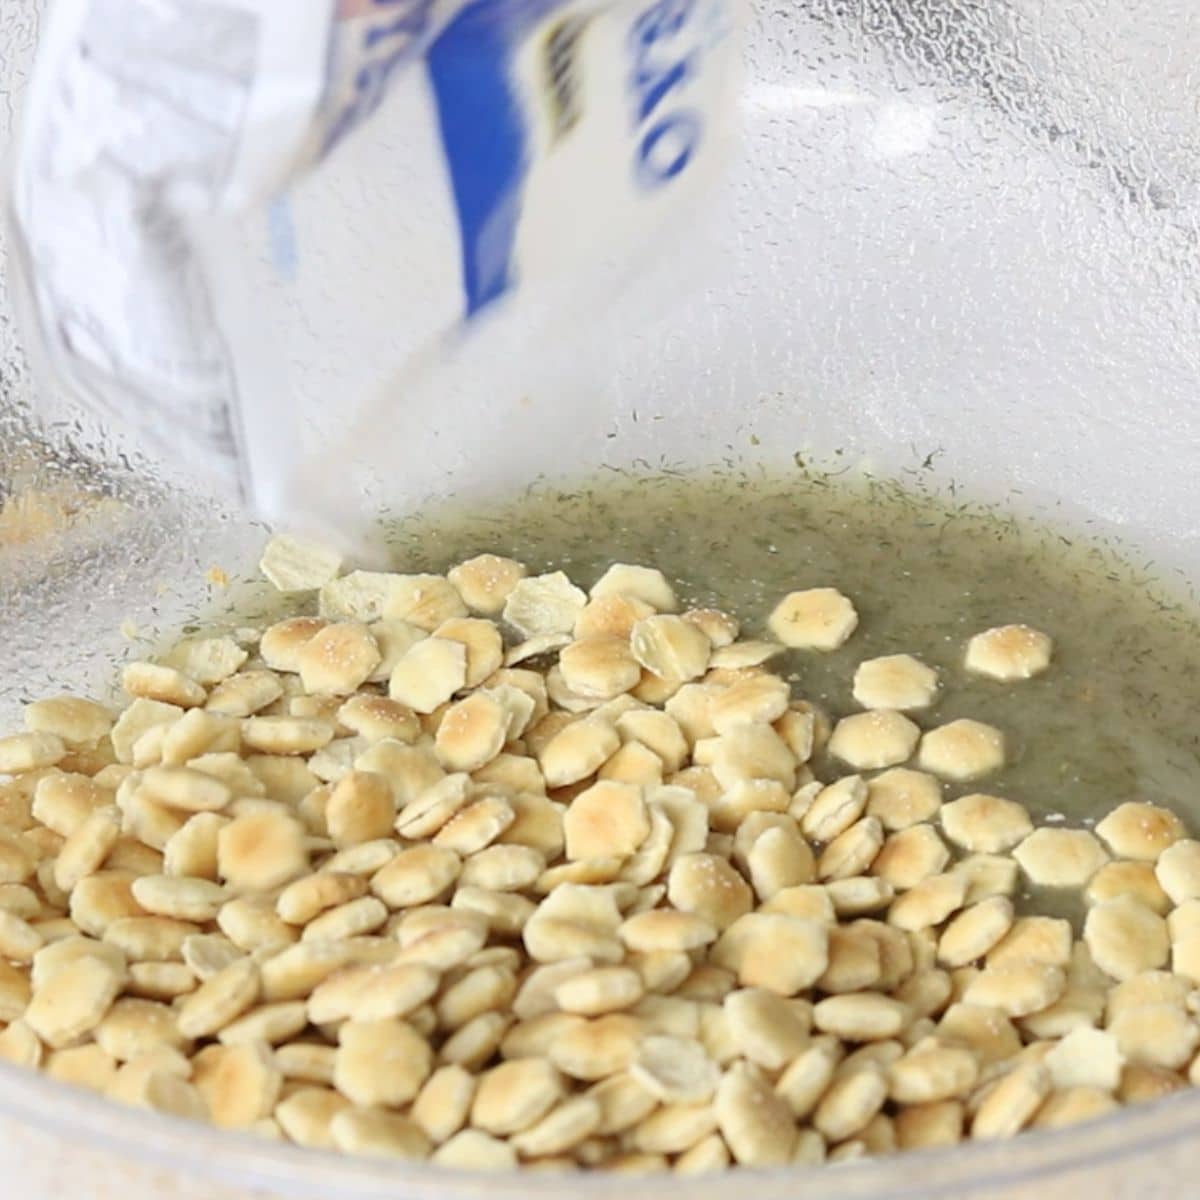
Add Oyster Crackers
Pour in the oyster crackers and toss to coat with the seasoning mixture.
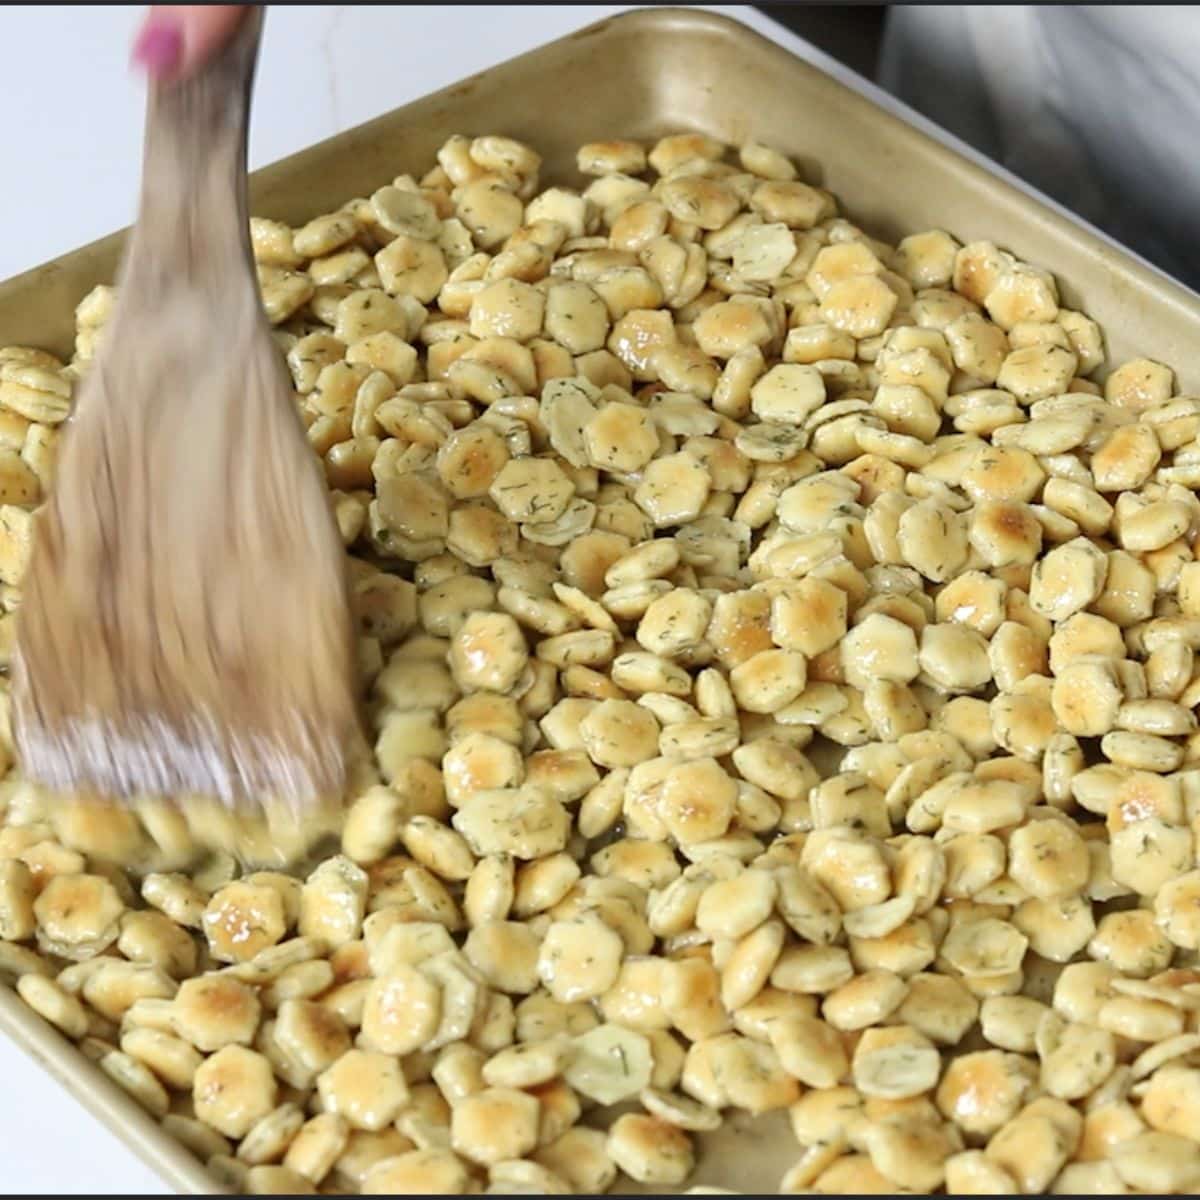
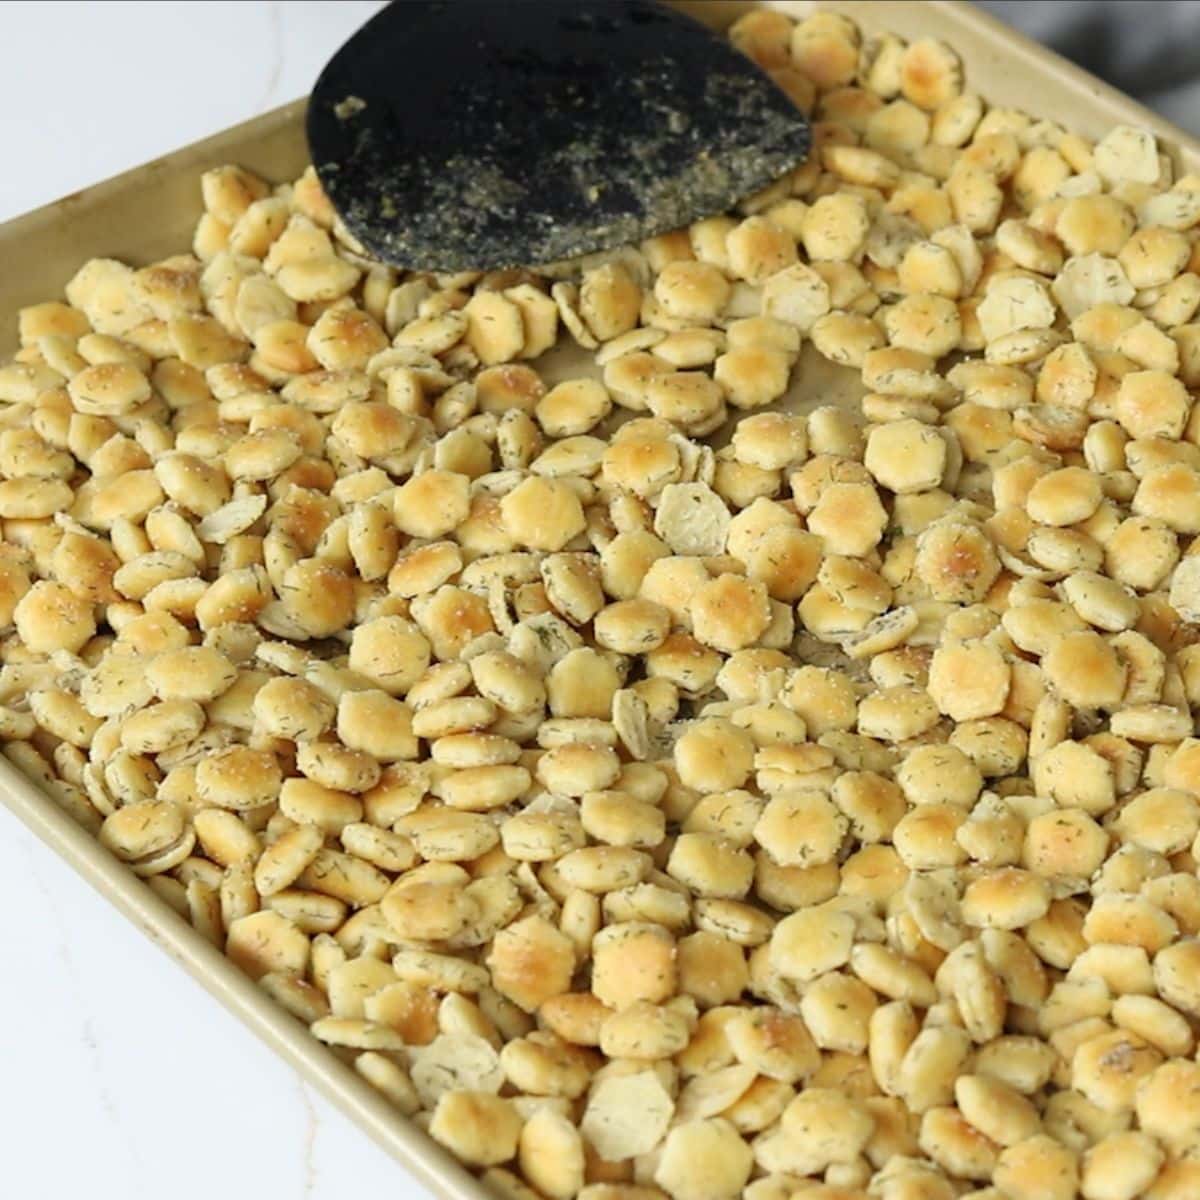
Pour Onto a Baking Sheet
Pour the seasoned crackers onto a rimmed baking sheet. Bake the crackers at 250°F for 15 minutes, tossing half way through.
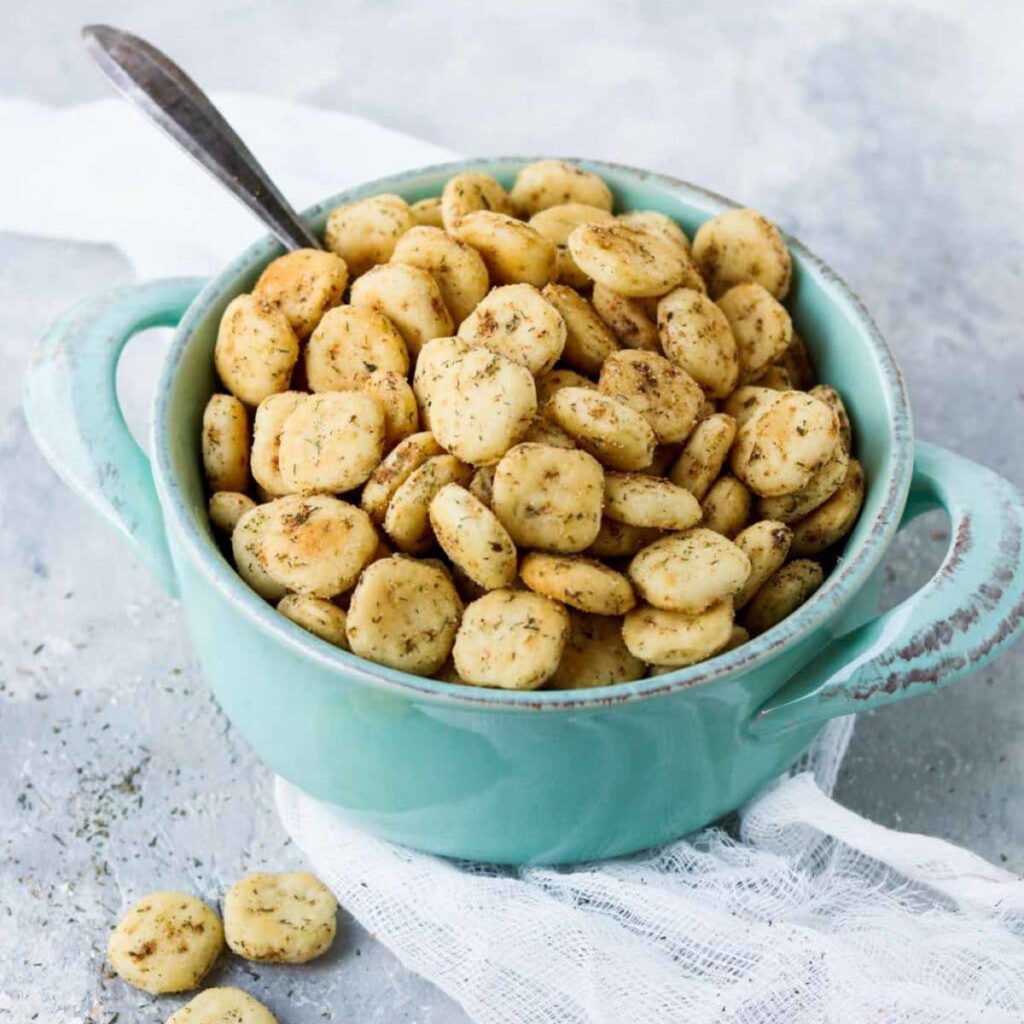
Cool and Eat
Remove from the oven and toss one more time. Let them cool for about 15 minutes. Time to snack!
Storing
Your Dill & Ranch Oyster Crackers should stay fresh for a week in an airtight container on the counter (room temp). However, they are best eaten fresh or within a day or two.
Serving Suggestions for Seasoned Oyster Crackers
This recipe for Seasoned Oyster Crackers is intended as more of a snack or appetizer. It’s excellent to make around the holidays. Have bowls in the kitchen and living room or on the bar for people to snack on.
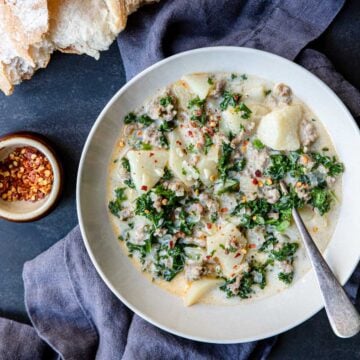
The are super tasty added to a bowl of soup… either IN the soup or on the side!
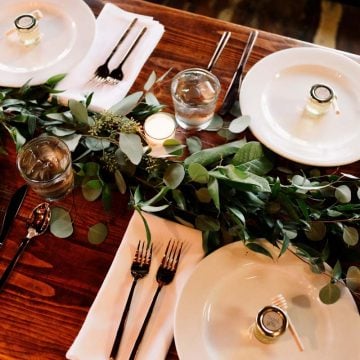
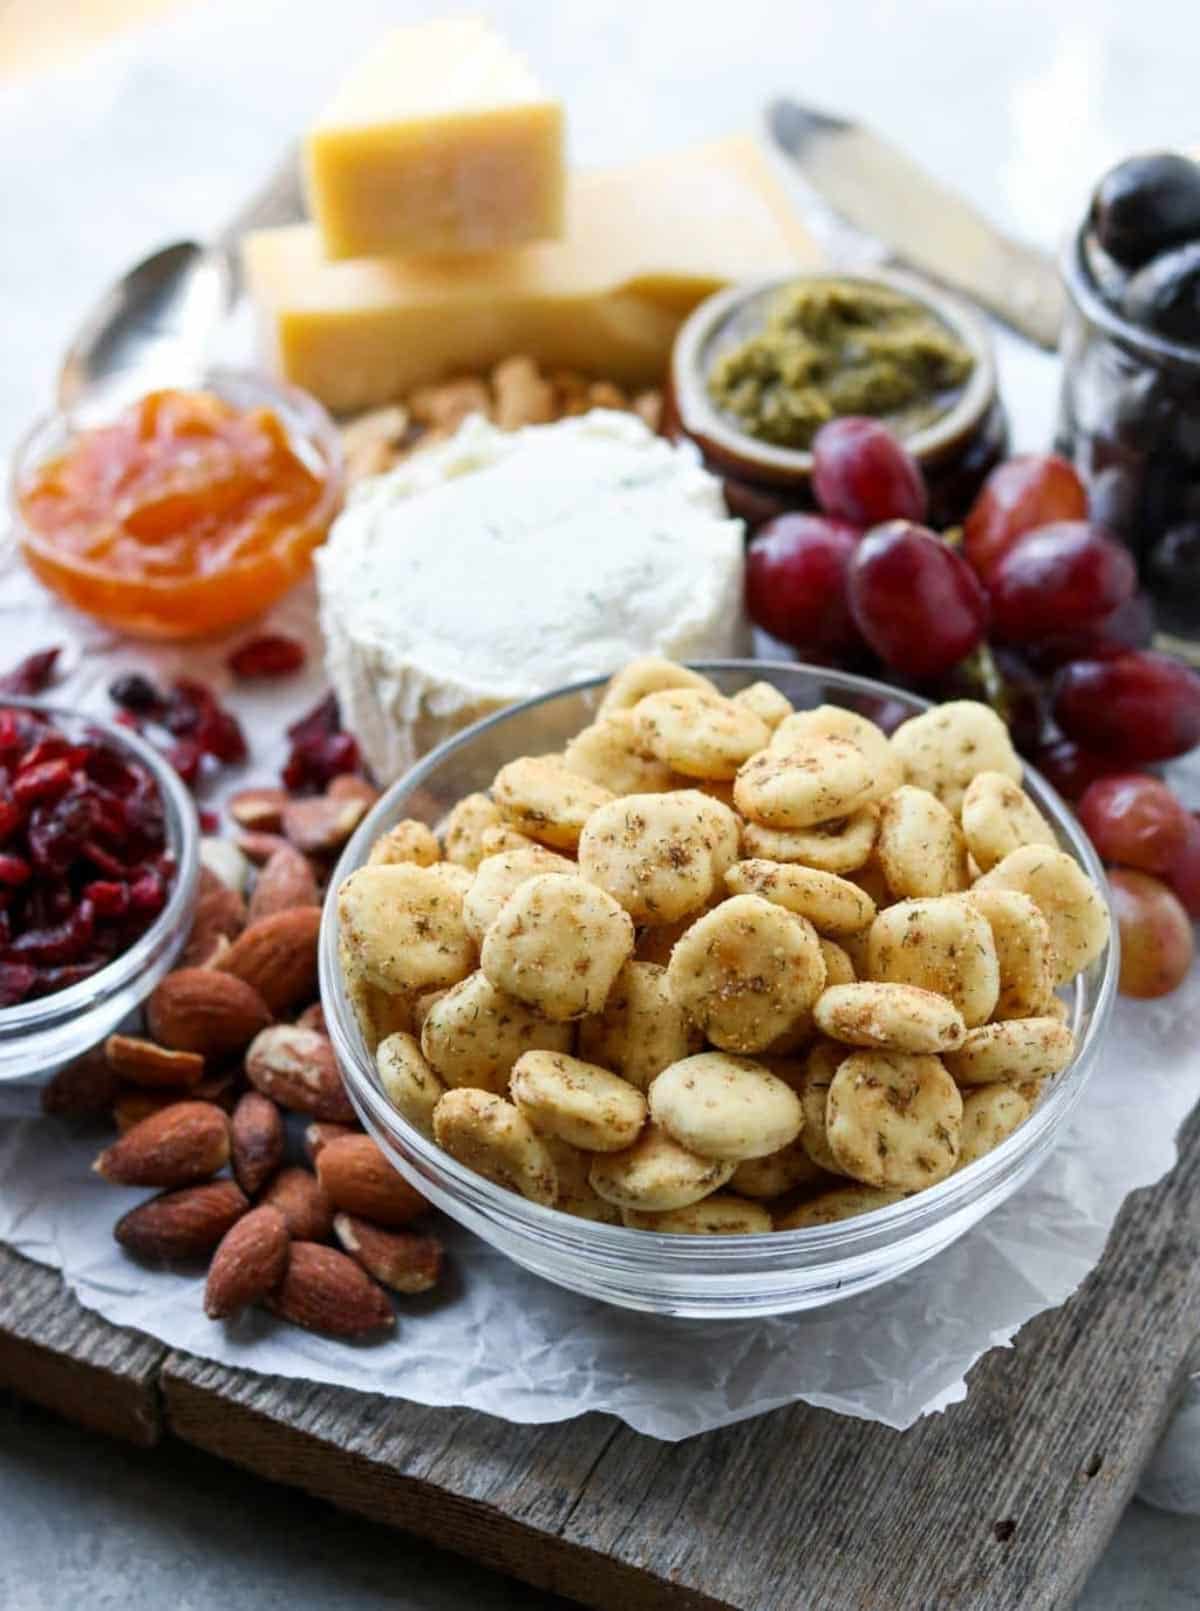
They are wonderful added to a meat and cheese appetizer tray (charcuterie board or kids charcuterie board), or set on a bar or kitchen table for a cocktail party.
Recipe Tips To Remember
- Keep the oven temp at 250°F. That gets them crispy without burning
- When you stir the crackers and oil mixture make sure to get all the way to the bottom of the bowl, the oil/seasoning mixture will sink to the bottom.
- Make sure to use an unflavored oil, canola, vegetable, olive oil or a blend of those oils will work great. I would avoid extra virgin olive oil for this recipe.
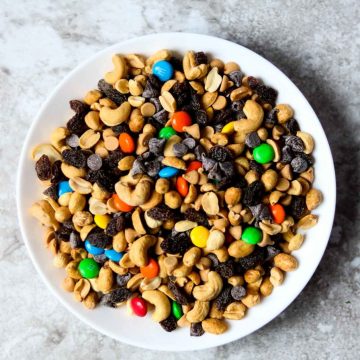
More Snack Recipes

Did you make this recipe?
⭐⭐⭐⭐⭐
I would love to hear your review, especially if you have tips and tricks to add! Pop down to the comment section and connect with me

Seasoned Oyster Cracker Recipe + Video
Equipment
Ingredients
- (2) 9 oz packages of oyster crackers
- ¾ cup oil - (use canola, vegetable, or olive oil, or a combo of those oils)
- (1) 1 oz package ranch dressing dry mix
- 2 teaspoon dried dill weed
- 2 teaspoon garlic powder
- 1 ½ teaspoon celery salt
Instructions
- Preheat the oven to 250℉
- In a large bowl whisk together the oil, ranch seasoning mix, and all the herbs/seasonings.¾ cup oil, (1) 1 oz package ranch dressing dry mix, 2 teaspoon dried dill weed, 2 teaspoon garlic powder, 1 ½ teaspoon celery salt

- Add the oyster crackers on top of the oil/seasonings. Toss and stir well to coat all the crackers. Pro Tip: make sure you stir from the bottom up to get all the oil/seasoning on the crackers.(2) 9 oz packages of oyster crackers
- Pour out onto a large rimmed baking sheet and spread into an even layer.
- Bake for 15 minutes. Giving the crackers a toss about half way thru the baking time.
- Remove from the oven and toss with a spatula.
- Let cool for 10-15 minutes before eating.
Storing
- Store crackers in an airtight container at room temp for up to a week.
- However, they are best eaten within the first day or two.