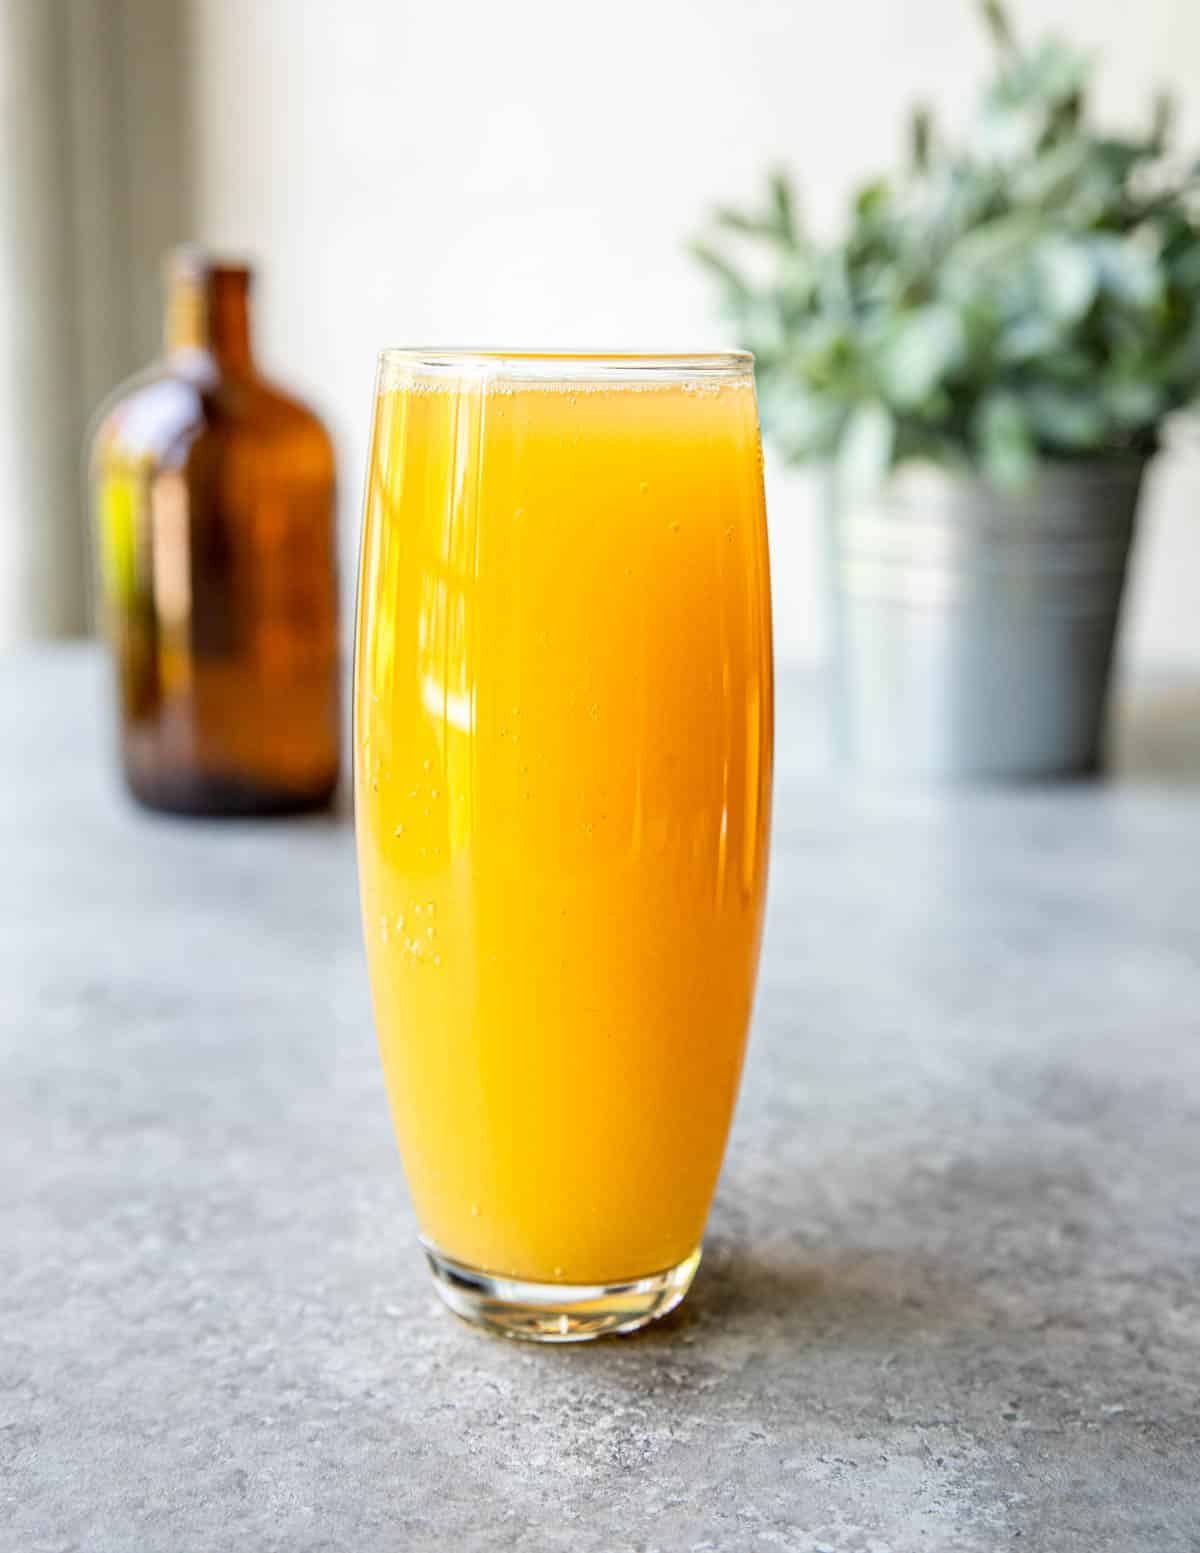
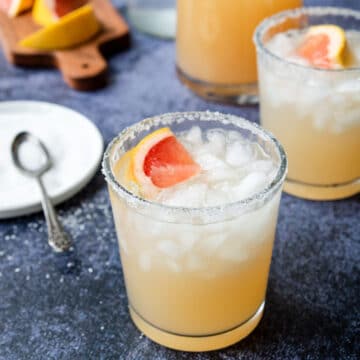
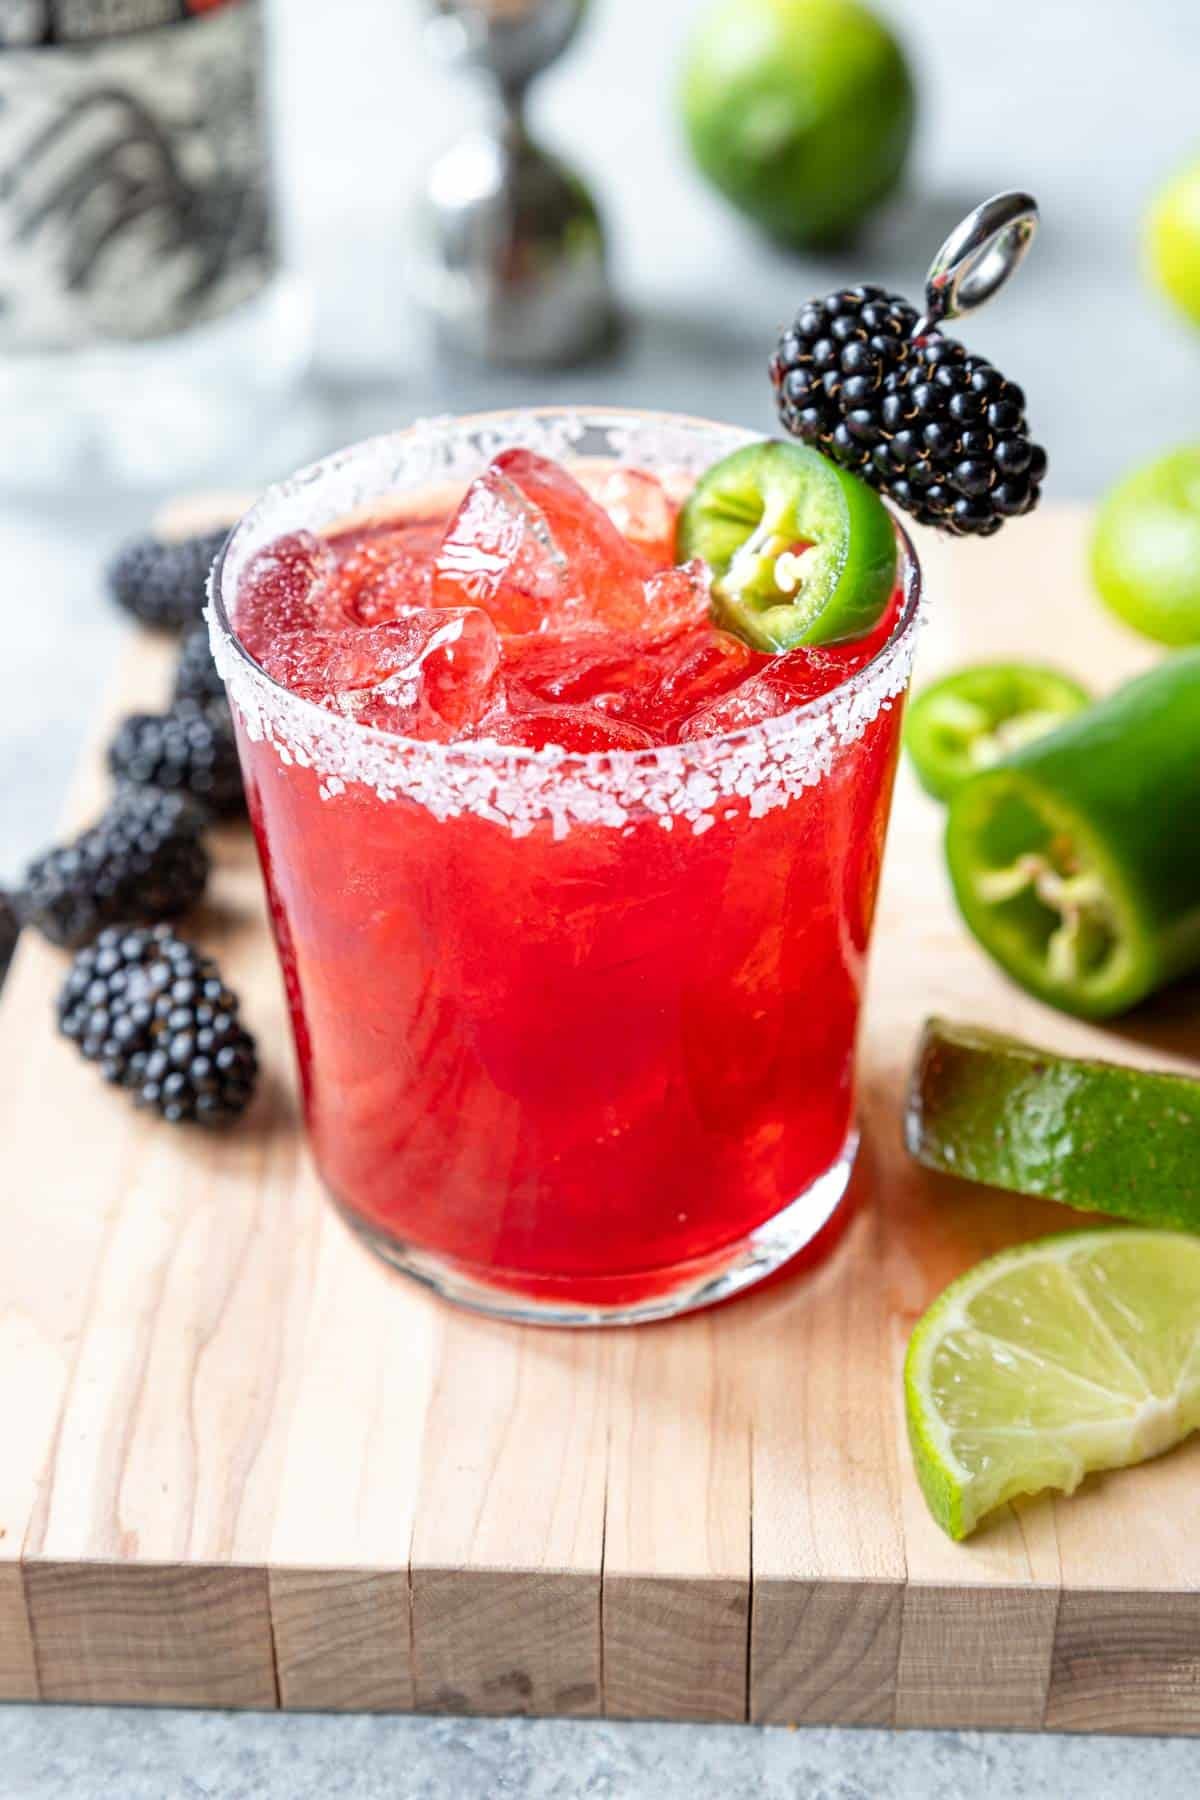
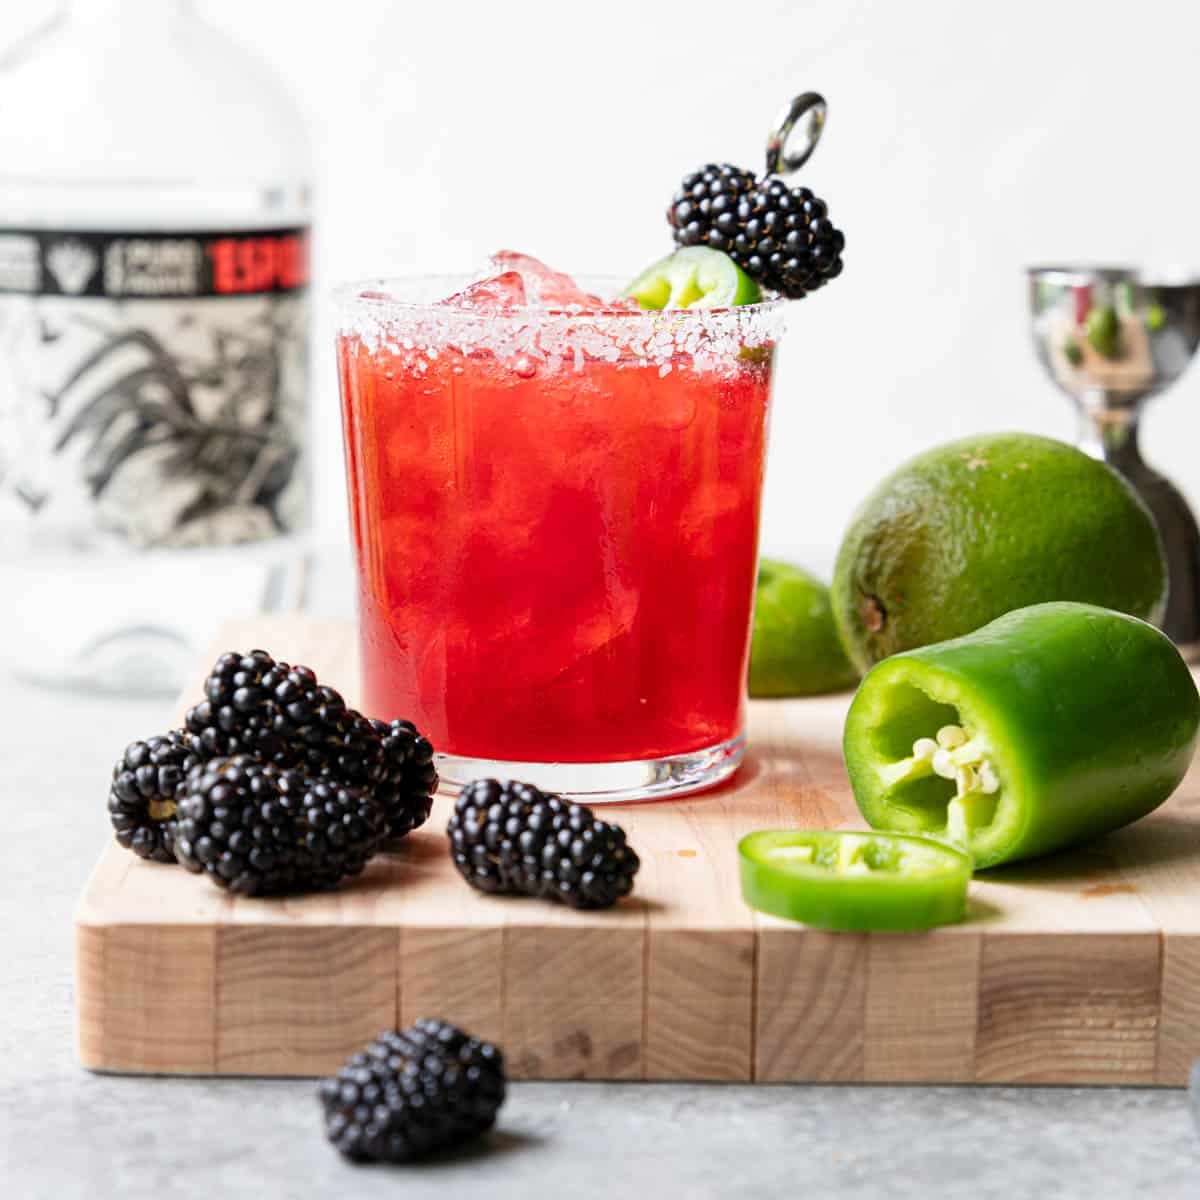
This Spicy Blackberry Margarita is a delicious twist on a classic Margarita! Fresh blackberries are muddled in a cocktail shaker and then are mixed with silver tequila, a little jalapeno for spice, fresh lime juice, and agave. Shake it up and pour it over ice in a salt rimmed glass. Float a little soda water on top and you have a really delicious Spicy Blackberry Margarita.
RELATED: Blackberry Smash Cocktail
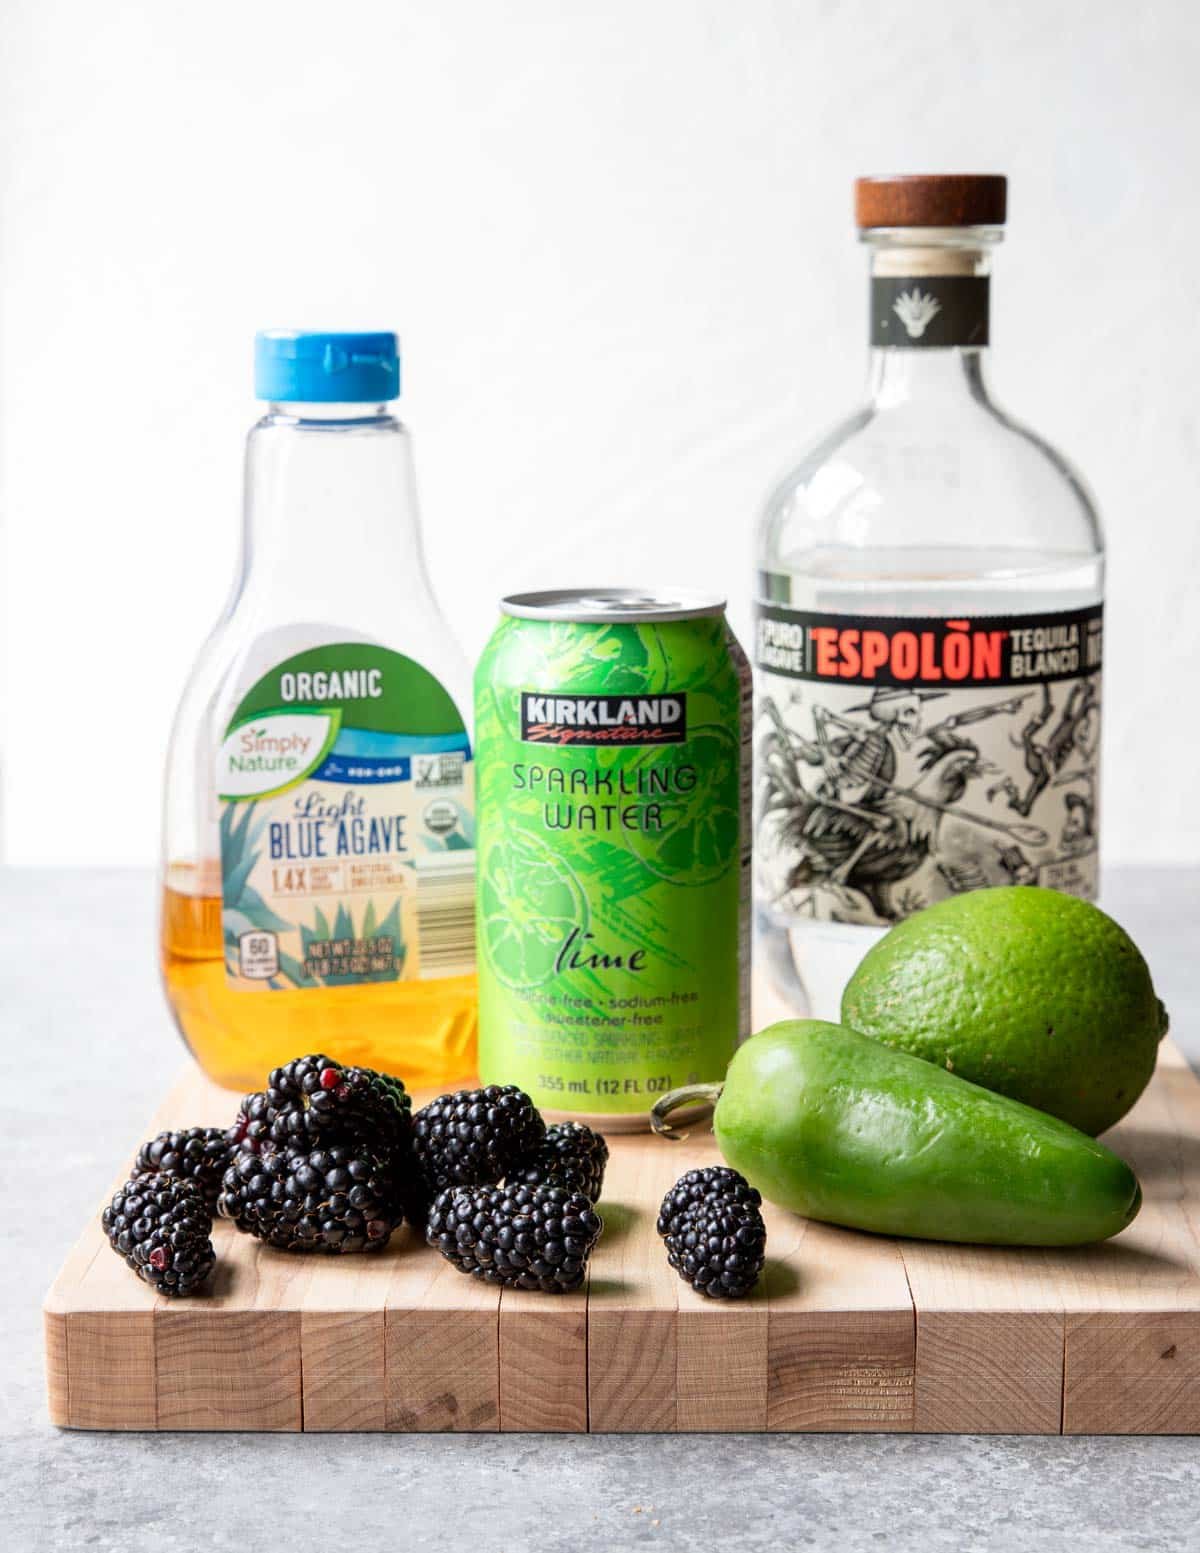
Ingredient Details
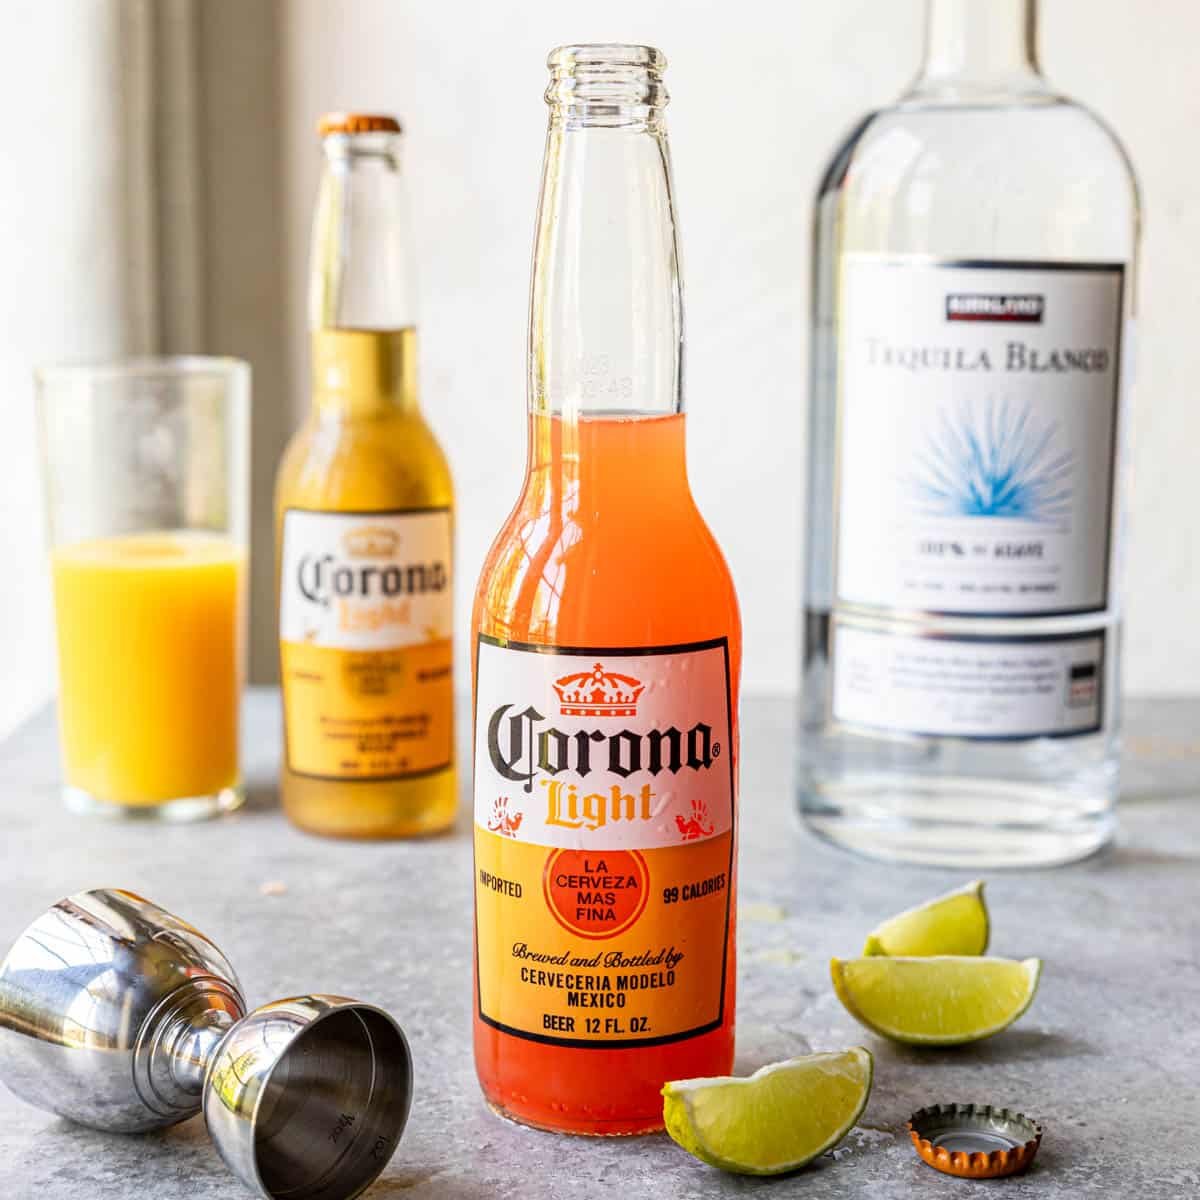
Silver Tequila – Use a tequila that is mid-priced, no need to use the expensive stuff here, save that for sipping on the rocks. Some brands we like are:
- Costco – Kirkland.. this is a staple on our bar!
- Jose Cuervo Tradicionales
- Espolon
- Cazadores
Blackberries- when these berries are in season this makes a great margarita. In the US blackberry season can range from late Spring all the way to September.
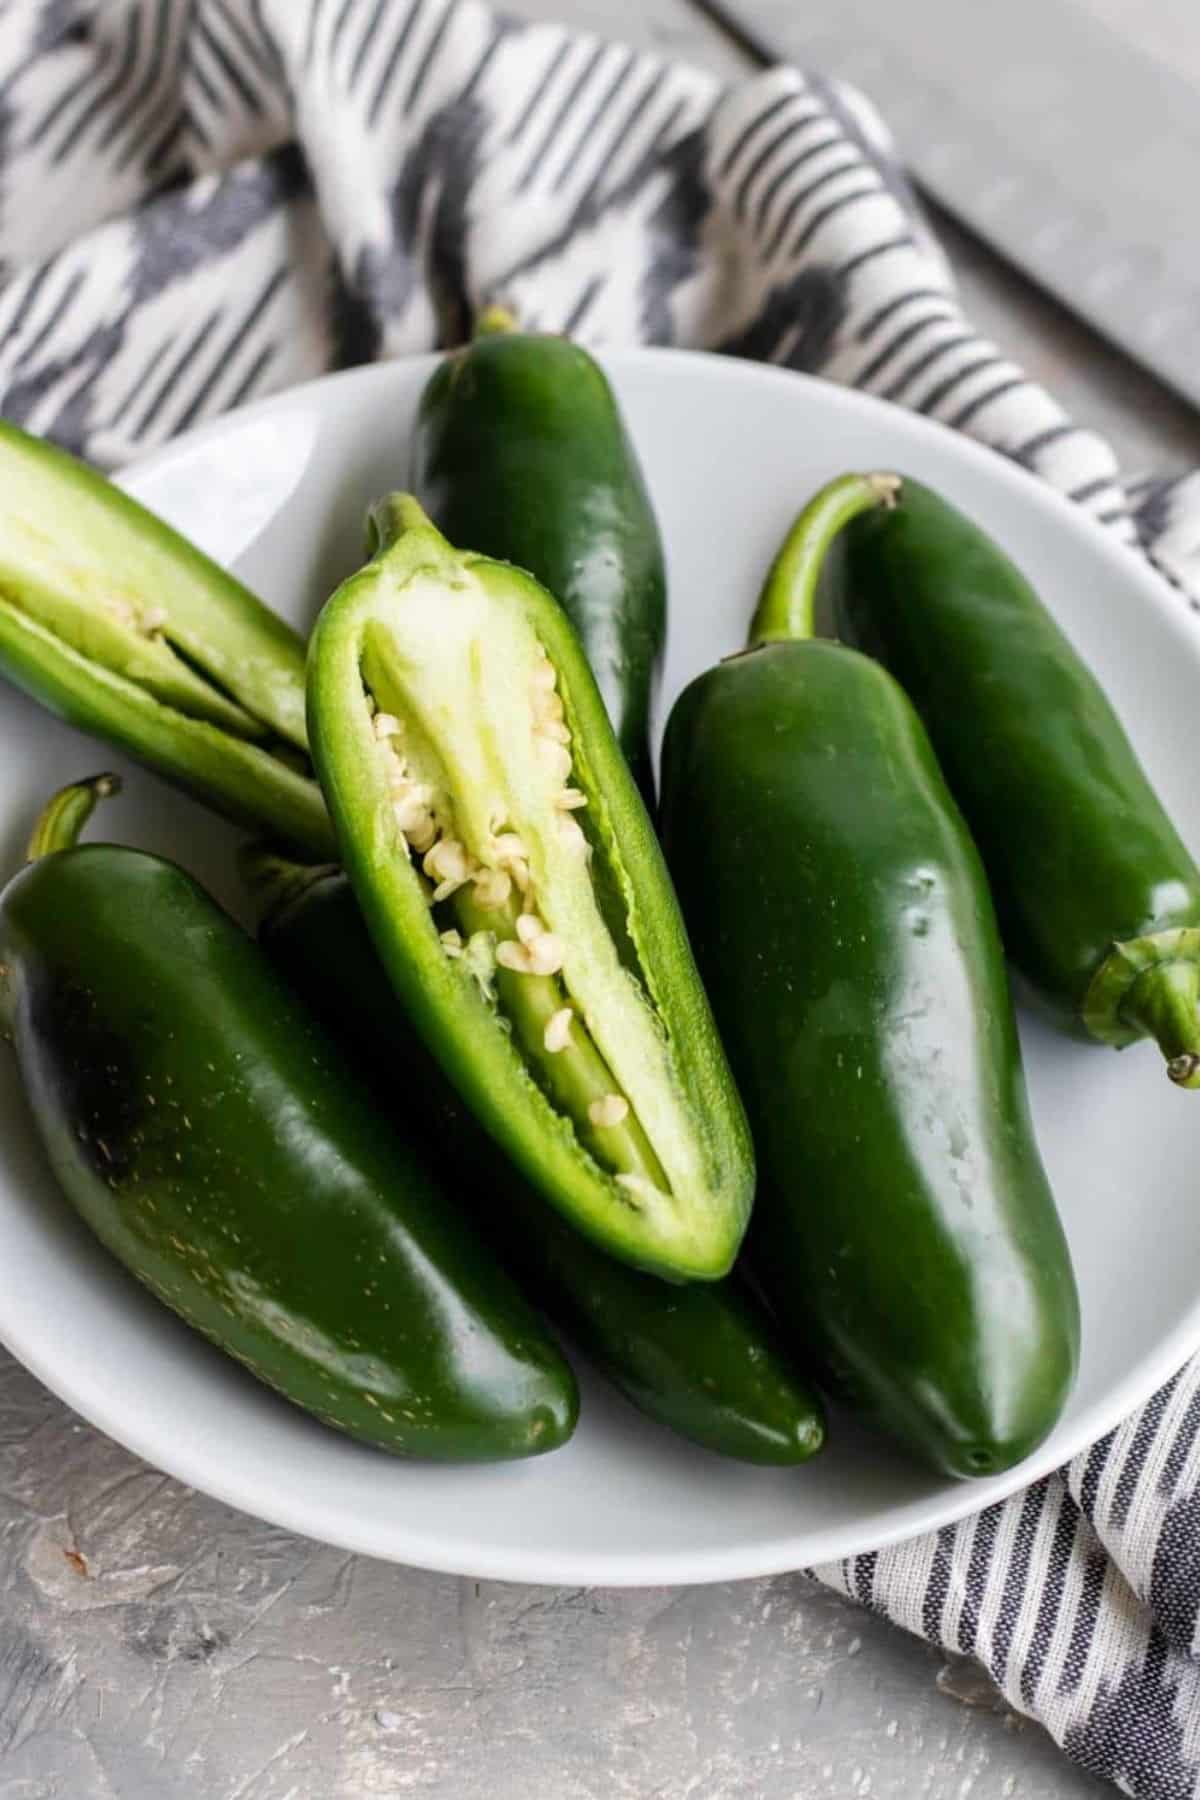
Jalapeno- choose a jalapeno that matches your desired heat levels! For less heat choose a light to bright green jalapeno with tight shiny skin. For more heat choose a jalapeno that has dark green to reddish skin, if it has heat marks it will be extra hot. Heat marks look like brown stretch marks on the skin of the jalapeno. See the jalapeno to the left of the photo below.
Lime Juice- with any margarita, you want to make sure you use FRESH squeezed lime juice! You can also zest the rind to make a Special Margarita Salt.
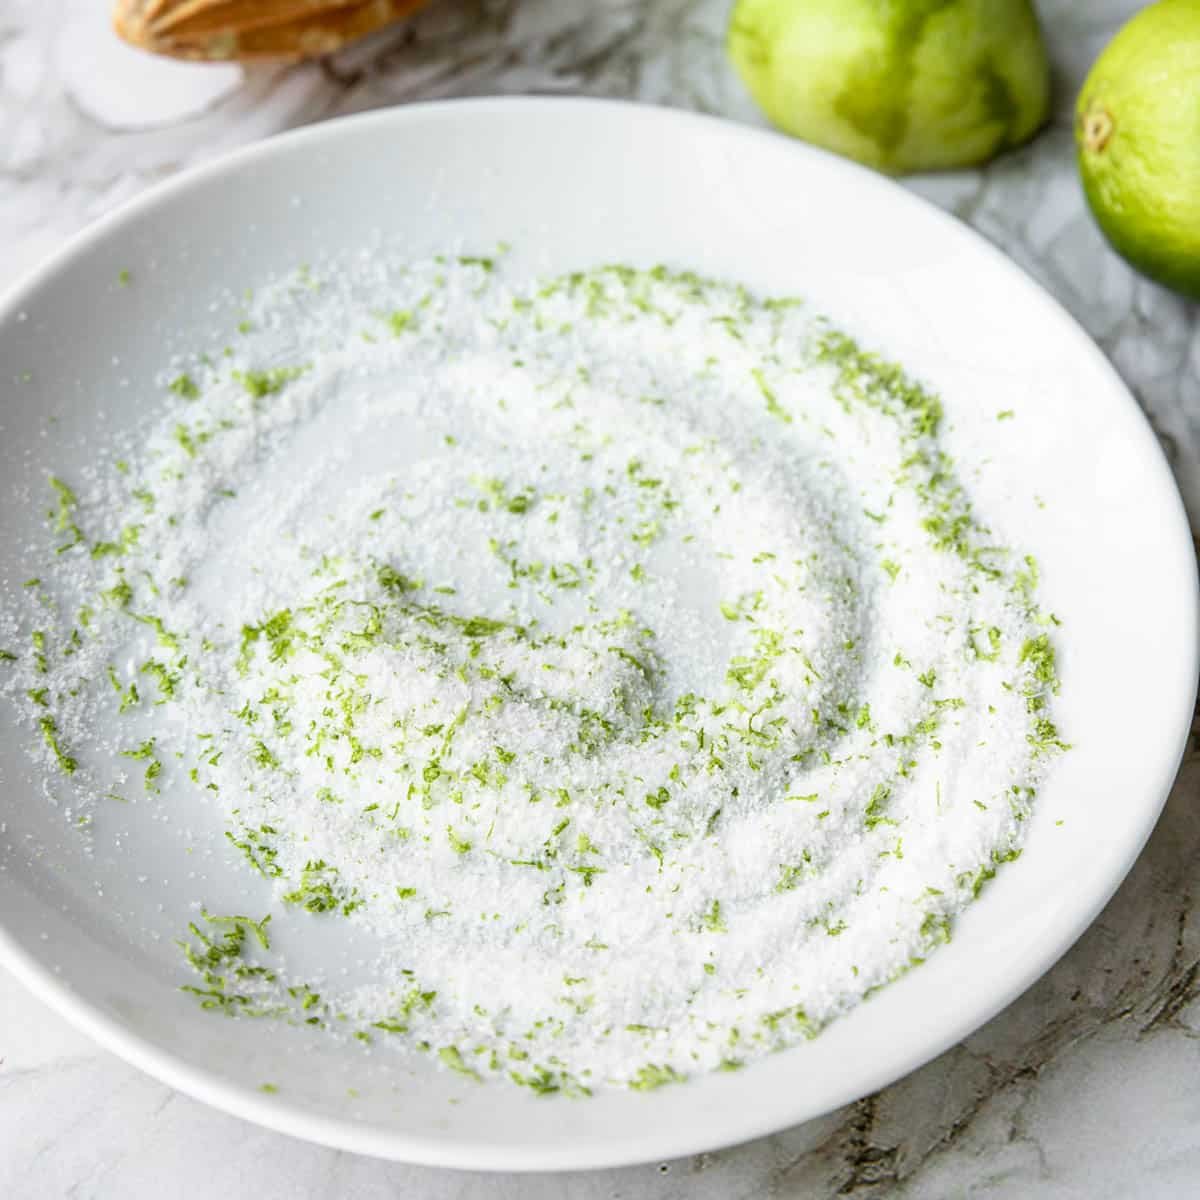
Margarita Salt
Make a special lime flavored salt for the rim of your cocktail.
Agave- opt for a light agave syrup, it just adds a little sweetness without adding flavor.
Kosher Salt – This is the type of salt you want for the rim of your margarita glass. You can buy “margarita salt” but you will pay more because it says Margarita. Just buy a box of Morton’s Kosher Salt or Diamond Crystal Kosher Salt.
Soda Water- we always like a little bubble added to our margaritas. Any brand will do!
Choosing Your Spice Level
With this Spicy Blackberry Margarita you can absolutely choose your level of spice by using parts or all of the jalapeno. The heat of the jalapeno is called capsaicin and is held in the seeds and the white pith on the inside.
Little To No Spice: If you just like the jalapeno flavor and would rather not have any of the heat, choose a jalapeno that is bright to light green with tight shiny skin. slice a couple rounds from the tip of the jalapeno, don’t include any seeds or white pith.
Then just drop the jalapeno slices into the shaker and shake with the cocktail, do not muddle into the drink.
Medium Spice: If you want just a kiss of heat (this is my preference too), choose a jalapeno that is bright to light green with tight shiny skin. You can use the slices at the tip or middle of the jalapeno. However, don’t include the seeds in your drink.
Add the jalapeno slices to the cocktail shaker and very lightly tap them with the muddle stick, just enough so they release some of their juice into the drink.
Give Me ALLLL The Spice: If you want your lips and throat to be on fire you are crazy… just kidding!! Choose a jalapeno that is dark green in color and if you can find one that has “stretch marks” on it, that will be a spicy one! See the jalapeno photo above, the jalapeno on the very left has the beginnings of those stretch marks.
Use the top to middle of the jalapeno and make sure you add extra seeds to the shaker. Give the jalapeno and seeds a really good muddle, crushing the jalapeno completely!
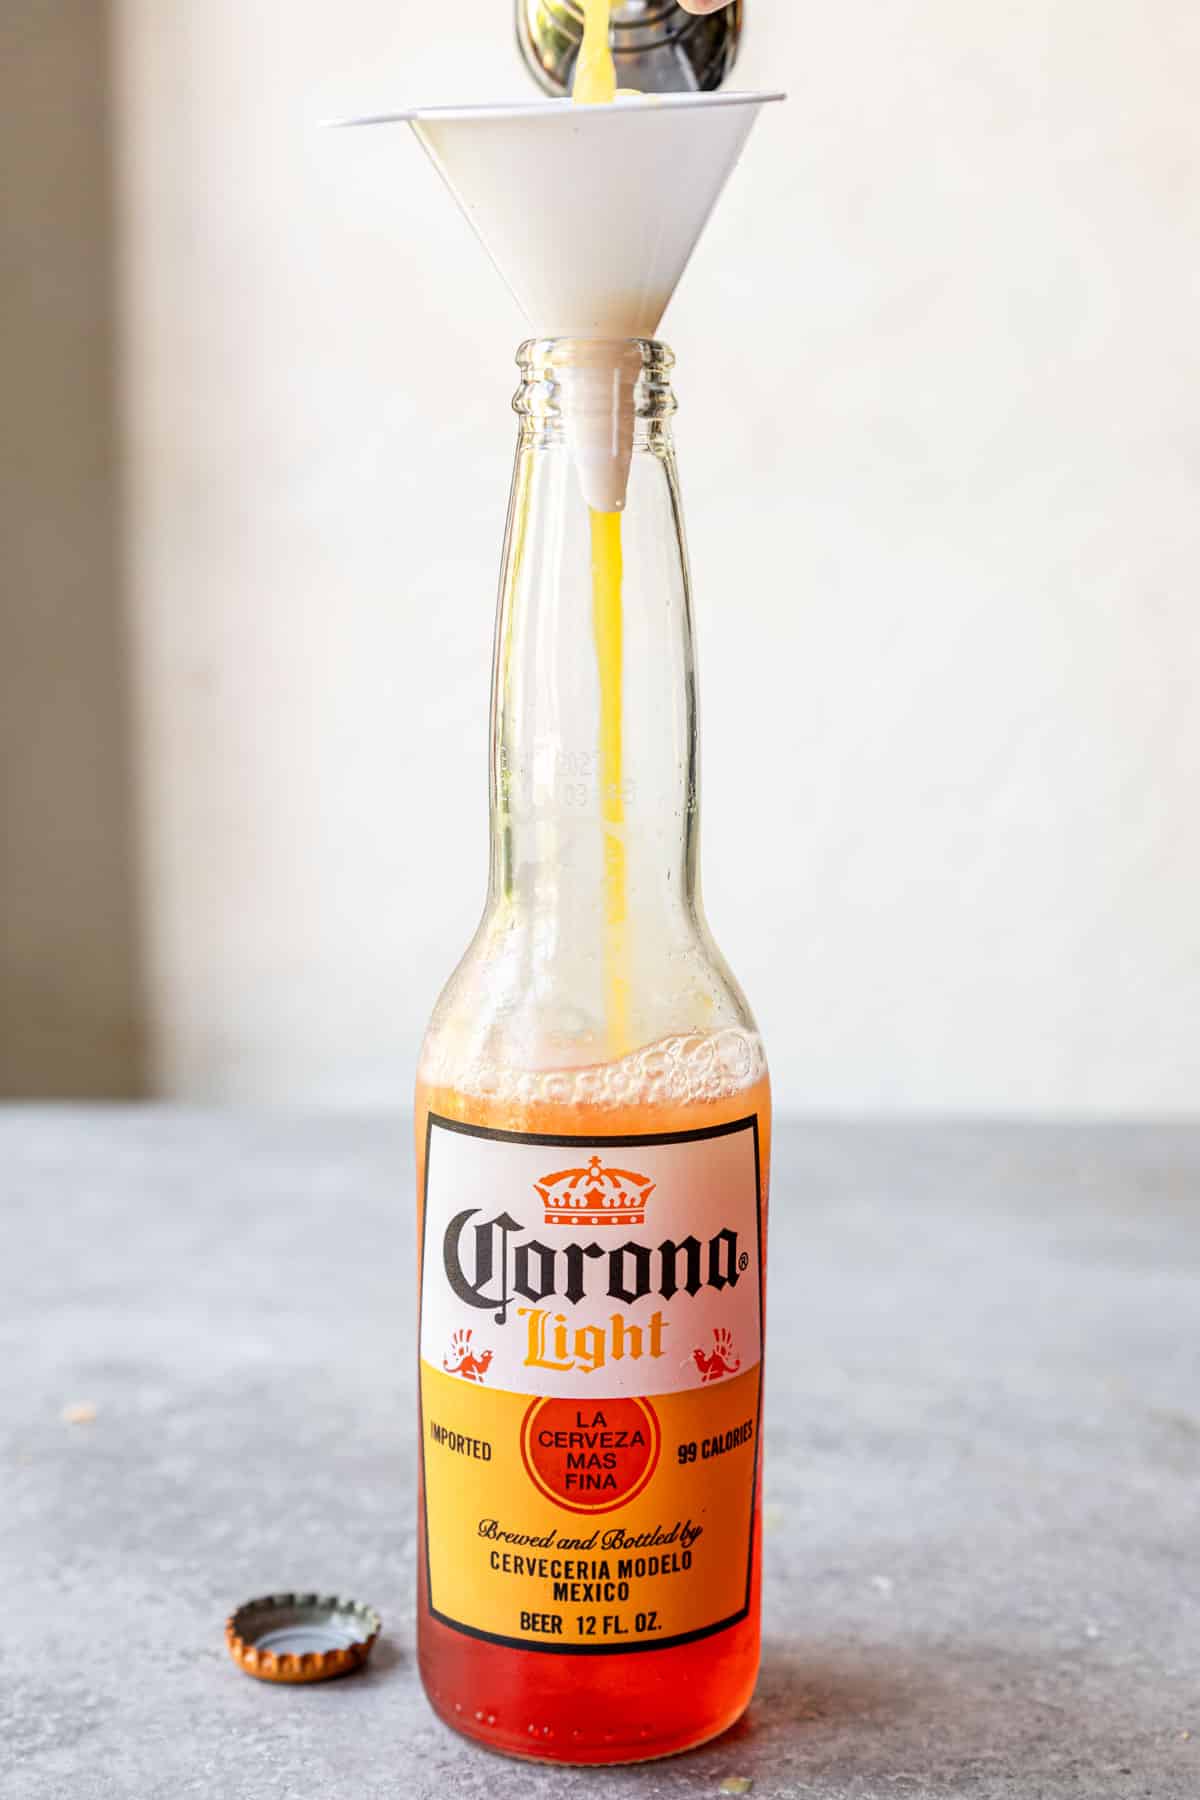
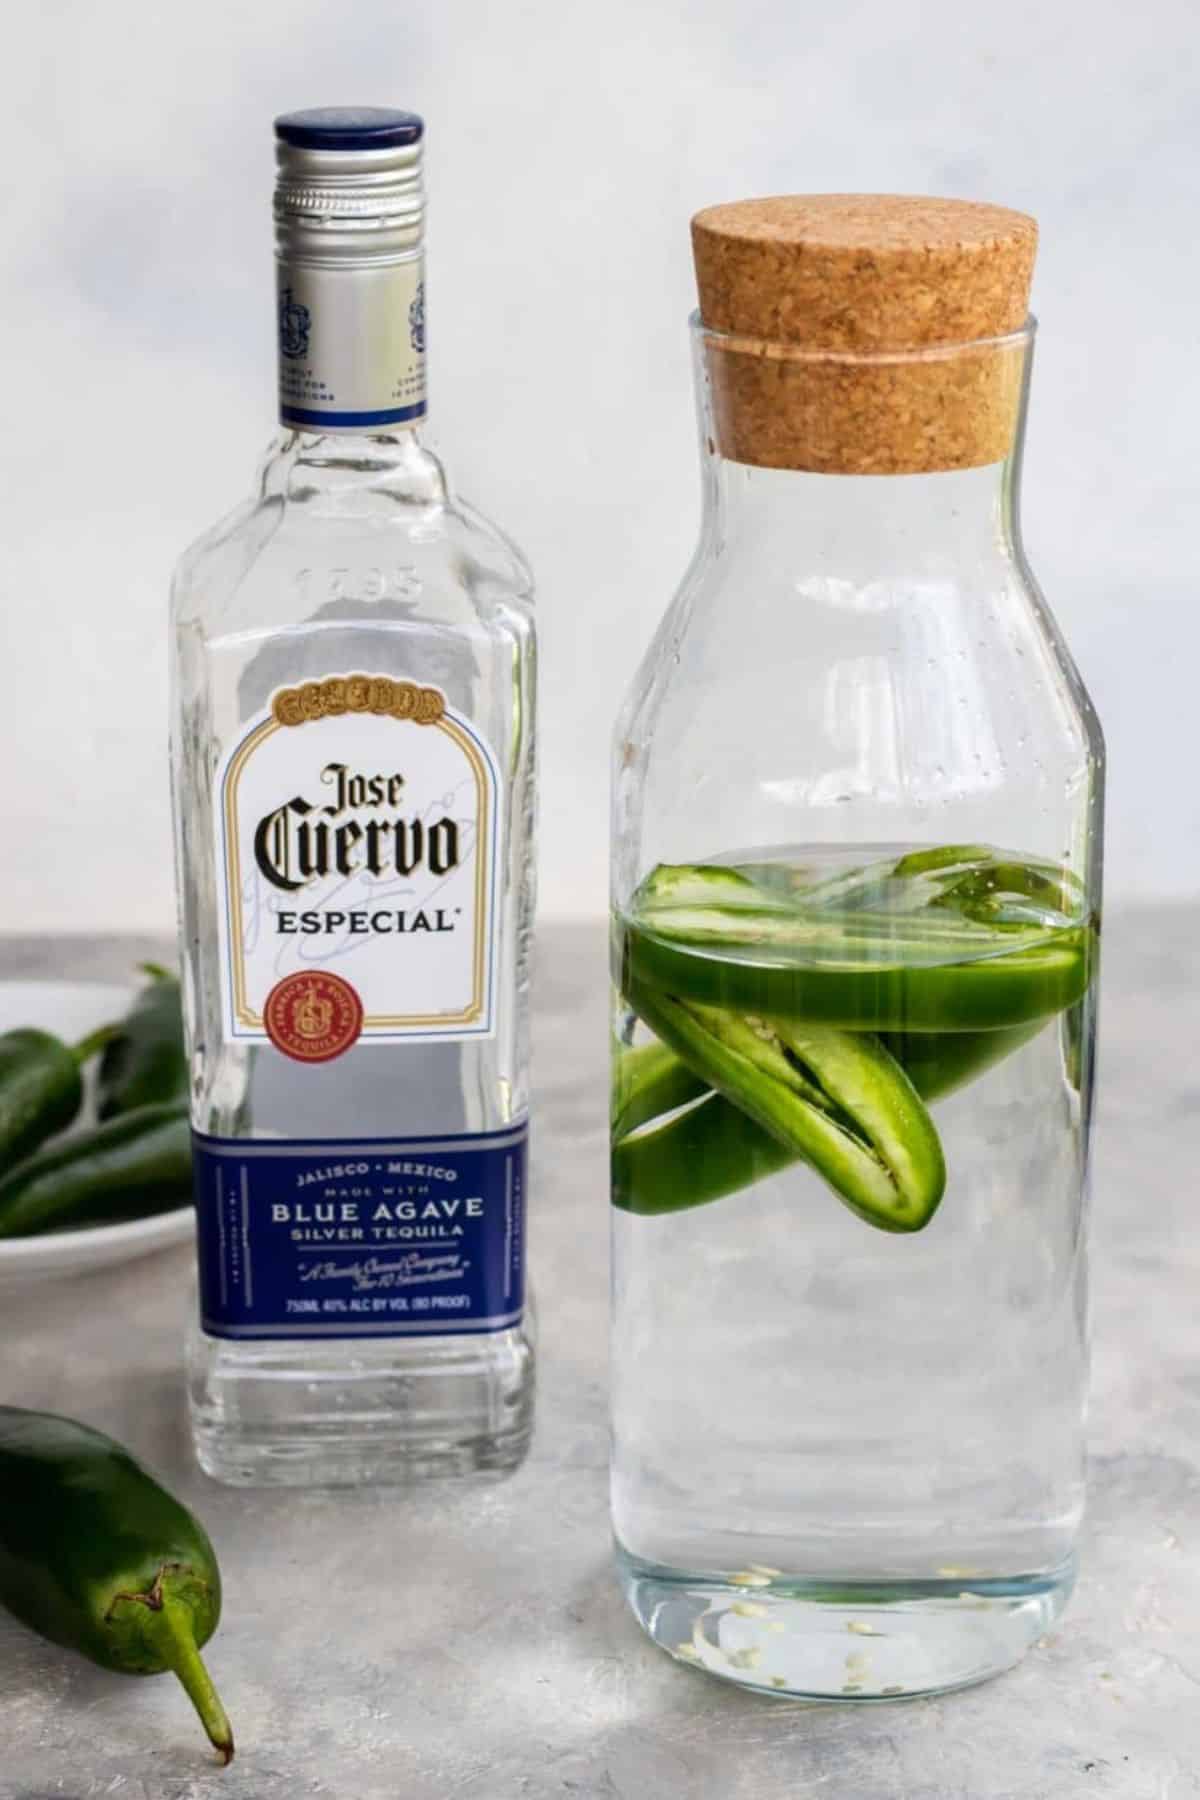
Jalapeno Infused Tequila Recipe
Choose a jalapeno infused tequila to make your drink even spicier! It is super easy to make at home.
More Margarita Recipes
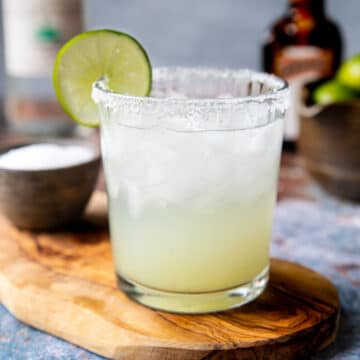
Spicy Blackberry Margarita Recipe
Equipment
- Cocktail Shaker (in a pinch use a mason jar, carefully)
- Cocktail Muddler (in a pinch use the handle of a wooden spoon)
Ingredients
- 4-5 fresh blackberries
- 2 slices of fresh jalapeno
- 1.5 oz silver tequila
- 1 oz lime juice
- .5 oz light agave syrup
- soda water
Garnish and Glass Rim
- fresh lime wedge
- extra blackberries
- kosher salt
Instructions
Glass Prep
- Pour a couple Tablespoons of kosher salt onto a flat plate or surface.
- Run a lime wedge around the rim of a rocks sized glass. Dip in kosher salt so that it adheres to the rim of the glass. Could also use a mix of 50/50 kosher salt and sugar for this cocktail.
- Fill the glass with ice and set to the side.
Spicy Blackberry Margarita
- In a cocktail shaker muddle the blackberries until they are completely pulverized.4-5 fresh blackberries
- Add two slices of fresh jalapeno and choose your level of spice:Little to no spice: use the very tip of the jalapeno where there is little spice. Then just drop the jalapeno slices in, and shake them in the drink.Medium spice: Use the middle slices of the jalapeno, omitting the seeds. Then lightly muddle the jalapeno with the berries so they release a little heat.All the spice: Use the middle slices of the jalapeno, adding the seeds, extra seeds, and the white pith. Muddle the jalapeno completely into the berries.2 slices of fresh jalapeno
- Measure in the tequila, lime juice and agave. Add a handful of ice. Pop the lid on the shaker and shake it vigorously for 20-30 seconds.1.5 oz silver tequila, 1 oz lime juice, .5 oz light agave syrup
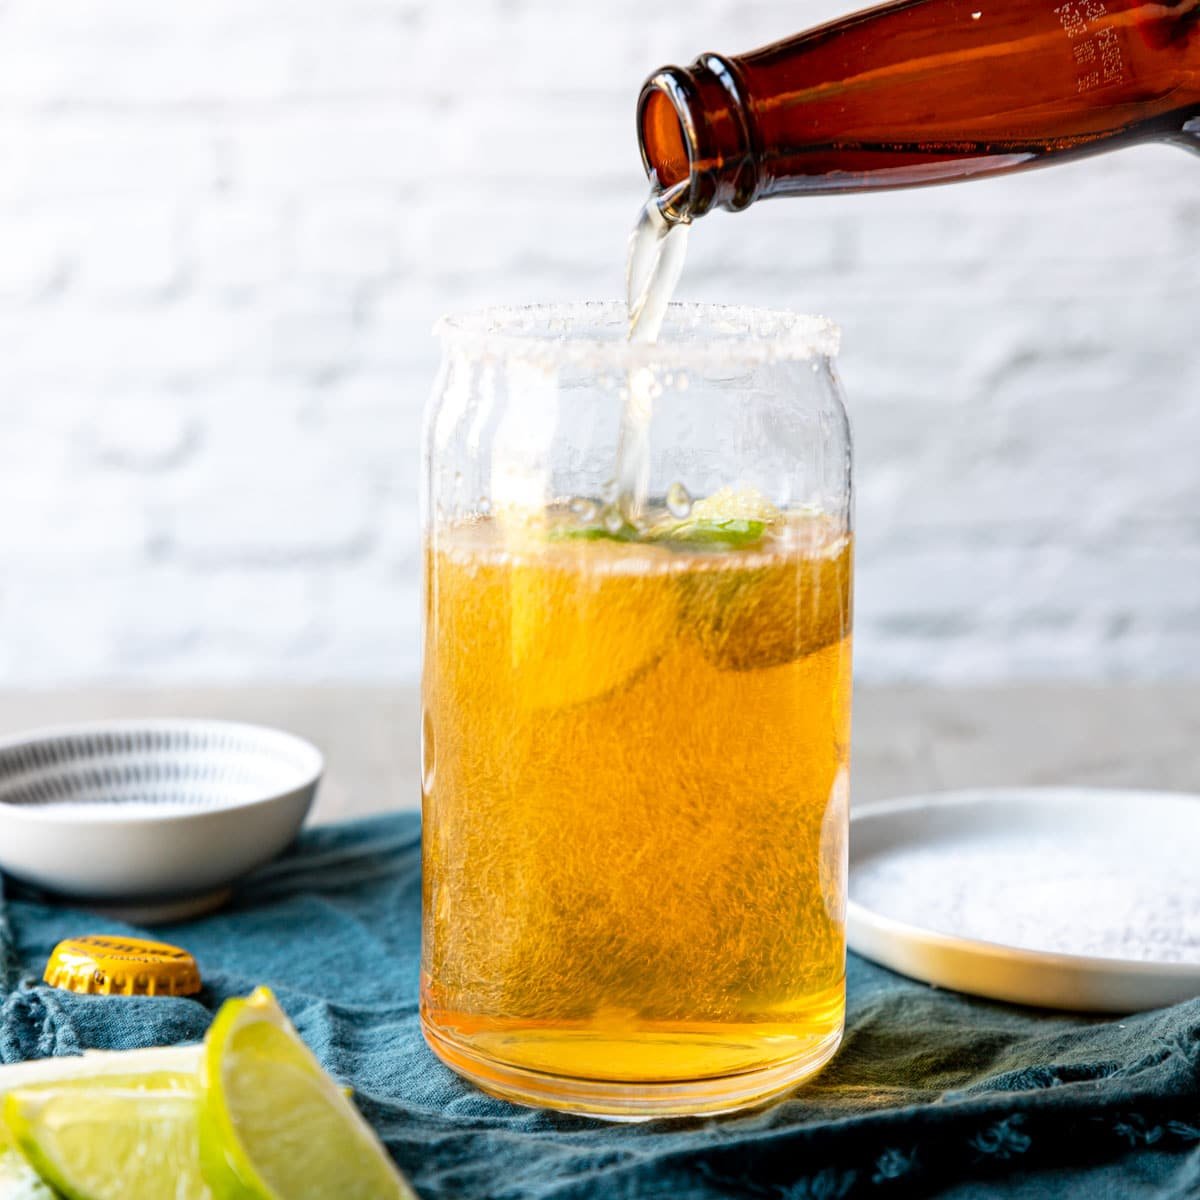
- Strain into the prepared glass. Float a little soda water in the top of the drink for some bubbles.soda water
- Garnish with a lime, blackberry or jalapeno.