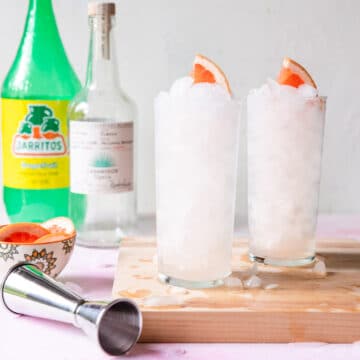
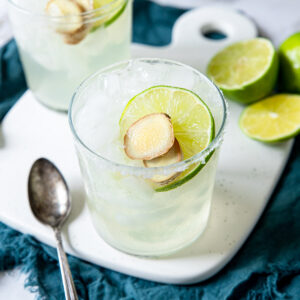
In episode 010 we are making a delicious Classic Margarita on the Rocks: . Susie shares the ULTIMATE recipe for margaritas. If you need a guide to drinking tequila then Susie Weinrich is your gal. These margaritas are the perfect balance of salty/earthy tequila, citrus tartness and just a hint of sweetness to round out all the flavors. This will definitely be your new go-to margarita recipe!
Transcript
Click for the full transcript.
Intro: Welcome to Let’s Make Dinner, your audio library of amazing dinner recipes you can get on the table any night of the week. I’m your host Susie Weinrich.
Susie Weinrich: Wasting away, again in Margaritaville. Did that make you uncomfortable? All right, you guys, today we are not talking about dinner. Today we are talking about margaritas. I mean, I’m a little nervous to make this episode because I love margaritas so much, and I want you to love margaritas. I want to make sure I’m conveying all of my tips and all my tequila knowledge to you so that you can make the ultimate tequila cocktails all year long.
Tips and Tricks: Let’s get into some tips for making the very best margaritas you can possibly make. I’m talking, okay, let me go over this first. I like a margarita that is very limey, that is a little tequila forward. That has just a hair of sweetness so that it balances the tartness of the lime. I’ve had margaritas that are way overly sweet that make you have that lemonade throat.
I’ve had margaritas that have no sweetness, and the lime almost burns your throat. That is not what you want. You want just such a beautiful balance of flavors that you can taste each one, and each one is beautiful and delicious and not harsh. All right. If that doesn’t make you want a margarita, I don’t know what will. My mouth is watering and I’m going to have to have margaritas tonight.
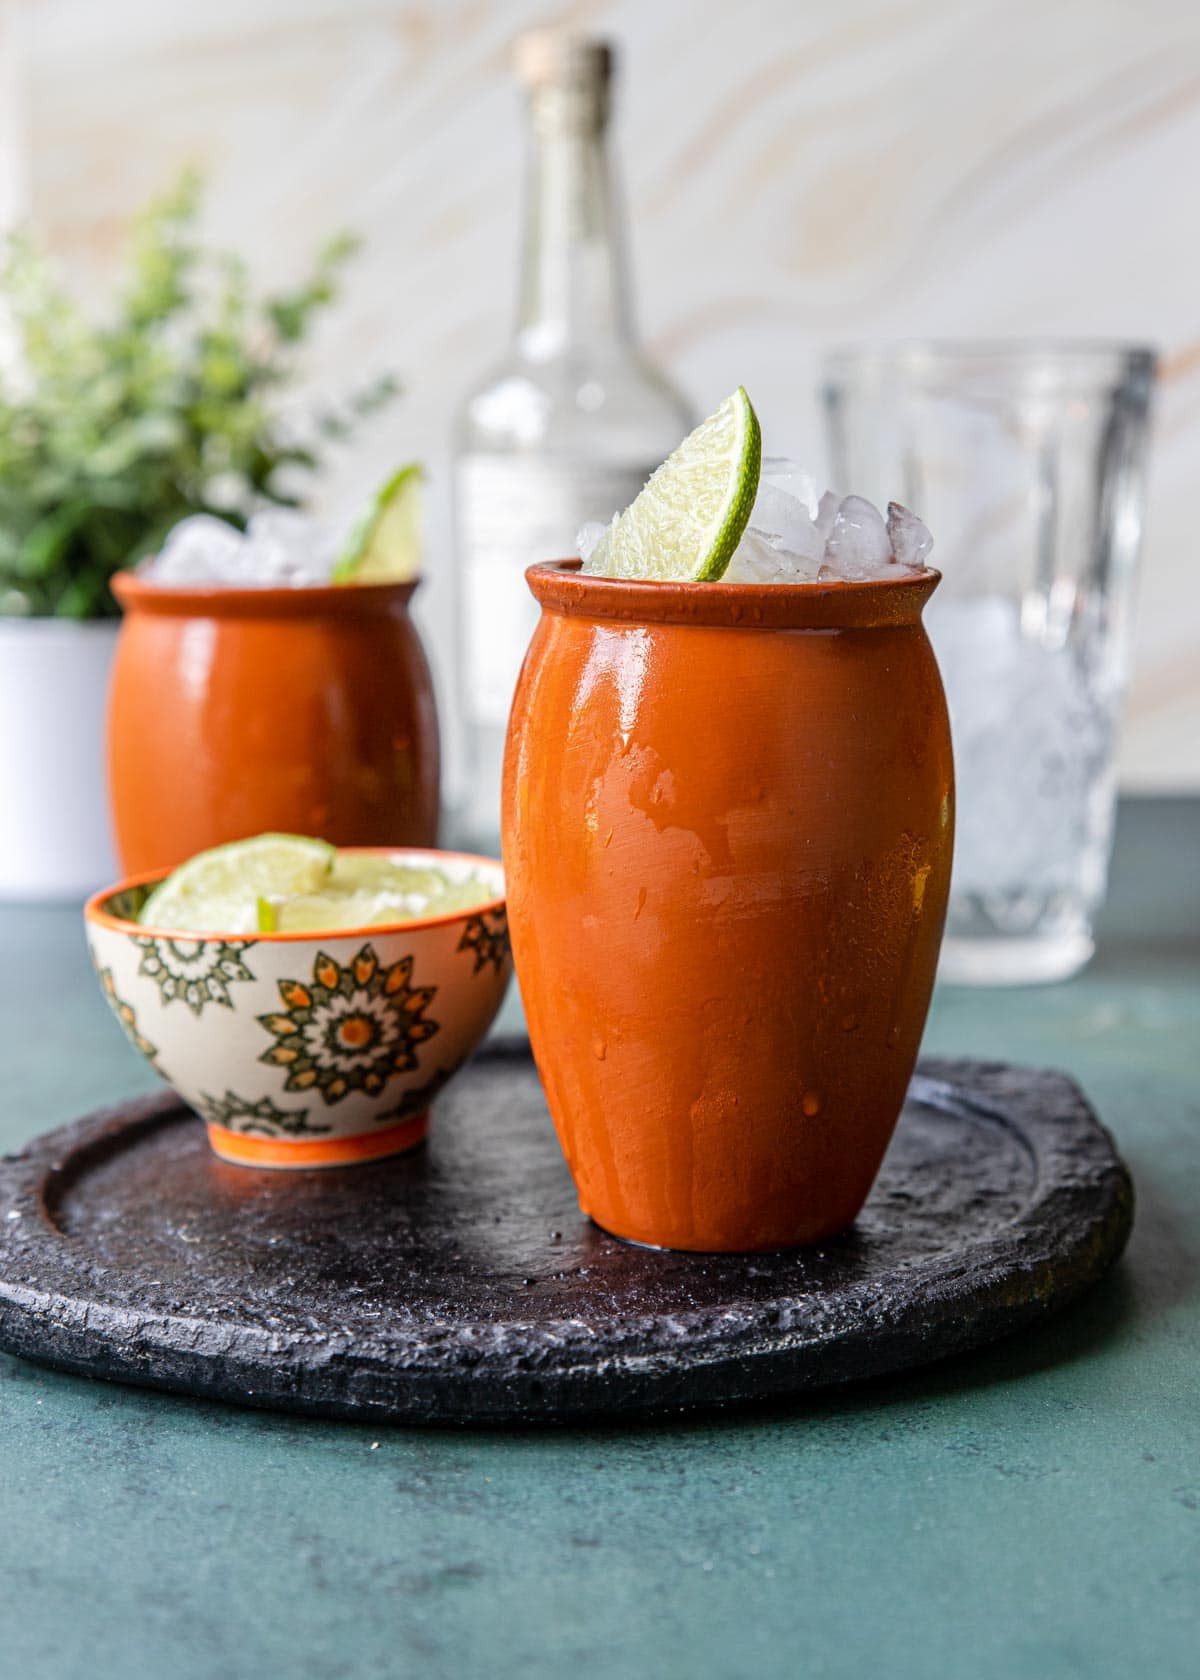
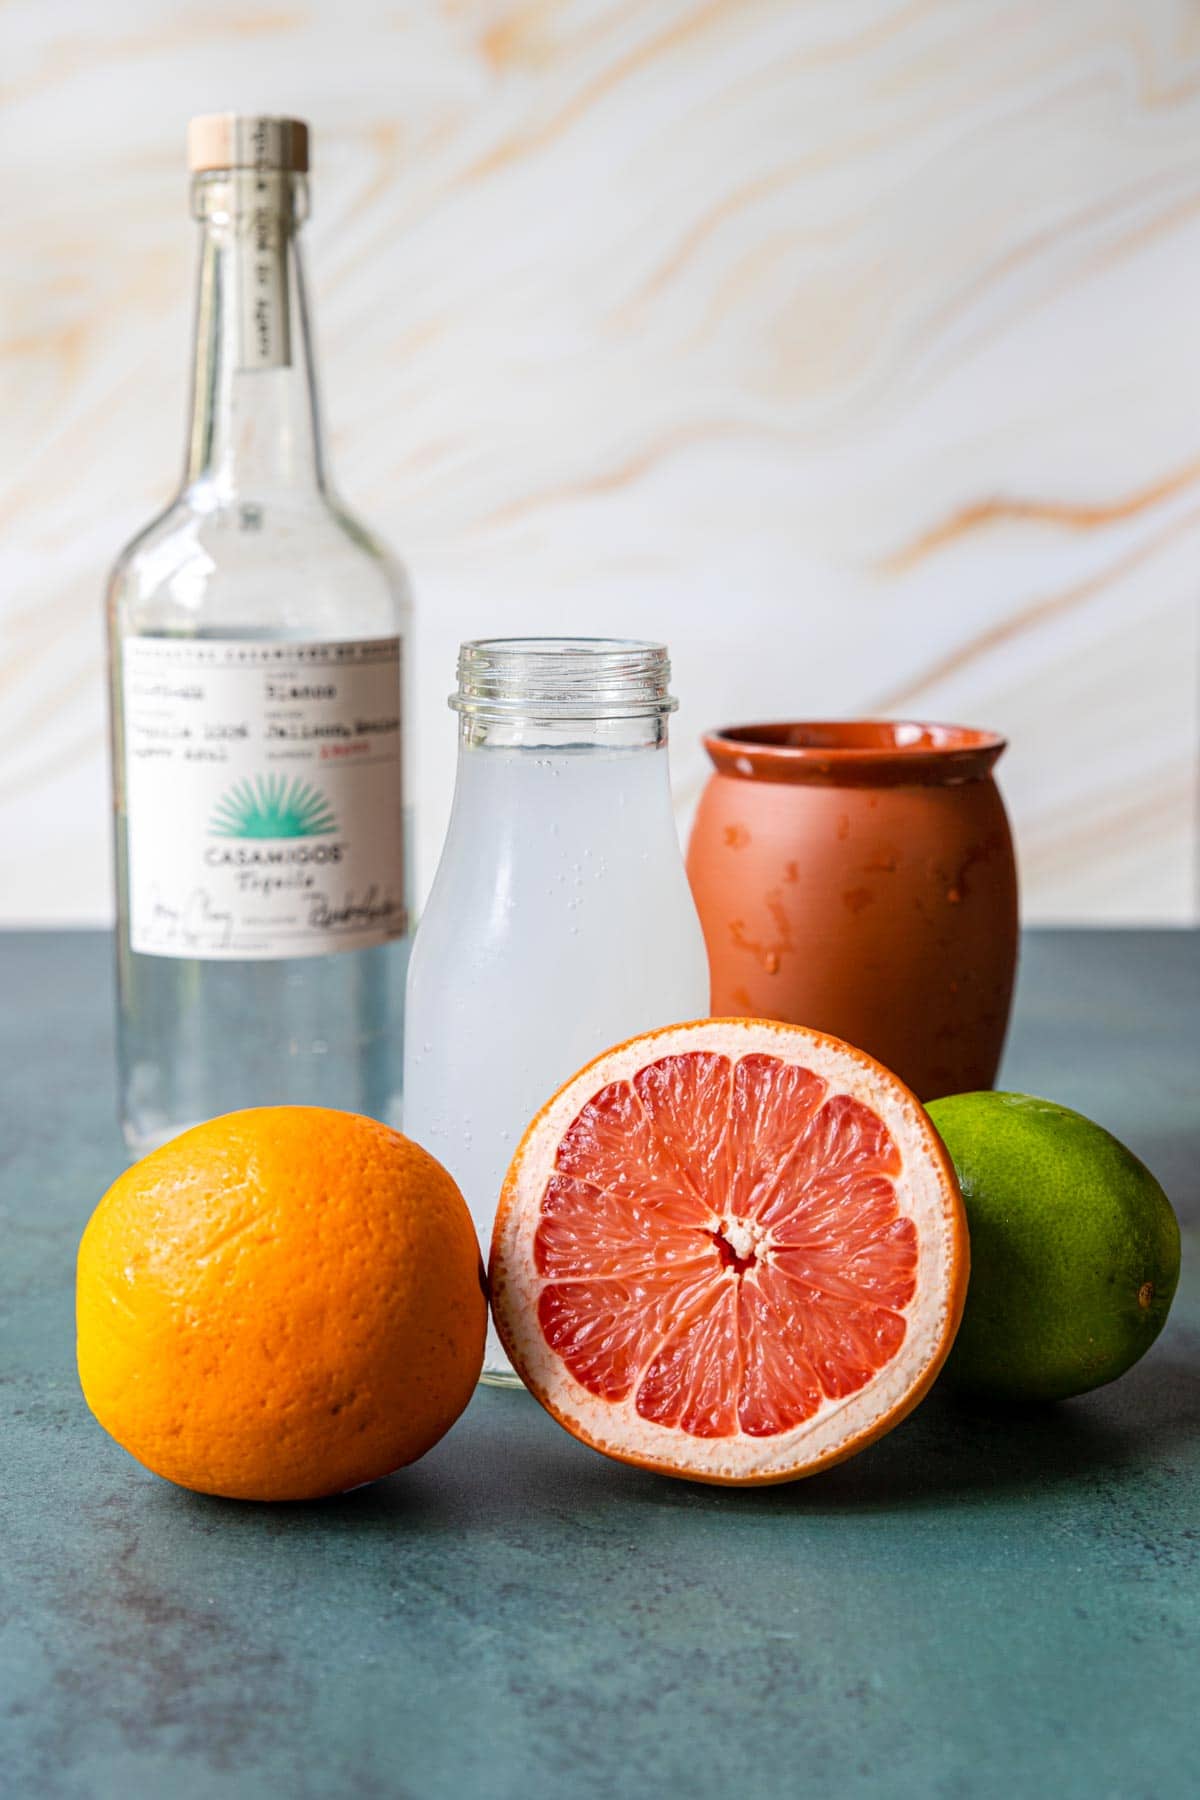
So let’s get started with this. The first tip, you want to use kosher salt on the rim of your glass. This is not the time for your iodized table salt. You definitely want the kosher salt. It’s going to be a little bit milder in saltiness. It’s not going to be chemically like iodized table salt, and it’s going to have that nice, crispy, larger texture that you want around the rim of your glass.
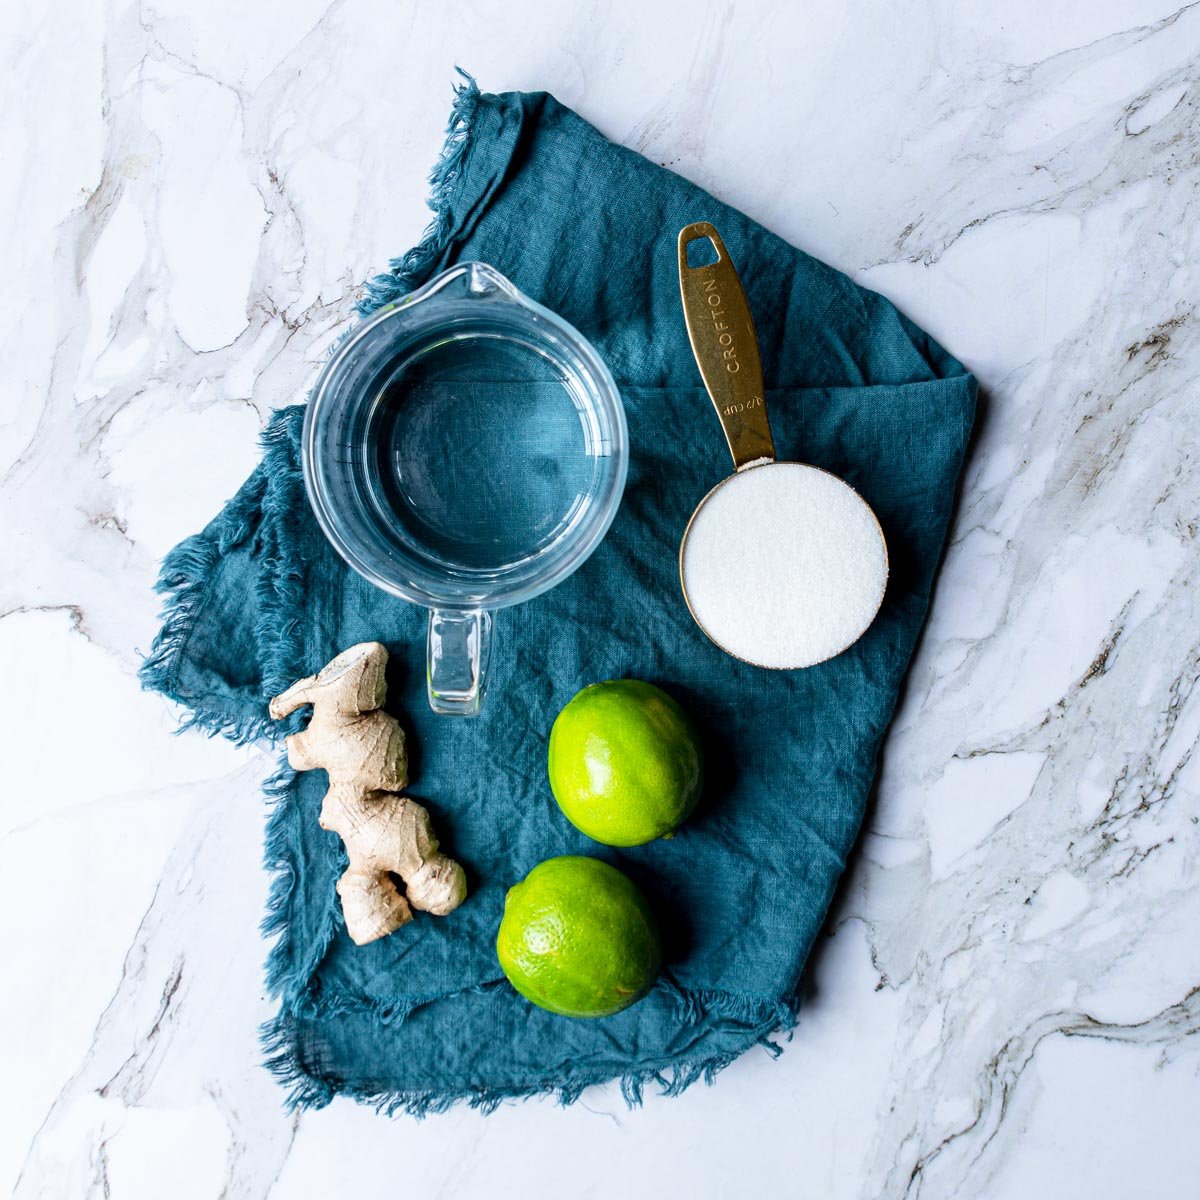
Next tip, use fresh limes. Do not think you’re going to game the system and use the pre-squeezed lime juice that comes in a bottle.
The next tip is to get yourself a good cocktail shaker. It makes all the difference in the world when you’re actually making a mixed drink. If you’re just having tequila soda or you’re having vodka soda, you don’t need a shaker. But when you have more than two ingredients, you want that shaker to get everything mixed together with a few ice shards and it’s magic. I will link in the show notes the shaker that I use and that I love. Actually, I have two that I really love. One that’s more of a professional shaker that has the shaker in a shaker, and then one that is really pretty, that’s a glass shaker that has an easier-to-remove lid.
The last tip is tequila. You want to use silver tequila here. In a classic lime margarita, silver tequila is what you want. This is also called Blanco tequila. It’s going to be the clear bottle of tequila on the shelf. When you’re making a margarita, it’s okay to just have a mid-level price ranged tequila. I like to use a Jose Cuervo traditional. I like Cazadores. I like Espolon. I also love Casamigos, but that’s a pretty high price point and isn’t totally necessary to make a good margarita.
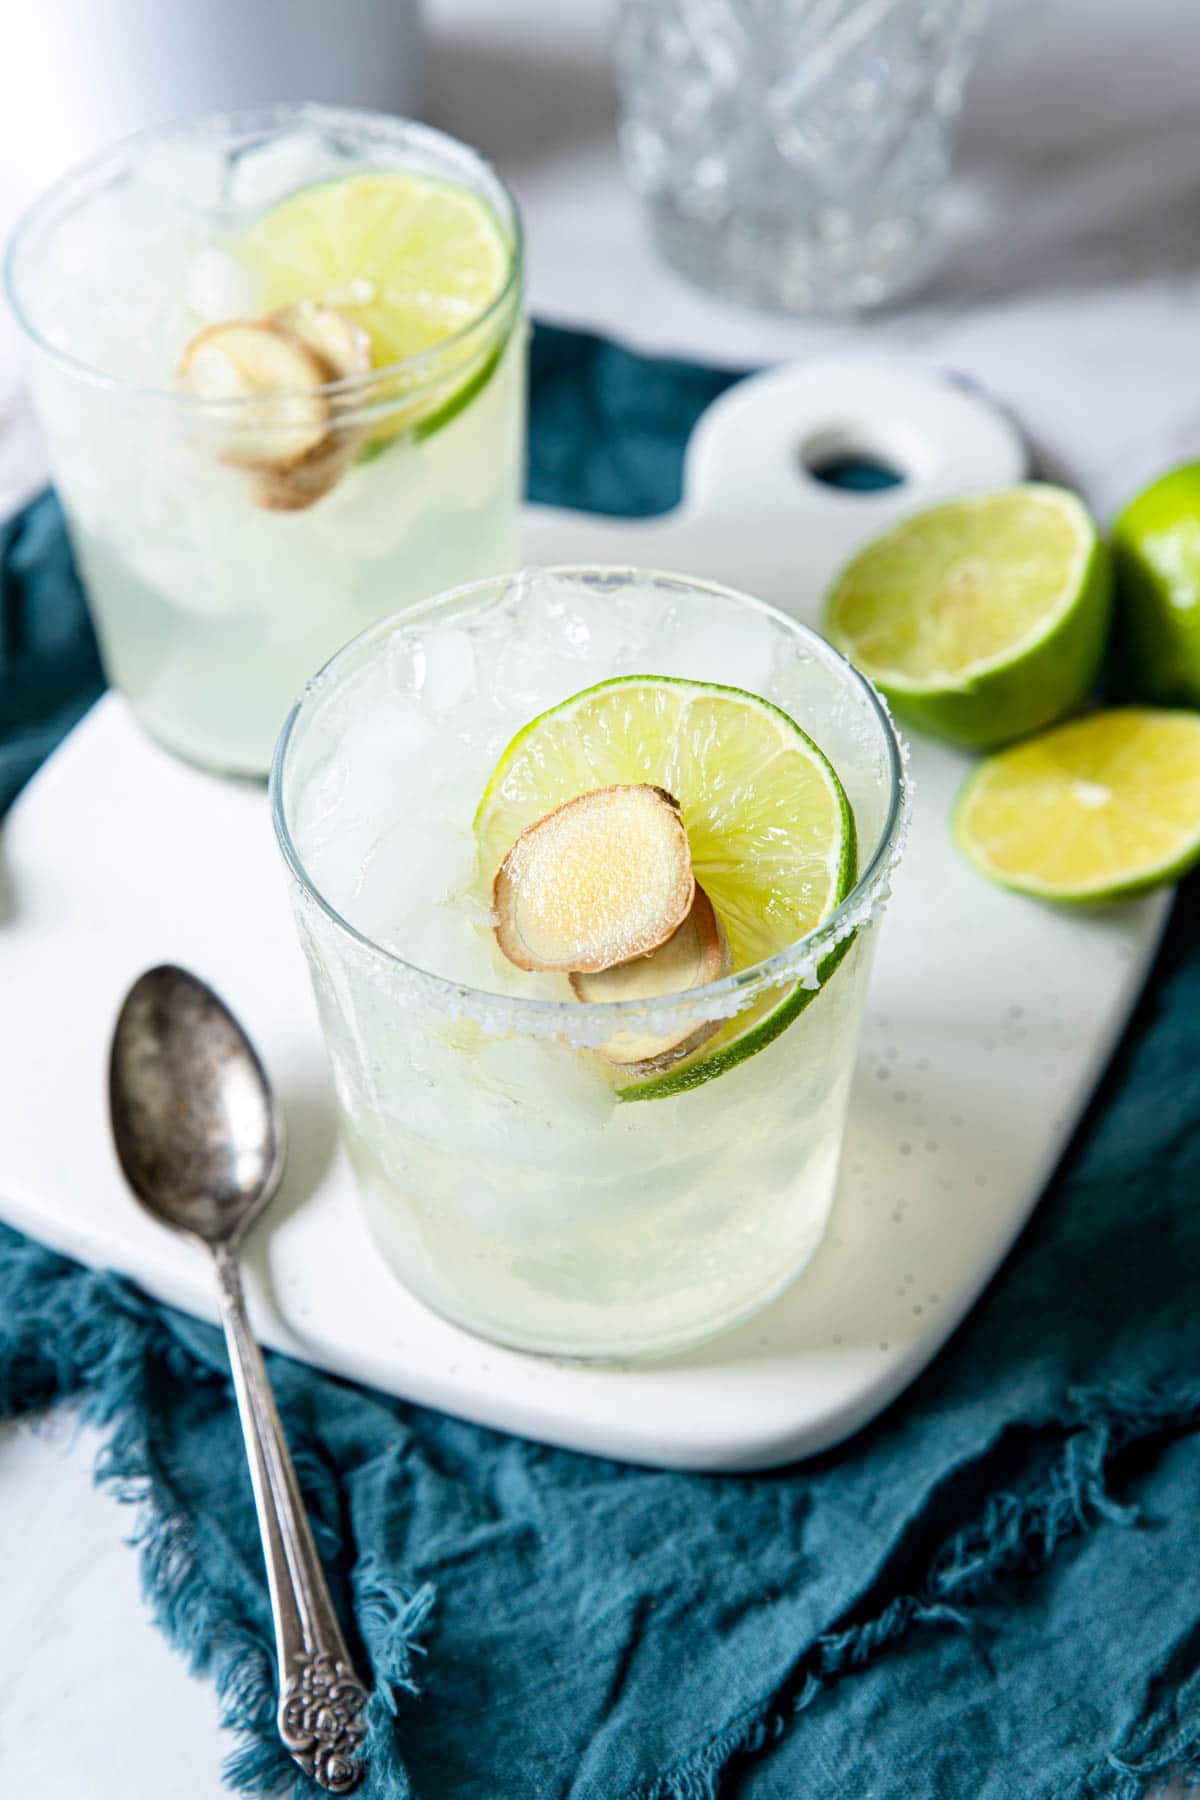
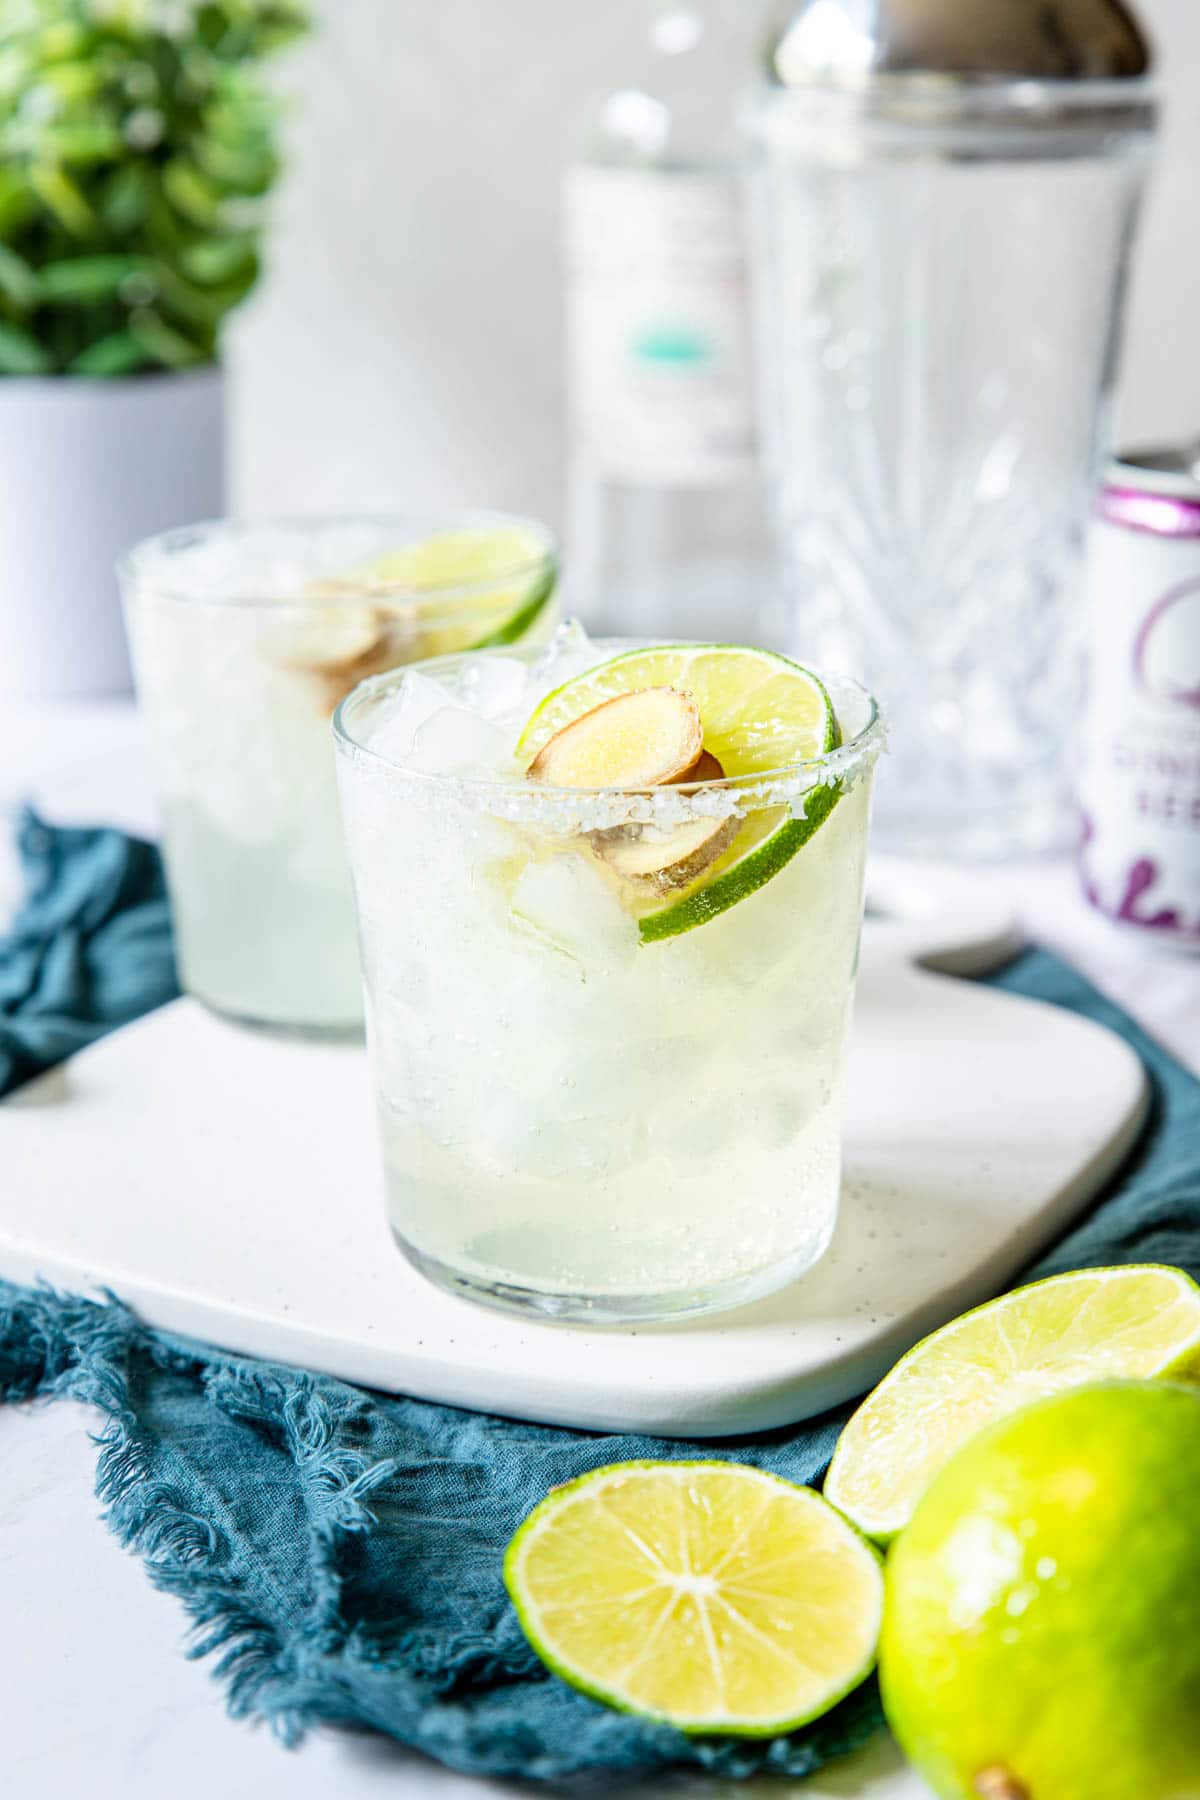
Classic Margarita on the Rocks Recipe: Now that you have all of my delicious tips, let’s get on to making a Margarita. Here’s what you’re going to do. You’re going to start by preparing your glass. Take about an eight to 10-ounce glass. I’m not a big fan of the stemmed margarita glasses. I like to make my margarita just in like an eight to 10-ounce rocks-style glass. Rub a lime wedge around the rim of the glass, or you can dip the rim in agave or honey. Then put a little bit of kosher salt on a flat plate, turn your glass over, and dip the rim into that kosher salt. Turn it back over and fill your glass with ice. You’ll set that aside because now we’re going to make our margarita in the shaker. Let me tell you, if you don’t have a shaker, but still want to make this margarita, you can even use a mason jar. It’s glass so be careful when you shake it up, but it still works.
Place a few cubes of ice in the cocktail shaker and you’re going to add one and a half ounces of silver tequila. One ounce of fresh squeezed lime juice. One ounce of triple sec, I use a Cointreau, and then a quarter ounce of agave. That’s just enough to give, your drink, just a little bit of sweetness, and I like to use the light blue agave, or sometimes it’s just called light agave. It’s a little less flavor-forward than the darker agave that you see on the store shelf.
Pop the lid on your shaker and shake it up for a good 20 to 30 seconds. Then you’re going to strain it right into that prepared glass, garnish it with a lime wheel or wedge, and that’s it. Oh my gosh. Your margarita’s ready. Take a drink. It’s so delicious. Sometimes I like to also top my margarita off with just a splash or two of soda water.
If you’re having more than one margarita, you could certainly rim your glass again, but sometimes on the second, maybe even third margarita, I will just take a pinch of kosher salt and sprinkle it into the margarita and stir it around instead of having to rim my glass every single time.
Outro: Now set out some chips and salsa. Go enjoy your margarita. If you want the full principle recipe, you can find it right in the show notes.
(singing) Wasting away in Margaritaville.
Recipe Tips
- Use fresh squeezed lime juice! A citrus press will help make quick work of squeezing the limes.
- Make sure to use kosher salt on the rim of your glass, not iodized table salt.
- A mid-range silver tequila will work perfectly in your drink. We like Jose Cuervo Traditional, Espolon, or Cazadores.