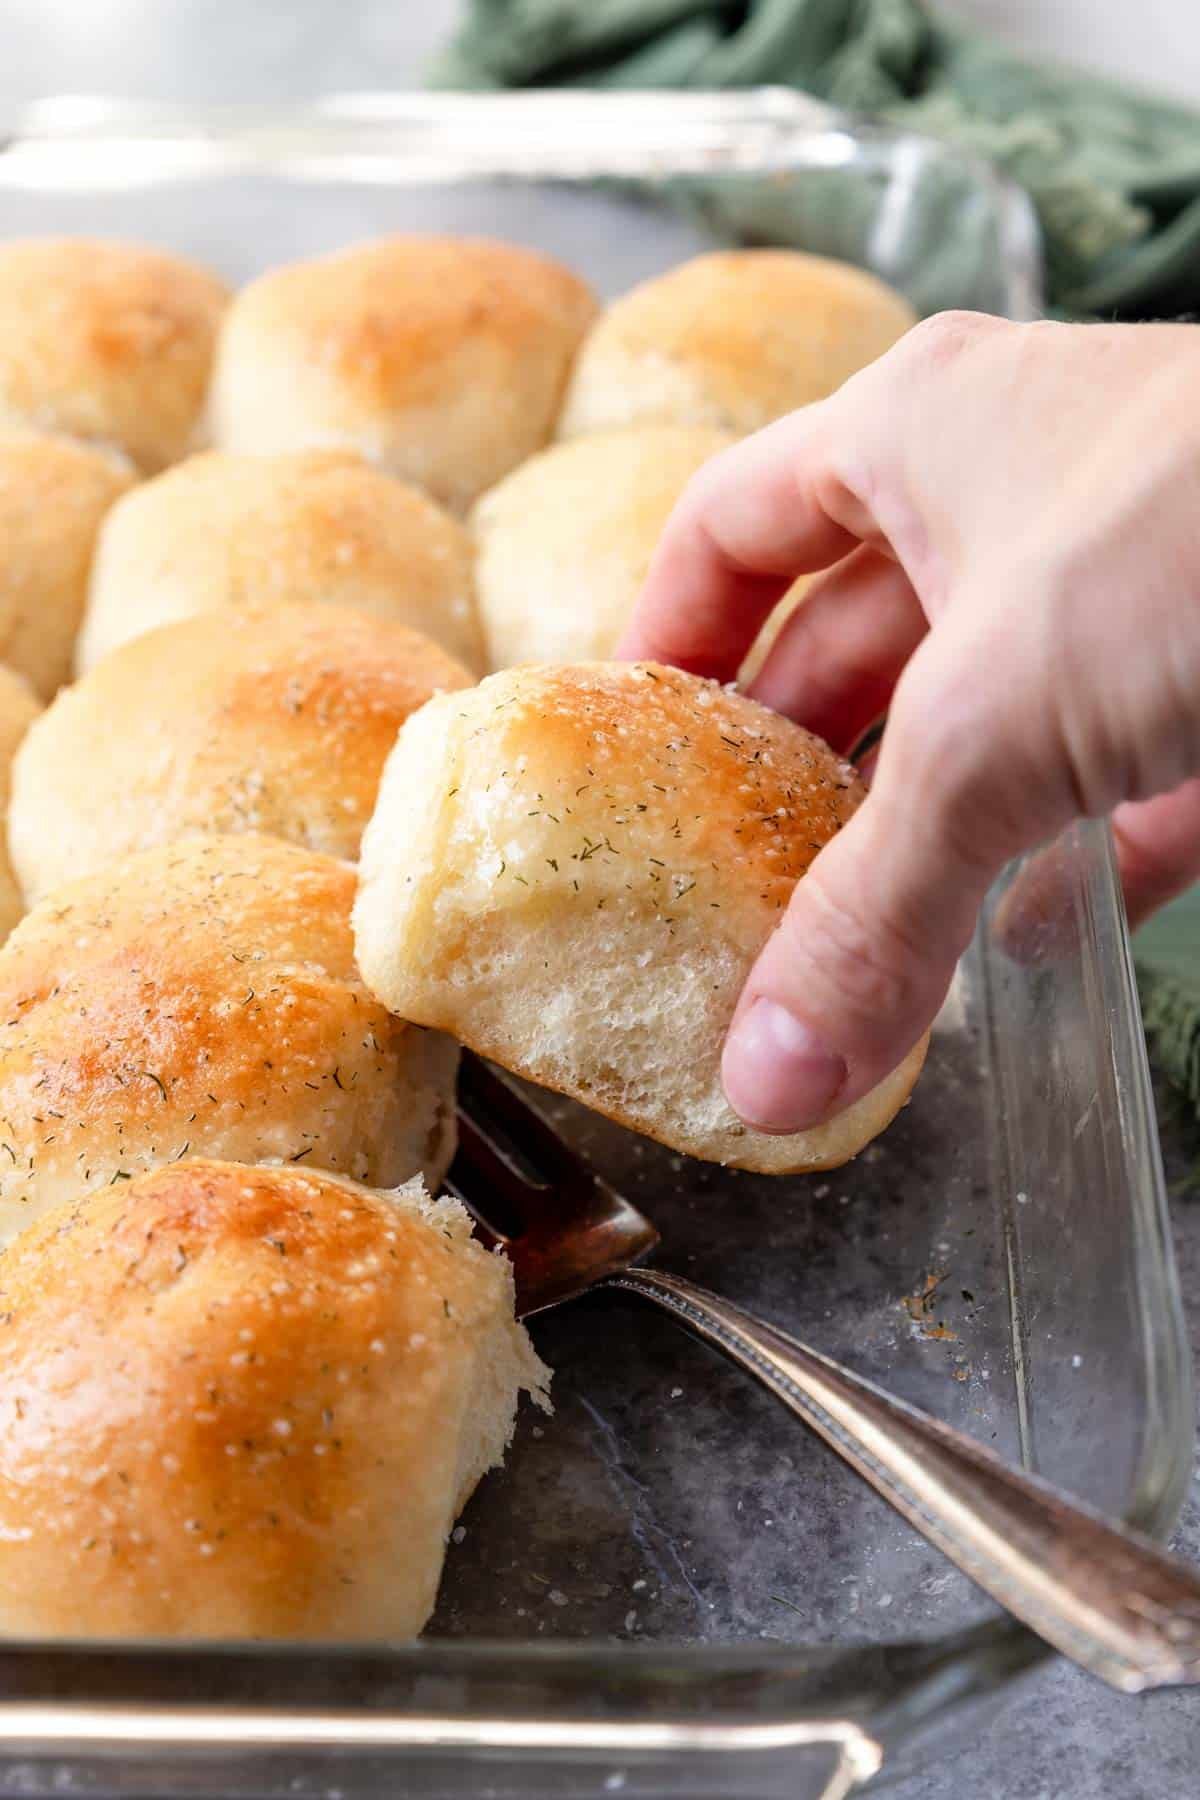
No matter if you consider yourself a “pro-baker” or “not-a-baker”, these are the Dinner Rolls you want to make! They bake up pillowy-soft and the tops are golden and buttery. The rolls are finished with a delicious salt, sugar and dill mixture. We have made this Dinner Roll recipe as uncomplicated as possible, provided step-by-step pictures and a video to follow, and all the tips and tricks you need to make unbelievably soft and flavorful Homemade Dinner Rolls!
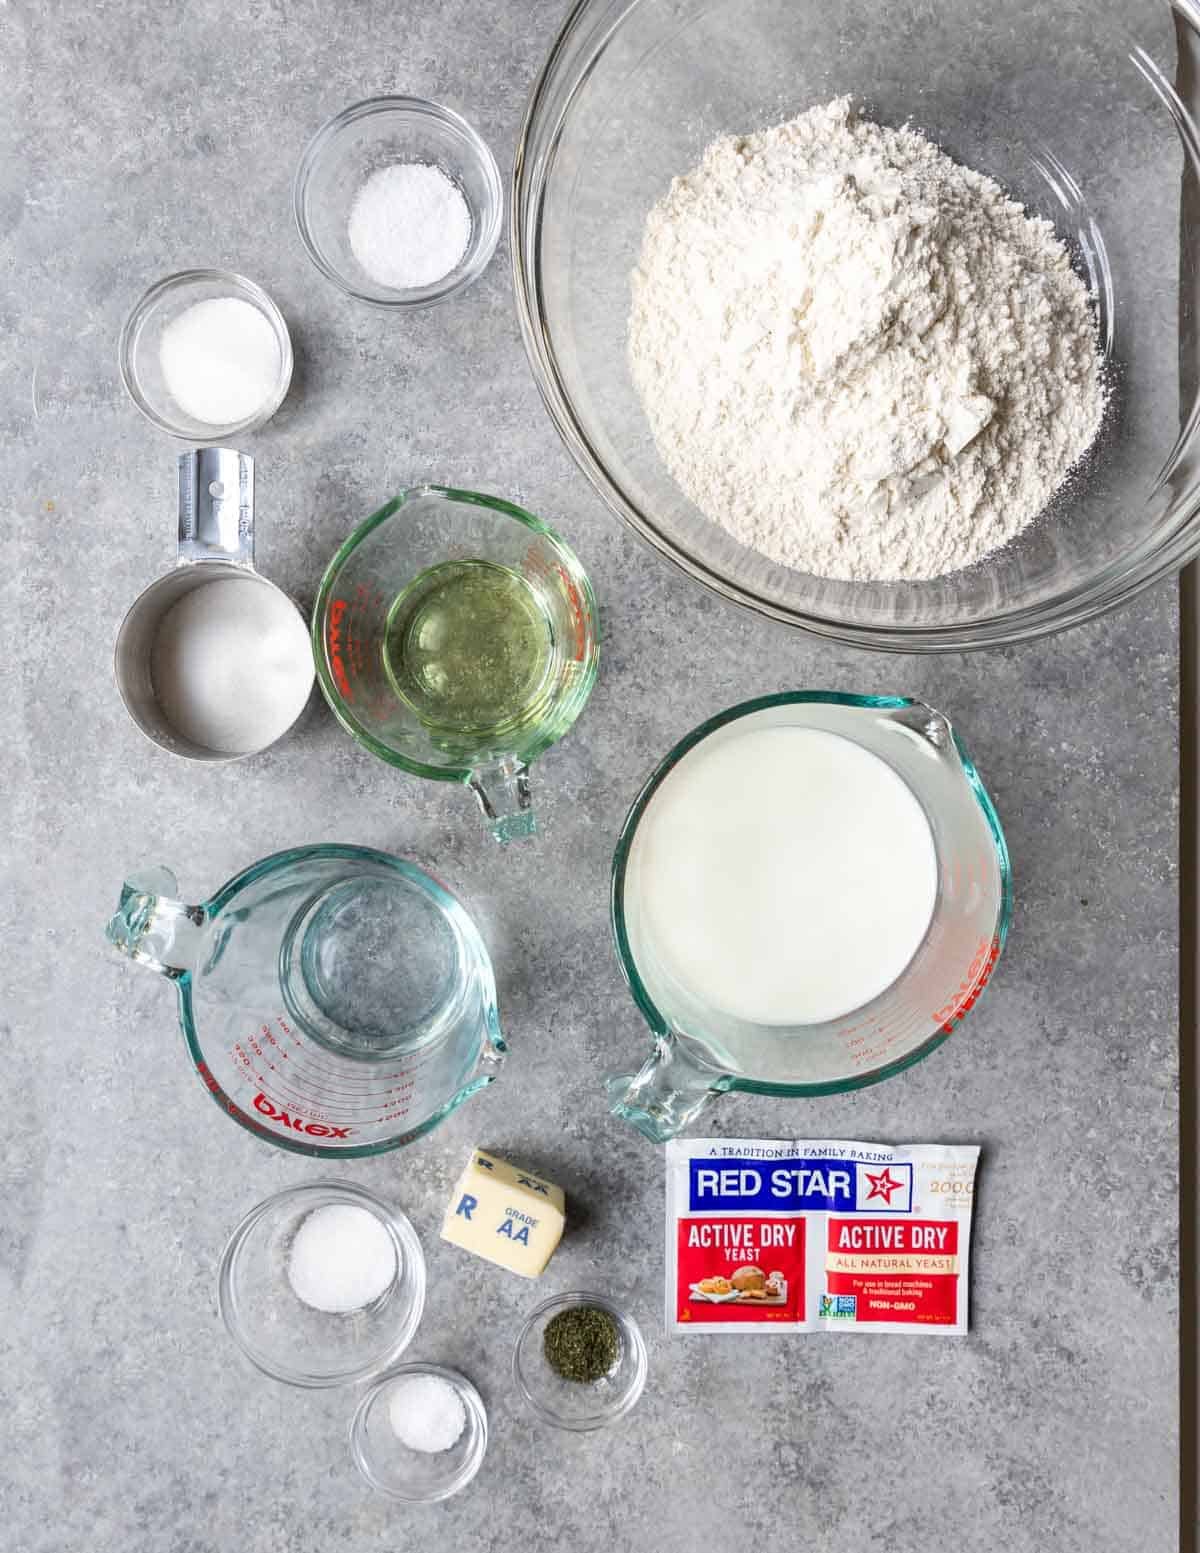
These rolls are made with just 7 ingredients, if you have a well stocked kitchen and baking cabinet, you can probably make these right now. You will just use simple ingredients like all purpose flour, butter, milk, active dry yeast, kosher salt and sugar.
⭐⭐⭐⭐⭐
I love baking and this was a good, easy recipe to follow came out delish. I've made it twice now everyone that has tried it loves it.
-Leydie
WATCH: How to Make Dinner Rolls from Scratch
Equipment
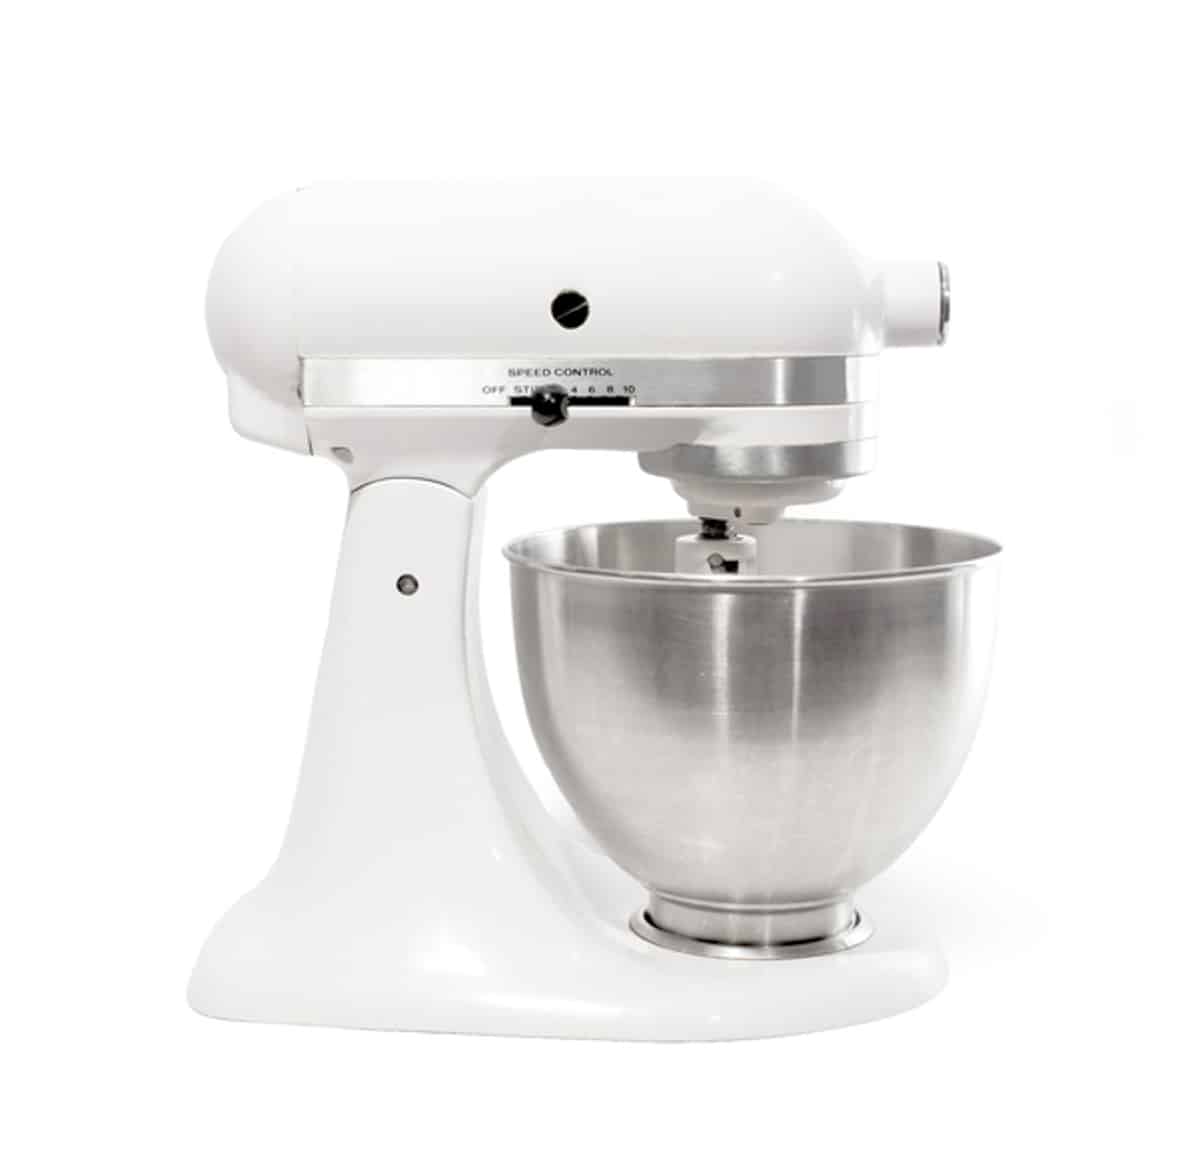
In this recipe a Stand Mixer with a dough hook is doing all the work. I have this Kitchen Aid Stand Mixer and it is a work horse for sure! It is wonderful to have in the kitchen for making cookies, bread, and even shredding chicken.
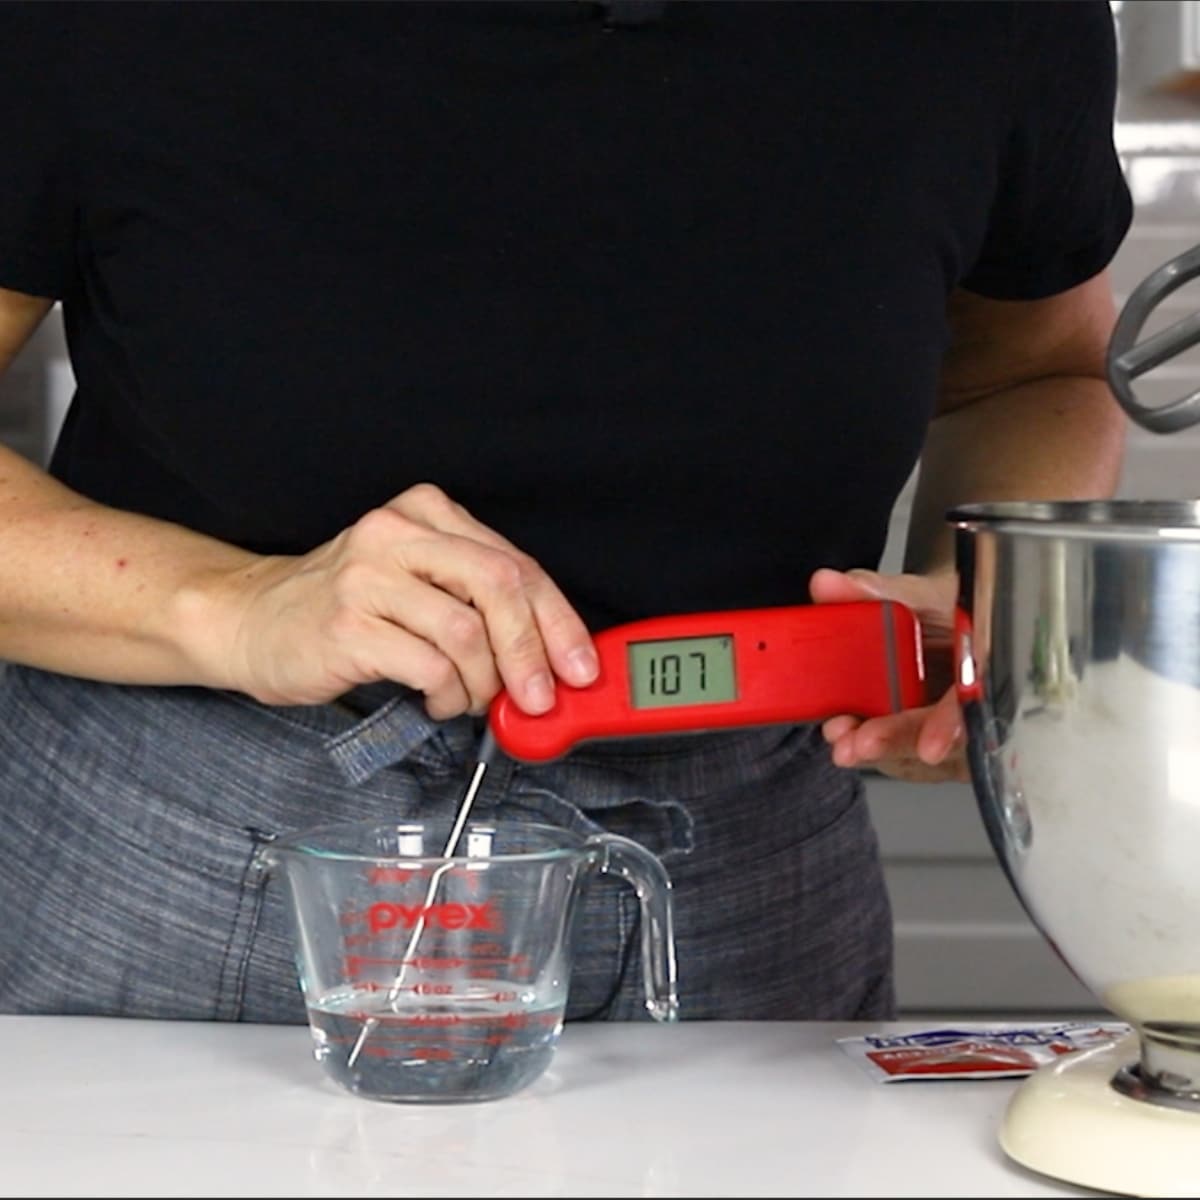
Since it is important that the yeast is added to warm liquid between the temps of 100°F-110°F, and Instant Read Thermometer is a great tool to have. It can quickly tell you the exact temperature of your liquid.
What You’ll Need to Make Fluffy Dinner Rolls:
Dinner rolls are made with 7 simple ingredients that you may already have in your kitchen:
Active Dry Yeast– make sure you use an ACTIVE DRY Yeast that is not expired. You do not want to use Instant or Rapid Rise Yeast for this recipe. You can read more about the yeast below.
- Sugar – A little sugar helps activate/feed the yeast and it is also used in the roll dough. There is just a touch of sugar in the dill topping as well… not enough to make the rolls sweet, it just balances flavors.
- All Purpose Flour – a good quality flour makes a big difference in your dinner rolls. We really like the King Arthur Unbleached All Purpose Flour. It has consistent, really great results with this recipe! Costco is a good place to get this flour at a great price.
- Kosher Salt – Make sure to use a kosher salt and not iodized table salt.
- Milk – 2% or whole milk is great for these rolls.
- Oil – Use a non-flavored oil like canola oil, vegetable oil or olive oil (not extra virgin olive oil).
- Butter – Use a salted butter for the most flavor! It is used for the tops of the rolls before baking to help give them a beautiful golden top. Then it is brushed on the top after baking and helps the dill/salt mixture stick to the tops.
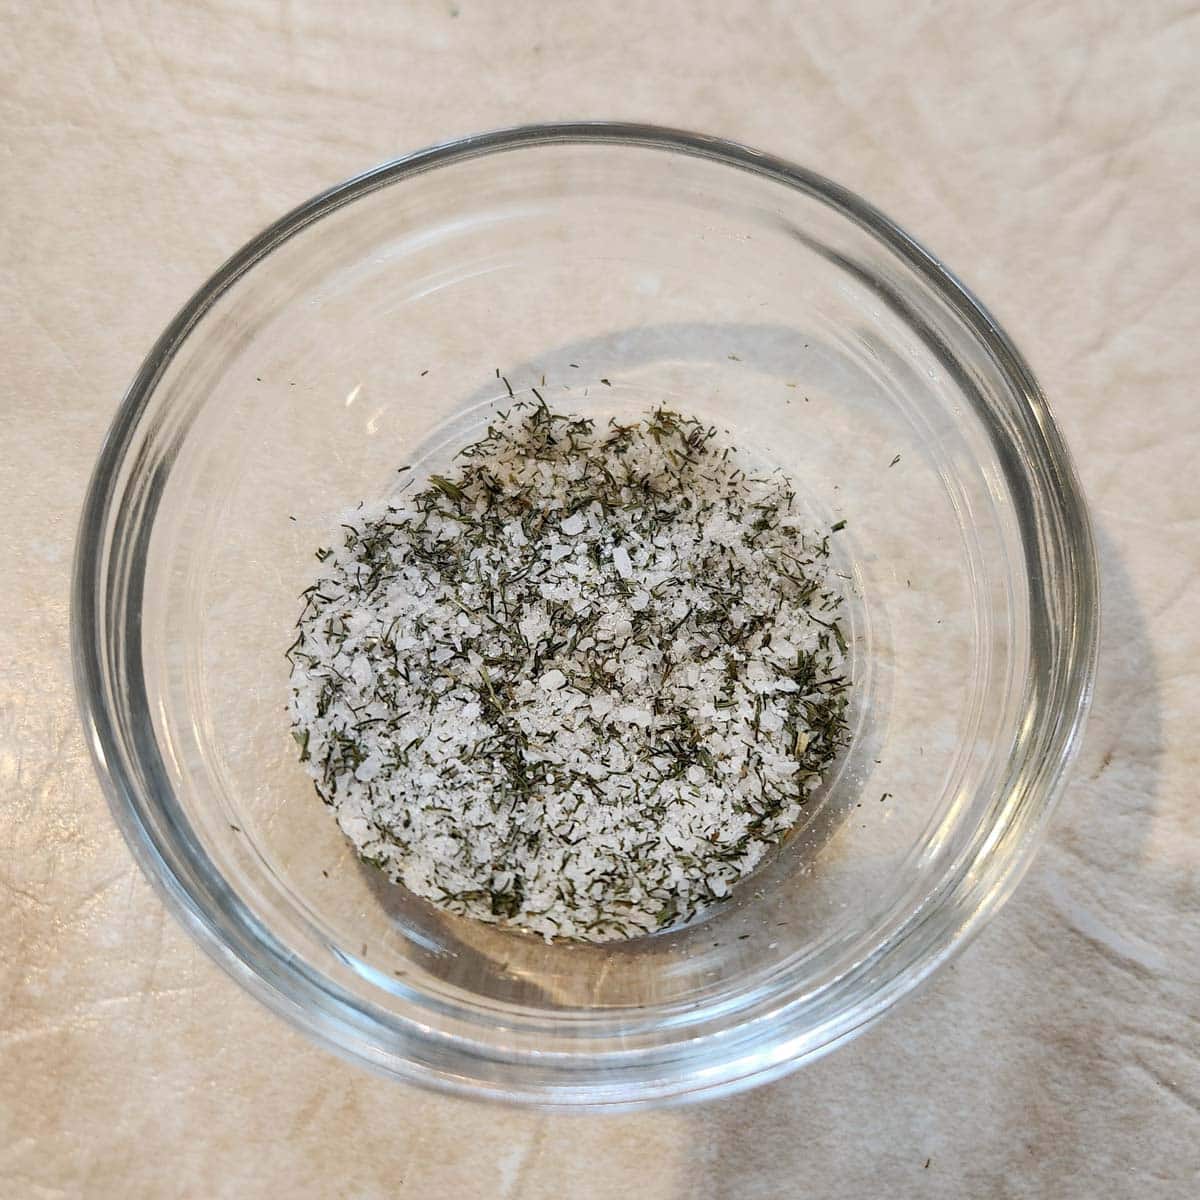
- Topping -Dried Dill, Butter, Sugar, Kosher Salt – This is an incredible mixture that sets these dinner rolls apart! It isn’t enough dill to make them taste dilly, it just gives them a fresh, very light herby flavor.
More On Active Dry Yeast
You will want to buy ACTIVE DRY YEAST to make this Dinner Roll Recipe as written. Do not buy Rapid Rise Yeast or Instant Yeast. Active Dry Yeast will need to be proofed or bloomed before it is used in the recipe. You will do this by adding it to warm water 100°F-110°F with a little sugar to help feed the yeast. Some bands that are popular and trustworthy are Red Star Yeast and Fleischmann’s
Measuring Flour; The Key To Good Dinner Rolls
As flour sits in the bag or canister it compacts on itself and possibly clumps. If you scoop into this compacted flour you will end up with too much flour and your dinner rolls will not mix up or bake correctly.
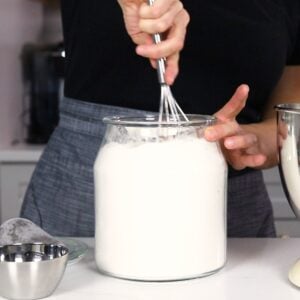
How To Measure Flour
Using fluffy, not packed, flour is key to getting the right texture in your Dinner Rolls!
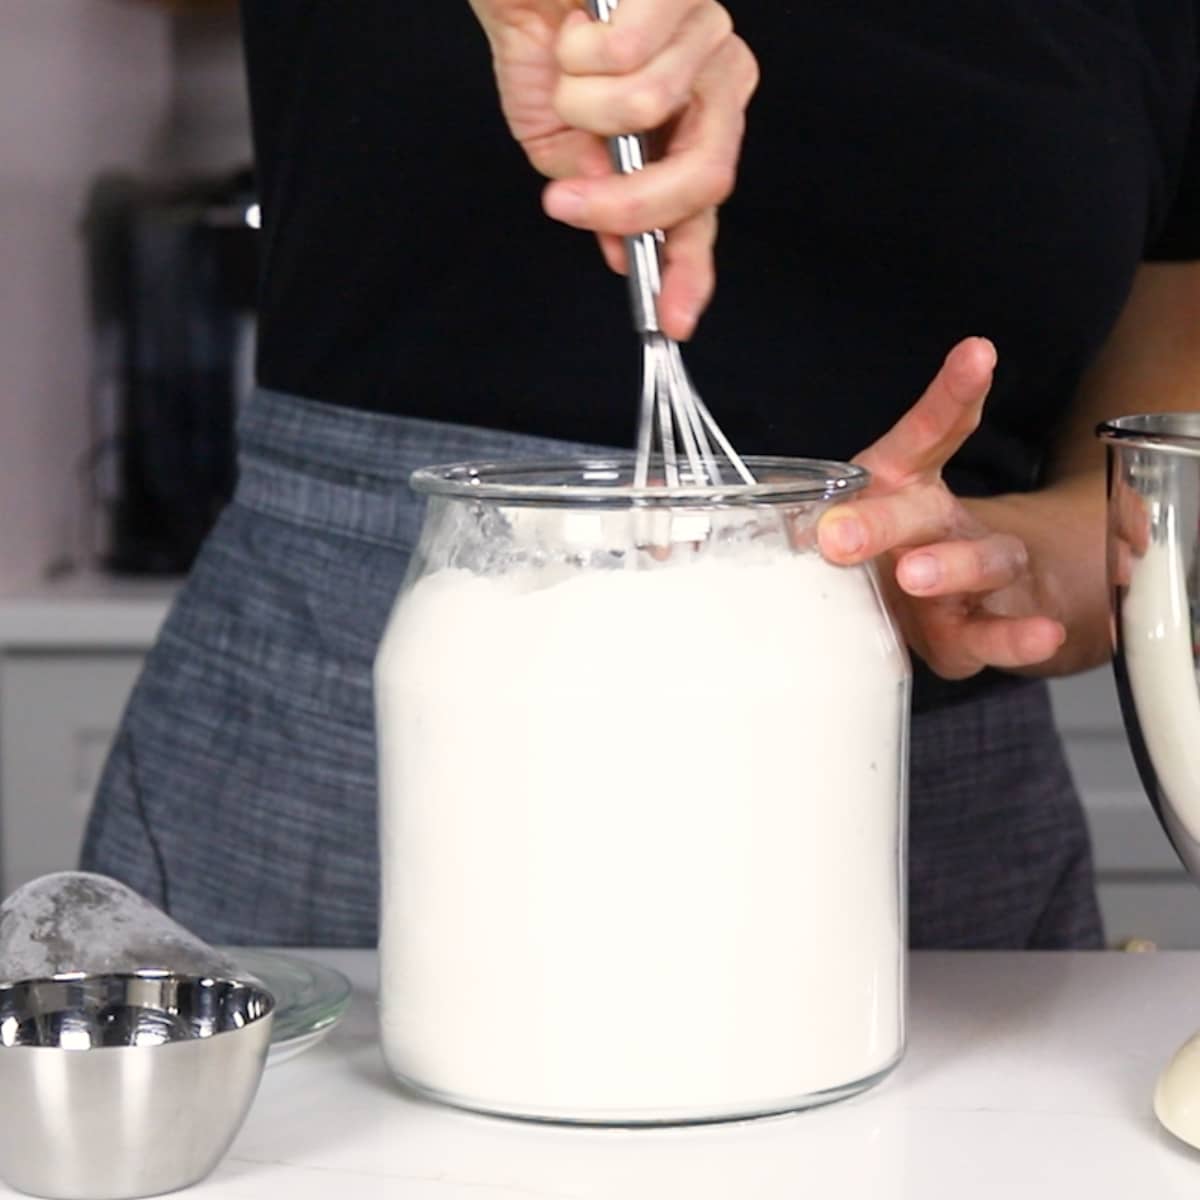
Before you measure your flour, give it a quick whisk or fluff it up with a spoon. This adds air and breaks up any clumps, so you don't accidentally pack in too much flour. Then spoon the “fluffy” flour into the measuring cup with a spoon or scoop so it is above the rim. Then level it off with a knife or the side of the scoop.
How to Make Dinner Rolls From Scratch
This is a basic overview of the steps you need to take to make Dinner Rolls, including photos. For more detailed instructions and ingredient measurements, pop down to the recipe card.

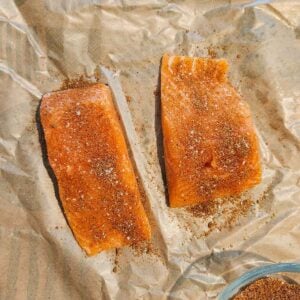
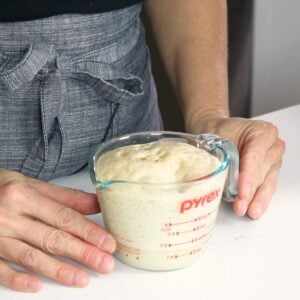
Step 1
Bloom the Dry Active Yeast in ½ cup warm water with 1 tablespoon sugar.
Step 2
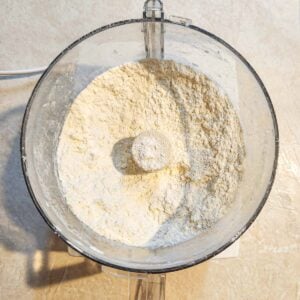
Mix the all purpose flour, sugar, and salt in a stand mixer, add warmed milk and oil. Then add the bloomed yeast mixture.

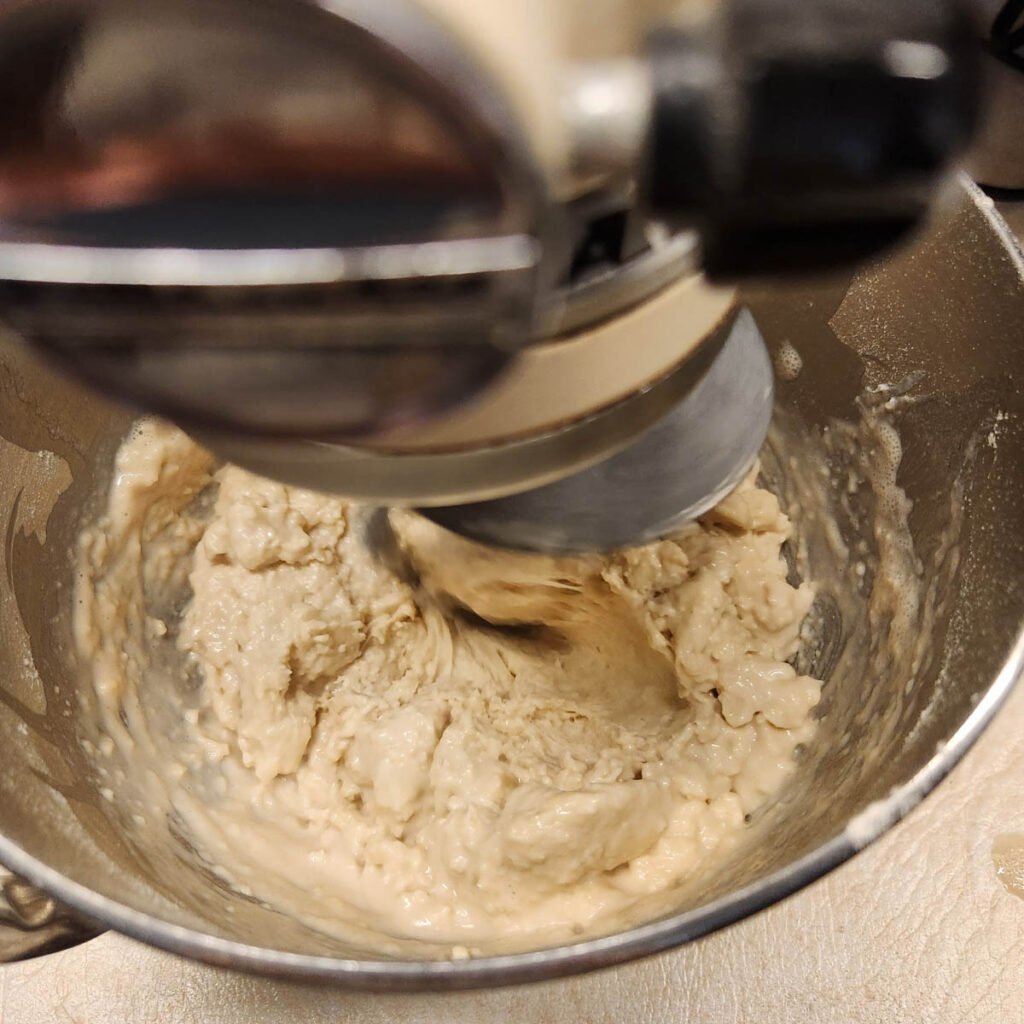
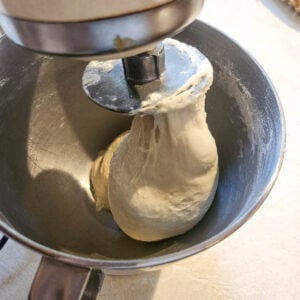
Step 3
Switch to the dough hook and knead the dough for about 7 minutes. At the 3 minute mark check if the dough is starting to pulling together, if not add 1-2 tablespoon of flour.
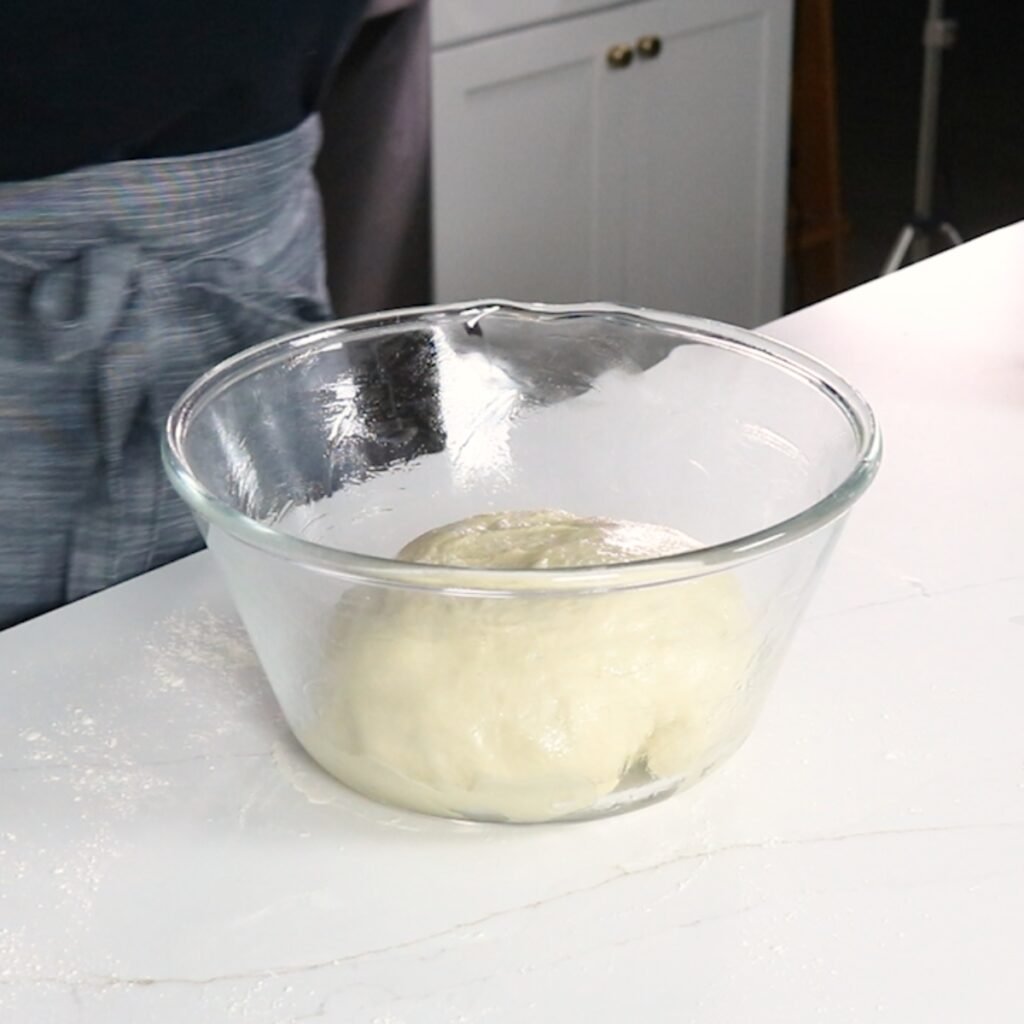
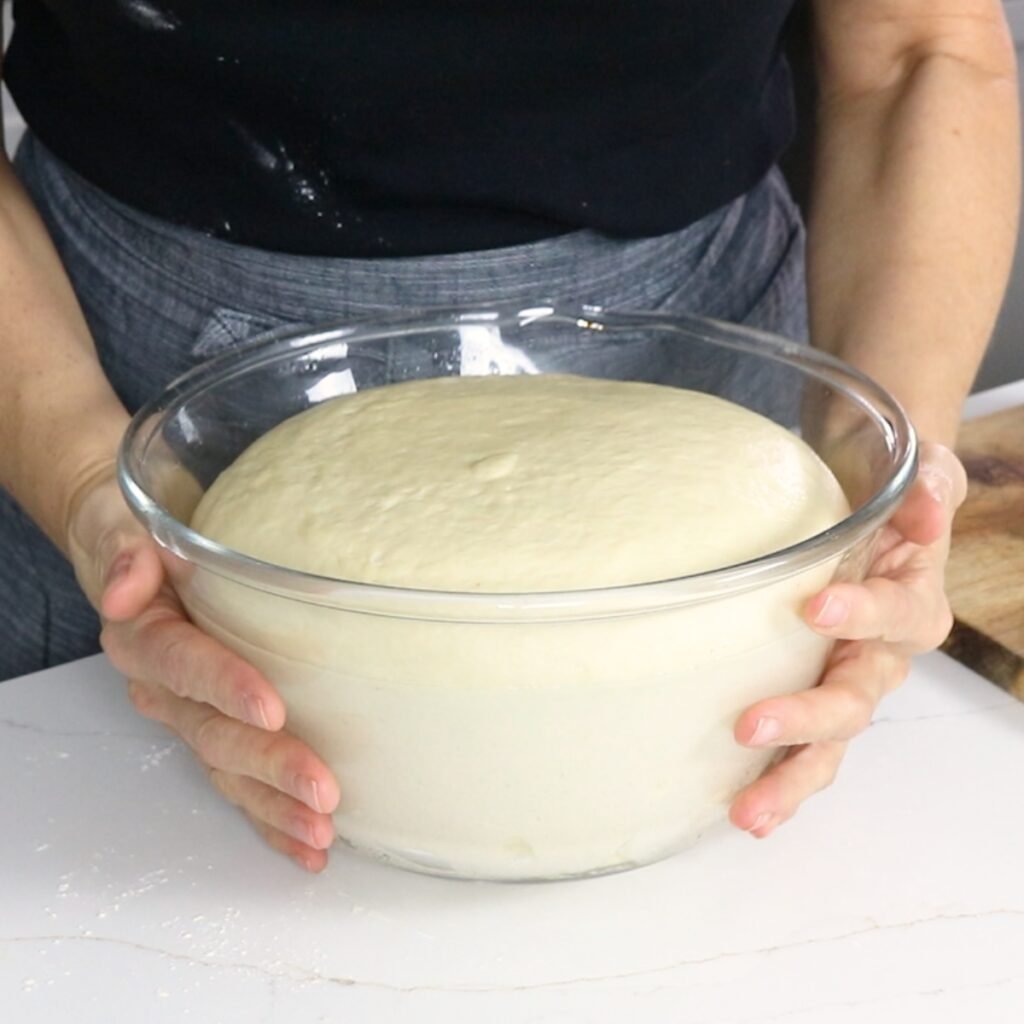
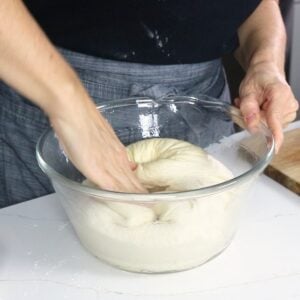
Step 4
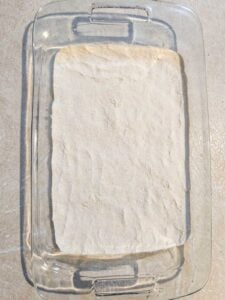
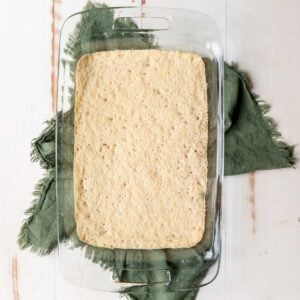
Turn the dough out into a large greased bowl. Cover and let rise for 1.5 hours. It should double or triple in size.
Step 5
Punch the dough down and divide into 24-30 equal pieces.

Step 6
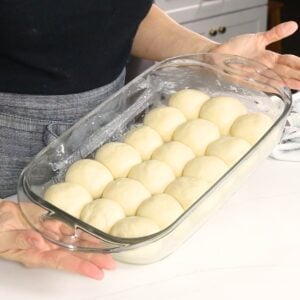
Roll into smooth balls and place in grease pan(s). Cover and let rise again for about 45 minutes.
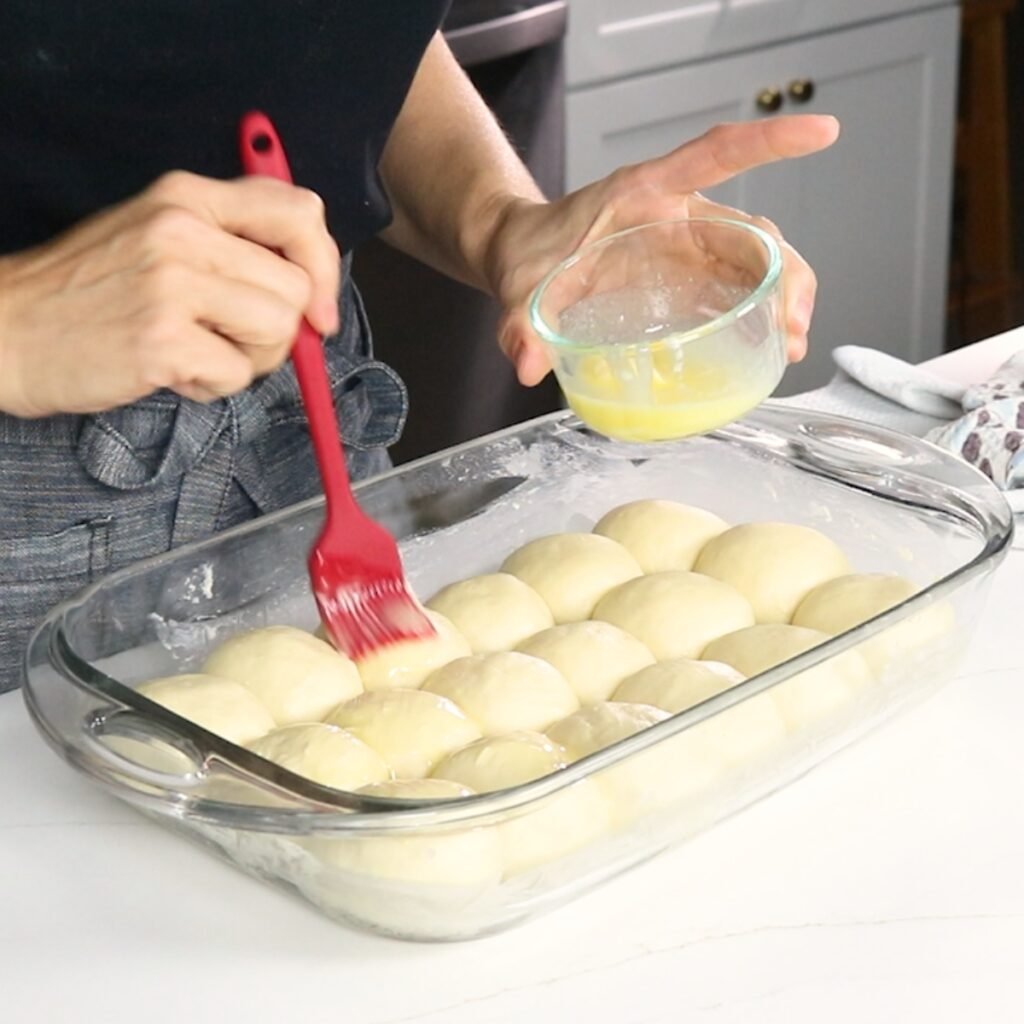
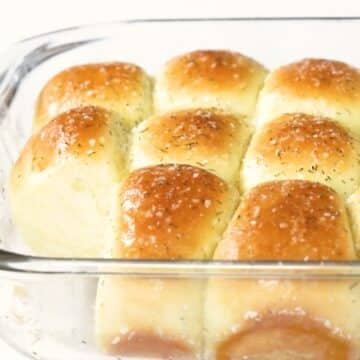
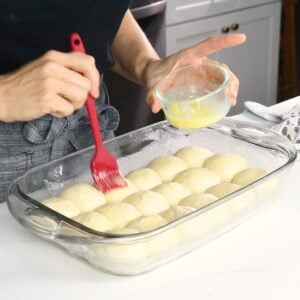
Step 7
Preheat the oven to 350°F, brush the tops of the unbaked rolls with melted butter. Bake for 25 minutes.

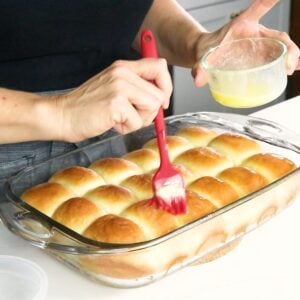
Step 8
Finally brush the baked rolls with more melted butter 😍, then sprinkle on a little kosher salt, sugar and dried dill mixture.
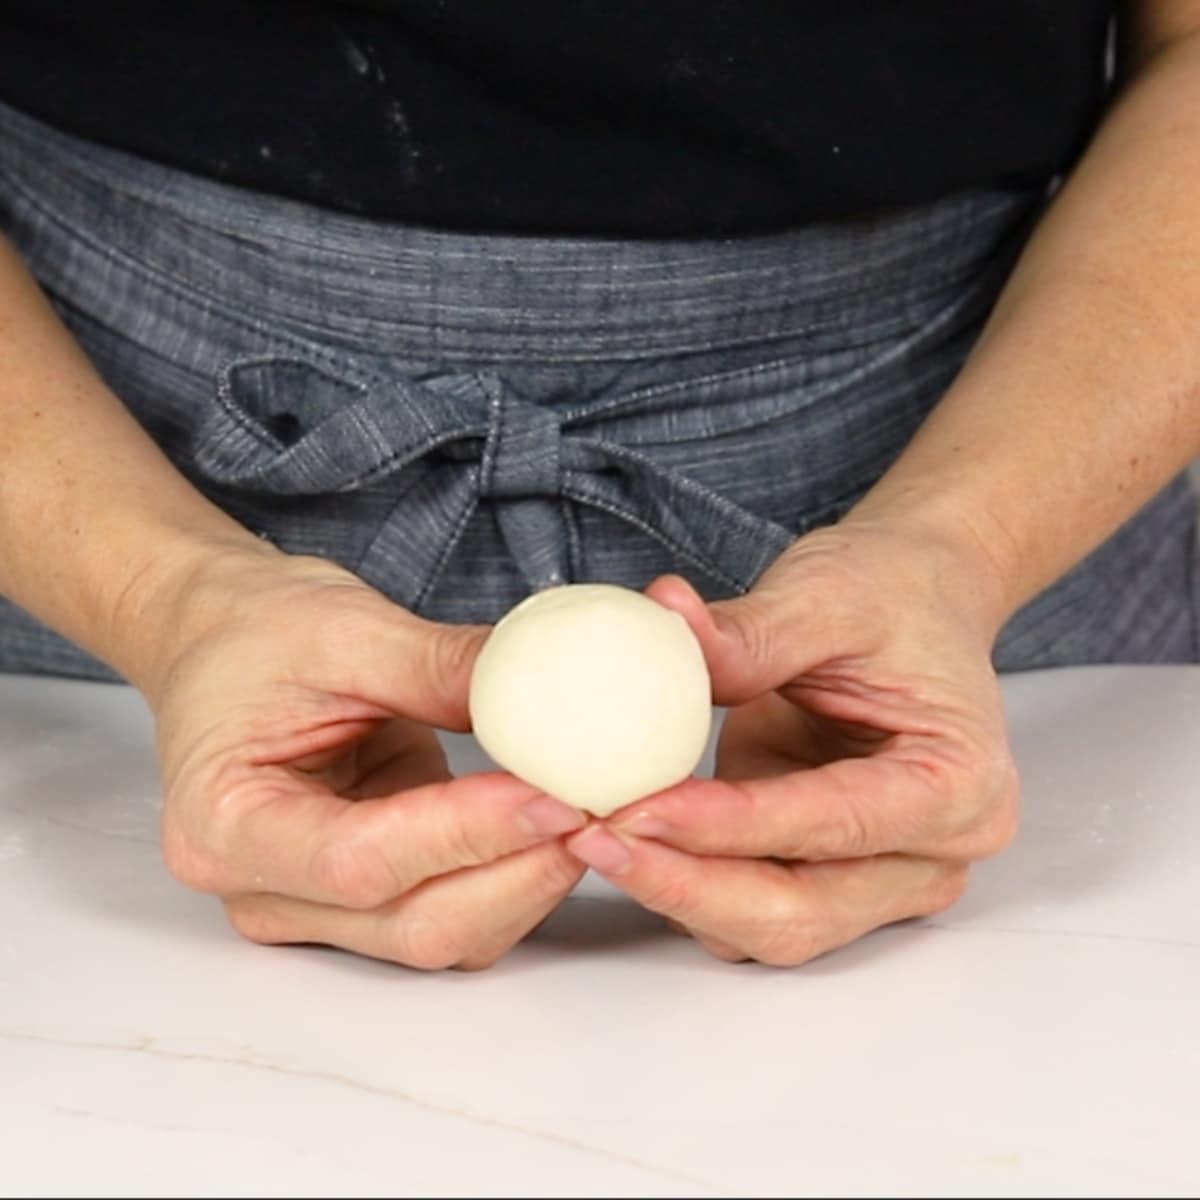
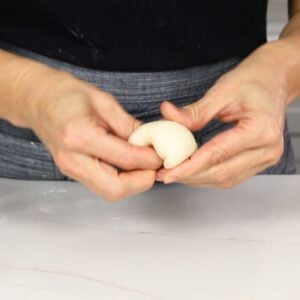
Tips on How to Shape Homemade Rolls
The first few times I made Homemade Dinner Rolls they turned out, well… we’ll just say “not round or smooth”. You want your rolls to be similar in size and have a nice rounded top. This will help them bake evenly in the oven and have a nice even golden brown color on top.
Start by splitting the risen dough into equal portions. This is key as it will help ensure your rolls are even in size! I like to shape my dough into a rectangle-ish shape, then cut it into 6 pieces, then cut those 6 pieces into 4-5 pieces each, giving you 24-30 rolls.
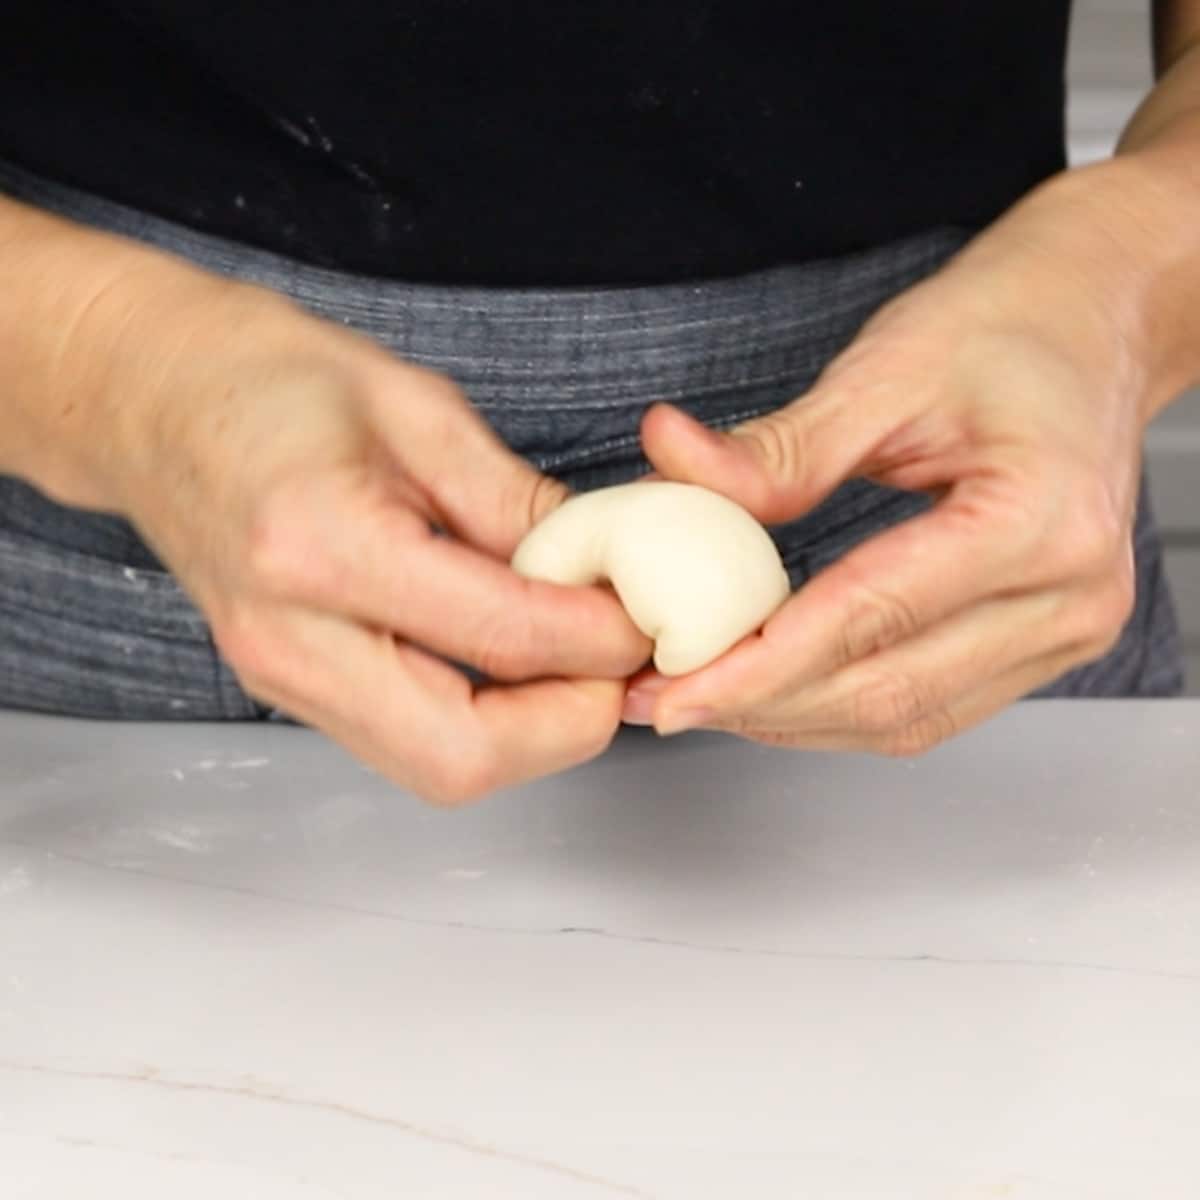
Now take one section of the dough in your hands. Pull the edges of the dough to the bottom, working all the way around the edges, making a smooth ball.
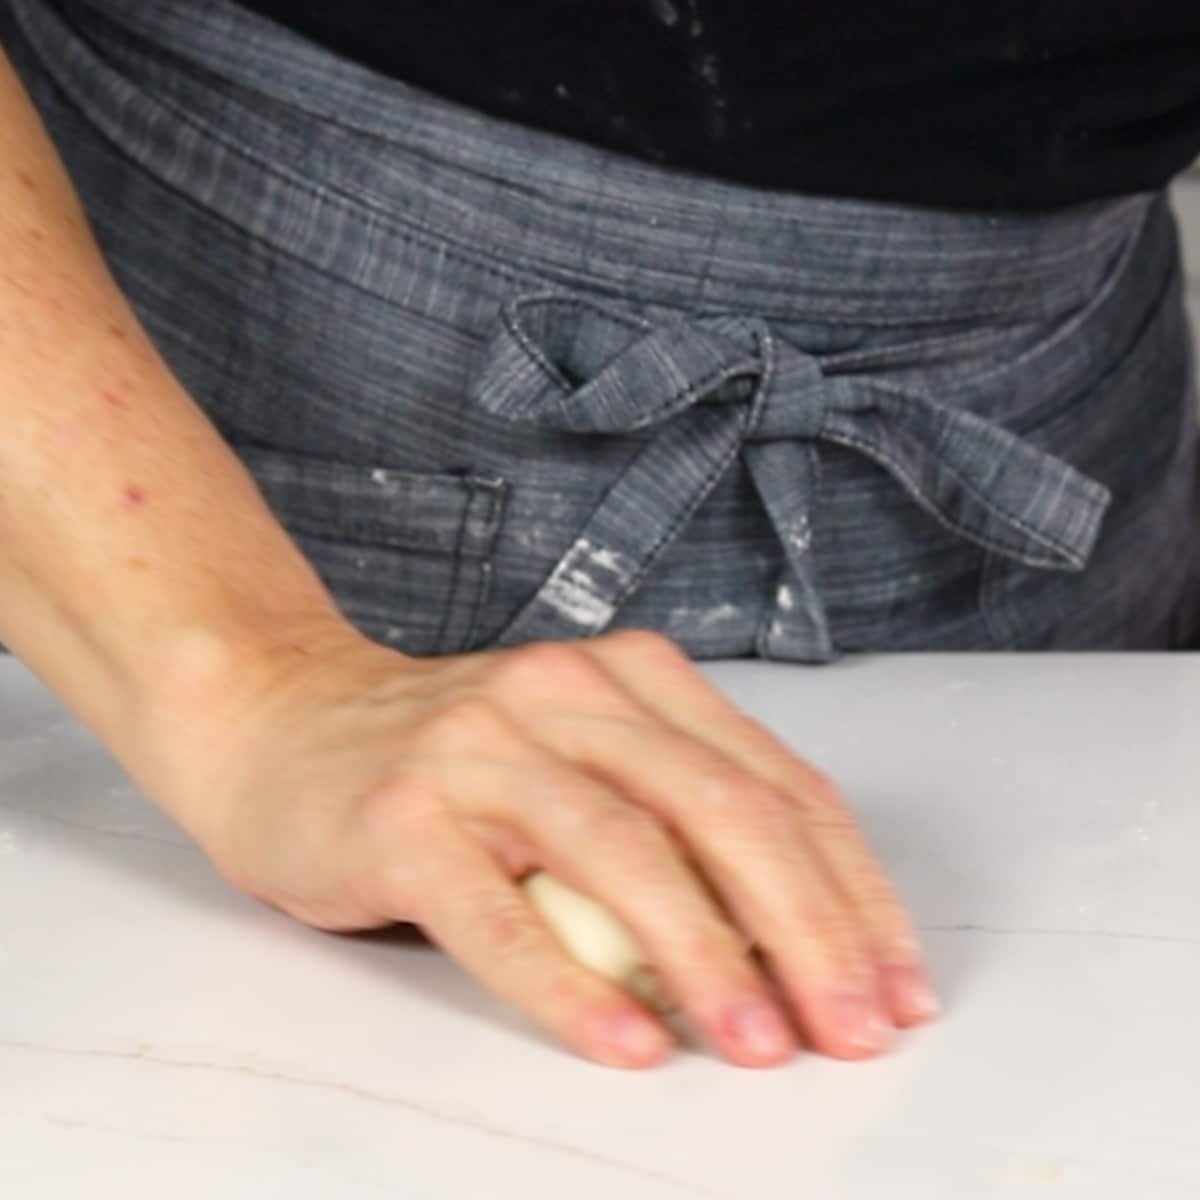
Then place the dough (seam side down) on the clean counter, place your hand over top in a loose claw shape and move your hand in a circle, rolling the dough around under your hand. It should be a little tacky on the counter
Once you feel the dough form into a really smooth and even ball, it is ready. Place it in the prepared pan, seam side down, and then quickly move through all the other dough portions.
Make Ahead Dinner Roll Dough
- You can absolutely make the Dinner Roll dough a day ahead, which is a great way to make your Dinner Rolls for Holidays or special dinners when you will already be VERY busy in the kitchen!
- Make the dough through the first rise. Then quickly form the rolls and place in a greased pan about 1 inch apart. Cover tightly and pop in the fridge. (I highlight quickly because you don’t want additional yeast to develop before you get them in the fridge to arrest the yeast development)
- On day 2 you will remove the rolls from the fridge, keeping them covered for about 1.5 hours at room temperature, this is the second rise. Then bake as directed below in the recipe card.
Storing
Freezing & Baking Dinner Roll Dough
Another option to make your rolls ahead is to prep the dough through the first rise, quickly shape the dinner rolls, then get them RIGHT into the freezer! It should be good in the freezer for up to 3 months.
- To Freeze: Make the dough through the first rise. Then quickly form the rolls and place in a greased pan or pan lined with wax or parchment paper. Cover tightly and pop in the freezer. (I highlight quickly because you don’t want additional yeast to develop before you get them in the freezer to arrest the yeast development)
- Once the rolls are frozen completely they won’t stick together so you can place them in a freezer safe baggie. They will be good for about 3 months. After that the quality of the yeast in the rolls will decline and you may struggle to get fluffy rolls with the second rise and the baking.
- To Bake: remove the frozen dinner roll dough and place in a greased pan about ½-1 inch apart, cover them tightly and thaw/rise at room temp for 4-5 hours, then bake as directed.
Another option is to remove the frozen dinner roll dough from the freezer the night before. Place in a greased pan about ½-1 inch apart, cover and pop in the fridge to thaw overnight. The next day remove them from the fridge and let rise at room temp for about 1.5 hours. Then bake as directed.
Freezing Baked Dinner Rolls
- Freezing: Once you have baked and cooled the dinner rolls you can freeze them for a later date! Place them in a freezer safe container and pop them in the freezer for up to 3 months.
- To use from frozen: remove them from the freezer and let them thaw at room temp for a couple hours before you need them.
Once they are thawed, pop them in a 250°F oven for 5 minutes to warm through! Then brush them with a little butter and serve.
Easy Dinner Rolls Recipe Tips to Remember
- Measure the flour correctly by aerating it first then spooning.
- Make sure your yeast is not expired!!
- Warm the water and the milk to 100°F – 110°F.
- Let the dough rise somewhere warm until doubled in size.
- Allow time for the dough and rolls to rise (twice).
- Follow the tips above to form and shape smooth round dinner rolls.
Storing Baked Rolls
To store baked dinner rolls, let them cool completely, then pop them into an airtight container or a zip-top bag, squeezing out as much air as you can. Keep them at room temperature for 2-3 days, and they'll stay soft and fluffy. If you need longer storage, freeze them tightly wrapped for up to 3 months.
FAQs about this Homemade Dinner Rolls Recipe
It's called a "dinner roll" because, back in the day, these little buns were traditionally served as part of the main meal, dinner, rather than breakfast or lunch. Over time, the name just stuck.
A bun and a dinner roll definitely work at the same company, but they've got different jobs.
A bun is usually larger, sturdier, think hamburger buns or sandwich buns. They're meant to hold fillings, toppings, sauces… they’re a full time employee of the company.
A dinner roll is smaller, softer, and all about melt-in-your-mouth goodness. It isn't designed to hold anything except maybe butter and the sauce from your plate. They work part-time at the company but do a really important job.
Ummmm Hello!? It's bread, and not just any bread. It is the king of carbs, the queen of calories, the soft, warm pillow your soul wants to take a nap on. Dinner rolls are the pure definition of comfort food… fluffy little clouds of joy sent to remind us that life is still good.
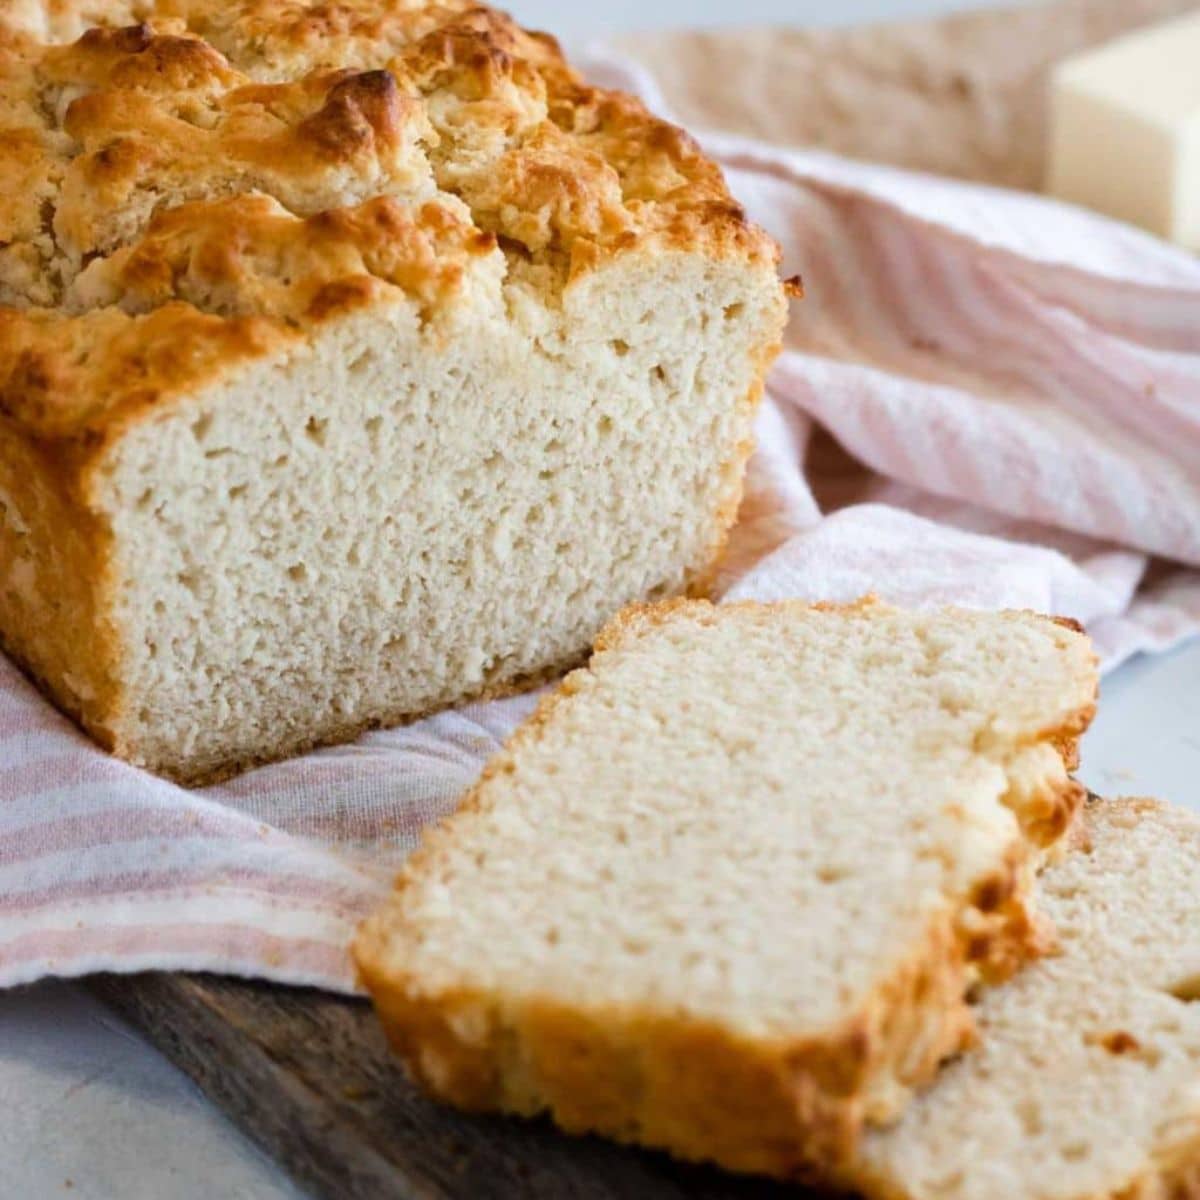
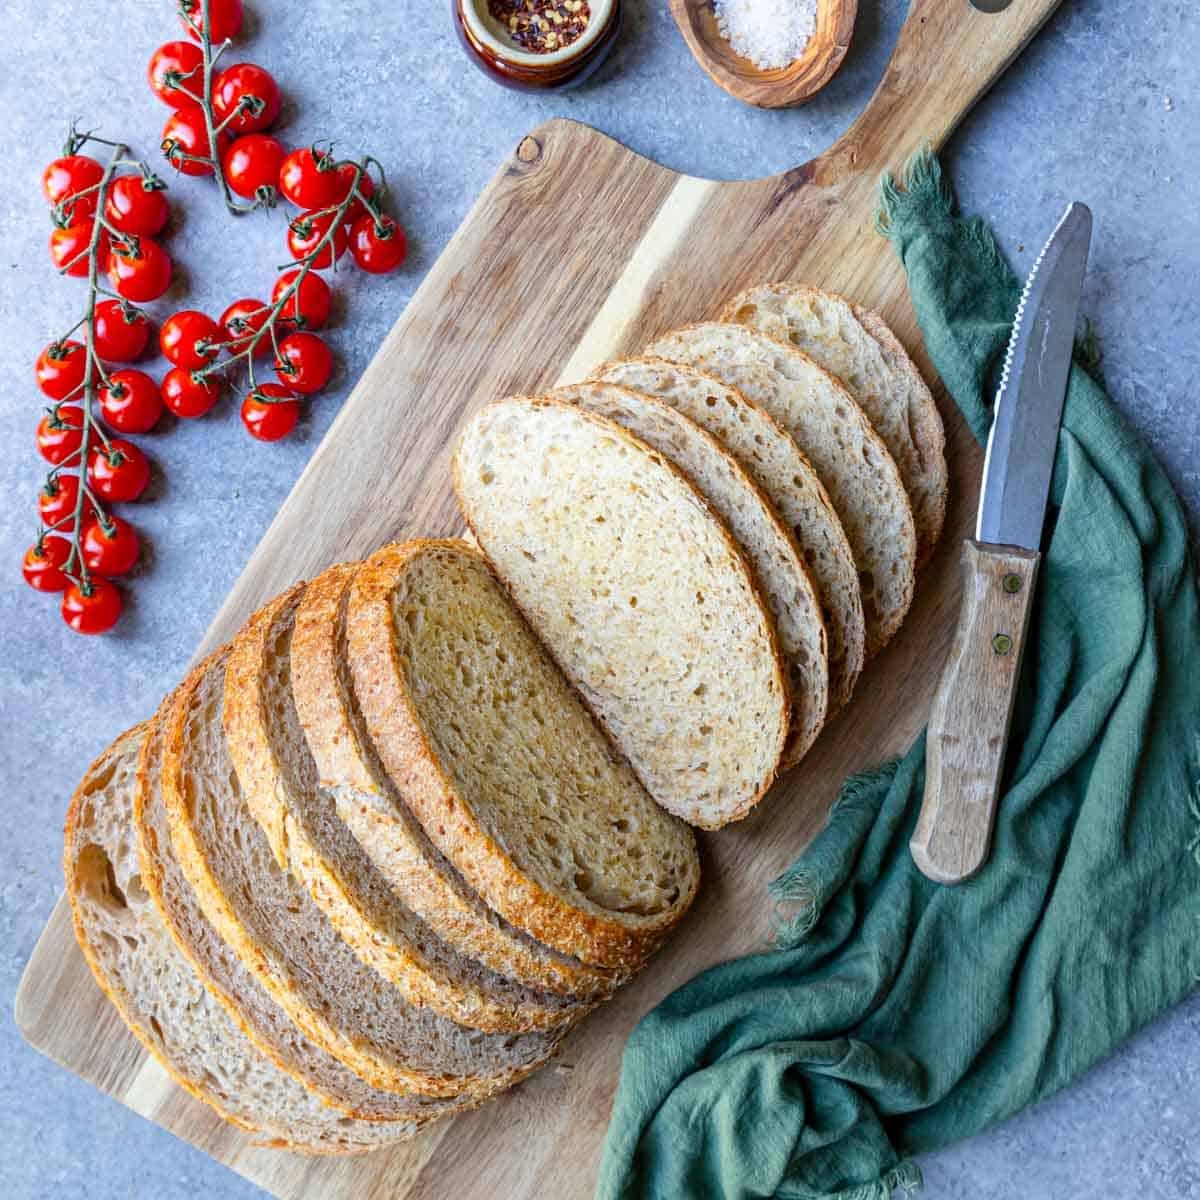
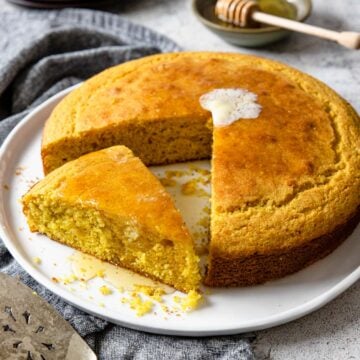
More Bread Recipes

Did you make this recipe?
⭐⭐⭐⭐⭐
I would love to hear your review, especially if you have tips and tricks to add! Pop down to the comment section and connect with me

Dinner Rolls from Scratch
Equipment
- Stand Mixer with paddle and dough hook
Ingredients
YEAST
- 2 - ¼oz pkgs active dry yeast - NOT Rapid Rise
- 1 tablespoon sugar
- ½ cup warm water - 100℉-110℉
DOUGH
- 5 cups all-purpose flour - aerated with a whisk and spooned to measure.
- ¼ cup sugar
- ½ Tbsp. kosher salt
- 1 ½ cups warmed milk - 100℉-110℉
- ¼ cup canola oil
- 2 tablespoon Salted Butter - melted
- 2 tablespoon Salted Butter - softened, to grease the pan
TOPPING
- 3 tablespoon Salted Butter - melted
- ½ teaspoon kosher salt
- ½ teaspoon sugar
- ¼ tsp. dried dill
Instructions
- This recipe will yield between 24-30 dinner sized rolls.
YEAST
- In a 1 cup glass measuring cup - fill with ½ cup of warm water 100℉-110℉ add the 1 tablespoon sugar and give a quick stir to combine.1 tablespoon sugar, ½ cup warm water

- Immediately add the 2 pkts of yeast and gently stir to just barely incorporate the yeast into the water. Set aside for about 8-10 minutes- you want the mixture to bloom/bubble to the top of the measuring cup.2 - ¼oz pkgs active dry yeast

DINNER ROLL DOUGH
- While the yeast is blooming start the dough. Combine the 5 cups flour, sugar and kosher salt together in a stand mixer mixing bowl with a paddle attachment. Run for 30 second to mix the dry ingredients. Pro Tip: whisk your flour before you measure it to aerate it. Then spoon or scoop it into the measuring cup above the rim, then level with a knife or side of the scoop.5 cups all-purpose flour, ¼ cup sugar, ½ Tbsp. kosher salt
- In a 2-cup glass measuring cup add the milk and warm in the microwave 30 second increments until the mixture registers 100℉ – 110℉. Immediately add the ¼ cup oil to the milk and give it a quick stir.1 ½ cups warmed milk, ¼ cup canola oil
- Gradually add the milk/oil mixture to the flour mixture while the stand mixer is running, just until the ingredients combine.
- Once the yeast is ready add it into the dough and mix together (it will look very sticky).
- Change out the paddle attachment to the dough hook. "Knead" with the dough hook for a total of about 6-7 minutes, until the dough is tacky but has started to pull away from the sides of the bowl and has a bit of an elastic appearance.. If after 3-4 minutes the dough is still very wet and sticky add 1-2 tablespoon more flour (you may need to add up to ¼ cup) and keep kneading.
FIRST RISE
- Turn the dough out onto a clean, lightly floured surface. Form the dough into a nice round ball.
- Grease a very large bowl and place the dough ball into the bowl. Turn the dough over a few times to get oil on all sides. Cover the bowl with a tea towel, light cotton towel, or loose fitting plastic wrap. Let the dough rise in a warm place for 1 ½ hours. It will double or triple in size.
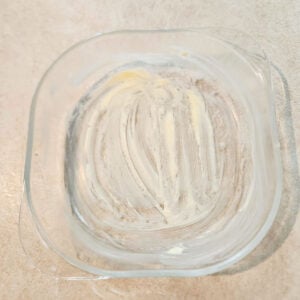
- With softened butter grease a 9×13 glass baking dish. Set aside.2 tablespoon Salted Butter
- Punch the dough down and turn it out onto a floured surface. Using a knife, bench scraper or pizza wheel, cut/divide the dough into 24-30 equal pieces.
- Form the dough into equal sized smooth balls:Take one piece of the dough into your hands. Pull the edges of the dough to the bottom, working all the way around the edges, making a smooth ball.
- Then place the dough ball (seam side down) on a clean, NON-floured part of the counter, place your hand over top and move your hand in a circle, rolling the dough around under your hand. It should be a little tacky on the counter.
- You will feel when it has reached a nice round ball.
- Place the dough balls, seam side down, in the 9×13 greased glass pan. Place them in 6 rows of 3 each which is 18 rolls. You will have some extra rolls that can be frozen or you can make all the rolls in (2) 8×8 or 9×9 pans.


SECOND RISE
- Once the rolls are in the pan, cover and let rise again until they double in size (about 40 minutes).
- Preheat your oven to 350℉ during this time.
BAKING
- Once the rolls have risen, lightly brush the tops of the dough with melted salted butter.2 tablespoon Salted Butter
- Bake at 350℉ for around 25 minutes, until golden brown on top and the middle is cooked through.
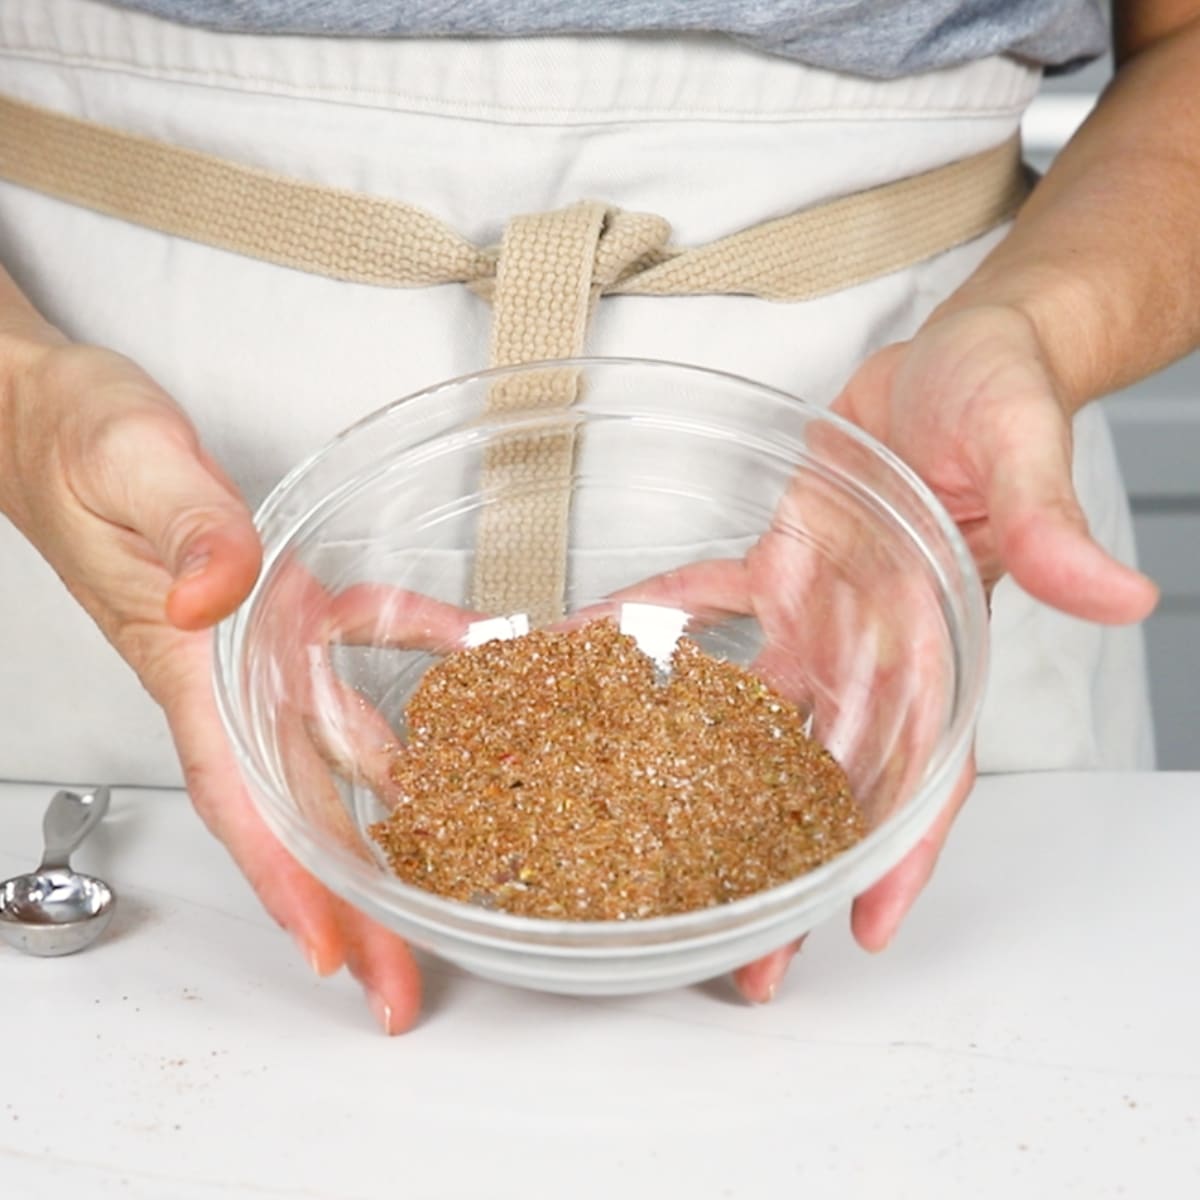
TOPPING
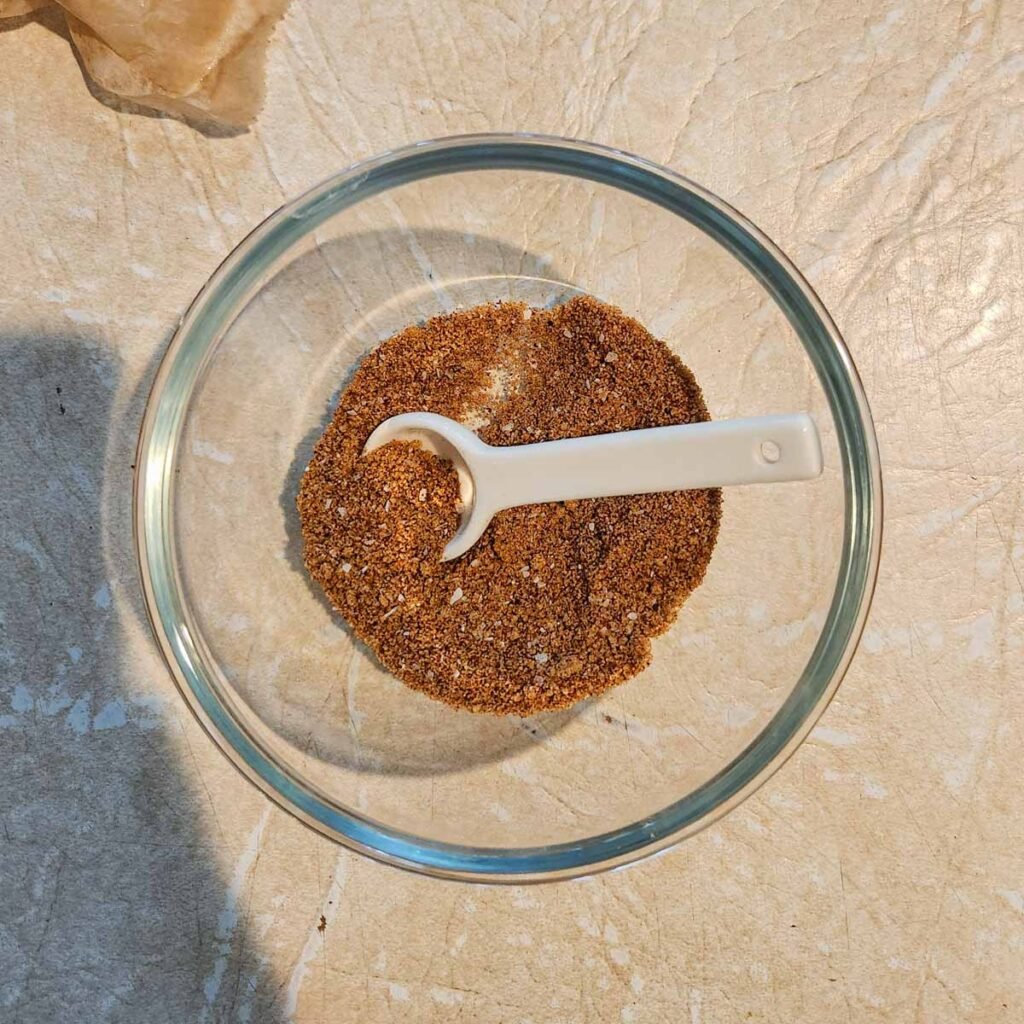
- Make the topping while the rolls are baking by combining the salt, sugar and dill together in a small ramekin.½ teaspoon sugar, ¼ tsp. dried dill, ½ teaspoon kosher salt
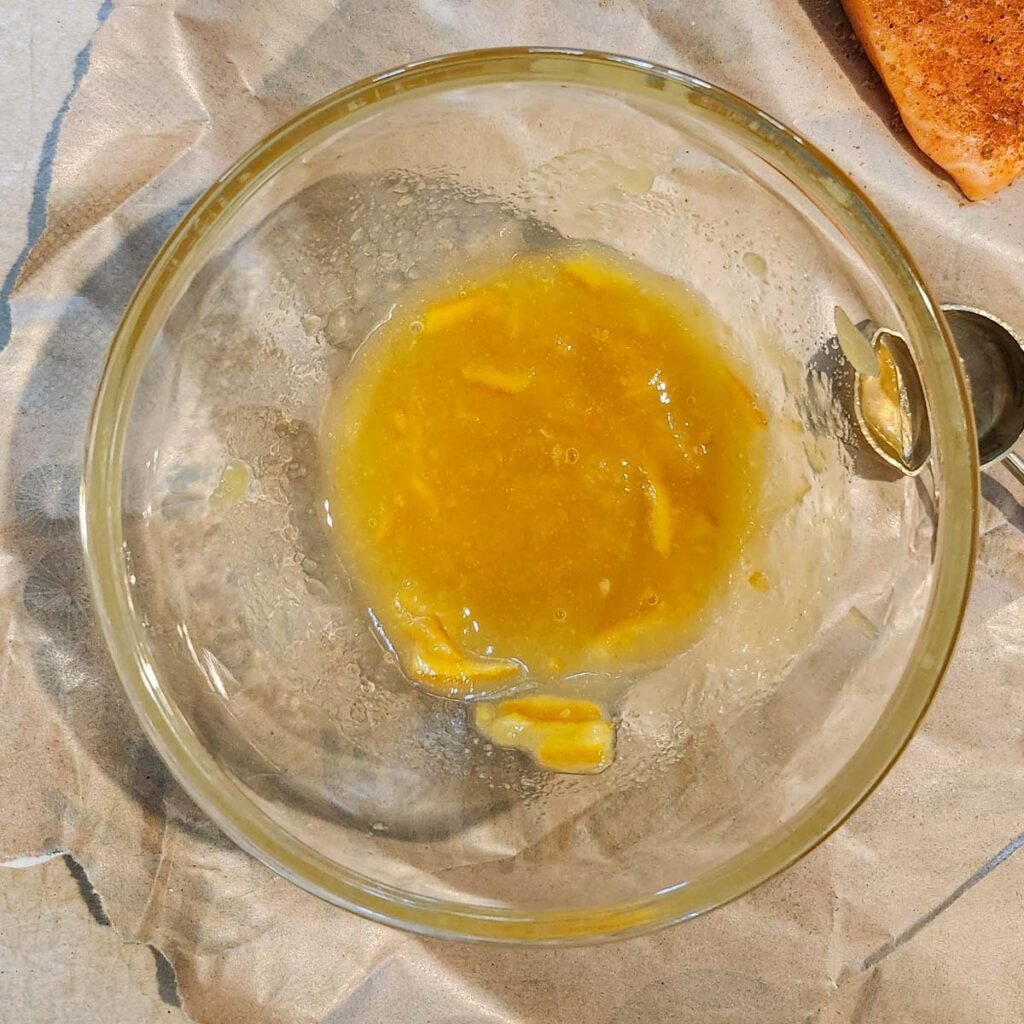
- Remove the rolls from the oven and immediately brush with a generous amount of melted butter and sprinkle with some of the salt/dill mixture. You may not need to use all the salt/dill mixture on one pan of rolls.3 tablespoon Salted Butter
MAKE AHEAD DINNER ROLL DOUGH
- Make the dough through the first rise. Then quickly form the rolls and place in a greased pan about 1 inch apart. Cover tightly and pop in the fridge. (I highlight quickly because you don't want additional yeast to develop before you get them in the fridge to arrest the yeast development)On day 2 you will remove the rolls from the fridge, keeping them covered for about 1.5 hours at room temperature, this is the second rise. Then bake as directed above.
FREEZING DINNER ROLL DOUGH
- Make the dough through the first rise. Then quickly form the rolls and place in a greased pan or pan lined with wax or parchment paper. Cover tightly and pop in the freezer. (I highlight quickly because you don't want additional yeast to develop before you get them in the freezer to arrest the yeast development)Once the rolls are frozen completely they won't stick together so you can place them in a freezer safe baggie. They will be good for about 3 months.
- To Bake: remove the frozen dinner roll dough and place in a greased pan about ½-1 inch apart, cover them tightly and thaw/rise at room temp for 4-5 hours, then bake as directed above.