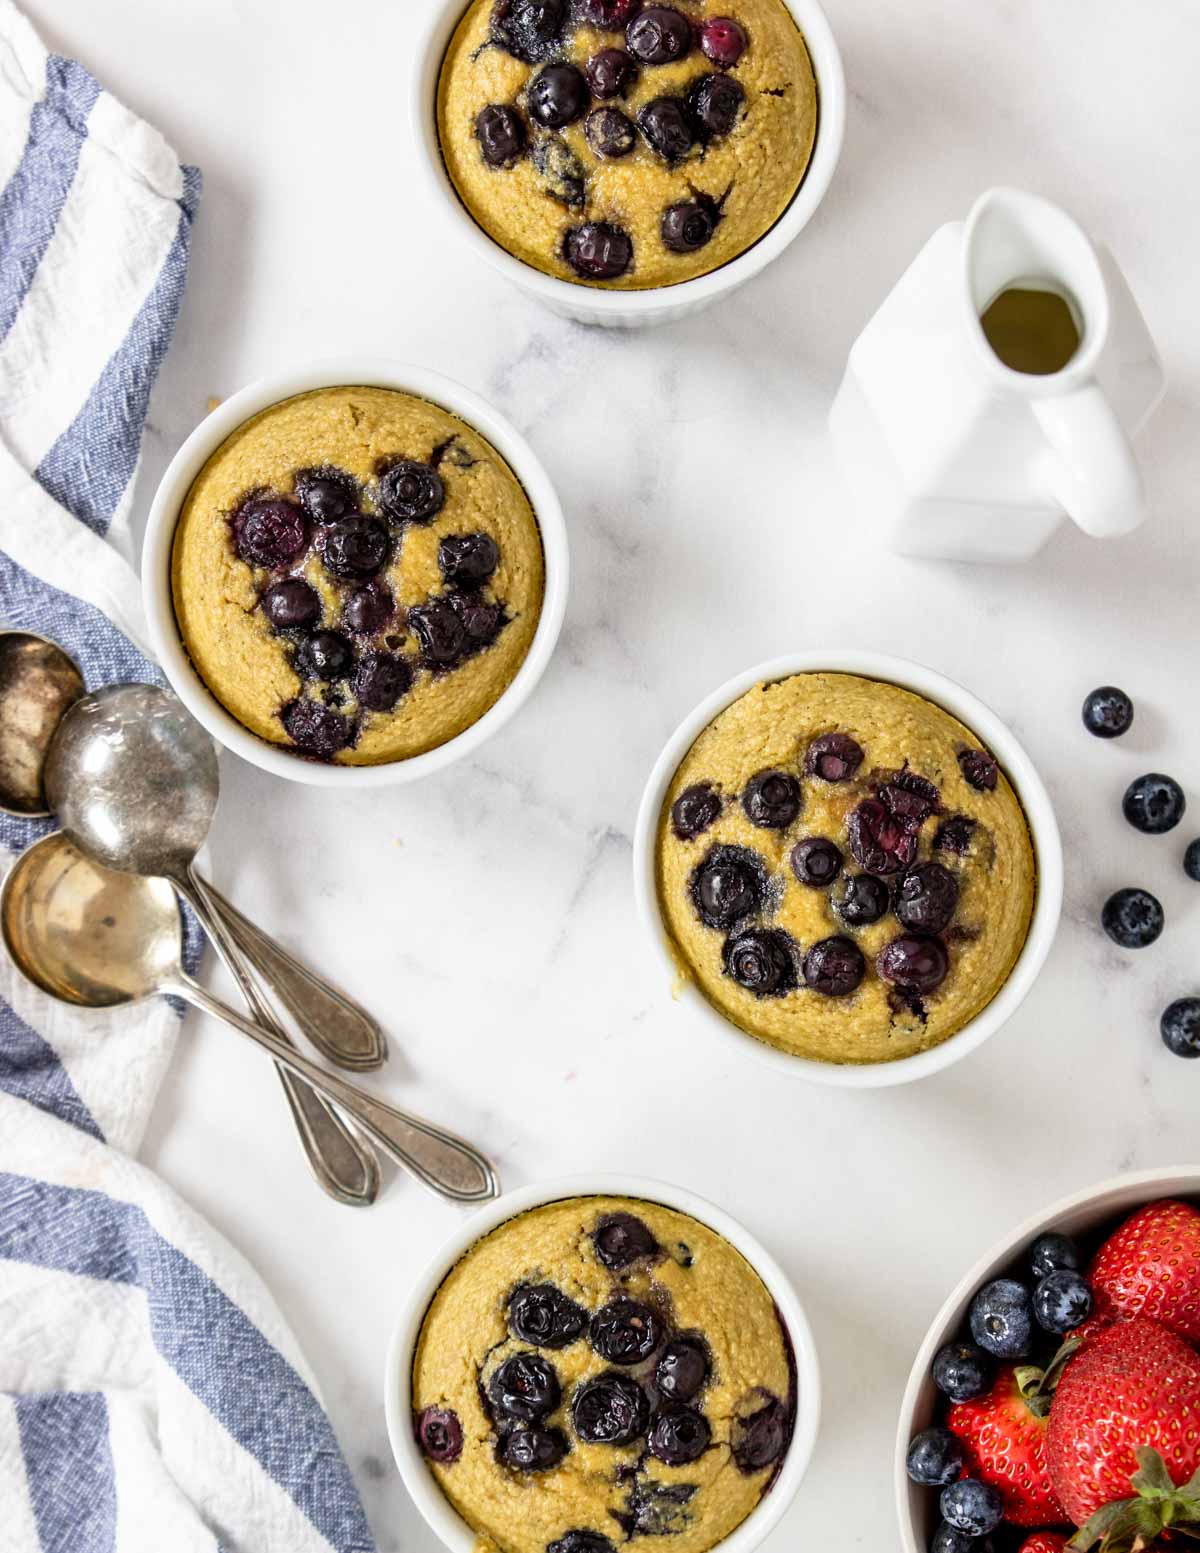
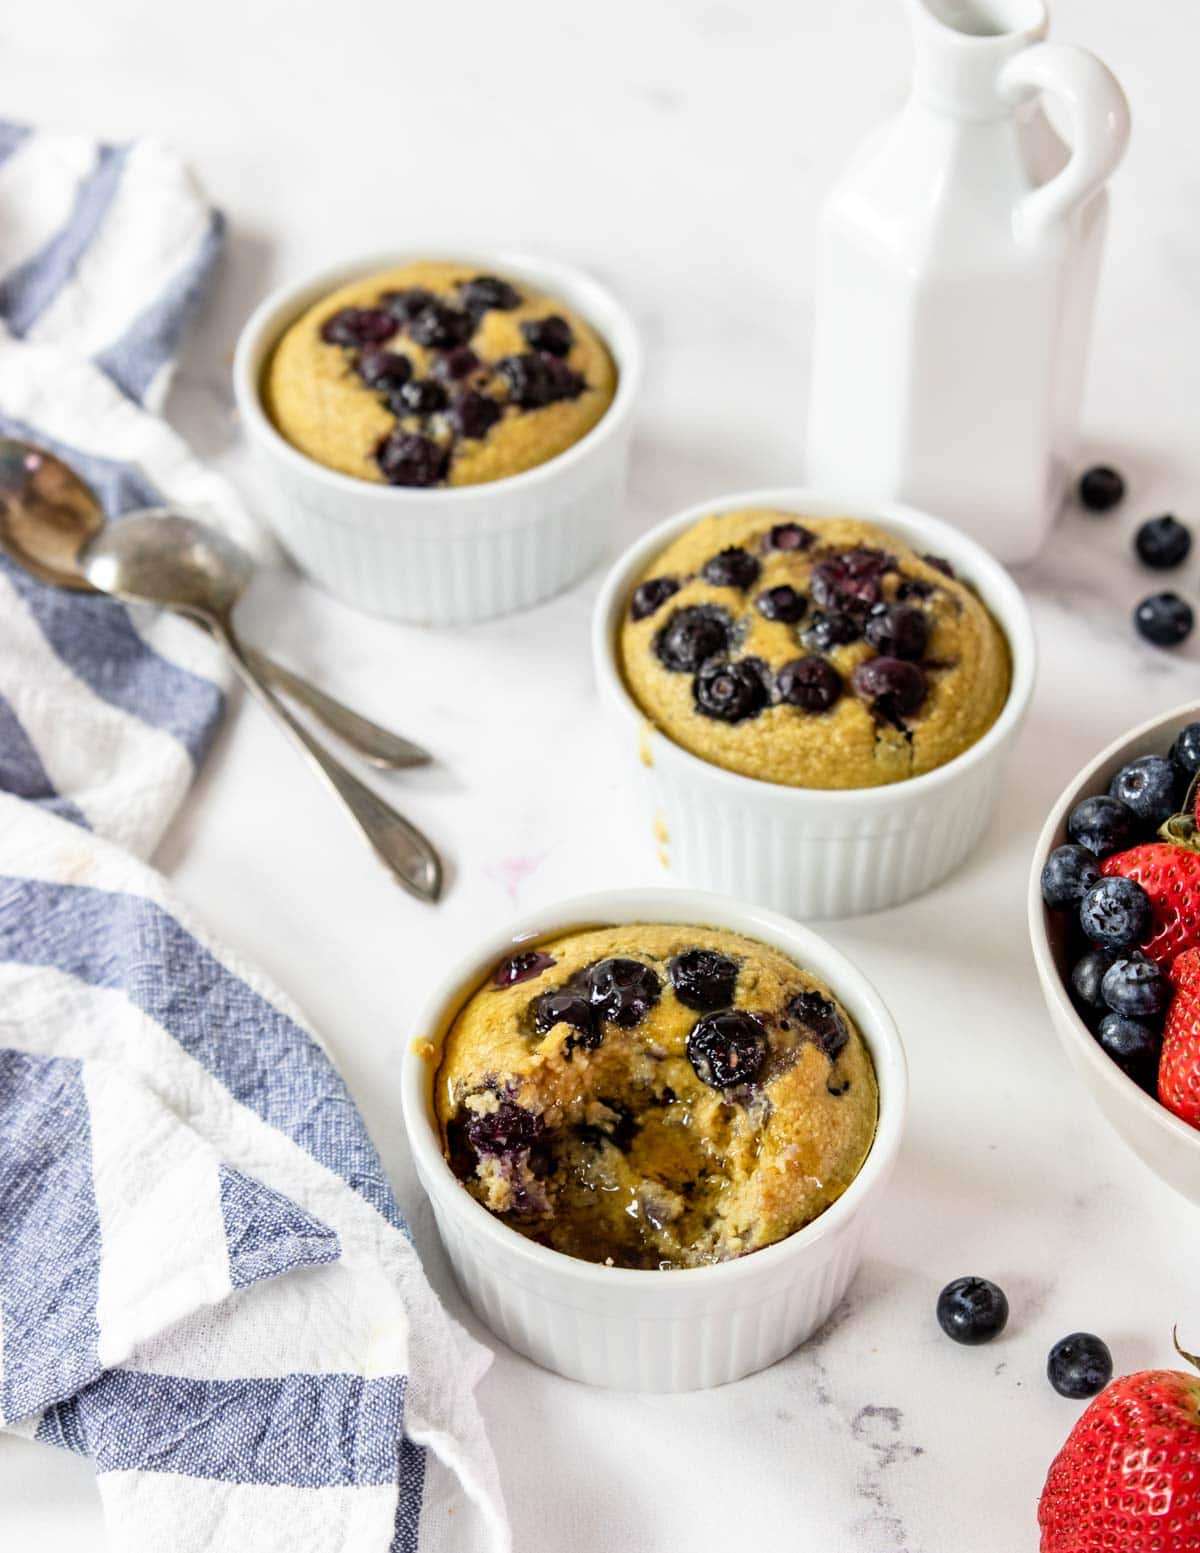
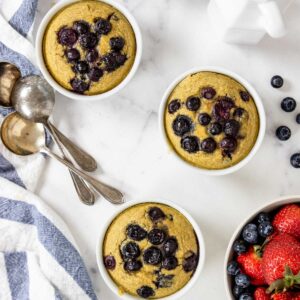
These delicious Steel Cut Baked Oats with Blueberries make an amazing breakfast for Oat lovers! Everything gets combined in a blender and then the blueberries are stirred in. Bake for 25 minutes. They can even be made ahead for a healthy quick breakfast!
These are similar to the ones everyone is making on Tik-Tok.
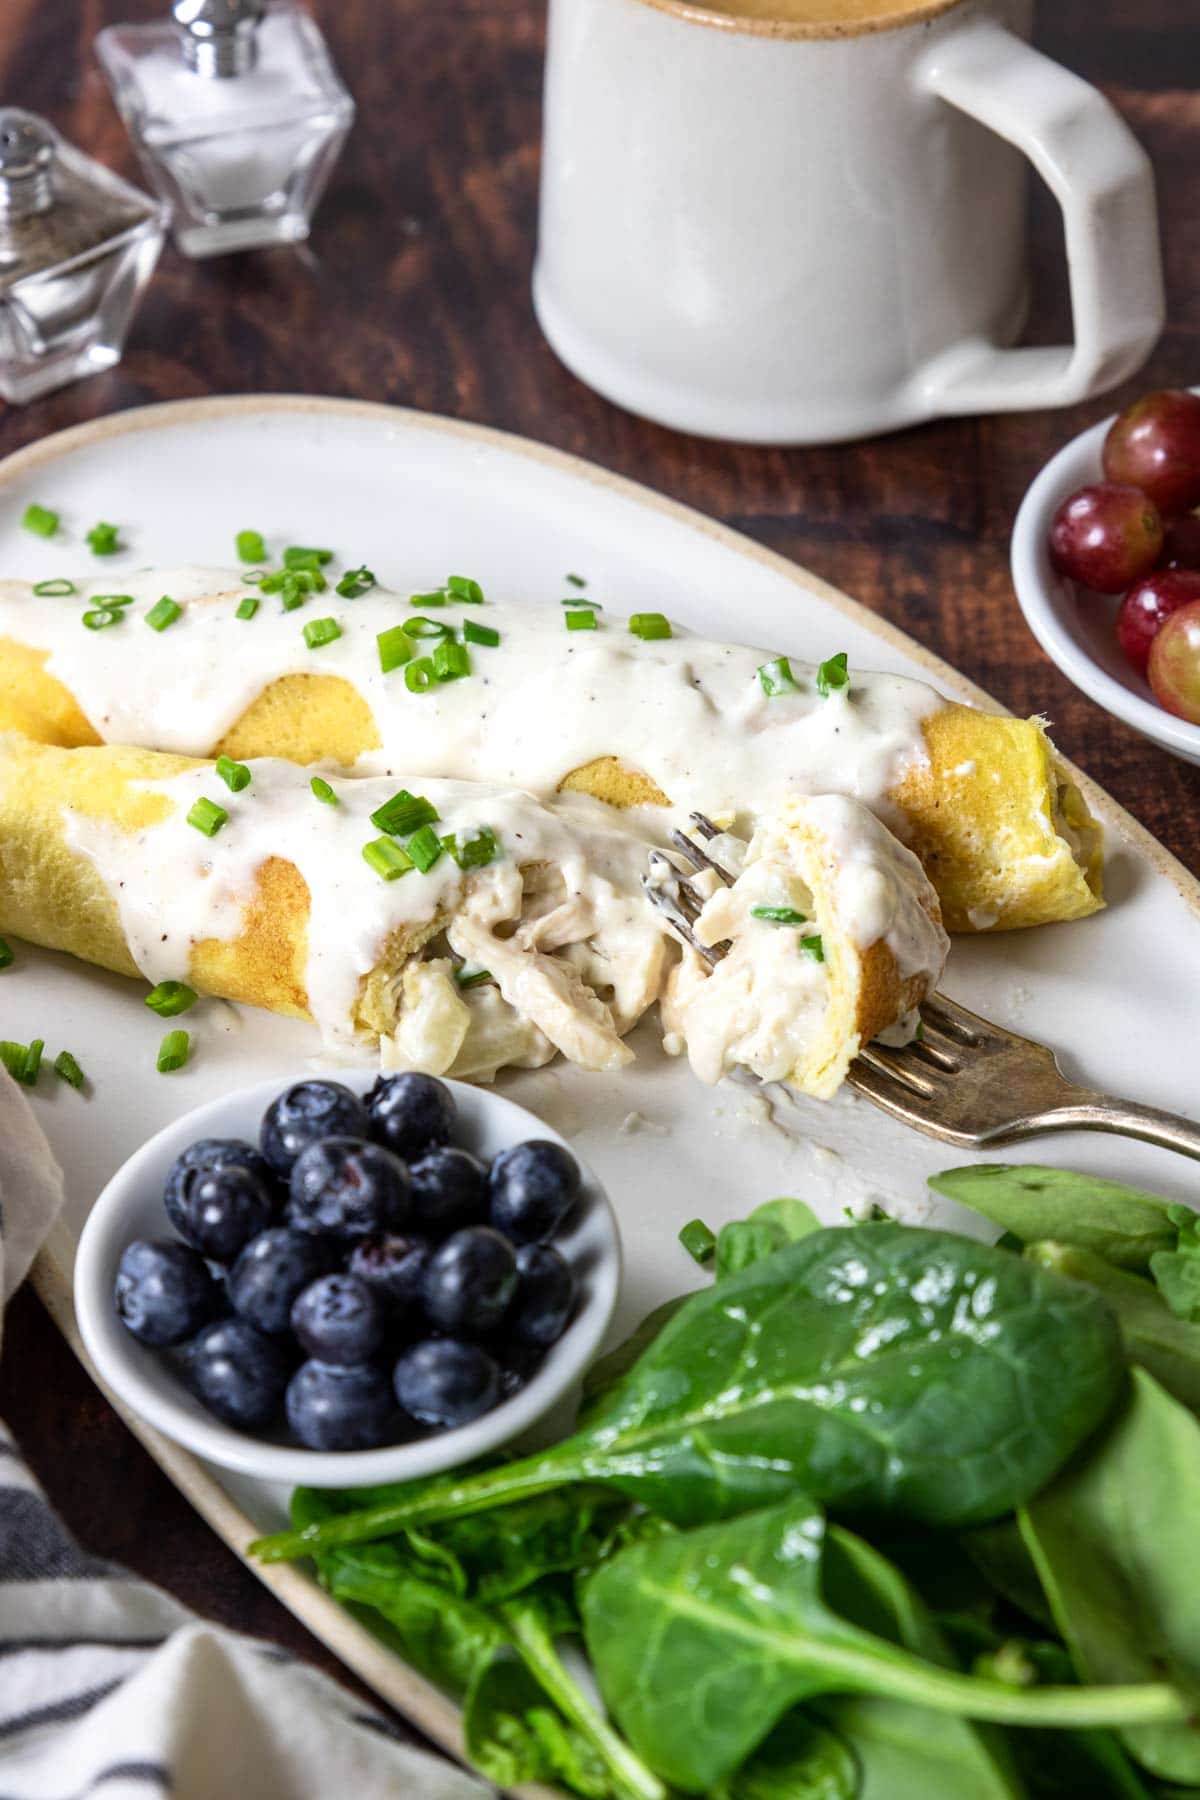
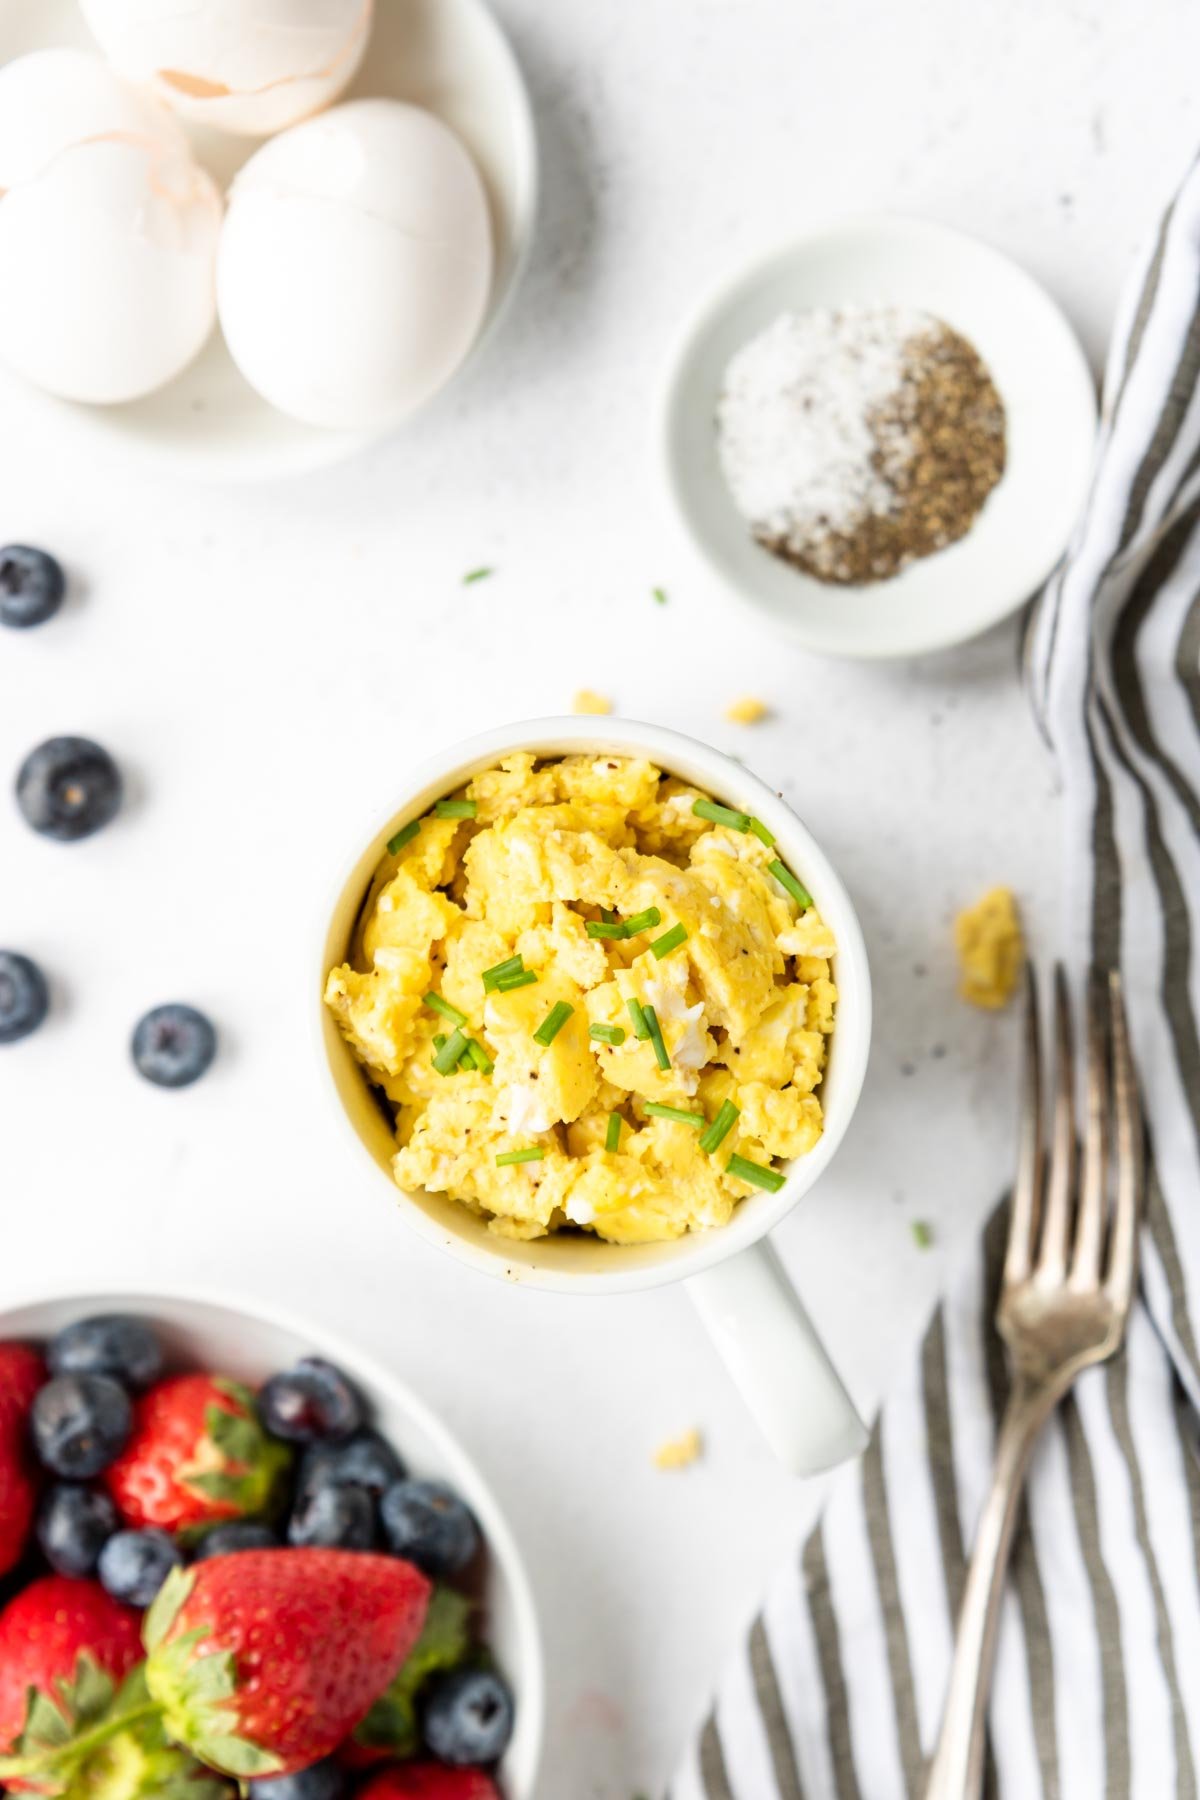
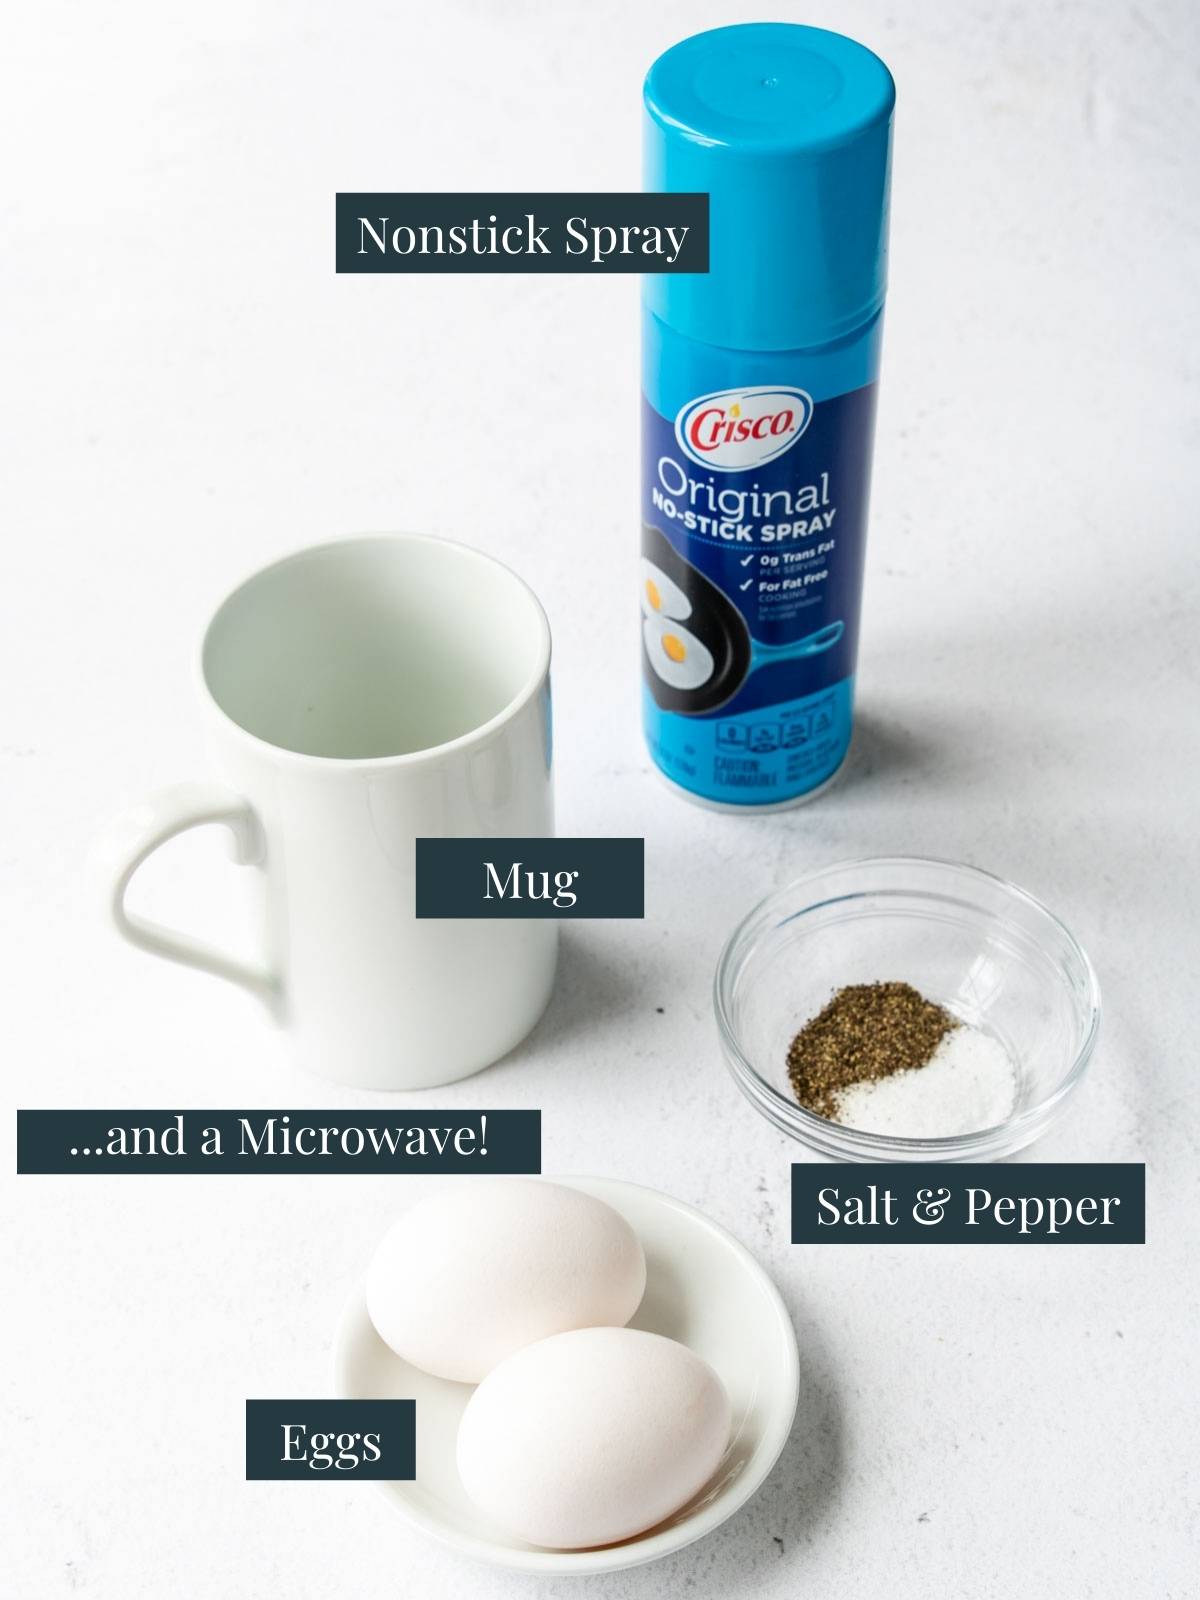
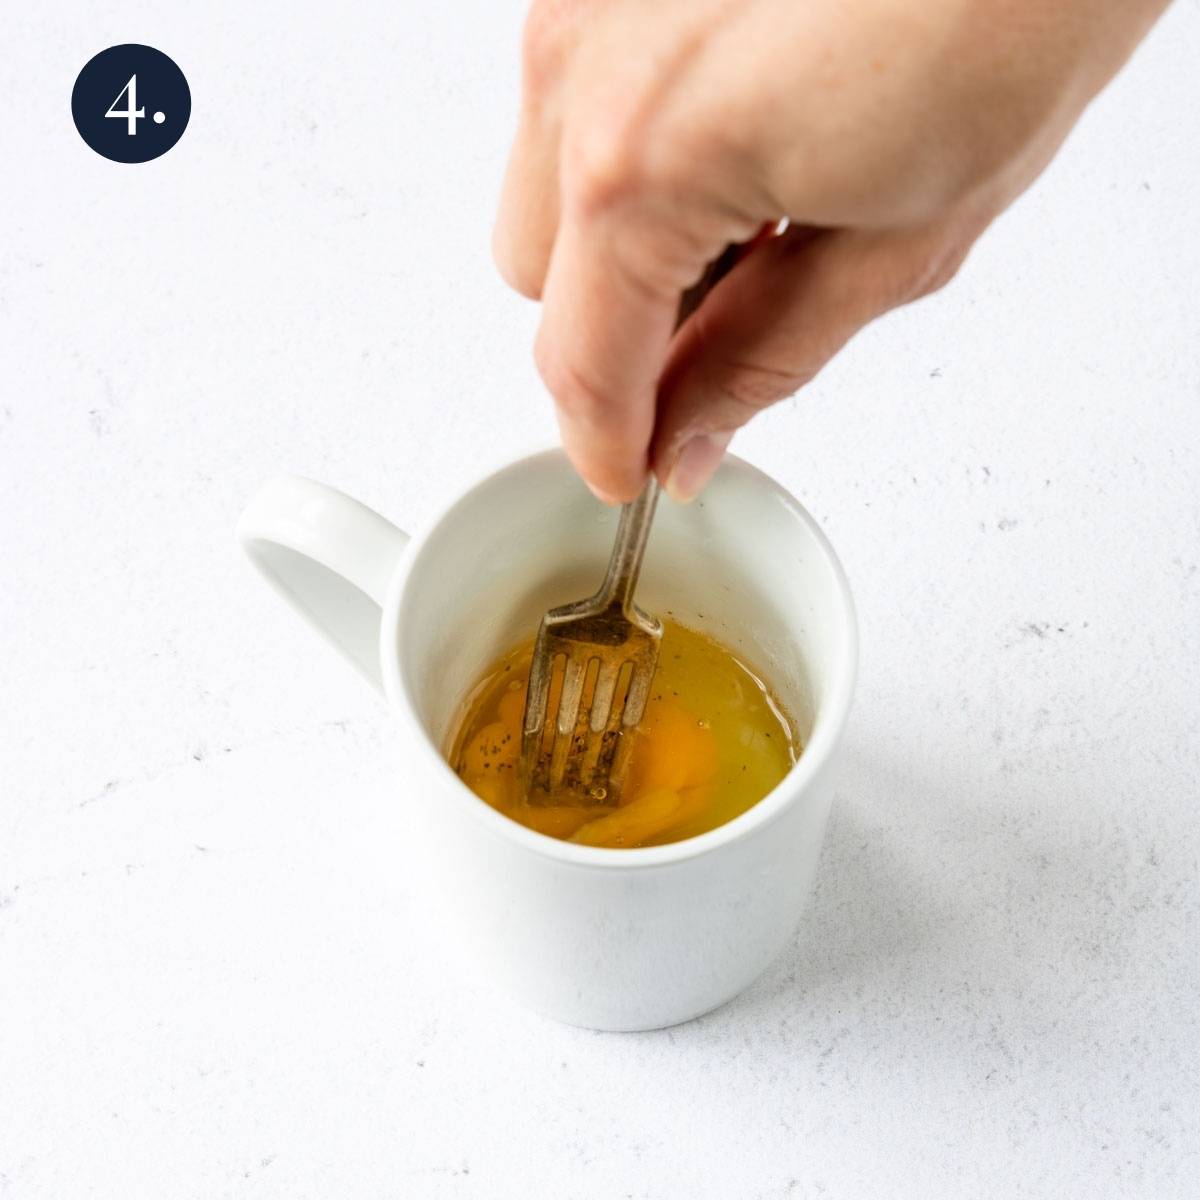
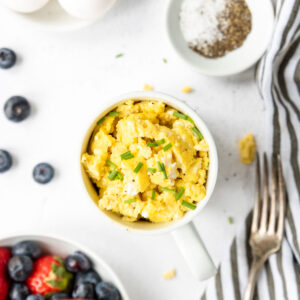
Eggs in a mug are another quick recipe for breakfast lovers on-the-go!
What are Baked Oats
Baked Oats have been around for a long time, but this quick version in a blender has recently become very popular due to the tik-tok videos going viral!
The oat mixture is baked in the oven, usually in individual ramekins and comes out with a texture somewhere between a pancake and a muffin!
Why Make This Recipe
- This recipe uses Steel Cut Oats which are a really healthy breakfast choice. They are minimally processed and contain more fiber than traditional rolled oats.
- Blueberries are a nice bright flavor added to the earthy oats and the sweet banana.
- These baked oats can be made ahead and reheated in the microwave for an easy breakfast.
Ingredients
Here are the things you need to make this Steel Cut Baked Oats recipe, plus some tips on a few ingredients.
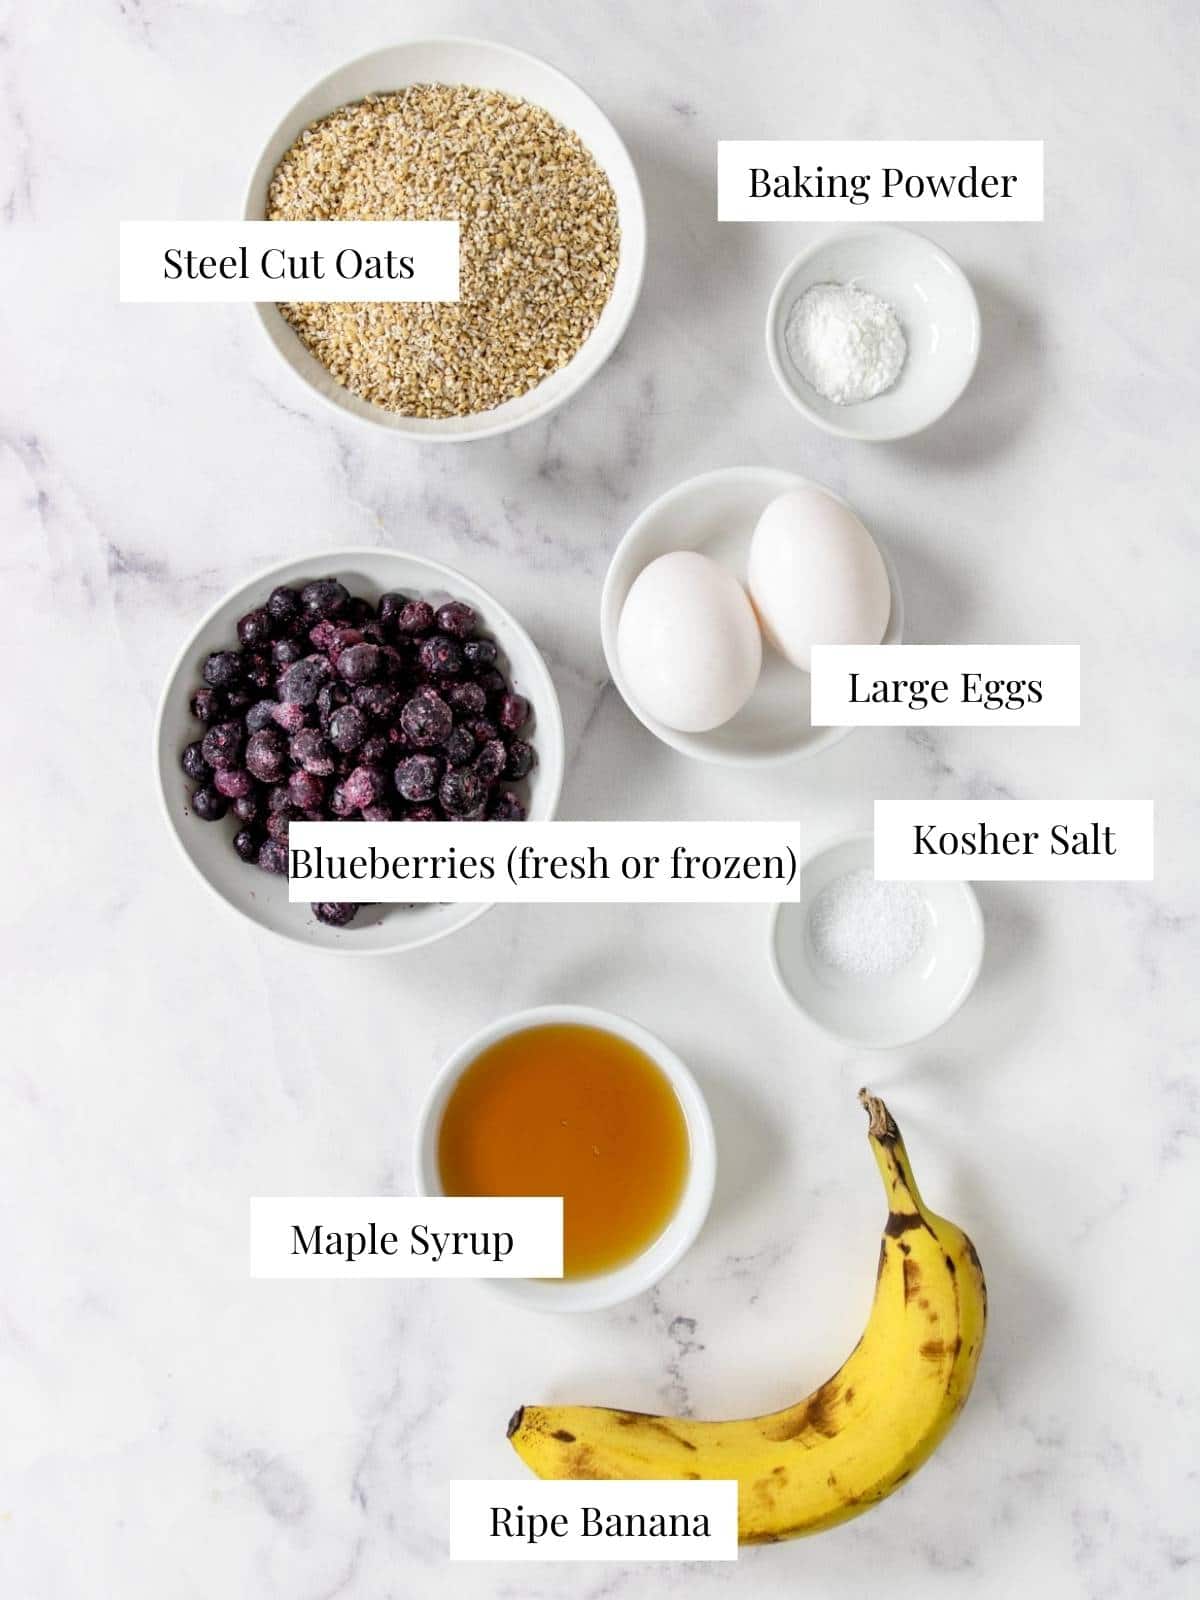
BLUEBERRIES– You can use fresh or frozen berries in this recipe.
If you don’t have blueberries, then you can absolutely use raspberries, blackberries or chopped strawberries!
RAMEKINS – For this recipe you need 8 oz. individual ramekins. Make sure you use oven safe ramekins.
BLENDER – You want to make sure you use a powerful blender that can blend the steel cut oats smooth. I use the Ninja Nutri and it works perfectly!
Step by Step Picture Instructions
This recipe is pretty easy. The majority of the “work” is done in the oven.
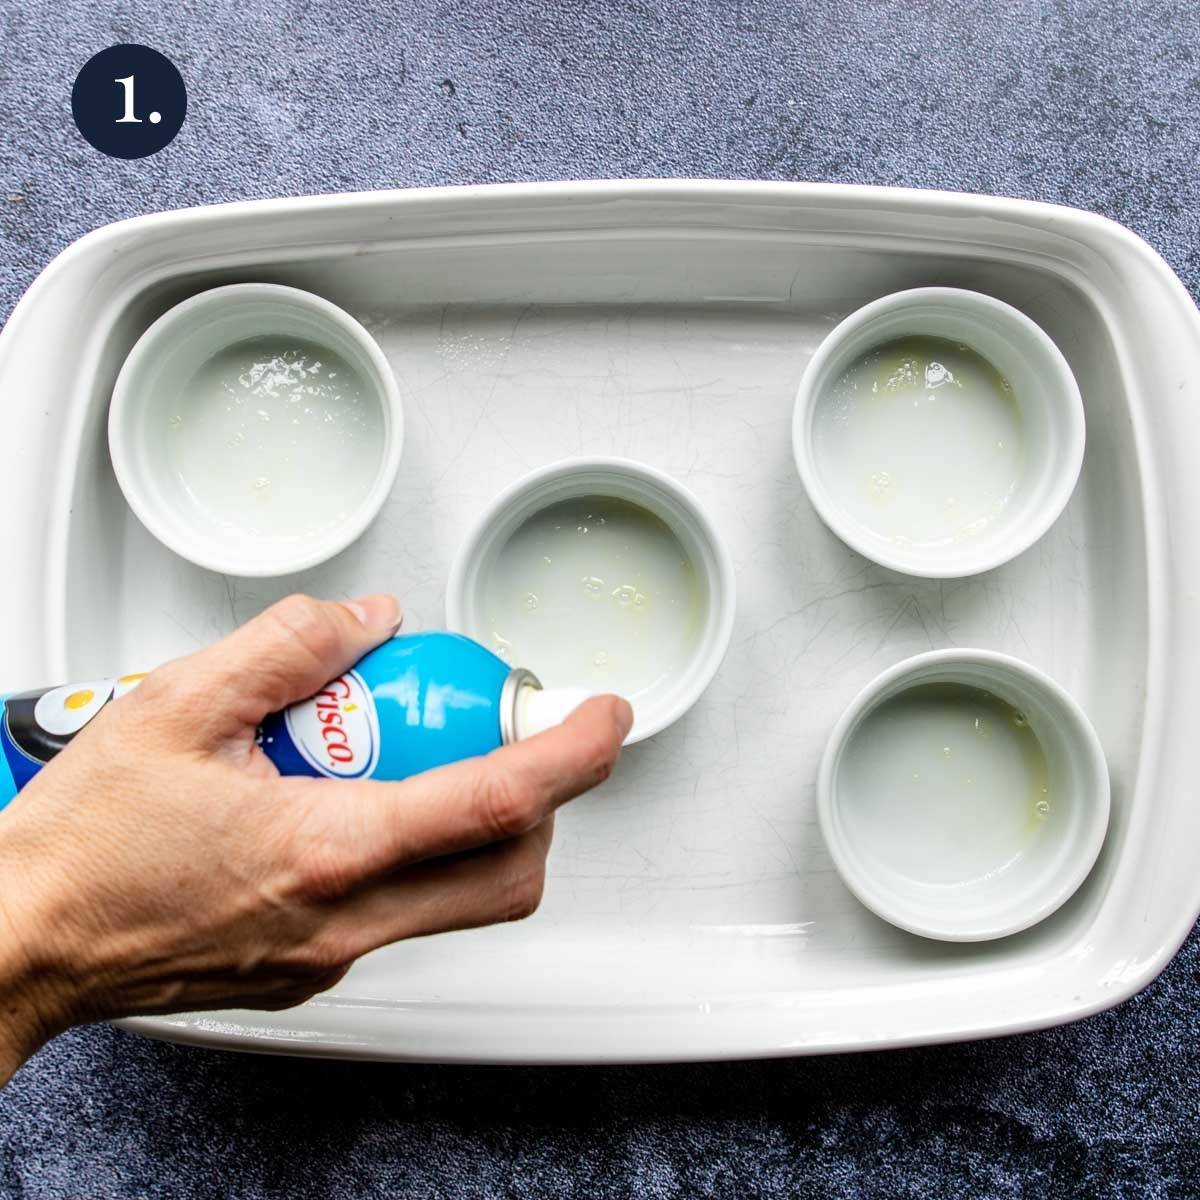
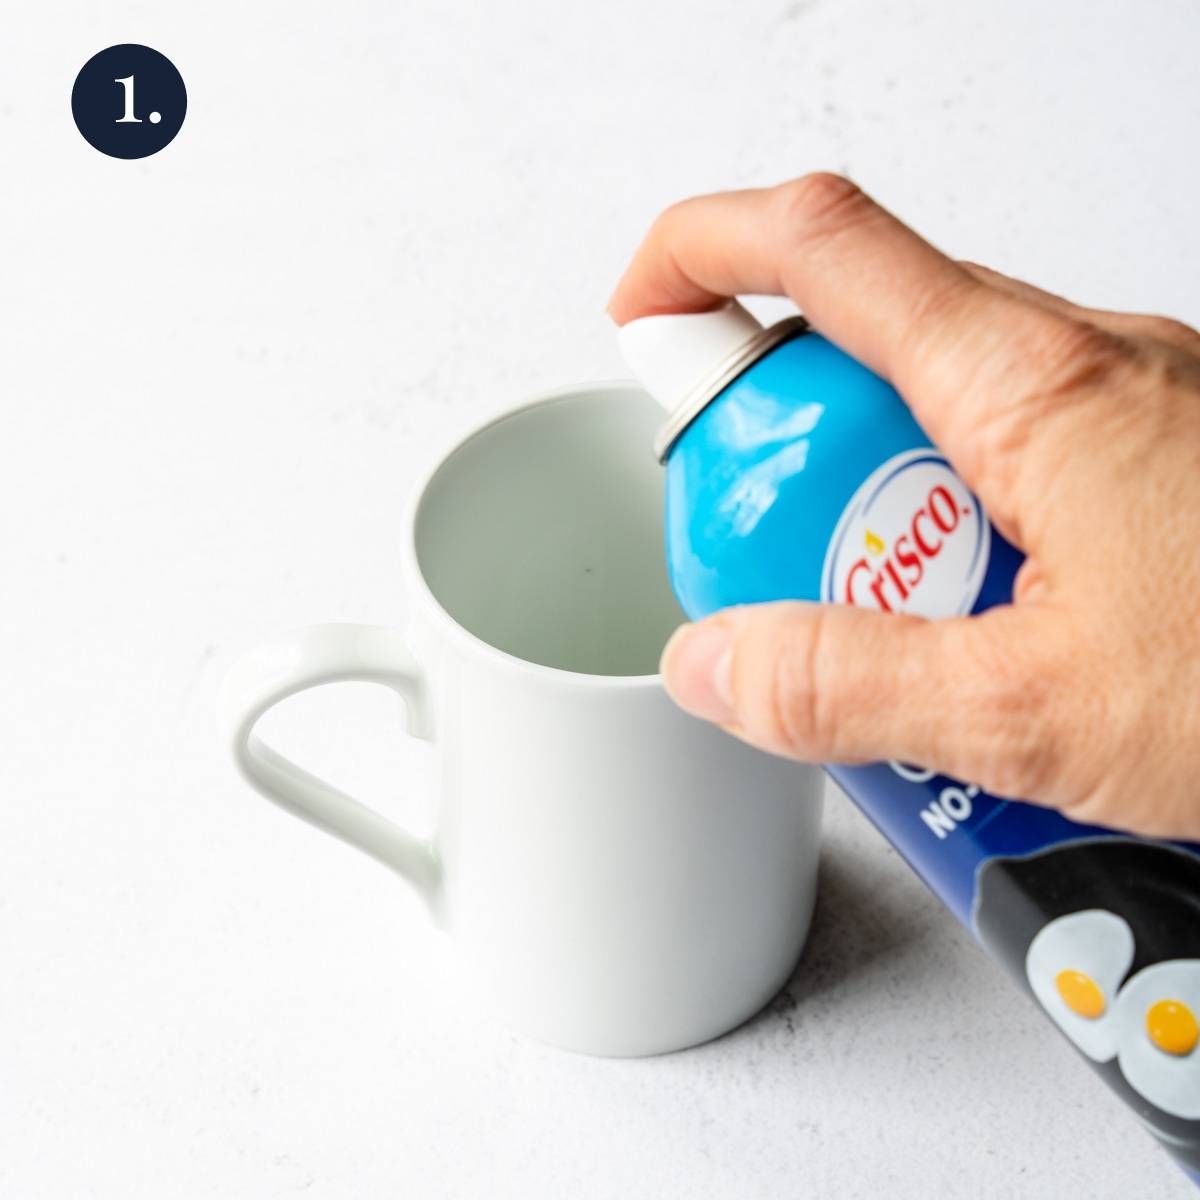
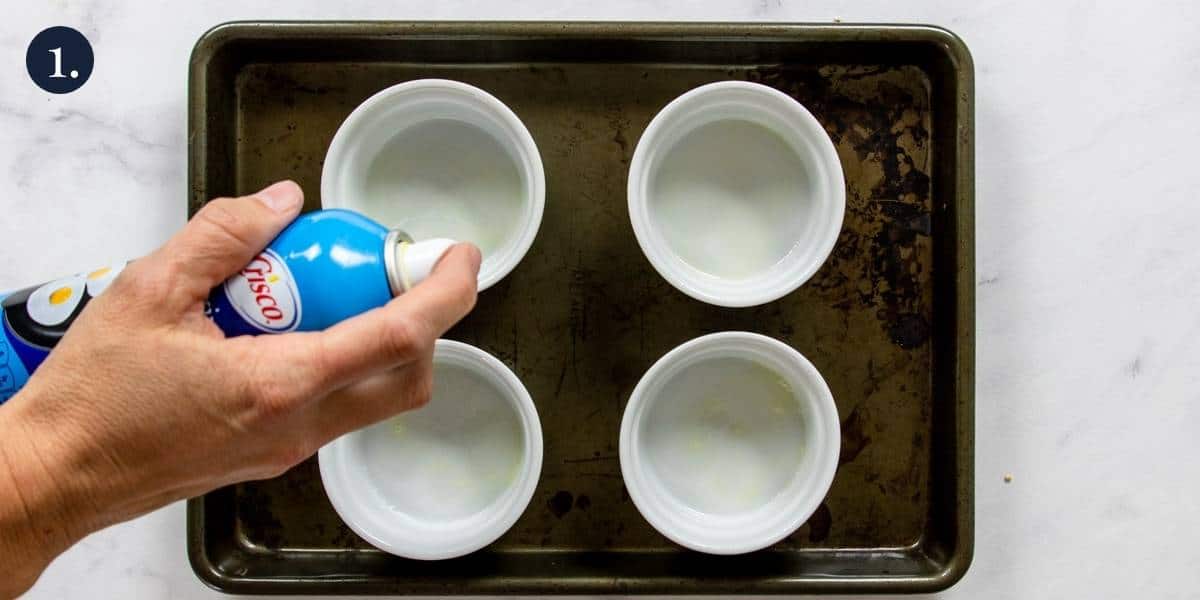
Start by preheating your oven to 350 degrees. Prep the ramekins by spraying them with non stick spray and placing on a rimmed baking sheet.
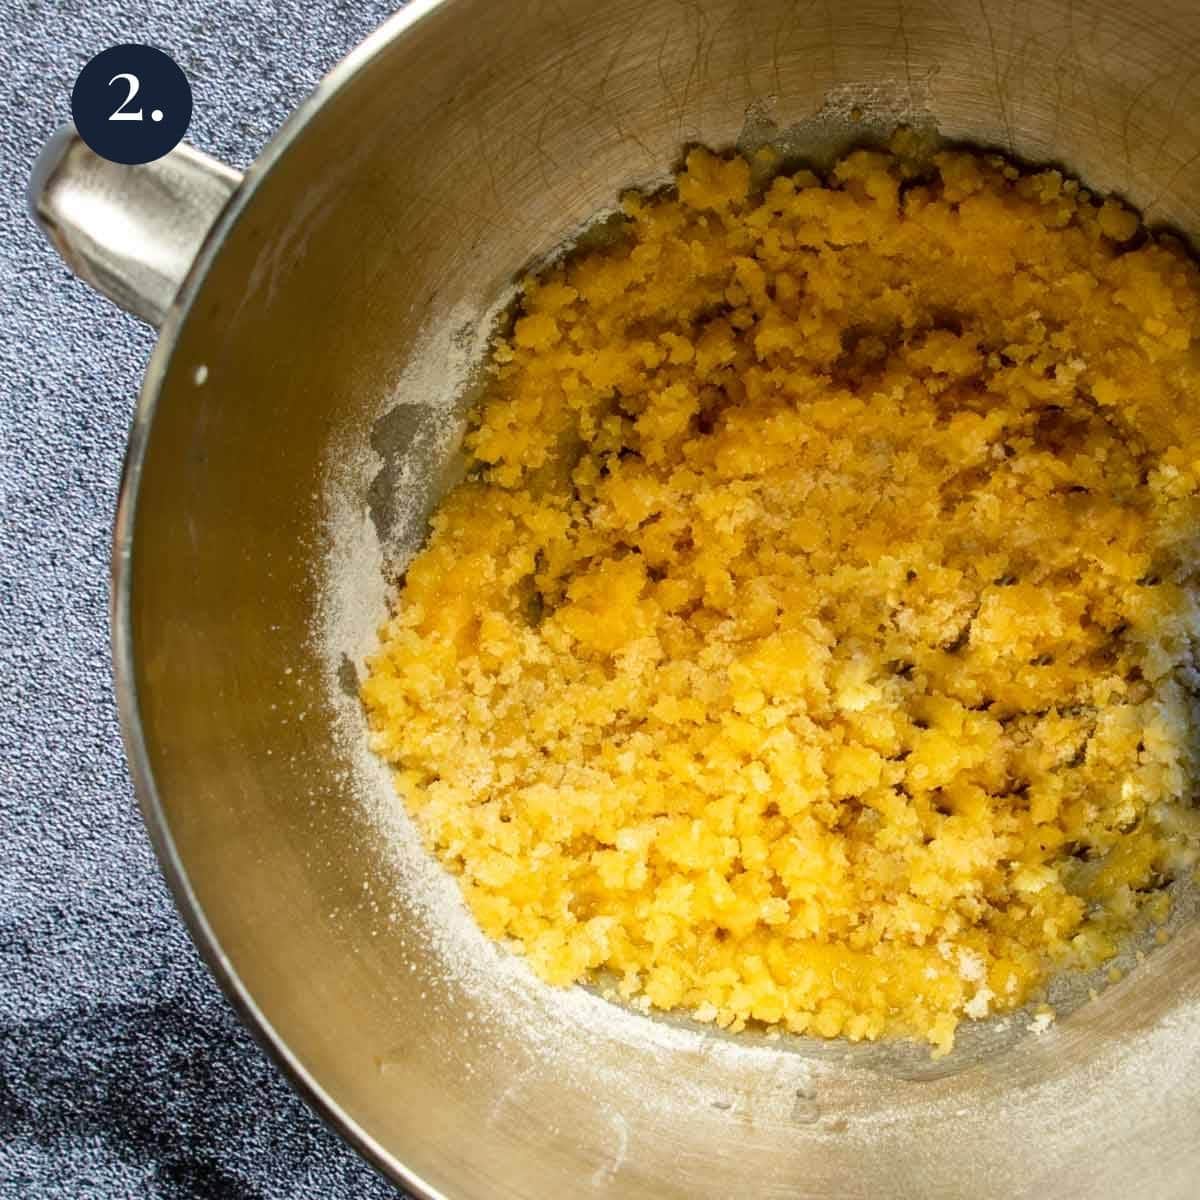
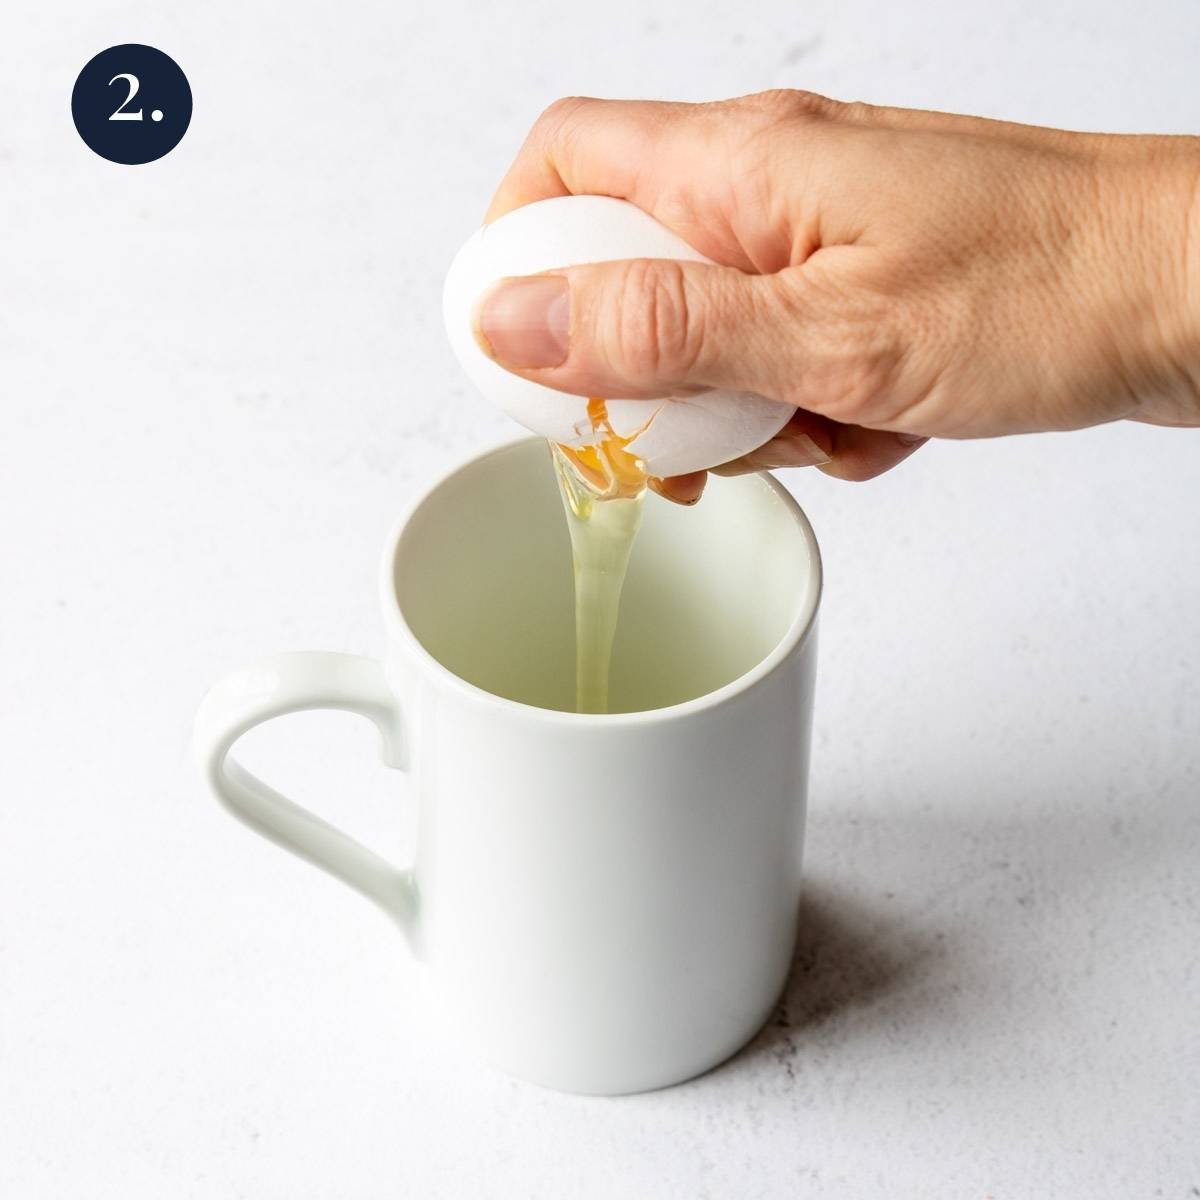
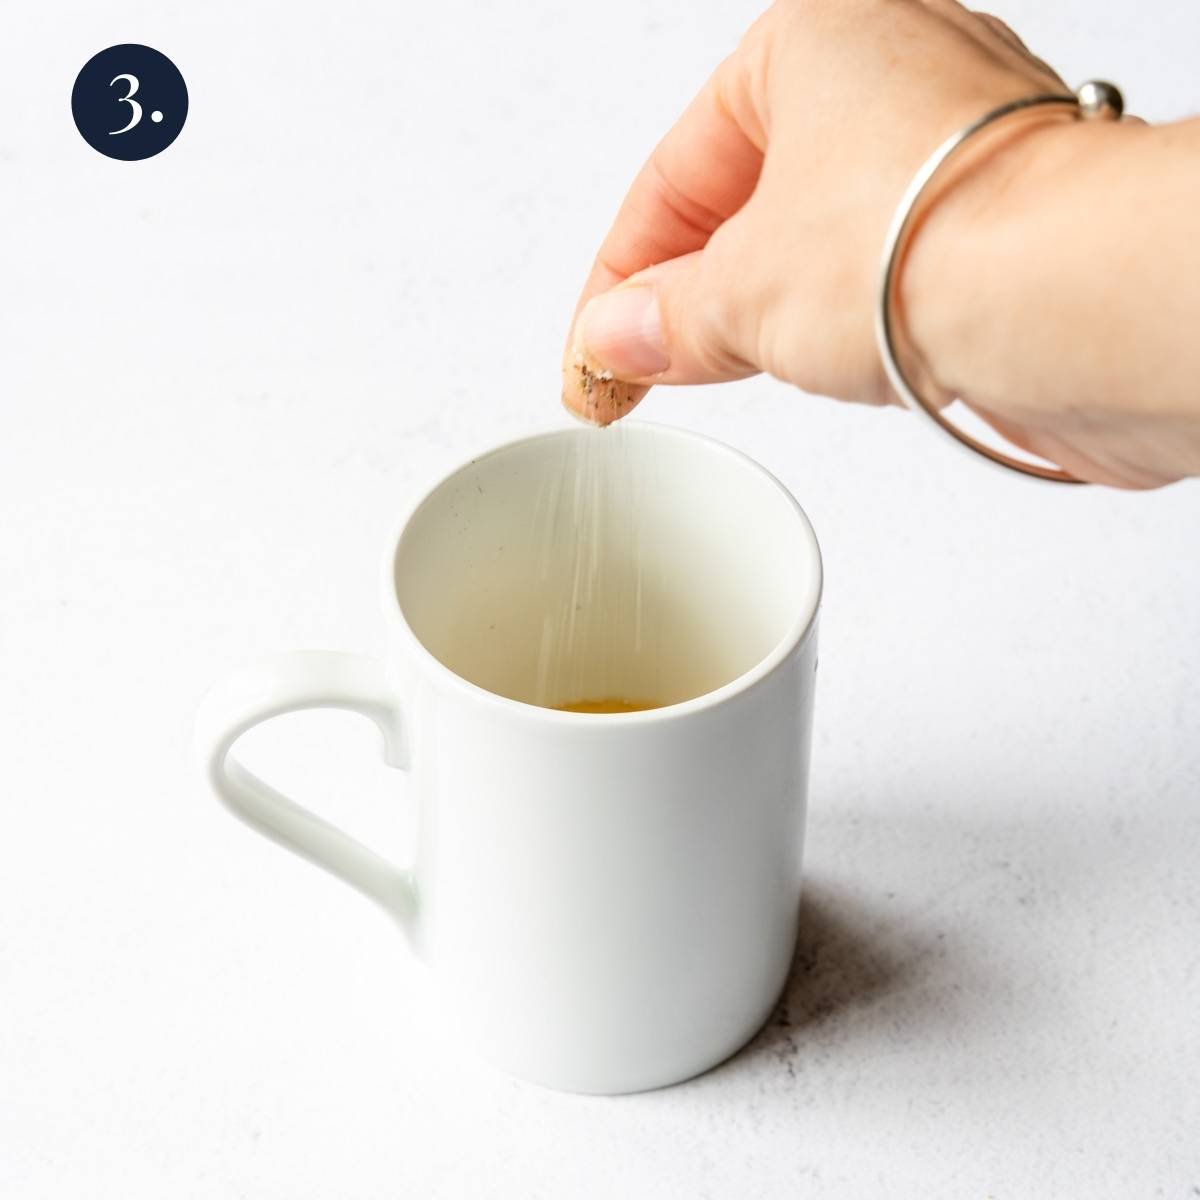
In a powerful blender add the steel cut oats, banana, eggs, maple syrup, baking powder, salt.
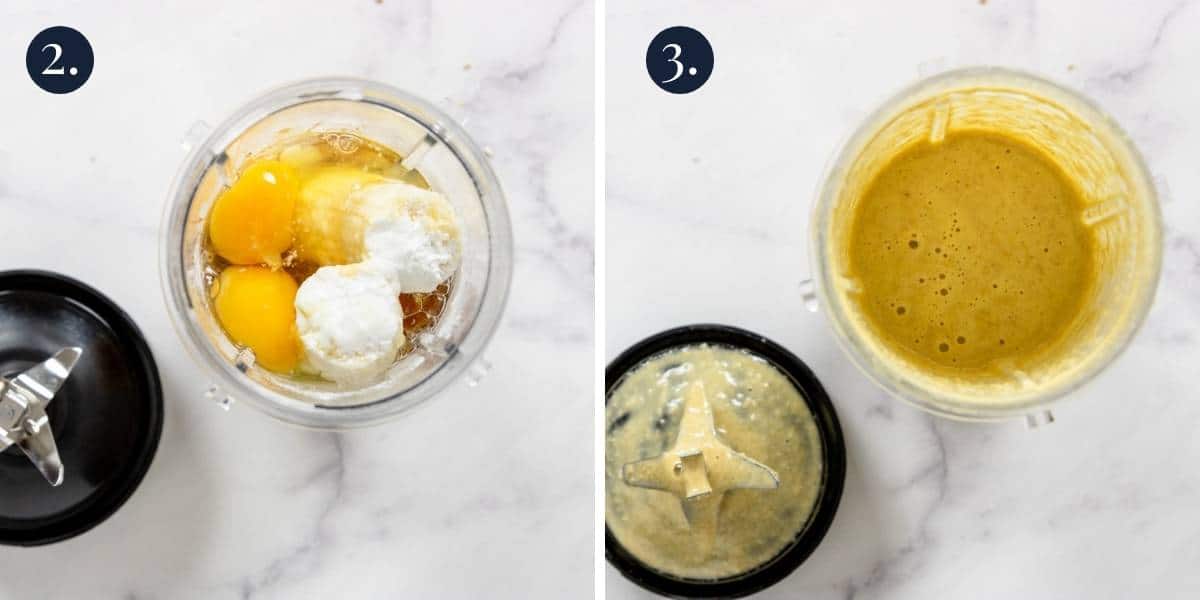
Blend for about 30 seconds until the mixture looks smooth.
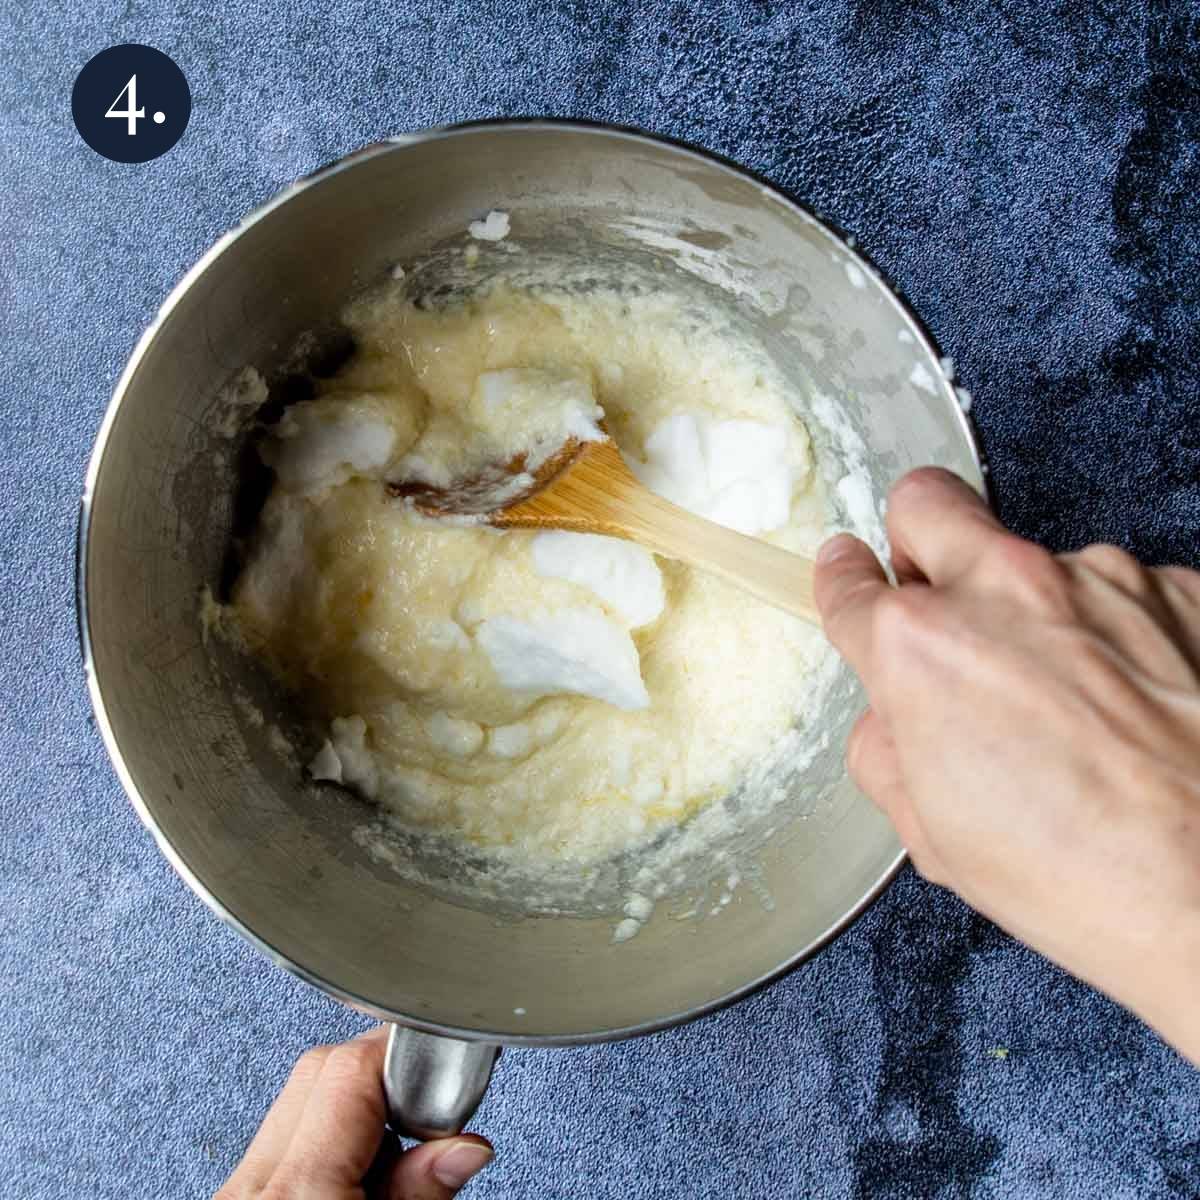
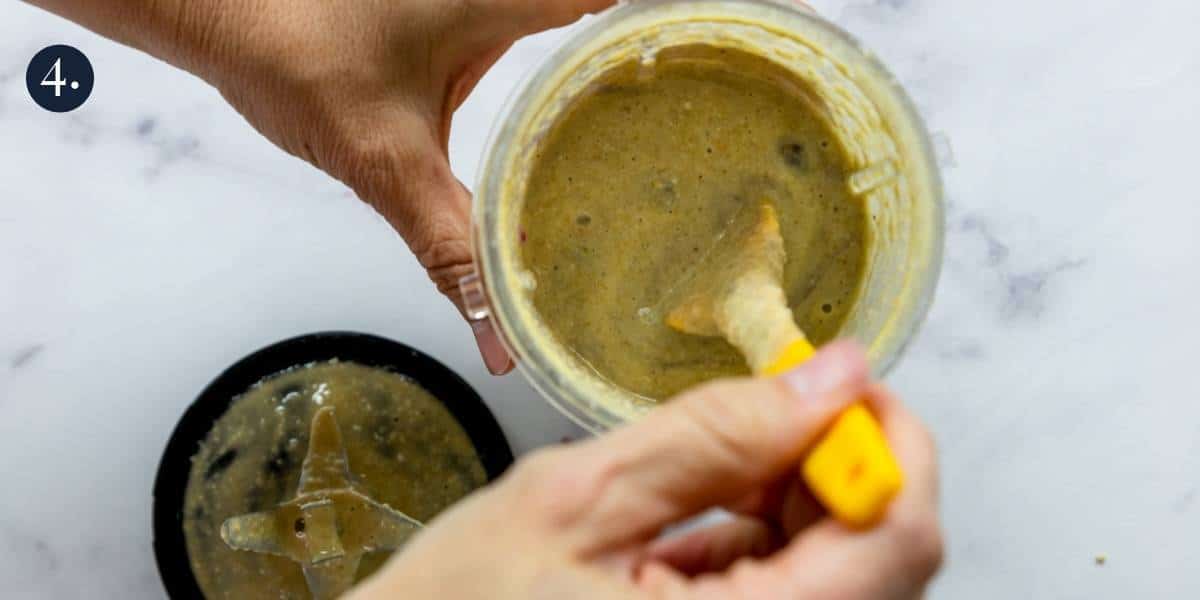
Then, by hand, stir in about ⅔ of the blueberries.
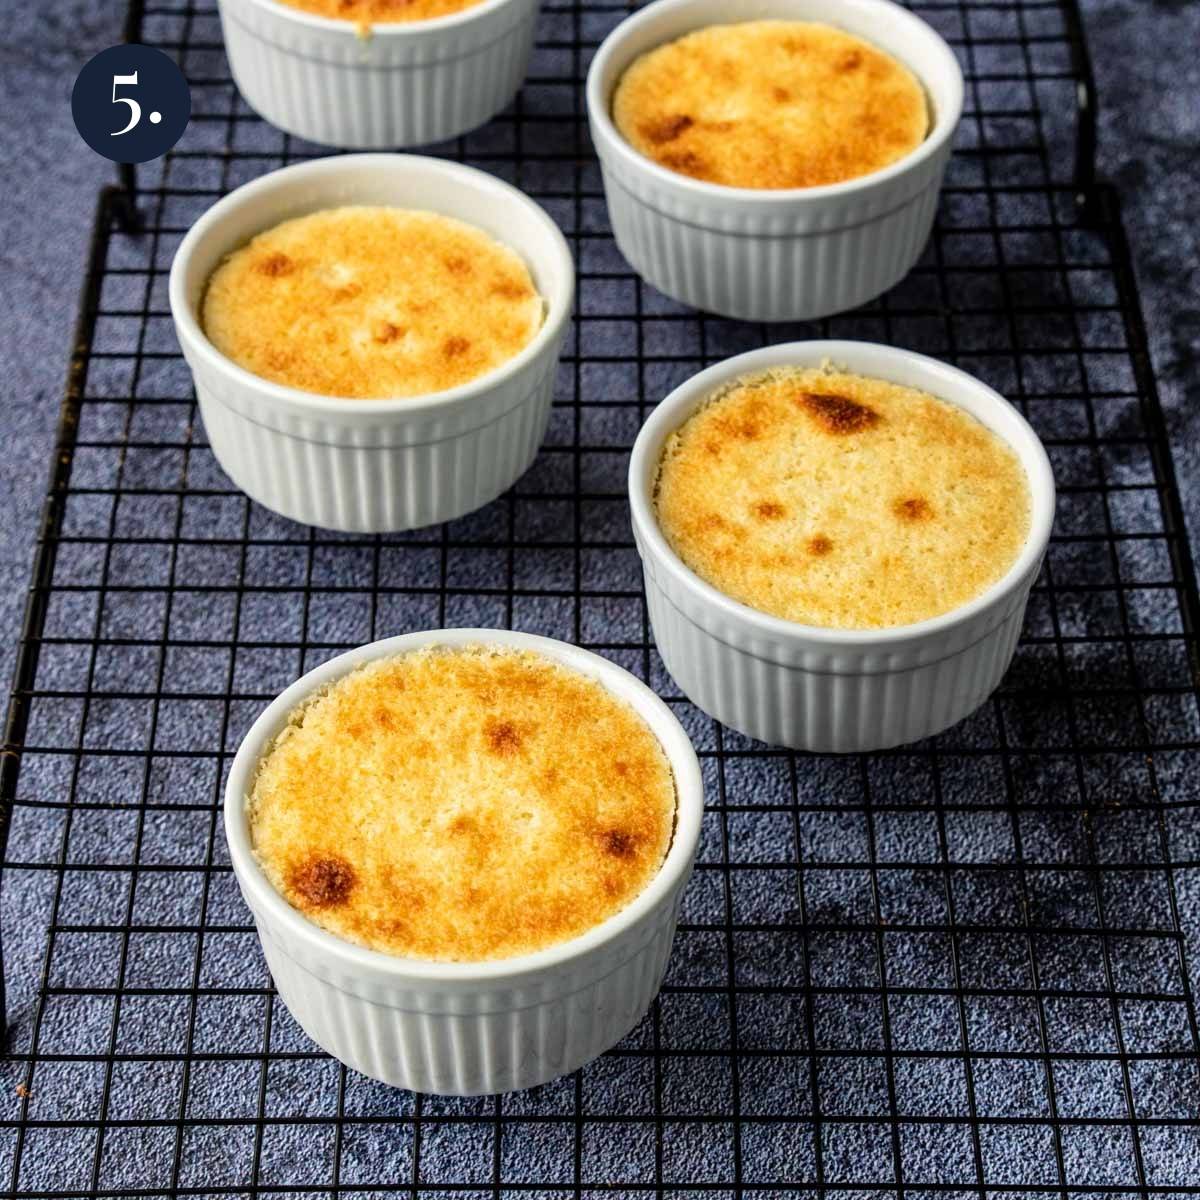
Divide the mixture evenly between the ramekins, filling them about ¾ full.
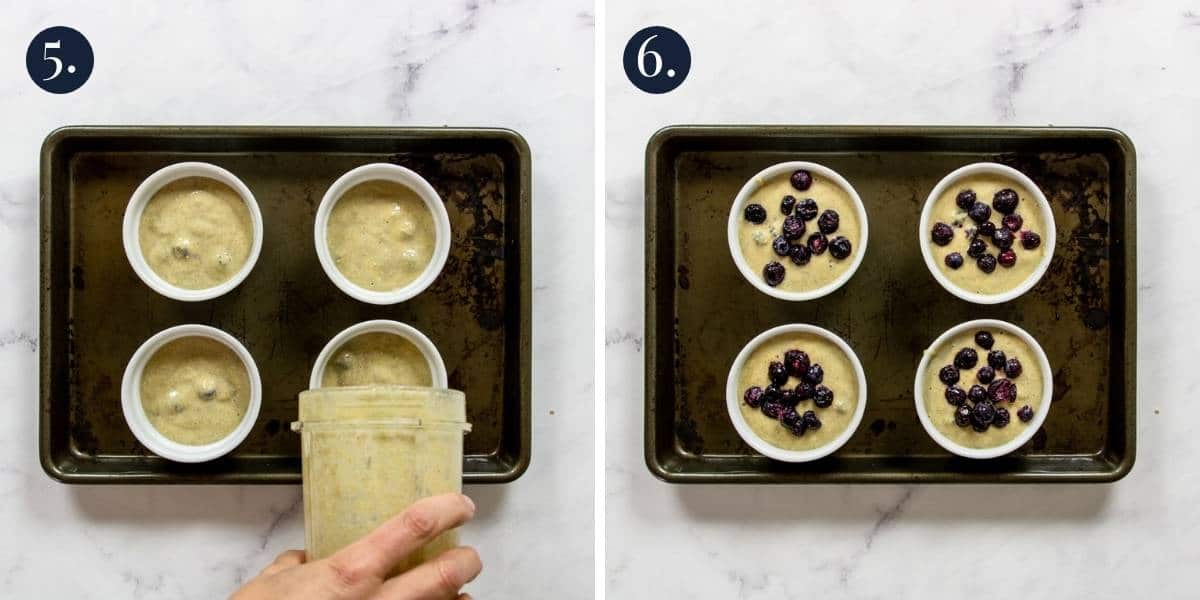
Top with the remaining blueberries.
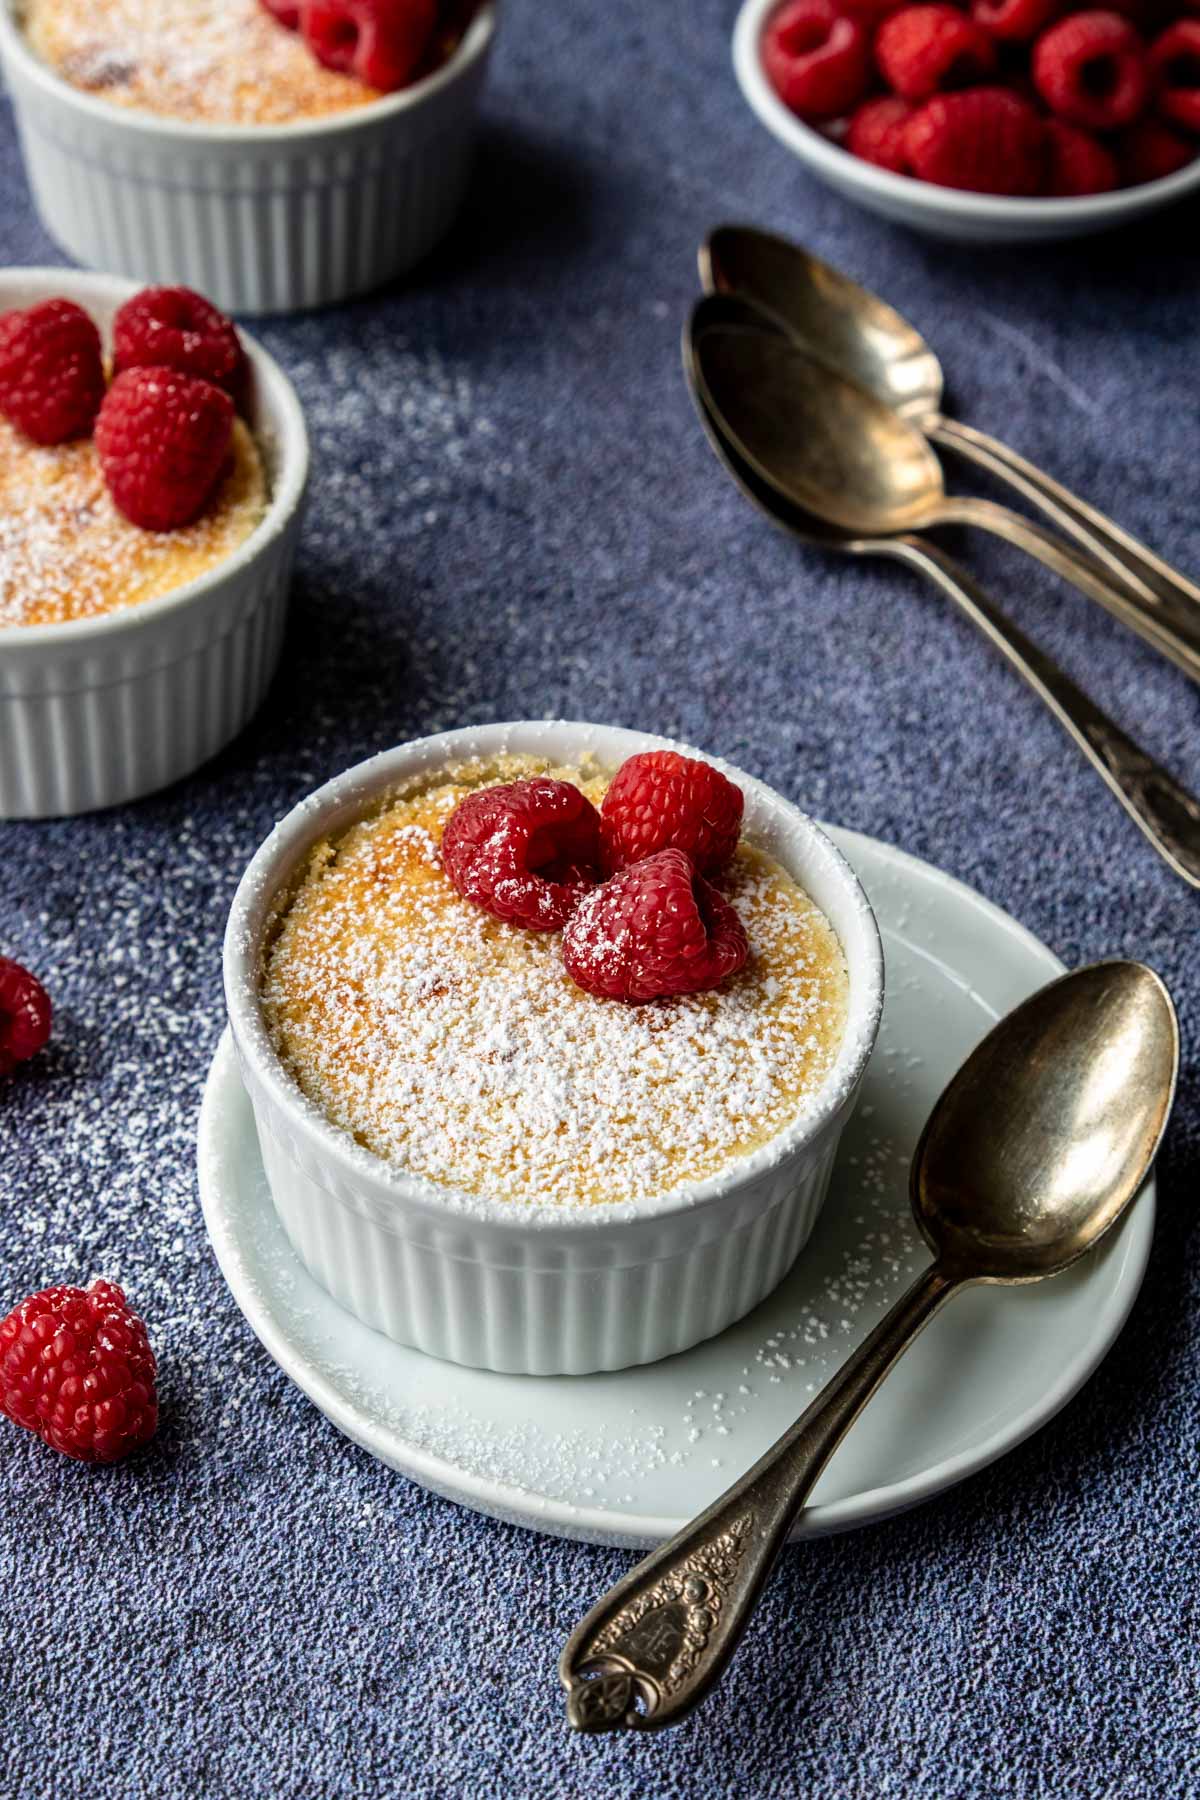
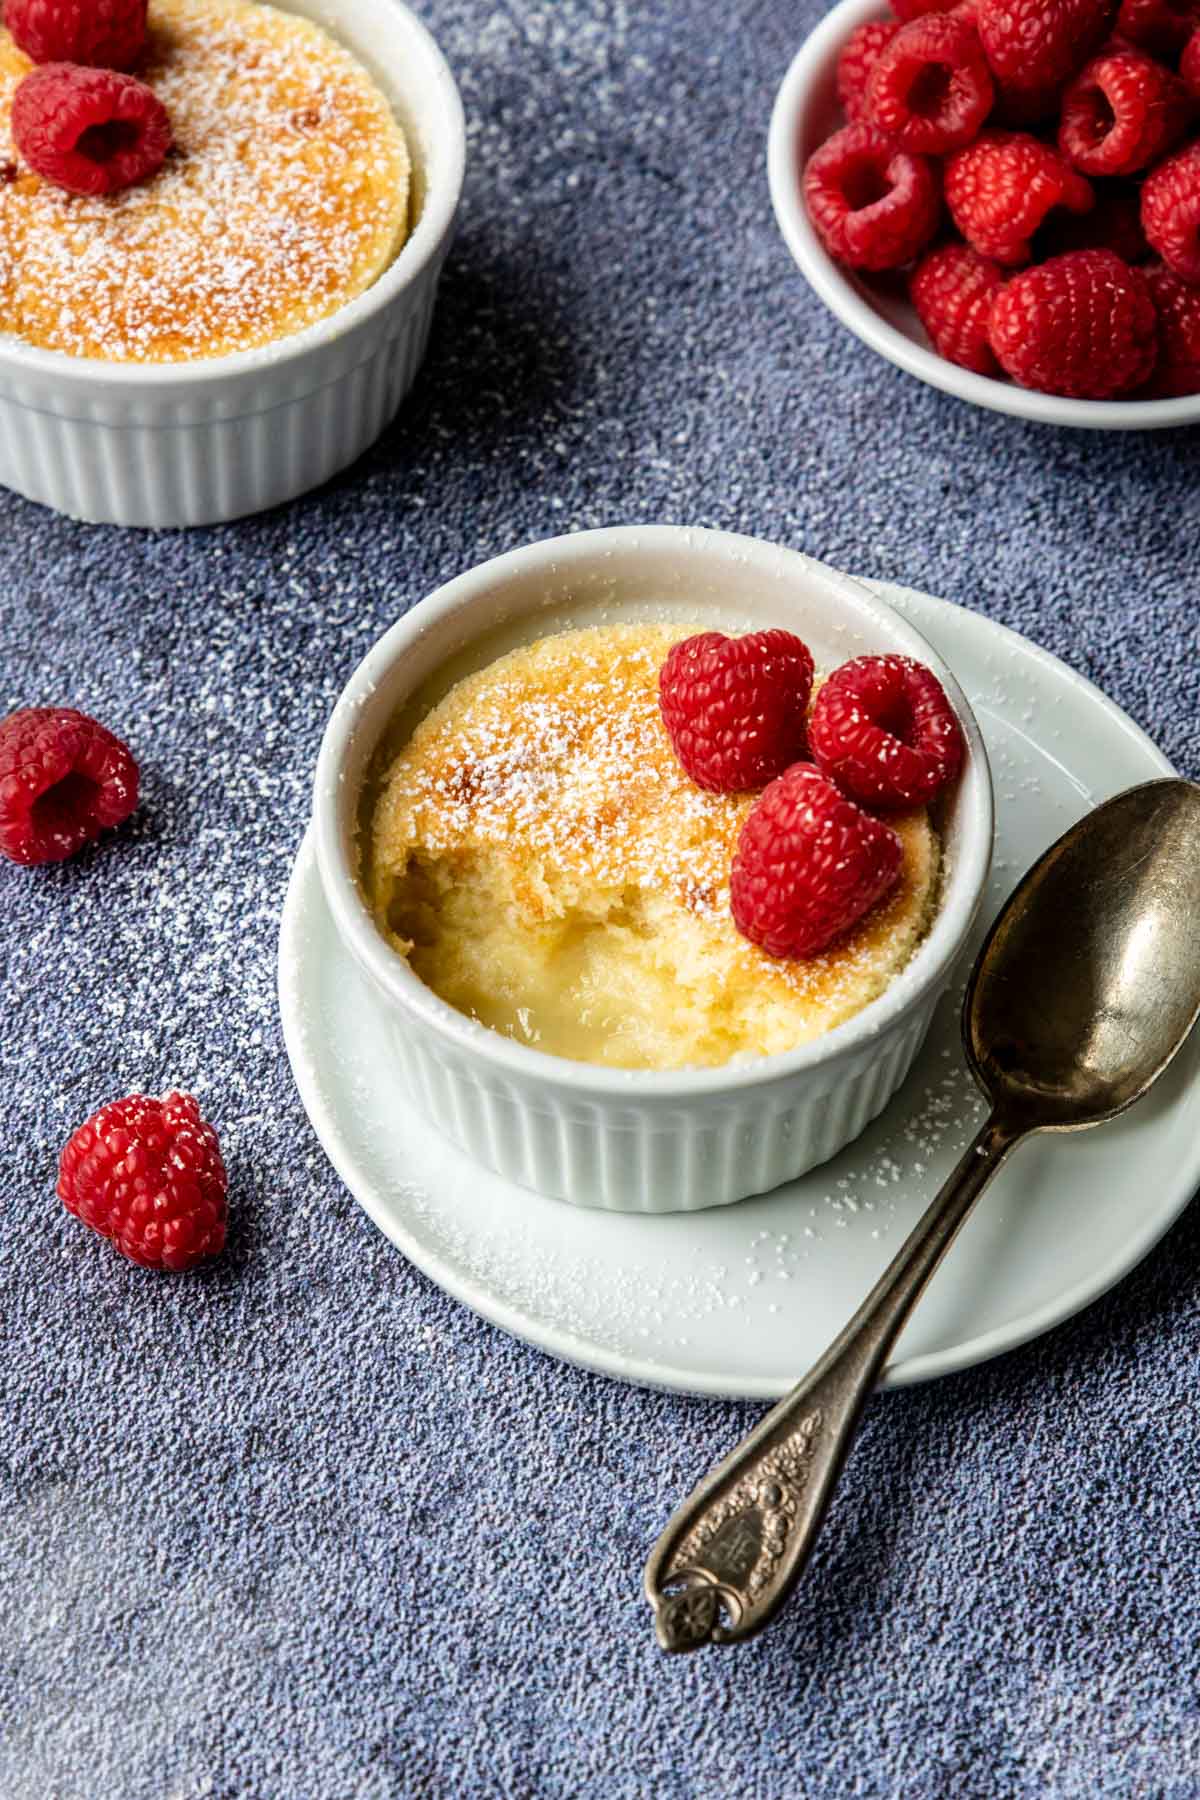
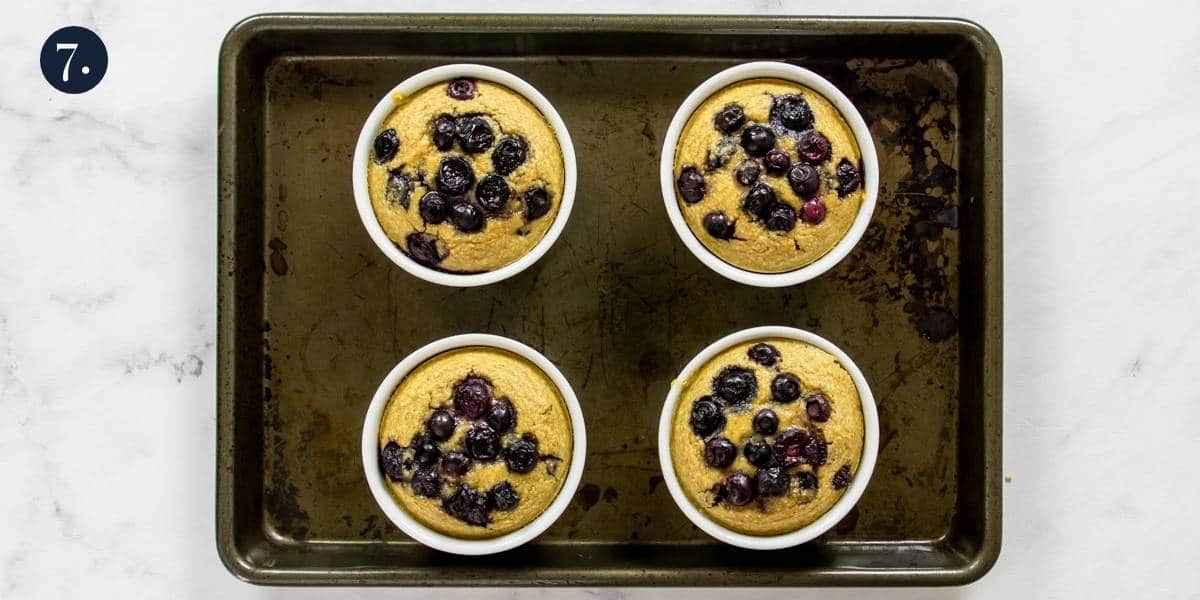
Bake for 25 minutes. Let cool for 5 minutes. Then dig in!
You can garnish/serve them with additional syrup, blueberry syrup, or cream/milk.
Recipe Tips
- Use a really ripe banana. They tend to be sweeter!
- If you have it or can get it, use 100% maple syrup. It will have a cleaner maple flavor than the corn syrup version of maple syrup.
- Fresh or frozen blueberries will work.
- Bake your oats in individual ramekins set on a baking sheet, just in case they bake over.
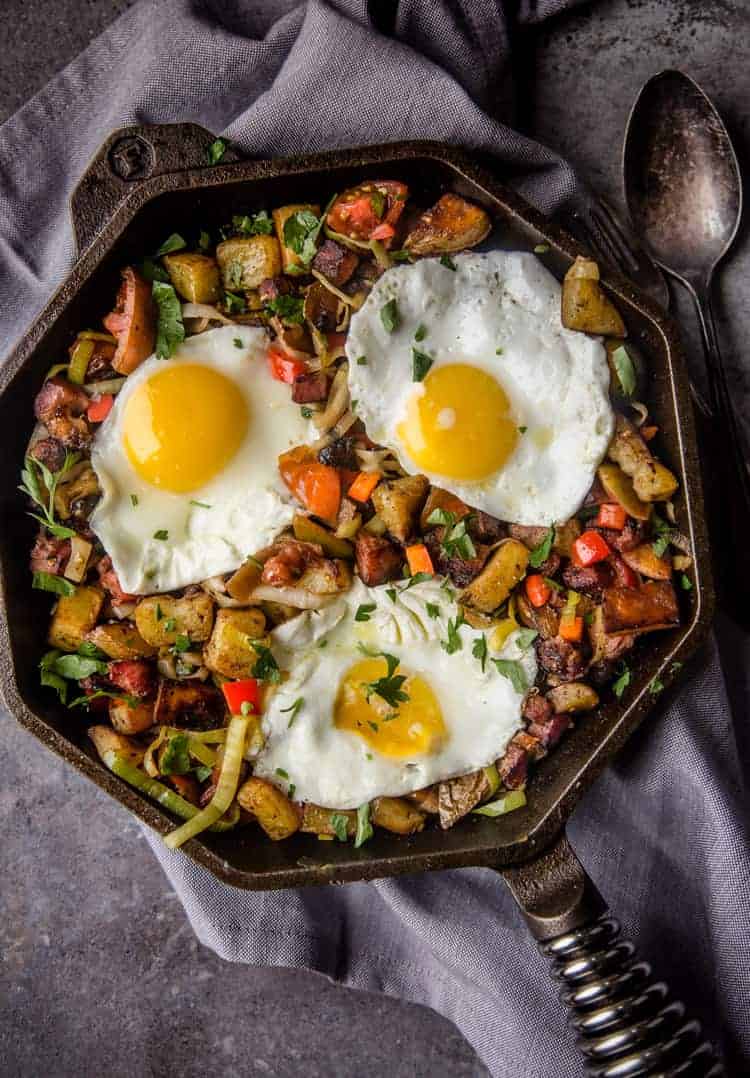
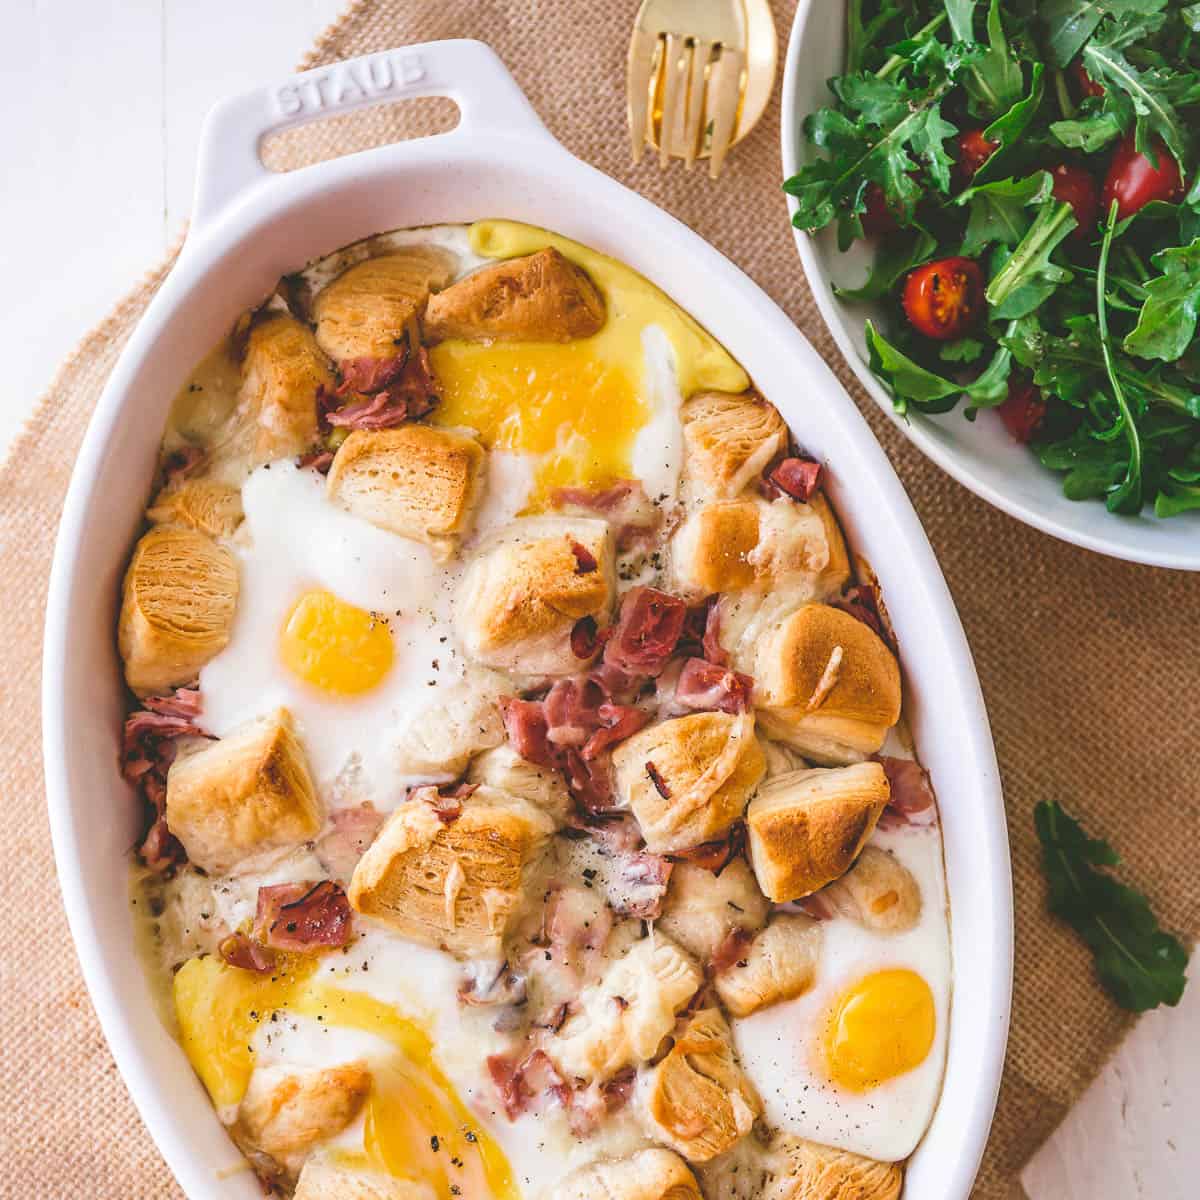
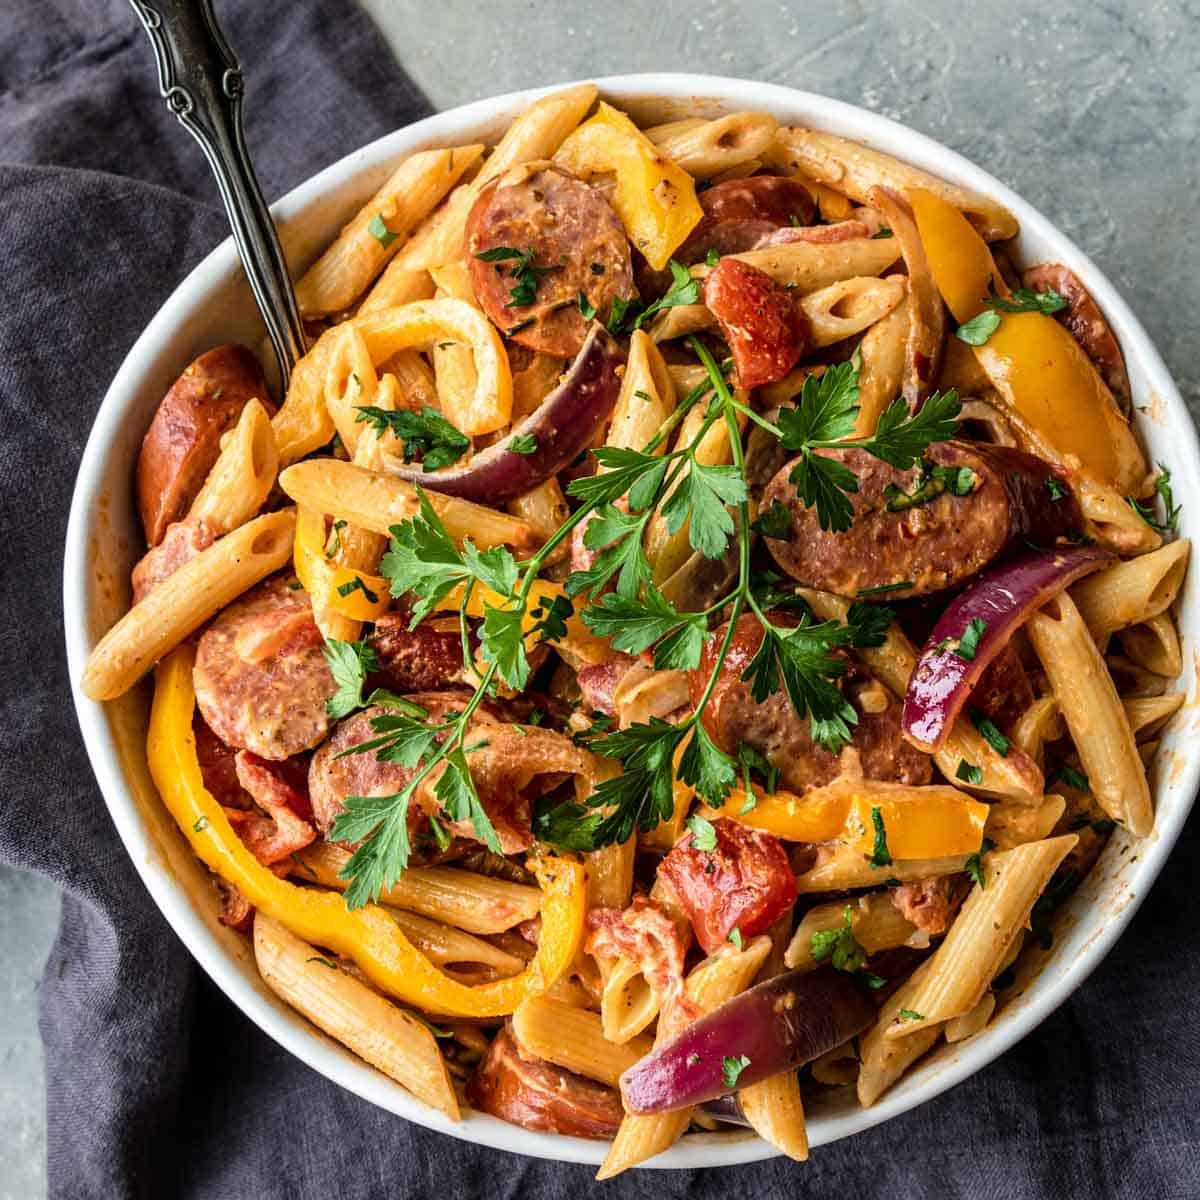
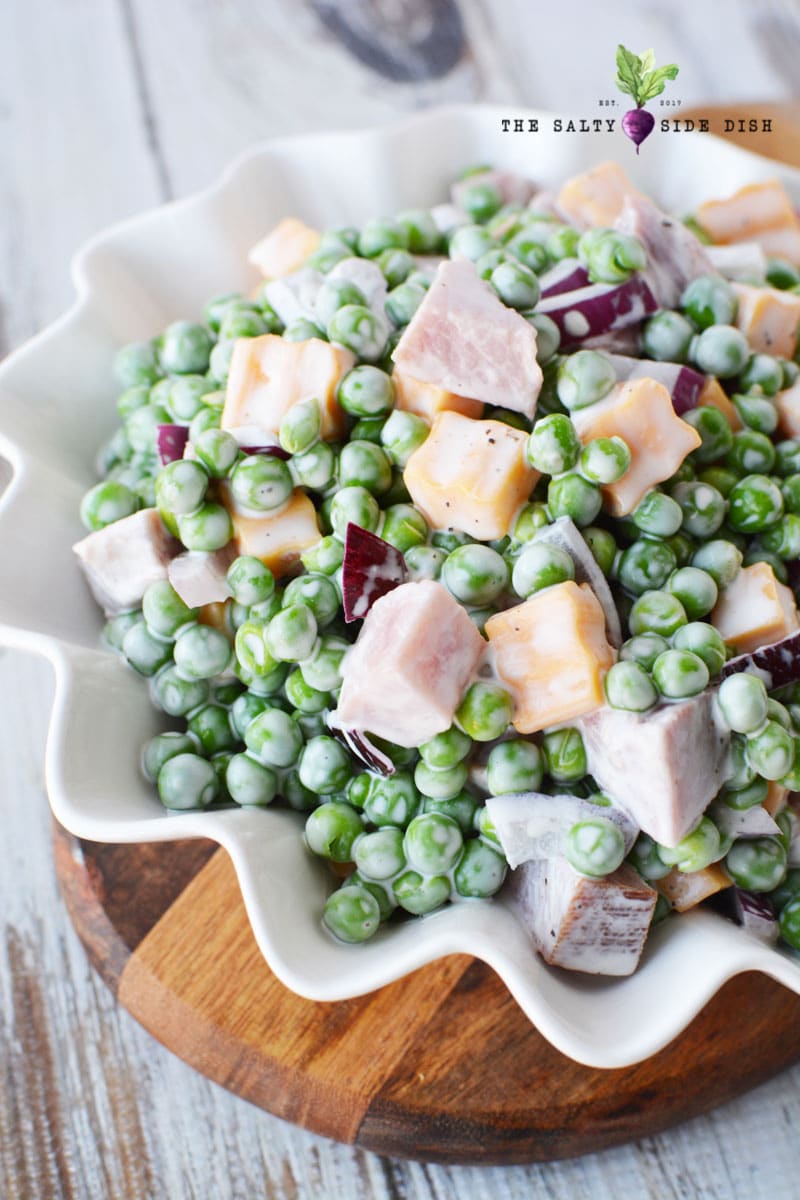
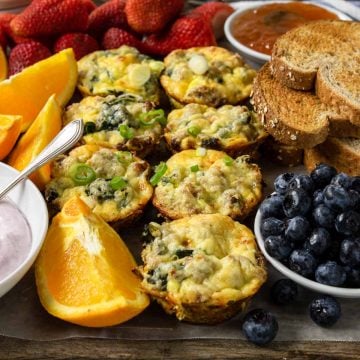
Related Recipes


Did you make this recipe?
⭐⭐⭐⭐⭐
I would love to hear your review, especially if you have tips and tricks to add! Pop down to the comment section and connect with me
Baked Steel Cut Oats with Blueberries + Video
Ingredients
- 1 cup steel cut oats
- 1 ripe banana
- 2 large eggs
- 2 ½ tablespoon maple syrup
- 1 teaspoon baking powder
- ¼ teaspoon kosher salt
- 1 cup fresh or frozen blueberries
- non stick spray
Instructions
- Preheat the oven to 350°.
- Spray your ramekins with non-stick spray. Place them on a rimmed baking sheet just in case your oats bake over! Set aside.
- In a powerful blender or food processor add the oats, banana, eggs, maple syrup, baking powder, and salt. Process for about 30 seconds, until everything is bleded smooth.
- By hand lightly stir in about ⅔ of the blueberries.
- Divide the batter between the 4 prepared ramekins, filling them about ¾ full. Top with the additional berries.
- Pop in the oven for 25 minutes.
- Let cool for 5 minutes and dig in!
- Top with additional maple syrup, blueberry syrup, or cream.
Recipe Tips and Notes:
- Use a really ripe banana. They tend to be sweeter!
- If you have it or can get it, use 100% maple syrup. It will have a cleaner maple flavor than the corn syrup version of maple syrup.
- Fresh or frozen blueberries will work.
- Bake your oats in individual ramekins set on a baking sheet, just in case they bake over.