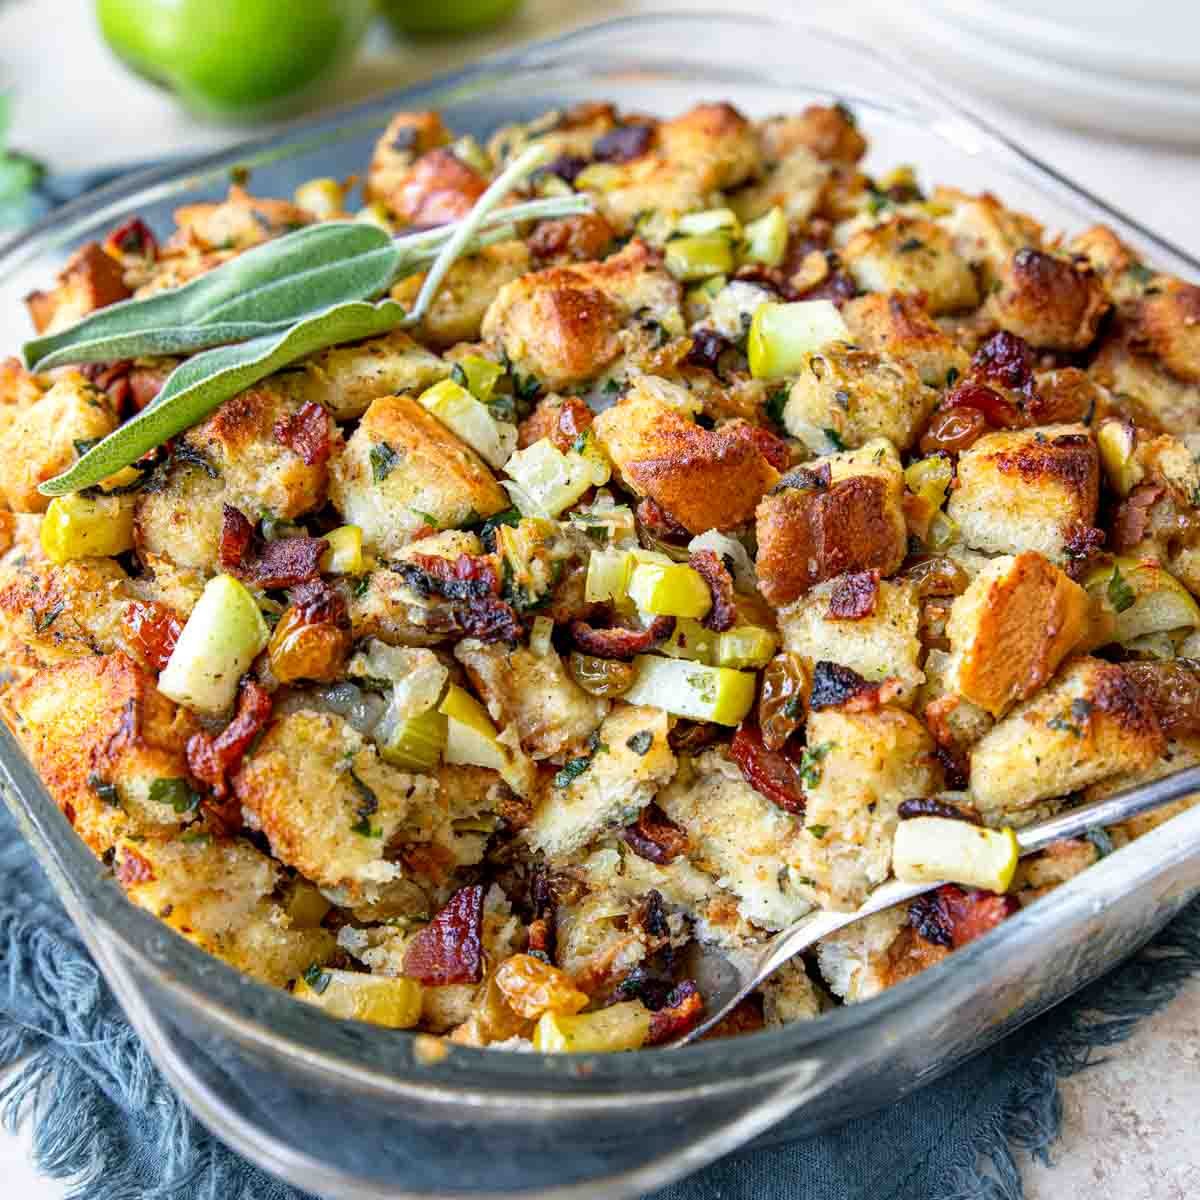
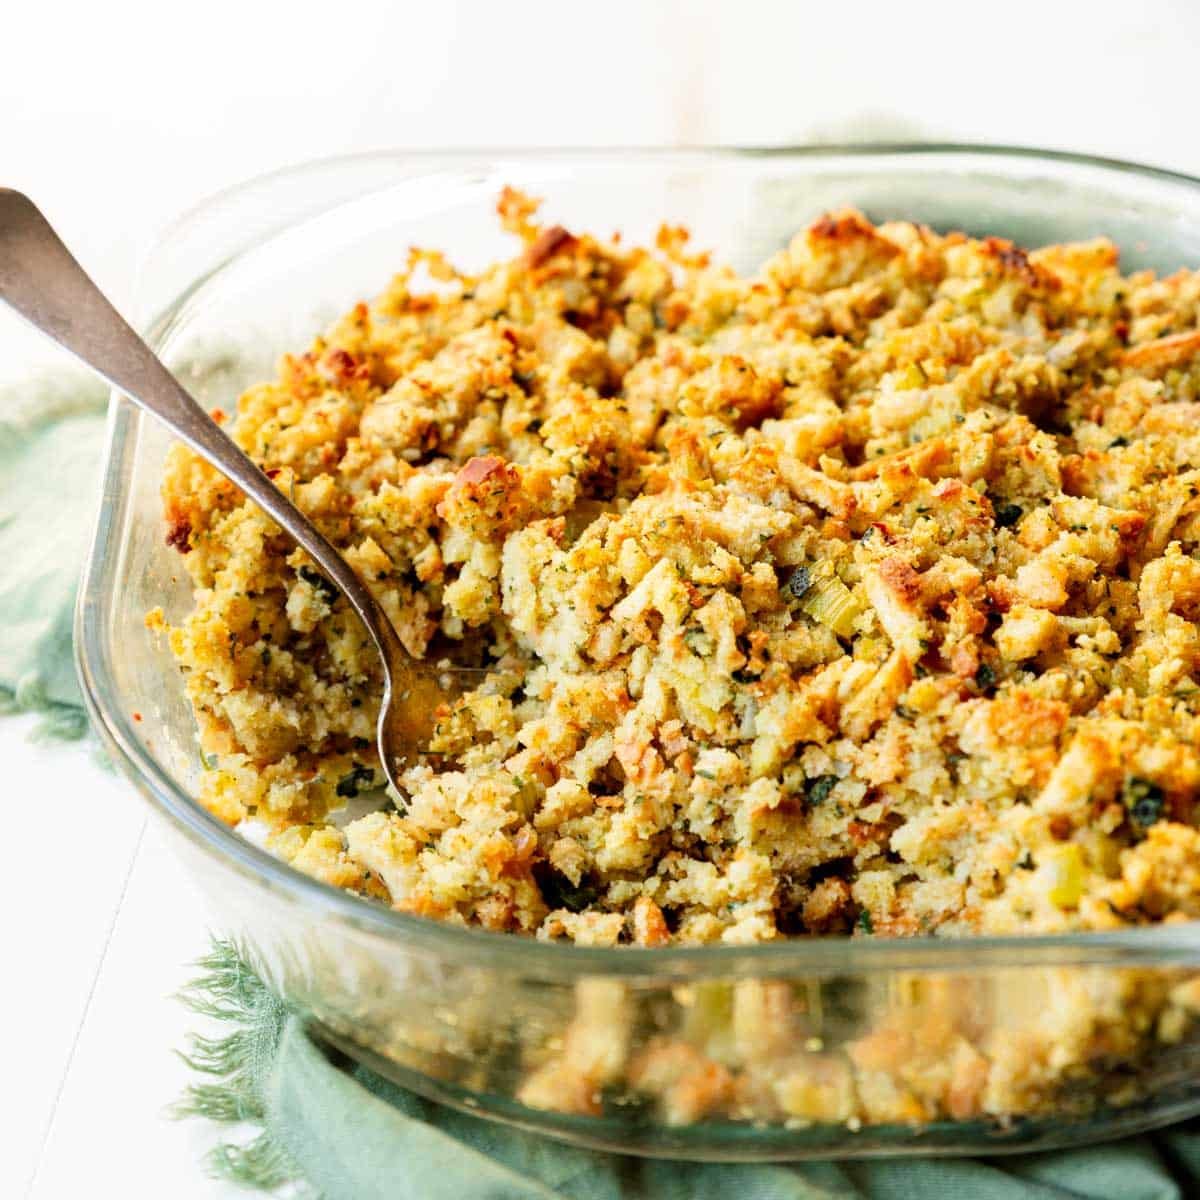
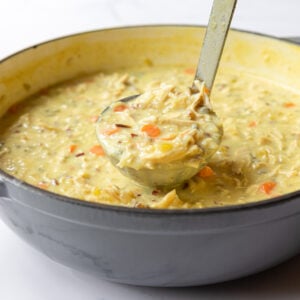
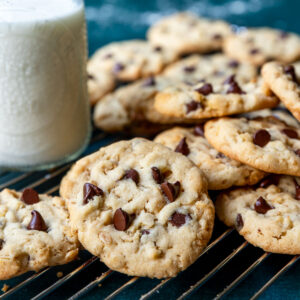
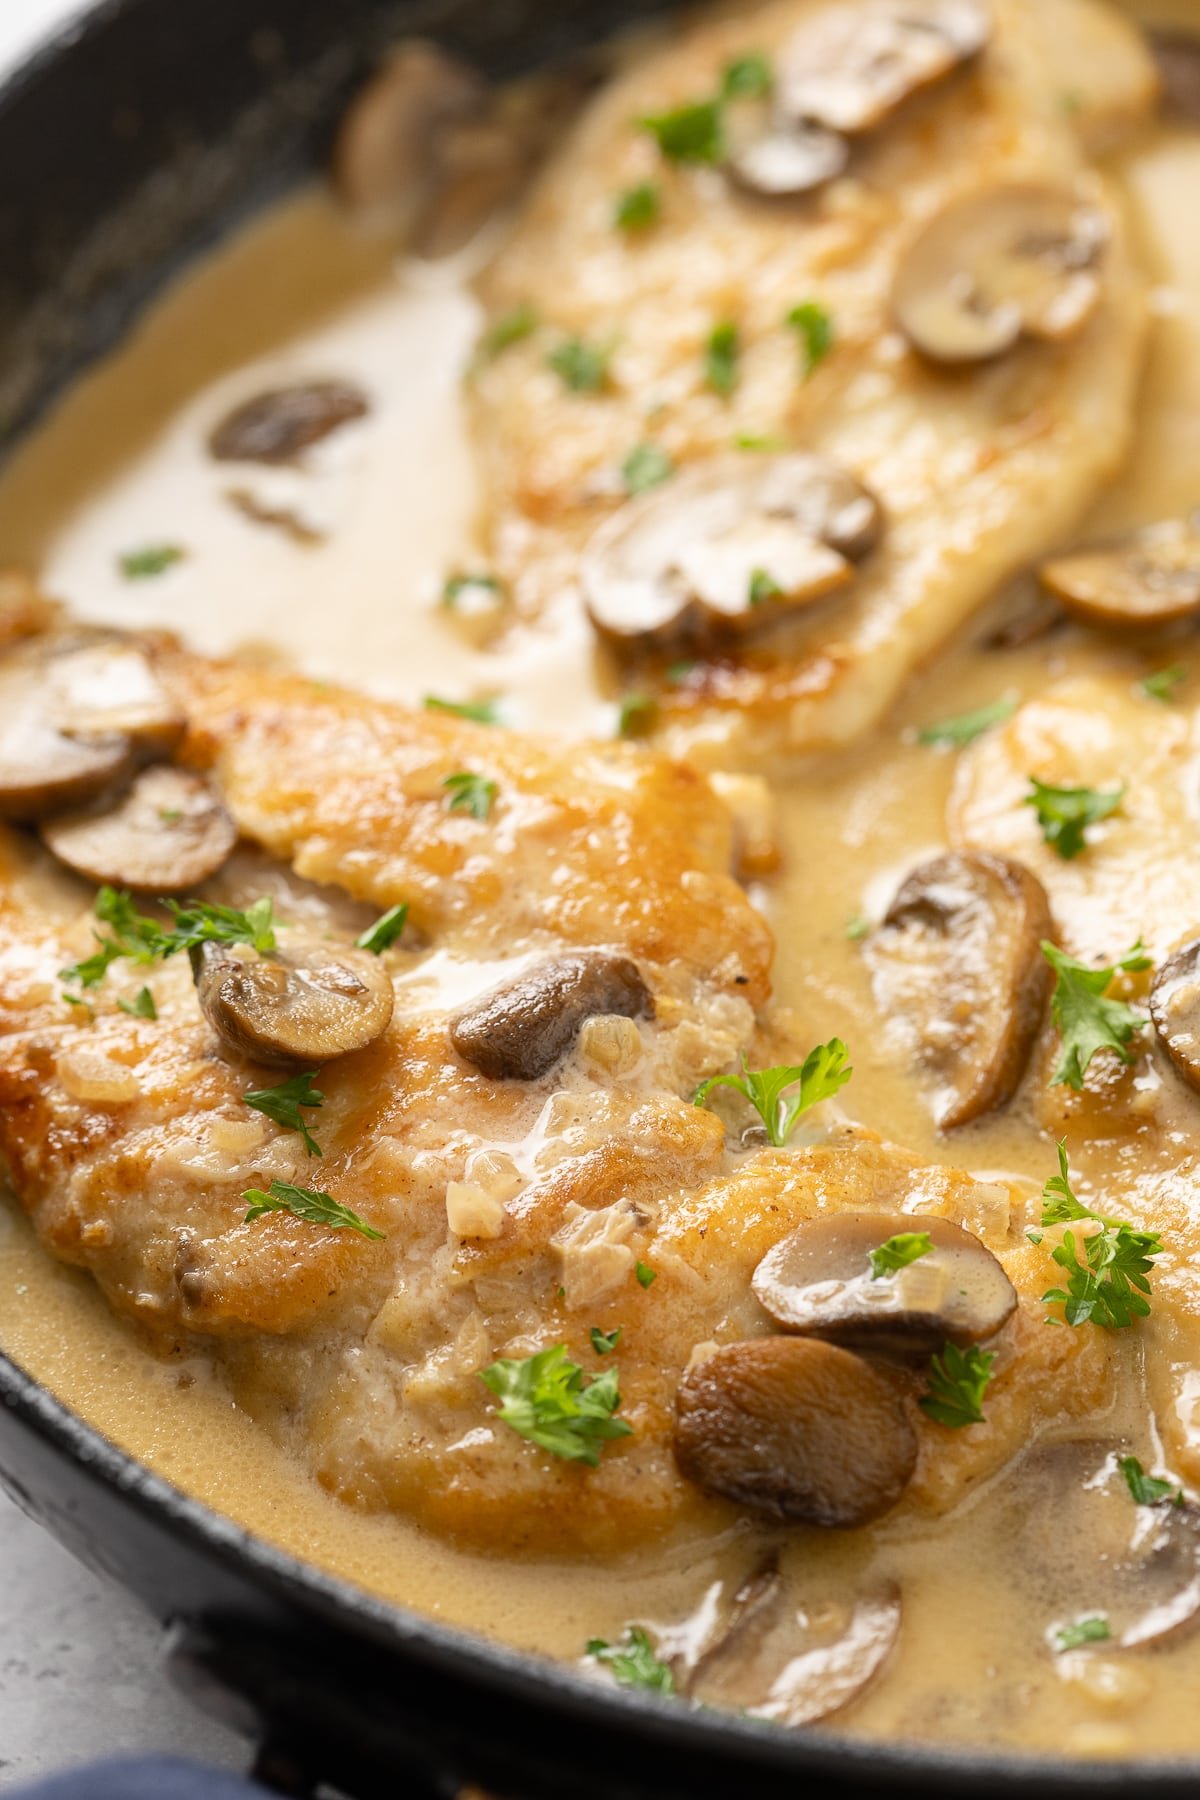
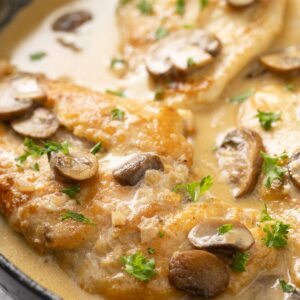
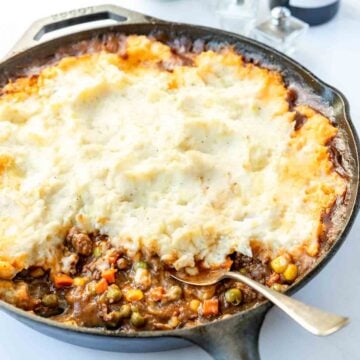
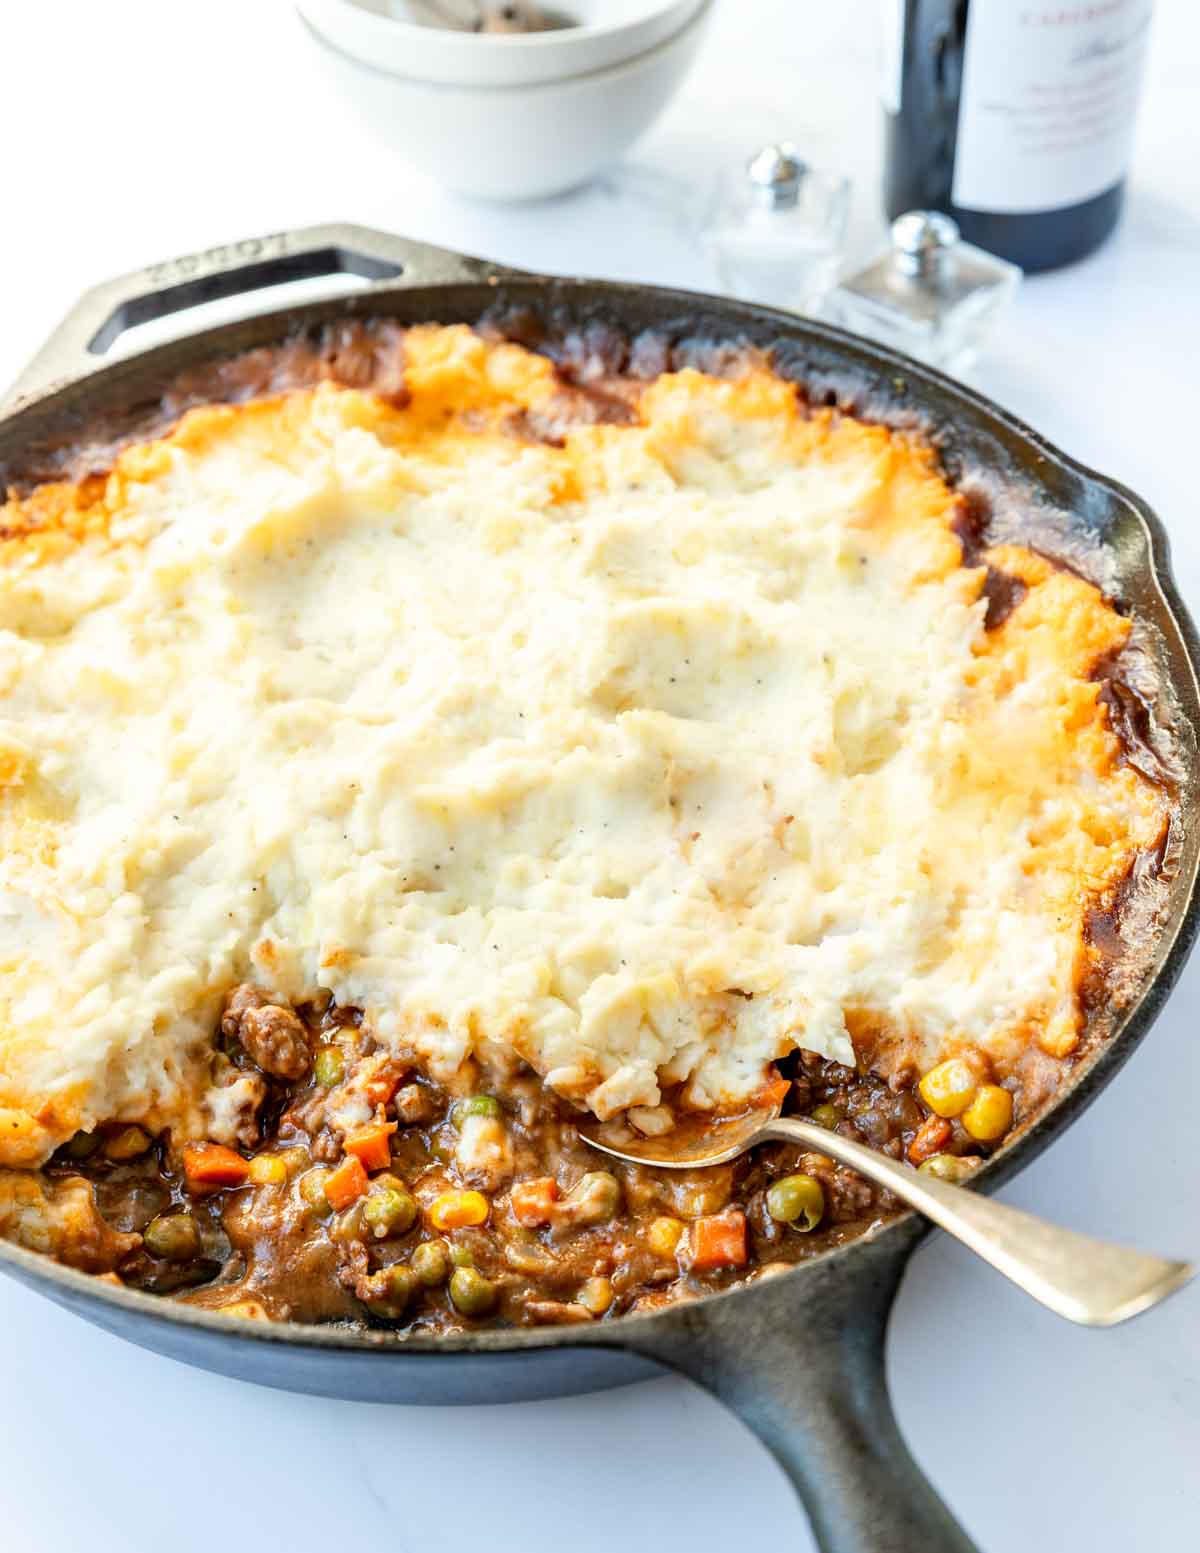
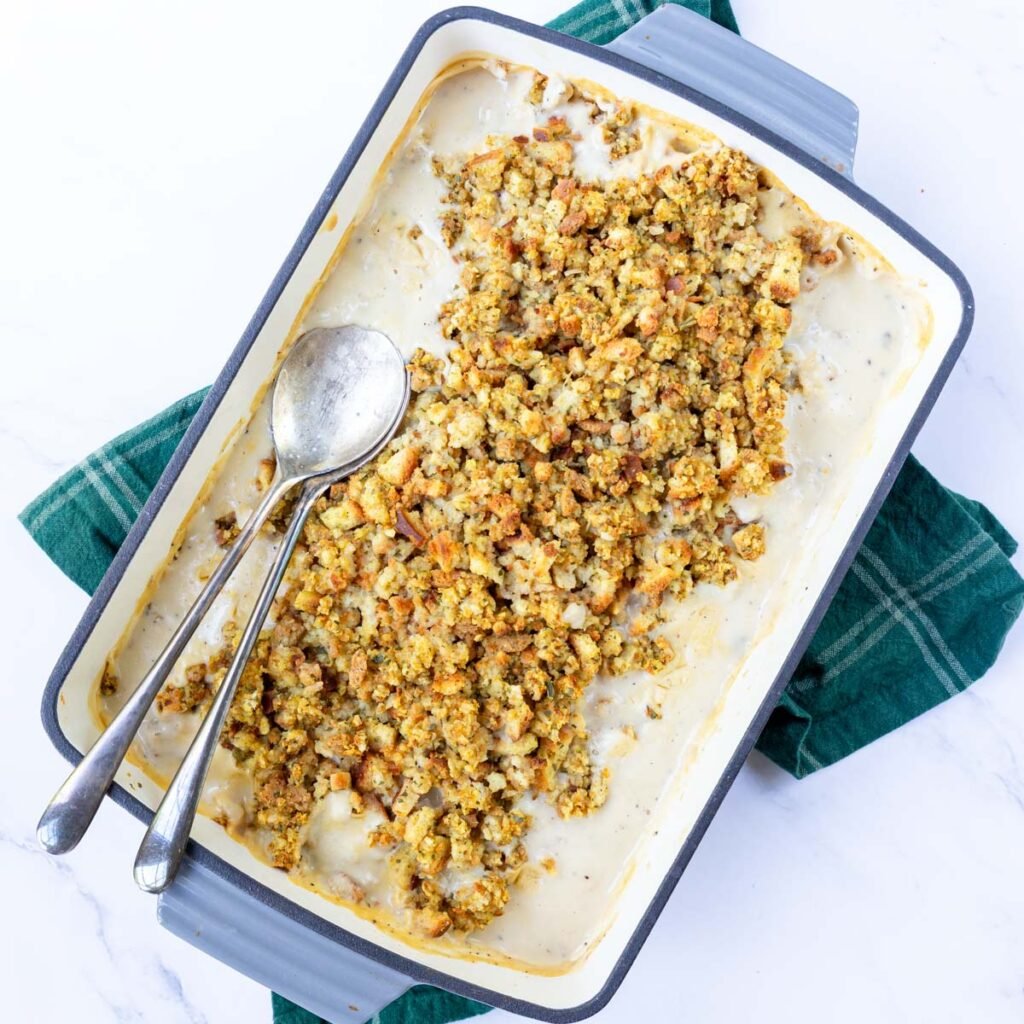
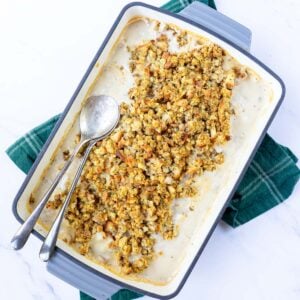
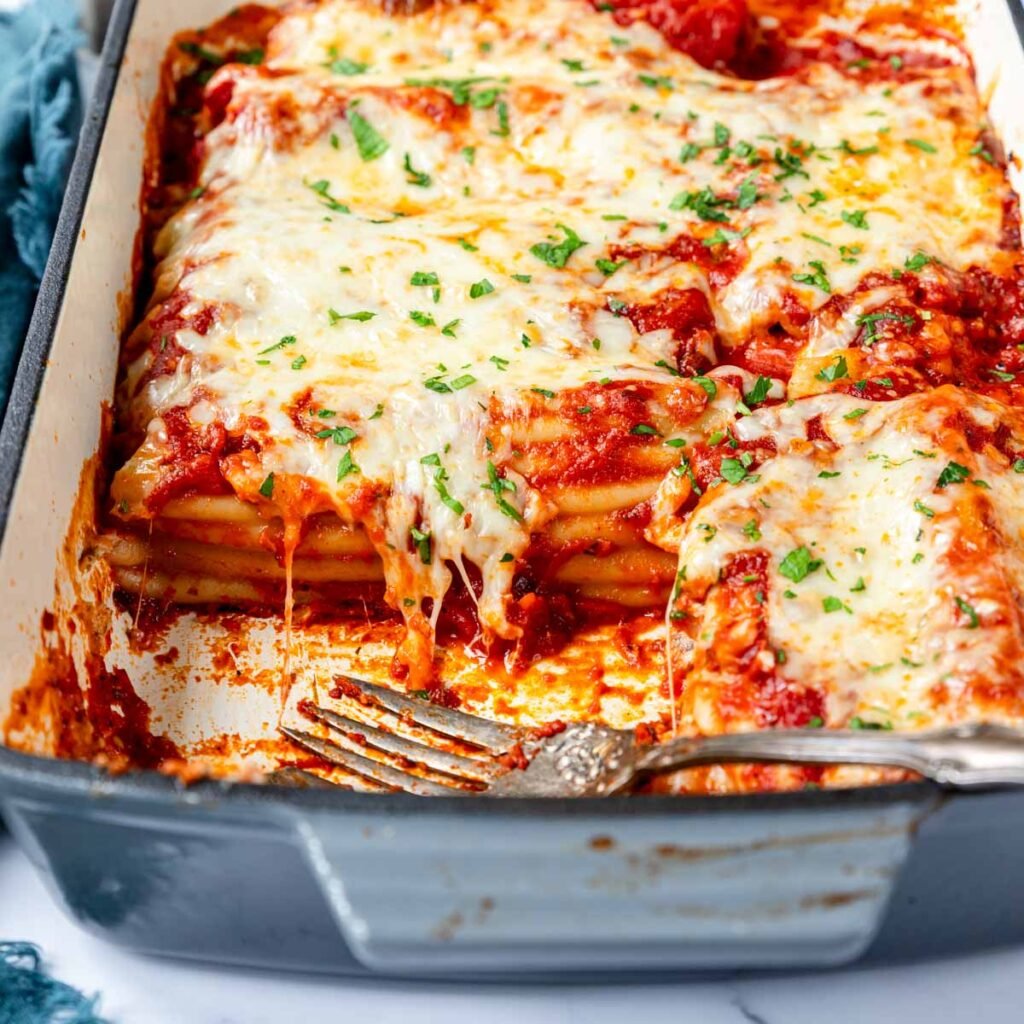
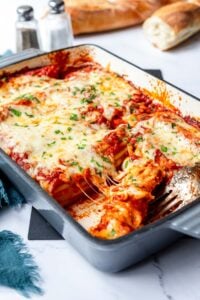
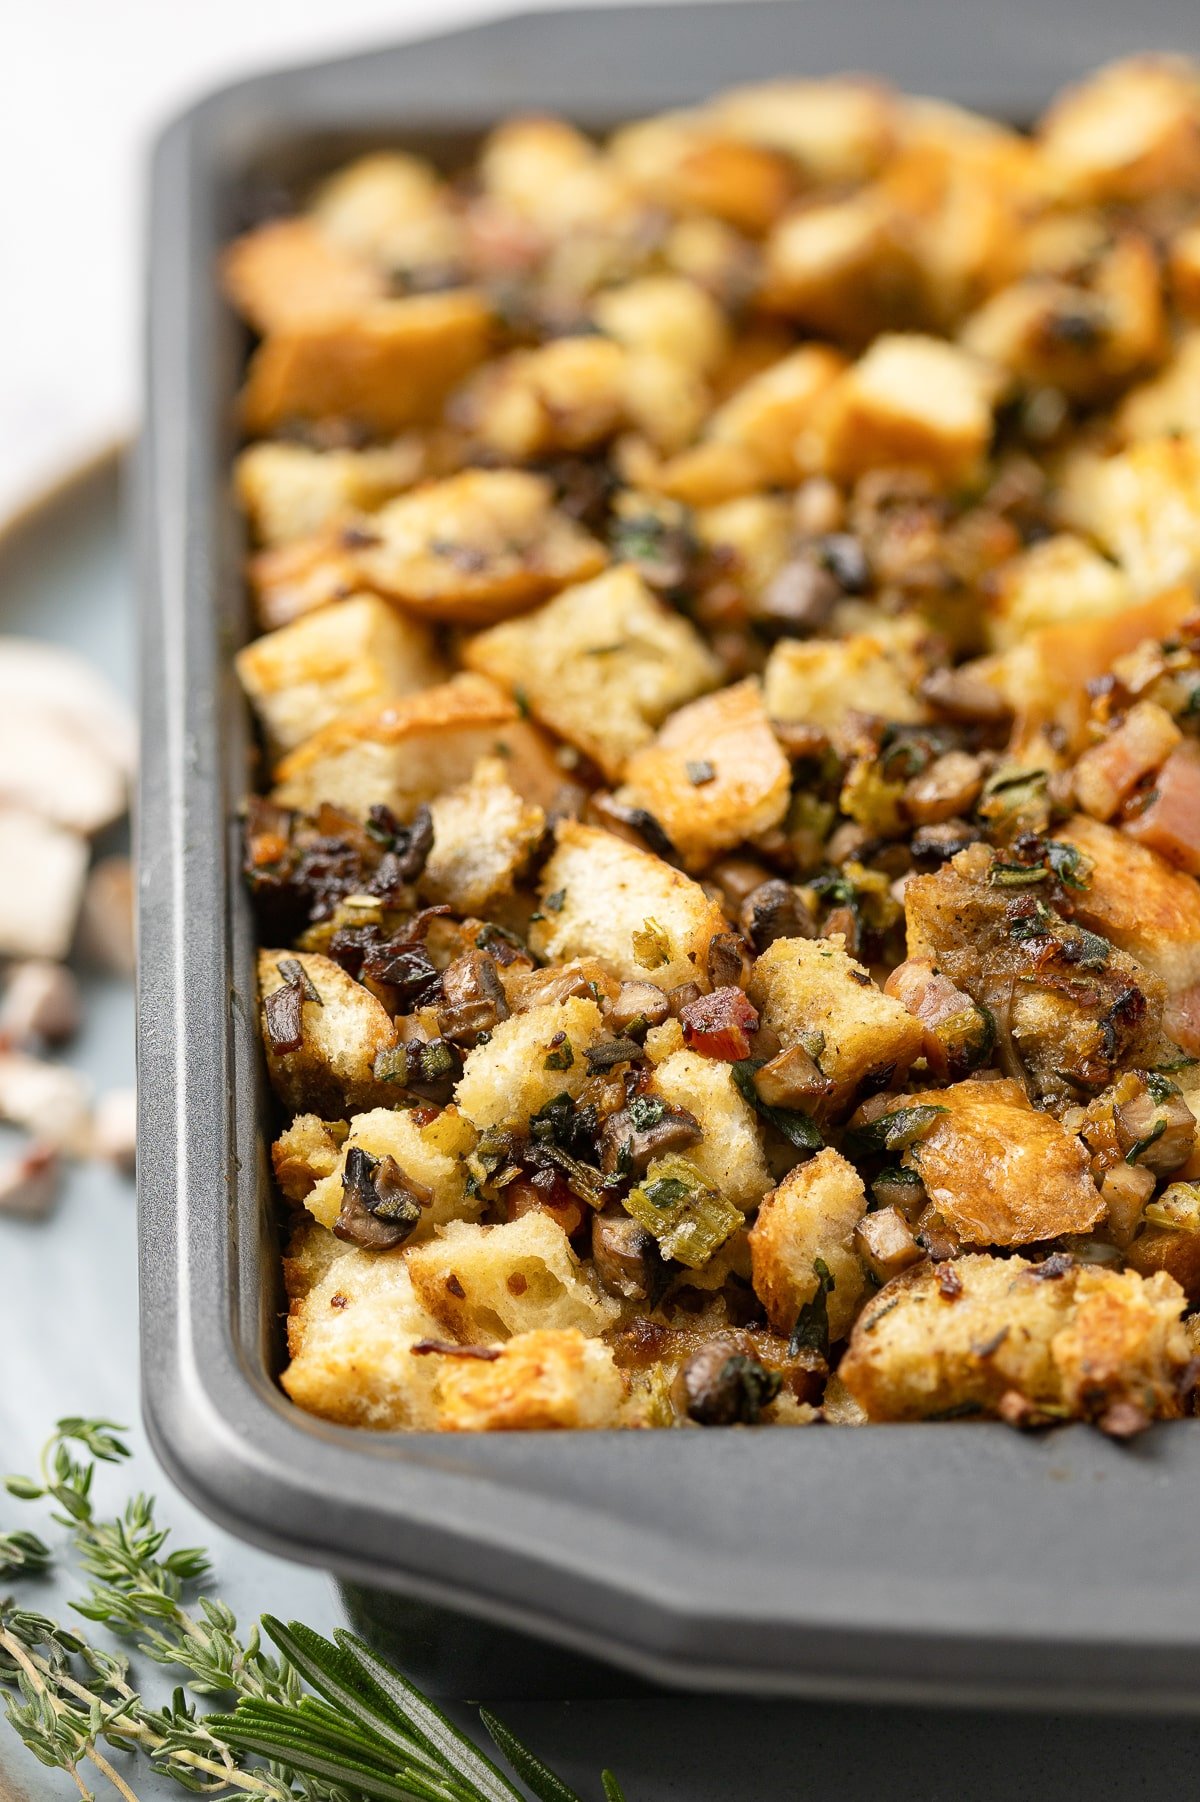
At the Holidays thousands of people turn to Mom’s Dinner for Stuffing, Mashed Potatoes and Gravy recipes! You can definitely add this Mushroom Stuffing to the list. It's packed with layers of flavor from baby bella mushrooms, crispy pancetta, garlic and plenty of fresh herbs. The stale bread cubes soak up all the flavor, then it’s bakes to perfection, soft buttery center and golden, crisp edges.
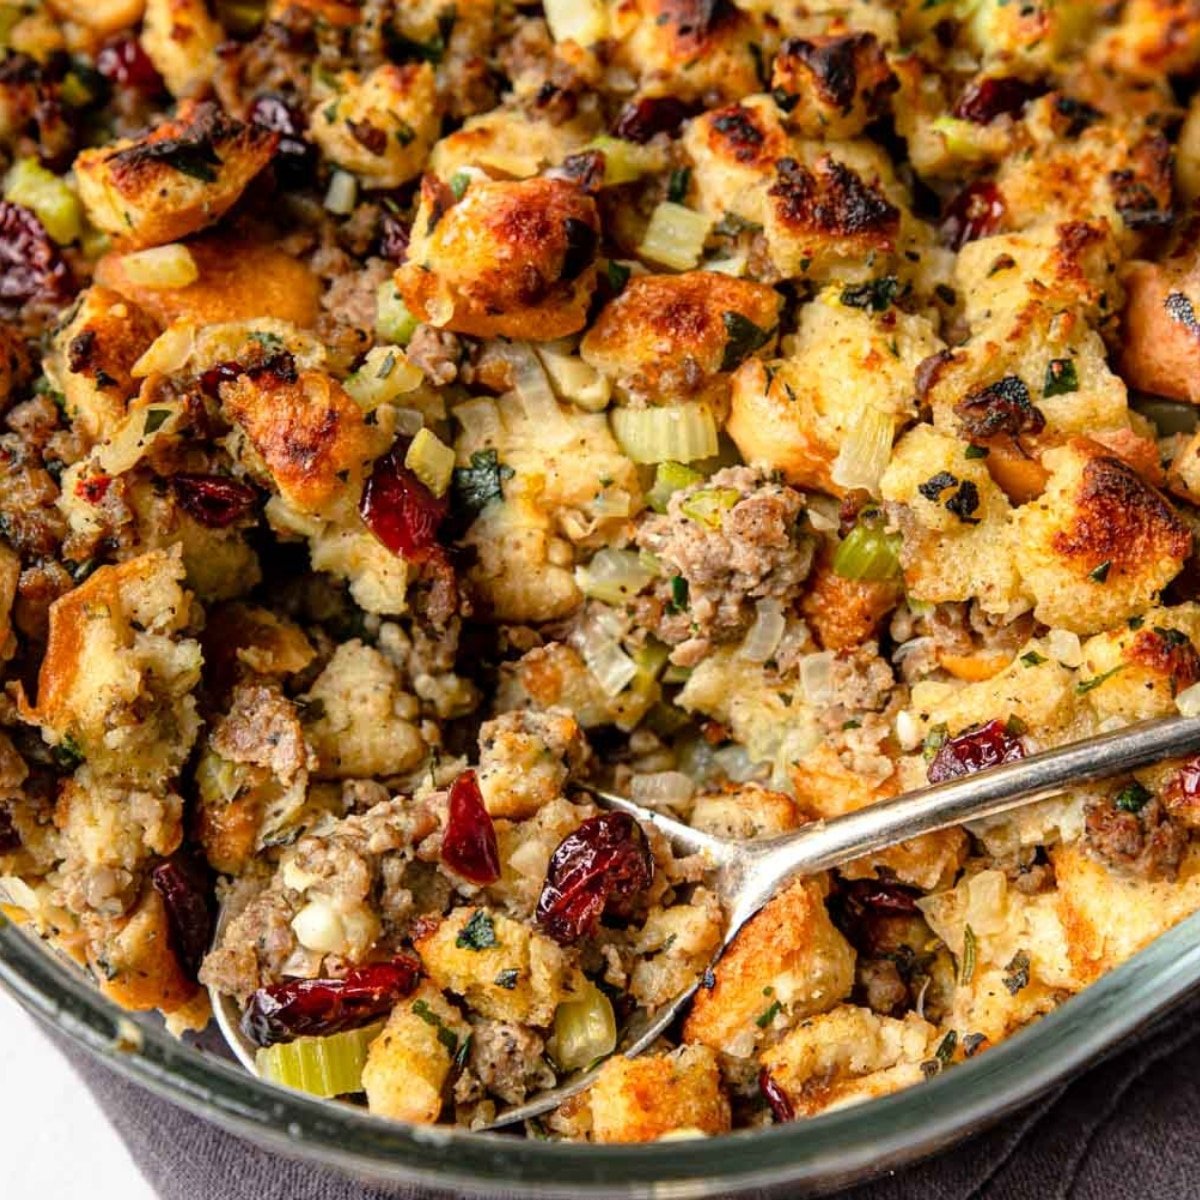
At Thanksgiving this year I am actually doing TWO stuffings…to the delight of my family & friends. I am going to whip up this Herbed Mushroom Stuffing, then I am going to do this Classic Stuffing.
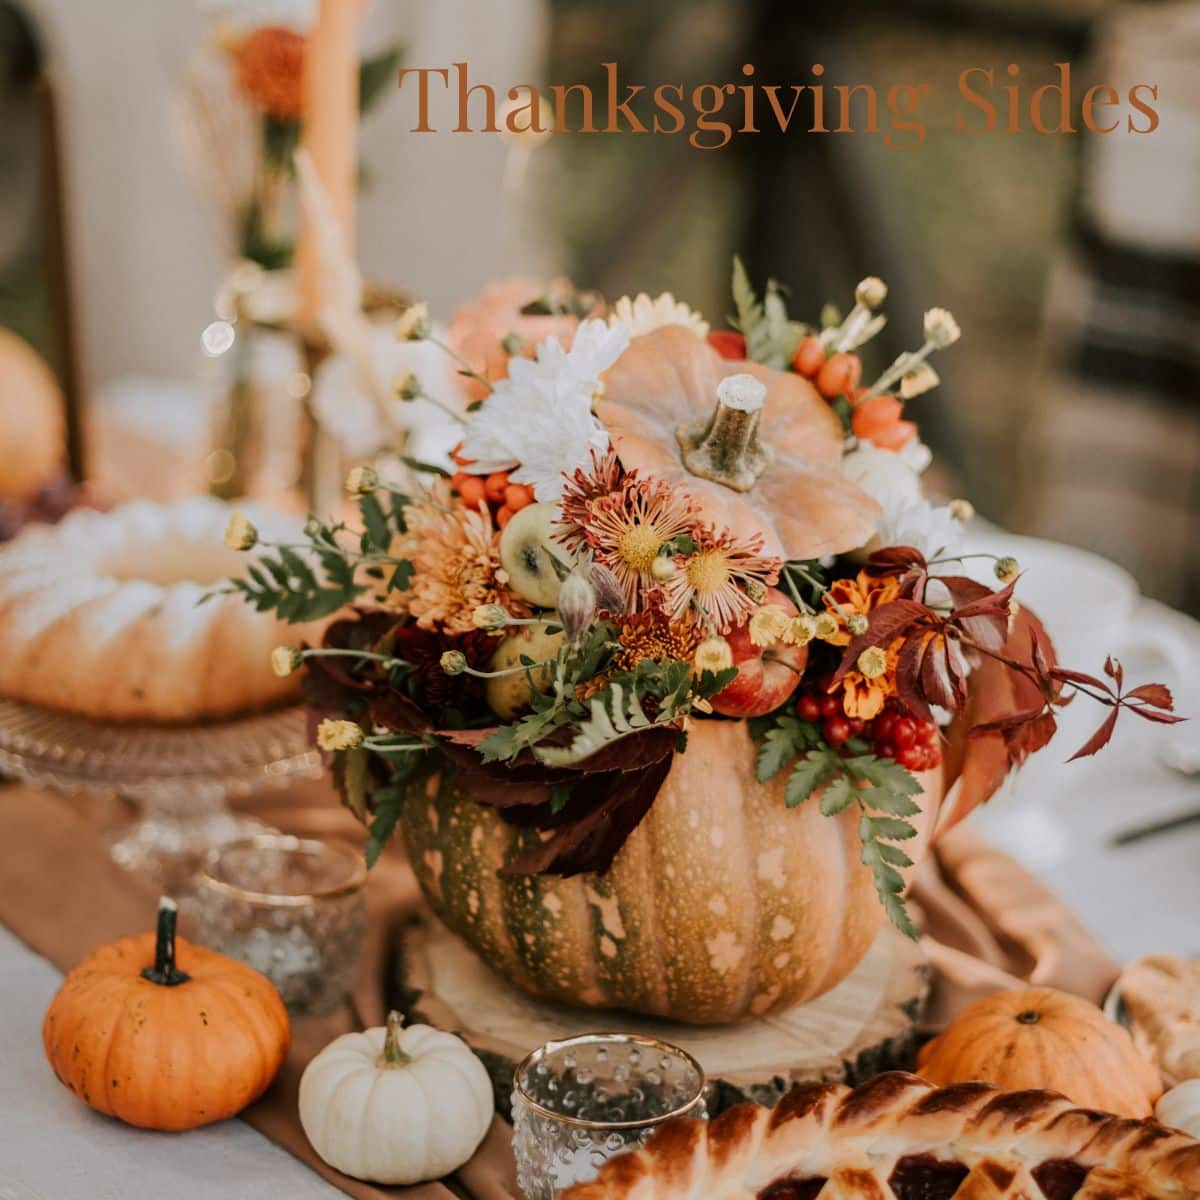
If you need more Holiday Side Dishes, you can check out this whole article with recipes linked – 35+ Thanksgiving Sides Everyone Will Love.
[feast_advanced_jump_to]You Are Going TO Love This One!
- Layers and layers of flavor From the pancetta and mushrooms to the rosemary and sage.
- Perfect texture for all Buttery and soft inside with golden, crispy edges.
- Comfort with a twist Classic stuffing that feels and tastes elevated.
- Foolproof It’s crucial you get the side dishes right for the Holidays. I’ve included all the tips and tricks so you get it turns out perfect!
- Easily doubled for a large crowd.
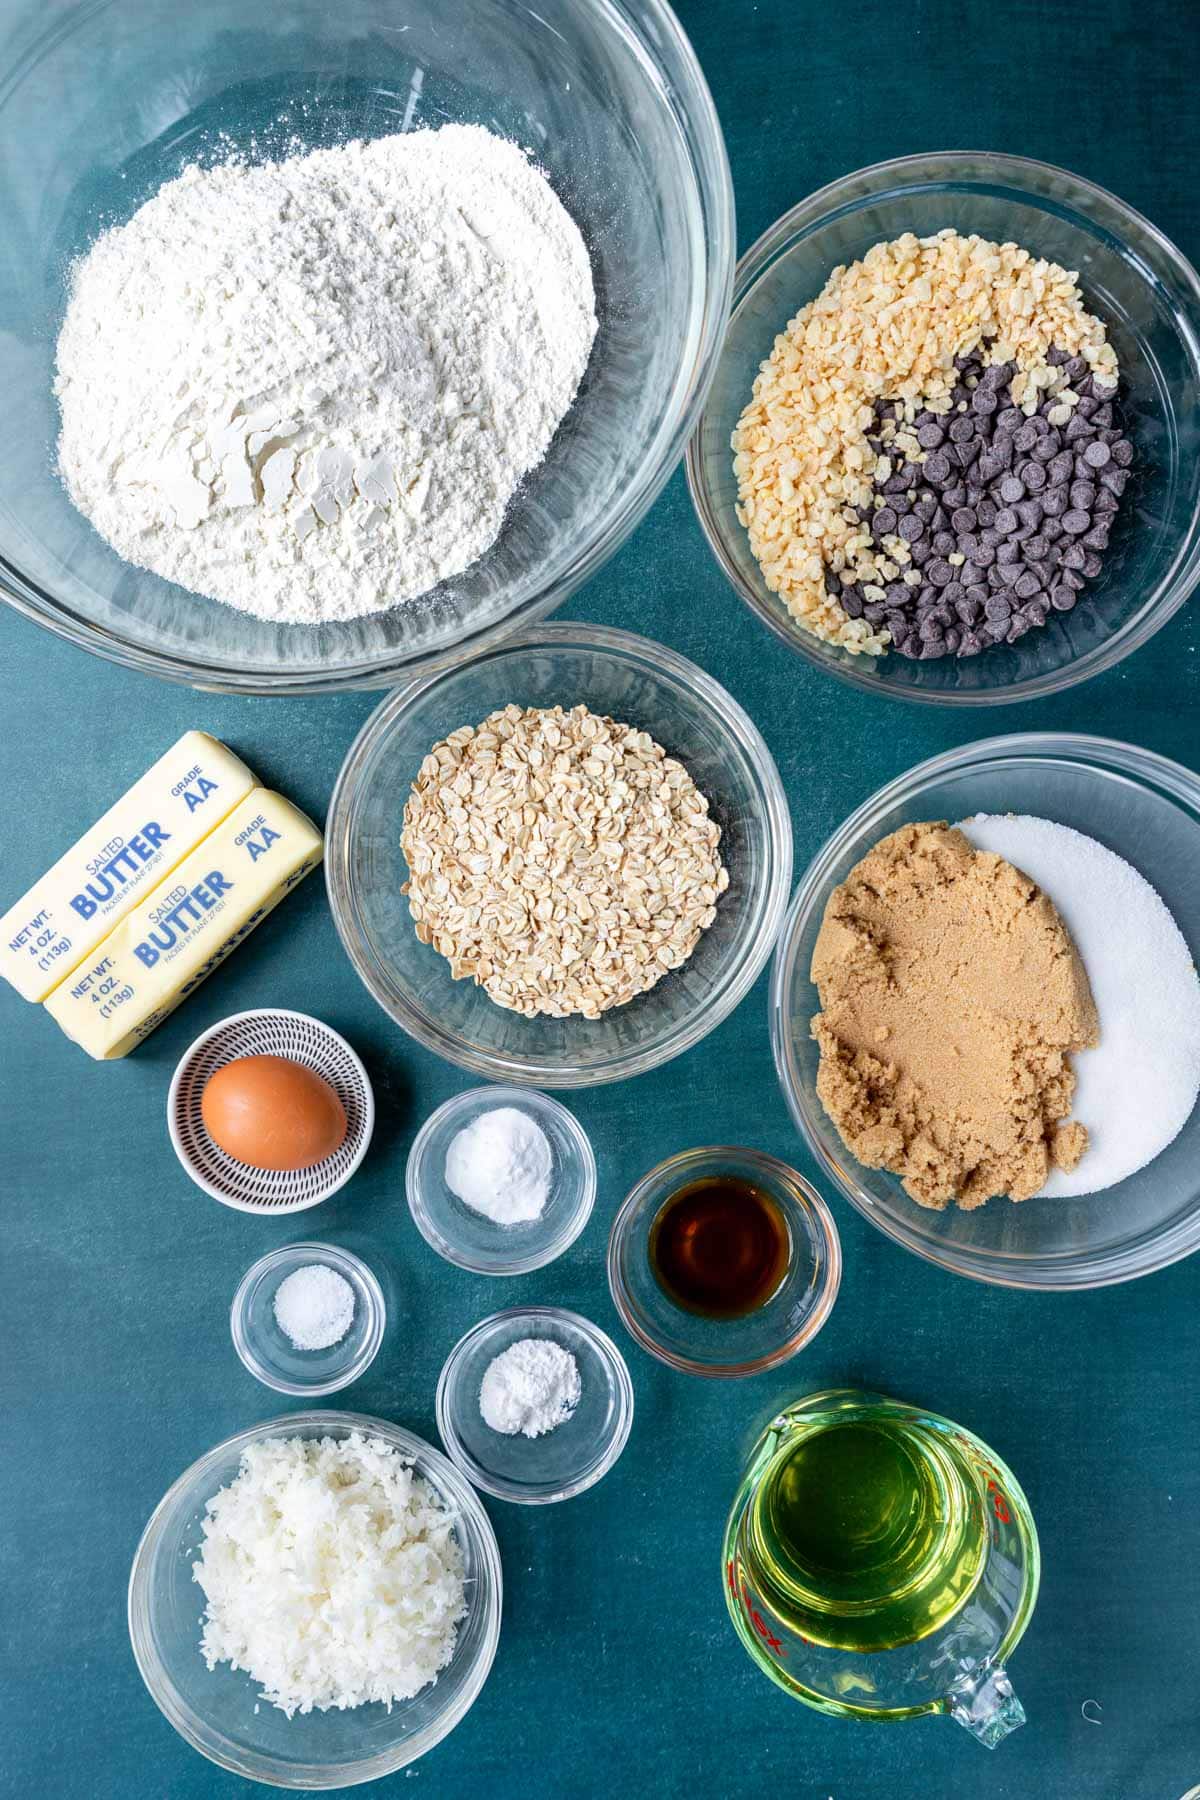
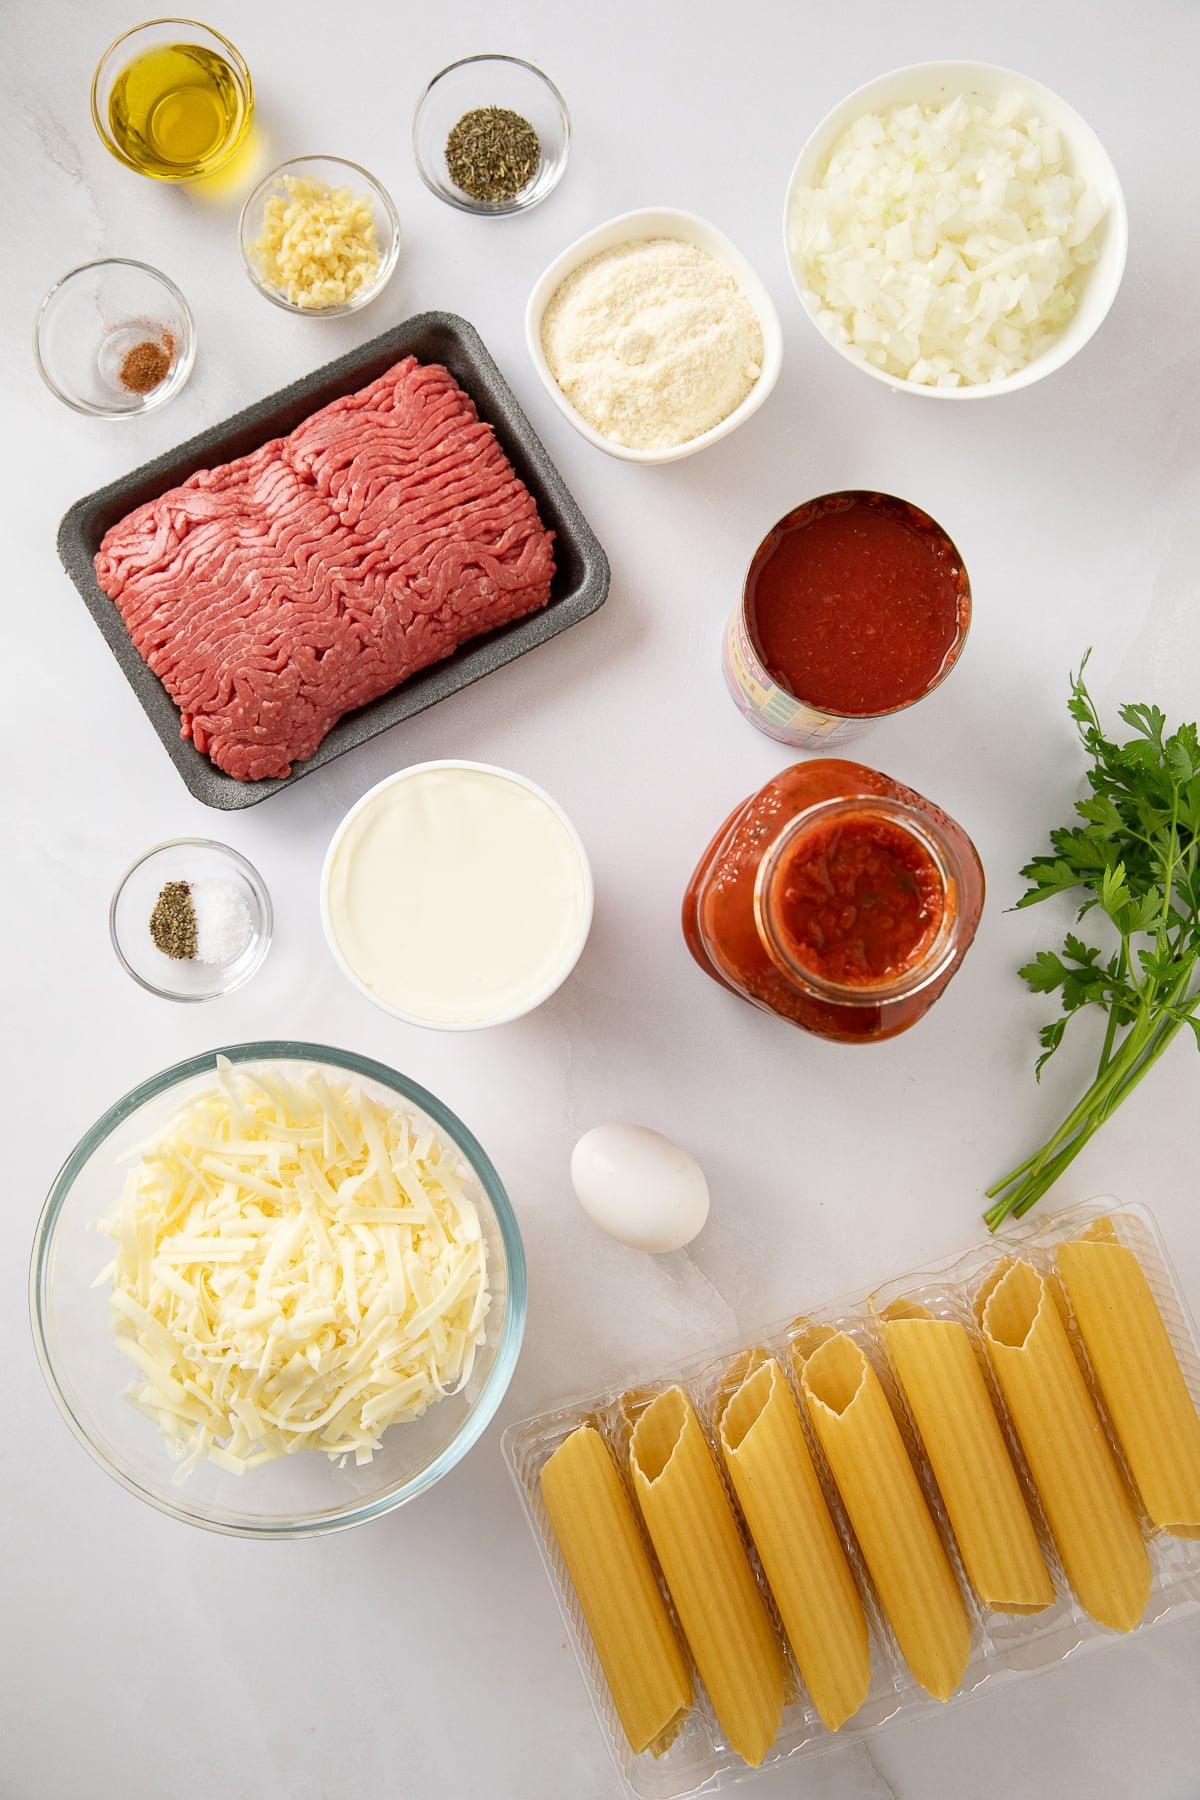
Ingredients for Mushroom Stuffing
Of course one of the most important ingredients in stuffing is bread. It is so important that we devoted a whole section on it below. You can pop down there and read more about it:
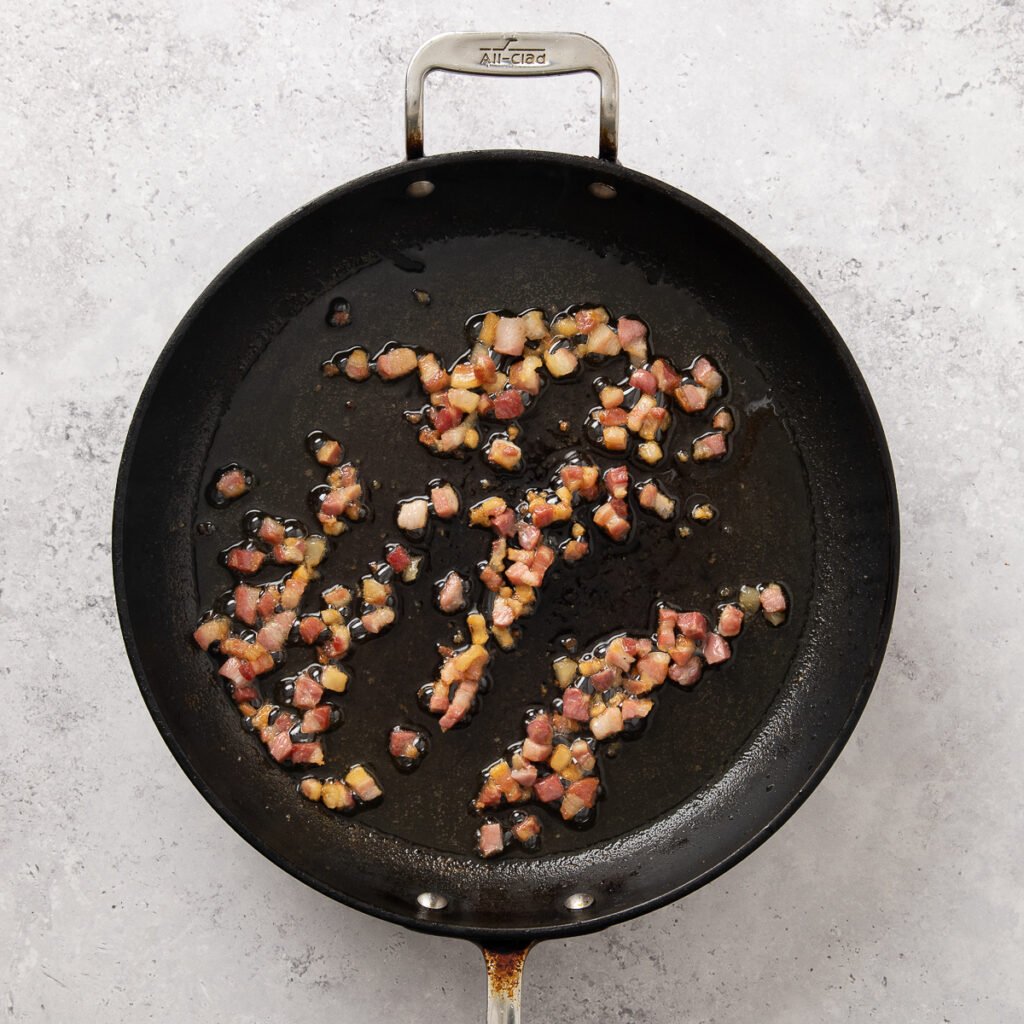
Pancetta – Italian cured pork that's similar to bacon but unsmoked, giving it a rich, salty flavor without the smokiness (you can sub bacon if you want the extra smokiness). It adds a wonderful layer of flavor and texture. When crisped up first, its rendered fat becomes the perfect base for sautéing onions, garlic, and mushrooms.
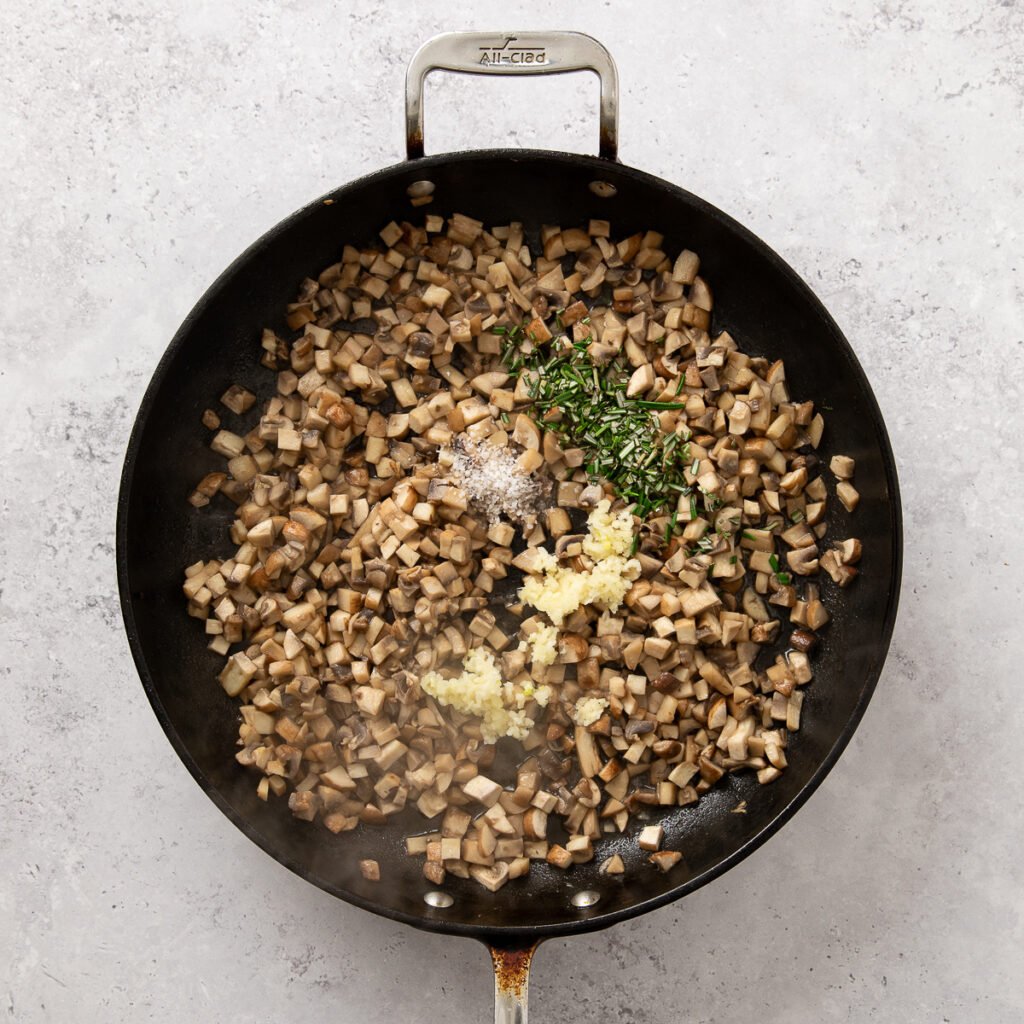
Cremini Mushrooms – also called Baby Bella mushrooms are perfect for your Herbed Mushroom Stuffing. They are meaty and flavorful and will stand up to the sautéing and baking.
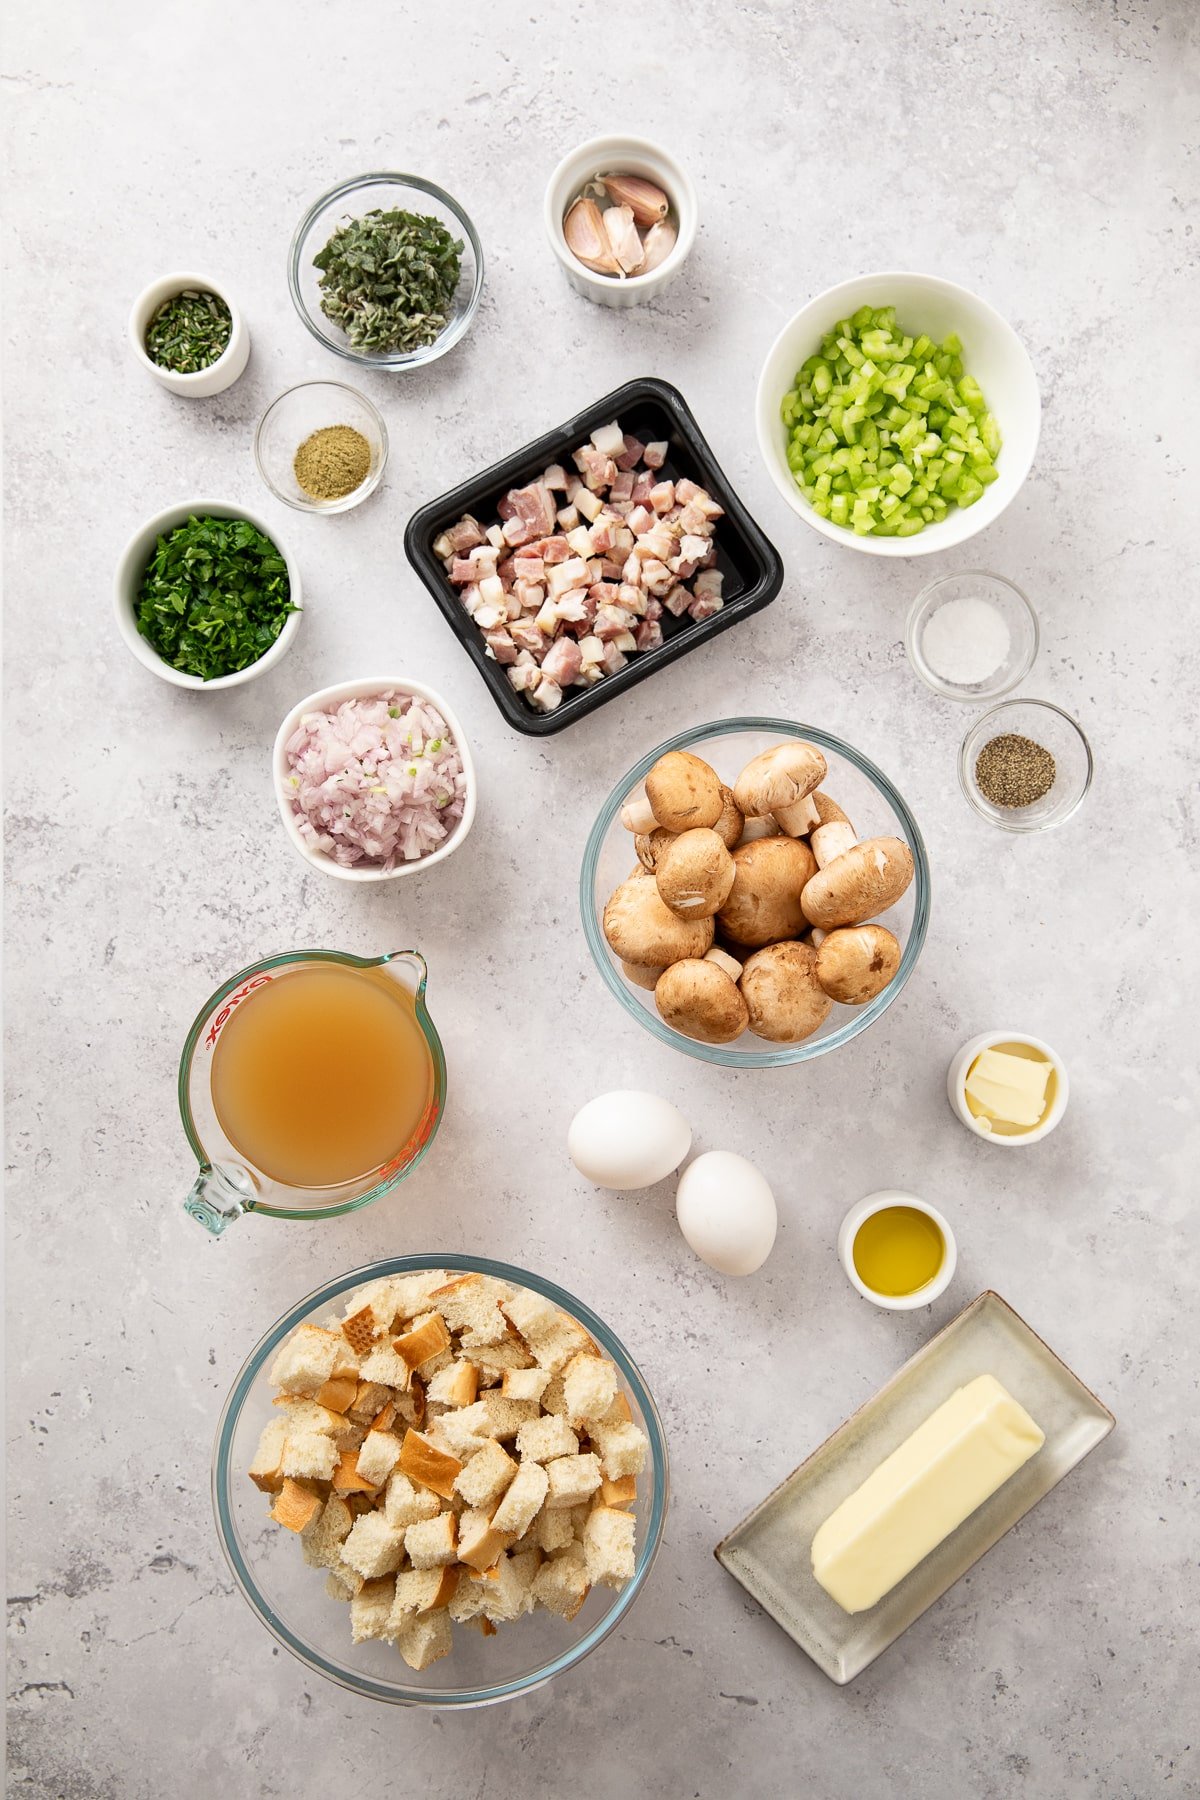
Onion & Celery - It's CLASSIC to have onion and celery added to your stuffing. You can use the celery ribs and leaves!
Garlic – a couple garlic cloves are chopped and sauteed with the mushrooms. The flavor pairs perfectly with the pancetta, mushrooms and rosemary.
Egg - The eggs will bind the stuffing together for the perfect texture.
Chicken Broth - Using the right amount of chicken broth moistens the dried bread cubes perfectly, so that they are buttery and soft in the middle, and not soggy.
Herbs - Fresh herbs help create an over-the-top flavor. Chopped sage, rosemary and parsley pair perfectly with the mushroom and pancetta.
Seasonings - The fresh herbs do most of the heavy lifting in this Mushroom Stuffing, but a little kosher salt, black pepper, and poultry seasoning enhance all the flavors.
Salted Butter - The salted version is the only butter we recognize here at Mom's Dinner.
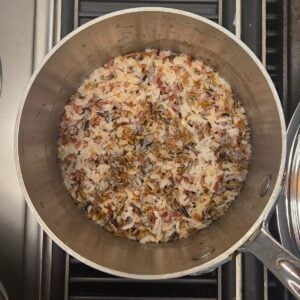
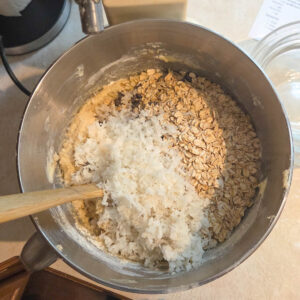
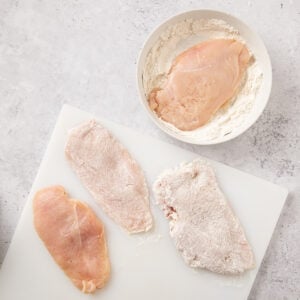
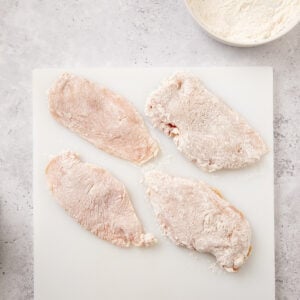
Bread Cubes
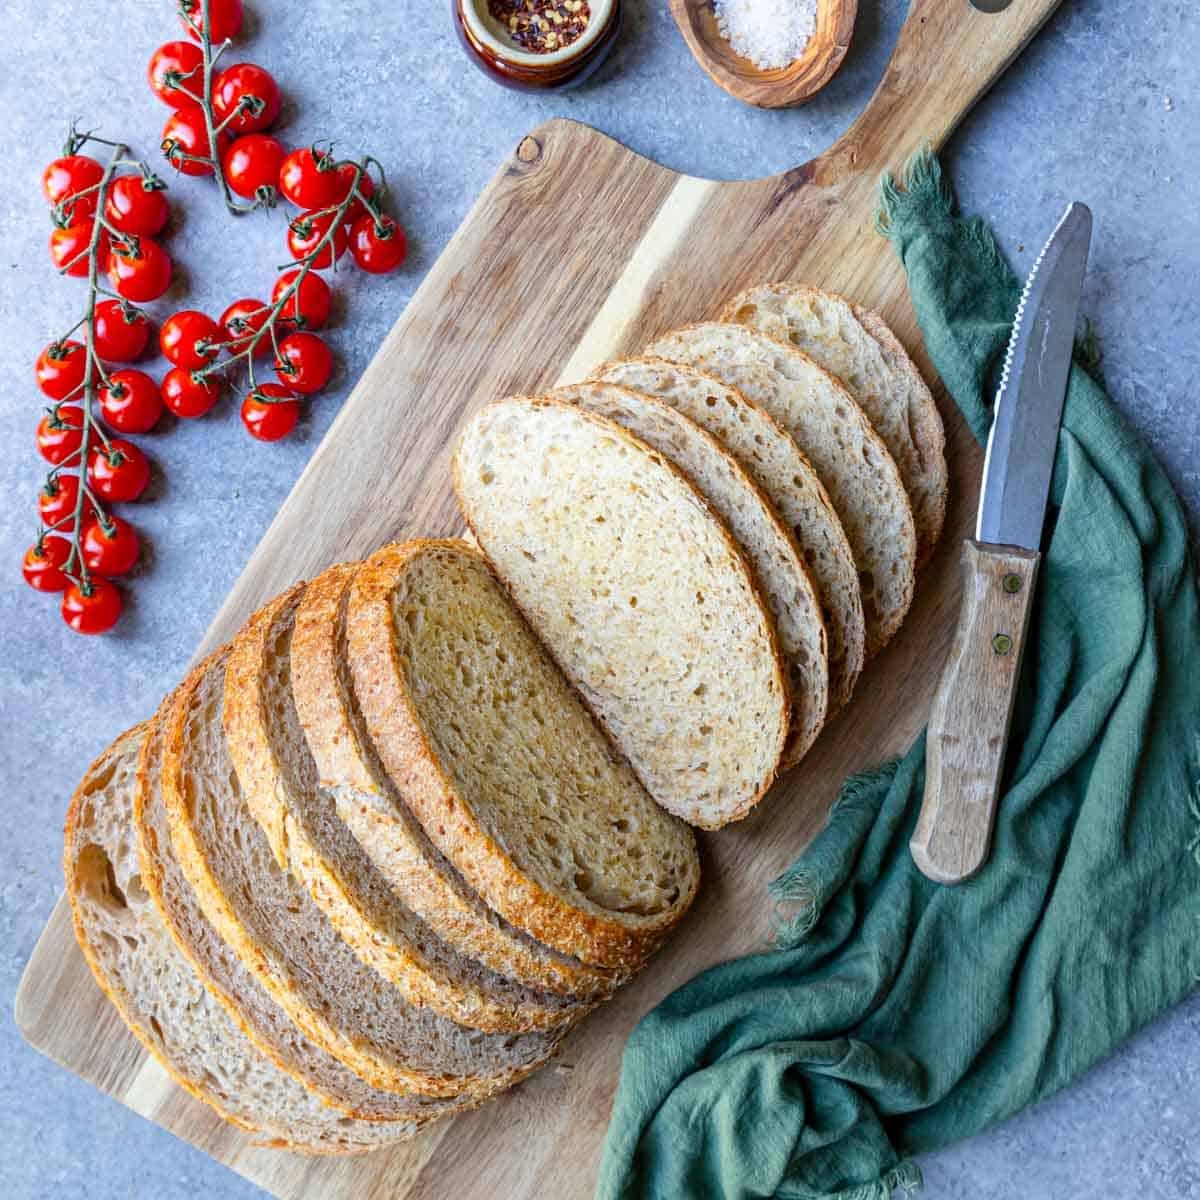
Bread is one of the main ingredient in Mushroom Stuffing. So you want to make sure that you buy a good quality bread that will stand up to the butter, eggs and broth that are added.
Look for a thicker cut bread. I have used these brands and they work perfectly: Sara Lee Artesano or Pepperidge Farm Hearty White.
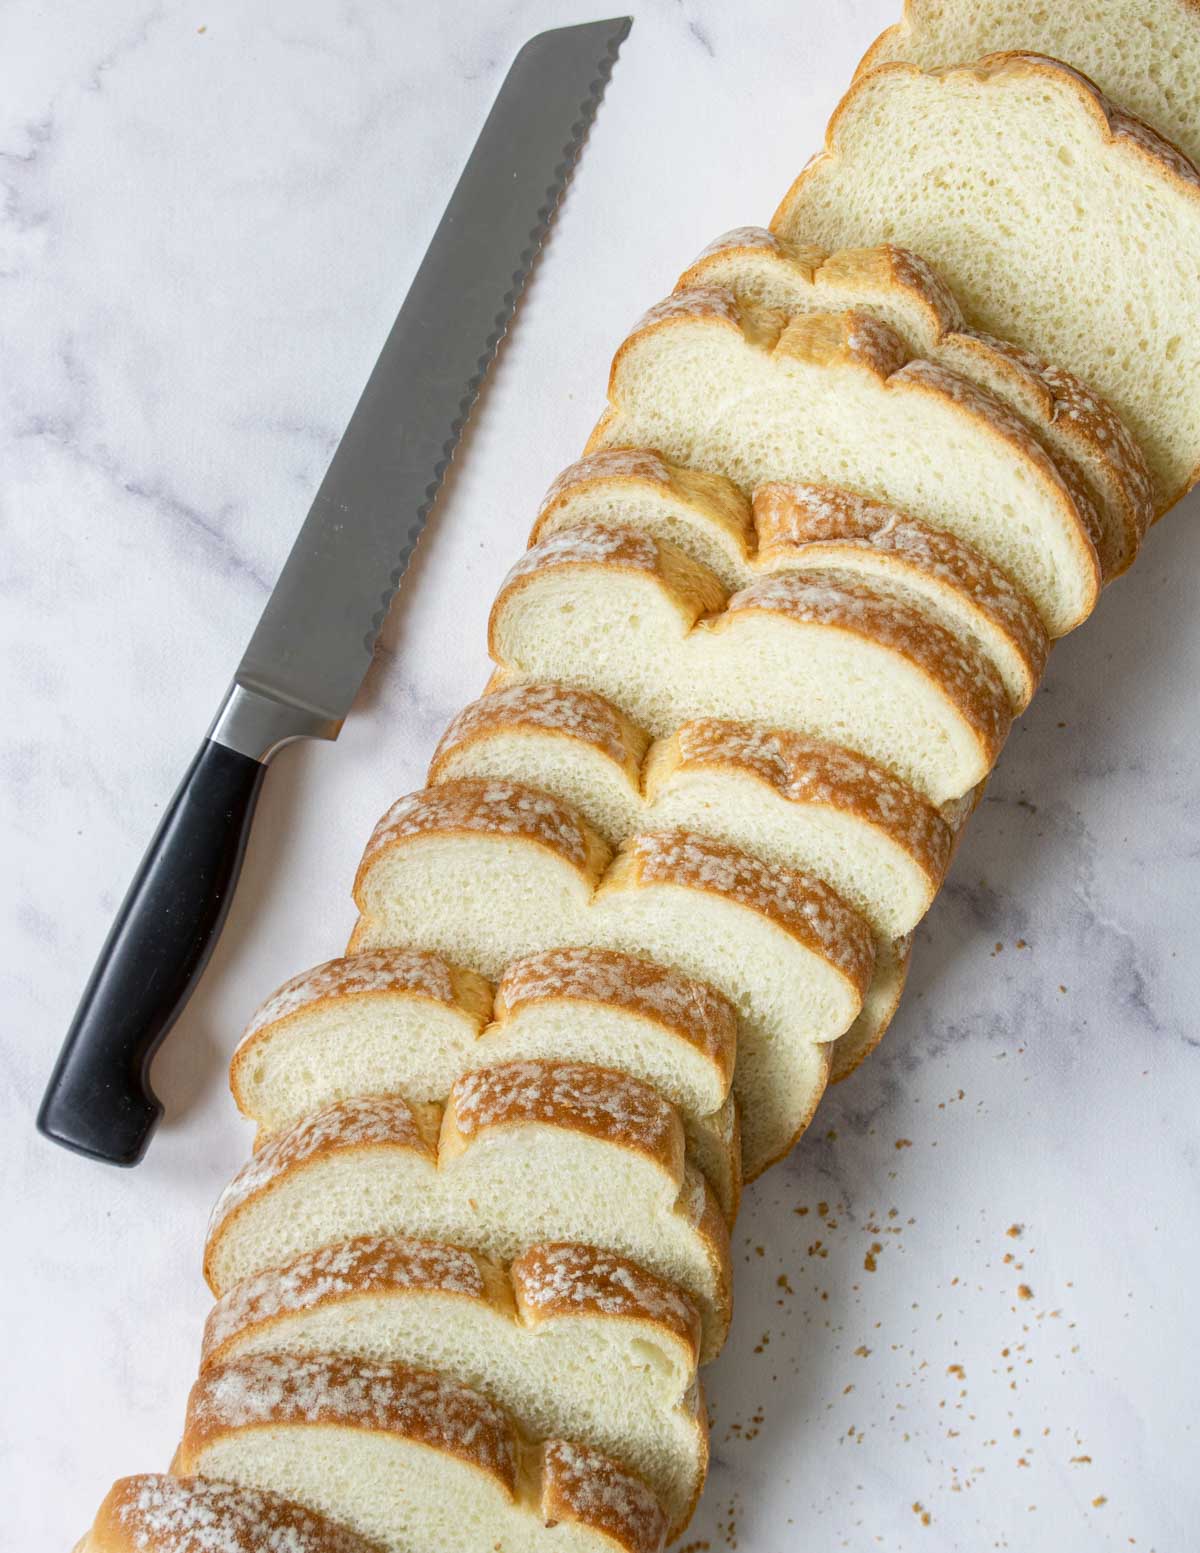
You will also want to make sure that your bread is stale. This is key to allowing the bread to absorb the butter, broth and eggs, which makes your stuffing so buttery and golden! If the bread isn’t properly stale it will disintegrate when you add the liquids.
How TO Make Stale Bread Cubes
There are two options for making stale bread. Make sure to dry the cubes so they feel and sound almost like a crouton…
- Days in Advance- Cut the bread into 1 inch cubes and let it sit on a sheet pan or two, on the counter for a couple days. If it isn’t totally dry by the time you need it, pop it in a 200°F oven for 15 minutes.
- Quick Method- Cut the bread into 1 inch cubes and spread on a large sheet pan or two. Dry in a 250 degree oven for 30-40 minutes, tossing every 5-10 minutes so it doesn't brown.
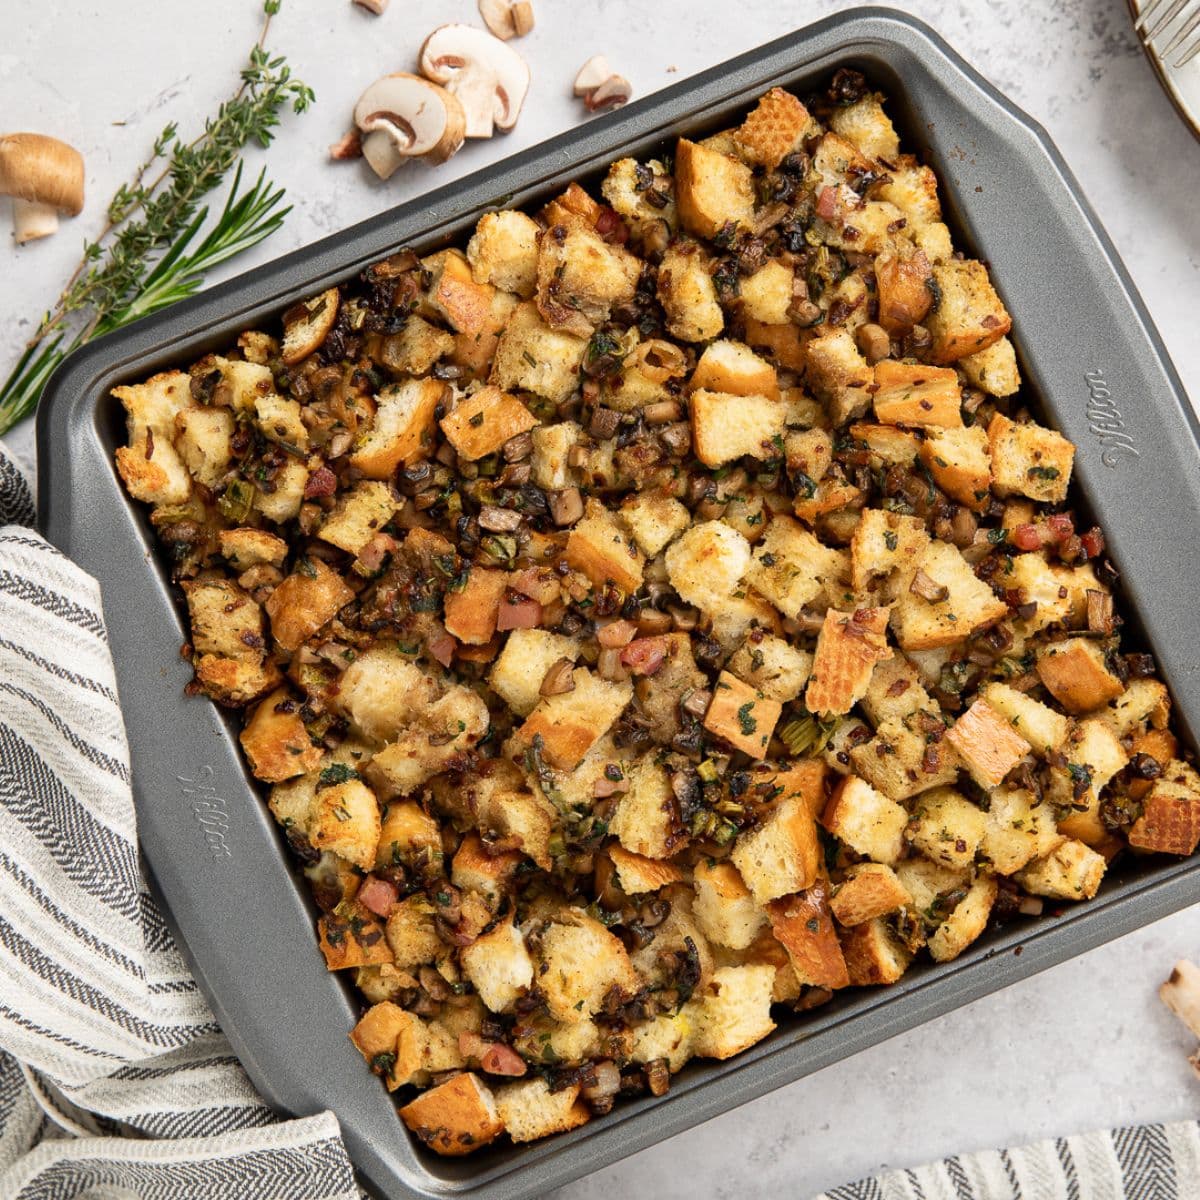
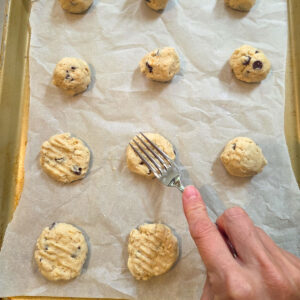
How To Make Stuffing with Mushrooms
This is a quick overview of how to make Mushroom Stuffing. For more detailed instructions and ingredient amounts, pop down to the recipe card.
Step 1
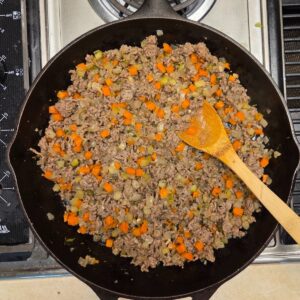
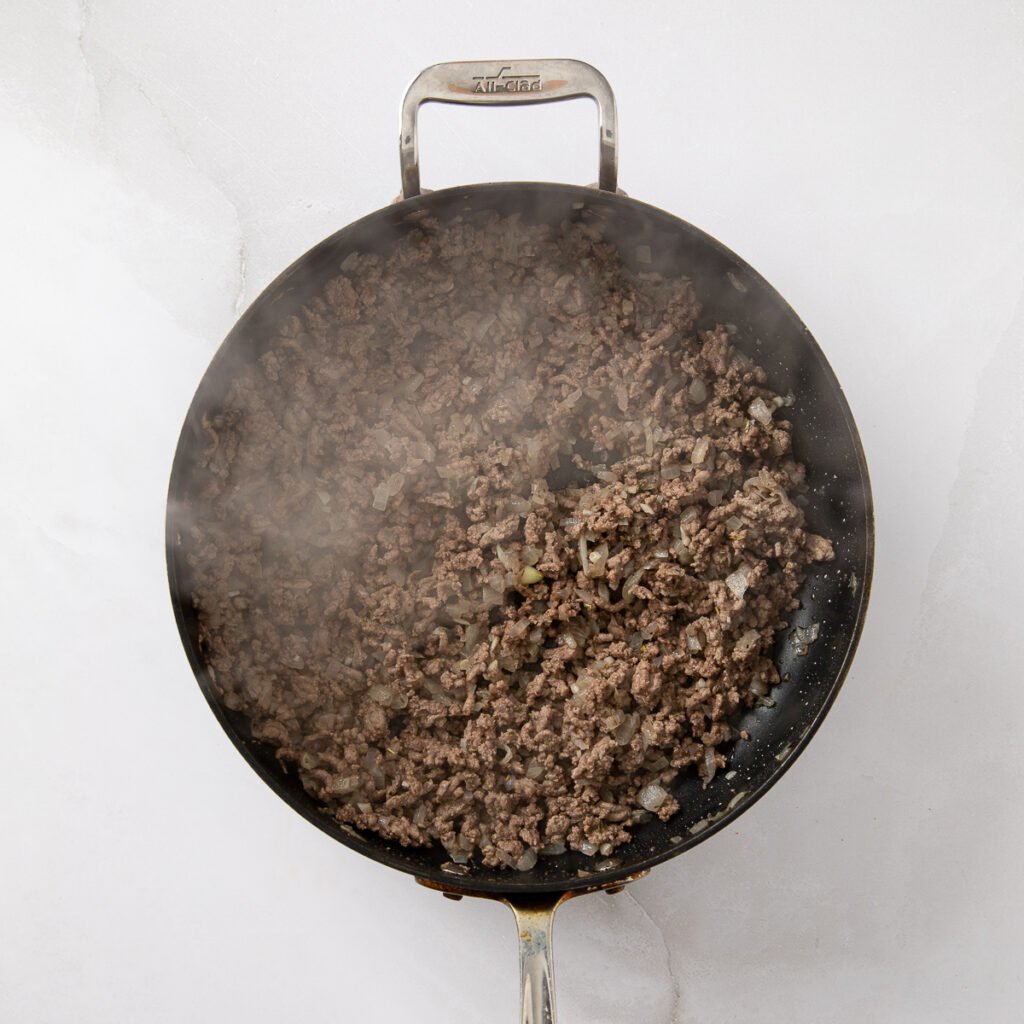
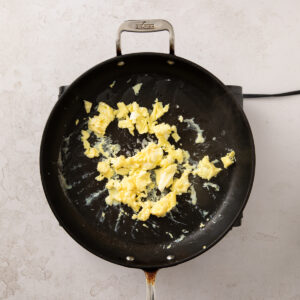
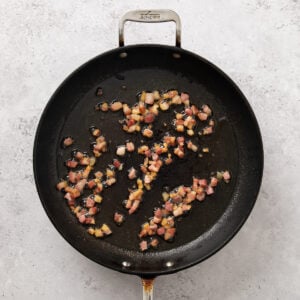
In a large skillet, crisp the pancetta in 1 tablespoon oil.
Using a slotted spoon remove the pancetta, leaving the rendered fat behind.
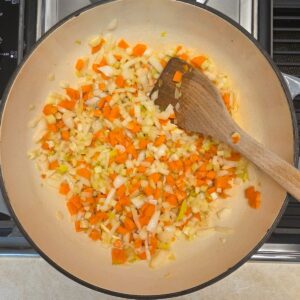
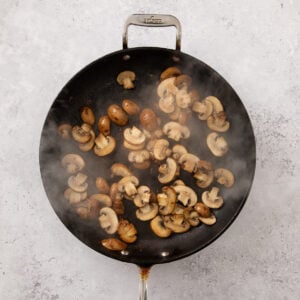
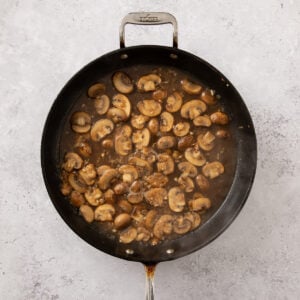
Step 2
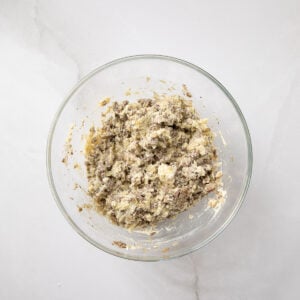
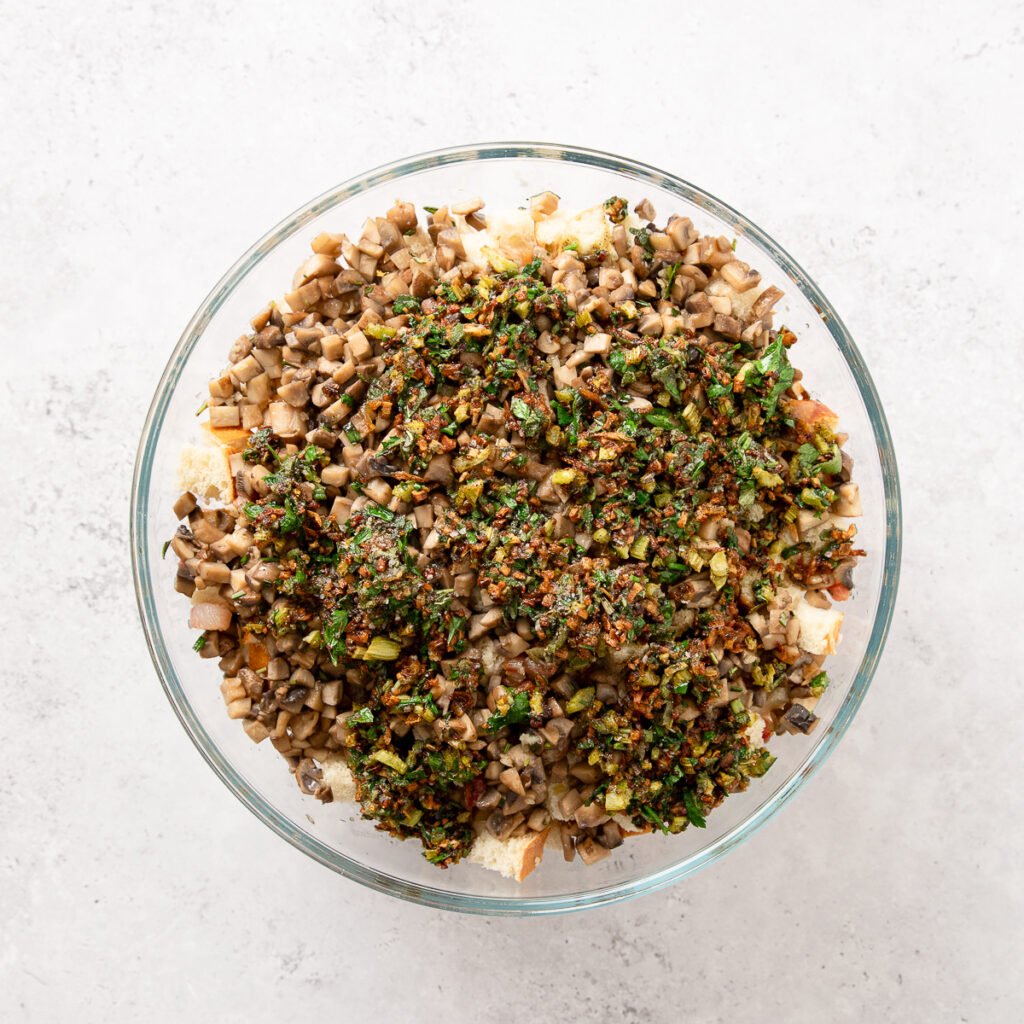
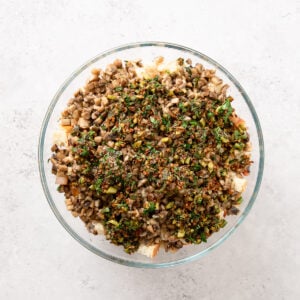
Sautee the mushrooms in the rendered fat for about 5 minutes. Add the garlic, rosemary and kosher salt and cook 1 more minute.
Pour over the bread cubes.

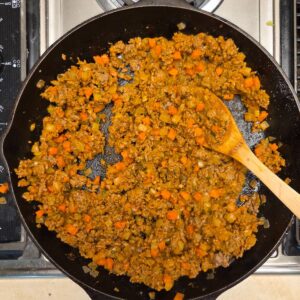
Step 3
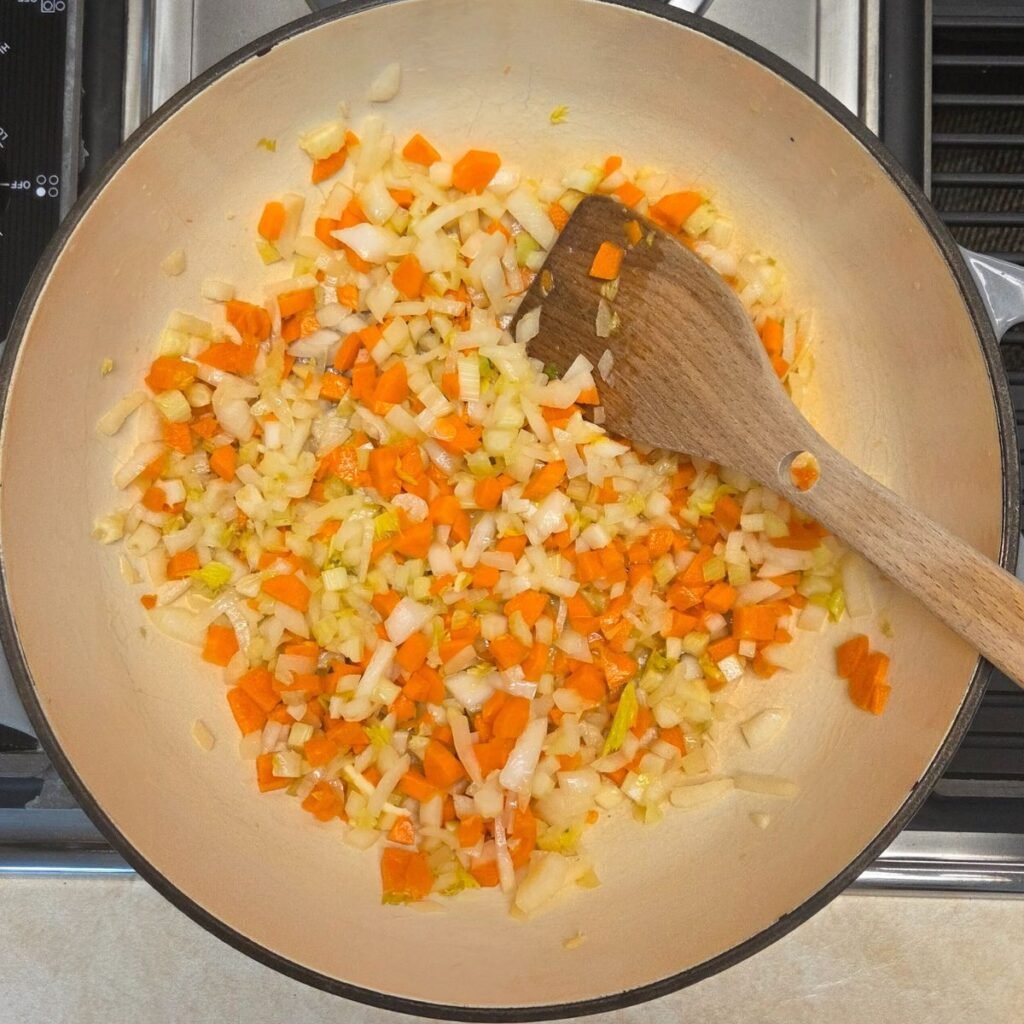
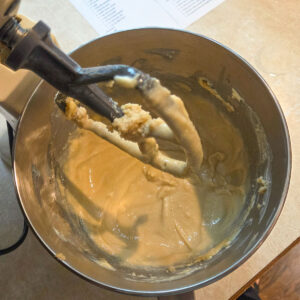
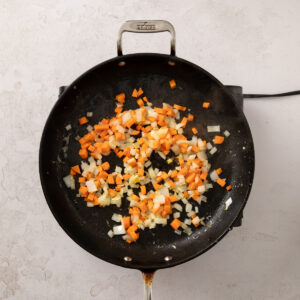
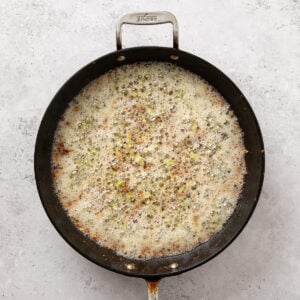
In the empty pan add the butter and saute/soften the celery and shallots. This will take a while! Make sure the celery is softened.
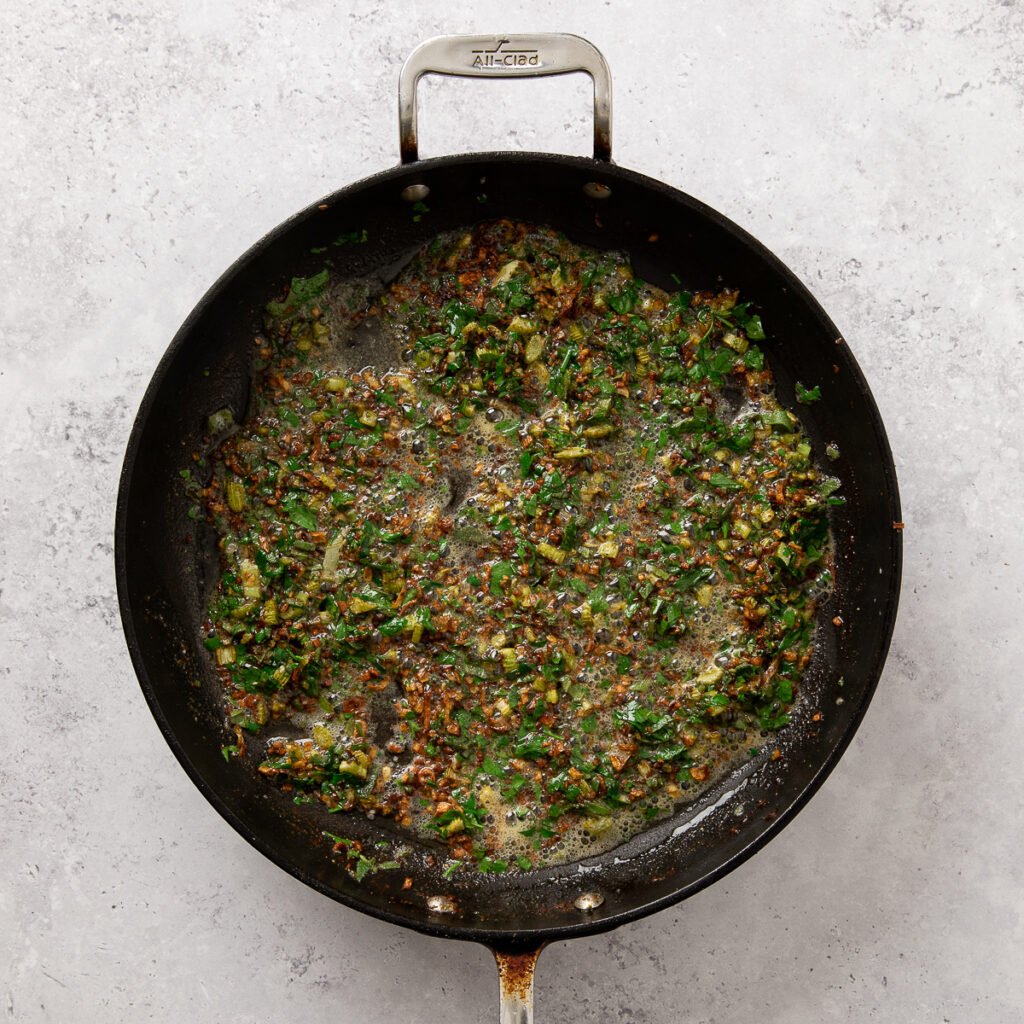
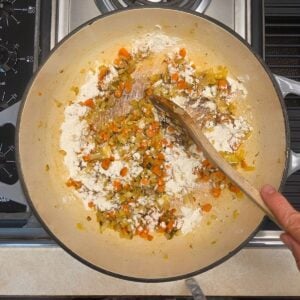
Step 4
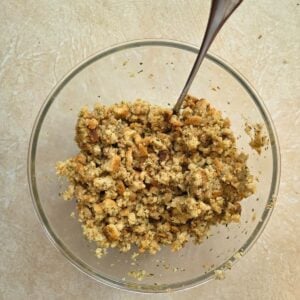
Off the heat add the kosher salt, pepper, poultry seasoning, sage and parsley and stir to combine.
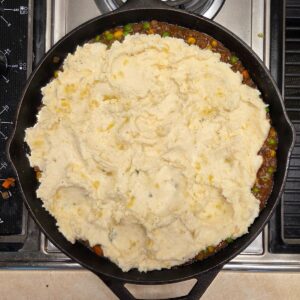
Step 5
Pour the mixture over the bread cubes.
In a glass measure cup combine the chicken broth and eggs. Pour over stuffing and mix.
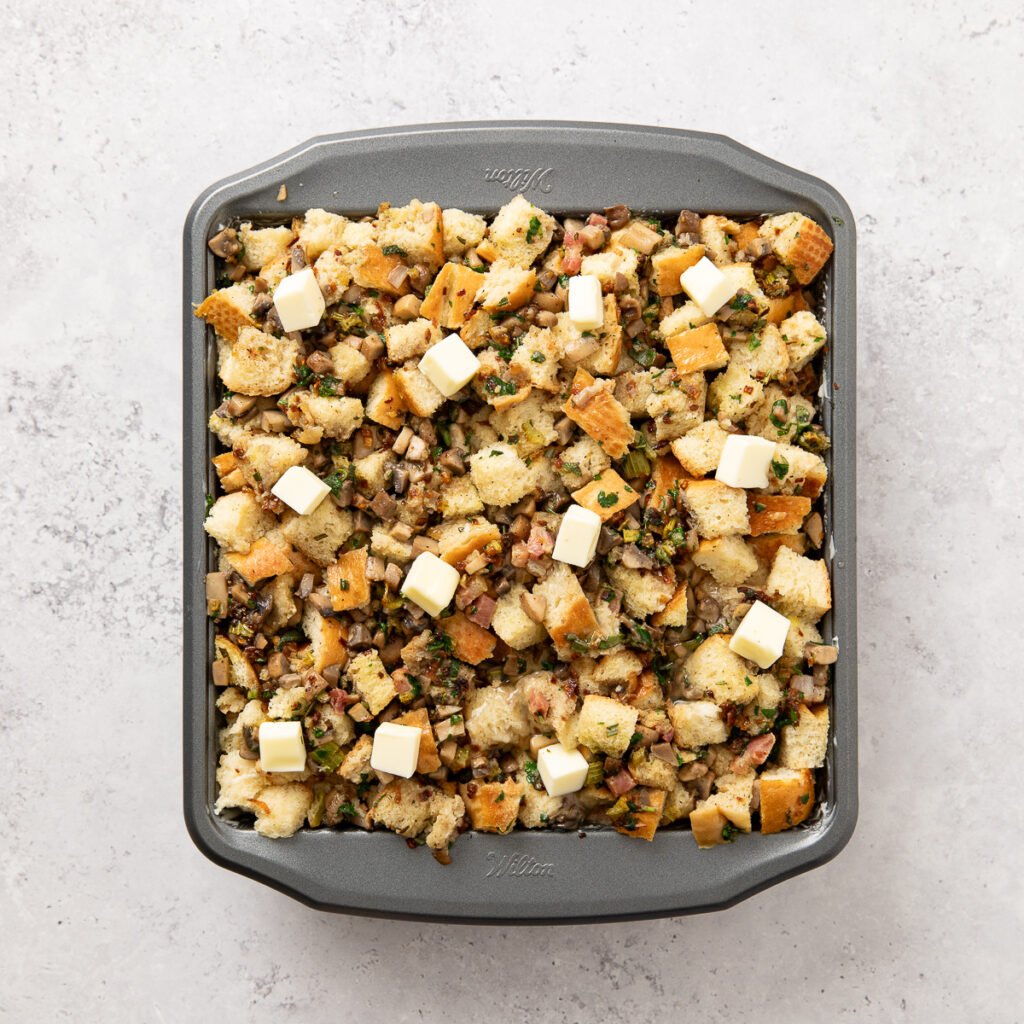
Step 6
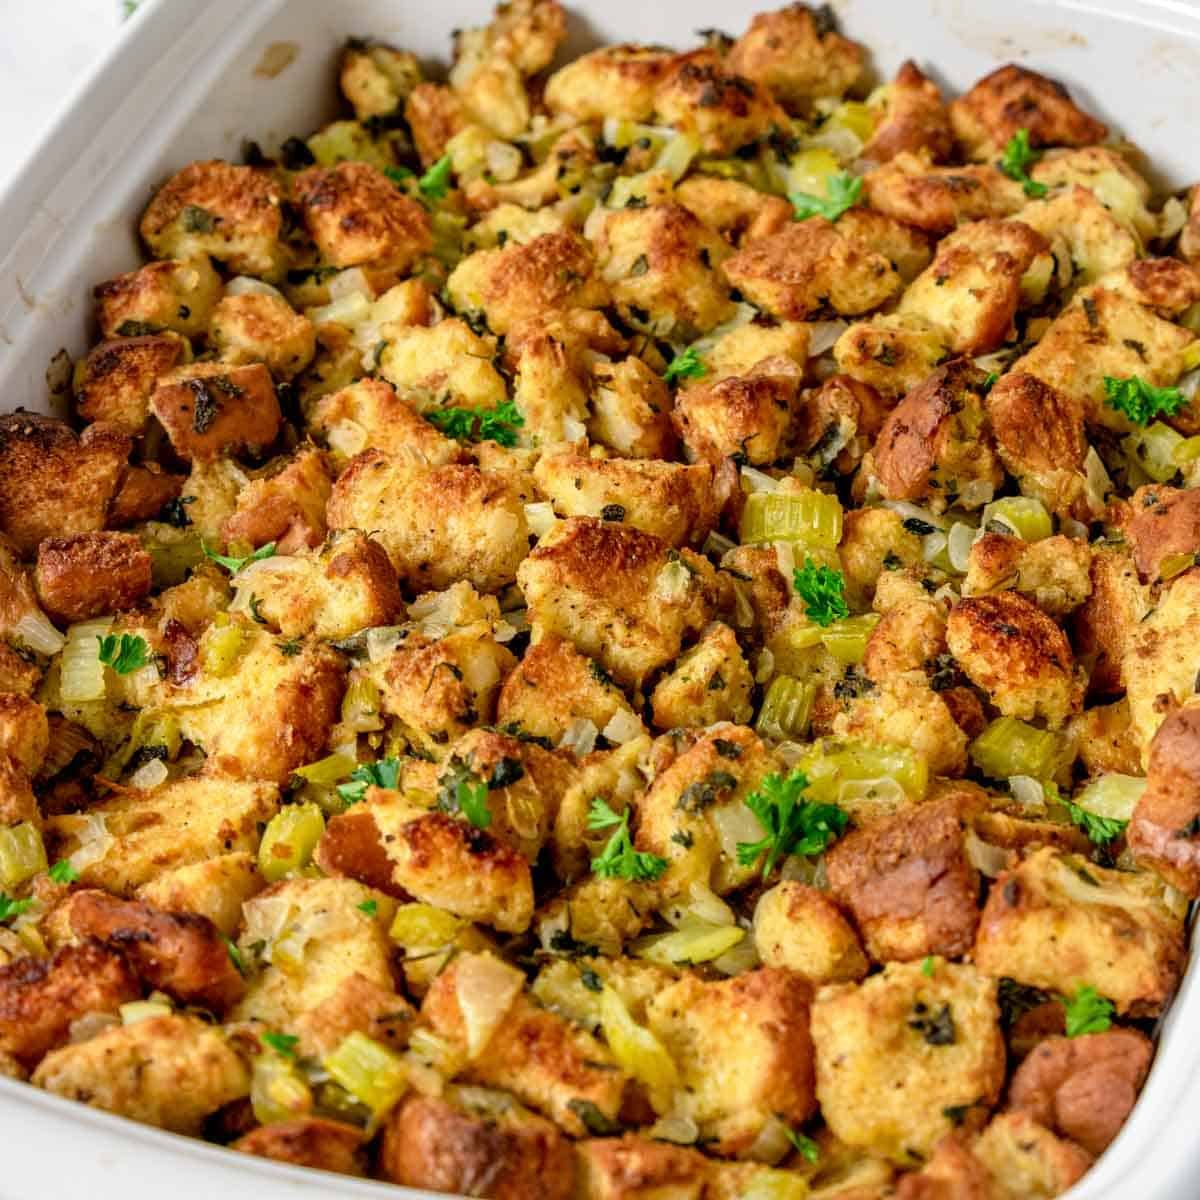
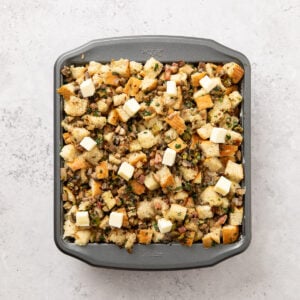
Pour into a buttered baking dish. Dot the top with remaining cubed butter. Bake covered for 30 mins, then uncovered for 10-15 minutes.
Tips For Making Mushroom Stuffing Ahead
I know the holidays are a busy time! If you want to make this Mushroom Stuffing in advance you can prep it a couple days ahead and bake on the day of, or make it a month ahead and freeze:
Assemble & Refrigerate (Unbaked)
- Fully assemble the stuffing in a baking dish and cover tightly with foil or plastic wrap.
- Refrigerate until ready to bake.
- Let it rest at room temperature as the oven preheats, adding a splash of broth if it seems dry.
Assemble & Freeze (Unbaked)
- Assemble in a freezer-safe dish, cover tightly with plastic wrap and foil, and freeze immediately.
- Bake directly from frozen at 350°F, covered with foil for 1 hour, then remove the foil and crisp the top for 10-15 minutes.
- Add extra baking time as needed until the internal temperature reaches 165°F.
Doubling The Recipe
You can absolutely double this Mushroom Stuffing recipe for a larger crowd. You can use the slider or +/- button in the recipe card below and it will increase the ingredient amounts for you. Or you can simply double all the ingredients and make it in a 9×13 baking dish. Cooking time should be the same.
More Stuffing Recipes


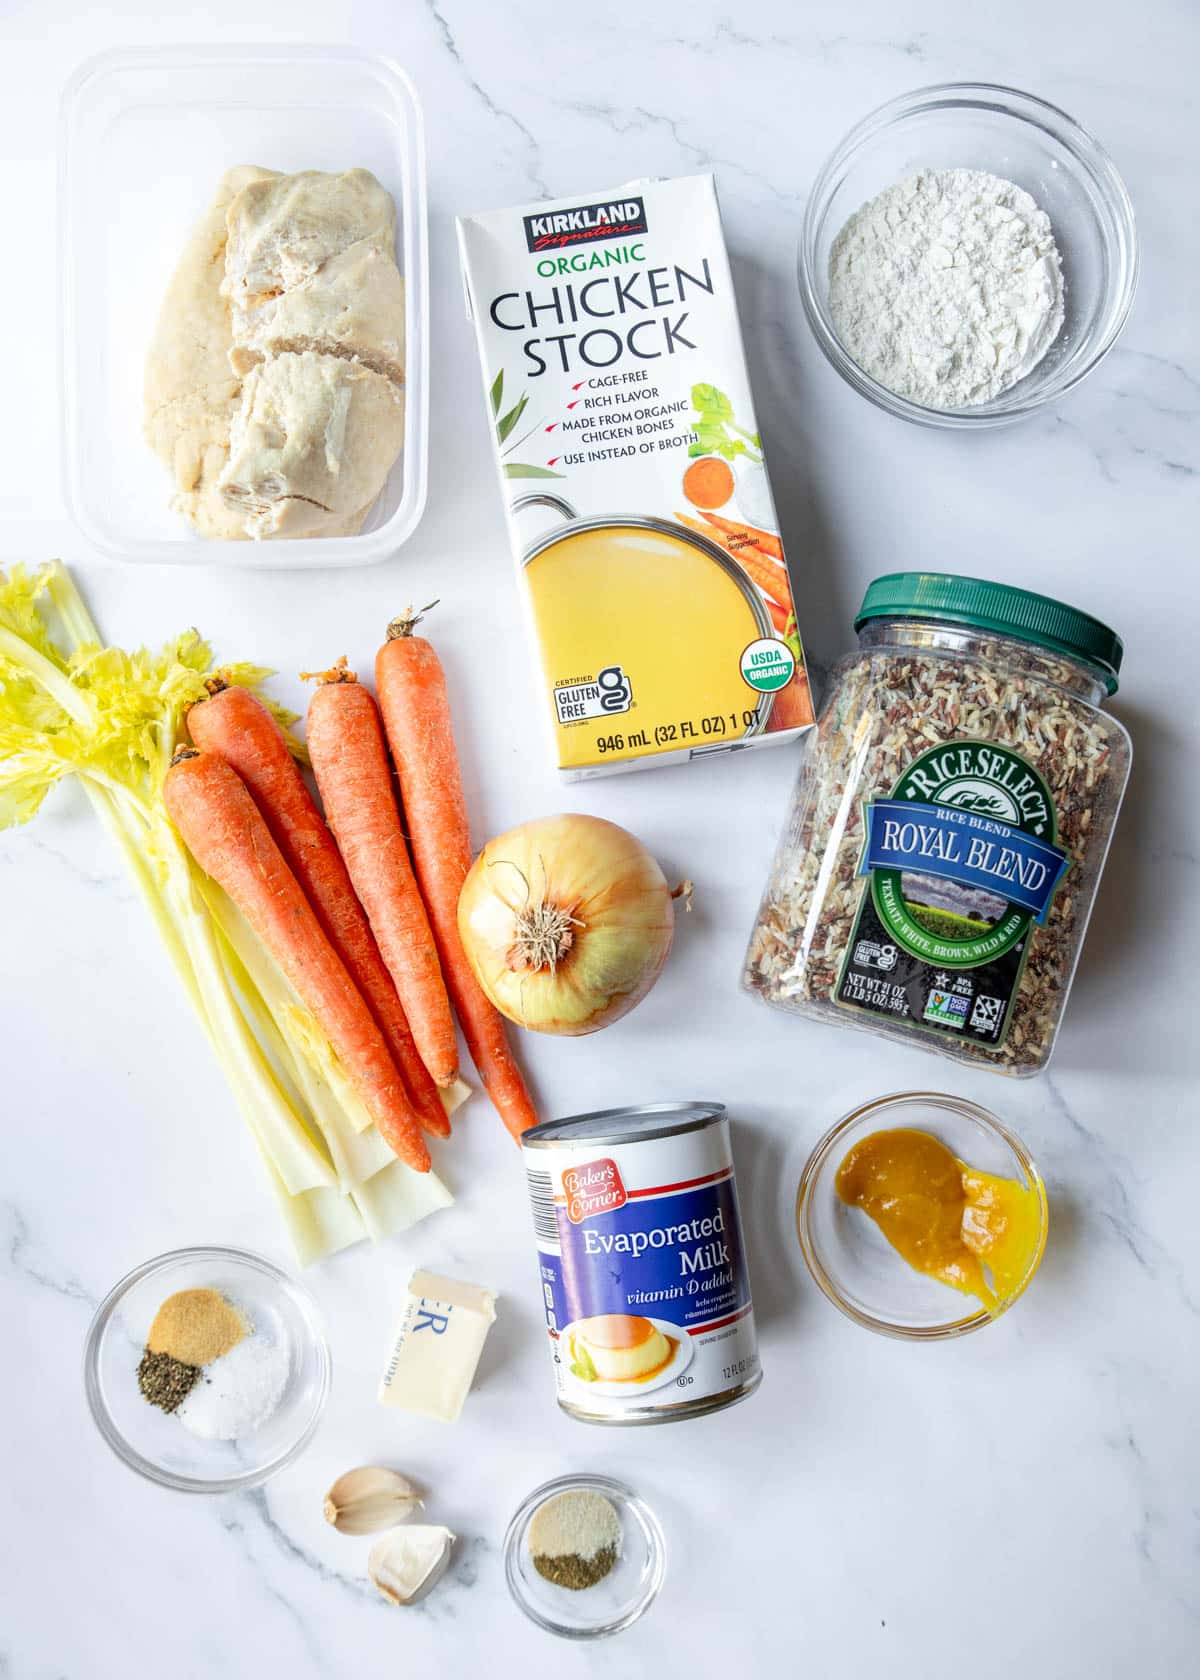
Thanksgiving Menu for 10
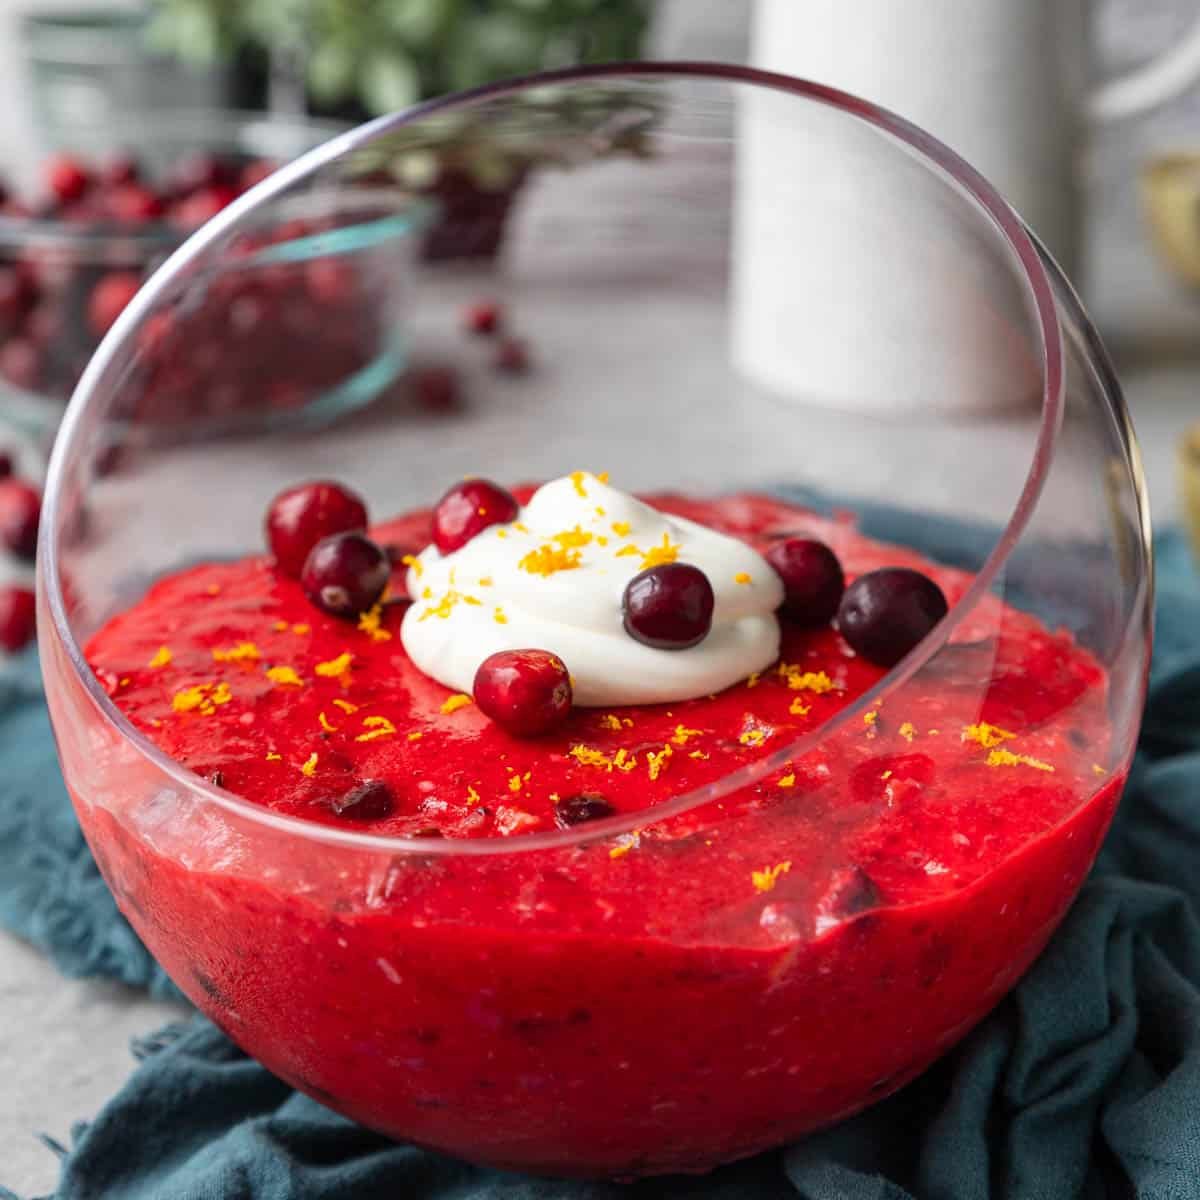
Make an amazing Thanksgiving Feast for 10 ppl or more. Everything from Stuffing and Gravy to Cranberries and Dinner Rolls.

Mushroom Stuffing Recipe
Equipment
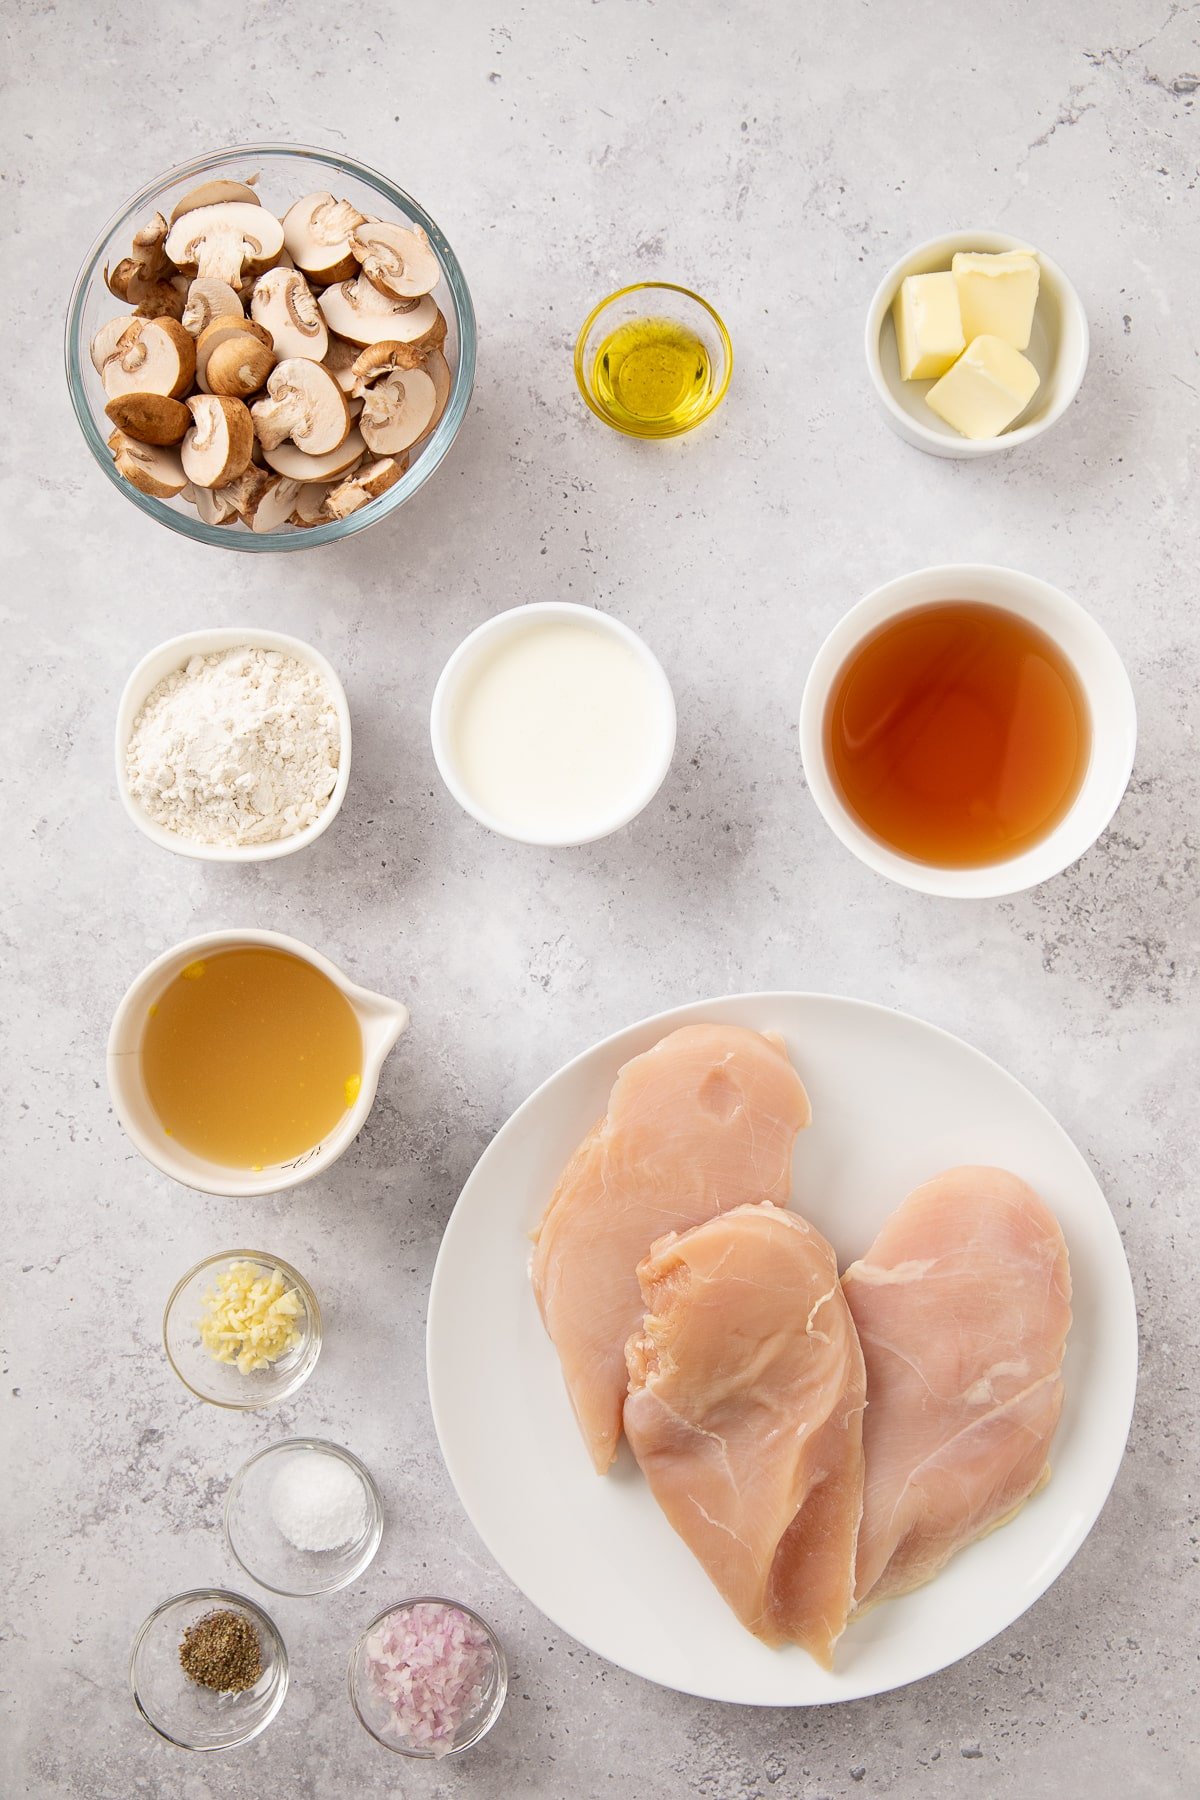
Ingredients
Stale Bread Cubes
- 24 oz loaf of hearty white bread - 1 inch cubes, made very stale
Mushroom Stuffing
- 1 Tbsp. butter - softened, for greasing the pan
- 1 tablespoon olive oil
- 4 oz pancetta - small dice
- 1 lb. baby bella or cremini mushrooms - sliced/chopped/diced
- 4 large garlic cloves - minced
- 1 tablespoon fresh rosemary - chopped
- ½ cup salted butter
- 2-3 large shallots - diced
- 1 cup celery - diced
- 1 ½ teaspoon kosher salt - divided
- ¾ teaspoon black pepper
- 1 teaspoon poultry seasoning
- 3 Tbsp. fresh sage - chopped
- ¼ cup fresh parsley - chopped
- 2 eggs
- 1 ½ cups chicken stock
- 2 Tbsp. cold salted butter - cubed into 8 pieces for topping
Instructions
STALE BREAD
- MOM'S TIP: it is important that you make very stale bread cubes, they should feel and crunch almost like a crouton. This allows the bread to absorb the liquid and flavor without disintegrating.24 oz loaf of hearty white bread
- In Advance: Cut the bread into 1 inch cubes and let it sit on a sheet pan or two, on the counter for 24-72 hours. Tossing them occasionally helps dry all sides.
- Quick Oven Method: Cut the bread into 1 inch cubes and spread on a large sheet pan or two. Dry in a 250 degree oven for 30 minutes, tossing every 5-10 minutes so the cubes don't brown.
MUSHROOM STUFFING
- Preheat oven to 350 degrees and prep a 9×9 baking dish by generously greasing with 1 Tbsp. softened butter. Set aside.1 Tbsp. butter
- Place the dried bread cubes in a large bowl that you will be able to mix the stuffing in. Set aside.
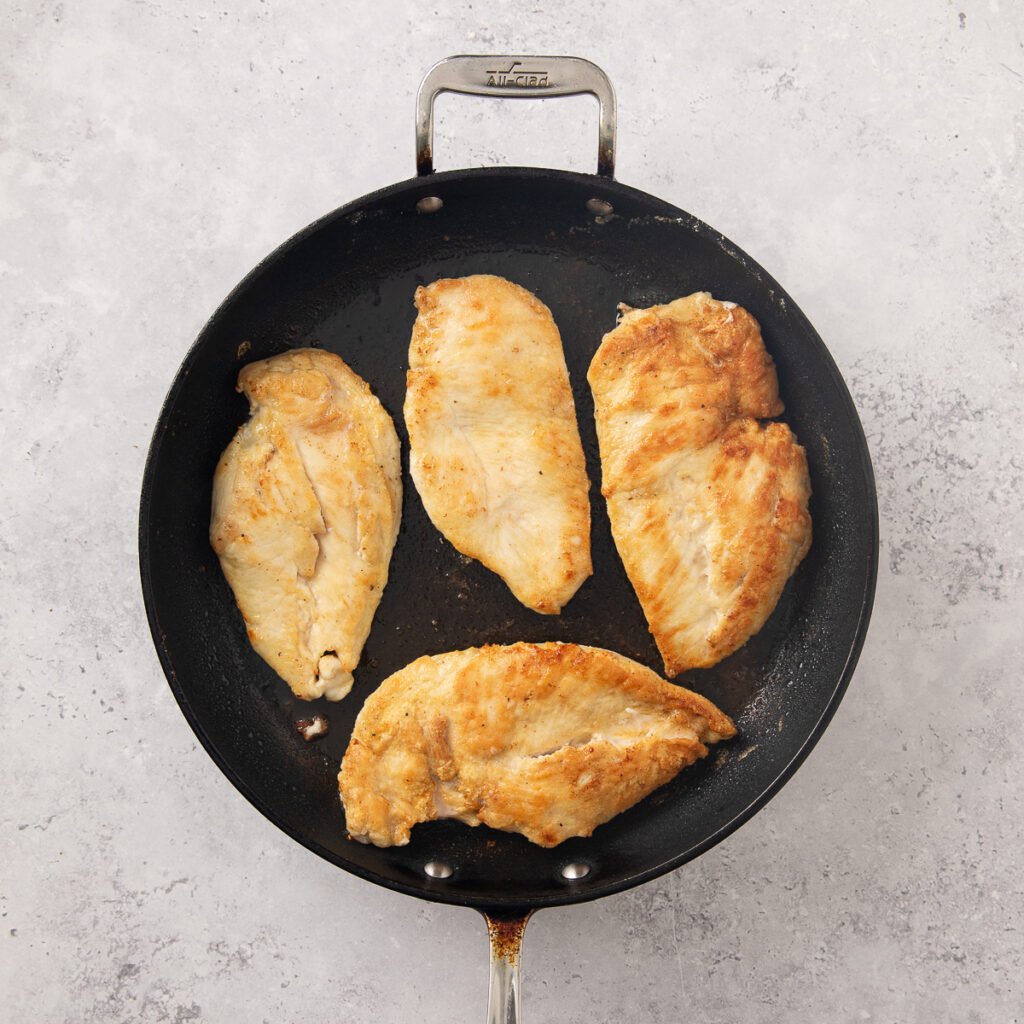
- In a large sauté pan over medium heat, heat 1 tablespoon oil. Add the pancetta and crisp.1 tablespoon olive oil, 4 oz pancetta

- Spoon the crisp pancetta over the bread cubes, leaving the grease behind in the pan.
- Now add the mushrooms, saute, stirring occasionally, until they are slightly browned and softened, about 5 minutes.1 lb. baby bella or cremini mushrooms
- Add ½ teaspoon kosher salt, garlic and rosemary and cook for 1 more minute.4 large garlic cloves, 1 tablespoon fresh rosemary
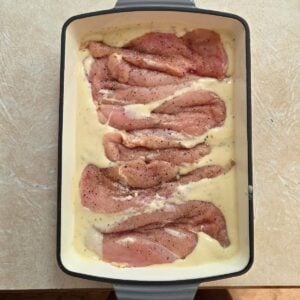
- Pour the mushroom mixture over the bread cubes.
- In the now empty pan add the salted butter, once melted add the celery and shallots and soften for about 20 minutes.Make sure the celery is softened before moving on.½ cup salted butter, 2-3 large shallots, 1 cup celery
- Remove from the heat. Add in 1 teaspoon kosher salt, pepper, poultry seasoning, sage and parsley and stir to combine. Then pour the mixture over the bread cubes.¾ teaspoon black pepper, 1 teaspoon poultry seasoning, 3 Tbsp. fresh sage, ¼ cup fresh parsley
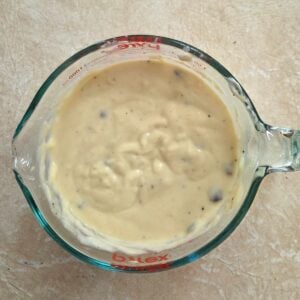
- In a small bowl or glass measuring cup, whisk together the eggs and the chicken stock.2 eggs, 1 ½ cups chicken stock
- Slowly add the stock mixture to the bread cubes while tossing to evenly distribute the mixture.
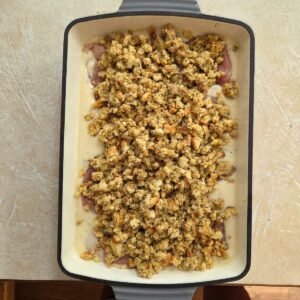
- Pour the now prepared mushroom stuffing mixture into the prepared 9×9 baking dish. Pressing down slightly if needed.
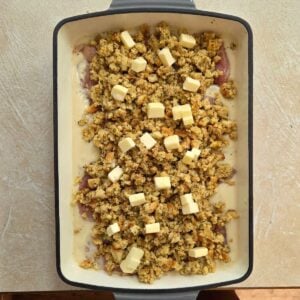
- Dot the top of the stuffing with the cubed 2Tbsp of salted butter.2 Tbsp. cold salted butter
BAKING
- Cover the dish with foil and bake for 30 minutes at 350°F.
- Remove the foil and bake for an additional 15 minutes. For an extra crispy topping turn the broiler on for a minute or 2 at the end of the cooking time.
- Serve immediately! Delish!
MAKING AHEAD (UNBAKED)
- Fully assemble the stuffing in a baking dish and cover tightly with foil or plastic wrap.Refrigerate until ready to bake.
- Let it rest at room temperature as the oven preheats, adding a splash of broth if it seems dry. Bake as directed above.