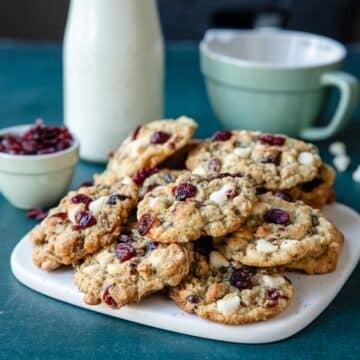
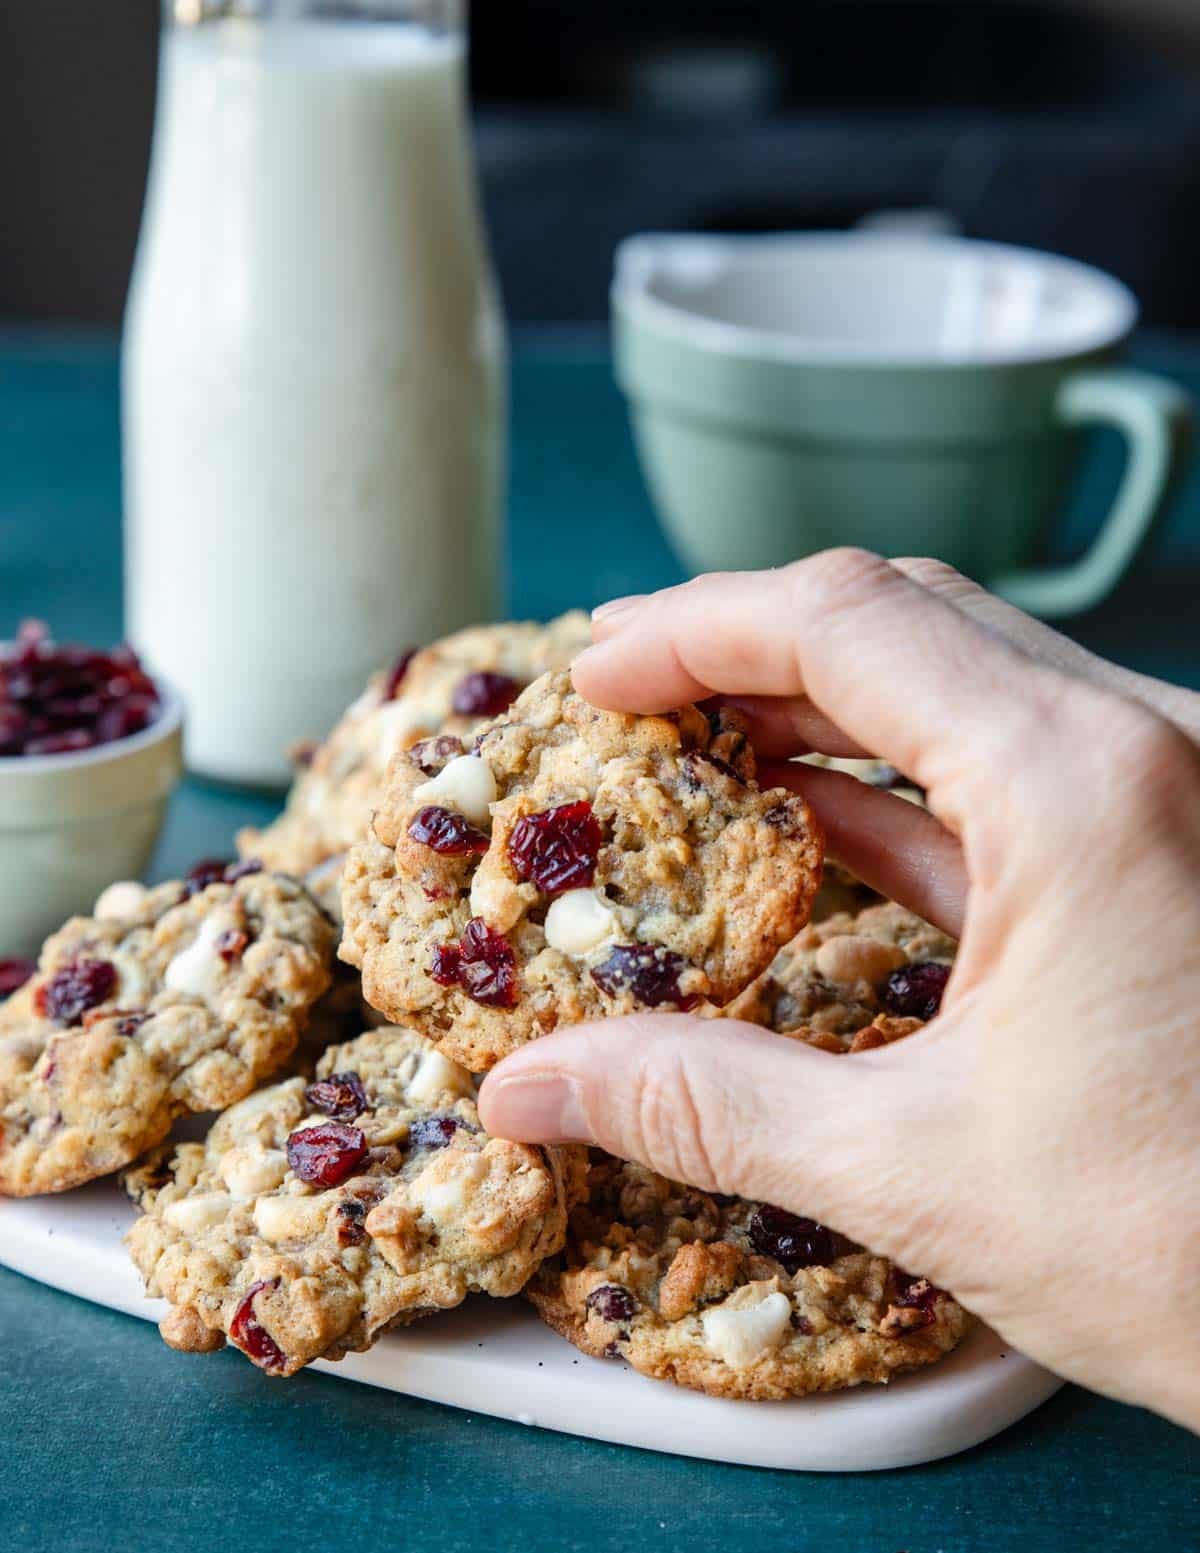
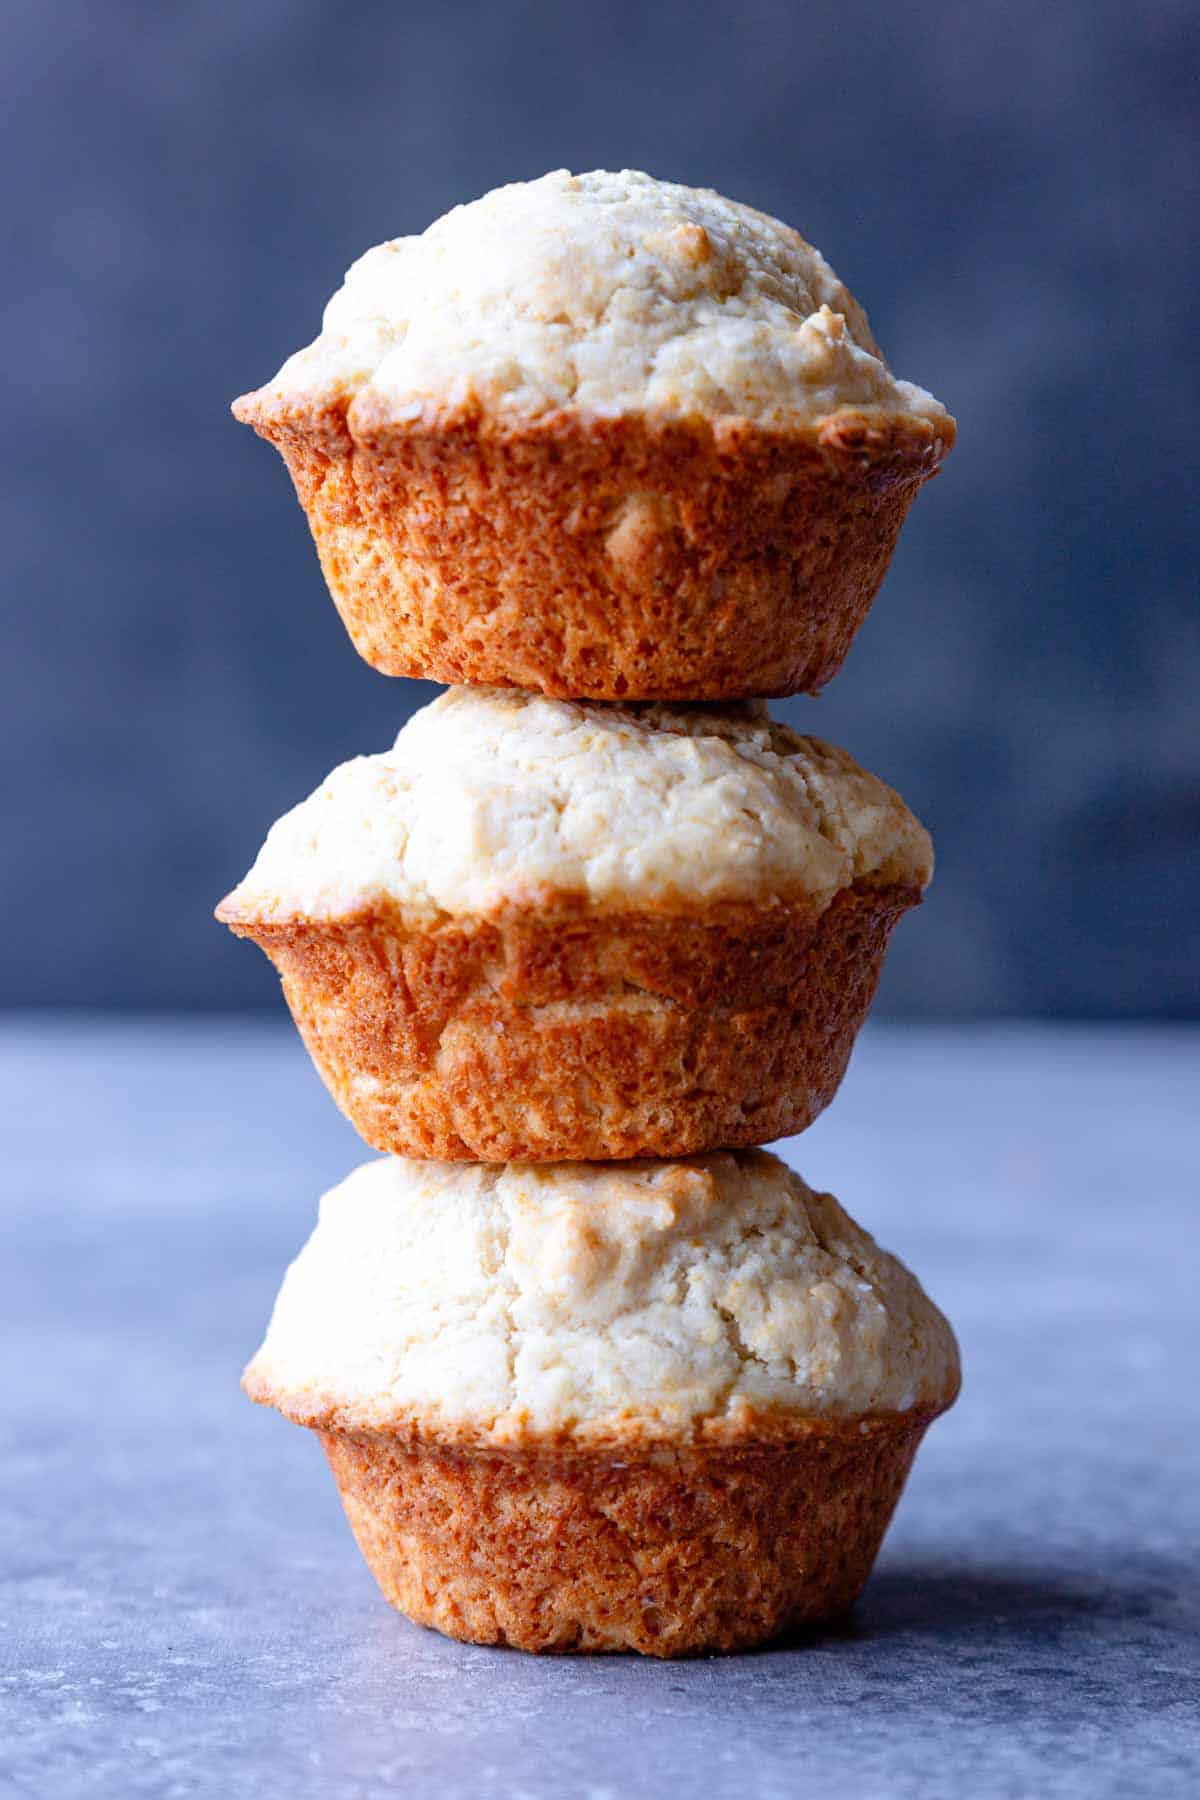
I love these super easy Beer Biscuits made with just 5 ingredients; Bisquick mix, beer, sugar, butter and kosher salt. Measure, stir and bake for 20 minutes – so simple! They bake up in a muffin tin and come out with crispy golden edges and are fluffy inside. They make a great dinner biscuit!
They are very similar to this 4 ingredient Beer Bread that is very popular. However the beer bread uses self rising flour instead of Bisquick Mix.
[feast_advanced_jump_to]5 Ingredients
Traditional Bisquick Mix – the one in the yellow box, or store brand equivalent is great!
Beer – choose a “normal” beer tasting beer. Something like Bud Light, Miller Light, Coors Light or Garage Beer. Avoid fruity or sweet style beers.
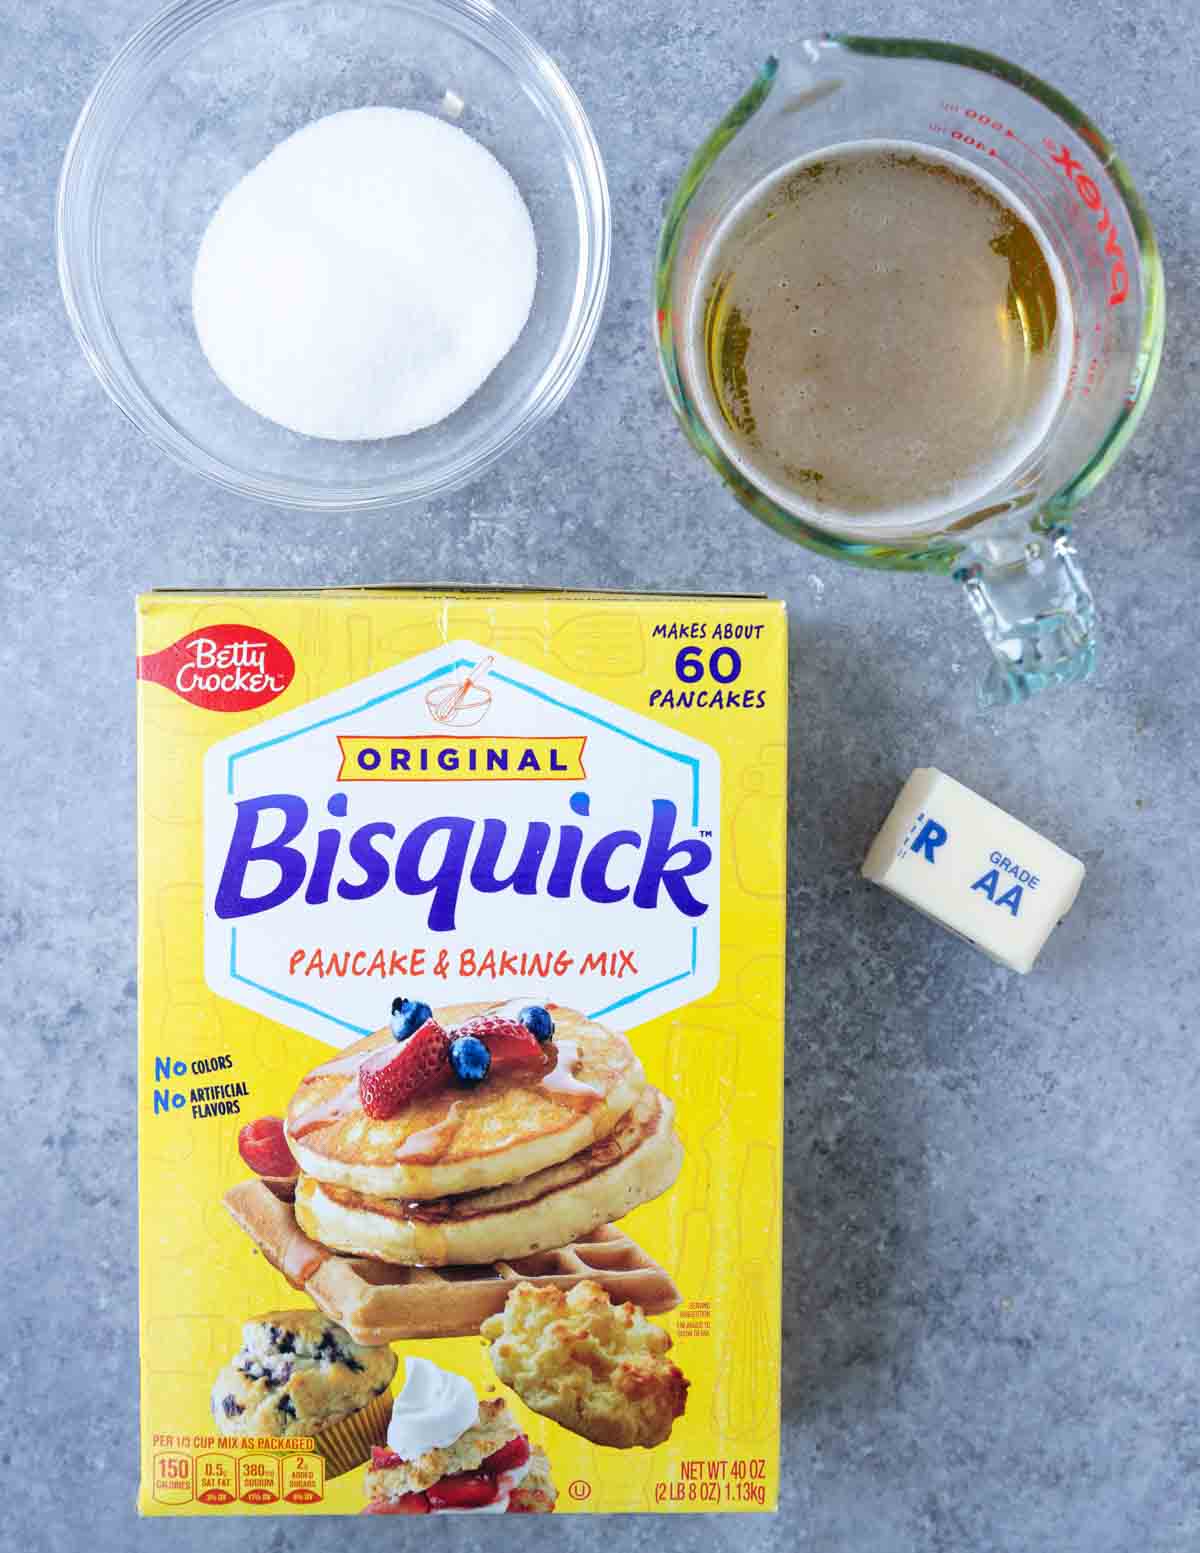
Kosher Salt & Sugar – a little white sugar is added to the mix and a little kosher salt is for the tops of the biscuits (but optional).
Butter – melted salted butter is added to the beer biscuit batter.
How To Make Beer Biscuits

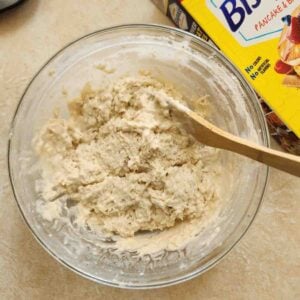
Step 1
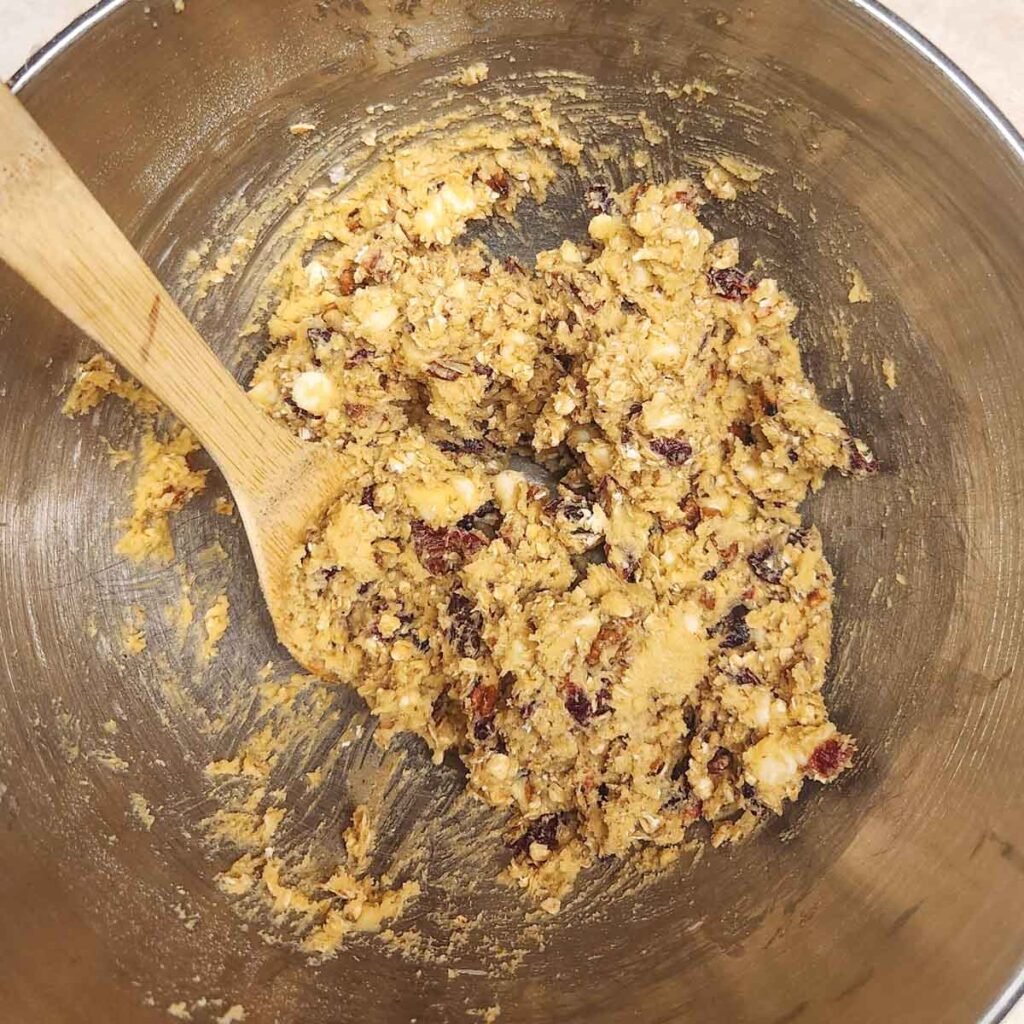
In a bowl lightly mix all the ingredients together, just so there aren’t any pockets of dry ingredients remaining.
Step 2
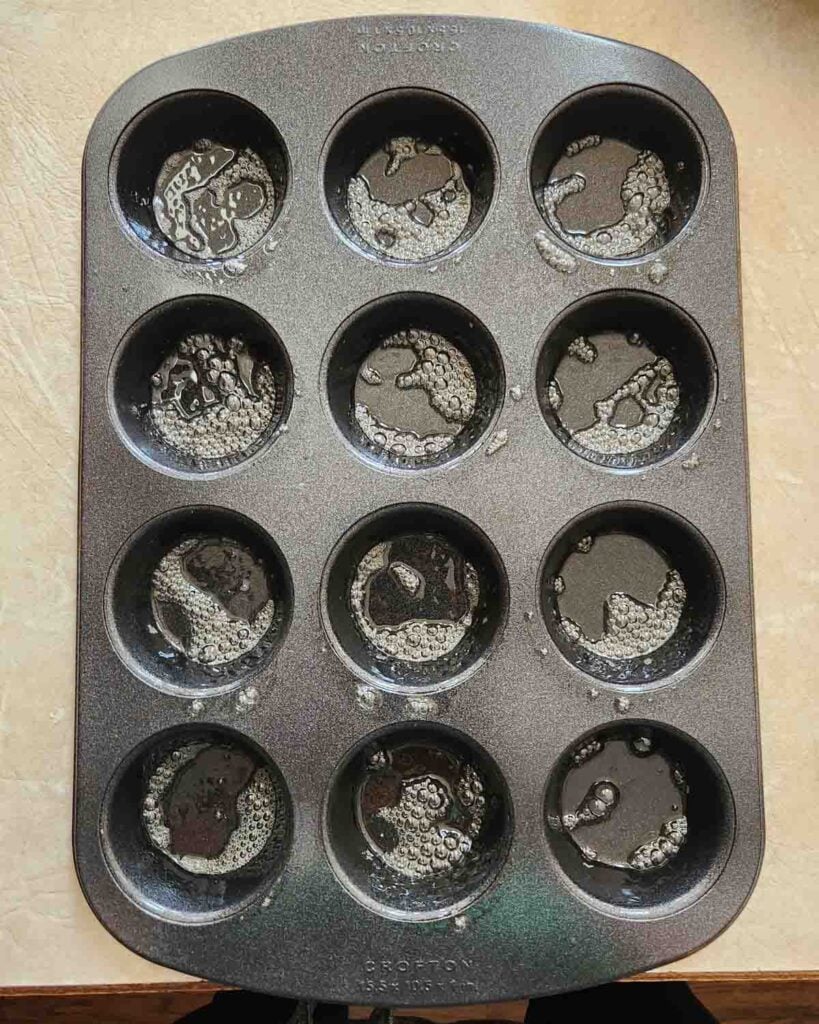
Generously spray a 12 cup muffin tin with non-stick spray.
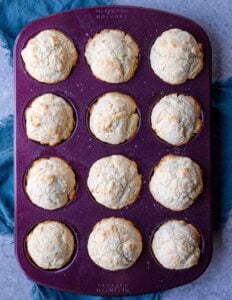
Step 3
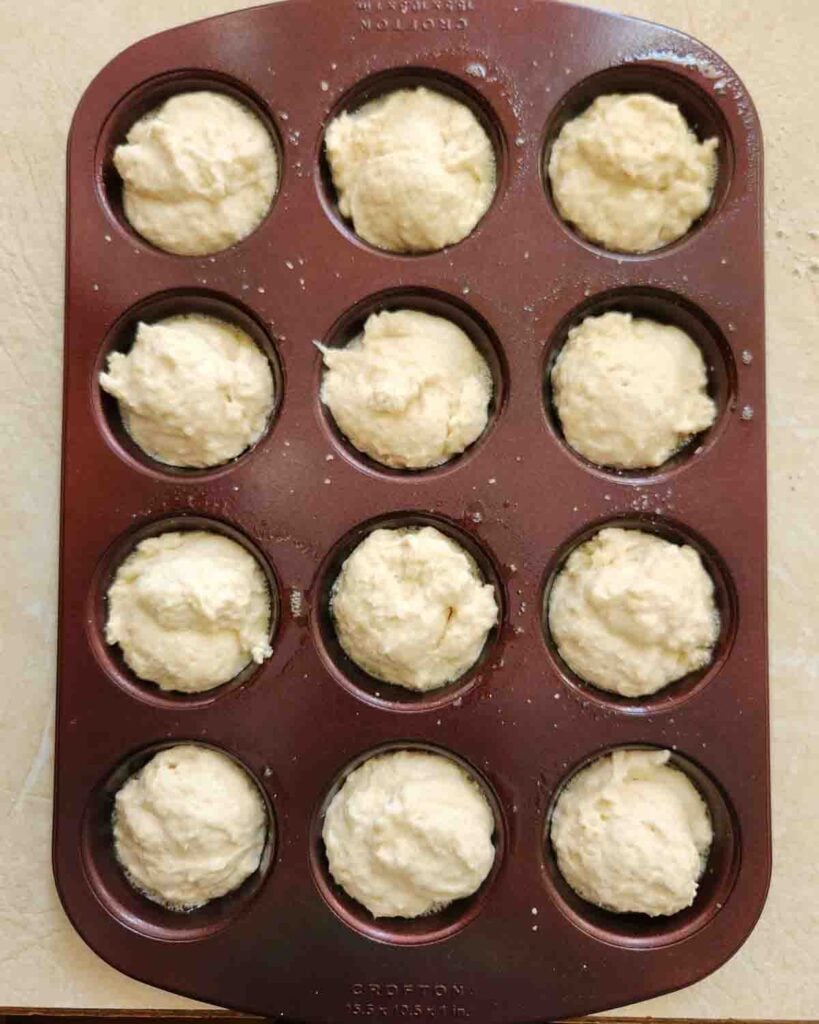
Portion the batter into the 12 cup muffin tin. A cookie scoop can make quick work of this!

Step 4
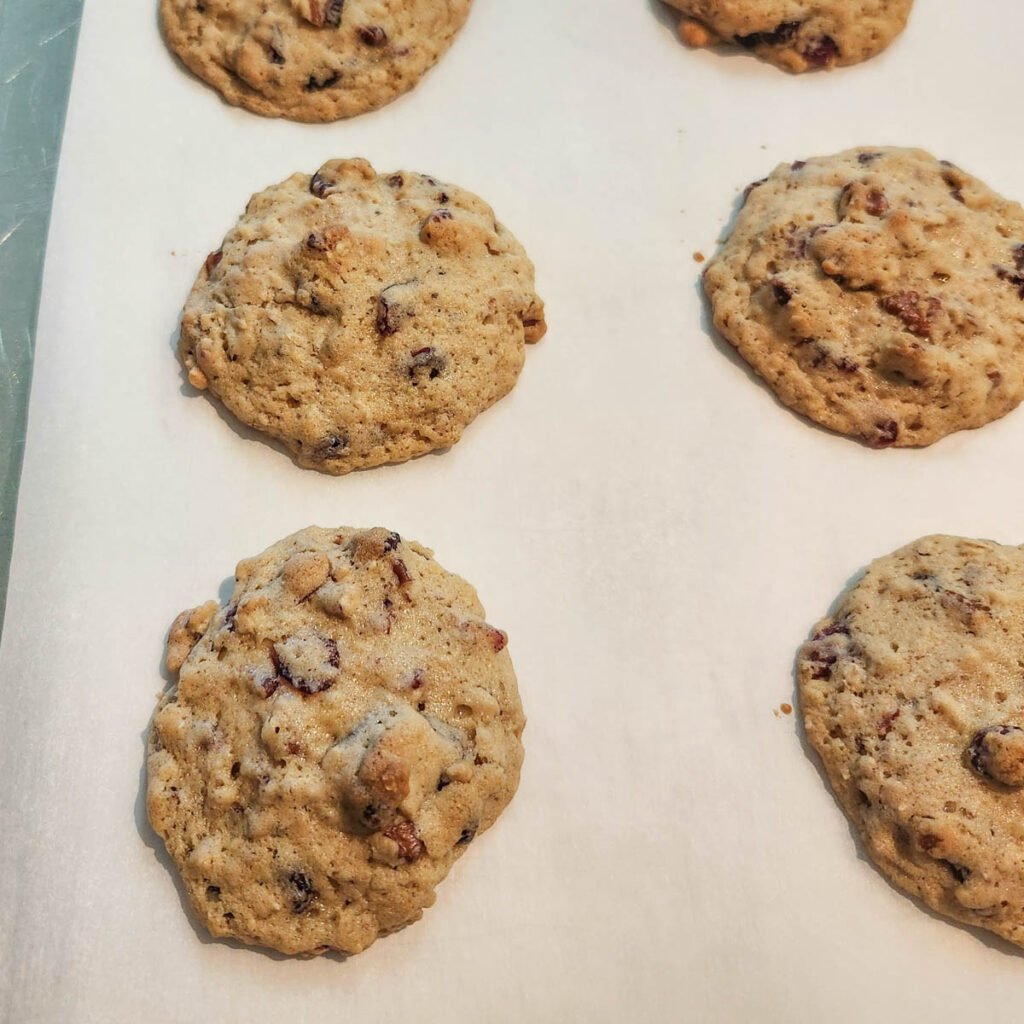
Bake for 20 minutes until cooked through and lightly golden on top.
Recipe tips to remember
- Don’t over mix the batter, just until all the dry Bisquick is wet.
- Use a “beer tasting beer” – avoid sweet beer, fruity beer, etc…
More Bread Recipes

Did you make this recipe?
⭐⭐⭐⭐⭐
I would love to hear your review, especially if you have tips and tricks to add! Pop down to the comment section and connect with me
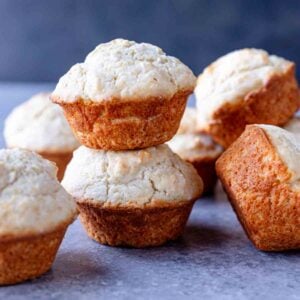
Bisquick Beer Biscuits Recipe
Equipment
Ingredients
- 4 cups Bisquick
- 12 oz beer
- 2 tablespoon sugar
- 3 tablespoon butter
- Kosher salt
- non-stick spray
Instructions
- Preheat the oven to 400°F
- Lightly mix the Bisquick, beer, sugar, and melted butter.4 cups Bisquick, 12 oz beer, 2 tablespoon sugar, 3 tablespoon butter

- Prep a 12 cup muffin tin by spraying it very generously with a non stick spray.non-stick spray
- Divide the mixture into the muffin cups. A cookie scoop makes quick work of this task. Sprinkle the tops with a little kosher salt.Kosher salt

- Bake at 400°F for 20 minutes.


Recipe Tips and Notes:
- Don’t over mix the batter, just until all the dry Bisquick is wet.
- Use a “beer tasting beer” – avoid sweet beer, fruity beer, etc…