What’s my order at Panera… Broccoli Cheese Soup with a Fuji Apple Salad. Always. I wanted to be able to make a really good Broccoli Cheddar Soup at home, and this recipe NAILS IT. It is easy to make and turns out so delicious! It is creamy and decadent without being overly thick, which is exactly how I wanted it. You are going to absolutely love this one! Serve it up with a warm baguette for an over-the-top dinner!

Why You’ll Love This Broccoli Cheddar Soup
- This is a pretty easy soup to make.
- It has very simple ingredients
- The flavor is spot on – with the broccoli and cheese taking center stage.
- The combo of chicken broth and milk make for a really great texture.
- It is cheesy and creamy, without being overly thick.
- The cheese melts into the soup so smoothly, never gritty.
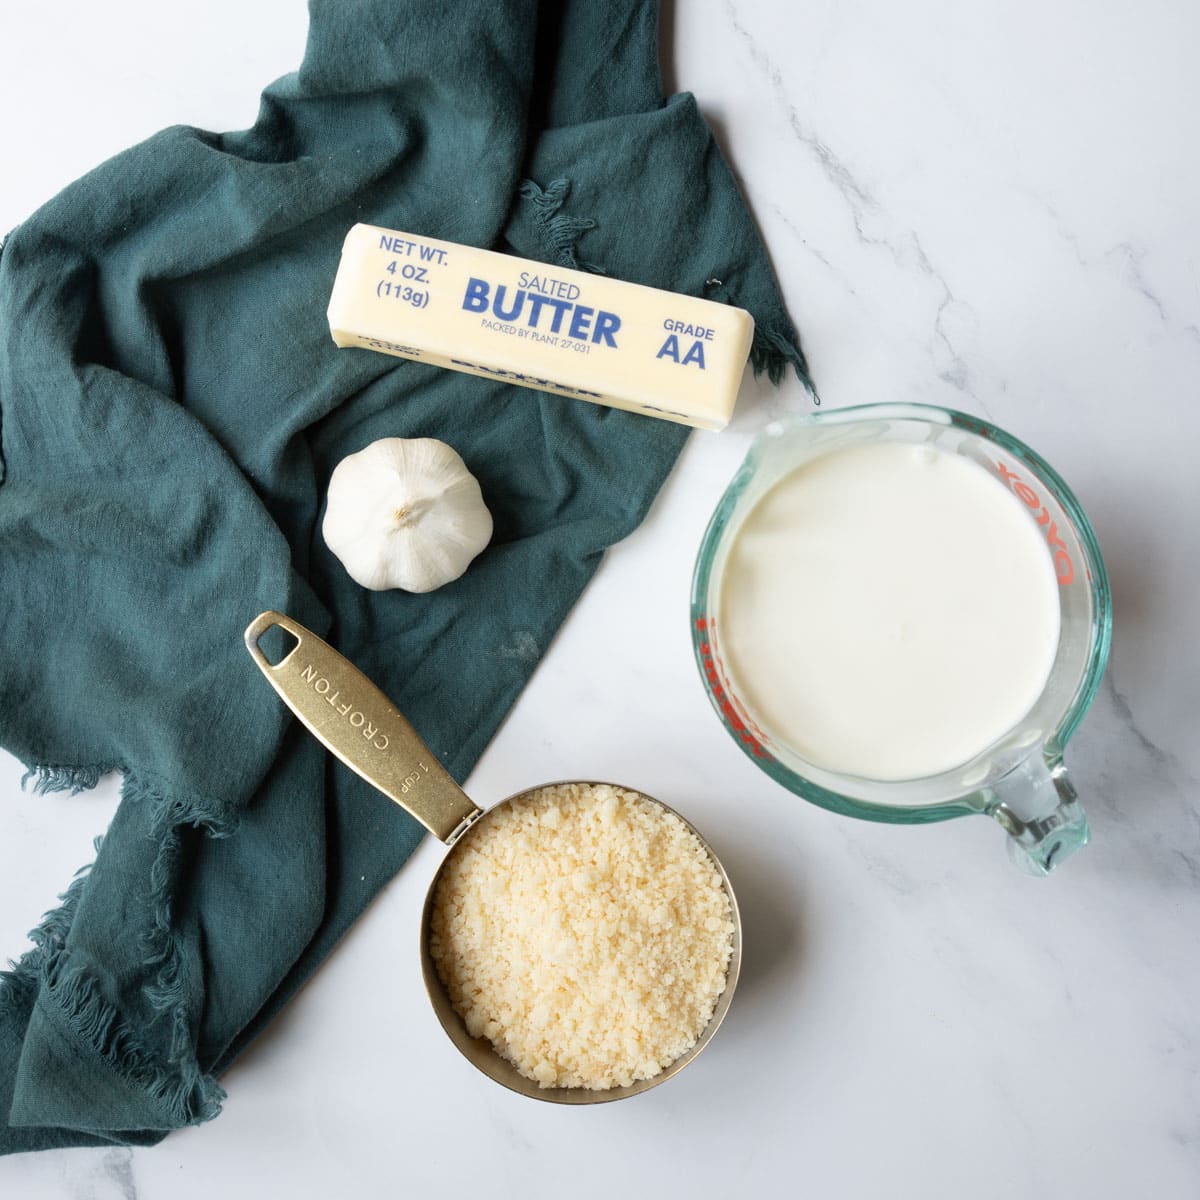
Ingredients
Broccoli – A couple heads of fresh broccoli should do the trick. Chop it into small bite size pieces. It’s ok if it looks like a crazy mess, it will cook up perfect in the soup. I like to use fresh broccoli in lieu of frozen broccoli. The frozen version will have too much water content, and sometimes I find that frozen broccoli can have a chewy texture.
Onion – A yellow onion has the perfect flavor to enhance your Broccoli Cheese Soup.
Shredded Carrots – You have two options here – fresh grated carrots, or purchase shredded carrots at the store. I generally shred my own carrots with this hand crank shredded, with the finest grater. You get a finer shred than the store bought version.
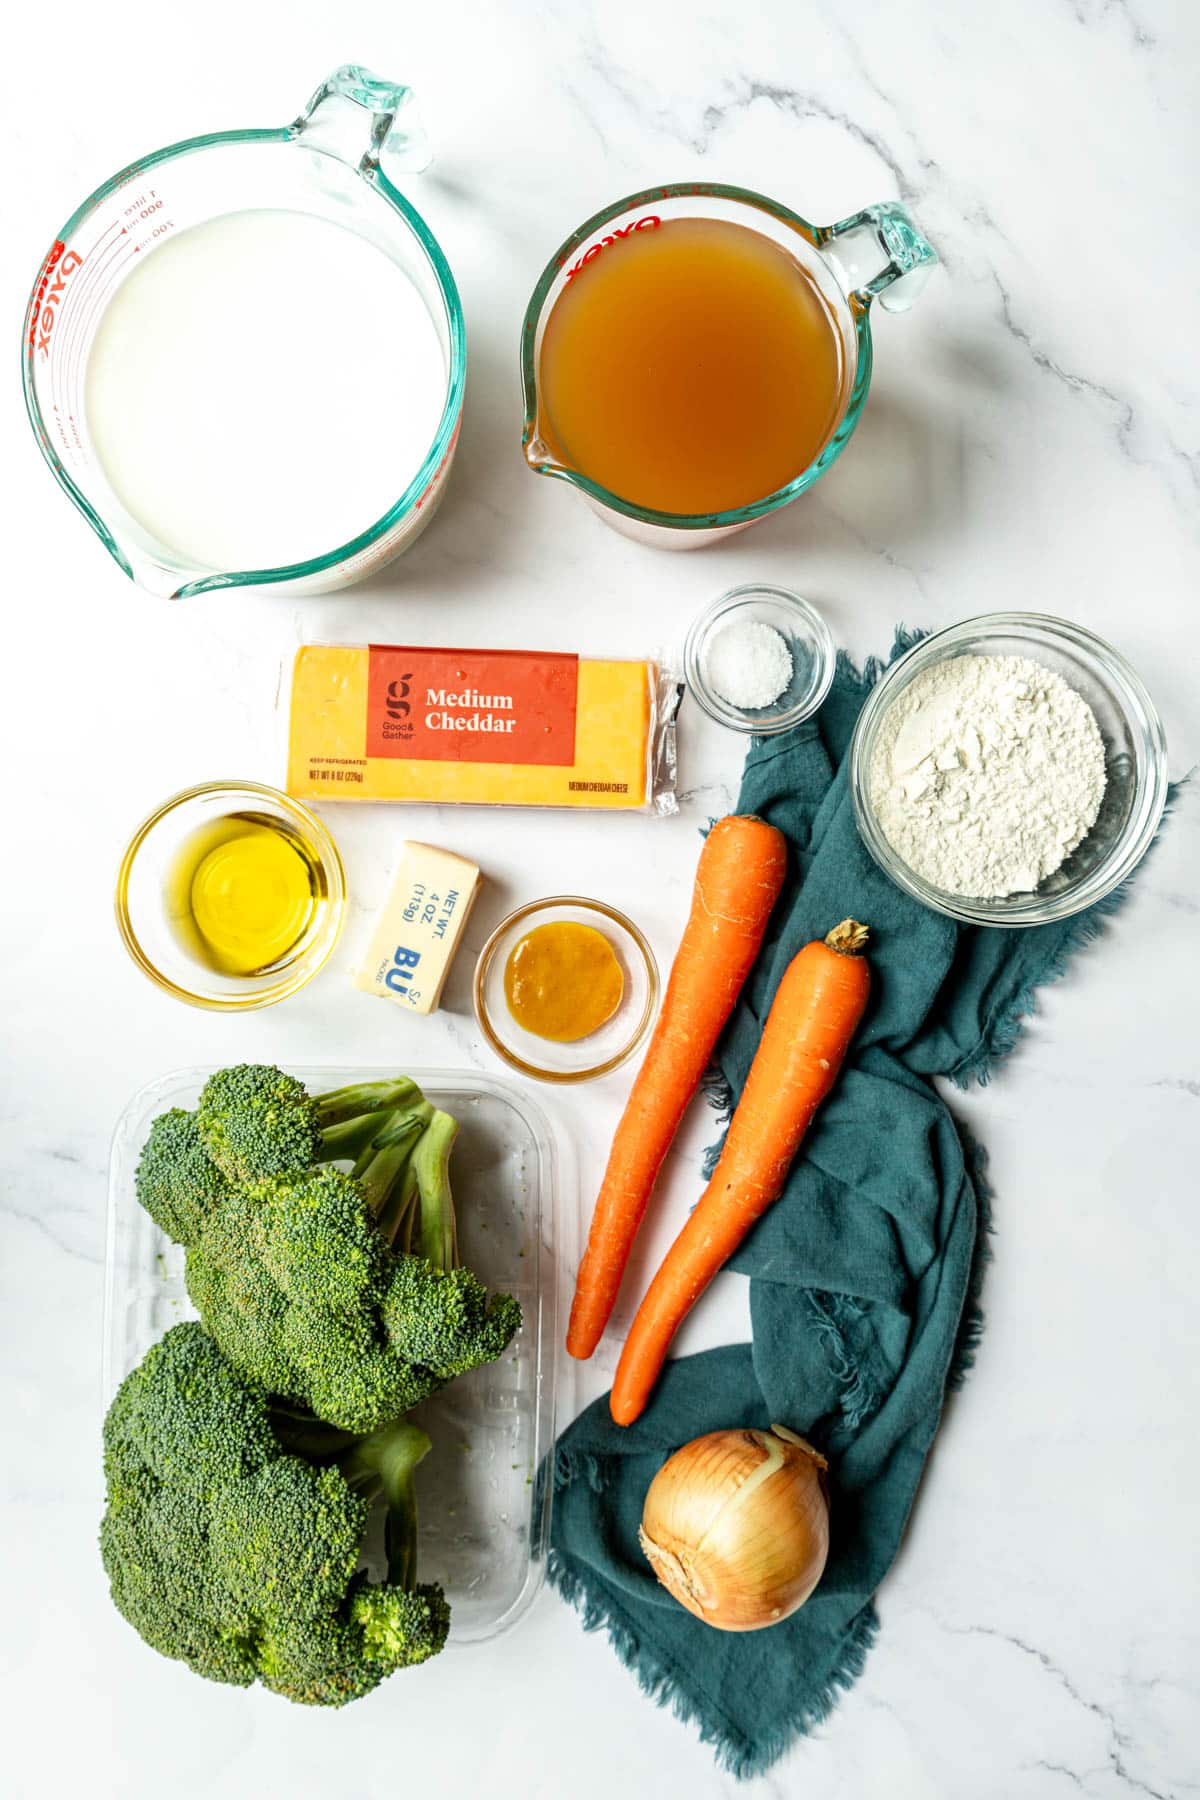
Cheddar Cheese – For this recipe it is critical that you use fresh shredded cheese (I love this hand crank shredder to make it easier). Pre-shredded cheese has anti-caking starches that affect melting, and you want your cheese to melt super creamy! We have found that sharp or medium cheddar lends the best flavor. Mild is good, but doesn’t give that cheese flavor punch.
Chicken Broth – Just a store bought chicken broth or stock is great here.
Chicken Base – We love the Better Than Bouillon brand for chicken base. You can find it in the soup aisle near the bouillon. It comes in a jar and is in paste form. It adds great flavor to the soup.
Whole Milk – Is the perfect milk for Broccoli Cheese Soup. It is thick enough to enhance the creaminess, but not so thick that your soup ends up glumpy.
All Purpose Flour – The flour is whisked into the milk and then added to the soup – it thickens the broth perfectly!!
How To Make Cheese Broccoli Soup
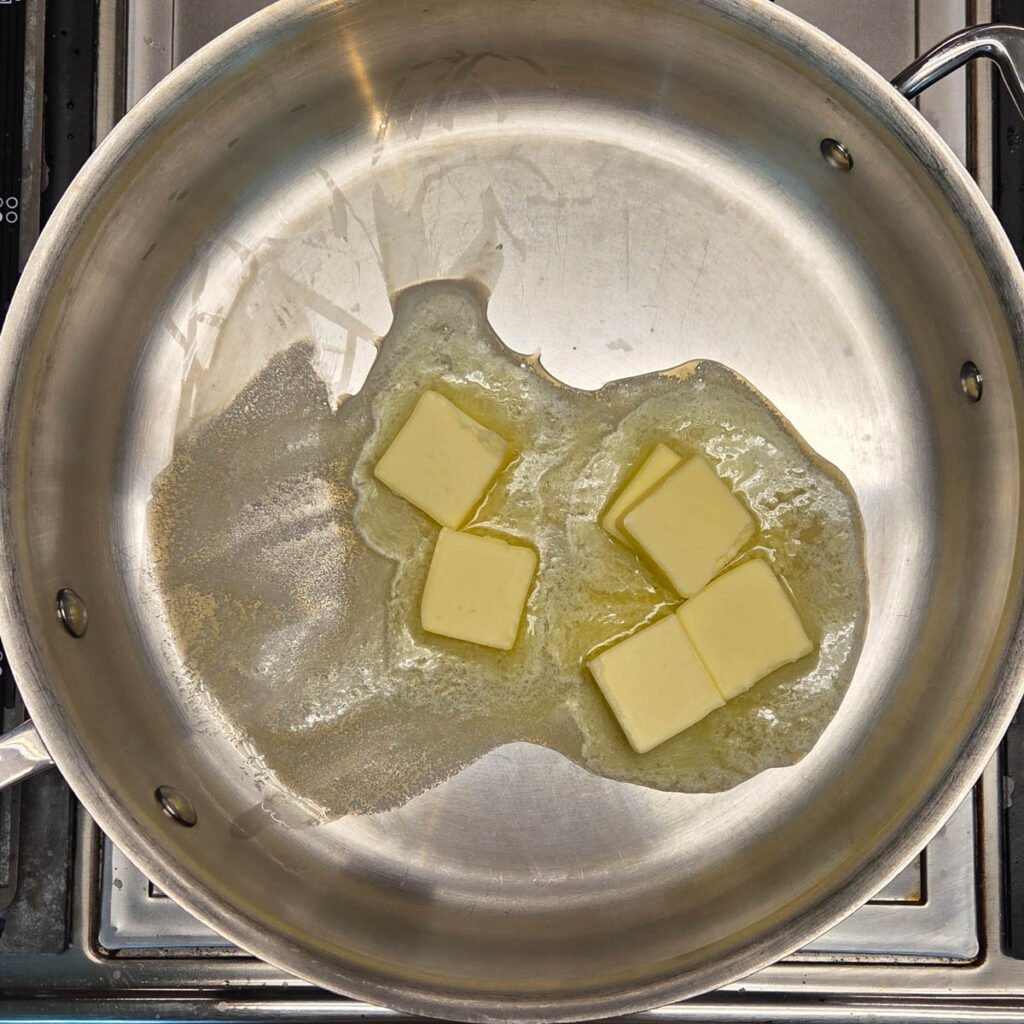
Step 1
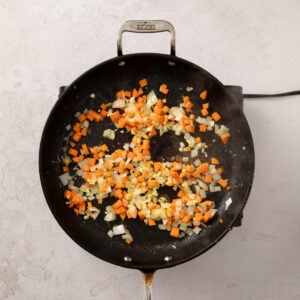
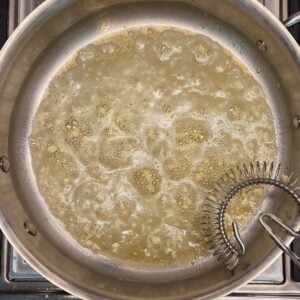
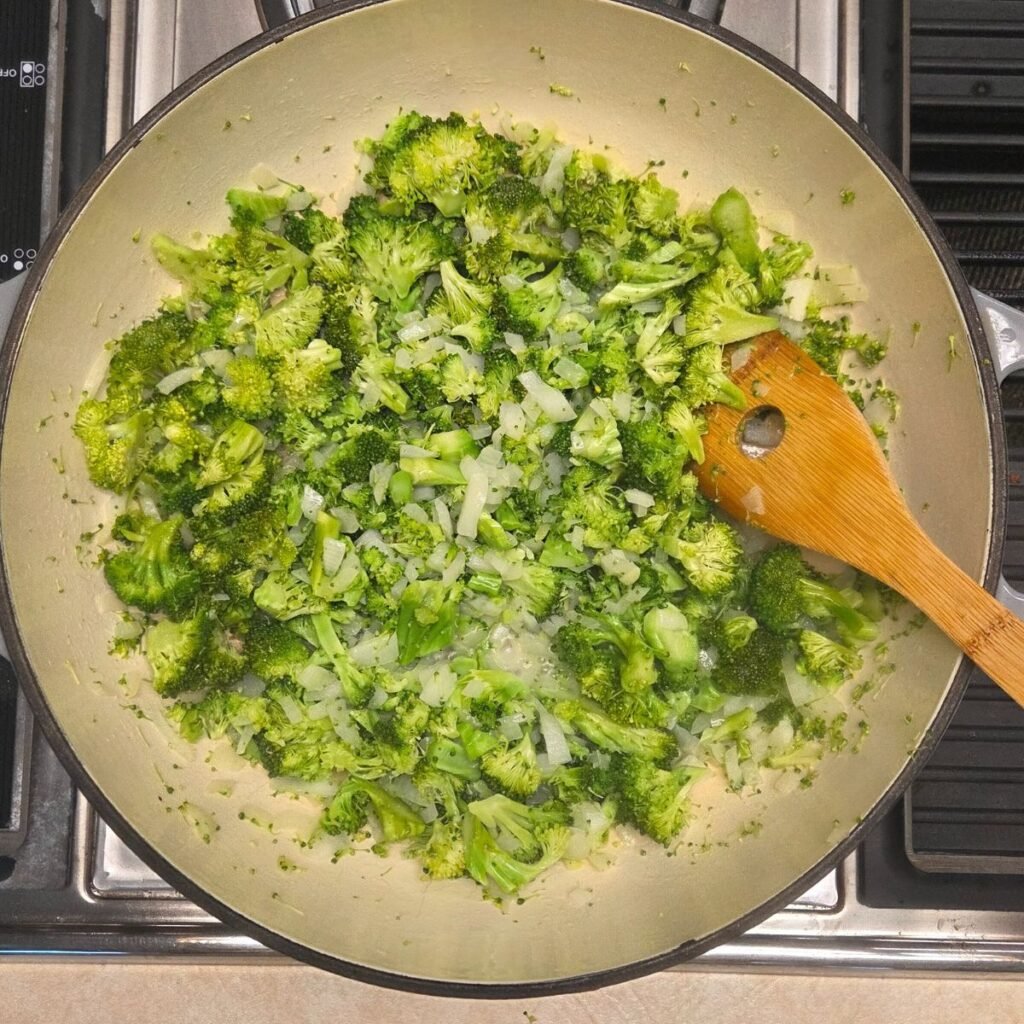
Saute the broccoli, onions and kosher salt in the butter and oil.
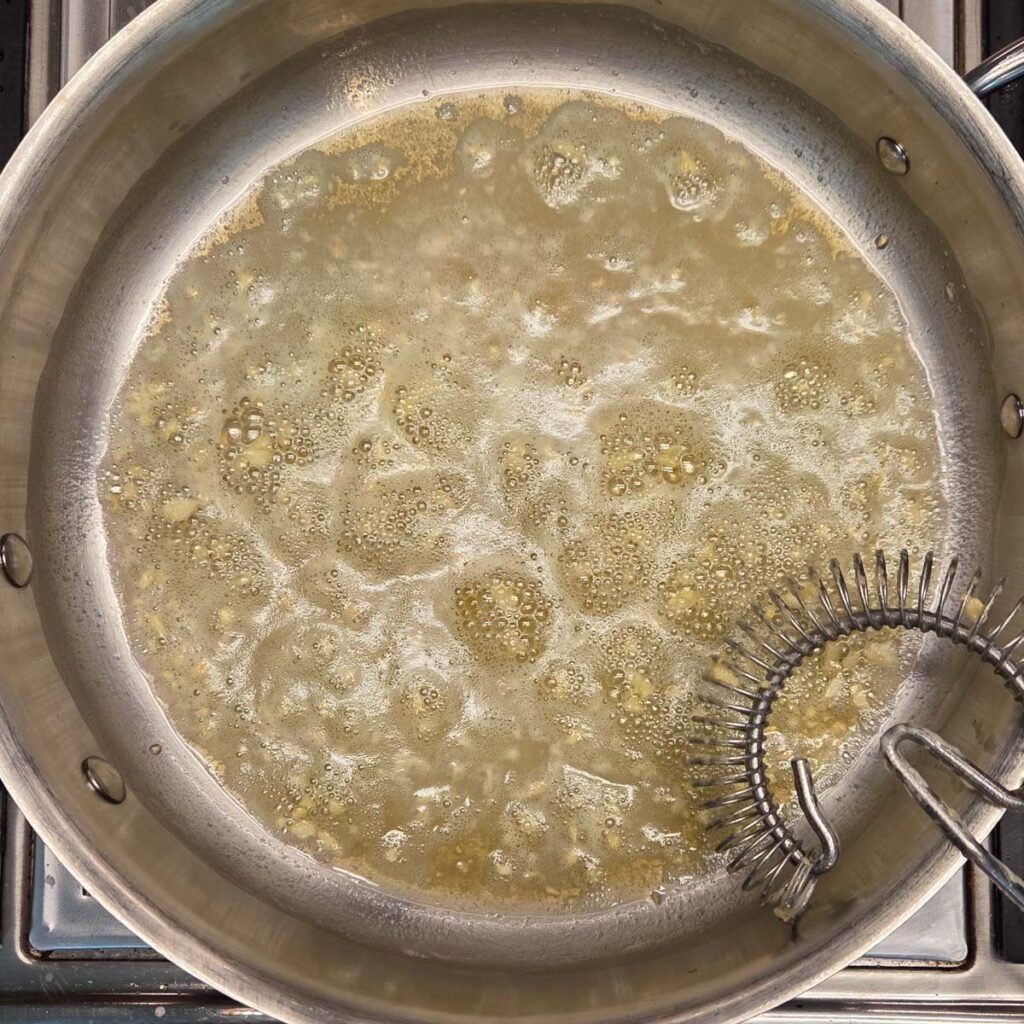
Step 2
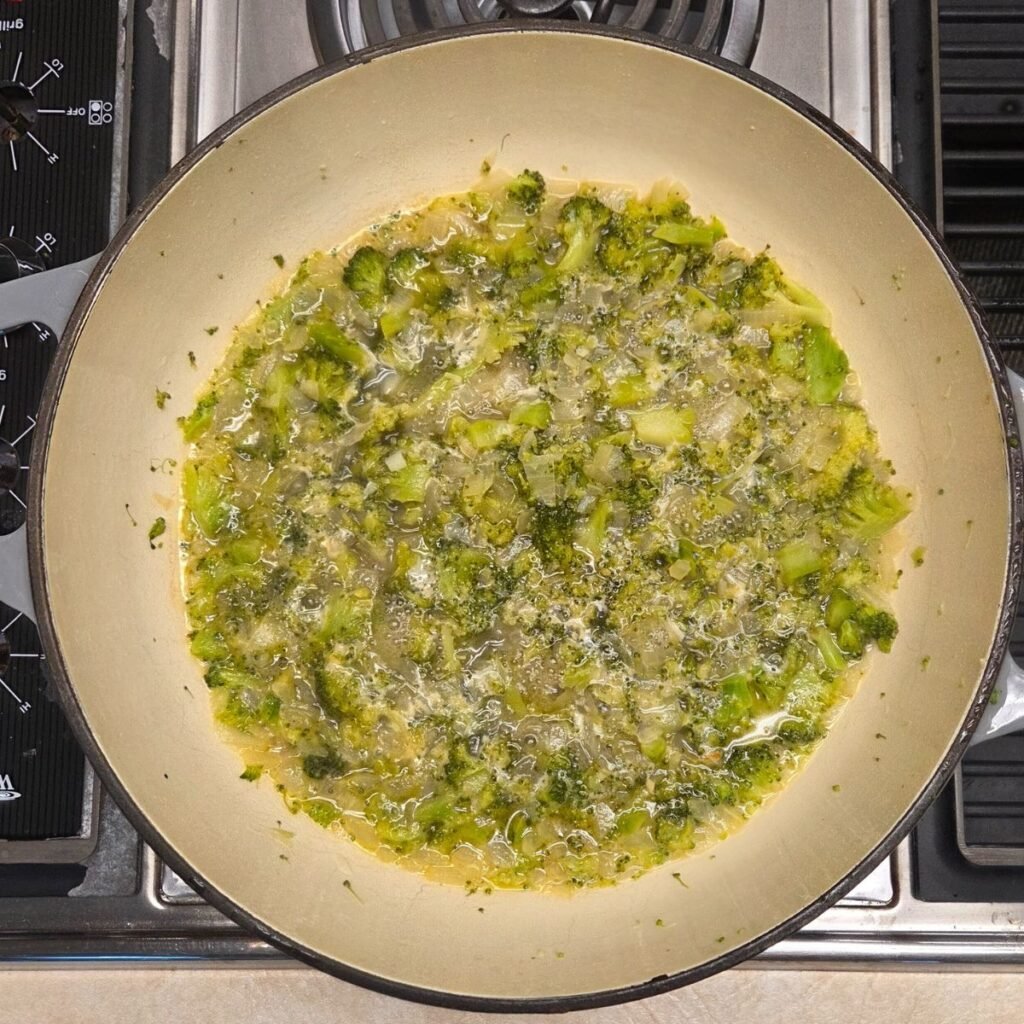
Add the chicken broth and chicken base and simmer for about 15 minutes.
Step 3
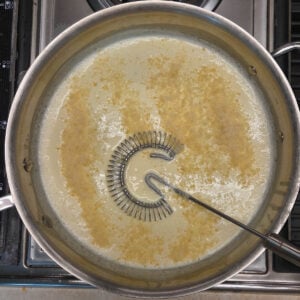
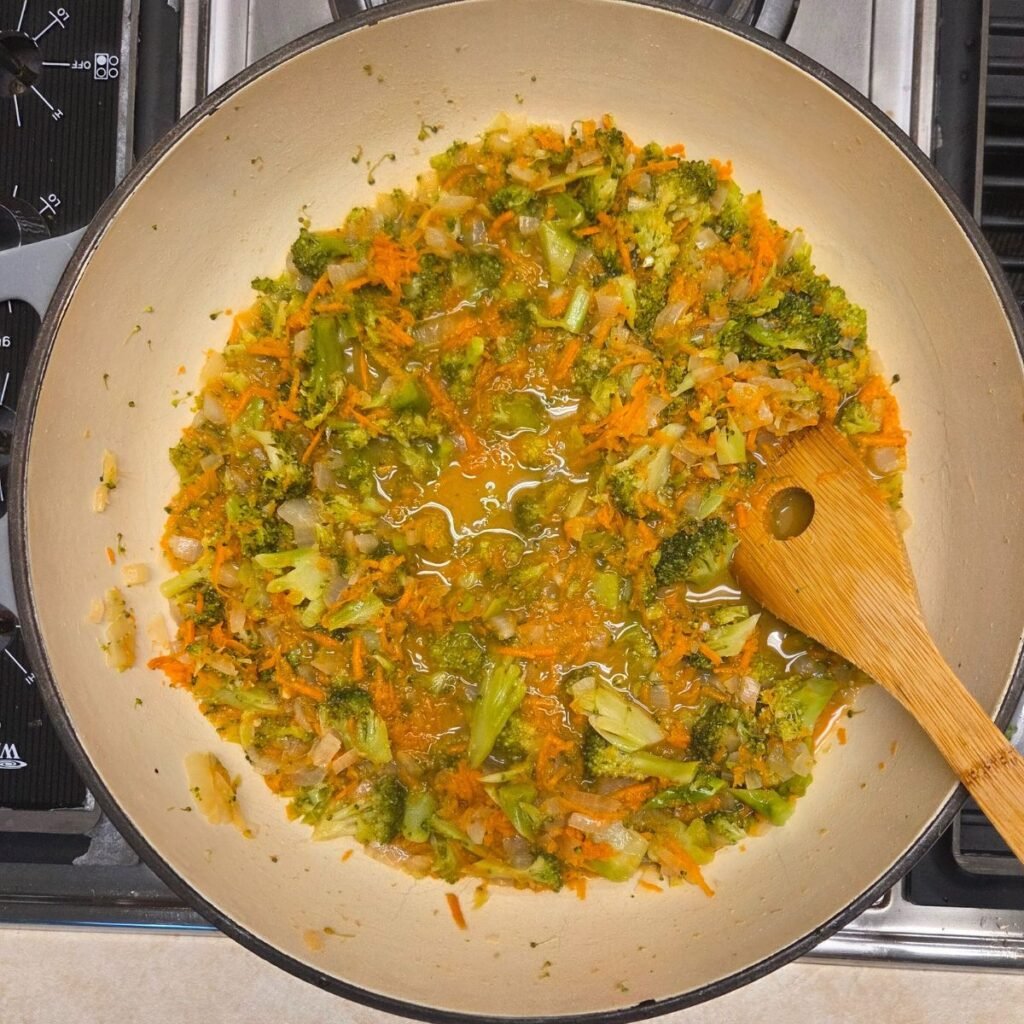
Add in the shredded carrots and simmer another 5 minutes.

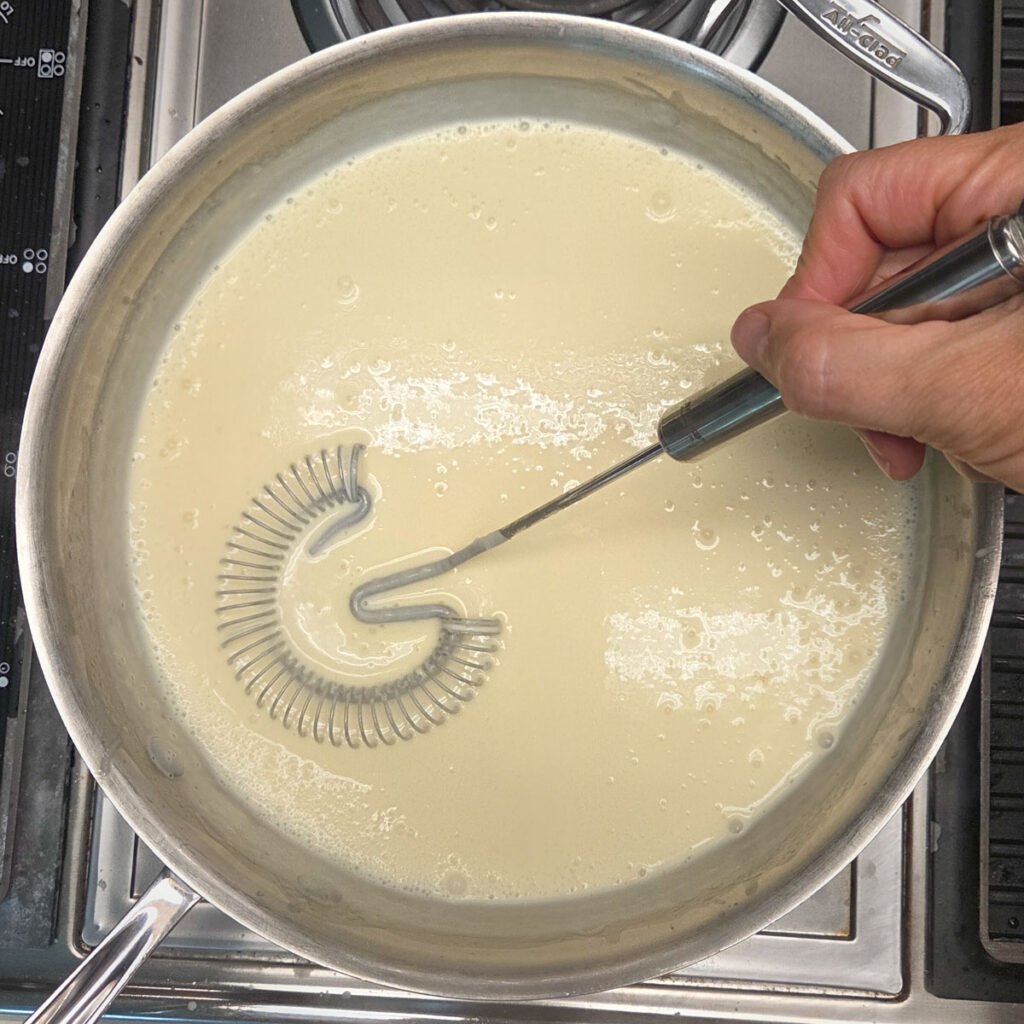
Step 4
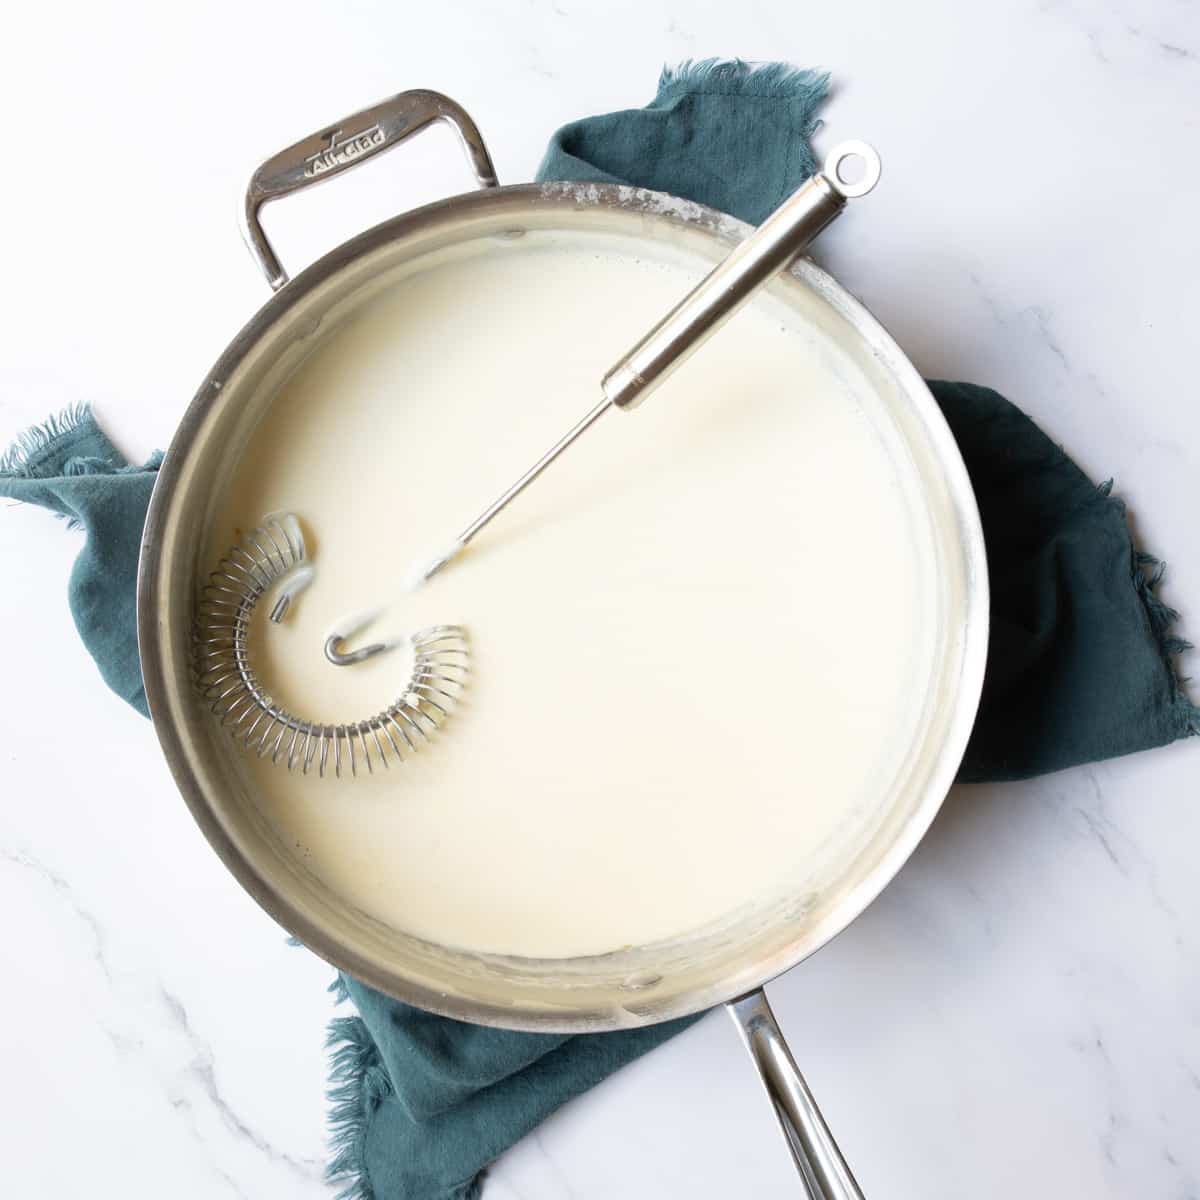
Whisk the flour into the milk until it is smooth. Slowly stir into the soup.

Step 5
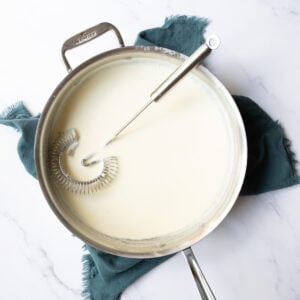
Add the grated cheese by the handful so it melts nice and creamy.

Step 6
Remove from the heat and let cool for a couple minutes. Taste for seasoning. Serve warm.
Serving
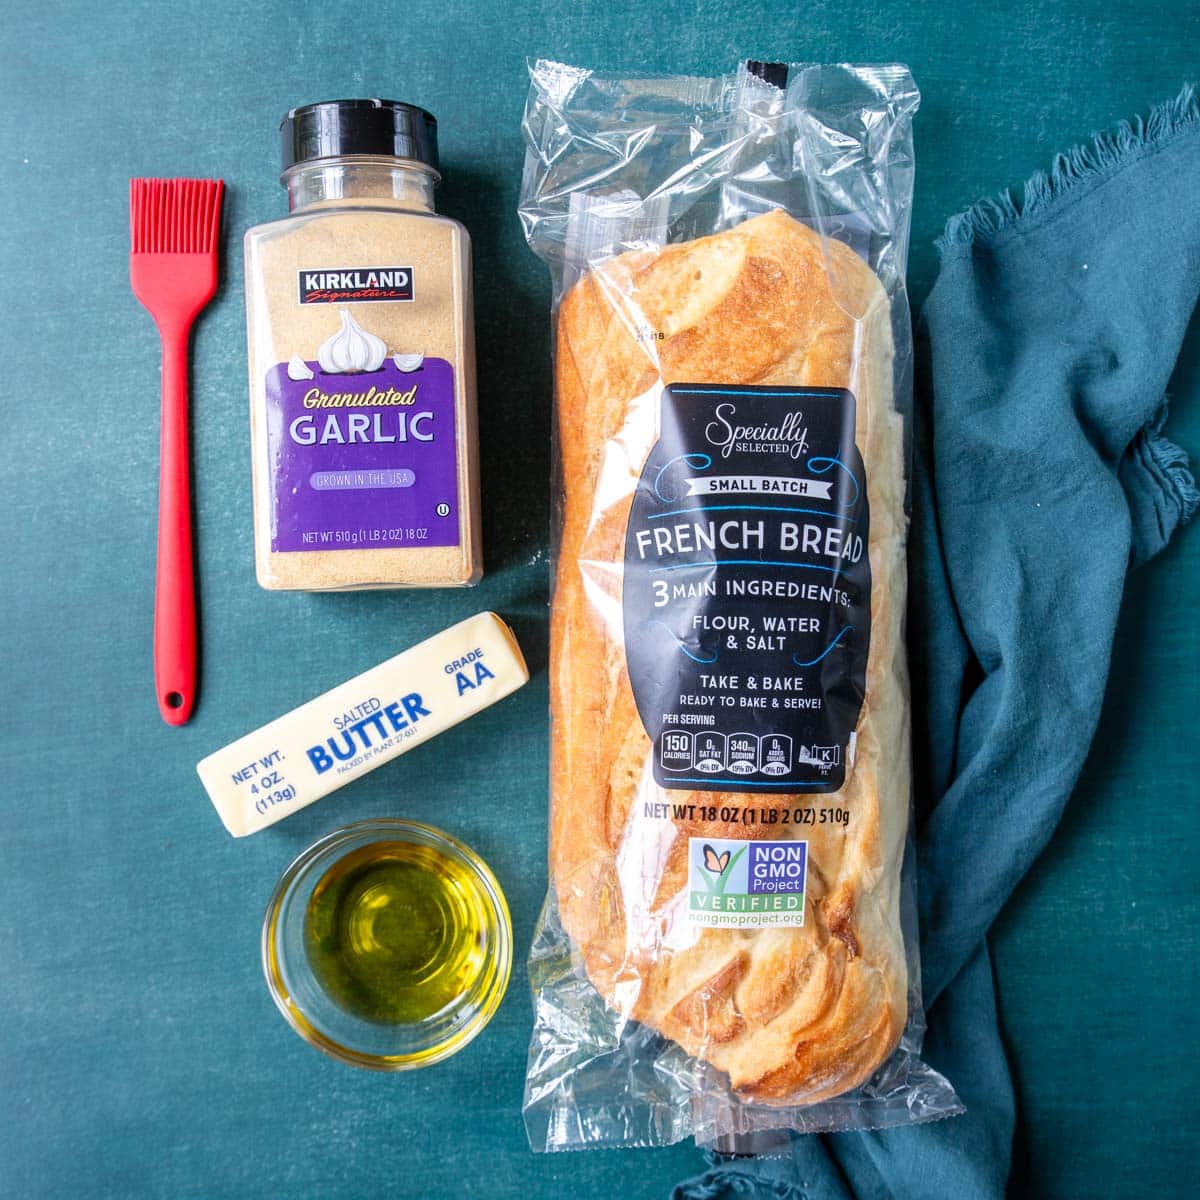
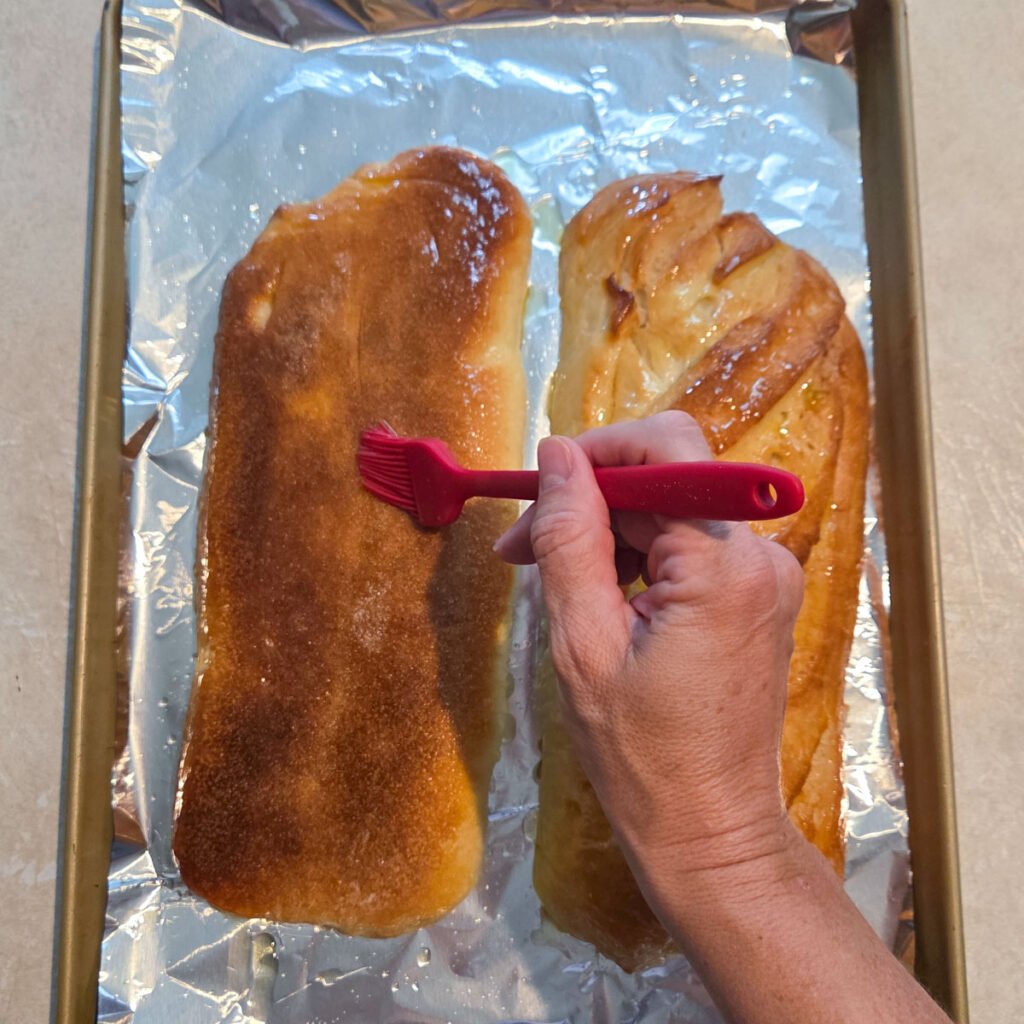
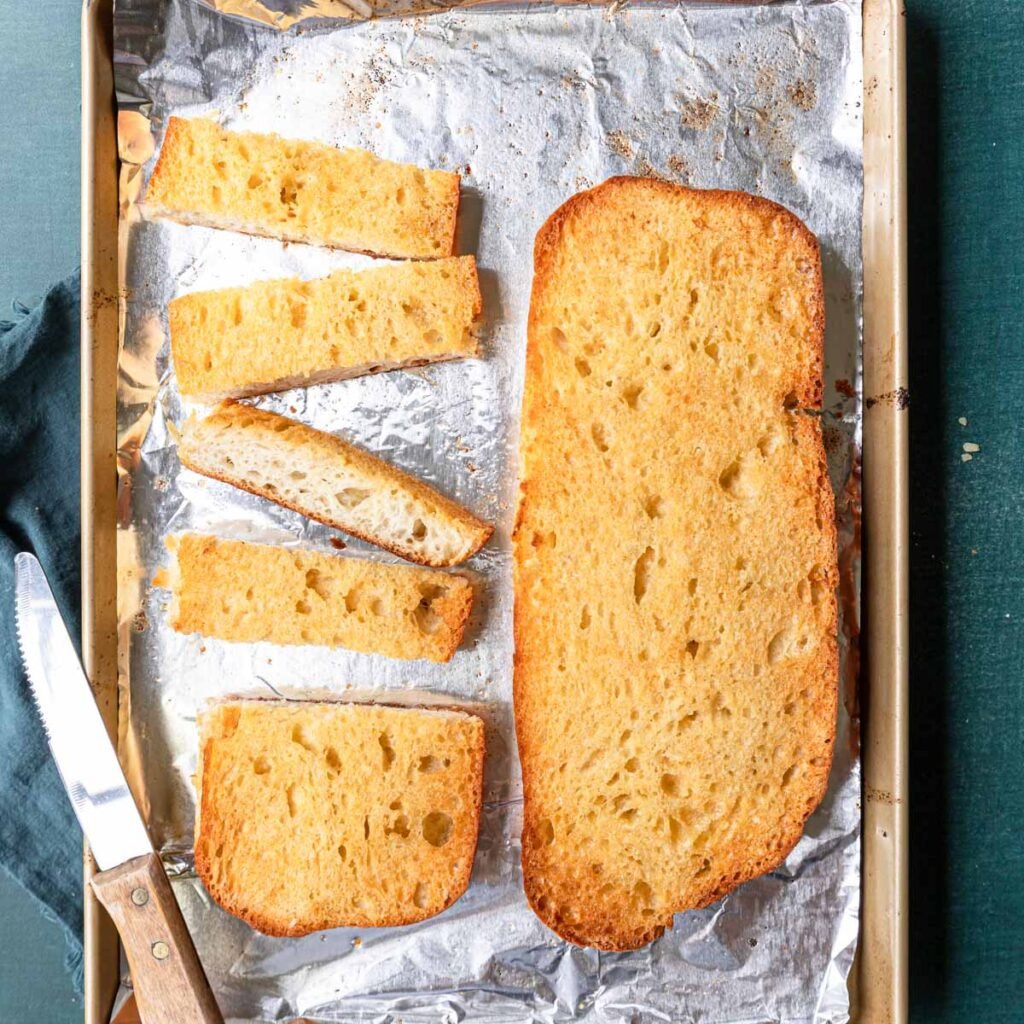
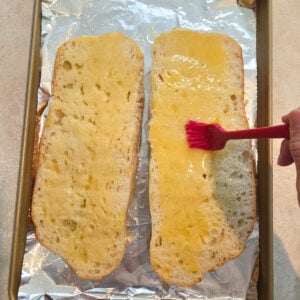
Get a big crusty loaf of ciabatta bread or a baguette, warm it up in the oven and dip it into the Broccoli Cheese Soup… BEST DINNER! A Fuji Apple Salad or Simple Side Salad also make a great side dishes.

Storing Broccoli Cheese Soup
Keep leftover, cooled Broccoli Cheese Soup in an airtight container in the fridge for up to 5 days. It will thicken considerably in the fridge. To reheat add a little milk or chicken broth to reconstitute.
I would not recommend freezing the broccoli cheese soup because of the milk and melted cheese content.
Broccoli Cheese Soup Tips
- Use fresh shredded cheese for the best texture.
- Chop the broccoli into small pieces; it’s ok if it looks like a mess, it all cooks together perfectly.
- Use whole milk for the best texture.
- Medium or Sharp cheddar will give you the best flavor.
- Add the cheese by the handful so it doesn’t clump together in the soup.
More Creamy Soup Recipes


Broccoli Cheese Soup Recipe
Ingredients
- 4 tablespoon salted butter
- 2 tablespoon olive oil
- 3 cups broccoli - chopped
- 1 ½ cups onion - diced
- 1 teaspoon kosher salt
- 1 cup carrots - shredded
- 2 teaspoon chicken base
- 2 ¾ cups chicken broth
- 3 cups whole milk
- ½ cup all purpose flour
- 8 oz block sharp cheddar cheese - shredded (or medium cheddar)
Instructions
- In a large pot over medium heat add the oil and butter. Once hot add the broccoli, onion and kosher salt. Sauté for about 10 mins.4 tablespoon salted butter, 2 tablespoon olive oil, 3 cups broccoli, 1 ½ cups onion, 1 teaspoon kosher salt
- Add the carrots and sauté another 5 minutes.1 cup carrots
- Add the chicken broth and chicken base, simmer for about 15 mins with the lid partially on, stirring occasionally. Just until the broccoli is nice and soft.2 teaspoon chicken base, 2 ¾ cups chicken broth
- In a bowl combine the flour and milk and whisk until smooth. Then slowly add to the soup while stirring3 cups whole milk, ½ cup all purpose flour
- Add the grated cheddar cheese, a handful at a time, stirring so it melts in smooth.8 oz block sharp cheddar cheese
- Taste for seasoning (salt and pepper). Serve warm with crusty bread like ciabatta or a baguette
- The soup will thicken as it cools, add a little milk or chicken broth and warm through to reconstitute.