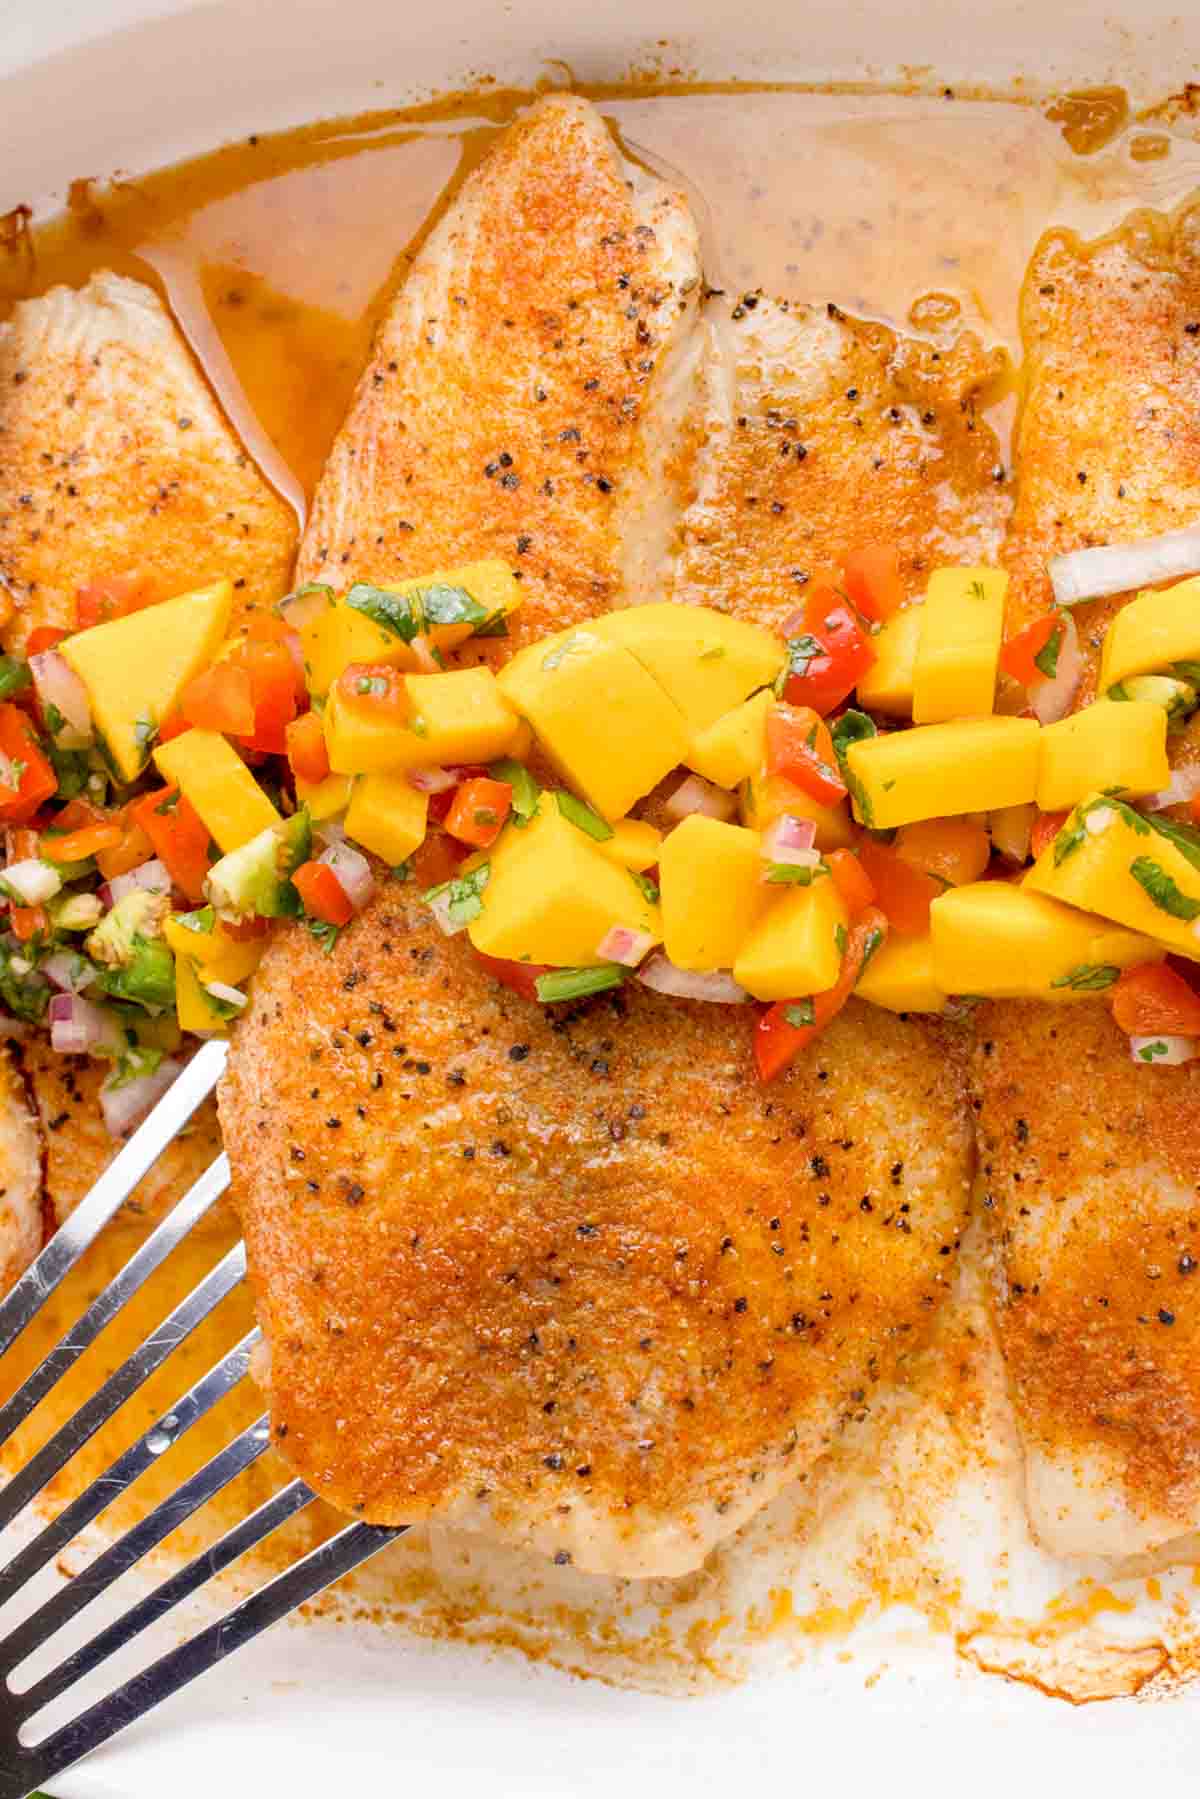
This Baked Tilapia with Mango Salsa recipe takes just 15 minutes of prep and 15 minutes of cooking time. It’s the perfect combo of light tasting fish with a burst of citrus sweetness. It makes an incredible Spring or Summer dinner, especially when fresh mangos are ripe and juicy! If you like to spice things up, add a lot of fresh jalapeno.
Ingredient Details
Tilapia Fillets: Fresh tilapia is mild in flavor and cooks quickly, making it ideal for this recipe. Since it is pretty mild we flavor it with plenty of seasonings before cooking. Substitute it with cod, halibut, or catfish.
Onion Powder: Adds a subtle sweetness and depth of flavor without the texture of fresh onions.
Paprika or Smoked Paprika: Adds a mild smokiness and a pop of color to the fish.
Kosher Salt: Enhances the natural flavors of the fish and salsa.
Black Pepper: Adds a slight heat and complements the other spices. White pepper can be used for a milder flavor.
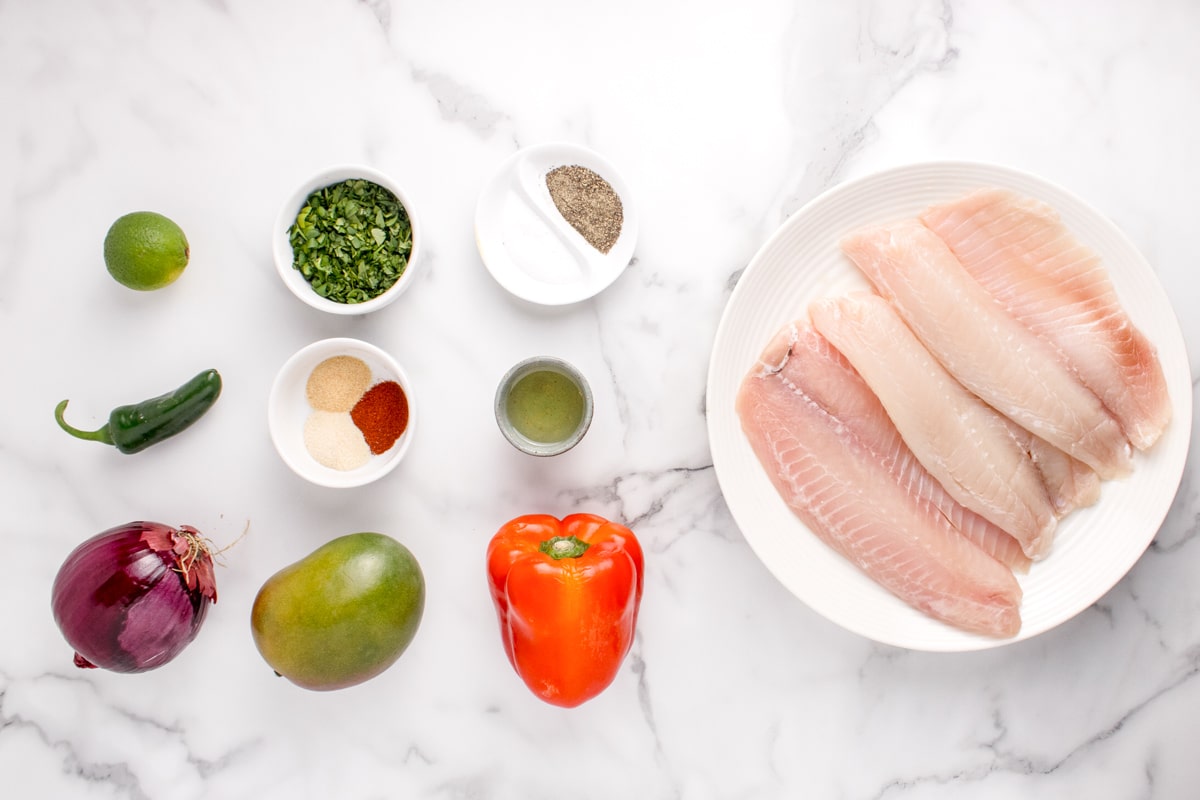
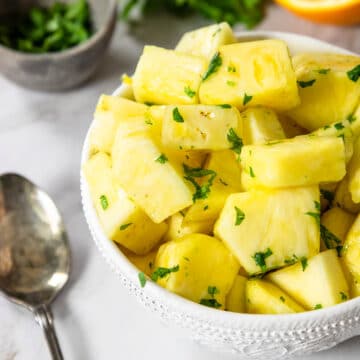
Ripe Mango: Provides natural sweetness and a tropical flavor to the salsa. Mangoes are in season June to September. It can be substituted with peaches or pineapple for a similar fruity profile.
Red Bell Pepper: Adds a crunchy texture and a touch of sweetness. Yellow or orange bell peppers can also be used instead.
Red Onion: Offers a sharp, slightly spicy flavor that balances the sweetness of the mango. If you have a particularly strong onion you can cut a hunk off the onion, then rinse it under cool water so it doesn’t overwhelm the salsa with onion flavor. Shallots or green onions can be used instead.
Fresh Cilantro: Adds a bright, herbaceous flavor to the mango salsa.
Jalapeño Pepper: Provides a subtle heat. use the green parts for flavor- add the white pith and seeds for flavor AND heat. You can omit it or replace it with a pinch of red pepper flakes if you prefer less spice.
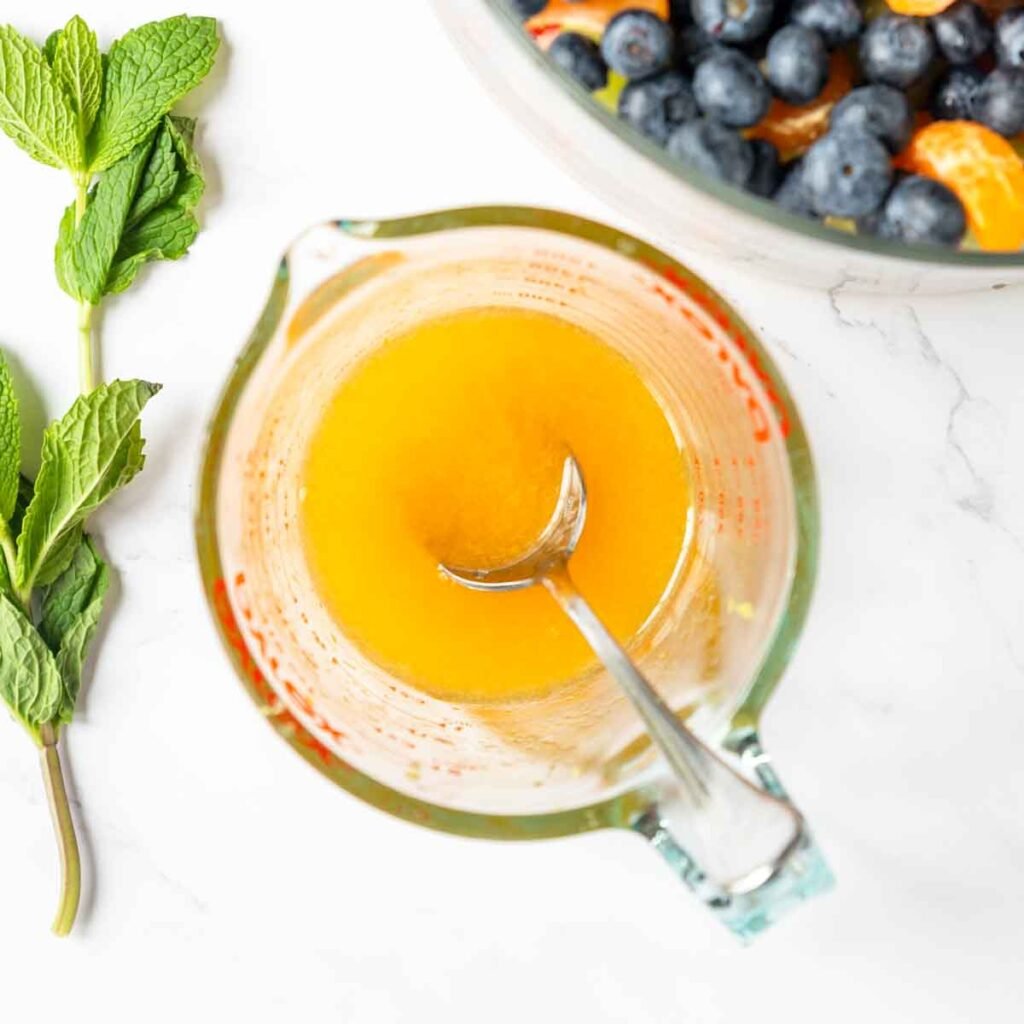
Fresh Lime Juice: Adds acidity and brightness, enhancing the overall flavor of the salsa.
How to Make Mango Salsa Tilapia
This is a quick overview of how easy it is to make Tilapia with Mango Salsa, for more detailed instructions and amounts, pop down to the recipe card.
Step 1
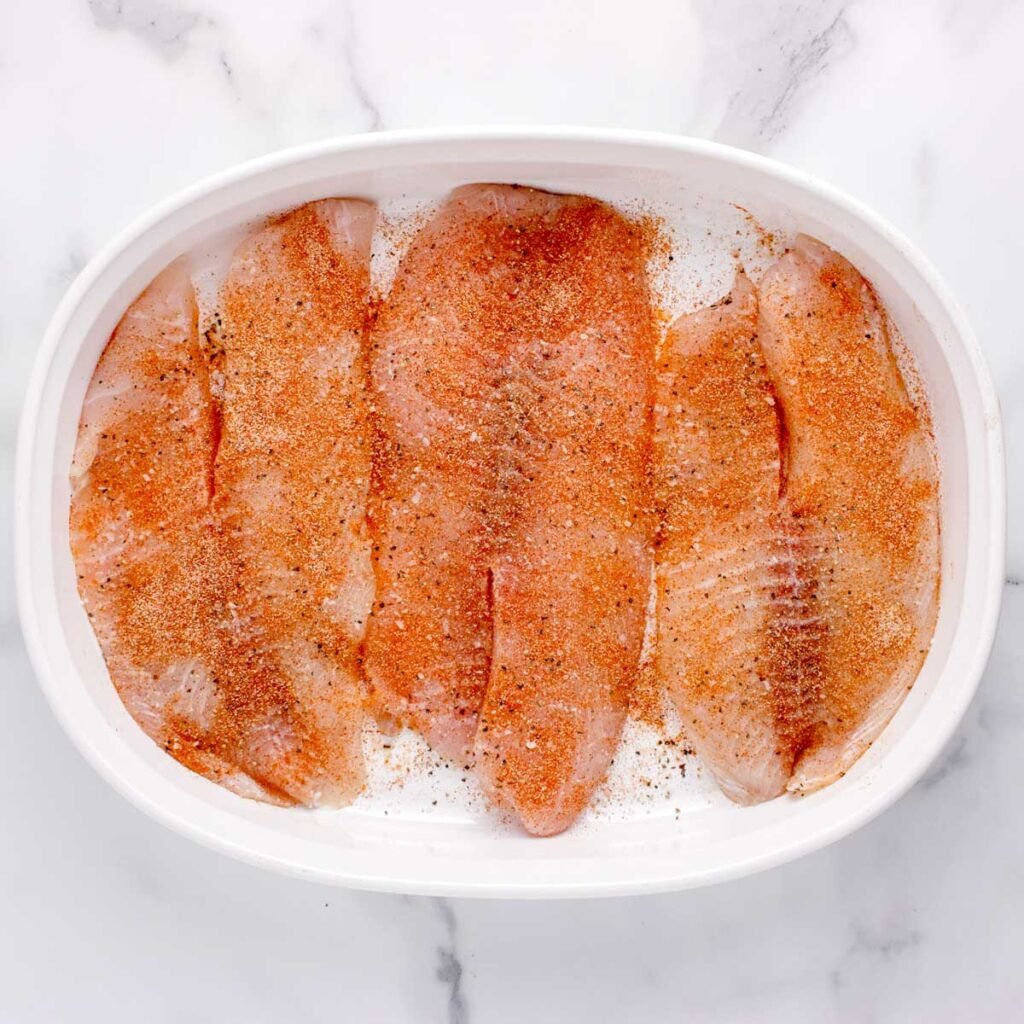
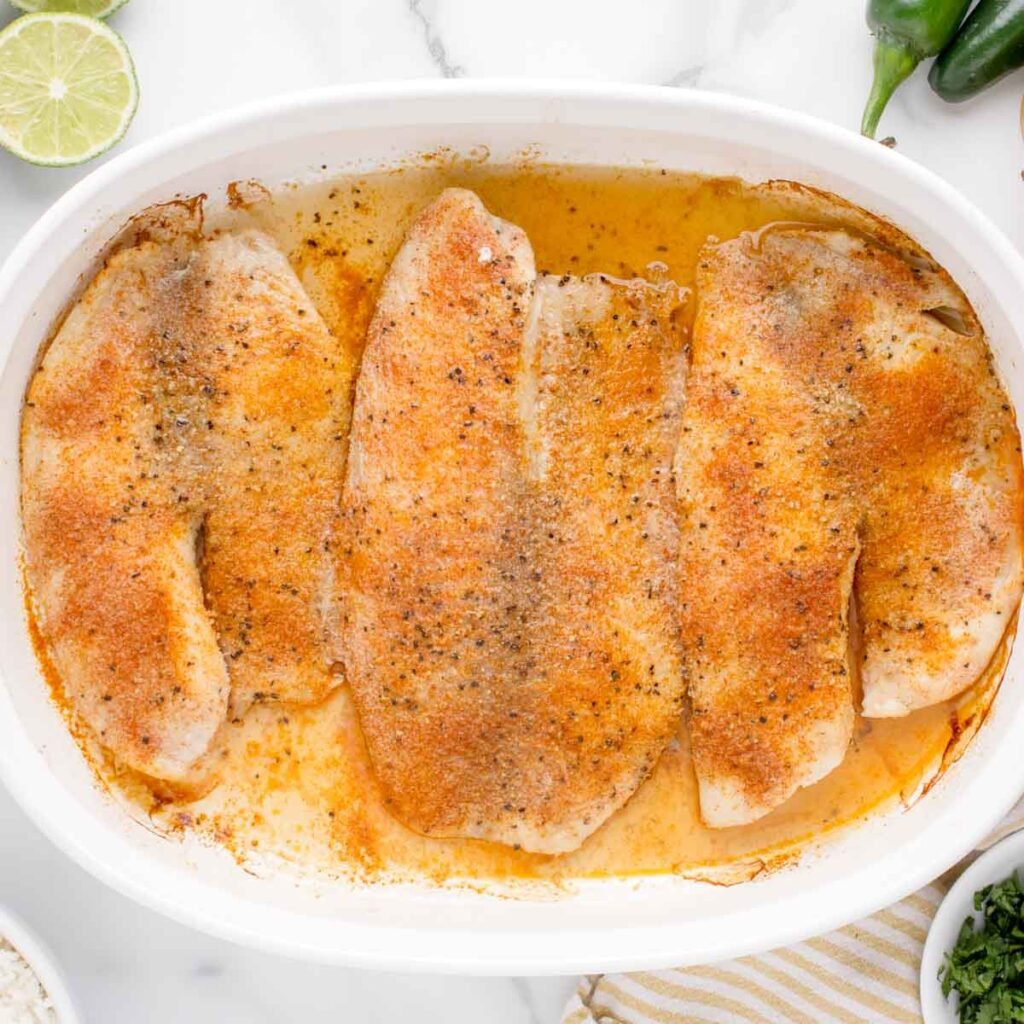
Pat the tilapia dry, brush with oil. Season with herbs and spices. Set aside for 30 mins.

Step 2
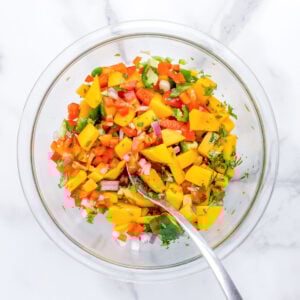
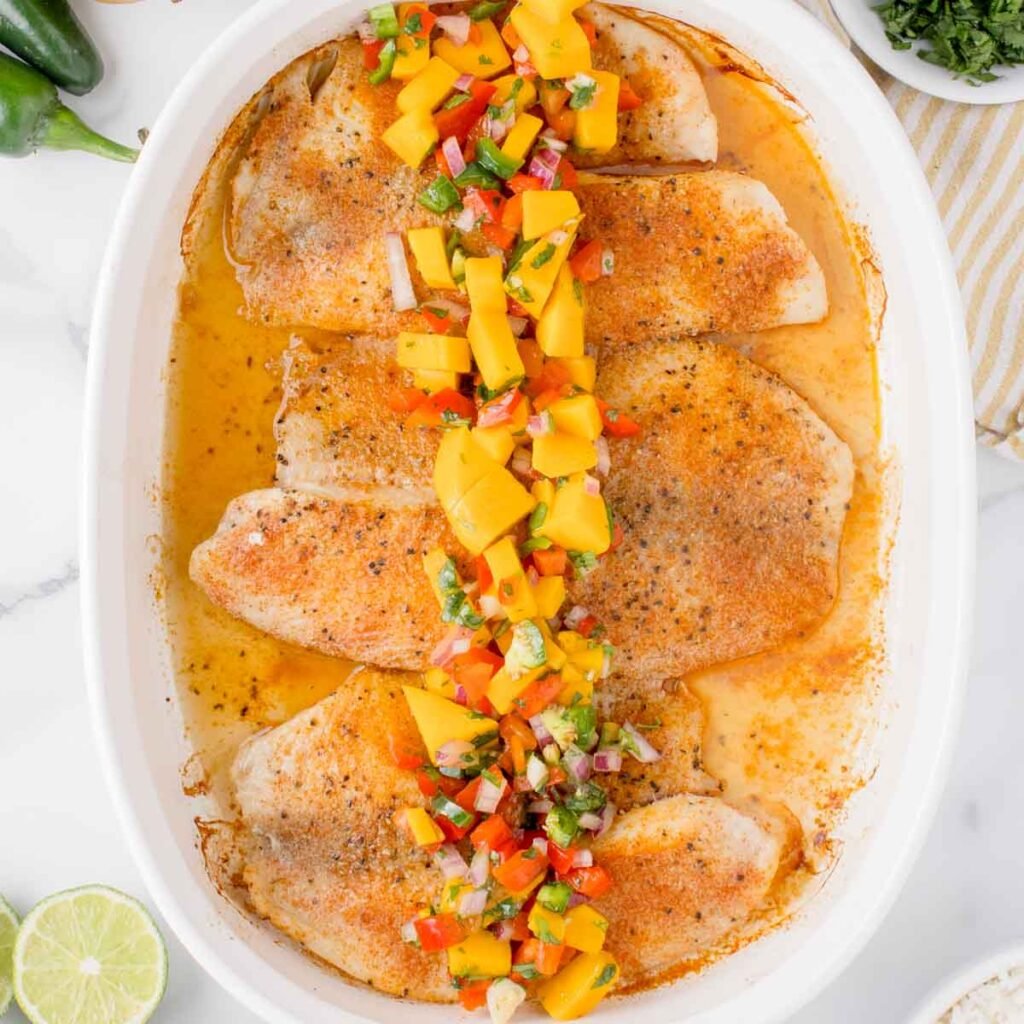
Mix the mango salsa and let set for 15 mins.
Step 3
Bake the tilapia.
Step 4
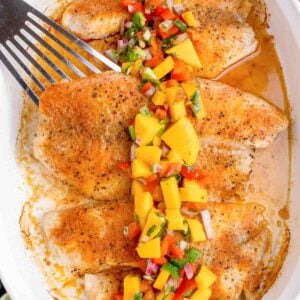
Spoon the salsa over top the baked tilapia and serve it up!
Side Dish Ideas
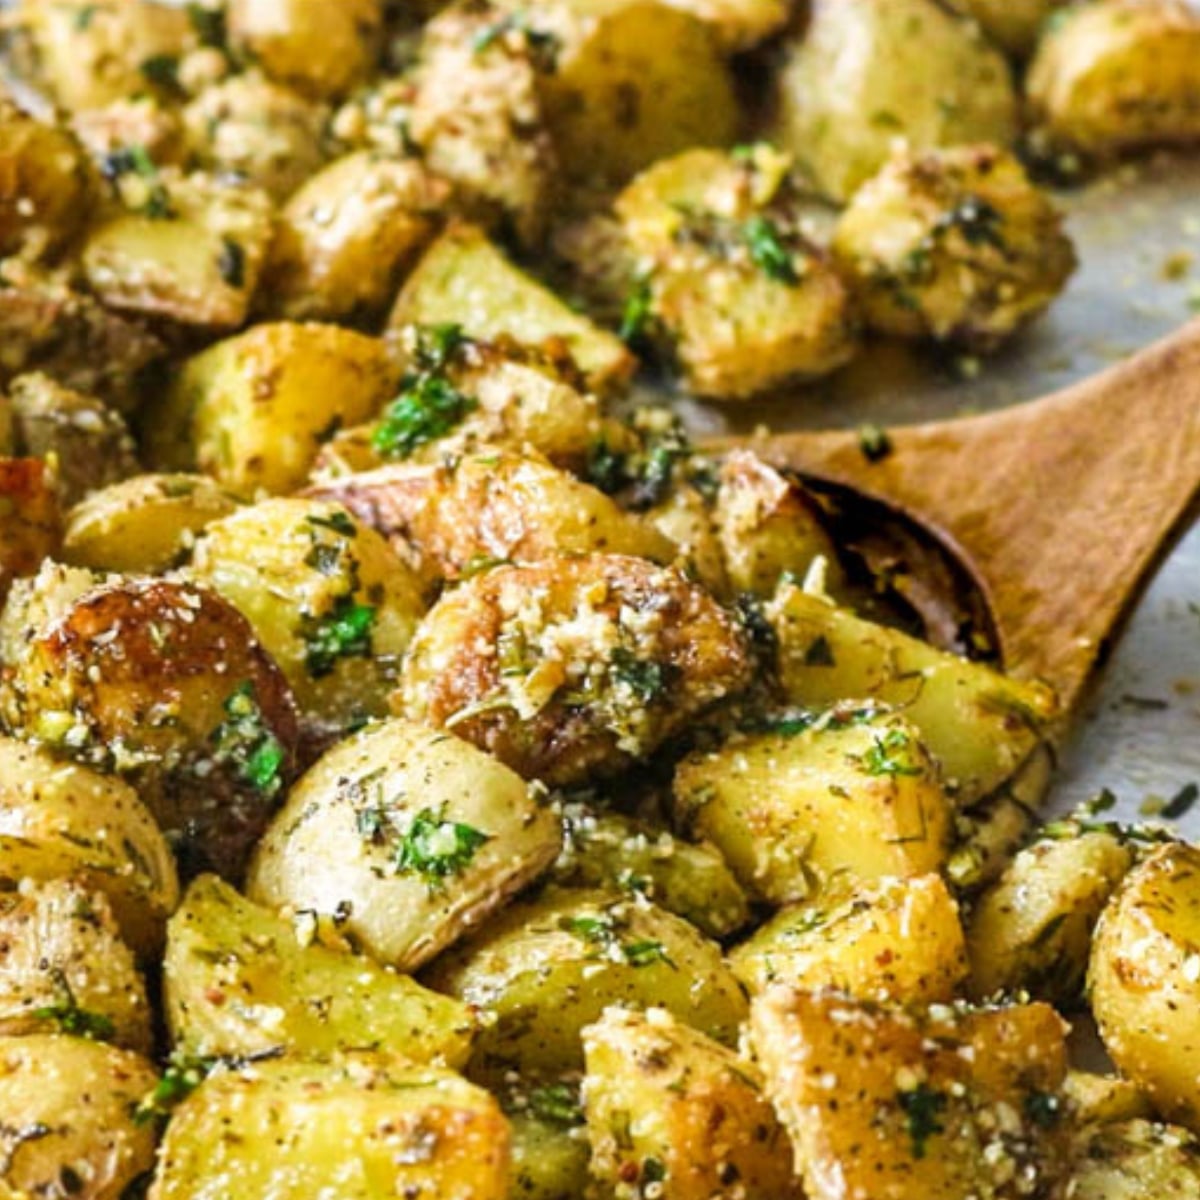
Keep this dinner fresh and light. A GREAT addition to this tilapia is Mexican Rice and cilantro lime slaw.
Make It Your Own
As always, if you take one thing away from this recipe, make it your own! Add the flavors you think would elevate the dish for your family. Here are some ideas:
Variations
- Add diced avocado to the salsa for creaminess.
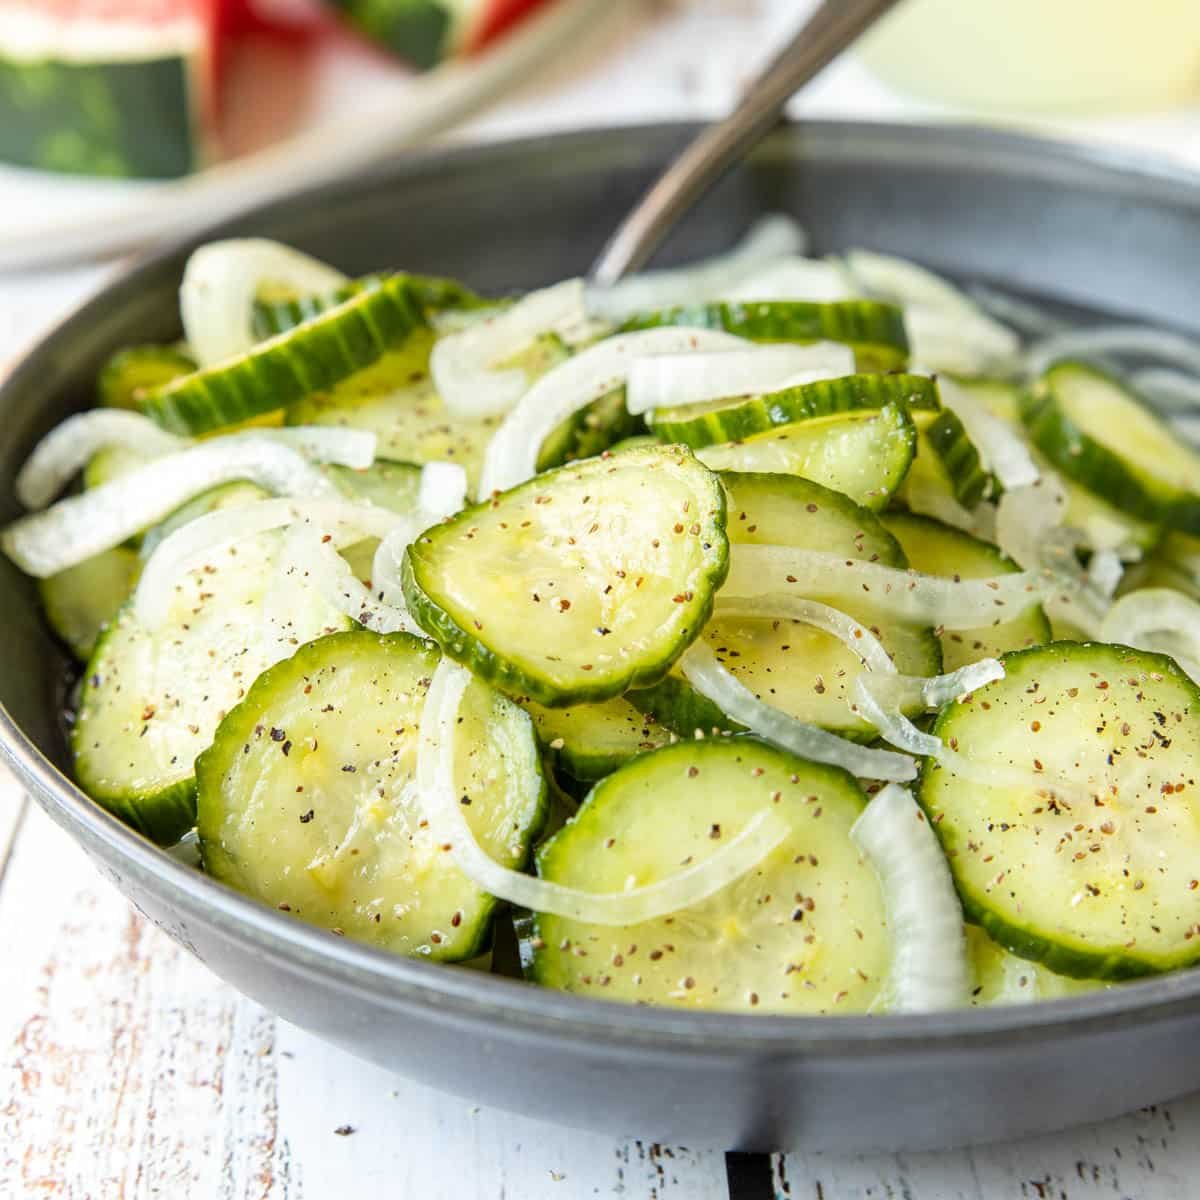
- Include diced cucumber for extra crunch.
- Add grilled or roasted corn kernels for a sweet, smoky flavor.
- Swap the mango for pineapple or peach.
- Instead of tilapia, try a cod or halibut.
Recipe Tips To Remember
- Fresh Is Best: Fresh mango, lime juice, and cilantro make a significant difference in the salsa's flavor.
- Some Like It Hot: Customize the heat by adding more or less jalapeño peppers, or removing the seeds for a milder taste.
- Check Fish Temperature: don’t overcook the tilapia, use an instant read thermometer to ensure the fish reaches 145°F for perfect doneness.
More Seafood Favorites


Baked Tilapia and Fresh Mango Salsa
Ingredients
Tilapia
- 4 large tilapia fillets - 6 oz each, or other white fish
- 1 teaspoon onion powder
- 1 teaspoon garlic powder
- ½ teaspoon paprika or smoked paprika
- ¾ teaspoon kosher salt - or to taste
- ½ teaspoon black pepper
- 2 tablespoon olive oil
Mango Salsa
- 2 large ripe mango - 1 ½ cups diced
- ½ cup red bell pepper - diced
- ¼ cup red onion - diced
- 2 tablespoon chopped fresh cilantro
- 2 tablespoon finely chopped jalapeño pepper - ribbed and deseeded
- 1 small lime
- ½ teaspoon salt - or to taste
Garnish
- extra lime cut into wedges for serving
Instructions
- Preheat your oven to 400°F.
- Place the tilapia fillets in a shallow baking dish. Pat the tilapia fillets dry with paper towels to remove excess moisture. Brush both sides of each tilapia fillet with olive oil.4 large tilapia fillets, 2 tablespoon olive oil
- In a small bowl, mix onion powder, garlic powder, paprika, salt, and pepper. Sprinkle the seasoning mix evenly over both sides of the fish. Let them marinate for 30 minutes to an hour.1 teaspoon onion powder, 1 teaspoon garlic powder, ½ teaspoon paprika or smoked paprika, ¾ teaspoon kosher salt, ½ teaspoon black pepper

- While the fish is marinating – in a large bowl, combine the diced mango, red bell pepper, red onion, and chopped jalapeño peppers. Add the chopped fresh cilantro and season with salt and black pepper to taste. Pour in the juice from one lime. Let it sit at room temp while the fish finishes marinating and baking.2 large ripe mango, ½ cup red bell pepper, ¼ cup red onion, 2 tablespoon chopped fresh cilantro, 2 tablespoon finely chopped jalapeño pepper, 1 small lime, ½ teaspoon salt
- Bake the fish for 8-12 minutes, depending on the thickness of the fillets. The fish is ready when its internal temperature reaches 145°F and the fish flakes easily with a fork.
- Place the fillets on a plate and spoon the fresh mango salsa over the top. Serve with lime wedges on the side.