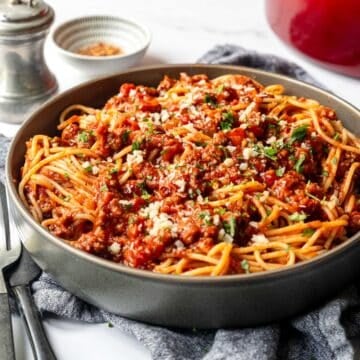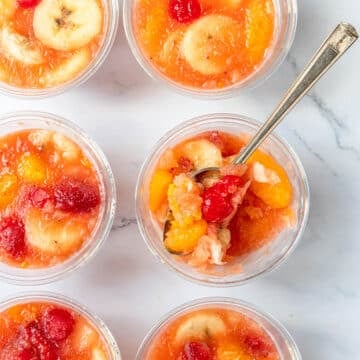
I grew up eating these Slushy Fruit Cups!!! Parent’s hosting card club -we had frozen fruit cups. Need a summer treat – we had frozen fruit cups. Church dinner -we had frozen fruit cups. They are a totally nostalgic frozen treat that might even be specific to the Midwest. I recently found the recipe in an old family recipe book and made them immediately. They are perfect; frosty, slushy and sweet.

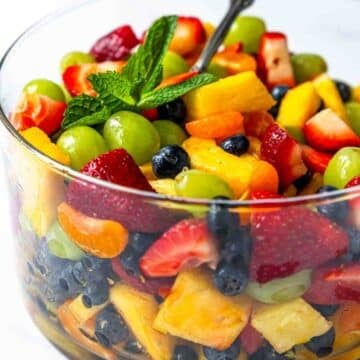
Now if you haven’t been lucky enough to have a Frozen Fruit Cup in your life, let me tell you about them. They are basically a fruit slushy with a mix of sugar, lemonade and OJ. You mix in bananas, frozen strawberries, maraschino cherries, mandarin oranges, and crushed pineapple. Portion them into little plastic cups and pop in the freezer. Your frozen treat will be ready in a couple hours!
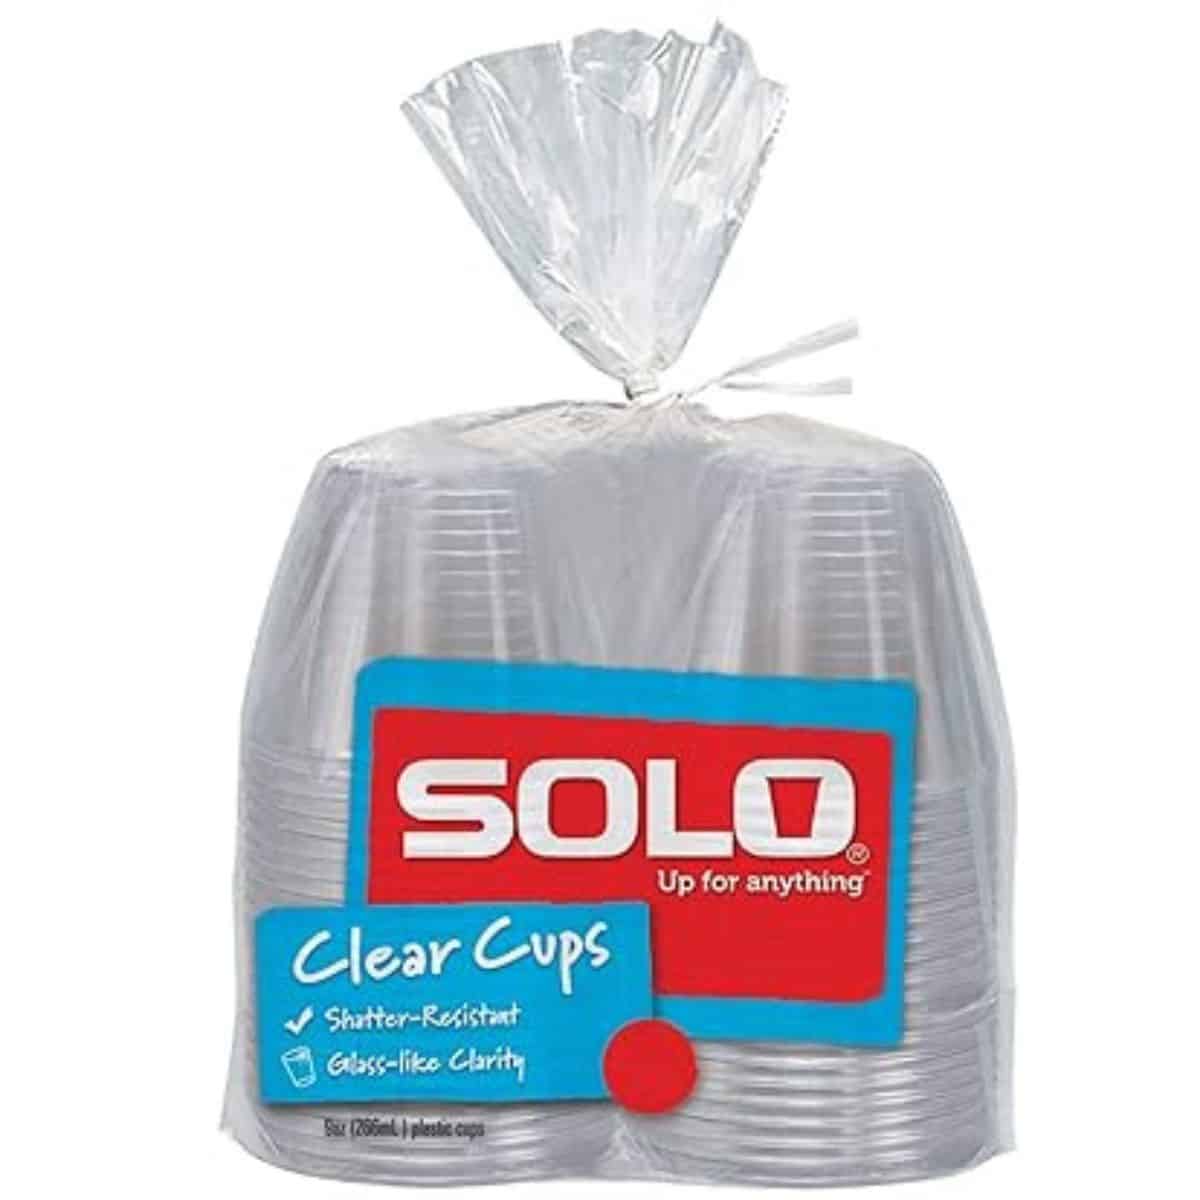
[feast_advanced_jump_to]Cups To Use
Of course you can use any small cup that is freezer friendly. BUT if you want to keep it super classic, these 9 oz plastic cups are the way to go. I call them “disposable cocktail cups”. You should be able to find them in any grocery store or a Walmart or Target.
Ingredient Details
Frozen Lemonade & OJ Concentrate – this is the base for the frosty/slushy treat. You melt them down with some water and a little added sugar.
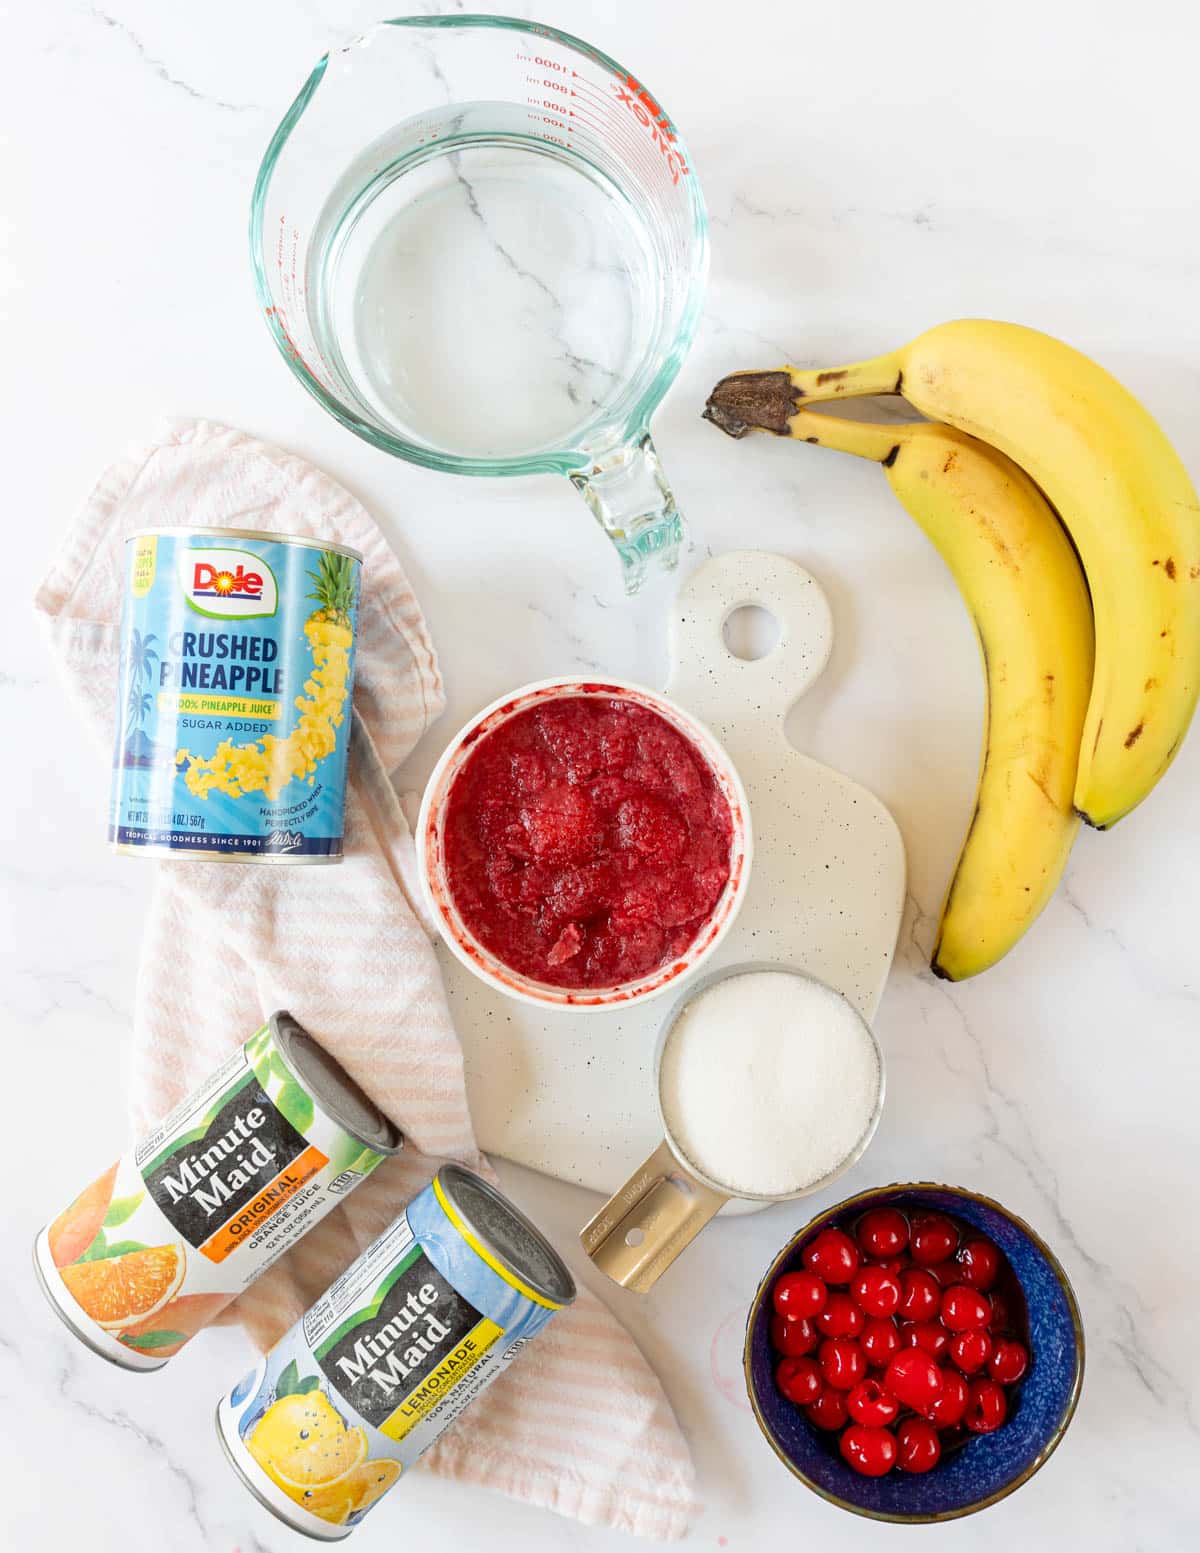
Frozen Strawberries in Sugar – this is an ingredient I wasn’t sure you could still get at the grocery store. But I had no trouble finding it. I think it used to come in a frozen box! But now it is in a tub and will either be called strawberries with sugar or strawberries in syrup. Don’t buy the whole frozen strawberries, it isn’t the same thing.
Maraschino Cherries – an 8 oz jar of maraschino cherries makes this such a treat. When you are at the store look for one that says “without stems”, it will make chopping the cherries a little easier.
Mom’s Tip
You can chop the cherries and add to the fruit and juice mixture. Be aware that they will sink to the bottom, so stir them up when portioning out into individual cups.
ANOTHER OPTION – leave the cherries whole and drop two or three in each individual fruit cup instead. That way everyone gets equal amounts of cherries 🍒.
Crushed Pineapple in Juice – a can of crushed pineapple in juice also adds to the slushy texture of this dessert. Make sure you don’t drain this one!
Bananas – grab 3 bananas and slice them up. They add a really nice texture and flavor to the Frozen Fruit Cups.
How To Make Frozen Fruit Cups
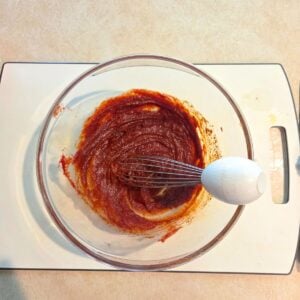
Step 1
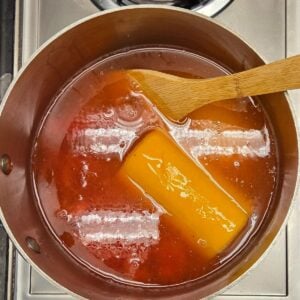
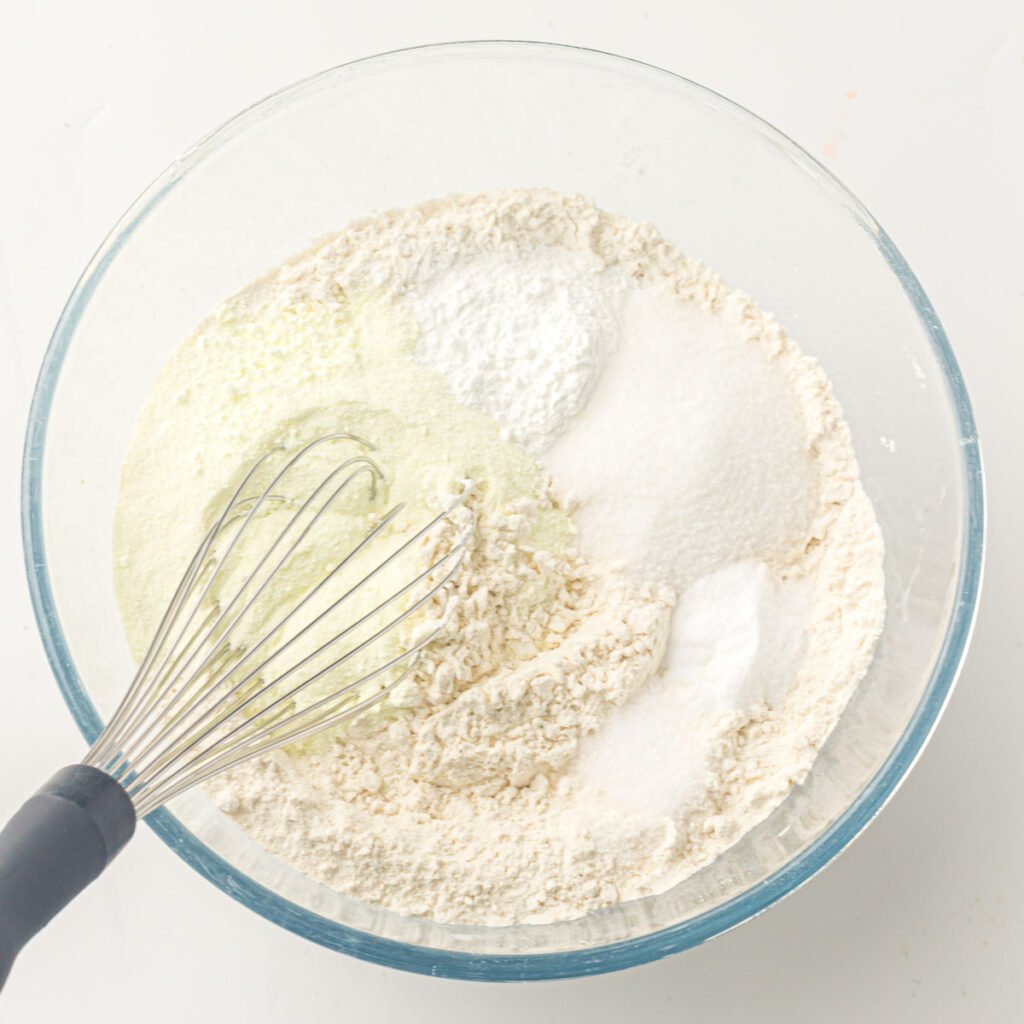
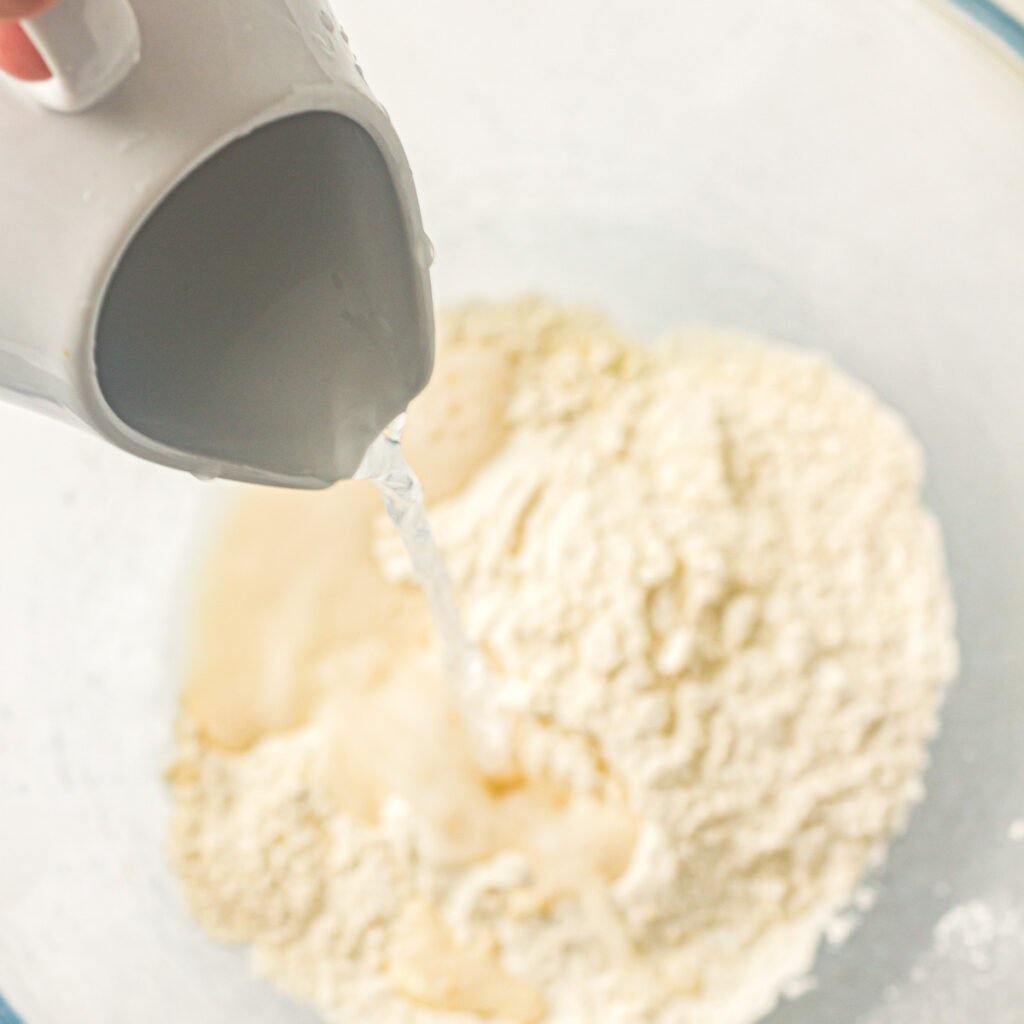
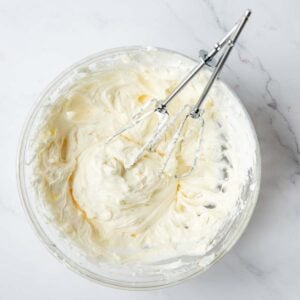
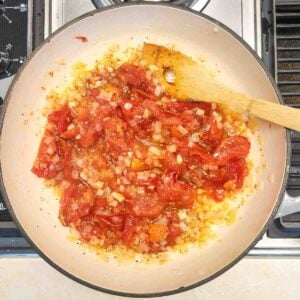
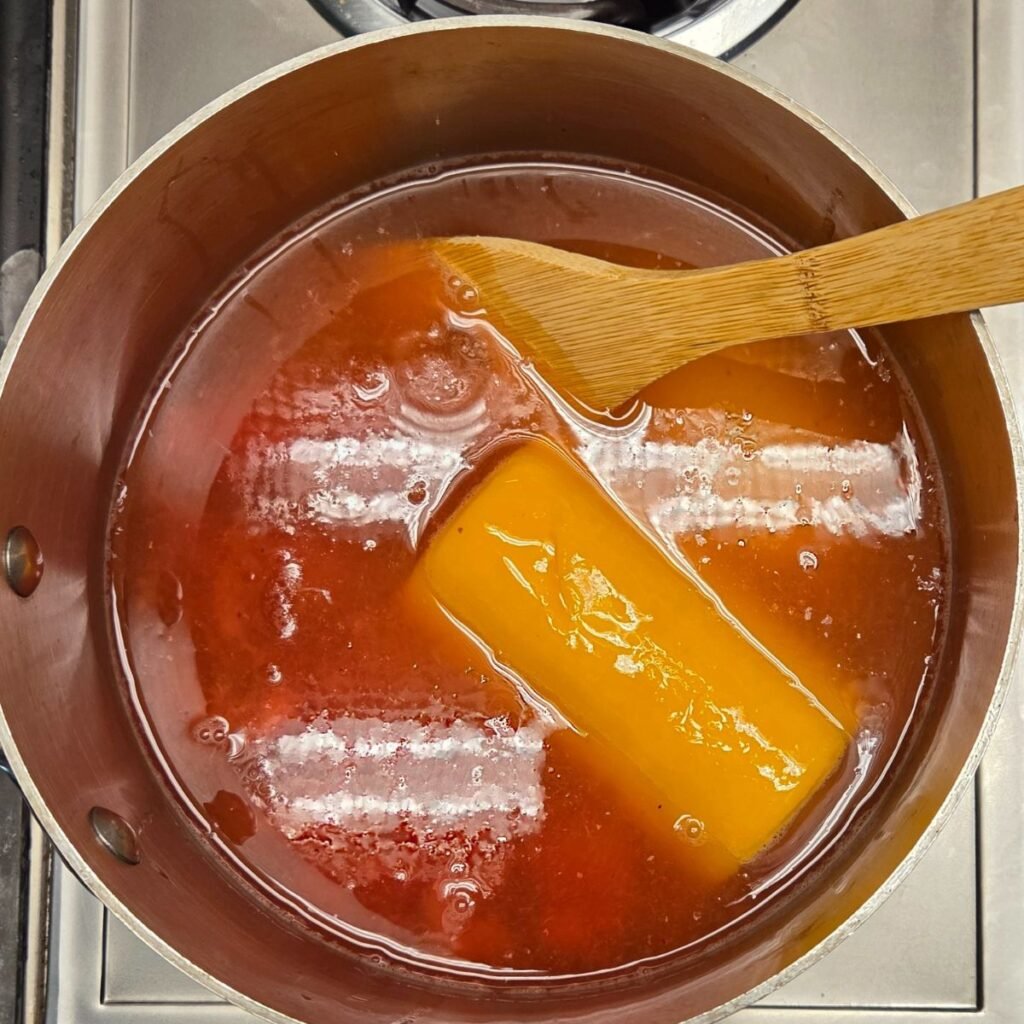
In a saucepan over low heat melt together the OJ concentrate, lemonade concentrate, water, sugar and frozen strawberries.
Step 2
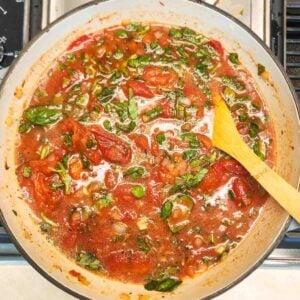
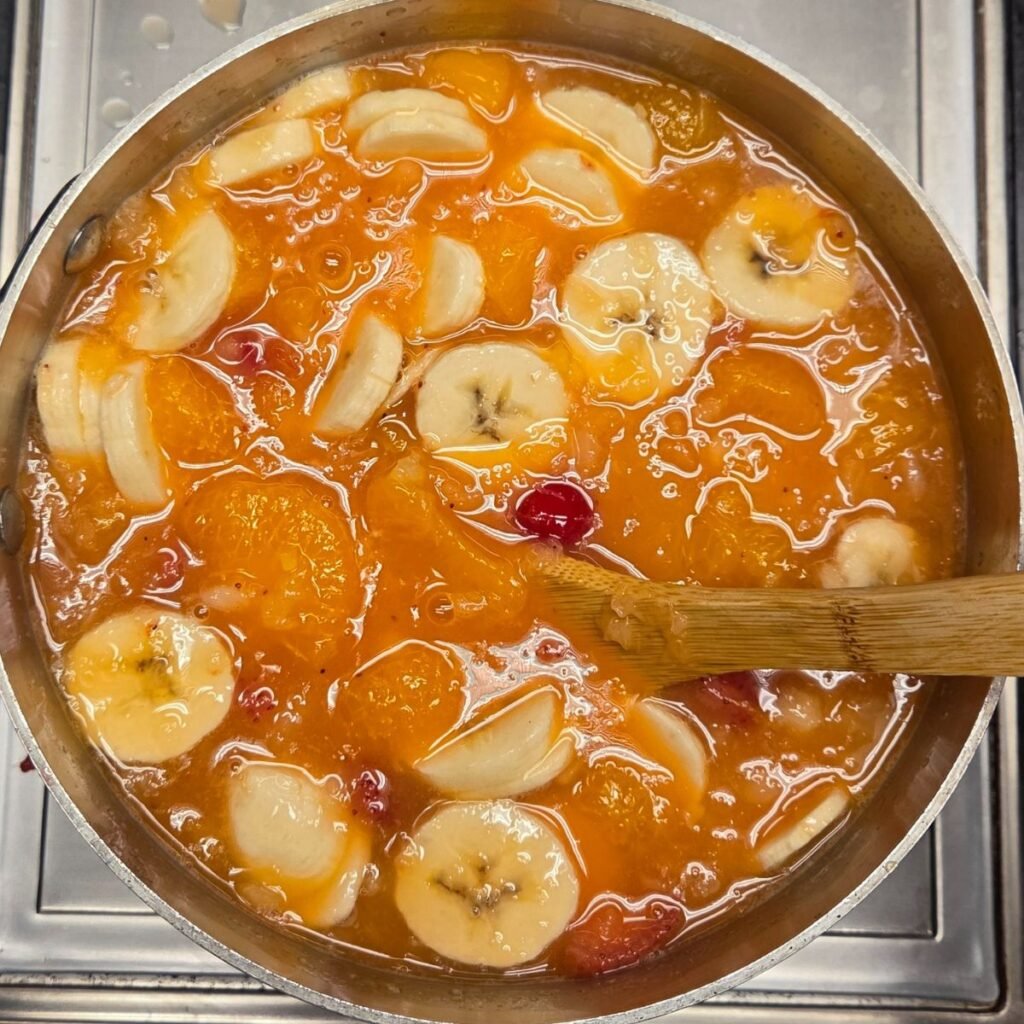
Add in the fruit.

Step 3
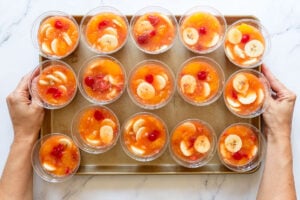
Portion into individual cups. Pop in the freezer for a couple hours.

Step 4
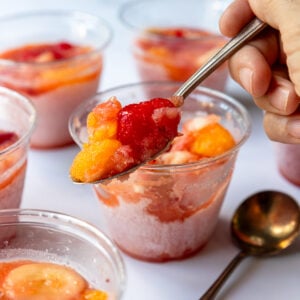
Remove from the freezer about 30 minutes before serving and they are a perfectly slushy sweet treat!
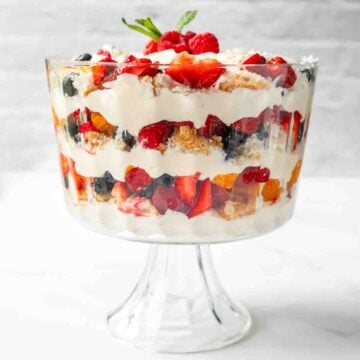
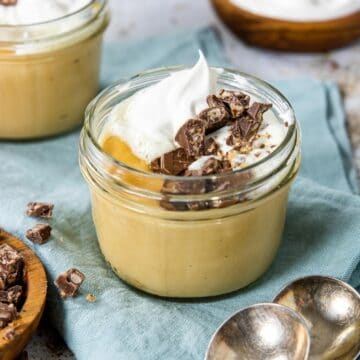
More Retro Desserts


Grandma’s Frozen Fruit Cup Recipe
Equipment
Ingredients
- 6 oz can frozen lemonade concentrate
- 6 oz can frozen orange juice concentrate
- 15.5 oz container frozen strawberries in syrup/sugar
- 2 ½ cups water
- ¾ cup sugar
- 20 oz can crushed pineapple in juice - do not drain
- 15 oz mandarin oranges in juice - drained
- 8 oz maraschino cherries - chopped in half
- 3 bananas - sliced
Instructions
- Over low heat combine the water, sugar, strawberries, lemonade and orange juice. Stir until all the concentrate and sugar is dissolved. Do not boil.6 oz can frozen lemonade concentrate, 6 oz can frozen orange juice concentrate, 15.5 oz container frozen strawberries in syrup/sugar, 2 ½ cups water, ¾ cup sugar

- Off the heat stir in the crushed pineapple, mandarin oranges, cherries, and sliced bananas.20 oz can crushed pineapple in juice, 15 oz mandarin oranges in juice, 8 oz maraschino cherries, 3 bananas
- Once it is slightly cooled, portion into 9 oz serving cups (little plastic cocktail cups are traditional), about ¾ full. Tips: Make sure each cup gets plenty of fruit and not just juice. Also the cherries will sink to the bottom of the pot, so make sure to stir those up into the mixture before portioning. Makes about 15-18 cups.

- Pop into the freezer for 4 hours up to 24 hours.
- Remove from the freezer about 30 minutes before serving.