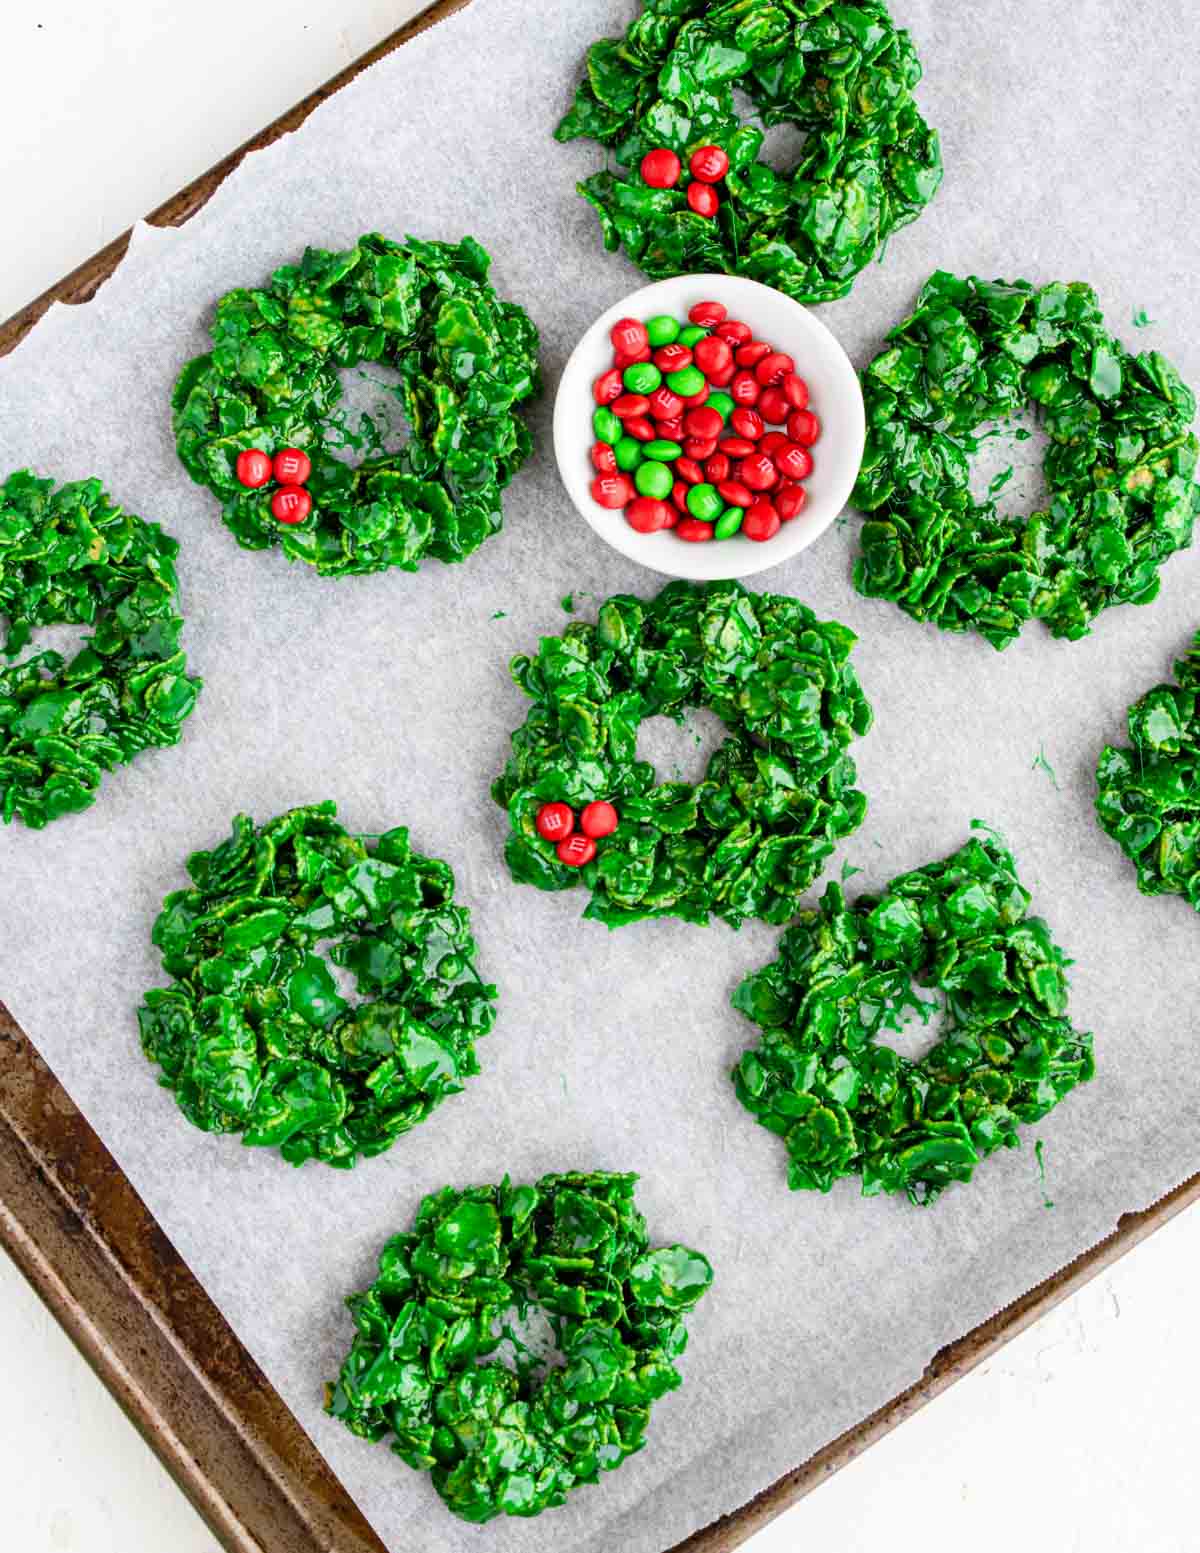
Cornflake Wreaths are a cute traditional Christmas cookies that look like green wreaths made to mimic a holly wreath. These holiday treats are similar to rice krispie treat but instead of puffed rice cereal they use cornflake cereal, dyed green, shaped into a wreath and then topped with red “berries”.
Some other traditional Holiday treats that we love are Fruitcake Cookies, Peanut Butter Cup Cookies, and Saltine Toffee!
Ingredients & Tools
These Cornflake Wreaths are made with really simple ingredients like cornflake cereal, butter, and marshmallows. Here are some tips on a few ingredients and supplies:

Wax Paper
You will want to line your counter or a baking sheet with wax paper. This is the best option as it is kind of “slick” and ensures the sticky treats don’t stick to the paper.
Non Stick Spray
Since these treats are SO STICKY you will need something to keep your hands clean. either a non-stick pan spray, sprayed on your hands or wet your hands with a little water. Both will work!
You may also want that non-stick spray for your measuring cup, this will allow the sticky cornflake mixture to fall out of the cup easily.
Cornflake Cereal
Make sure you buy CORNFLAKE CEREAL and not Frosted Flakes. The frosted version will be a little too sweet for this treat.
Food Coloring
In any treat that calls for food coloring we always prefer a gel food coloring. It tends to have more pigment so you can use less and not water down your recipe. This green gel food coloring is great!
Red Berries on the Holly Wreath
It is traditional to use red hots candy but I find that kids don’t LOVE red hots. I like to use mini M&M’s you can find them in the holiday section in little tubes and they are only colored red and green.
Step by Step with Tips
Start by lining a baking sheet or two with wax paper. Set aside so they are ready for the wreaths.
Measure out 6 cups of cornflakes into a bowl. Set aside.
In a large pot over medium-low heat melt 1 stick of butter and the 12 oz bag of marshmallows, stirring often so the marshmallows don’t burn to the bottom of the pan.
Once all the marshmallows are completely melted stir in 1 teaspoon of green food coloring (if you have gel food coloring you may only need ¼ tsp). Add a little at a time if you want a stronger green color.
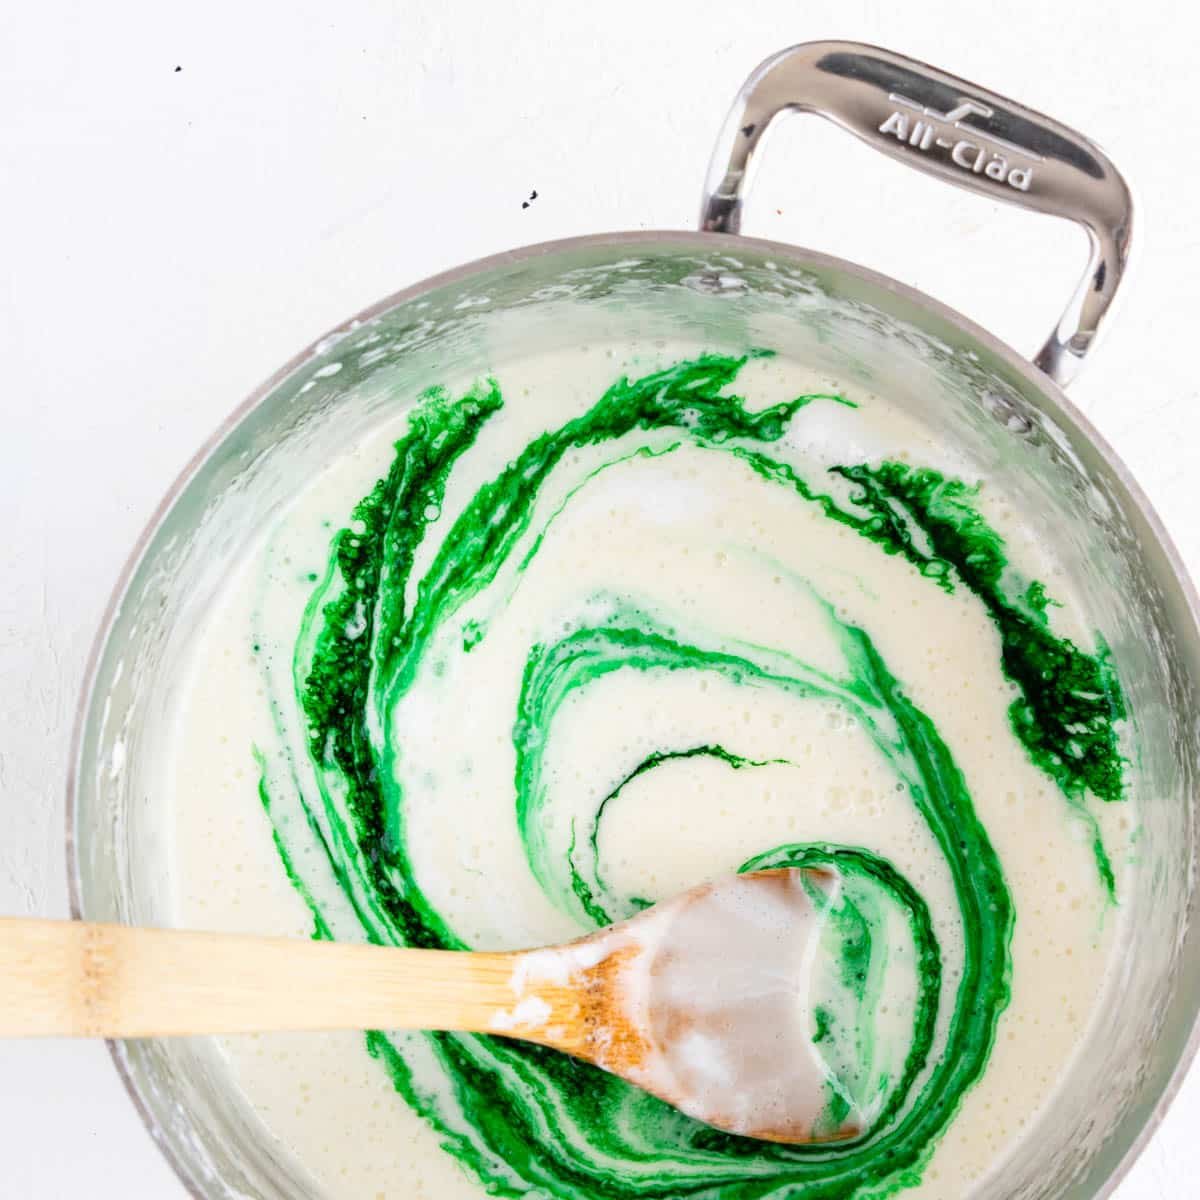
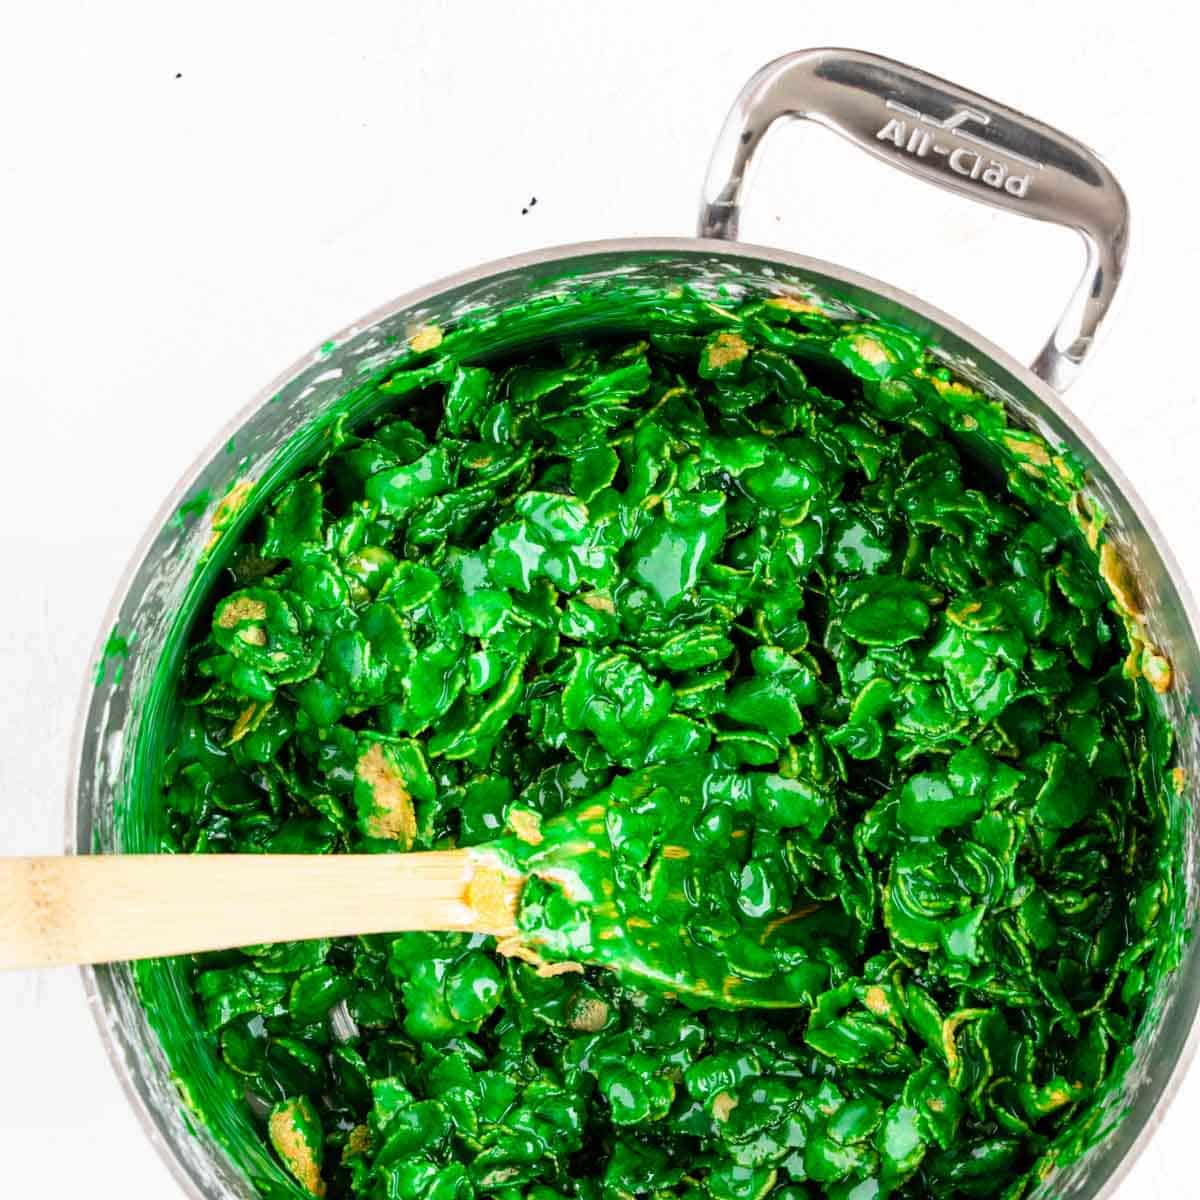
Pour in the cornflakes and stir until every cornflake is coated with the green marshmallow mixture.
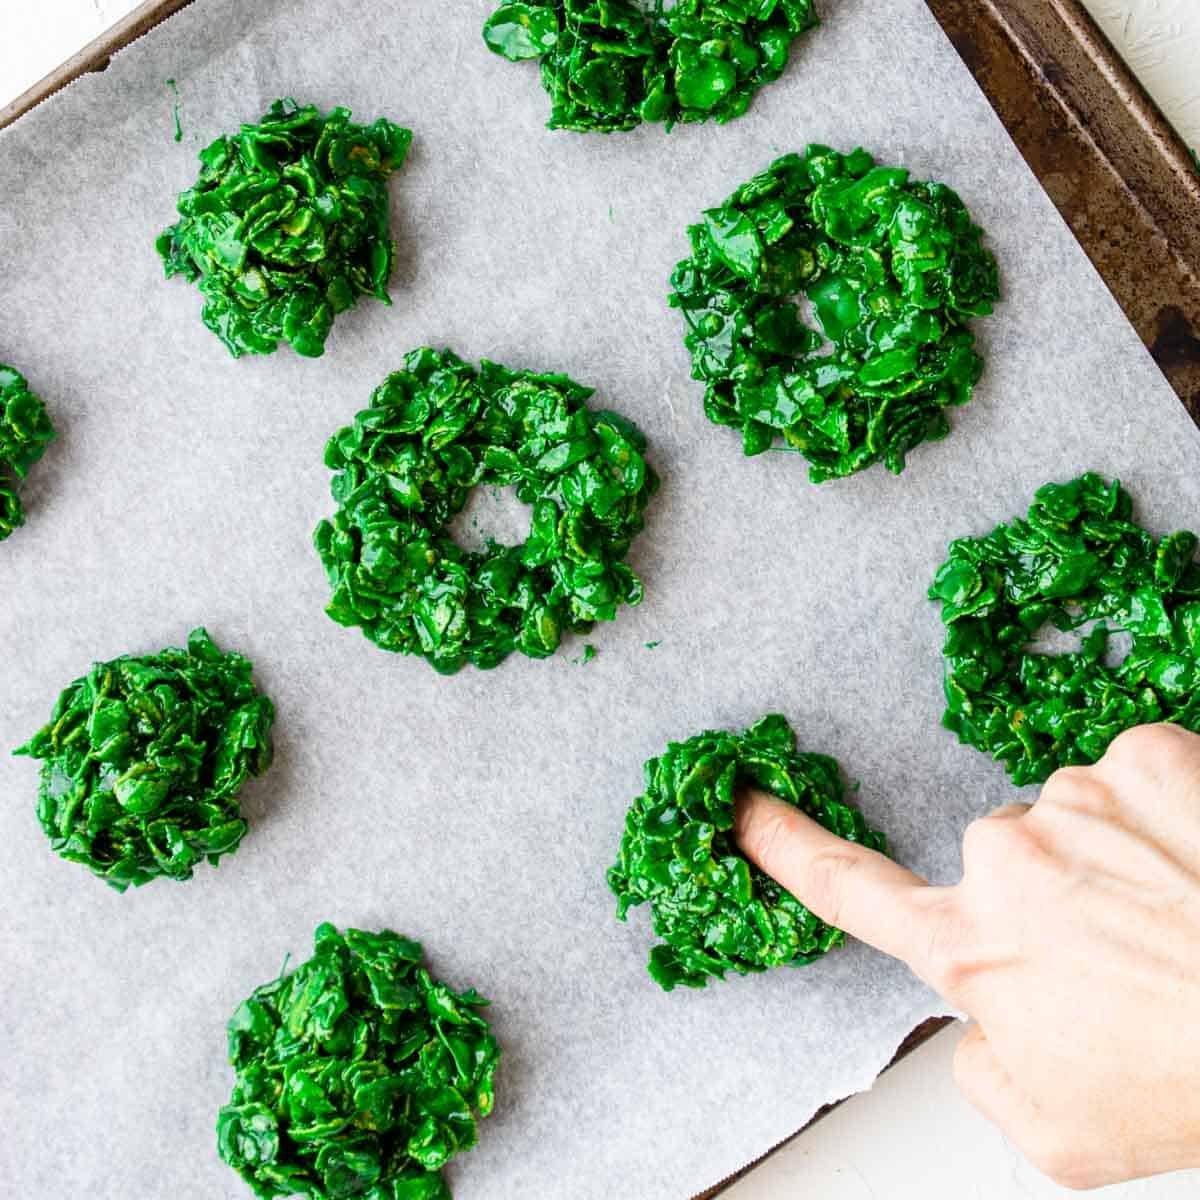
Drop the green cornflake mixture by the ¼ or ⅓ cup portions into little heaps on the wax paper.
Pro Tip: spray your measuring cup with a little non-stick spray to help the sticky mixture fall out.
Coat your hands with the non-stick spray OR wet them under a little running water so the marshmallow coated cereal doesn’t stick to your hands while you form the wreaths.
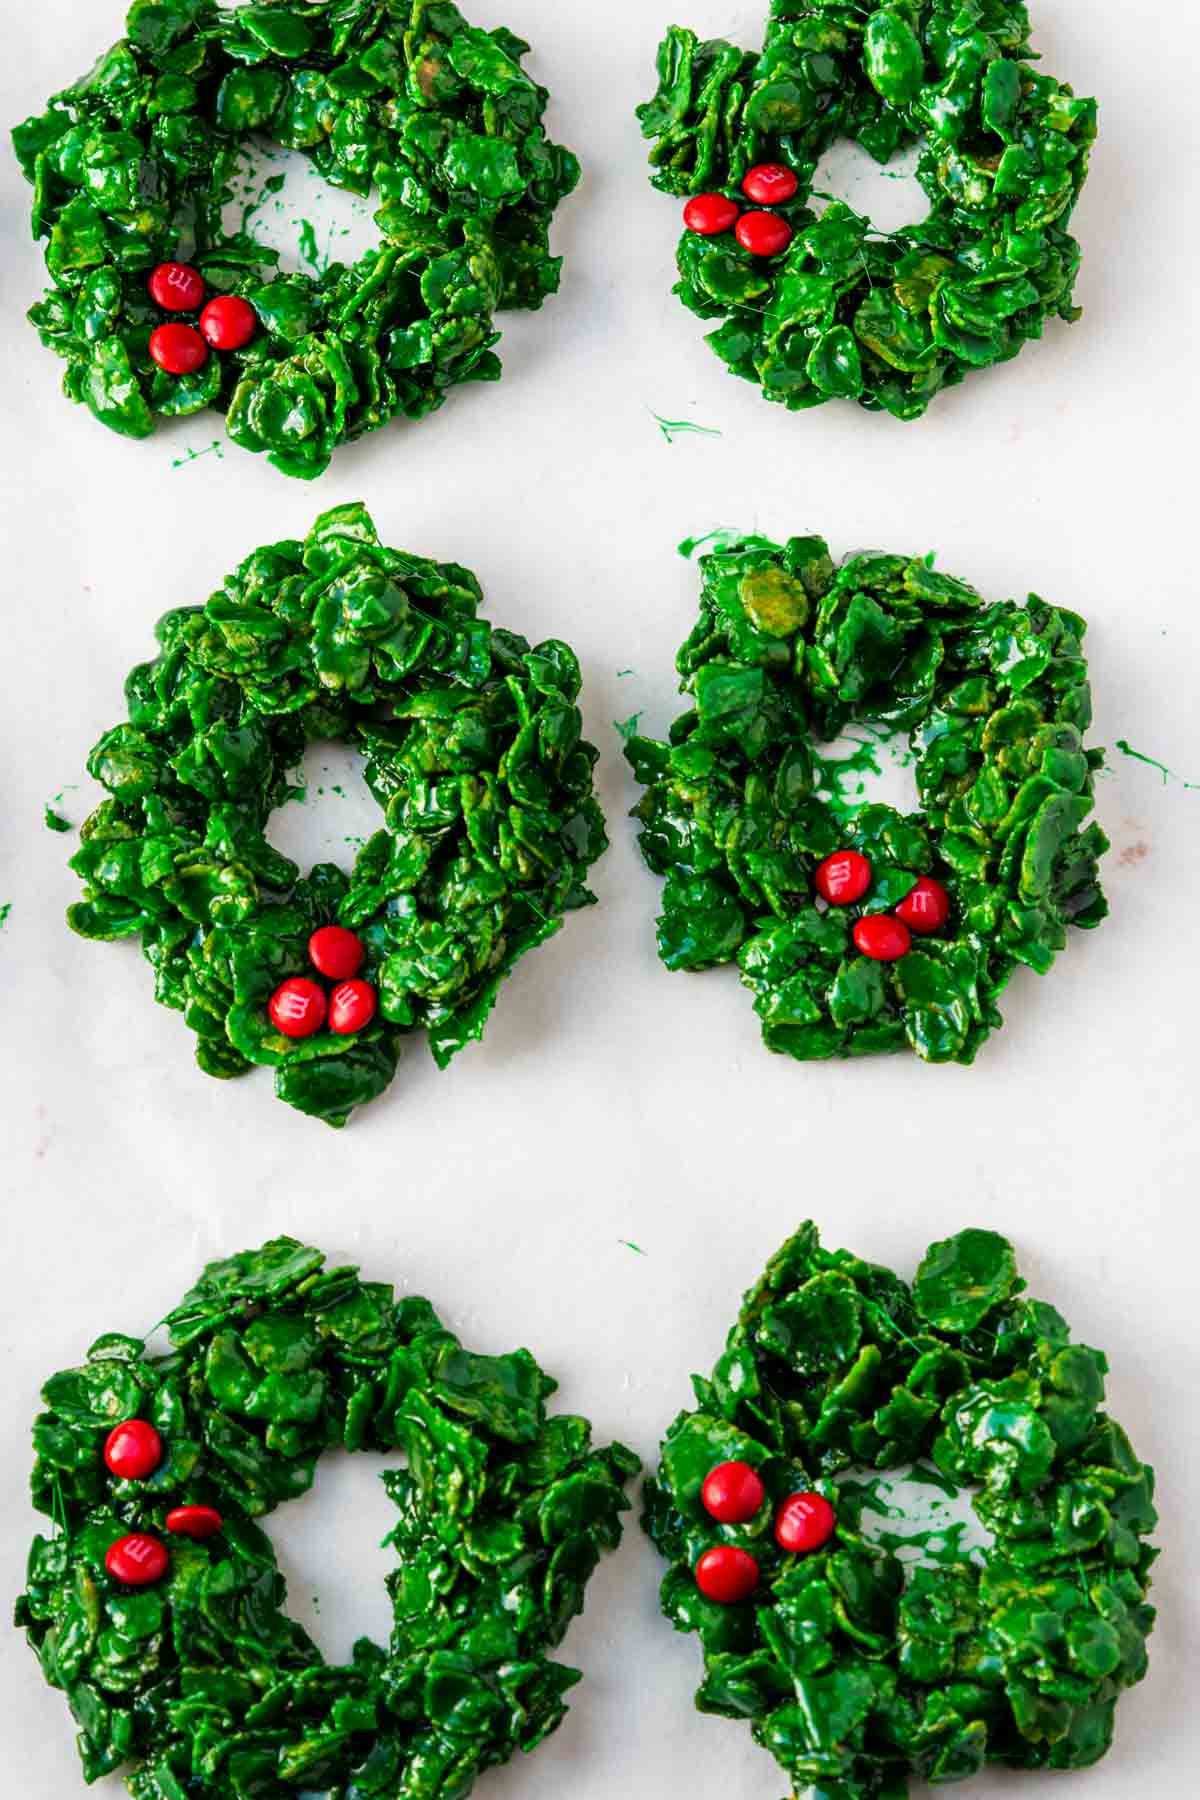
Push your finger in the center of the mound. Wiggle it around so that it forms a hole in the center. Then shape the wreath into a nice circle. They do not have to be perfect!!
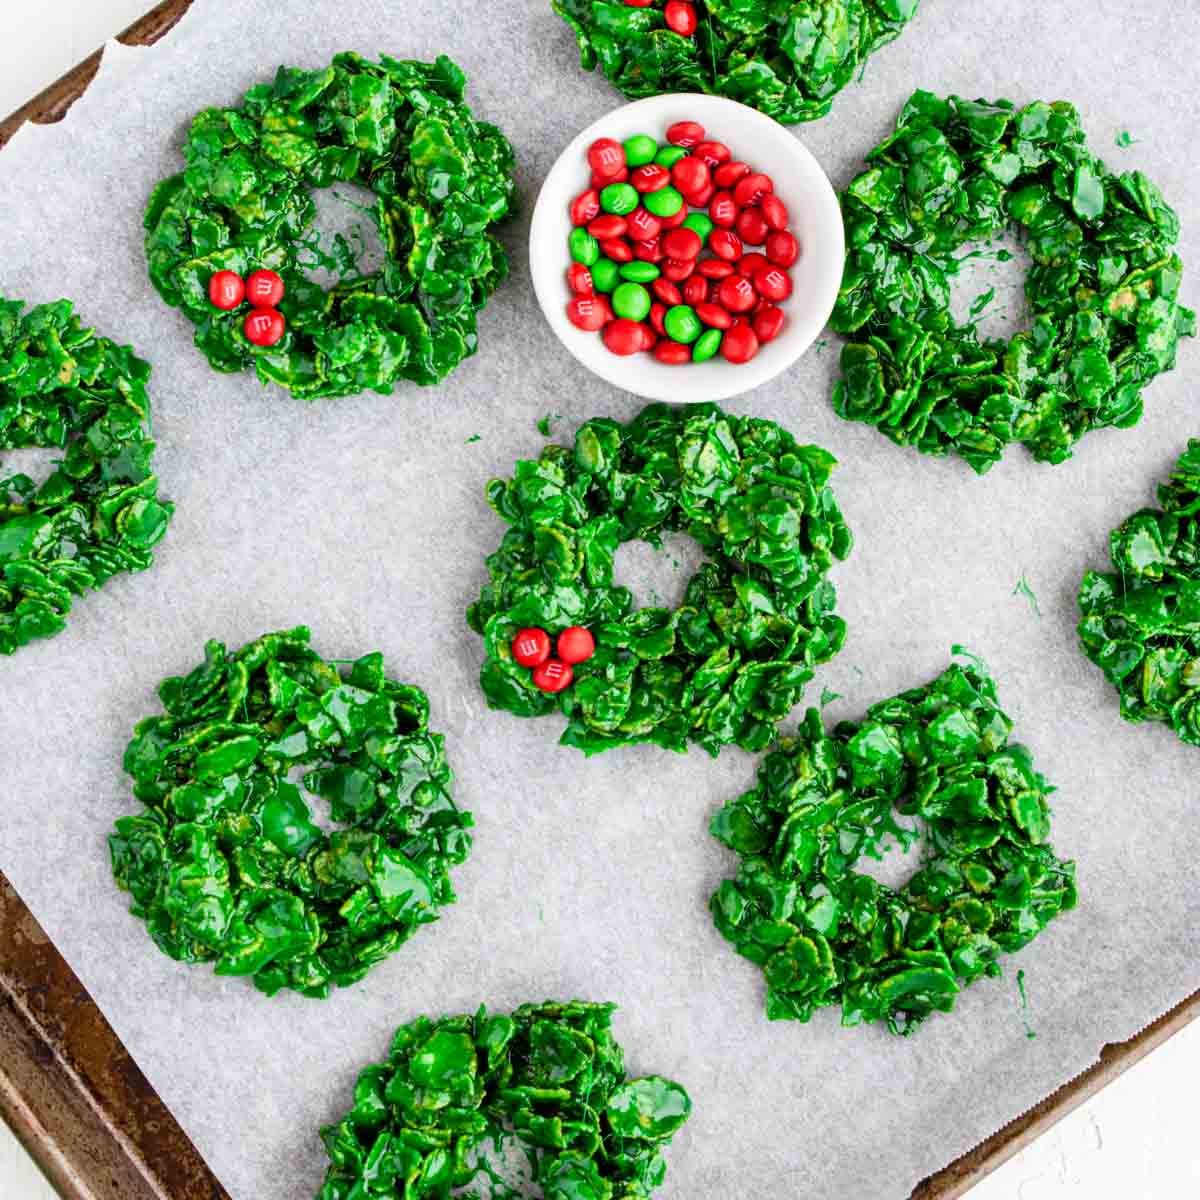
Place 3 red M&M’s together on the wreath so they mimic the holly berries. You will want to do this while they are still warm so they stick to the sticky marshmallows.
Cooling & Storing
Let the Cornflake Wreath Cookies cool and set for about an hour or so. Store on the wax paper, at room temperature, in an airtight container for up to 5 days.
Cookie Exchange
These make an excellent cookie for a Holiday cookie exchange! They are so festive and scream Christmas!! Attach this FREE PRINTABLE GIFT TAG and you have a great edible gift. Here are a few other great cookies to consider making at the Holidays:
- Microwave Fudge
- Peanut Clusters
- Peanut Butter & Chocolate Star Cookies
- Rolo Pretzel Turtles
- Peanut Butter Cup Cookies
- Buckeye Balls
Pin TV Episode
You can watch these Cornflake Wreaths being made on an episode of Pin TV, it's an hour long episode of no-bake holiday treats.
I also make Peppermint Bark Oreos, Peanut Clusters, and Microwave Fudge in this episode.

Did you make this recipe?
⭐⭐⭐⭐⭐
I would love to hear your review, especially if you have tips and tricks to add! Pop down to the comment section and connect with me
Traditional Christmas Cornflake Wreaths Recipe
Equipment
- wax paper
- ¼ or ⅓ cup measuring cup
Ingredients
- ½ cup butter - salted or unsalted
- 12 oz bag marshmallows
- 1 teaspoon green food coloring - you may want a little more for stronger color (or use gel food coloring and start with just ¼ tsp)
- 6 cups cornflake cereal
- 45 mini red M&M's - see notes
- cooking/pan spray
Instructions
- Line a baking sheet or two with wax paper. Set aside.
- Measure 6 cups of cornflakes into a large bowl. Set aside.6 cups cornflake cereal
- Melt the marshmallows & butter together. In a large pot over medium low heat, melt 1 stick of butter and the entire 12 oz bag of marshmallows. Stirring often so the marshmallows don't burn to the bottom of the pan.½ cup butter, 12 oz bag marshmallows
- Stir in the food coloring & cornflakes. Mix in 1 teaspoon of green food coloring (if using gel food coloring start with ¼ tsp) and the 6 cups of cornflake cereal. Stir to completely coat the cornflakes with the marshmallow mixture.
- Form into wreath cookies on the wax paper. Drop the cornflake mixture by the ¼ or ⅓ cup mounds on the wax paper. Pro Tip: spray the inside of the measuring cup with non-stick spray so the sticky cereal mixture will come out easily.
- Coat your hands in nonstick spray or wet with a little running water, this will prevent the marshmallows from sticking to your hands. Push your finger into the center of the cookie and wiggle it around to form a hole. Then form the wreath so it is a complete circle.

- Add the "holly berries". Place 3 mini red M&M's together on the wreath to mimic holly berries. You can also use red hots.45 mini red M&M's
- Cooling & Storing. Let the wreath cookies cool and set for at least an hour. Then store them on the wax paper at room temperature in an airtight container for up to 5 days.
Recipe Tips and Notes:
- red hots
- red M&M’s – you can buy the little tubes of mini Christmas M&M’s. They only have red and green M&M’s.
- red sixlets



Catherine says
Cute, delish and easy for the kids!
Emily Bruno says
My kids had so much fun making these!
Lauren Grant says
These are so cute and fun! And I love the crunch!!
Tawnie Kroll says
I made these with my cousins and they loved them, thank you! Merry Christmas!!