

The first time I had Sheila G's brownie brittle from the store I was hooked! I knew I needed to create a recipe that mimicked that deep chocolate flavor and the crispy brownie bite. I went to work and testing and testing again until I perfected this recipe for Crispy Brownie Brittle. Now you don't have to buy those expensive bags of brownie bites, you just need to open your baking cabinet and turn on the oven.
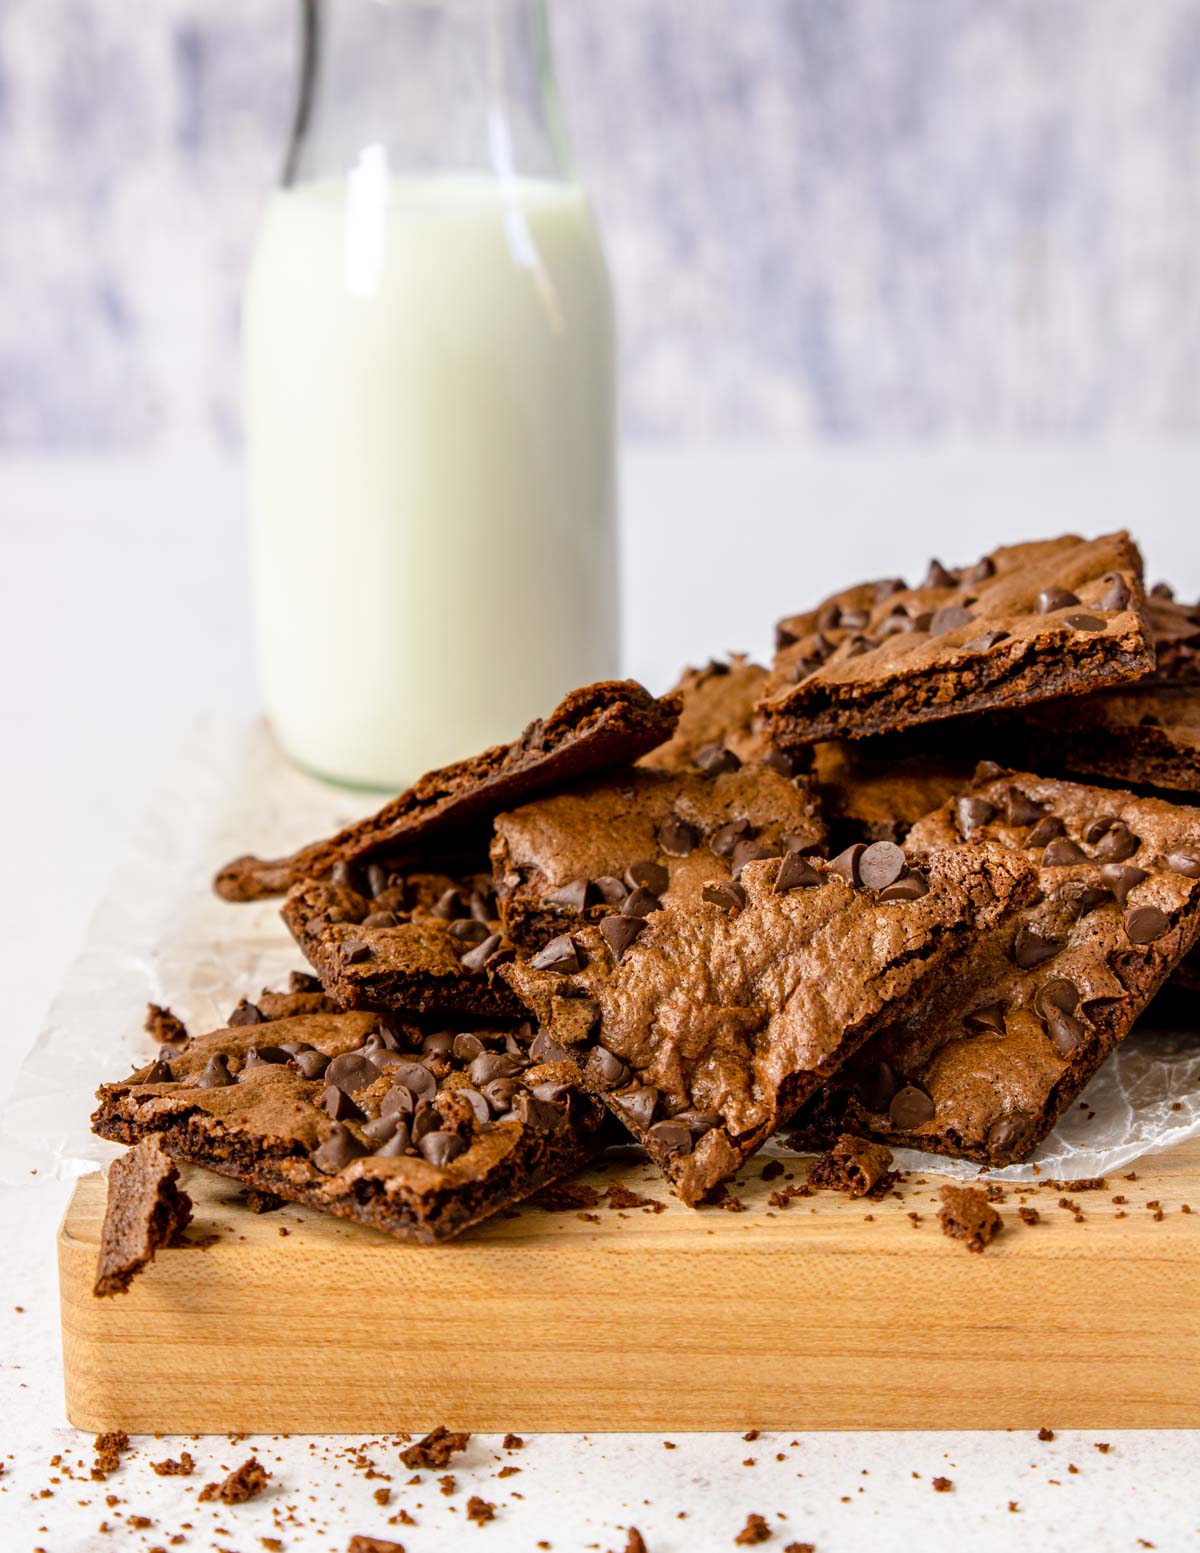
Don't worry-you don't need to be a master baker to nail this Brownie Brittle. I've put in the time testing and tweaking so you don't have to. The steps are simple, clear, and totally doable, whether you've baked a hundred things or just a handful. If you follow along, you'll end up with perfectly crisp, chocolatey brittle.
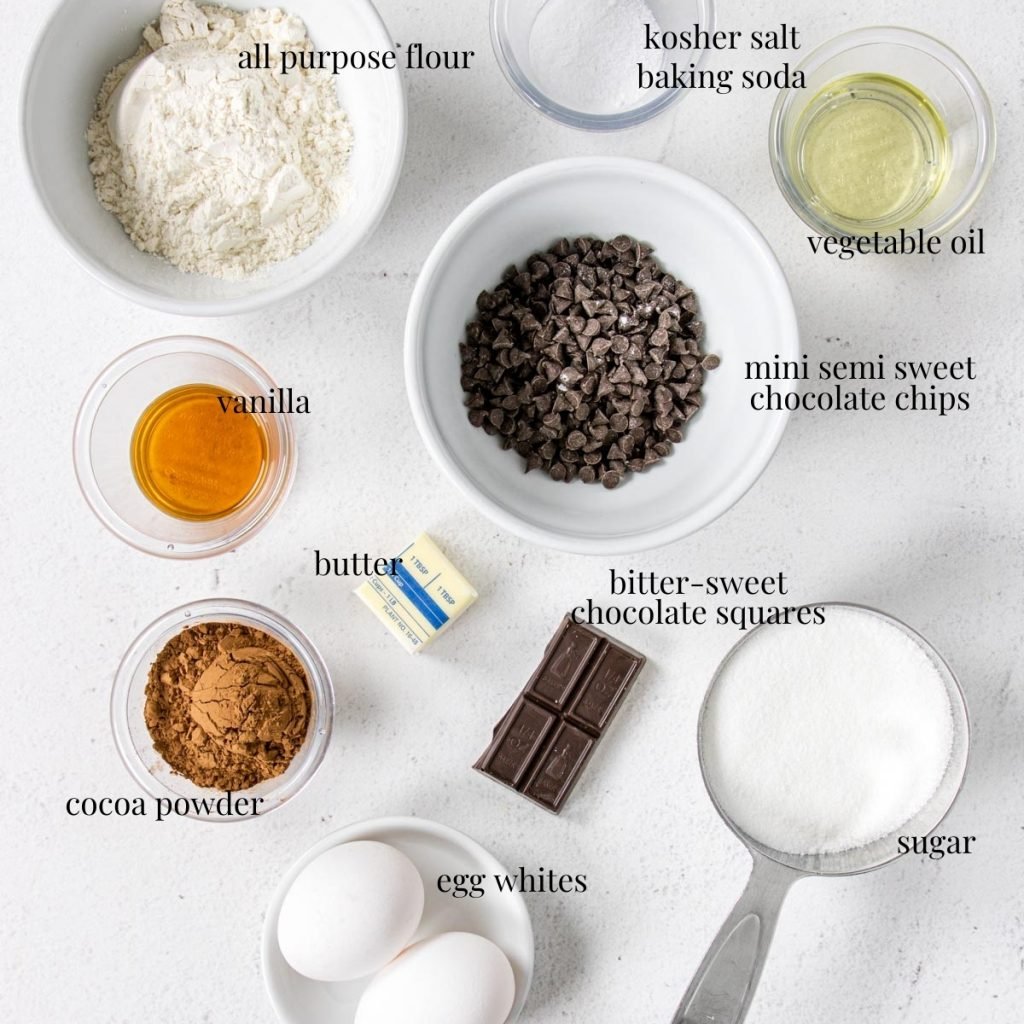
Brownie Brittle Recipe Ingredients
I have made this quite a few times and I find that the whole process goes a lot smoother if you collect all the ingredients before you get started! Here is what you need:
- butter
- vegetable oil
- bittersweet chocolate baking squares
- cocoa powder
- eggs
- sugar
- vanilla extract
- all purpose flour
- baking soda
- kosher salt
- mini semi-sweet chocolate chips
Parchment Paper
Another supply that you absolutely must use is parchment paper! The paper allows the brittle to bake without sticking to the baking pan. If you do not use parchment paper the brittle will literally bake ONTO the pan. LOL!
How to Make Brownie Brittle
- Start by preheating your oven to 325 degrees. Prep a large rimmed baking sheet (13×18) by completely covering in parchment paper (Do not skip this step!!).
- Now place the butter, vegetable oil, and chocolate squares in a microwave safe bowl. Microwave for about 30 seconds and give it a good stir, microwave for another few seconds if the chocolate doesn’t melt all the way.
- Stir the cocoa into the melted chocolate mixture. Set that aside.
- In the bowl of a stand mixer fitted with a whisk attachment (or a handheld mixer with a whisk attachment), whisk the 2 egg whites until they are frothy, about 4 minutes. Then pour in the sugar and vanilla extract. Mix another 15 seconds.
- Add the melted chocolate mixture to the egg white mixture. Whisk for another 20-30 seconds.
- In a small bowl stir together the flour, baking soda and salt. Pour that mixture into the batter and fold it in, until it is combined.
- Pour the batter out onto the parchment paper. With a spatula spread the batter out REALLY THIN. It will be like painting the parchment paper. The batter should only be about a ¼ inch thick on the paper, from edge to edge. If you don’t get it spread thin enough the brittle will not be crispy.
- Sprinkle the batter with the mini chocolate chips.
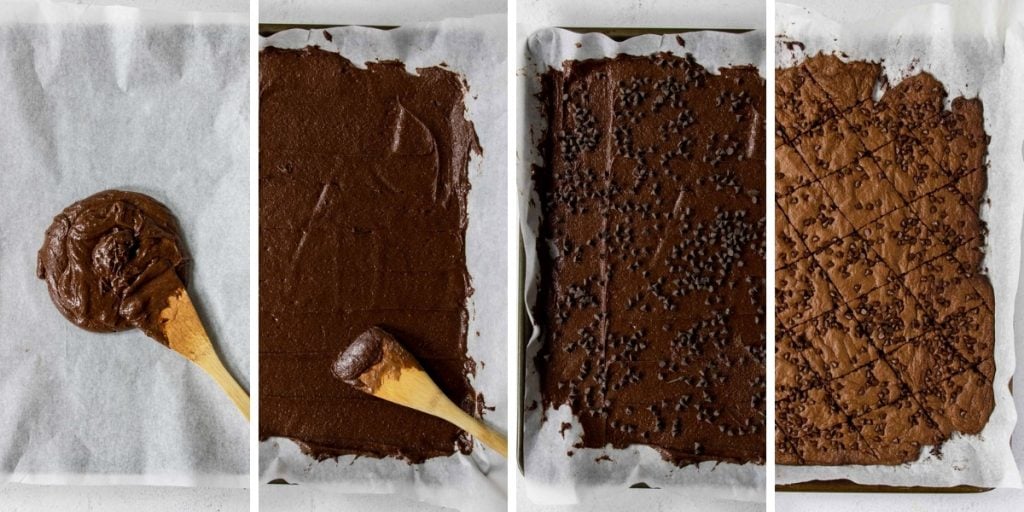
9. Bake for 15 minutes (up to 18 minutes if the edges aren’t getting burnt). Watch the brittle closely towards the end of the cooking time to make sure the edges don’t burn.
10. As soon as the brittle comes out of the oven, score it with a knife or pizza cutter. This will help you break it apart when it is ready.
11. Let it cool for about 15 minutes and then break it apart at the scored lines.
Tips for Perfectly Crispy Brownie Brittle
To make sure you get the CRISPIEST brownie brittle, remember these tips:
- Do not make this recipe without parchment paper! The brownie brittle will cook directly TO the pan, so lay down that parchment first.
- Spread the batter super thin, it should be like painting the parchment paper.
- Don't try to shorten the baking time… if it isn't crisp after cooling, pop it back in the oven for a few minutes.
- Let the brownie brittle cool. It won't be totally crispy when it comes right out of the oven. Let it cool for 15 minutes, and then you will get that crispity-crunch.
- Don't use the whole egg, just the egg whites, that is what helps give the batter more air to create a crunchy bite.
How to Store Chocolate Brittle
Store your Brownie Brittle in an airtight container at room temp for up to a week.
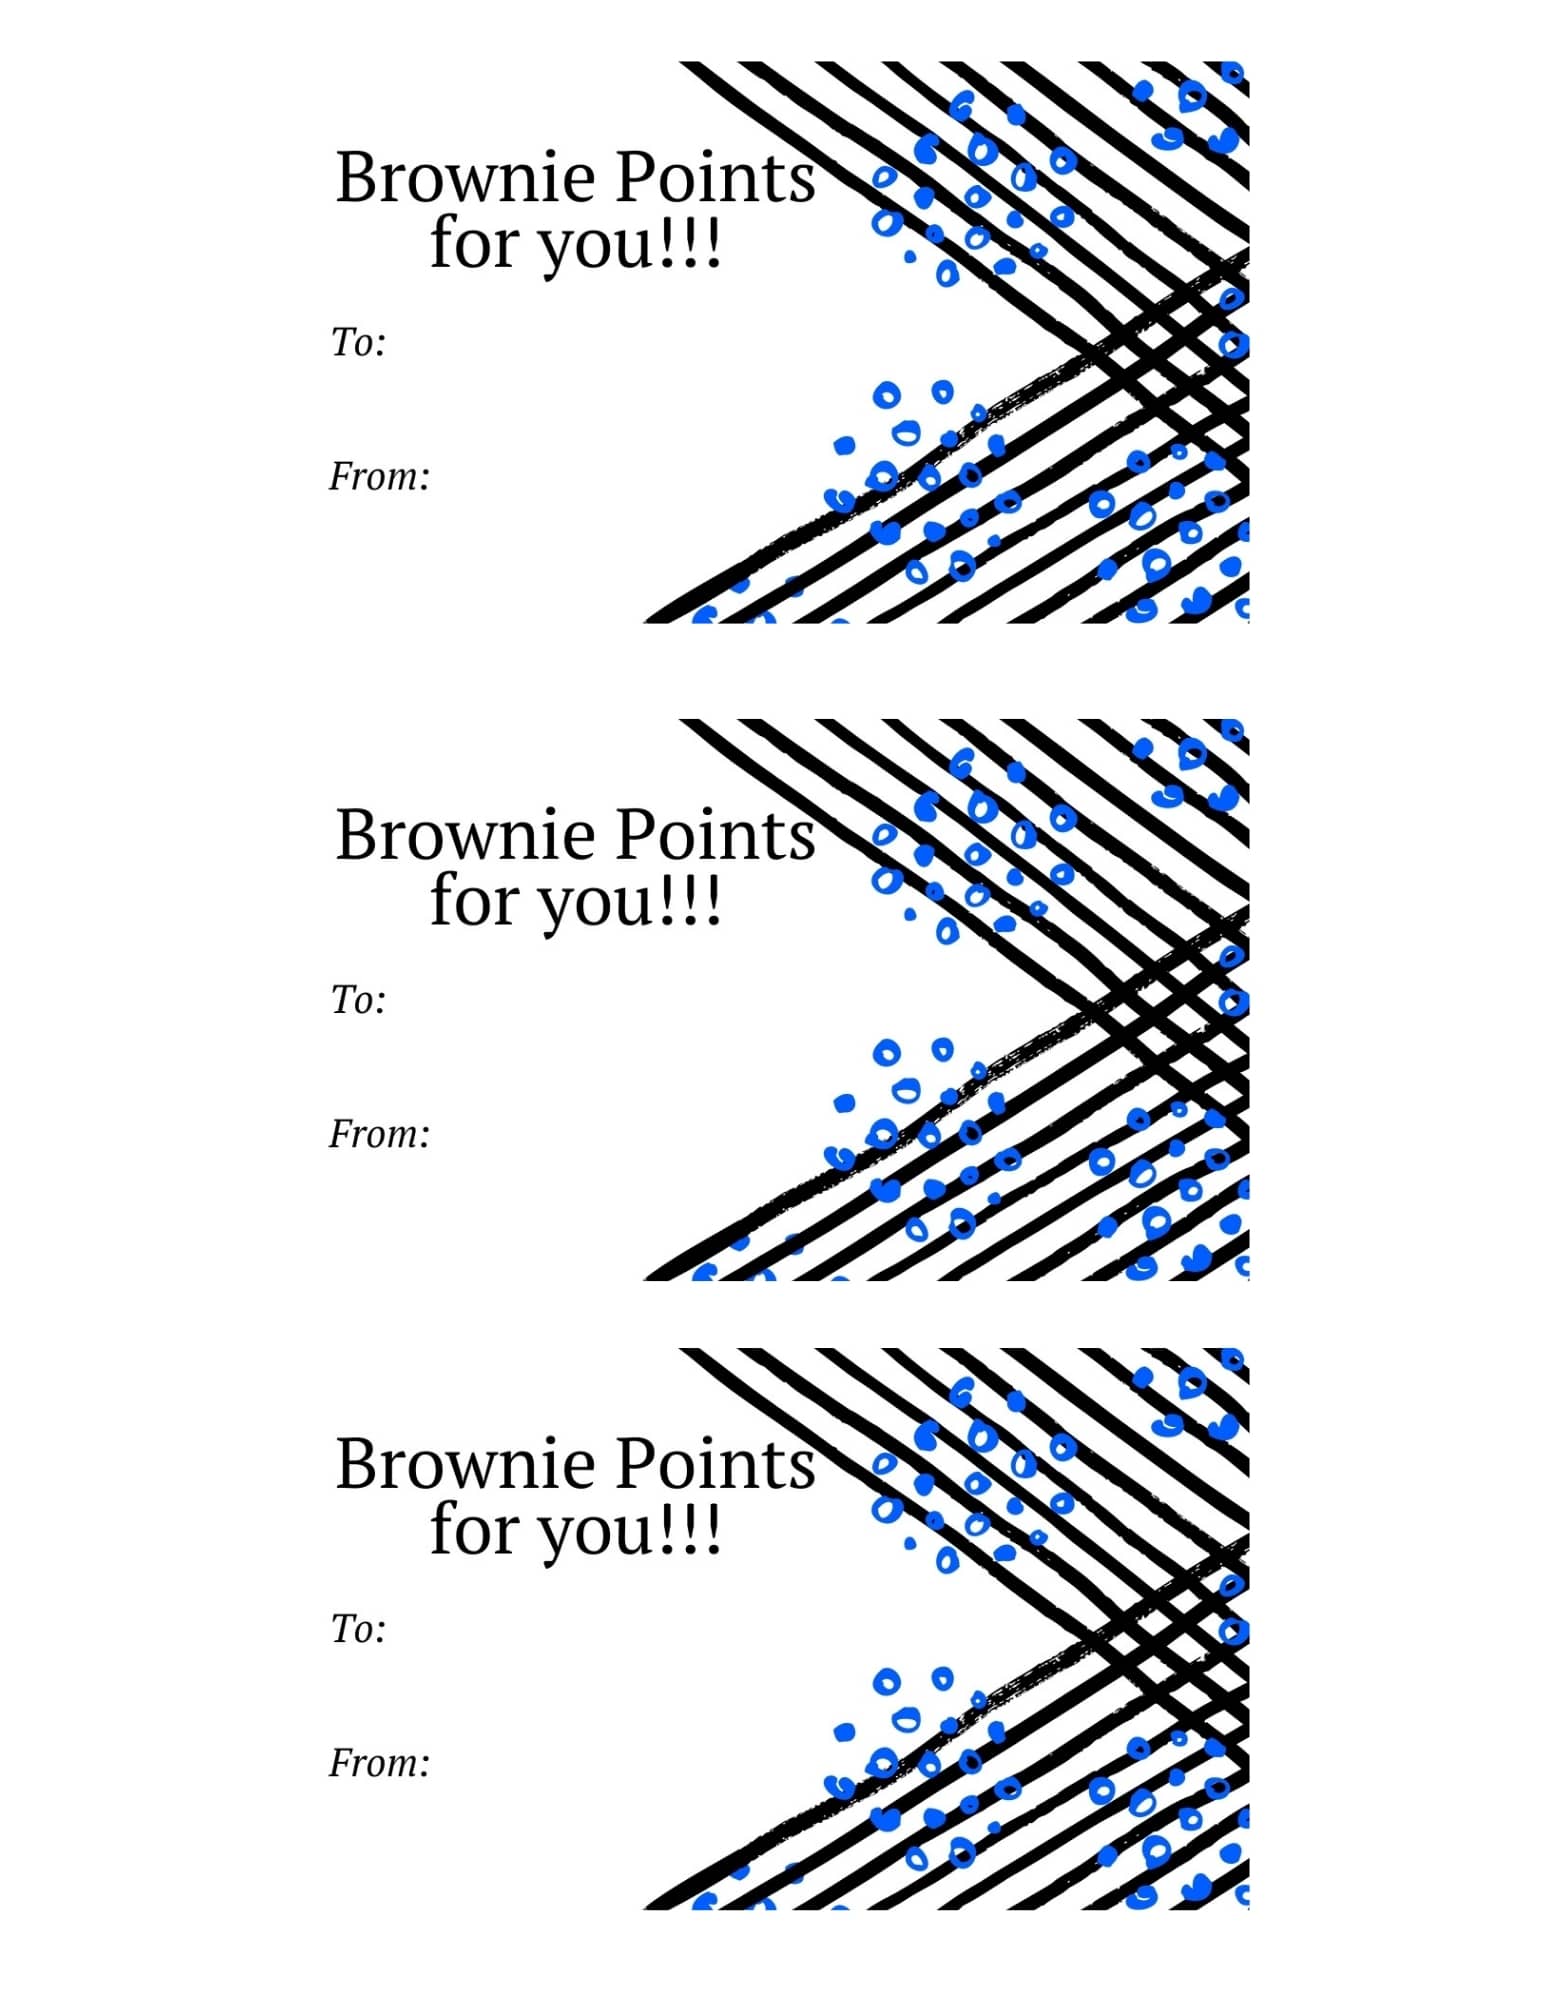
Give this Brownie Brittle as a Gift!
This makes an amazing edible gift! Package them up in a cellophane gift bag with a fancy ribbon, then attach this FREE PRINTABLE GIFT TAG:

Homemade Brownie Brittle
Equipment
Ingredients
- 2 tablespoon butter
- 2 tablespoon vegetable oil
- 4 squares bittersweet baking chocolate - (equals 1 ounce)
- ¼ cup plus 1 tablespoon unsweetened cocoa powder
- 2 large egg whites
- ¾ cup sugar
- 1 teaspoon vanilla extract
- ½ cup all purpose flour
- ¼ teaspoon kosher salt
- ¼ teaspoon baking soda
- ½ cup mini semi sweet chocolate chips
Instructions
- Preheat the oven to 325°. Completely line a large rimmed baking sheet (18×13 works well) with a piece of parchment paper. Do not skip this step! The recipe will not work without the parchment paper. The brittle will be ONTO the pan without it!
- In a microwave safe bowl melt together the butter, vegetable oil, and 4 bittersweet chocolate squares, for about 30 seconds. Give it a good stir to make sure the chocolate is completely melted. Stir the cocoa powder into the melted chocolate mixture. Set aside.2 tbsp butter , 2 tbsp vegetable oil, 4 squares bittersweet baking chocolate , ¼ cup plus 1 tablespoon unsweetened cocoa powder
- In a stand mixer fitted with the whisk attachment (or handheld mixer), whisk the egg whites until they are really frothy, about 4 minutes. Add the vanilla extract and sugar to the egg whites and whisk another 15 seconds. Pour the melted chocolate mixture into the egg white mixture and mix for another 20-30 seconds.2 large egg whites , 1 tsp vanilla extract , ¾ cup sugar
- In a separate bowl stir together the flour, baking soda and salt.½ cup all purpose flour , ¼ tsp kosher salt, ¼ tsp baking soda
- Pour the flour mixture into the batter and fold it in with a spatula or wooden spoon until it is combined.
- Pour the batter onto the parchment paper. Using a spatula spread the batter across the parchment paper until it is really thin, about ¼ inch thick at most. It will be like you are painting the parchment paper! Make sure you get the batter spread thin enough so it bakes crispy!
- Sprinkle the mini chocolate chips across the batter.½ cup mini semi sweet chocolate chips
- Bake for 15 minutes (if the edges aren't burning or browning, bake up to 18 minutes). Watch the pan towards the end of the cooking time so the edges don't burn.
- As soon as the brittle comes out the oven it will still be soft, score it with a knife or pizza cutter (into shapes that you want the individual pieces to be). Then let it cool for about 15-20 minutes to dry and get crispy. Break it apart into bite sized pieces.
- Enjoy your Chocolate Brownie Brittle!!
Storing
- Keep your brownie brittle in an airtight container at room temp for up to a week.
Cindy says
Hello! Is the butter for this is supposed to be salted or unsalted? I’m a novice baker and made salty rice krispies last time I made that mistake. LOL!
Susie Weinrich says
I always use salted butter. But unsalted will work too!
Tamsin Budge says
Can you not use chocolate?
Susie Weinrich says
This is a really chocolatey recipe, not sure what you could sub here.
Bob Roehrig says
Hello,
Followed reciepe to the Tee, but these did not turn out crisp. Even baked for 19 minutes. Great thin Brownies, but not crisp at all. Only thing I can think of is that I’m at sea level in Florida and things usually need a little more time which I added. I would personally think that maybe if I upped the temperature to 400 and kept the time at around the 16-18 minute mark???? Flavor is there…..just no where near crisp.
arienne says
Will milk chocolate squares be okay?
Susie Weinrich says
I have not tested with that, but it should work. They will definitely be sweeter.
Katherine says
Comes out perfectly and tastes just like the ones from the store. Super fast and super worth it 🙂 thanks for the awesome recipe
Melisa says
This turned out great!!!! I will add nuts next time!
scoop says
the parchment paper stuck to my brownies🥲🥲
Susie Weinrich says
I have never had that happen! It was parchment paper, not wax paper?
Kirstin N. says
This was really good! Perfectly crunchy and very easy. Will definitely make again, family and I enjoyed it.
Hannah says
Is the batter supposed to be kinda dry? If I stir it it’s not creamy it’s a bit crumbly. Did I do something wrong?
Susie Weinrich says
Two things could have happened here…. if melted chocolate gets crumbly and dry that usually means the chocolate got over heated (burnt in the microwave) or a little liquid (water) got into the melted chocolate. The batter should be pretty thick, but not dry and crumbling.
Yasmeen says
Very good recipe. Came out nice and crispy but just a tad too dark chocolatety for me. I might put less cocoa next time. Otherwise it’s great I’m milk. I eat it like a cereal
shelby riley says
recipe was spot on. will make it again thanks.
Jaime says
Turned our fantastic!
Ana says
Hi! I have just made a batch of your recipe, but Im afraid Ive done something wrong, they are not crispy. Can you advise? Flavor is perfect though! My kids are meddling around waiting for me to look elsewhere so they can eat it…
Susie Weinrich says
You really have to spread the batter thin, like painting a thin layer on the parchment. Your oven may require a few extra minutes, but watch towards the end to make sure the edges don’t burn.
Tina Harshell says
I’ve mad this recipe twice. Both times it simply was NOT crispy except on the outer edge. If stored in an airtight container they became even softer! I spread the batter as thin as I possible could. They were delicious but disappointing in thei
r crispness.
Mary says
Labor intensive but very very good
TAS says
I crave this stuff! It is so perfectly crispy and chocolatey…..and easy to make!
Tiffany Quiogue says
The instructions said to add cocoa powder but there is no cocoa powder listed in the ingredients.
Susie says
Ahhhhhhh… thank you so much for catching this and bringing it to my attention! I added it now. It is 1/4 cup plus 1 tbsp unsweetened cocoa powder.
So sorry about that!!!
John says
Love adding this to some vanilla or peppermint ice cream! Perfection!