


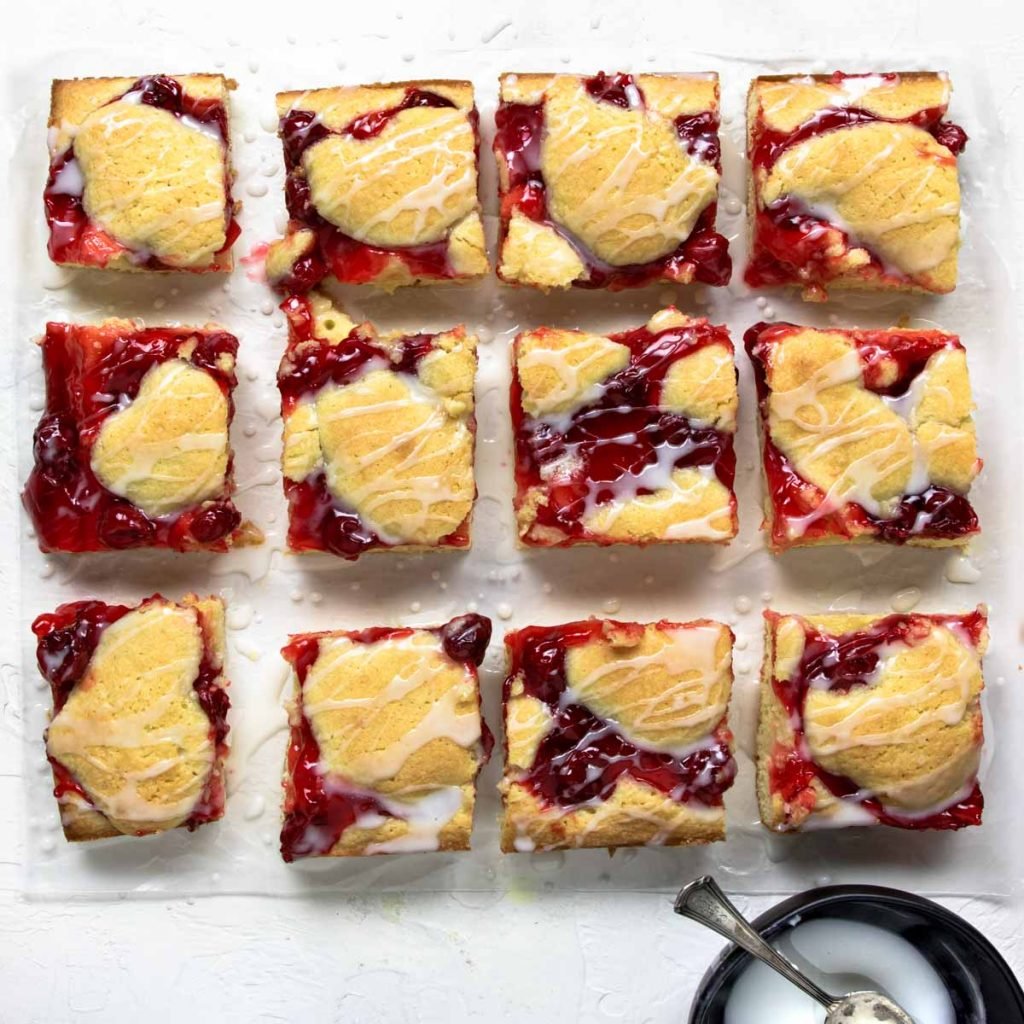
Cherry Pie Bars are a classic dessert or breakfast treat. Tender almond flavored cake is topped with cherry pie filling and the top is dolloped with cake. It is baked to golden perfection and when serving it is drizzled with a frosting glaze. It is much easier to make than traditional cherry pie but still gives you all the flavors!
If you are not a baker, then this is the perfect dessert recipe for you! It is extremely easy to make and just about foolproof. The recipe calls for canned cherry pie filling and the cake batter/dough is a simple measure and mix recipe.
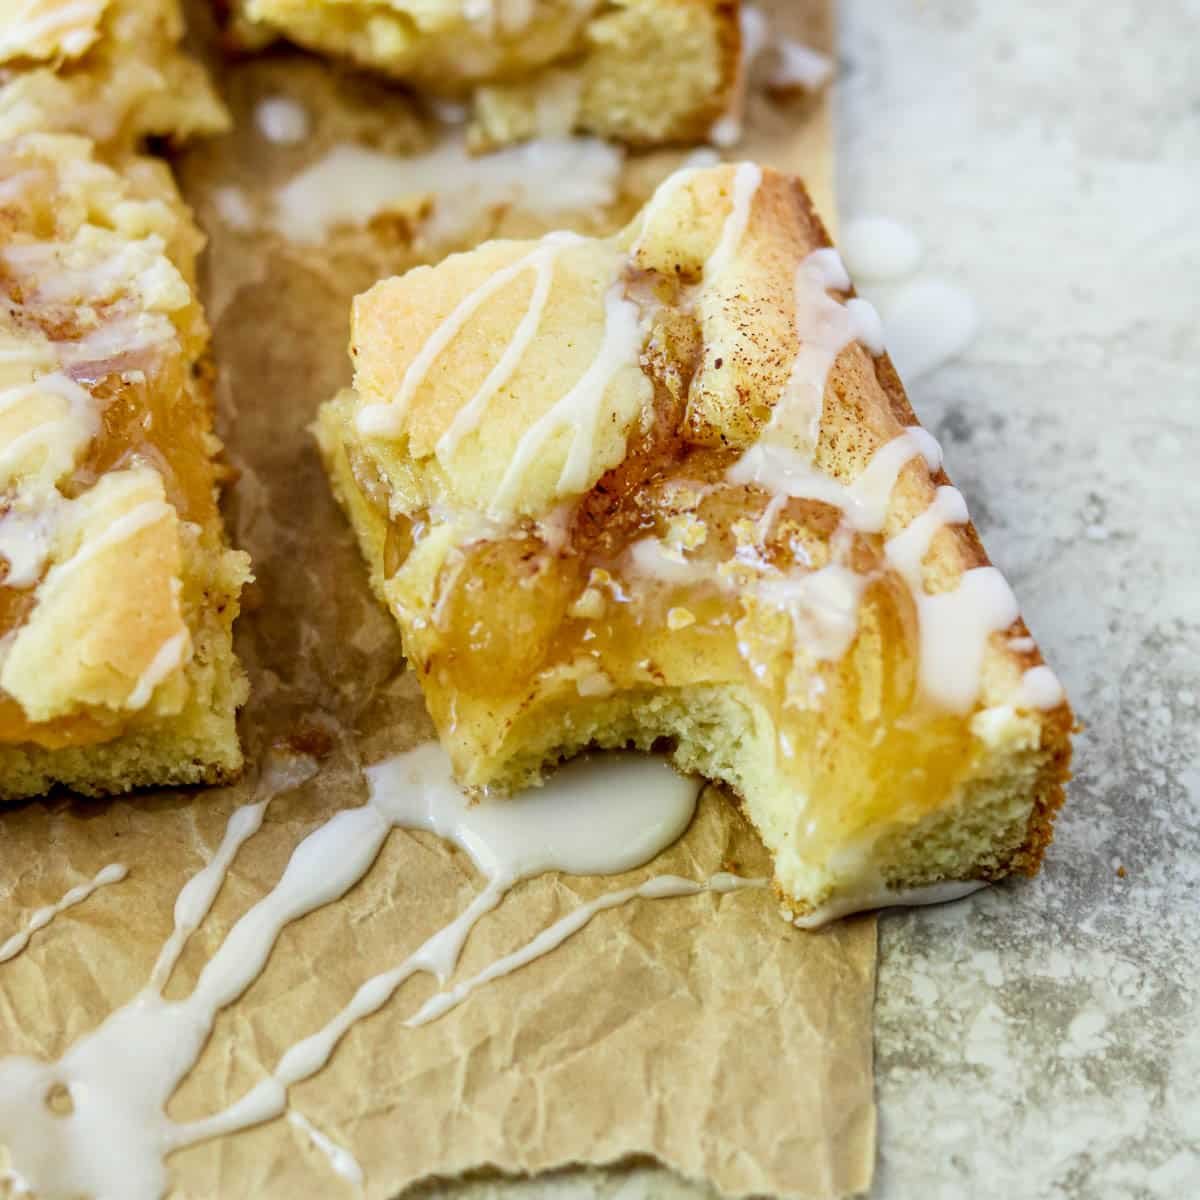
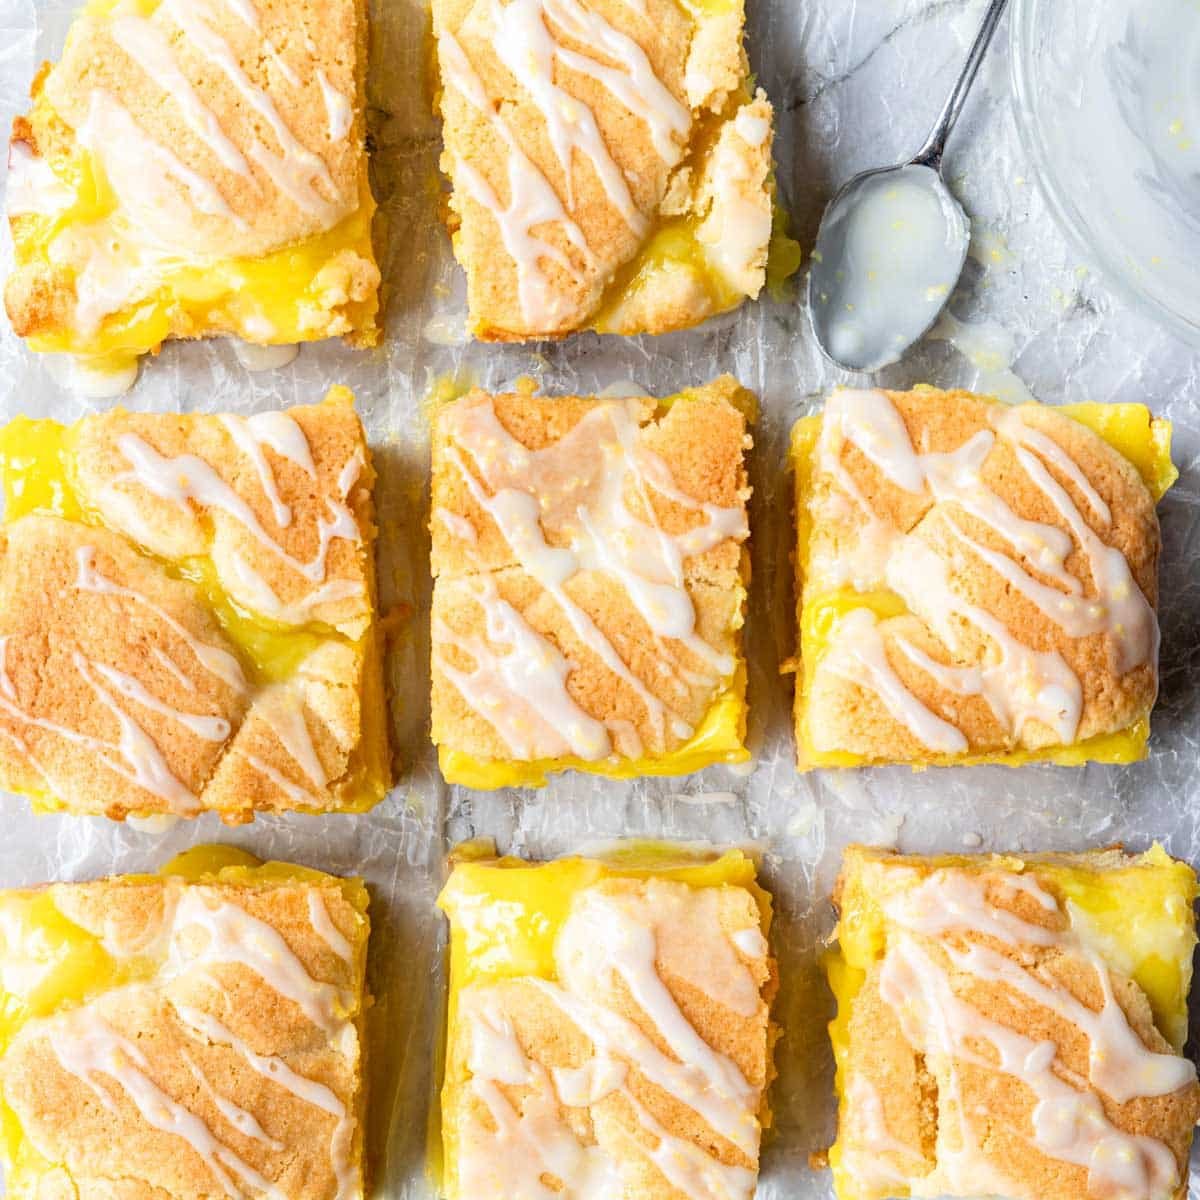
You can also make this recipe with apple or lemon, check out Easy Apple Pie Bars and Lemon Pie Bars too.
Cherry Pie Filling
One reason this recipe is so easy is that it calls for canned cherry pie filling. You will not be pitting cherries and making your own filling, nobody got time for that (at least I don’t).
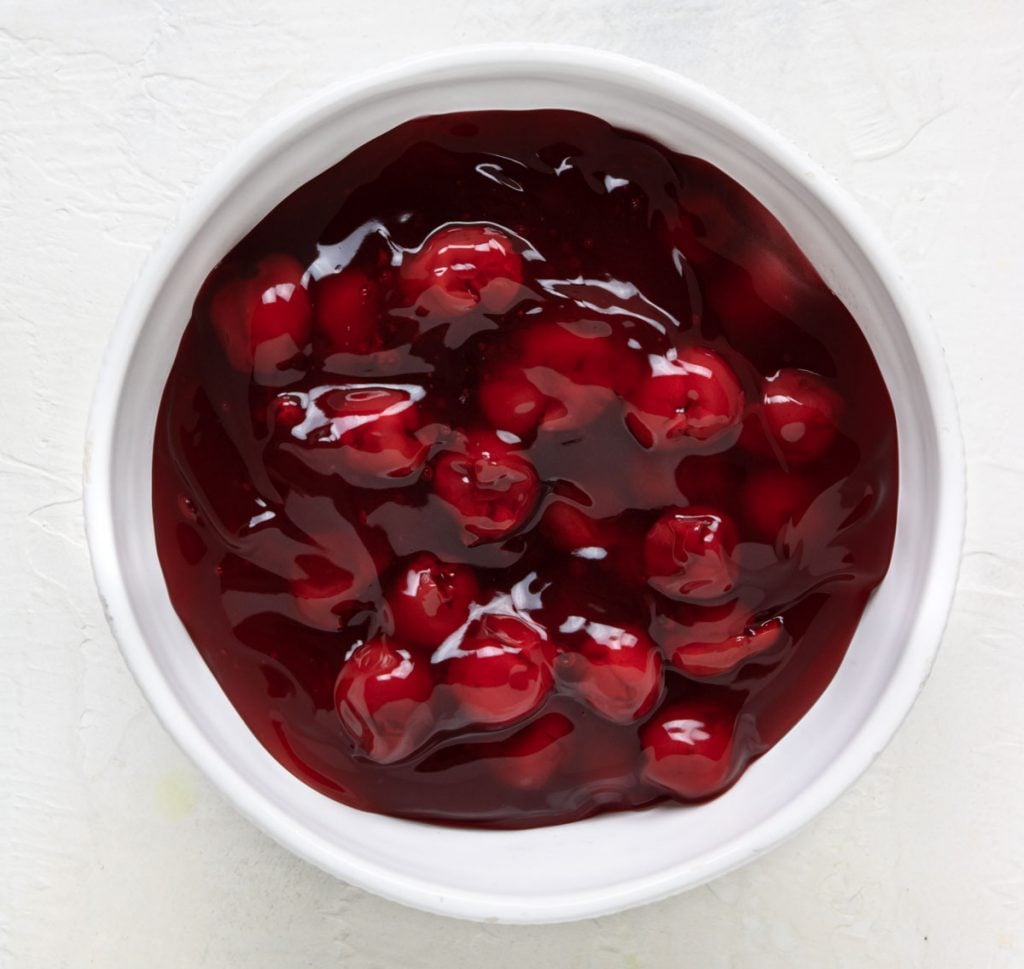
You can make this recipe with one or two cans of cherry pie filling. The photos in this post show one can. However, I do like 2 cans a little better because…. more cherries!
But if cherries are not your jam, you can check out this recipe for Apple Pie Bars which are equally as delicious and easy!
Almond Extract
Almond extract is a very distinct flavor and smell. In my opinion there is no substitute for it in a recipe that calls for it.
However, it is very strong so you definitely want to be careful how much you add or you not taste any other ingredients in the recipe.
In this homemade cherry pie bar recipe you will add almond extract to the batter and the powdered sugar glaze. It is just enough to give it that almond flavor, but not too much to overpower.
How to Make Cherry Pie Bars
Preheat your oven to 350 degrees and prepare/grease your 9×13 baking pan with butter, or baking spray.
Kitchen Tip
After you take the softened butter out of the paper or foil, take the paper/foil and rub it in your baking dish and there should be enough to grease the entire pan.
In a large mixing bowl, with a hand mixer (or a stand mixer), cream the 1 cup softened butter, 1 ½ cups sugar and 1 teaspoon almond extract together until it is light yellow and a little fluffy, about 2 minutes.
Add the eggs to the mixture, one at a time.
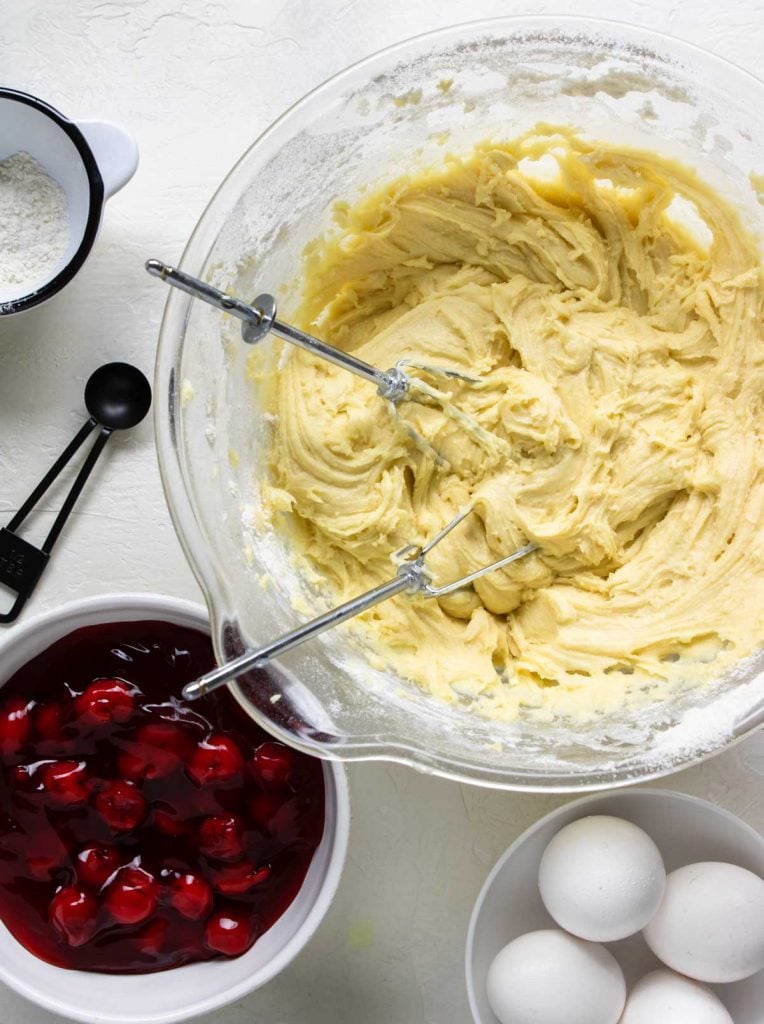
Slowly add the 3 cups of flour and baking powder into the batter. Mix it in until it is fully incorporated, but do not over mix.
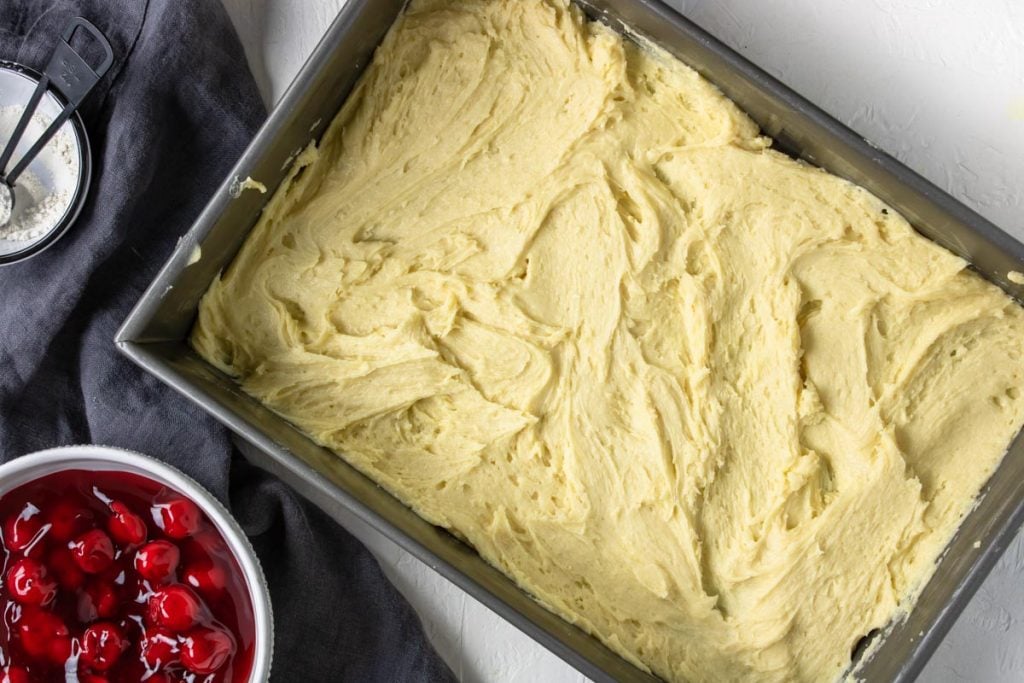
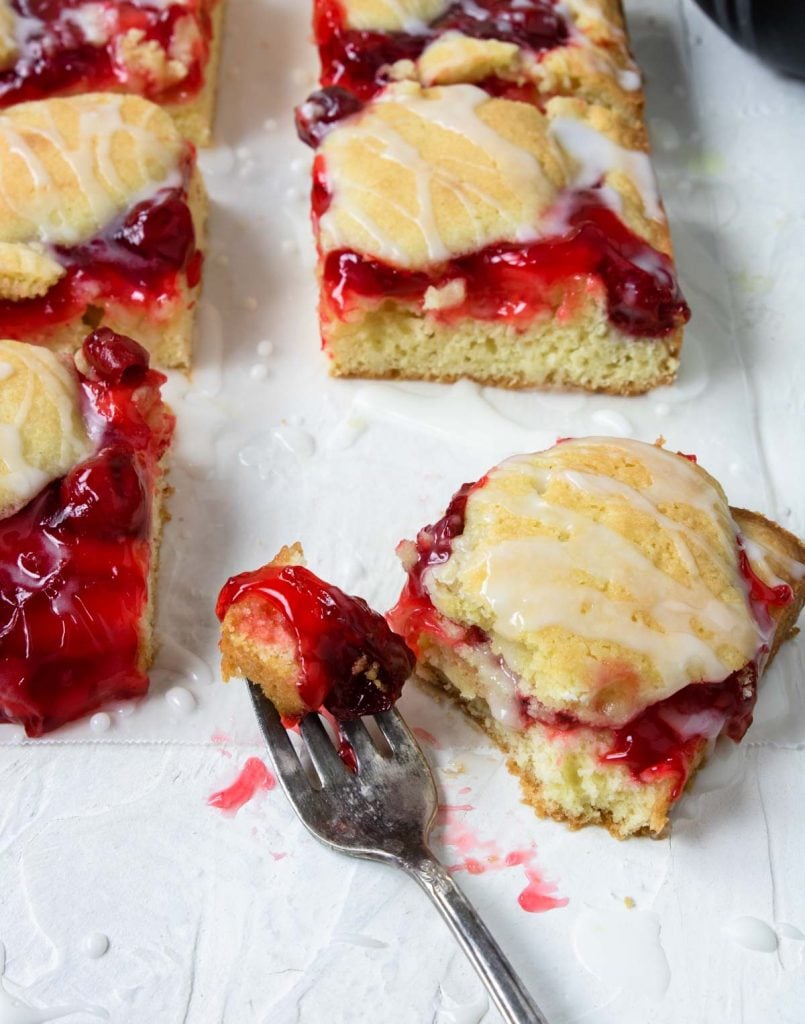
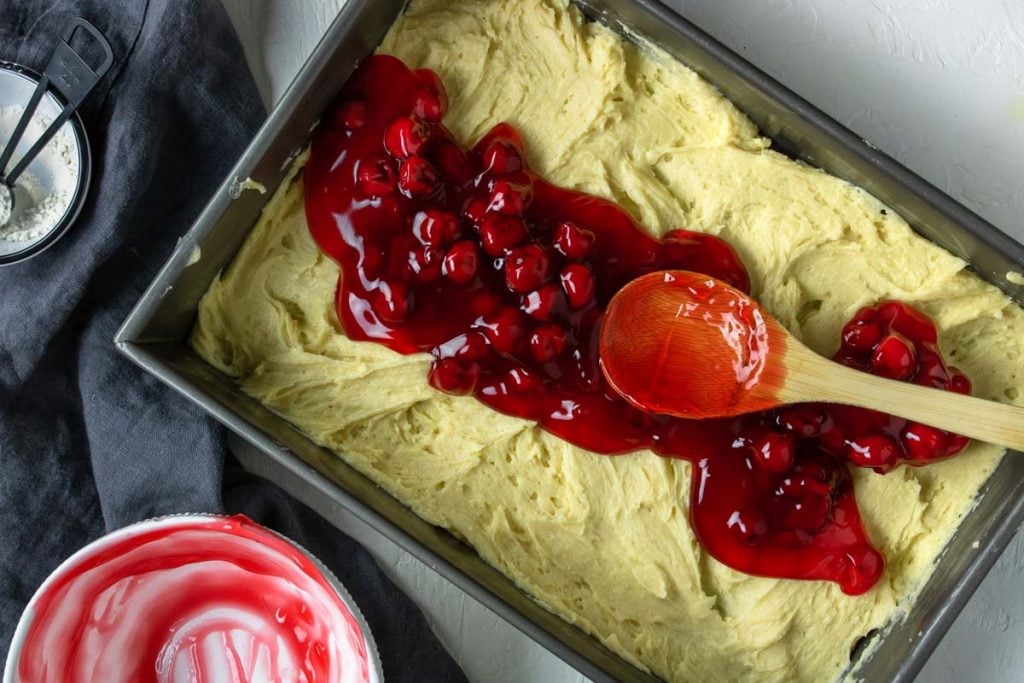
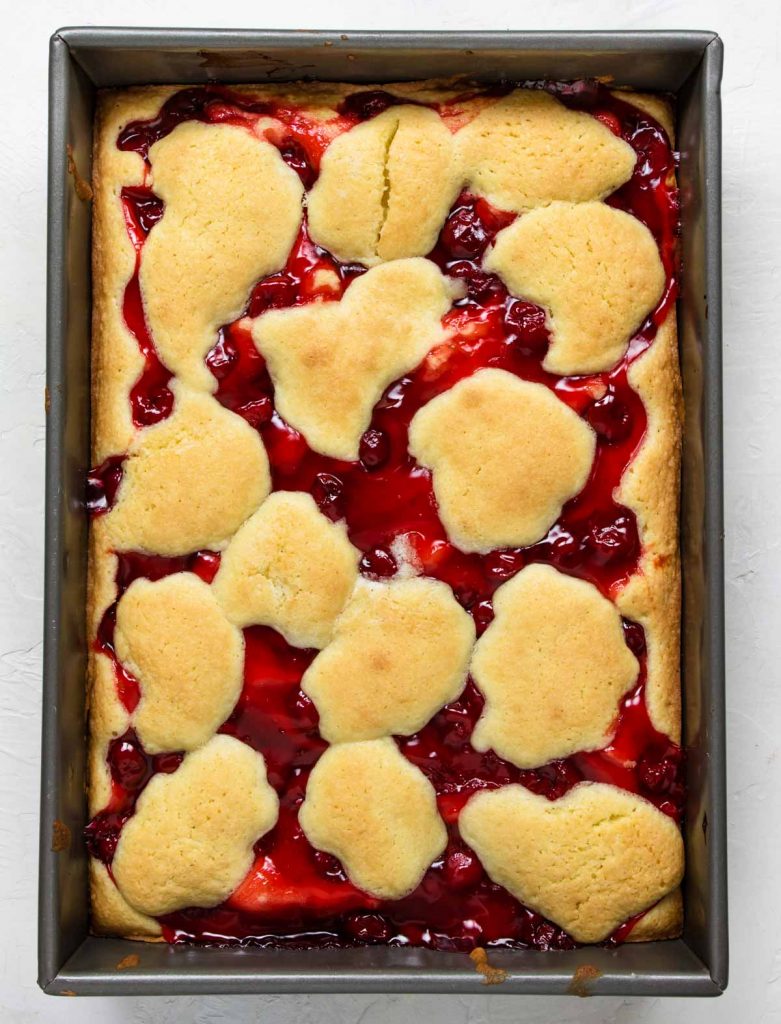
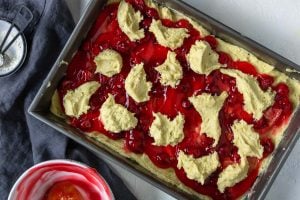
Spread ⅔ of the batter into your prepared baking dish, pour the cherry pie filling over the batter and spread it out so that each bite will have a cherry- YUM!
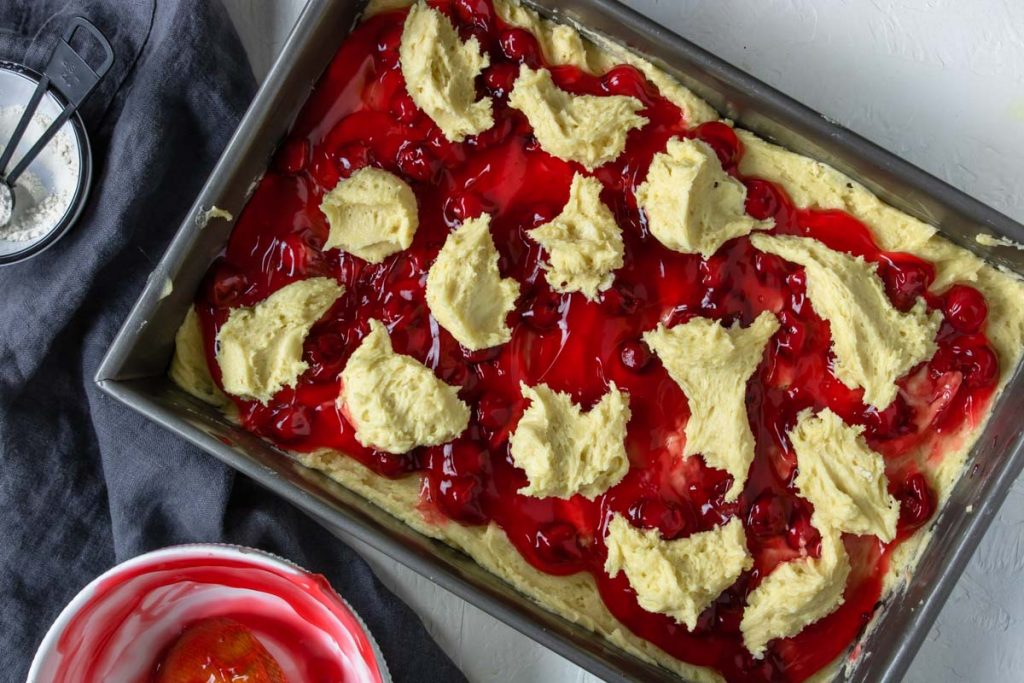
Now dollop the remaining batter across the top of the cherries.
Bake for 30-35 minutes, until the edges are golden and the cake is cooked through. If you are using a glass 9×13 pan you may need to bake for 45 minutes.
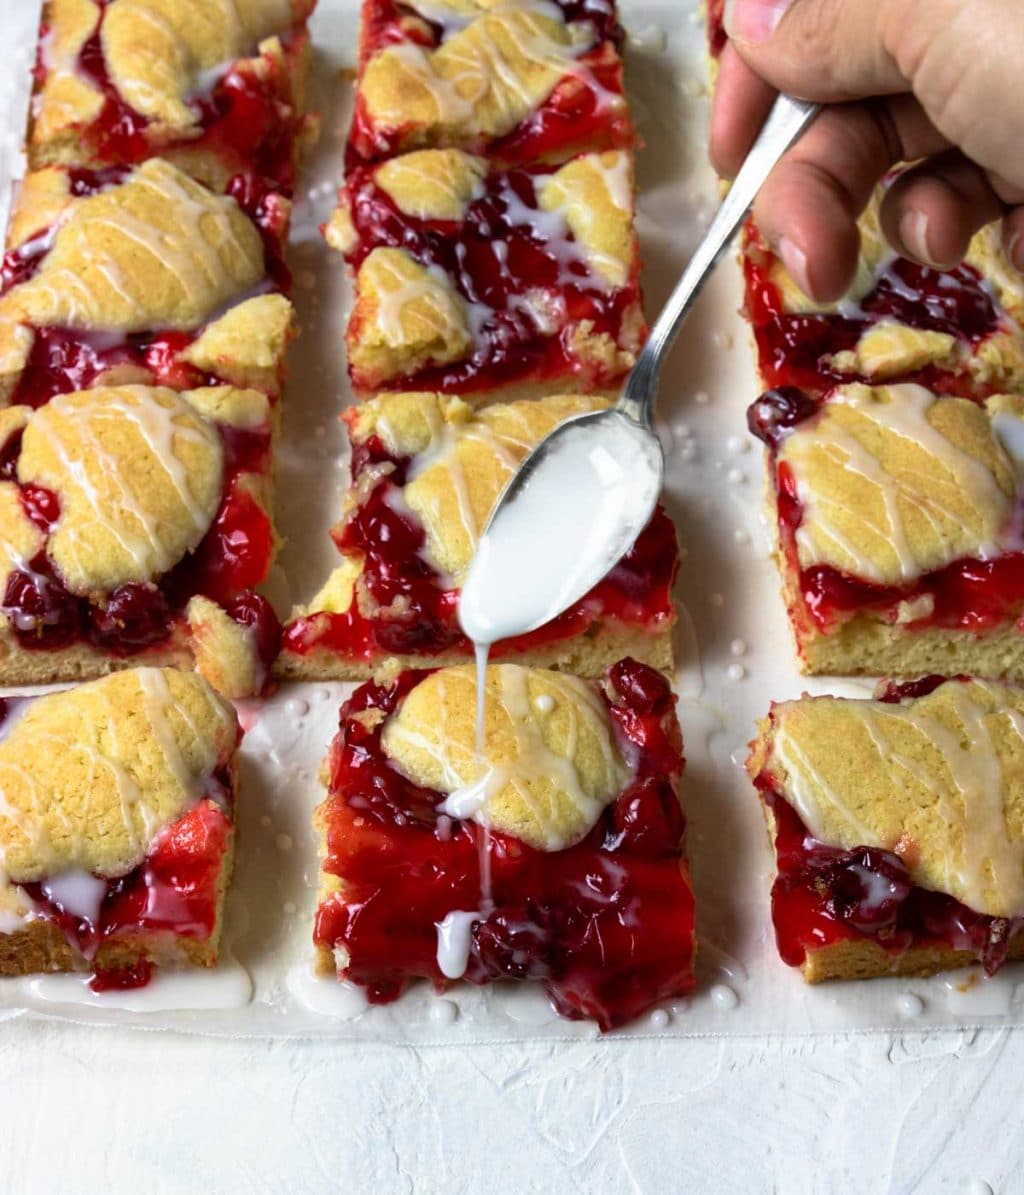
While the cherry pie bars are baking mix up the frosting glaze by combining ½ cup powdered sugar, 1 teaspoon milk and a couple dashes of almond extract.
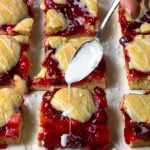
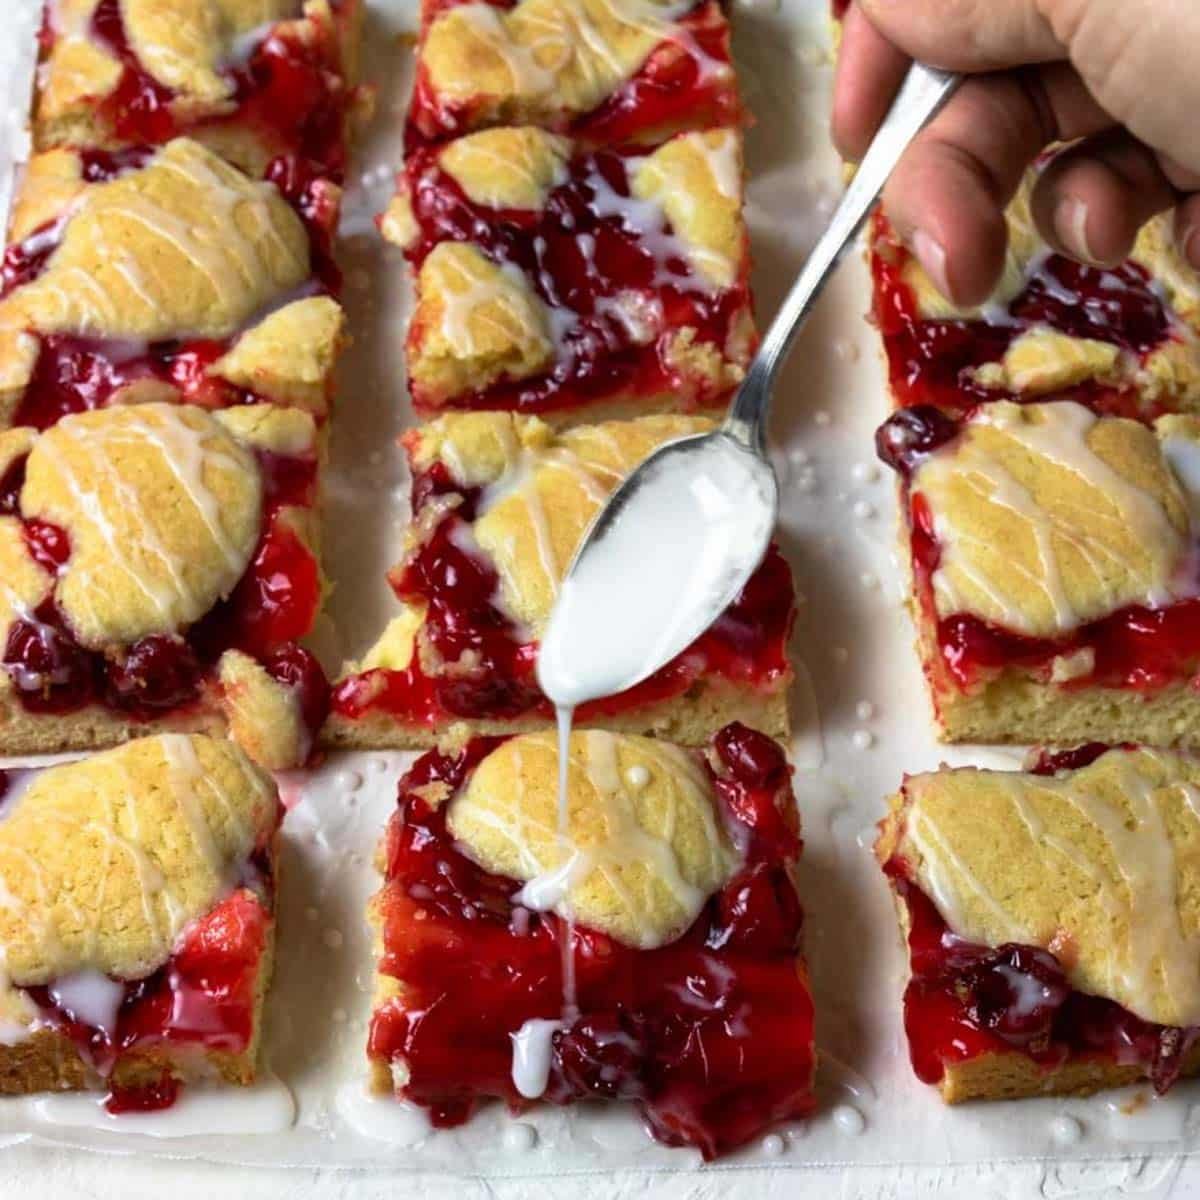
Let the bars cool and then drizzle with the glaze. Cut into 16 bars.
Storing Cherry Pie Bars
You can store your cherry pie bars just like you would a pie, on the counter in a pan, covered, for up to 4 days.
More Dessert Bar Recipes
Cherry Pie Bars Recipe
Equipment
- off-set spatula (optional, but can make working with the sticky batter a little eaiser)
Ingredients
Cherry Pie Bars
- 1 cup butter, softened
- 1½ cups white sugar
- 1 teaspoon almond extract - plus a couple dashes for the glaze
- 4 eggs
- 3 cups all purpose flour
- 1 ½ teaspoon baking powder
- (1 or 2) 21 oz can(s) cherry pie filling - – can use 1 or 2 cans. If you like a lot of cherries I highly recommend using 2, but if you like more cake only use 1.
- non-stick spray
Glaze
- ½ cup powdered sugar
- 1 tablespoon milk
Instructions
Cherry Pie Bars
- Preheat the oven to 350 degrees and grease a 9×13 baking pan.non-stick spray
- In a large mixing bowl with a hand mixer, cream the butter, 1 tsp. almond extract, and sugar for about 2 minutes. Can sub vanilla extract if almond extract flavor is not your favorite.1 cup butter, softened, 1½ cups white sugar, 1 teaspoon almond extract
- Mix in the eggs, one at a time.4 eggs
- Add the flour and baking powder into the batter, mix until it is completely incorporated.3 cups all purpose flour, 1 ½ teaspoon baking powder
- Spread ⅔ of the batter evenly into the prepared baking pan. It will be very sticky!! An offset spatula sprayed with non-stick spray can make this task easier.

- Pour the cherries over the batter and make sure the cherries are evenly distributed. With a spoon dollop the remaining batter over the top of the cherries.(1 or 2) 21 oz can(s) cherry pie filling
- In a dark metal pan, bake for 30-35 minutes. If you use a glass baking dish you may need to bake for 45-50 minutes.
Glaze
- While the bars bake, mix the glaze by combining the ½ cup powdered sugar, 1 tablespoon milk , and a couple dashes of almond extract. You may need to add a couple drops of milk to get a drizzle consistency.½ cup powdered sugar, 1 tablespoon milk
Serving
- Once the bars are out of the oven let them cool for about 20 minutes.Cut into 12 or 16 squares. drizzle with the powdered sugar glaze and cut into 16 squares.
- Serve drizzled with the powdered sugar glaze.Optionally serve with a dollop or whipped cream or vanilla ice cream!
Storing
- Store at room temperature, covered, for up to 4 days.
Beth Mundell says
These were great but next time I’ll use 2 cans of cherry pie filling instead of one and maybe cut the icing in half so they’re not too sweet
Cathy says
Very good .
L says
There was an issue with cooking time. Did you use a Convection oven? 25 minutes was not even close, and the batter was raw.
I liked the flavour – used 1 can of filling. It was easy to put together, and was very cake like.
Thanks!
Susie says
Just out of curiosity did you use a glass baking dish? I just added to the instructions today that if you use a glass dish the cook time will be closer to 30-35 minutes. (thank you for commenting and letting me know!)
LeAnn LaHue Perica says
Sounds great im going to make them as soon as I get home 🏡
Emily says
I love the cherry and almond flavors together in this recipe! Yum!!
John says
Perfect for any occasion….birthdays, Thanksgiving, Tuesdays…. ⭐⭐⭐⭐⭐!!